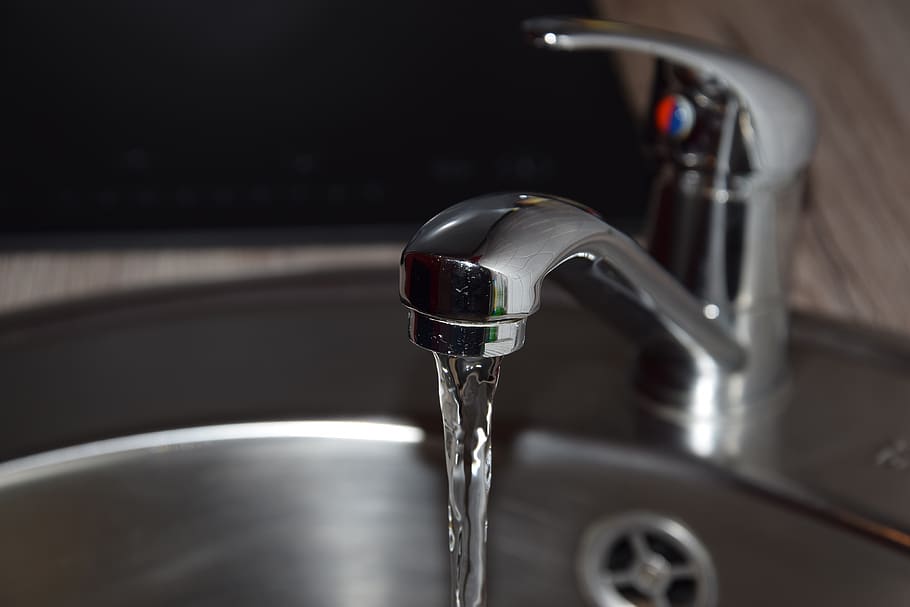
Having a kitchen sprayer that won't stay in place can be frustrating and inconvenient. Not only does it make it difficult to use, but it can also lead to leaks and potential water damage. If you're dealing with this problem, don't worry, there are simple steps you can take to fix it yourself. The first thing you should do is check the connection between the sprayer and the sink. Sometimes the sprayer can become loose and needs to be tightened. Use a wrench to tighten the connection and see if that solves the issue. If not, move on to the next step. The next step is to check the diverter valve, which controls the water flow to the sprayer. It is located under the sink, and you may need to refer to your manufacturer's manual for specific instructions on how to access it. Once you locate the valve, make sure it is in the correct position and not clogged with debris. Clean it if necessary and see if the sprayer stays in place now. If the first two steps didn't work, then the problem may be with the sprayer itself. Check for any cracks or damage that may be causing it to not stay in place. If you find any, you will need to replace the sprayer with a new one. Another common issue that can cause a kitchen sprayer to not stay in place is a worn-out weight. The weight is responsible for pulling the sprayer back into place after use. Check the weight and see if it needs to be replaced. You can easily find a replacement weight at your local hardware store. By following these troubleshooting steps, you should be able to fix your kitchen sprayer and get it back in working order. However, if you are still having issues, it may be time to call a professional plumber for further assistance.1. How to Fix a Kitchen Sprayer That Won't Stay in Place

1. How to Fix a Kitchen Sprayer That Won't Stay in Place


A kitchen sink sprayer is a convenient tool for washing dishes, rinsing produce, and filling pots with water. However, when it starts to malfunction, it can quickly become a nuisance. Here are some common problems you may encounter with your kitchen sink sprayer and how to troubleshoot them. Problem: Low water pressure If your kitchen sink sprayer is not releasing enough water pressure, the first thing you should check is the aerator. This small screen at the end of the sprayer can become clogged with mineral deposits and debris, causing a decrease in water flow. Remove the aerator and clean it thoroughly before reattaching it to the sprayer. Problem: Leaking Leaking can occur in various parts of the kitchen sink sprayer, such as the hose, handle, or connection to the sink. To identify the source of the leak, turn on the water and observe where the water is coming from. Once you have located the leak, you can determine if it can be fixed with a simple repair or if you need to replace the affected part. Problem: Sprayer won't turn off If your kitchen sink sprayer doesn't turn off, it may be due to a faulty diverter valve. This valve controls the flow of water to the sprayer, and if it is damaged or clogged, it can cause the sprayer to stay on continuously. You will need to replace the diverter valve to fix this issue. Problem: Sprayer won't stay in place As mentioned earlier, if your kitchen sprayer won't stay in place, it could be due to a loose connection, a clogged diverter valve, or a worn-out weight. Follow the troubleshooting steps outlined in the first section to fix this problem. By addressing these common issues, you can keep your kitchen sink sprayer functioning properly and avoid the need for costly repairs or replacements.2. Troubleshooting a Kitchen Sink Sprayer


2. Troubleshooting a Kitchen Sink Sprayer


Kitchen sink sprayers are a convenient addition to any sink, but like any other appliance, they can encounter problems. Here are some of the most common kitchen sink sprayer problems and how to solve them. Problem: No water flow If your kitchen sink sprayer is not releasing any water, the first thing you should check is the water supply. Make sure the water valves are fully open and that there are no kinks or blockages in the hose. If the water supply is not the issue, then the problem may be with the sprayer itself. You may need to replace it with a new one. Problem: Sprayer won't retract If your kitchen sink sprayer won't retract back into place, it could be due to a damaged weight, clogged diverter valve, or a worn-out hose. Refer to the troubleshooting steps in the first section to fix this issue. Problem: Difficult to switch between sink and sprayer Some kitchen sink sprayers have a feature that allows you to switch between the main faucet and the sprayer. If this function becomes difficult to use, it is likely due to a buildup of mineral deposits. Clean the aerator and diverter valve to remove any debris and improve the switch function. Problem: Strange noises If you hear strange noises coming from your kitchen sink sprayer, it could be due to air in the pipes or a loose connection. Bleed the air out of the pipes by turning on the water and letting it run for a few minutes. If the noise persists, check the connections and tighten any loose parts. By being aware of these common problems and their solutions, you can keep your kitchen sink sprayer functioning properly for years to come.3. Common Kitchen Sink Sprayer Problems and Solutions


3. Common Kitchen Sink Sprayer Problems and Solutions


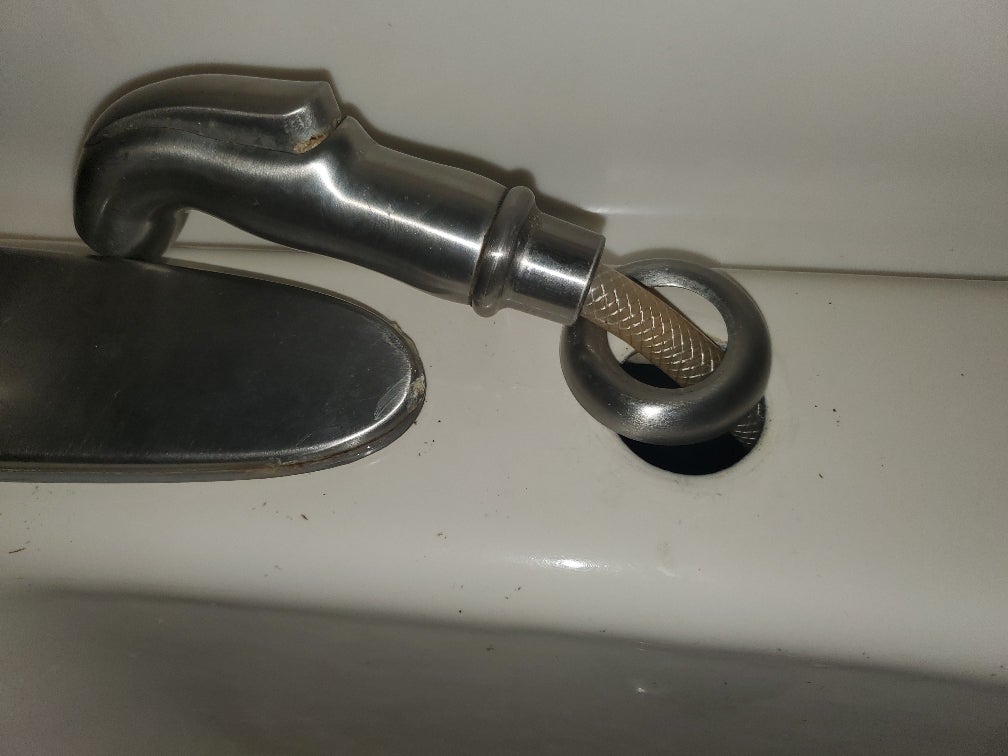
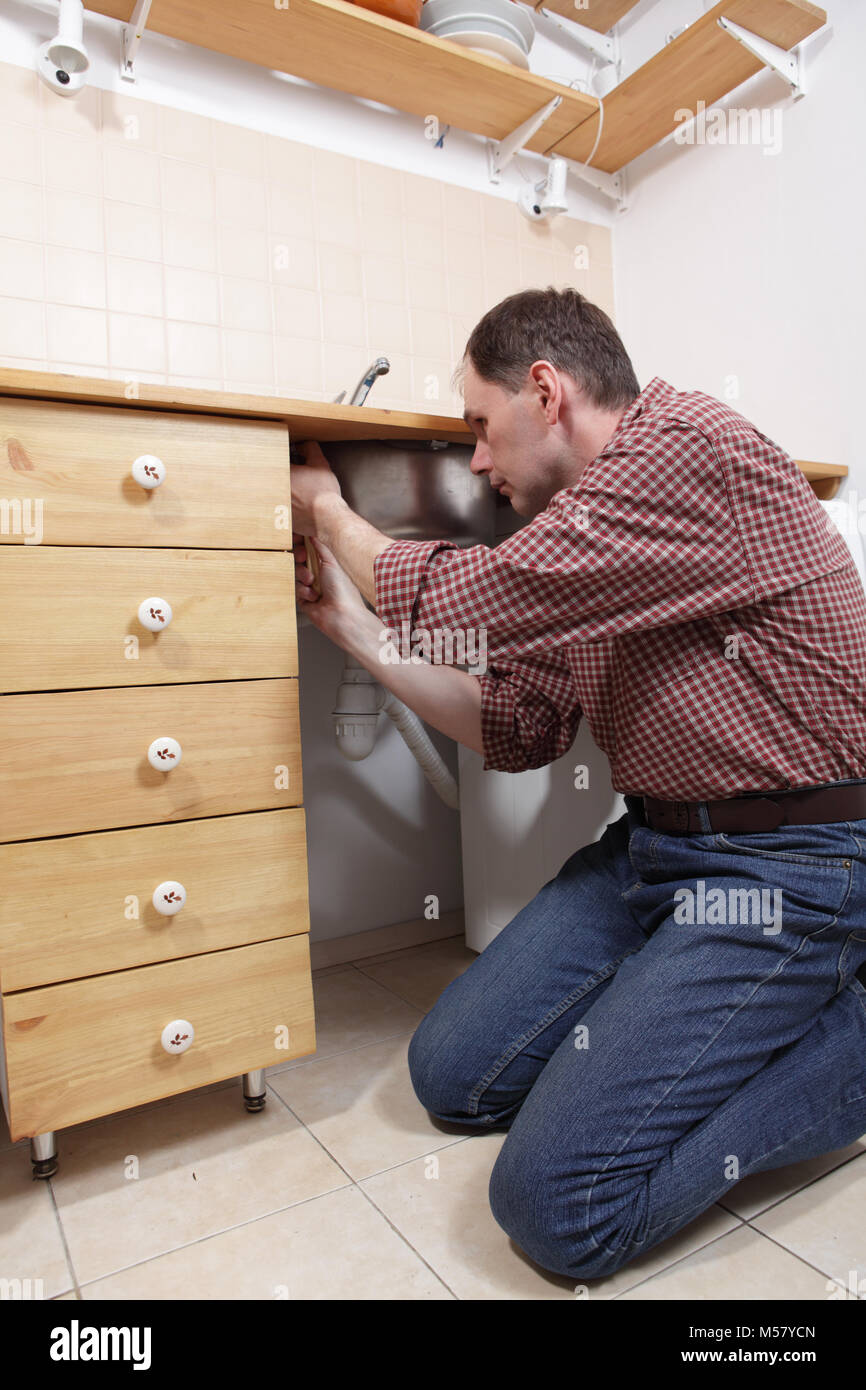
If your kitchen sink sprayer has become detached from the sink, don't panic. This is a common issue that can easily be fixed with a few simple steps. The first thing you will need to do is turn off the water supply to the sink. This will prevent any water from spraying out while you are working. Next, locate the sprayer hose and unscrew it from the bottom of the faucet. You may need a wrench to help loosen the connection. Once the sprayer hose is detached, you can pull it through the sink hole and remove it completely. Check the sprayer head for any debris and clean it if necessary. Then, insert the sprayer hose back through the hole and reattach it to the bottom of the faucet. Use a wrench to tighten the connection. Finally, turn the water supply back on and test the sprayer to make sure it is working properly. If you are still having issues, refer to the troubleshooting steps outlined in the first section.4. How to Reattach a Kitchen Sink Sprayer


4. How to Reattach a Kitchen Sink Sprayer


If your kitchen sprayer is not working at all, there could be a few different reasons for this problem. Here are some possible causes and solutions to get your sprayer working again. 1. Faulty diverter valve The diverter valve is responsible for controlling the flow of water to the sprayer. If it is damaged or clogged, it can prevent the sprayer from working. Refer to the troubleshooting steps in the first section to fix this issue. 2. Clogged aerator The aerator is the small screen at the end of the sprayer that can become clogged with debris and mineral deposits. Clean the aerator thoroughly and see if that solves the problem. 3. Water supply issue If there is no water flow at all, the problem could be with the water supply. Check to make sure the water valves are fully open and that there are no kinks or blockages in the hose. By addressing these potential causes, you should be able to identify and fix the issue with your non-working kitchen sprayer.5. Why is My Kitchen Sprayer Not Working?


5. Why is My Kitchen Sprayer Not Working?


If your kitchen sink sprayer is beyond repair or you simply want to upgrade to a new one, replacing it is a simple process. Follow these steps to replace your kitchen sink sprayer. The first thing you will need to do is turn off the water supply to the sink. Next, locate the sprayer hose and unscrew it from the bottom of the faucet. You may need a wrench to help loosen the connection. Then, remove the sprayer head from the hose and set it aside. Next, remove the mounting nut that holds the sprayer in place. You may need pliers to loosen the nut. Once the nut is removed, you can pull the sprayer out from the top of the sink. Take your new sprayer and insert it into the hole on top of the sink. Secure it in place with the mounting nut and tighten it with pliers. Then, attach the sprayer head to the hose and screw the hose back onto the bottom of the faucet. Turn the water supply back on and test the sprayer to make sure it is working properly. Replacing a kitchen sink sprayer is a quick and easy task that can make a big difference in the functionality and appearance of your kitchen sink.6. How to Replace a Kitchen Sink Sprayer


6. How to Replace a Kitchen Sink Sprayer
/installing-a-kitchen-sink-sprayer-2718817-hero-2b7047468d594da6be2494ba0eebb480.jpg)
:max_bytes(150000):strip_icc()/installing-a-kitchen-sink-sprayer-2718817-02-01cfd18f0299484c910d4e6a50af463e.jpg)


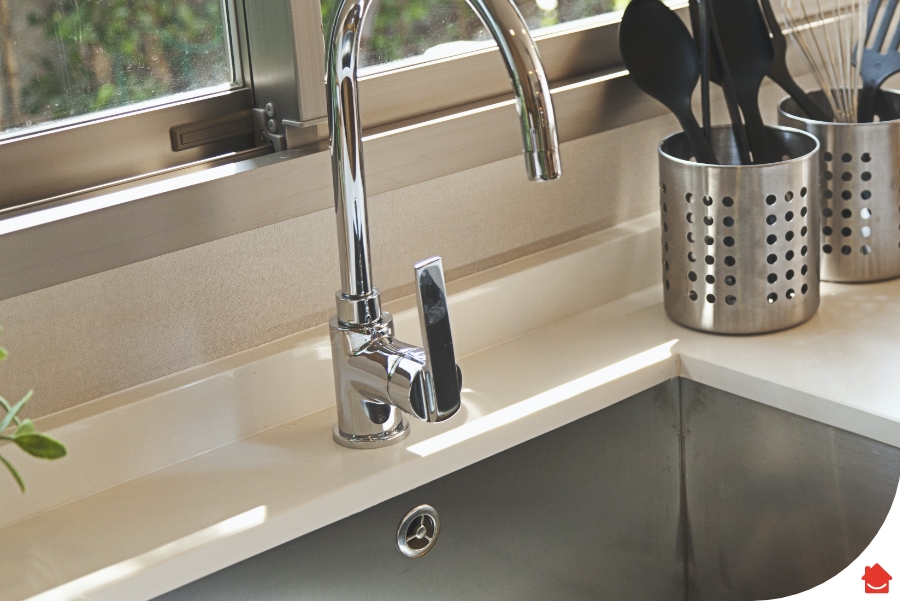
Installing a kitchen sink sprayer may seem like a daunting task, but with the right tools and knowledge, it can be done easily. Here are some tips to help you properly install a kitchen sink sprayer. 1. Gather all necessary tools and materials Before you begin, make sure you have all the tools and materials you will need for the installation. This may include a wrench, pliers, Teflon tape, and a new sprayer. 2. Turn off the water supply Before starting any work, turn off the water supply to the sink. This will prevent any water from spraying out while you are working. 3. Read the manufacturer's instructions Each kitchen sink sprayer may have slightly different installation instructions, so it's important to read the manufacturer's manual before you begin. This will ensure you are installing it correctly and avoid any potential issues. 4. Use Teflon tape To prevent leaks, wrap Teflon tape around the threads of the sprayer hose before attaching it to the faucet. This will create a tight seal and prevent water from escaping. 5. Test before finishing After installing the kitchen sink sprayer, turn the water supply back on and test it to make sure it is functioning properly. This will give you the opportunity to fix any issues before completing the installation. By following these tips, you can easily and properly install a kitchen sink sprayer in your home.7. Tips for Properly Installing a Kitchen Sink Sprayer

7. Tips for Properly Installing a Kitchen Sink Sprayer
:max_bytes(150000):strip_icc()/installing-a-kitchen-sink-sprayer-2718817-03-514088ddb922466eb3d4cd73f3aa85f4.jpg)


If you find that your kitchen sink sprayer is releasing too much or too little water pressure, you may need to adjust it. Here's how to do it. The first step is to locate the water pressure regulator, which is typically located under the sink near the water supply valves. Use a wrench to turn the regulator counterclockwise to increase the water pressure or clockwise to decrease it. If adjusting the regulator doesn't change the water pressure, the problem may be with the aerator. Remove the aerator from the end of the sprayer and clean it thoroughly. This can help improve water flow and pressure. If you are still having issues, refer to the troubleshooting steps in the second paragraph of this article to identify and fix any potential problems.8. How to Adjust the Water Pressure on a Kitchen Sink Sprayer


8. How to Adjust the Water Pressure on a Kitchen Sink Sprayer


A loose kitchen sink sprayer can be a nuisance, but fortunately, it is a problem that can easily be fixed. Here's how to troubleshoot and fix a loose kitchen sink sprayer. The first thing you should do is tighten the connection between the sprayer and the sink. Use a wrench to secure the connection and see if that solves the issue. If not, the problem may be with the weight. Check the weight and see if it needs to be replaced. You can find a replacement weight at your local hardware store. If the weight is not the issue, then the problem may be with the sprayer itself. Check for any cracks or damage that may be causing it to not stay in place. If you find any, you will need to replace the sprayer with a new one. By following these steps, you can troubleshoot and fix a loose kitchen sink sprayer in no time.9. Troubleshooting a Loose Kitchen Sink Sprayer


9. Troubleshooting a Loose Kitchen Sink Sprayer


To keep your kitchen sink sprayer functioning properly and avoid any potential issues, it's important to clean and maintain it regularly. Here's how to do it. 1. Clean the aerator The aerator can become clogged with mineral deposits and debris over time, which can affect water flow and pressure. Remove the aerator and clean it thoroughly to ensure optimal performance. 2. Check for leaks Periodically check the connections and hose for any leaks. If you find any, tighten the connections or replace any damaged parts. 3. Clean the sprayer head10. How to Clean and Maintain a Kitchen Sink Sprayer


10. How to Clean and Maintain a Kitchen Sink Sprayer


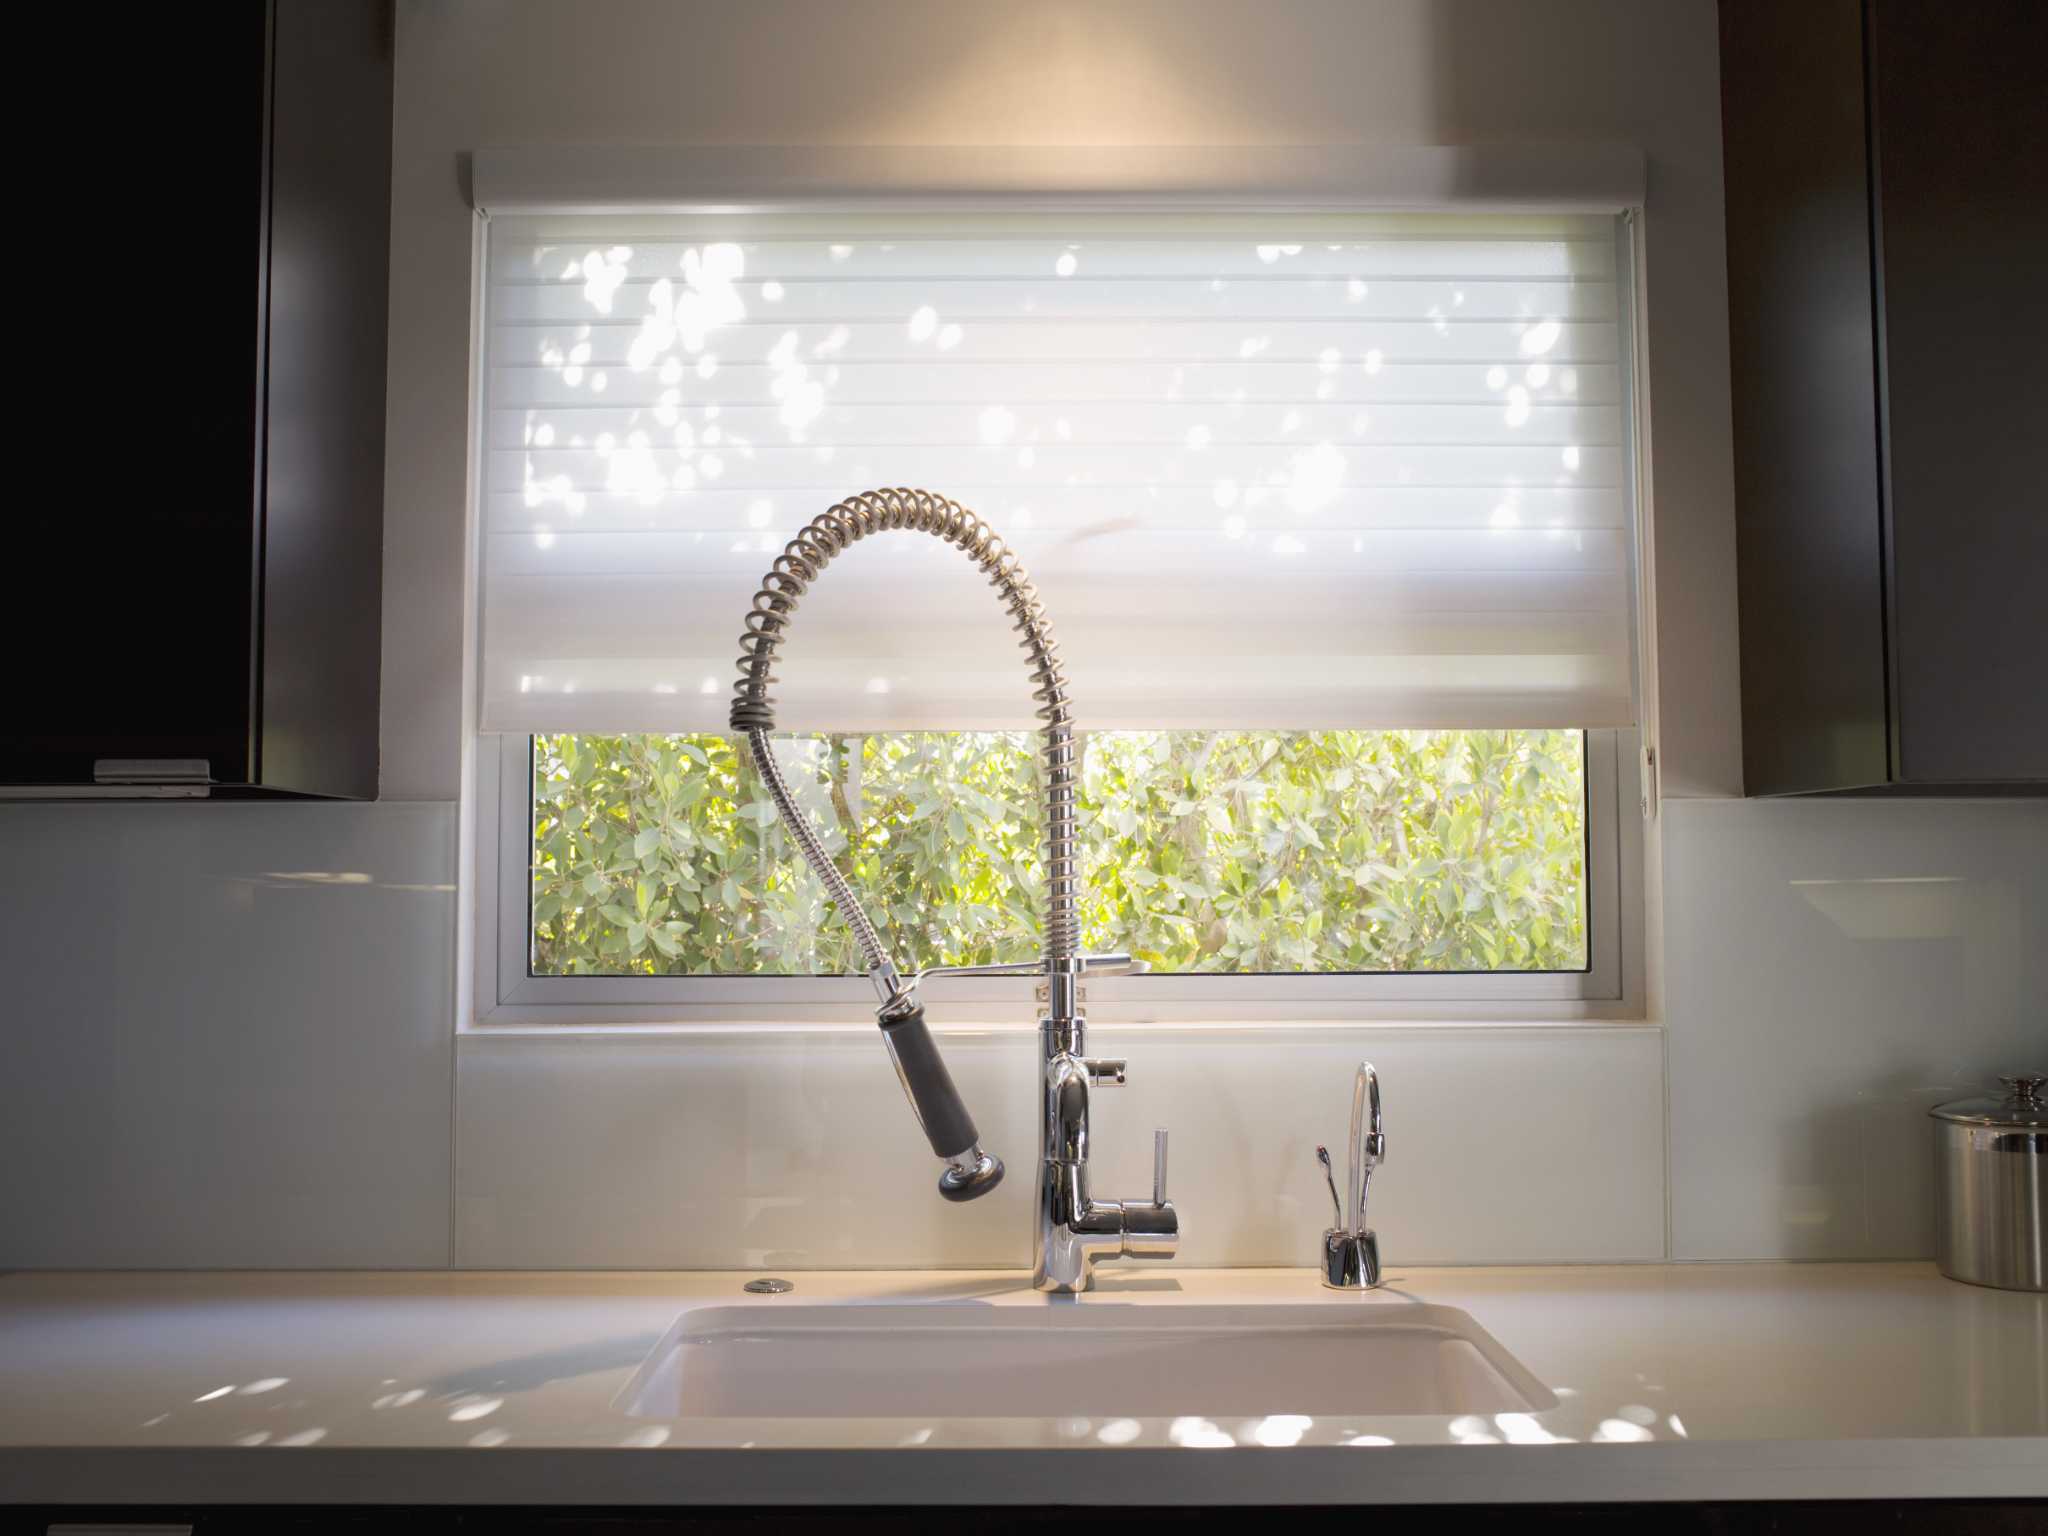
How to Properly Install and Maintain a Kitchen Sprayer

The Importance of a Well-Functioning Kitchen Sprayer
 One of the most essential components of a kitchen sink is the
kitchen sprayer
. It allows for convenient and efficient cleaning of dishes, pots, and pans, as well as the sink itself. However, when the
kitchen sprayer
is not installed properly, it can cause a lot of frustration and inconvenience. This is why it is crucial to ensure that your
kitchen sprayer
is installed correctly and maintained regularly.
One of the most essential components of a kitchen sink is the
kitchen sprayer
. It allows for convenient and efficient cleaning of dishes, pots, and pans, as well as the sink itself. However, when the
kitchen sprayer
is not installed properly, it can cause a lot of frustration and inconvenience. This is why it is crucial to ensure that your
kitchen sprayer
is installed correctly and maintained regularly.
Common Issues with Improperly Installed Kitchen Sprayers
 If your
kitchen sprayer
is not installed securely, it can lead to a variety of problems. One of the most common issues is a constant leak or drip from the sprayer, which can result in wasted water and a higher water bill. Additionally, an improperly installed
kitchen sprayer
can also cause low water pressure, making it difficult to clean dishes effectively. It can also lead to water spraying in the wrong direction, causing a mess and making cleaning even more challenging.
If your
kitchen sprayer
is not installed securely, it can lead to a variety of problems. One of the most common issues is a constant leak or drip from the sprayer, which can result in wasted water and a higher water bill. Additionally, an improperly installed
kitchen sprayer
can also cause low water pressure, making it difficult to clean dishes effectively. It can also lead to water spraying in the wrong direction, causing a mess and making cleaning even more challenging.
How to Properly Install a Kitchen Sprayer
 Proper installation of a
kitchen sprayer
is not a complicated process, but it does require careful attention to detail. First, make sure that the mounting nut is securely tightened, but not too tight as it may cause damage. Next, ensure that the sprayer hose is attached correctly to the water supply and the sprayer head. Lastly, test the sprayer by turning on the water and checking for any leaks or issues with water pressure and direction.
Proper installation of a
kitchen sprayer
is not a complicated process, but it does require careful attention to detail. First, make sure that the mounting nut is securely tightened, but not too tight as it may cause damage. Next, ensure that the sprayer hose is attached correctly to the water supply and the sprayer head. Lastly, test the sprayer by turning on the water and checking for any leaks or issues with water pressure and direction.
Maintaining Your Kitchen Sprayer
 Regular maintenance of your
kitchen sprayer
is crucial to ensure its proper functioning. It is recommended to clean the sprayer head and hose at least once a month to prevent any buildup of mineral deposits, which can affect water flow and pressure. Additionally, check the sprayer for any cracks or damage and replace it if necessary. If you notice any issues with your
kitchen sprayer
, such as leaks or low water pressure, address them immediately to prevent further damage.
In conclusion, a
kitchen sprayer
is an essential component of any kitchen sink, and it is crucial to ensure that it is installed correctly and maintained regularly. By following these simple steps, you can avoid any frustration and inconvenience caused by an improperly installed
kitchen sprayer
. Remember to always pay attention to the details and address any issues promptly to keep your kitchen running smoothly.
Regular maintenance of your
kitchen sprayer
is crucial to ensure its proper functioning. It is recommended to clean the sprayer head and hose at least once a month to prevent any buildup of mineral deposits, which can affect water flow and pressure. Additionally, check the sprayer for any cracks or damage and replace it if necessary. If you notice any issues with your
kitchen sprayer
, such as leaks or low water pressure, address them immediately to prevent further damage.
In conclusion, a
kitchen sprayer
is an essential component of any kitchen sink, and it is crucial to ensure that it is installed correctly and maintained regularly. By following these simple steps, you can avoid any frustration and inconvenience caused by an improperly installed
kitchen sprayer
. Remember to always pay attention to the details and address any issues promptly to keep your kitchen running smoothly.