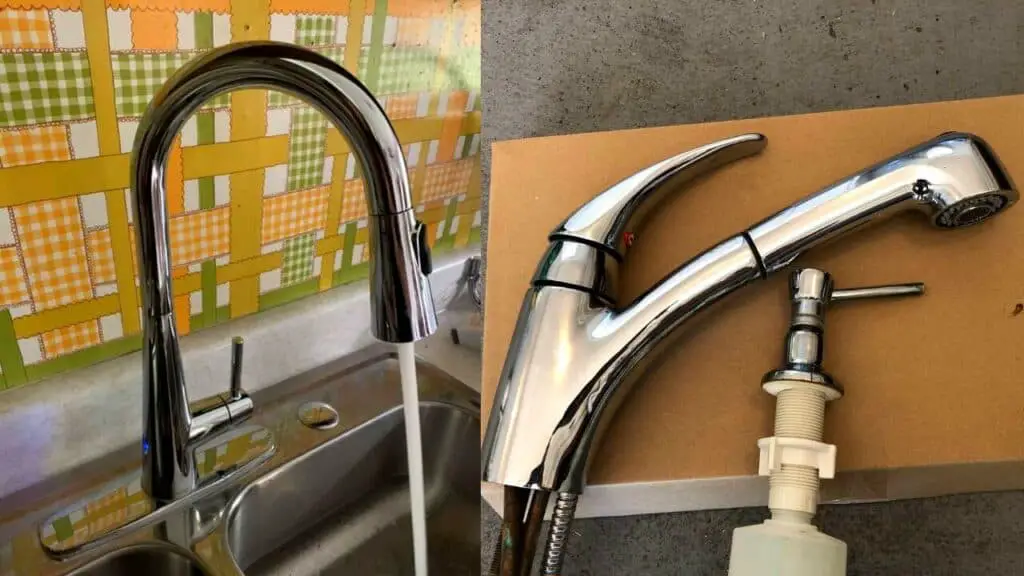
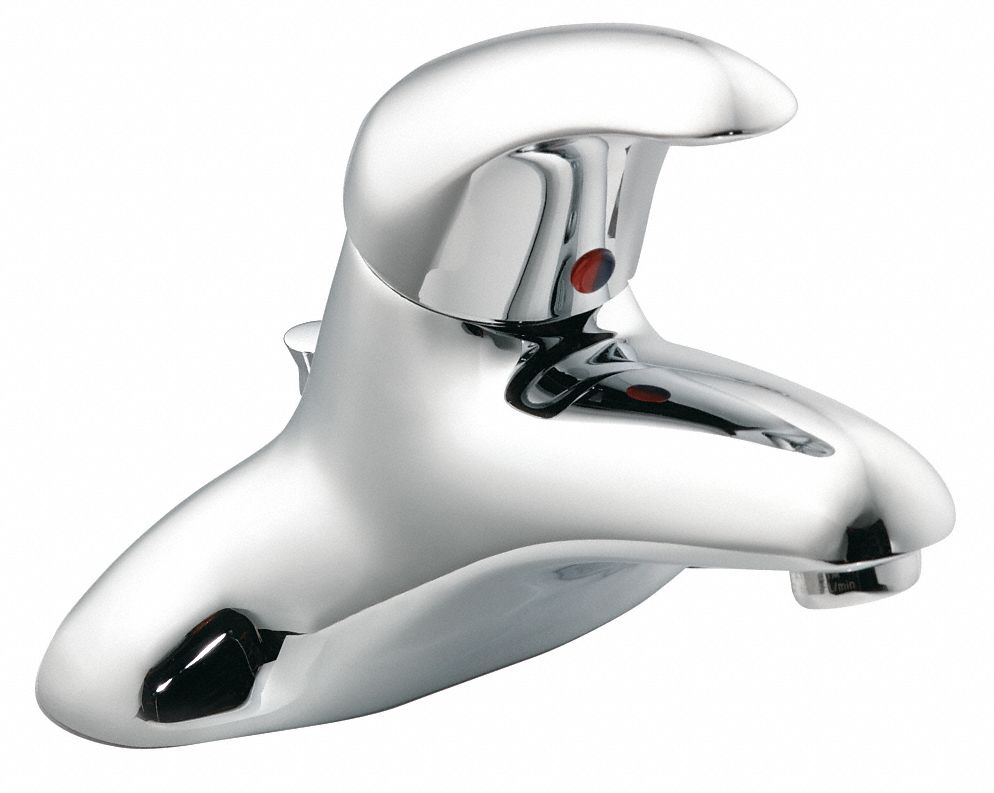
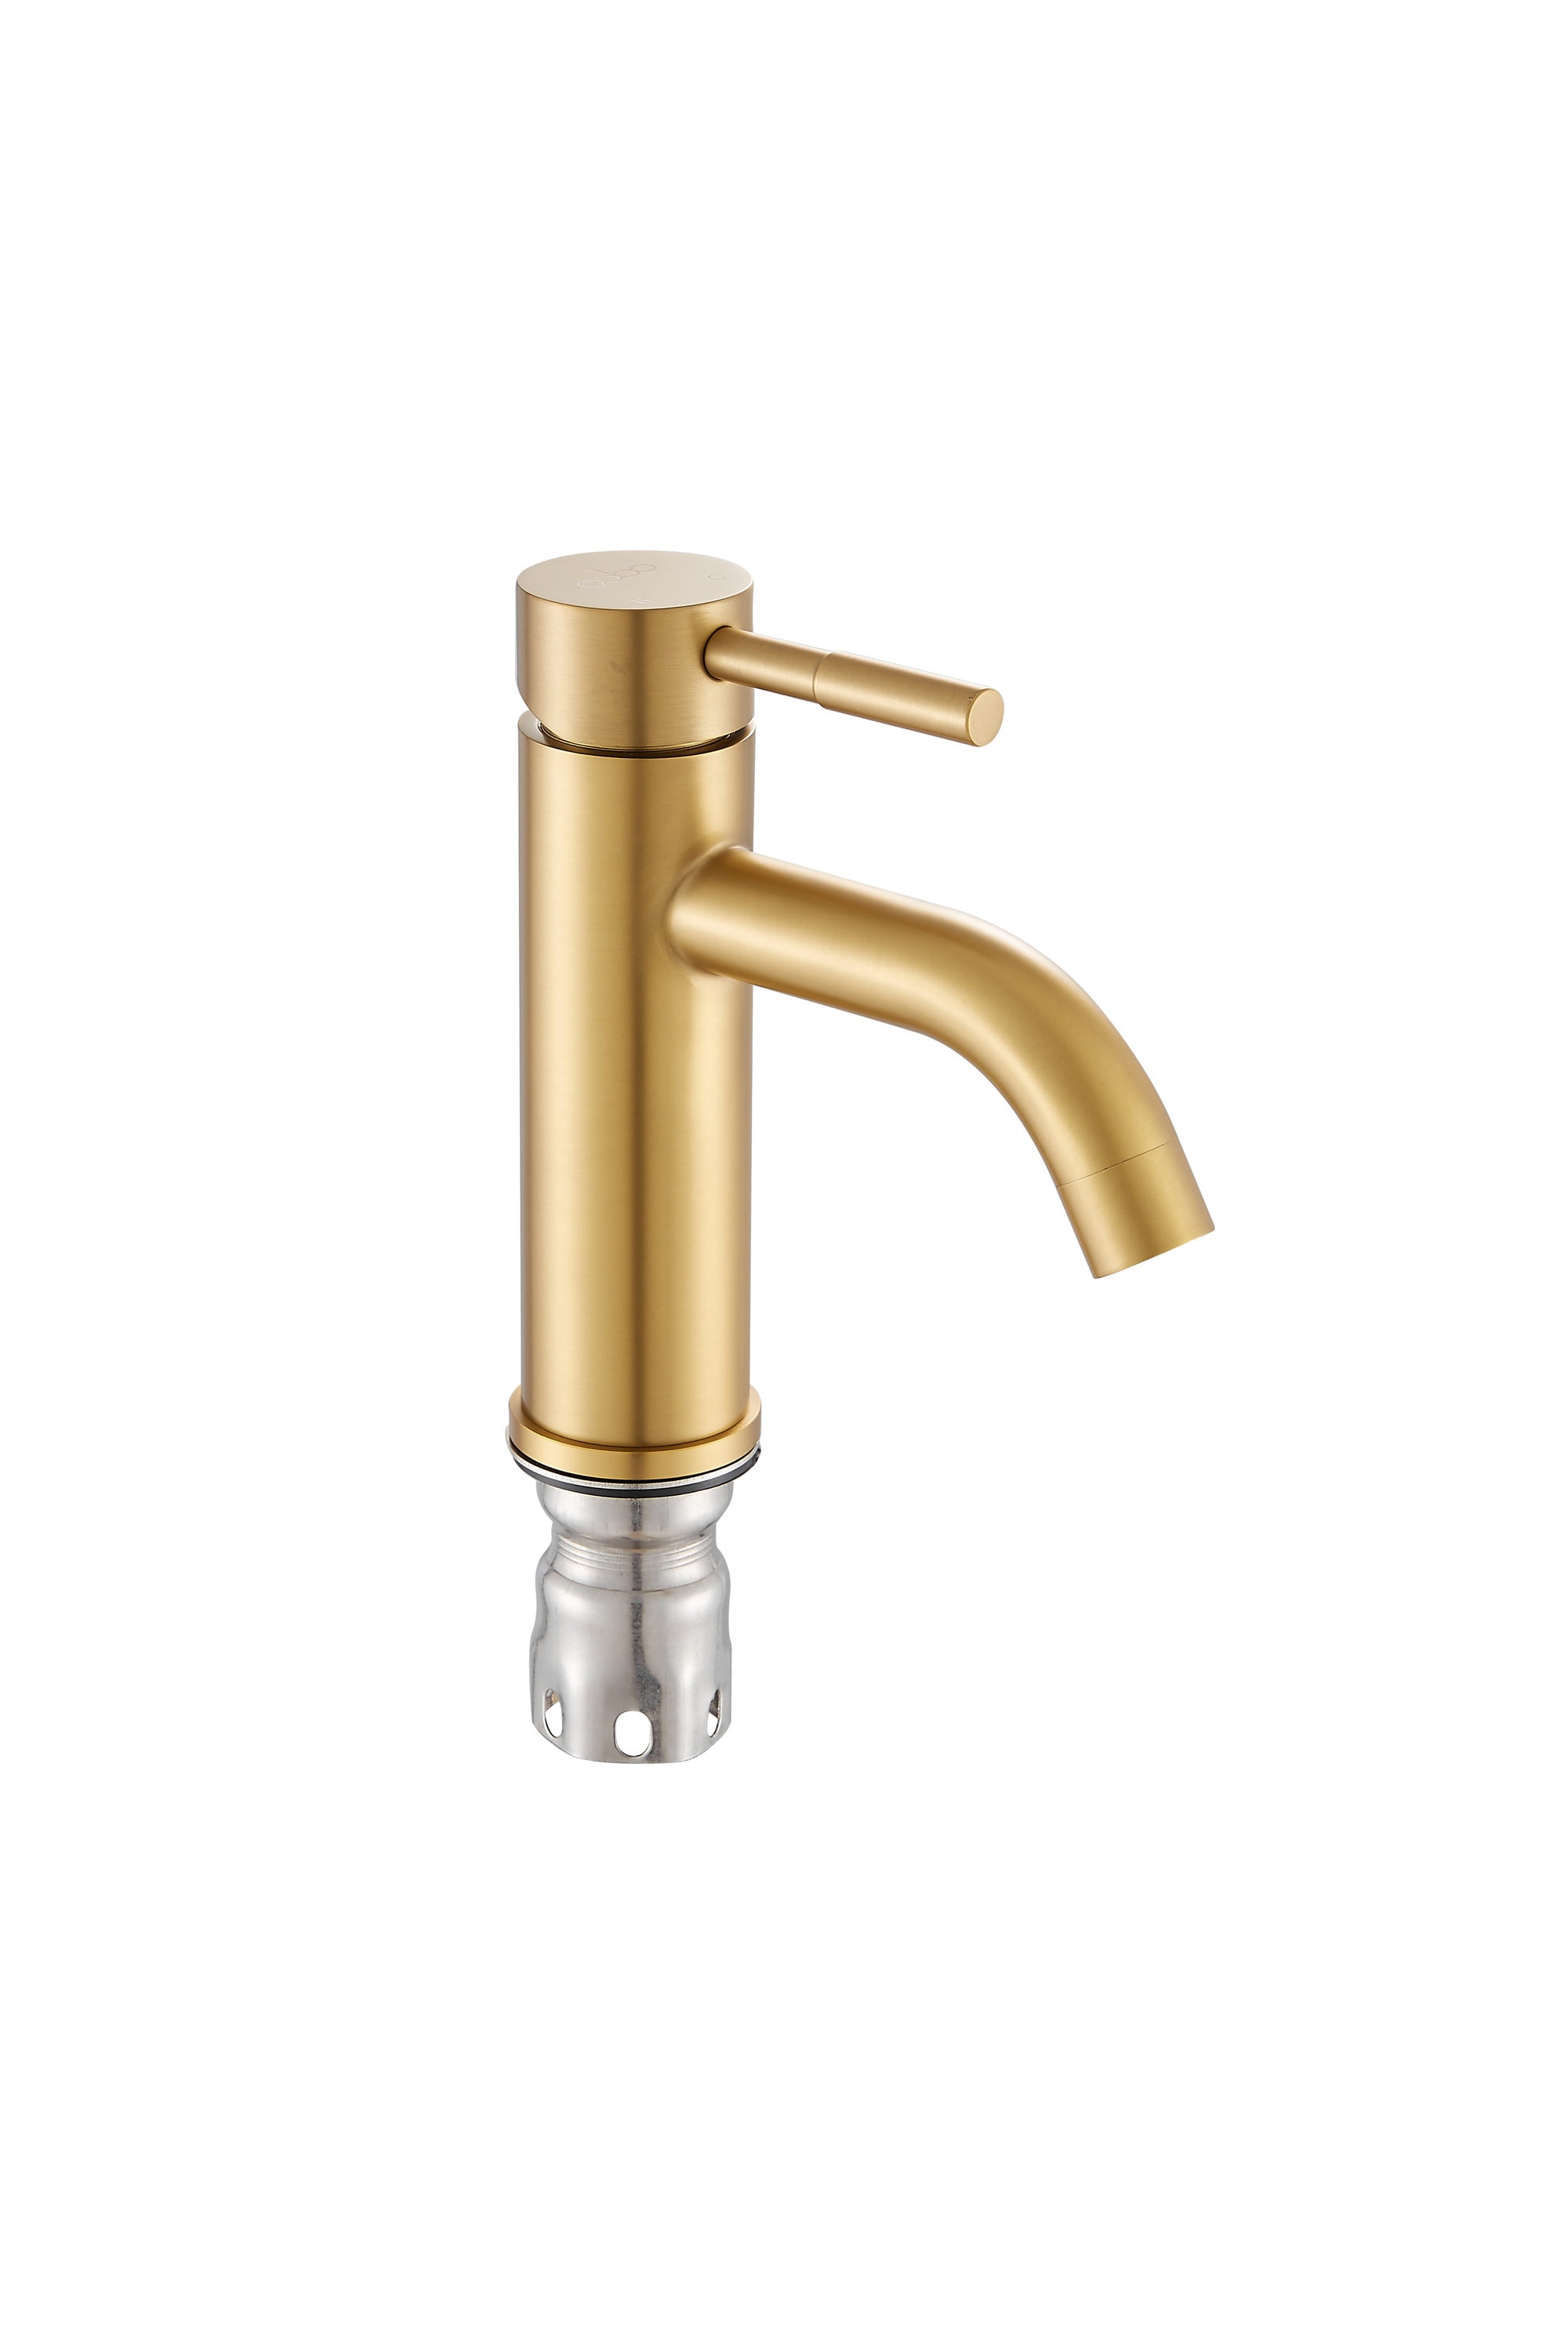
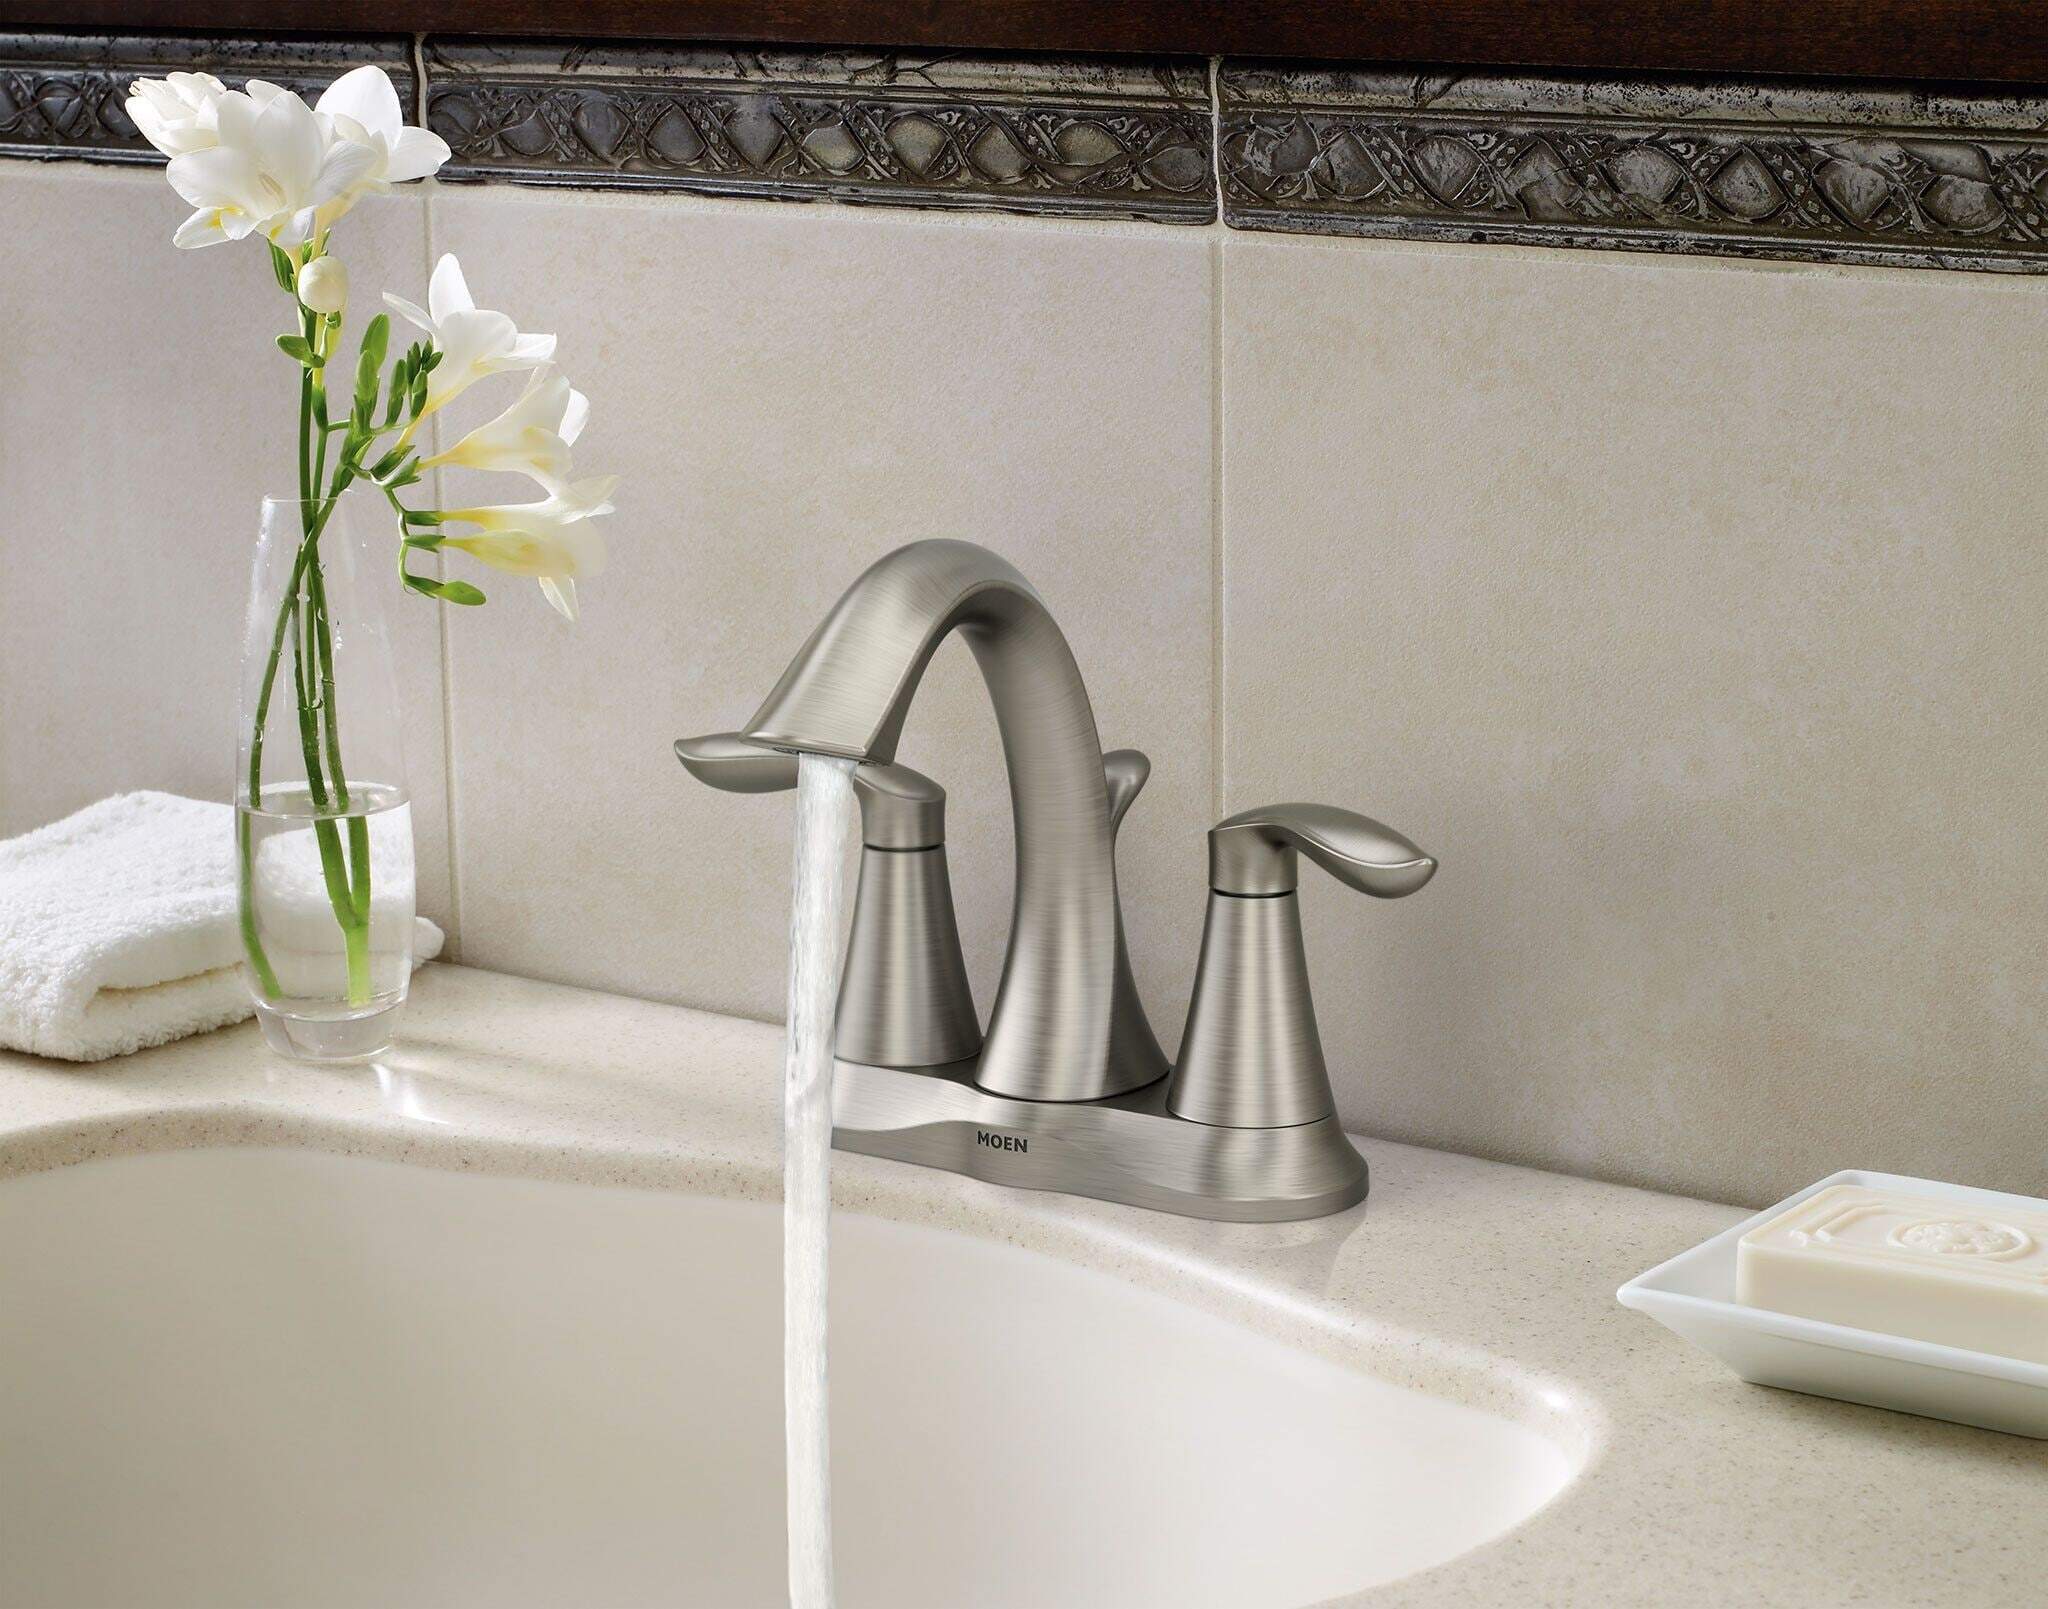
If you're experiencing issues with your Moen bathroom sink faucet, disassembly may be necessary to fix the problem. Whether you're dealing with a leaky faucet or a clogged aerator, learning how to disassemble your Moen bathroom sink faucet can save you time and money by avoiding a costly plumber visit. Follow our step-by-step guide for a smooth and easy disassembly process. Moen Bathroom Sink Faucet Disassembly:
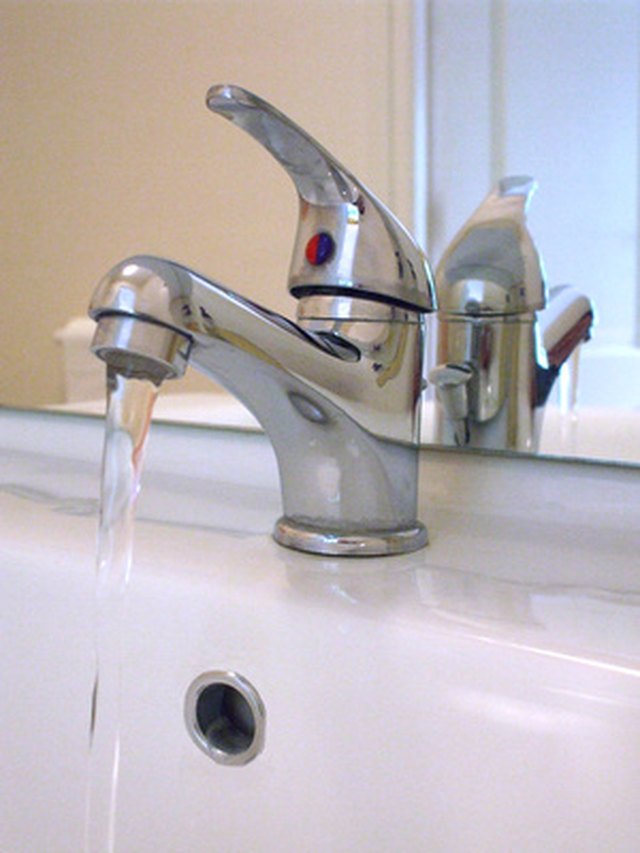


Moen Bathroom Sink Faucet Disassembly:

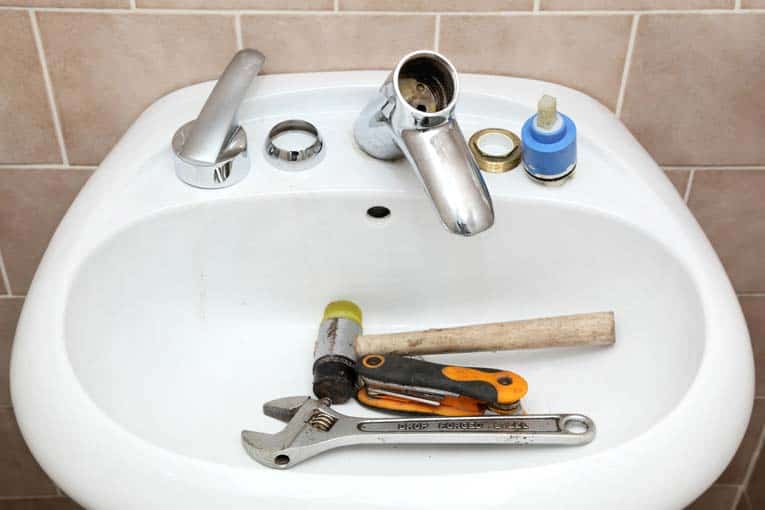
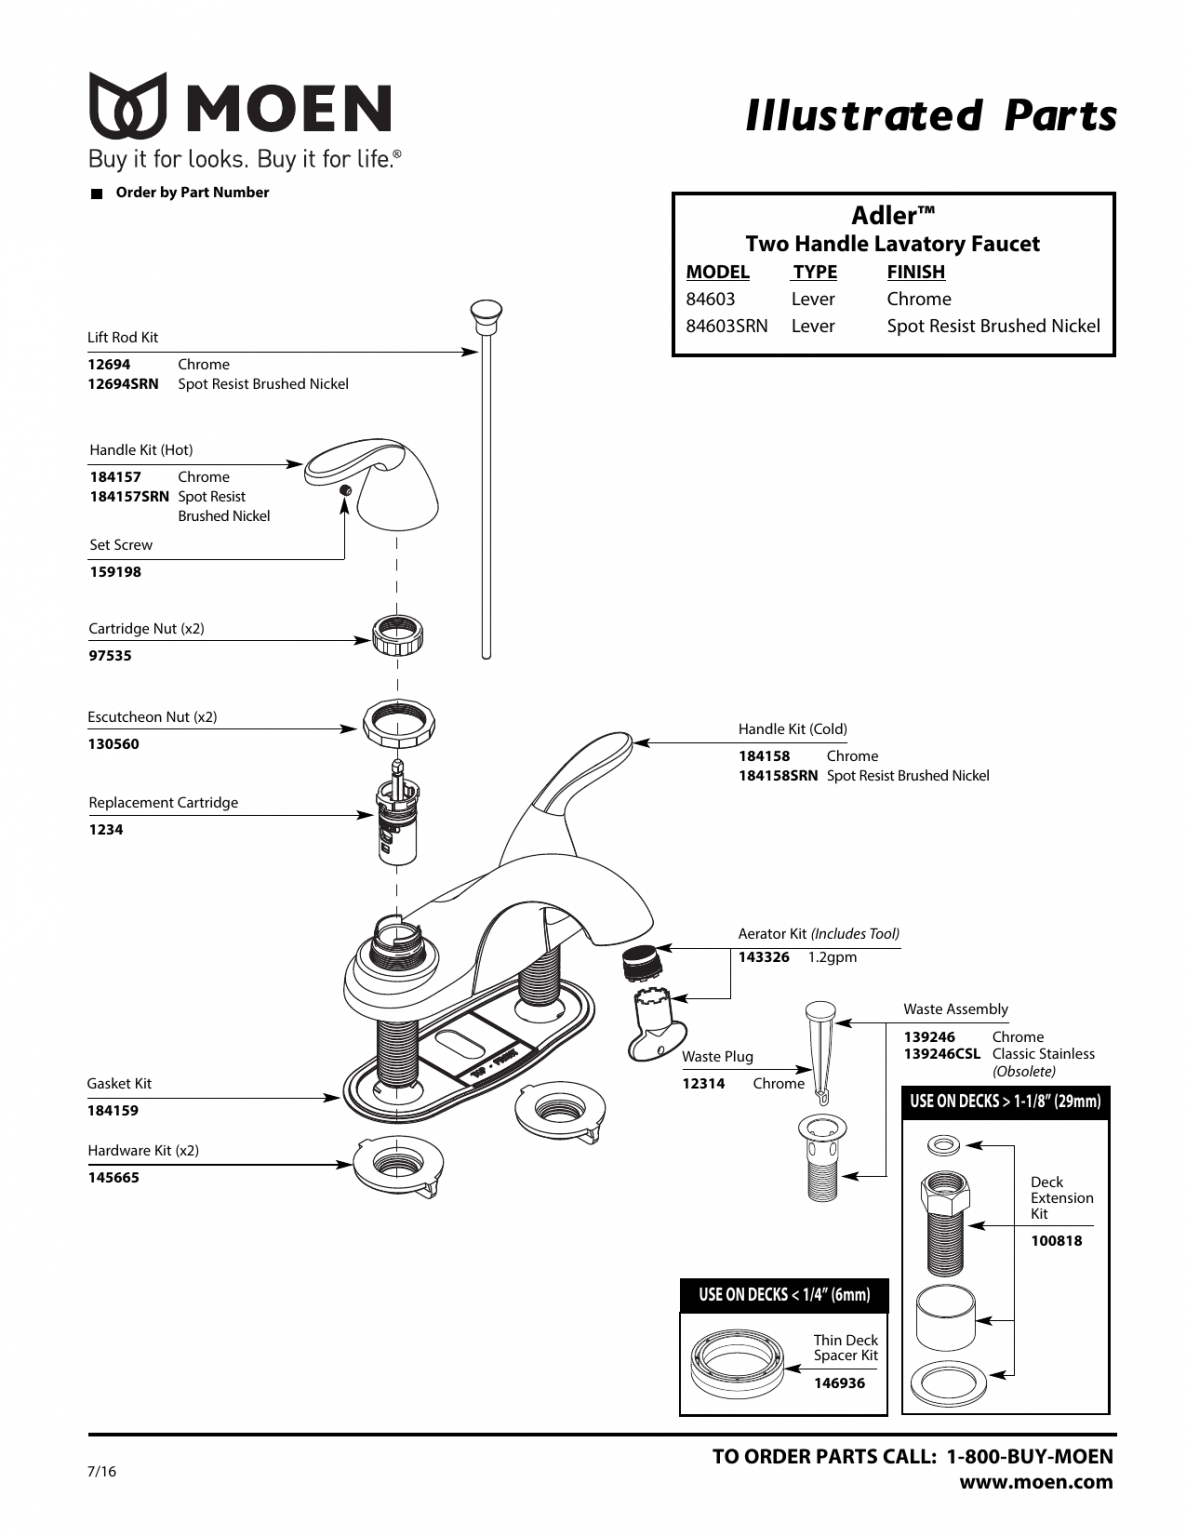
Before beginning the disassembly process, it's important to gather the necessary tools and materials. You'll need a pair of pliers, an adjustable wrench, a flathead screwdriver, and a cleaning cloth. Once you have these items, you can start disassembling your Moen bathroom sink faucet. How to Disassemble a Moen Bathroom Sink Faucet


How to Disassemble a Moen Bathroom Sink Faucet


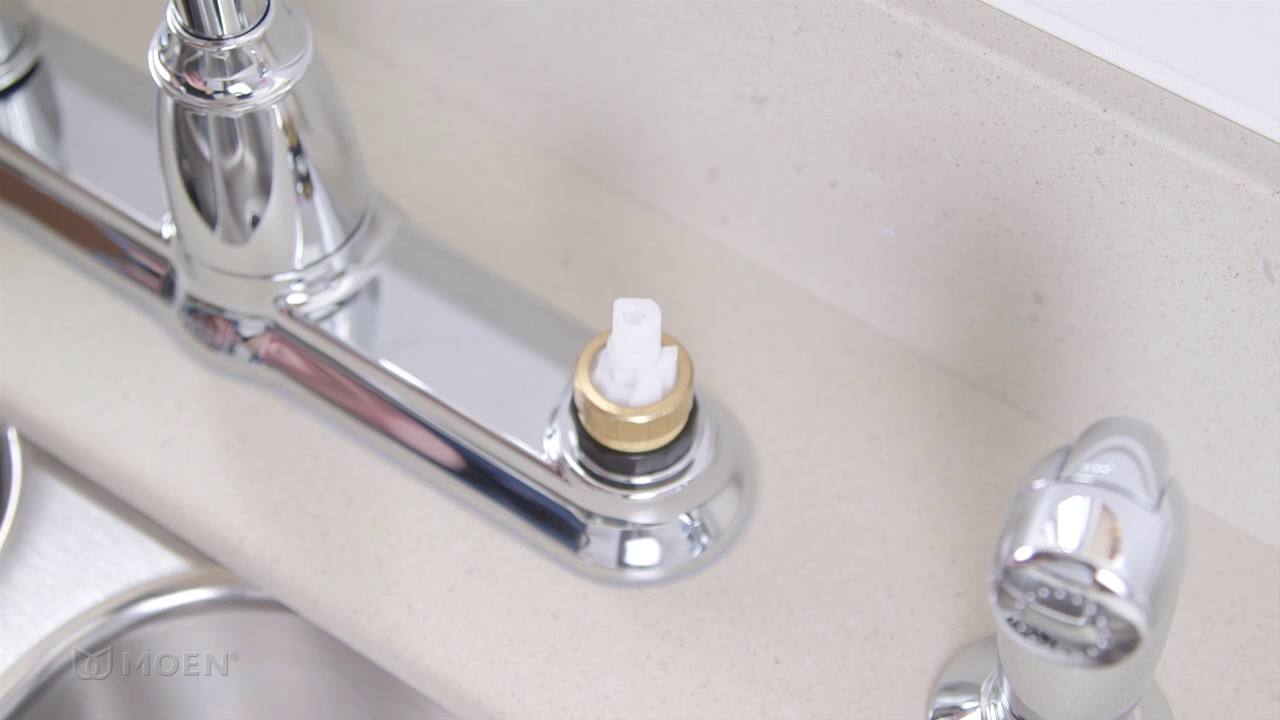
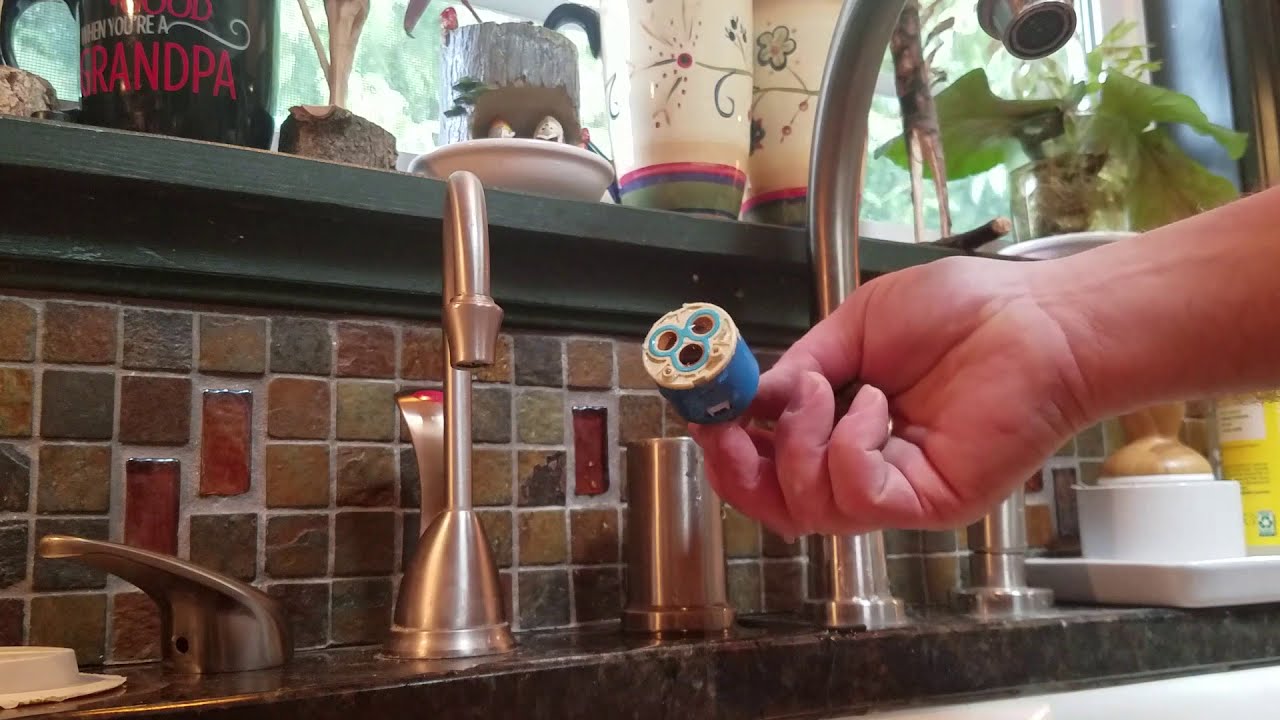
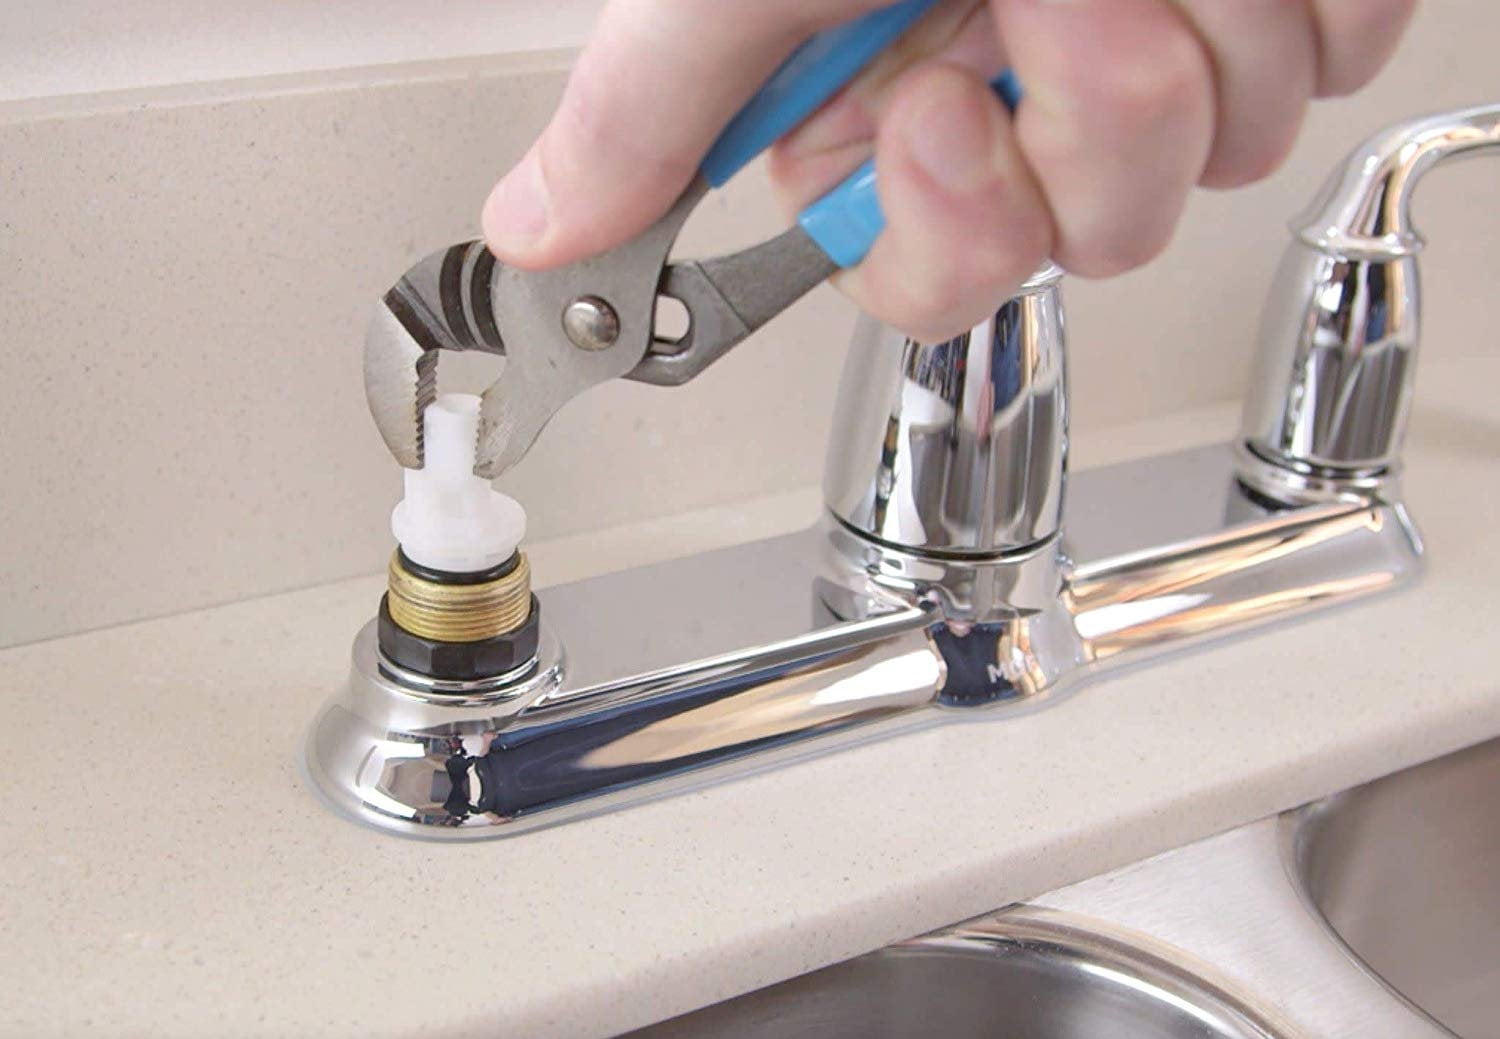
Step 1: Begin by turning off the water supply to your faucet. This can typically be done by turning the shut-off valves located under the sink in a clockwise direction. Step 2: Use your flathead screwdriver to carefully remove the faucet handle. You may need to use your pliers to loosen any stuck parts. Step 3: Once the handle is removed, use your pliers to unscrew the retaining nut located on the stem of the faucet. Step 4: Next, remove the cartridge by pulling it out with your pliers. Step 5: If your faucet has a clogged aerator, use your adjustable wrench to loosen and remove it. Clean the aerator thoroughly with a cleaning cloth before reattaching it. Step 6: Inspect all parts for any signs of damage or debris and clean them as needed. Step-by-Step Guide for Disassembling a Moen Bathroom Sink Faucet

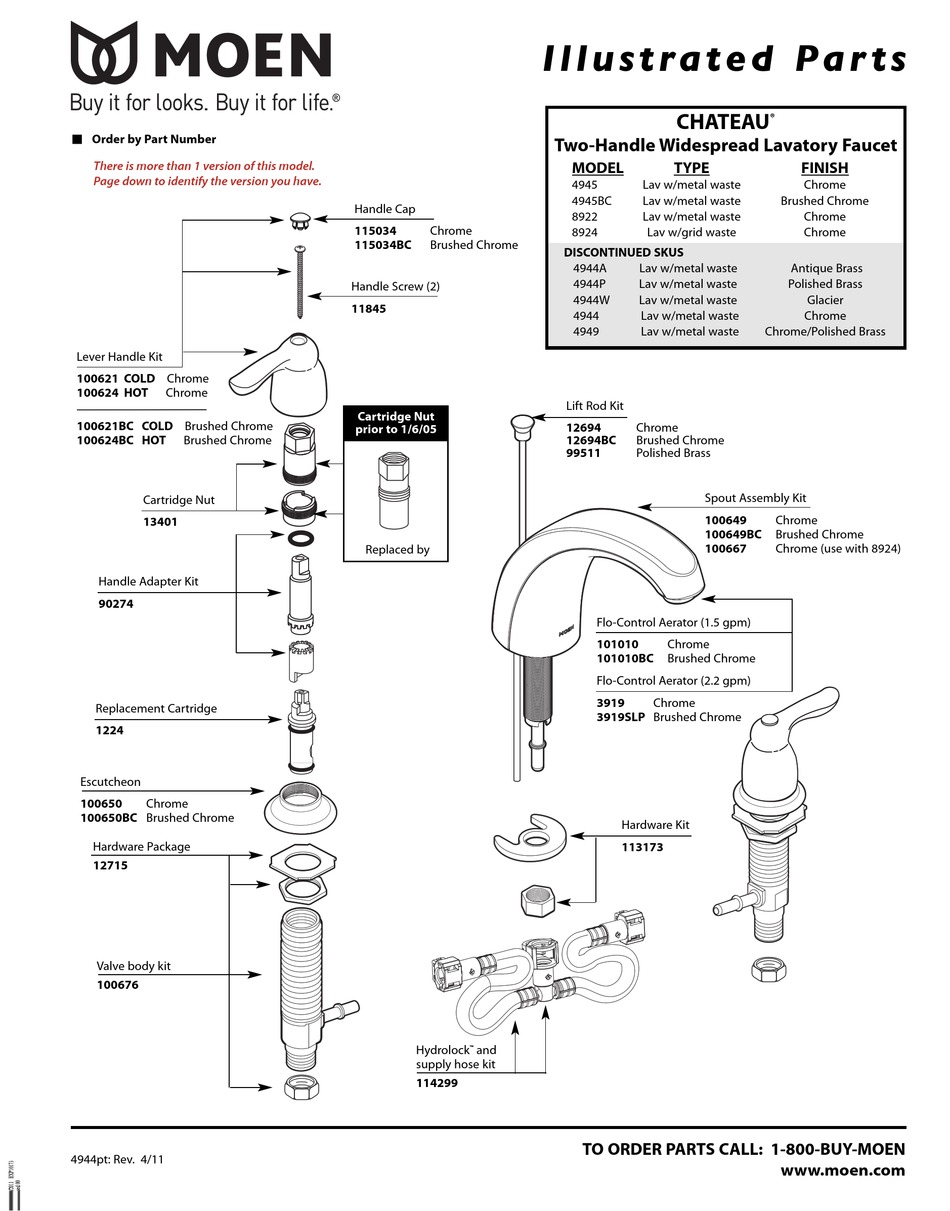
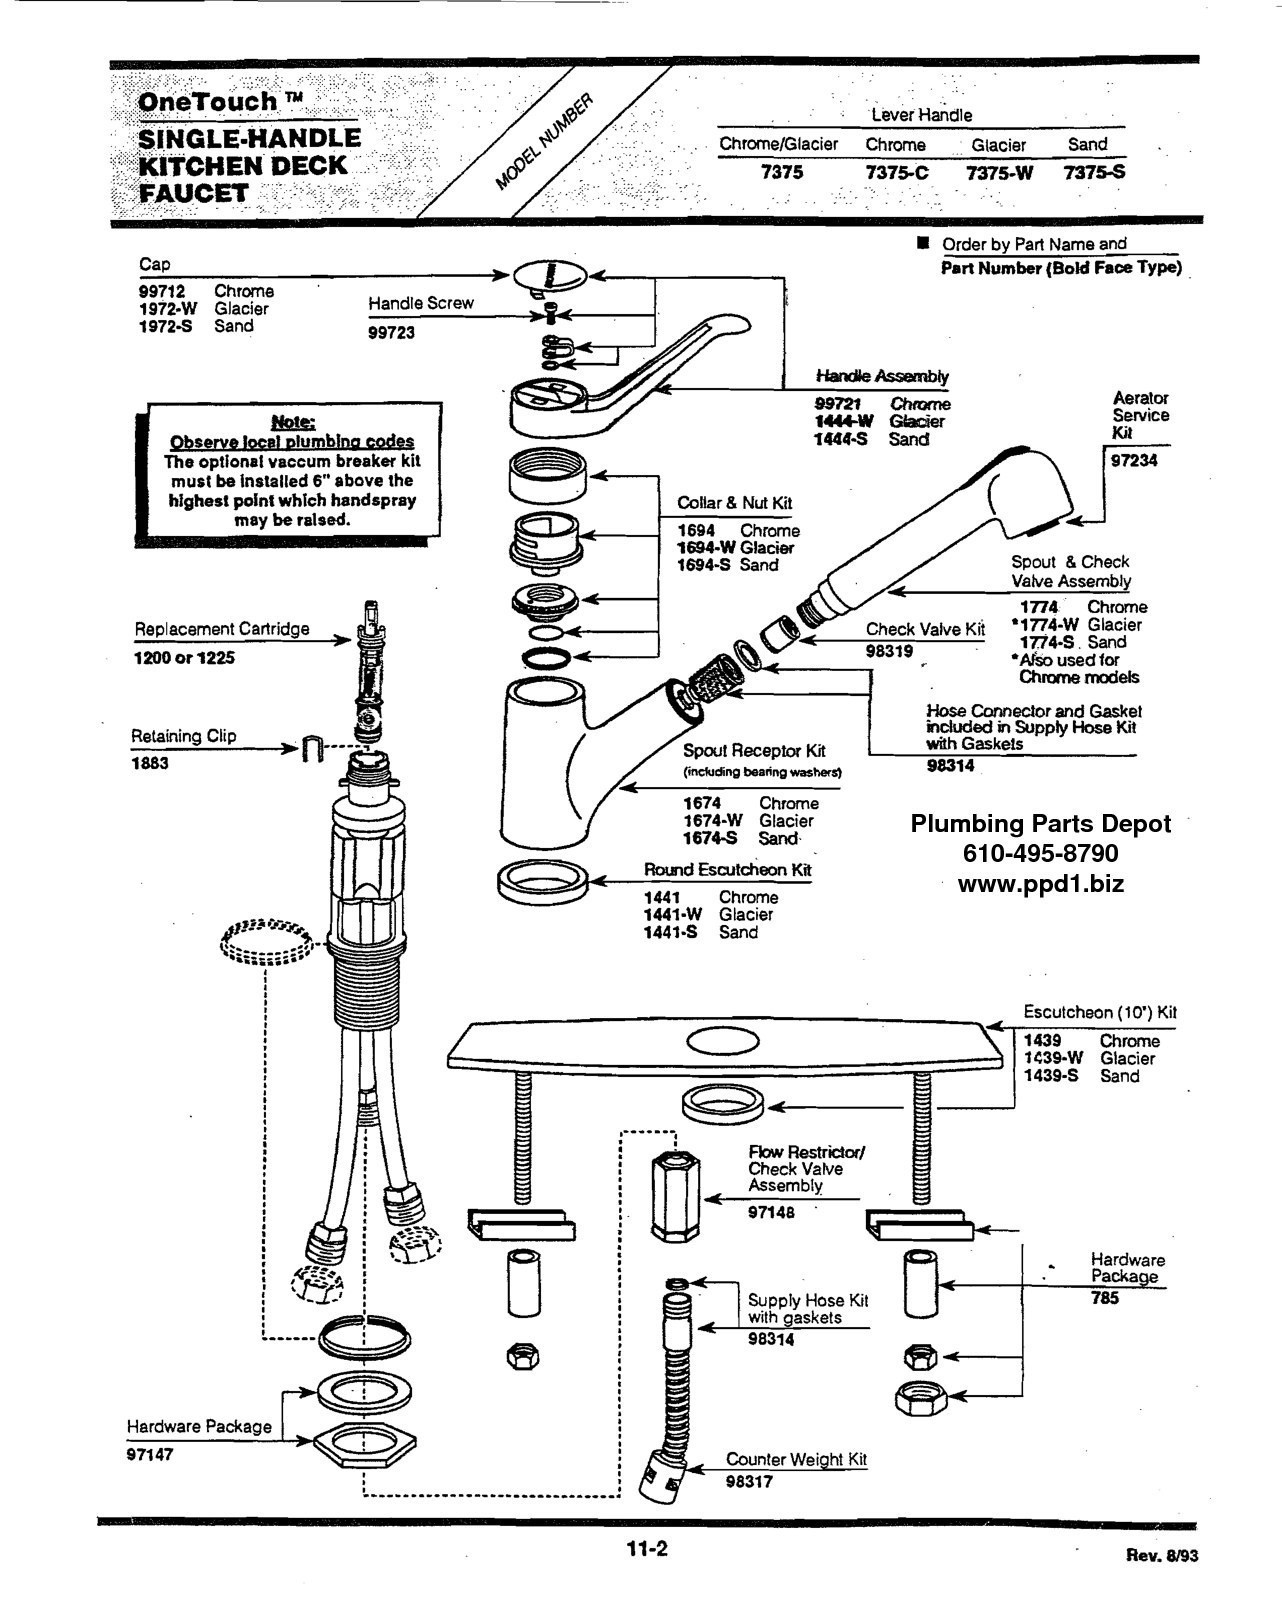
Step-by-Step Guide for Disassembling a Moen Bathroom Sink Faucet


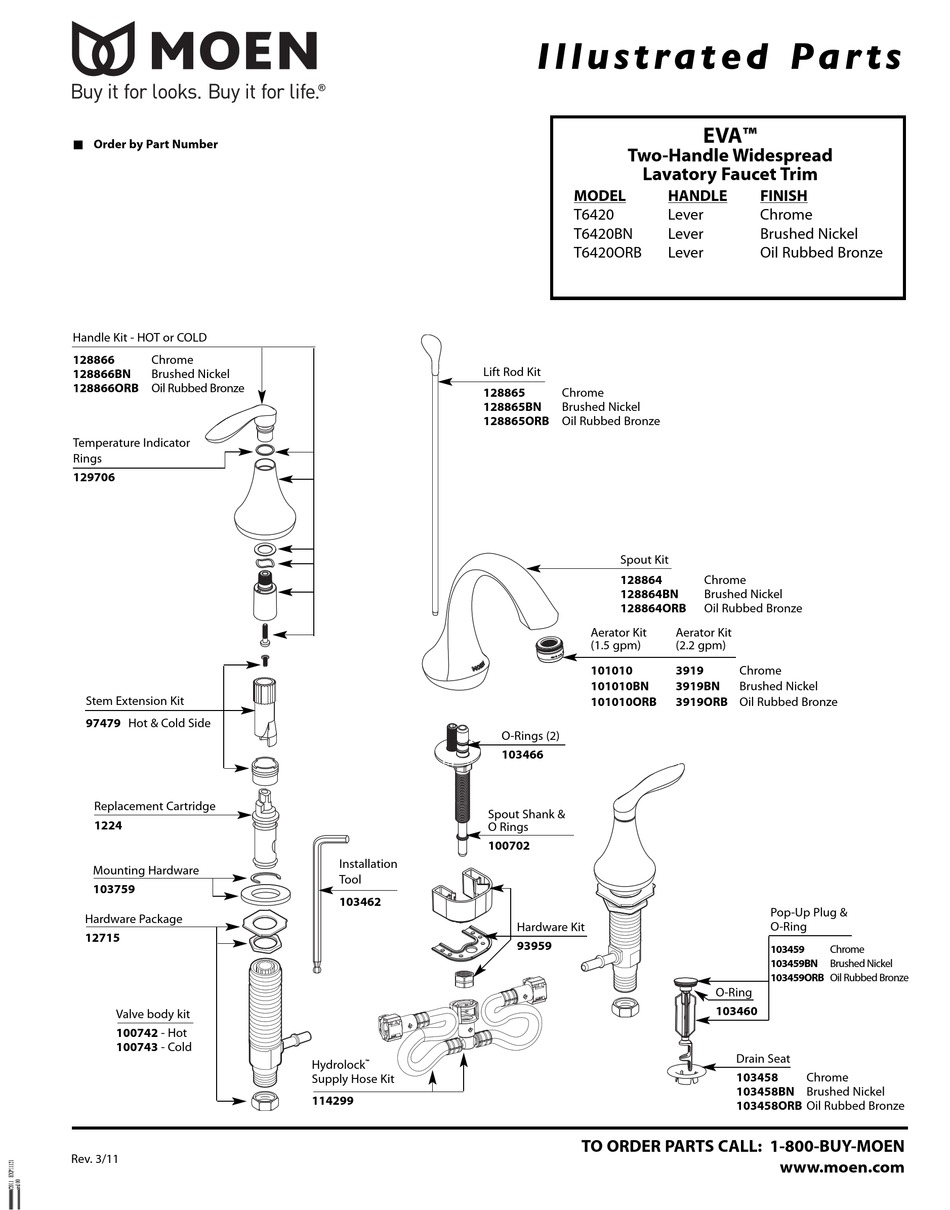
If you're more of a visual learner, there are many helpful tutorials available online that demonstrate the Moen bathroom sink faucet disassembly process. These tutorials can provide additional tips and tricks for a successful disassembly. Moen Bathroom Sink Faucet Disassembly Tutorial


Moen Bathroom Sink Faucet Disassembly Tutorial


Disassembling a Moen bathroom sink faucet may seem daunting, but with the right tools and technique, it can be a quick and easy process. By following the steps outlined above and taking your time, you can successfully disassemble your faucet without any issues. Easy Steps for Disassembling a Moen Bathroom Sink Faucet

Easy Steps for Disassembling a Moen Bathroom Sink Faucet


Here are some additional tips and tricks to keep in mind when disassembling your Moen bathroom sink faucet: - Take photos as you disassemble the faucet to help with reassembly later on. - Use a small amount of penetrating oil on any stuck parts to make them easier to remove. - If you're unsure of how to proceed, consult the manufacturer's instructions or seek professional help. Moen Bathroom Sink Faucet Disassembly: Tips and Tricks
Moen Bathroom Sink Faucet Disassembly: Tips and Tricks


If you encounter any issues during the disassembly process, here are some troubleshooting tips to help you out: - If the faucet handle won't budge, try using a handle puller tool. - If the retaining nut is stuck, use a penetrating oil and let it sit for a few minutes before trying to unscrew it again. - If the cartridge won't come out, try using pliers with a firm grip to pull it out. Troubleshooting Guide for Disassembling a Moen Bathroom Sink Faucet


Troubleshooting Guide for Disassembling a Moen Bathroom Sink Faucet


While disassembling a Moen bathroom sink faucet may seem straightforward, there are some common mistakes that can lead to further damage or complications. Avoid these mistakes to ensure a successful disassembly: - Using too much force, which can result in broken parts or stripped screws. - Not turning off the water supply, which can lead to a messy and potentially damaging disassembly. - Skipping steps or not paying attention to the order in which parts are removed, which can make reassembly difficult. Moen Bathroom Sink Faucet Disassembly: Common Mistakes to Avoid

Moen Bathroom Sink Faucet Disassembly: Common Mistakes to Avoid
To ensure a proper and successful disassembly, it's important to follow these key steps: - Gather all necessary tools and materials beforehand. - Turn off the water supply before starting. - Take your time and be gentle when removing parts. - Clean and inspect all parts before reassembling. How to Properly Disassemble a Moen Bathroom Sink Faucet

How to Properly Disassemble a Moen Bathroom Sink Faucet
If you're still having trouble with disassembling your Moen bathroom sink faucet, it's always a good idea to seek advice from experts. You can contact Moen's customer service for assistance or consult with a professional plumber for guidance. They can provide valuable tips and techniques to help you successfully disassemble your faucet. Disassembling a Moen bathroom sink faucet may seem like a daunting task, but with the right tools and knowledge, it can be a simple and cost-effective solution for fixing any issues. Remember to take your time and follow our step-by-step guide for a smooth and successful disassembly process. Happy fixing! Moen Bathroom Sink Faucet Disassembly: Expert Advice and Techniques

Moen Bathroom Sink Faucet Disassembly: Expert Advice and Techniques

A Step-by-Step Guide to Disassembling Your Moen Bathroom Sink Faucet
Why Should You Disassemble Your Faucet?
 If you're experiencing low water pressure, leaking, or other issues with your Moen bathroom sink faucet, it may be time to disassemble it for maintenance or replacement of parts. This can save you time and money in the long run, as well as ensure the proper functioning of your faucet.
Step 1: Gather Your Tools
 Before starting the disassembly process, make sure you have all the necessary tools handy. This will include a pair of pliers, a wrench, a screwdriver, and a small bucket or bowl to catch any water that may drip out.
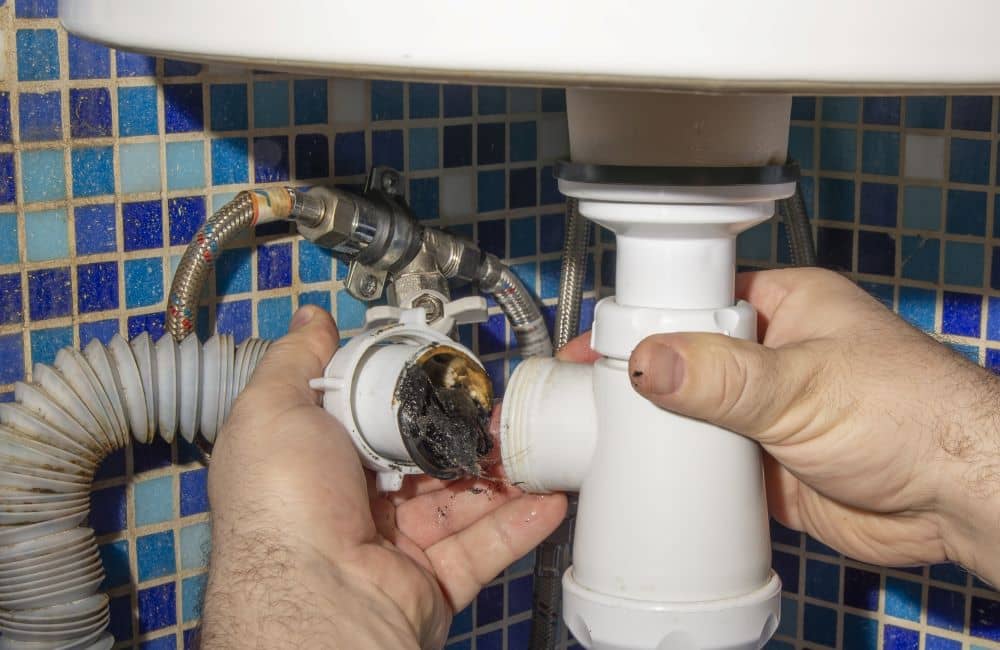
Step 2: Turn Off the Water Supply
 Before taking apart your faucet, it is important to turn off the water supply. This can usually be done by locating the shut-off valves under the sink and turning them clockwise to stop the flow of water.
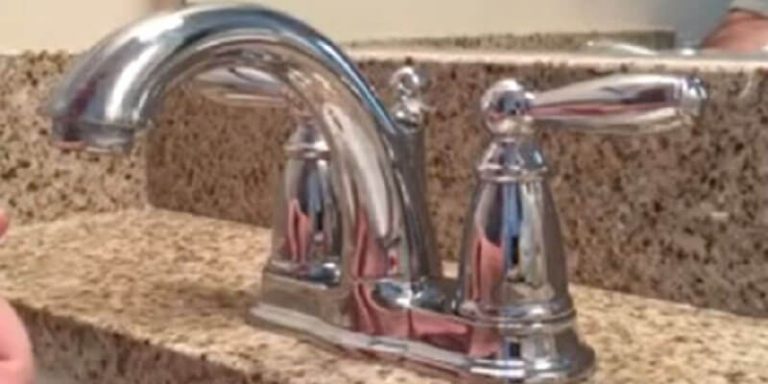
Step 3: Remove the Handle
 Using a screwdriver, carefully remove the screw holding the handle in place. Once the screw is removed, gently pull the handle off of the faucet to reveal the cartridge.
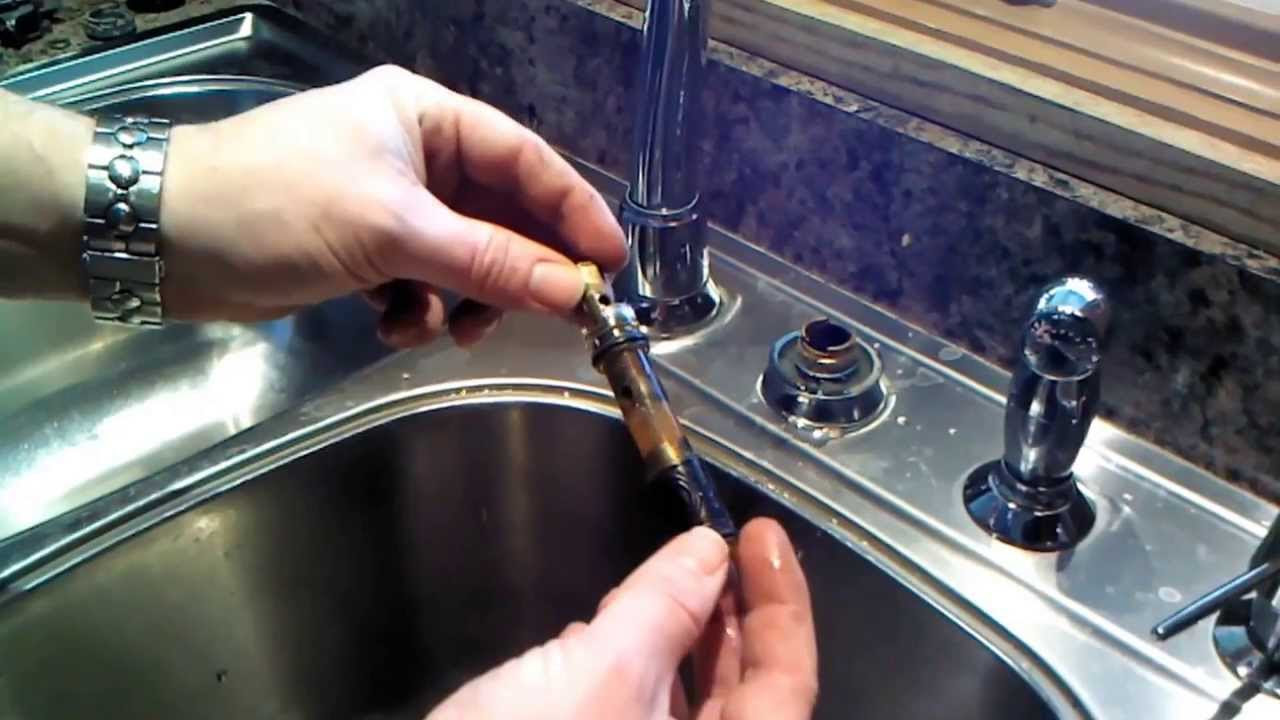
Step 4: Remove the Cartridge
 Using pliers, carefully grip the cartridge and pull it out of the faucet. If it is stuck, you may need to use a cartridge puller tool for easier removal.
Step 5: Inspect and Clean the Cartridge
 Once the cartridge is removed, inspect it for any damage or buildup that may be causing issues with your faucet. If there is any buildup, use a brush or cloth to clean it off.
Step 6: Replace Any Faulty Parts
 If you have identified any damaged or worn out parts, now is the time to replace them with new ones. This will ensure the proper functioning of your faucet.
Step 7: Reassemble Your Faucet
 Once all necessary maintenance has been completed, it's time to reassemble your faucet. Simply reverse the steps above, starting with placing the cartridge back into the faucet and ending with screwing the handle back on.
Step 8: Turn the Water Supply Back On
 After everything is reassembled, turn the water supply back on and test your faucet to ensure it is functioning properly.
Get Your Moen Bathroom Sink Faucet Working Like New Again
 By following these simple steps, you can easily disassemble and maintain your Moen bathroom sink faucet. Regular maintenance can help prolong the life of your faucet and save you from costly repairs or replacements in the future. So don't hesitate to disassemble your faucet and keep it in top working condition.