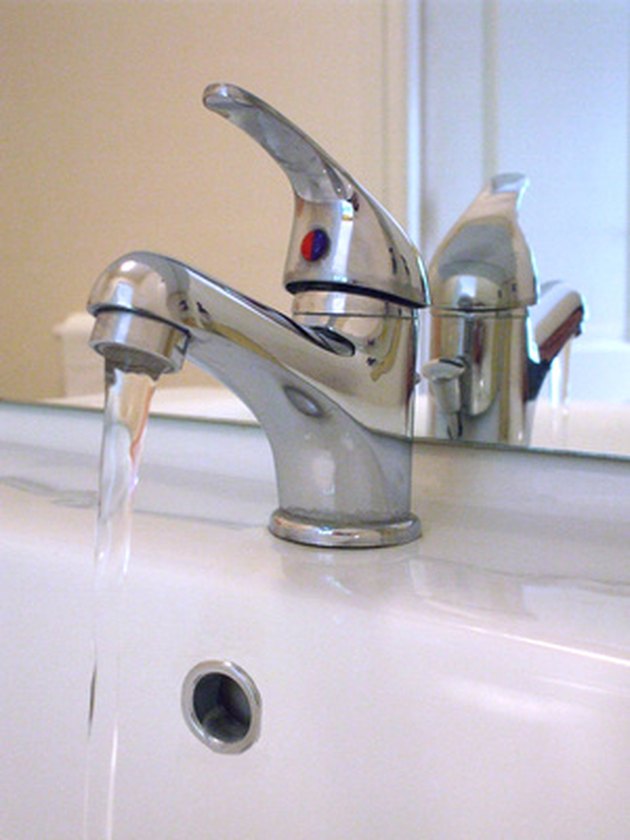
If you're looking to update your bathroom, one quick and easy way to give it a fresh look is by replacing your sink faucet aerator. This small but important part helps control the flow of water and can affect the overall performance of your faucet. If you have a Moen bathroom sink faucet, removing the aerator may seem like a daunting task, but with the right tools and techniques, you can easily do it yourself. In this guide, we'll walk you through the step-by-step process of removing a Moen bathroom sink faucet aerator.How to Remove a Moen Bathroom Sink Faucet Aerator


How to Remove a Moen Bathroom Sink Faucet Aerator


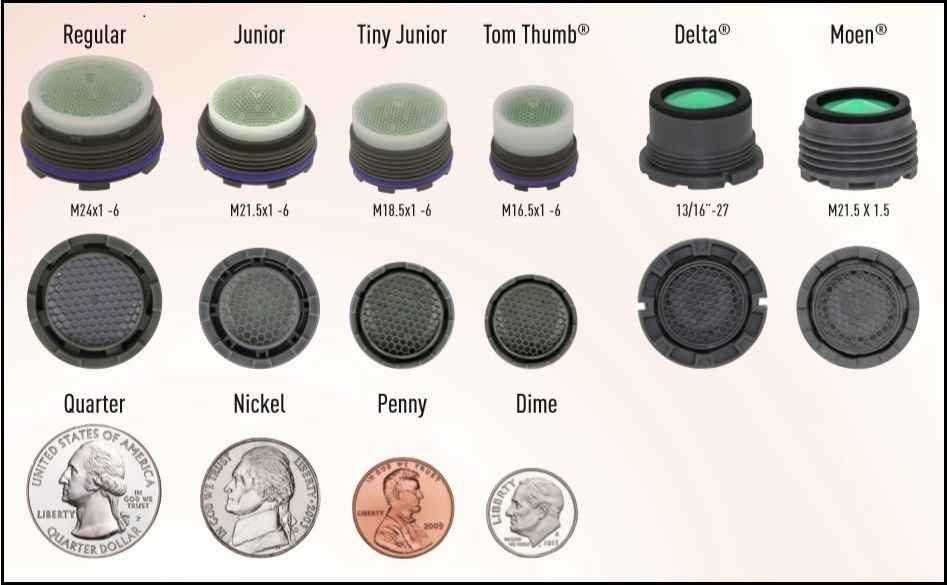


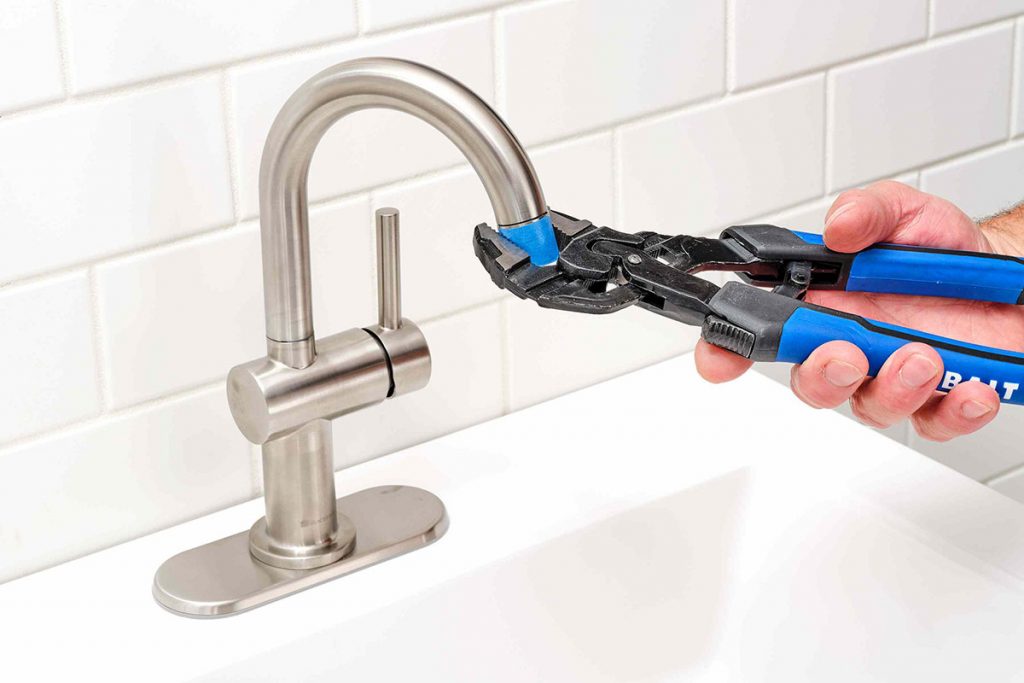
Before we dive into the removal process, it's important to note that if your aerator is damaged or worn out, it's best to replace it with a new one rather than trying to clean it. You can purchase a replacement aerator from your local hardware store or online. Once you have your new aerator, follow these steps to replace it: Step 1: Turn off the water supply to your sink by closing the shut-off valves under the sink. Step 2: Locate the aerator on your Moen bathroom sink faucet. It is usually located at the end of the faucet where the water comes out. Step 3: Using pliers, grip the aerator firmly and twist it counterclockwise to unscrew it from the faucet. Step 4: Once the aerator is removed, clean the inside of the faucet with a rag to remove any debris or buildup. Step 5: Screw the new aerator onto the faucet and tighten it with pliers. Step 6: Turn the water supply back on and test your new aerator to ensure it is working properly.How to Replace a Moen Bathroom Sink Faucet Aerator


How to Replace a Moen Bathroom Sink Faucet Aerator
/cleaning-the-aerator-from-deposits--the-girl-hand-washes-a-dirty-limestone-aerator-with-water-1126244919-72868100964f42d5aa564a928371fea5.jpg)


Now that you know how to replace a Moen bathroom sink faucet aerator, let's go through the steps to remove it. This process is similar to replacing the aerator, but there are a few additional steps to take to ensure it is removed safely and without causing any damage to your faucet.Moen Bathroom Sink Faucet Aerator Removal Guide
Moen Bathroom Sink Faucet Aerator Removal Guide


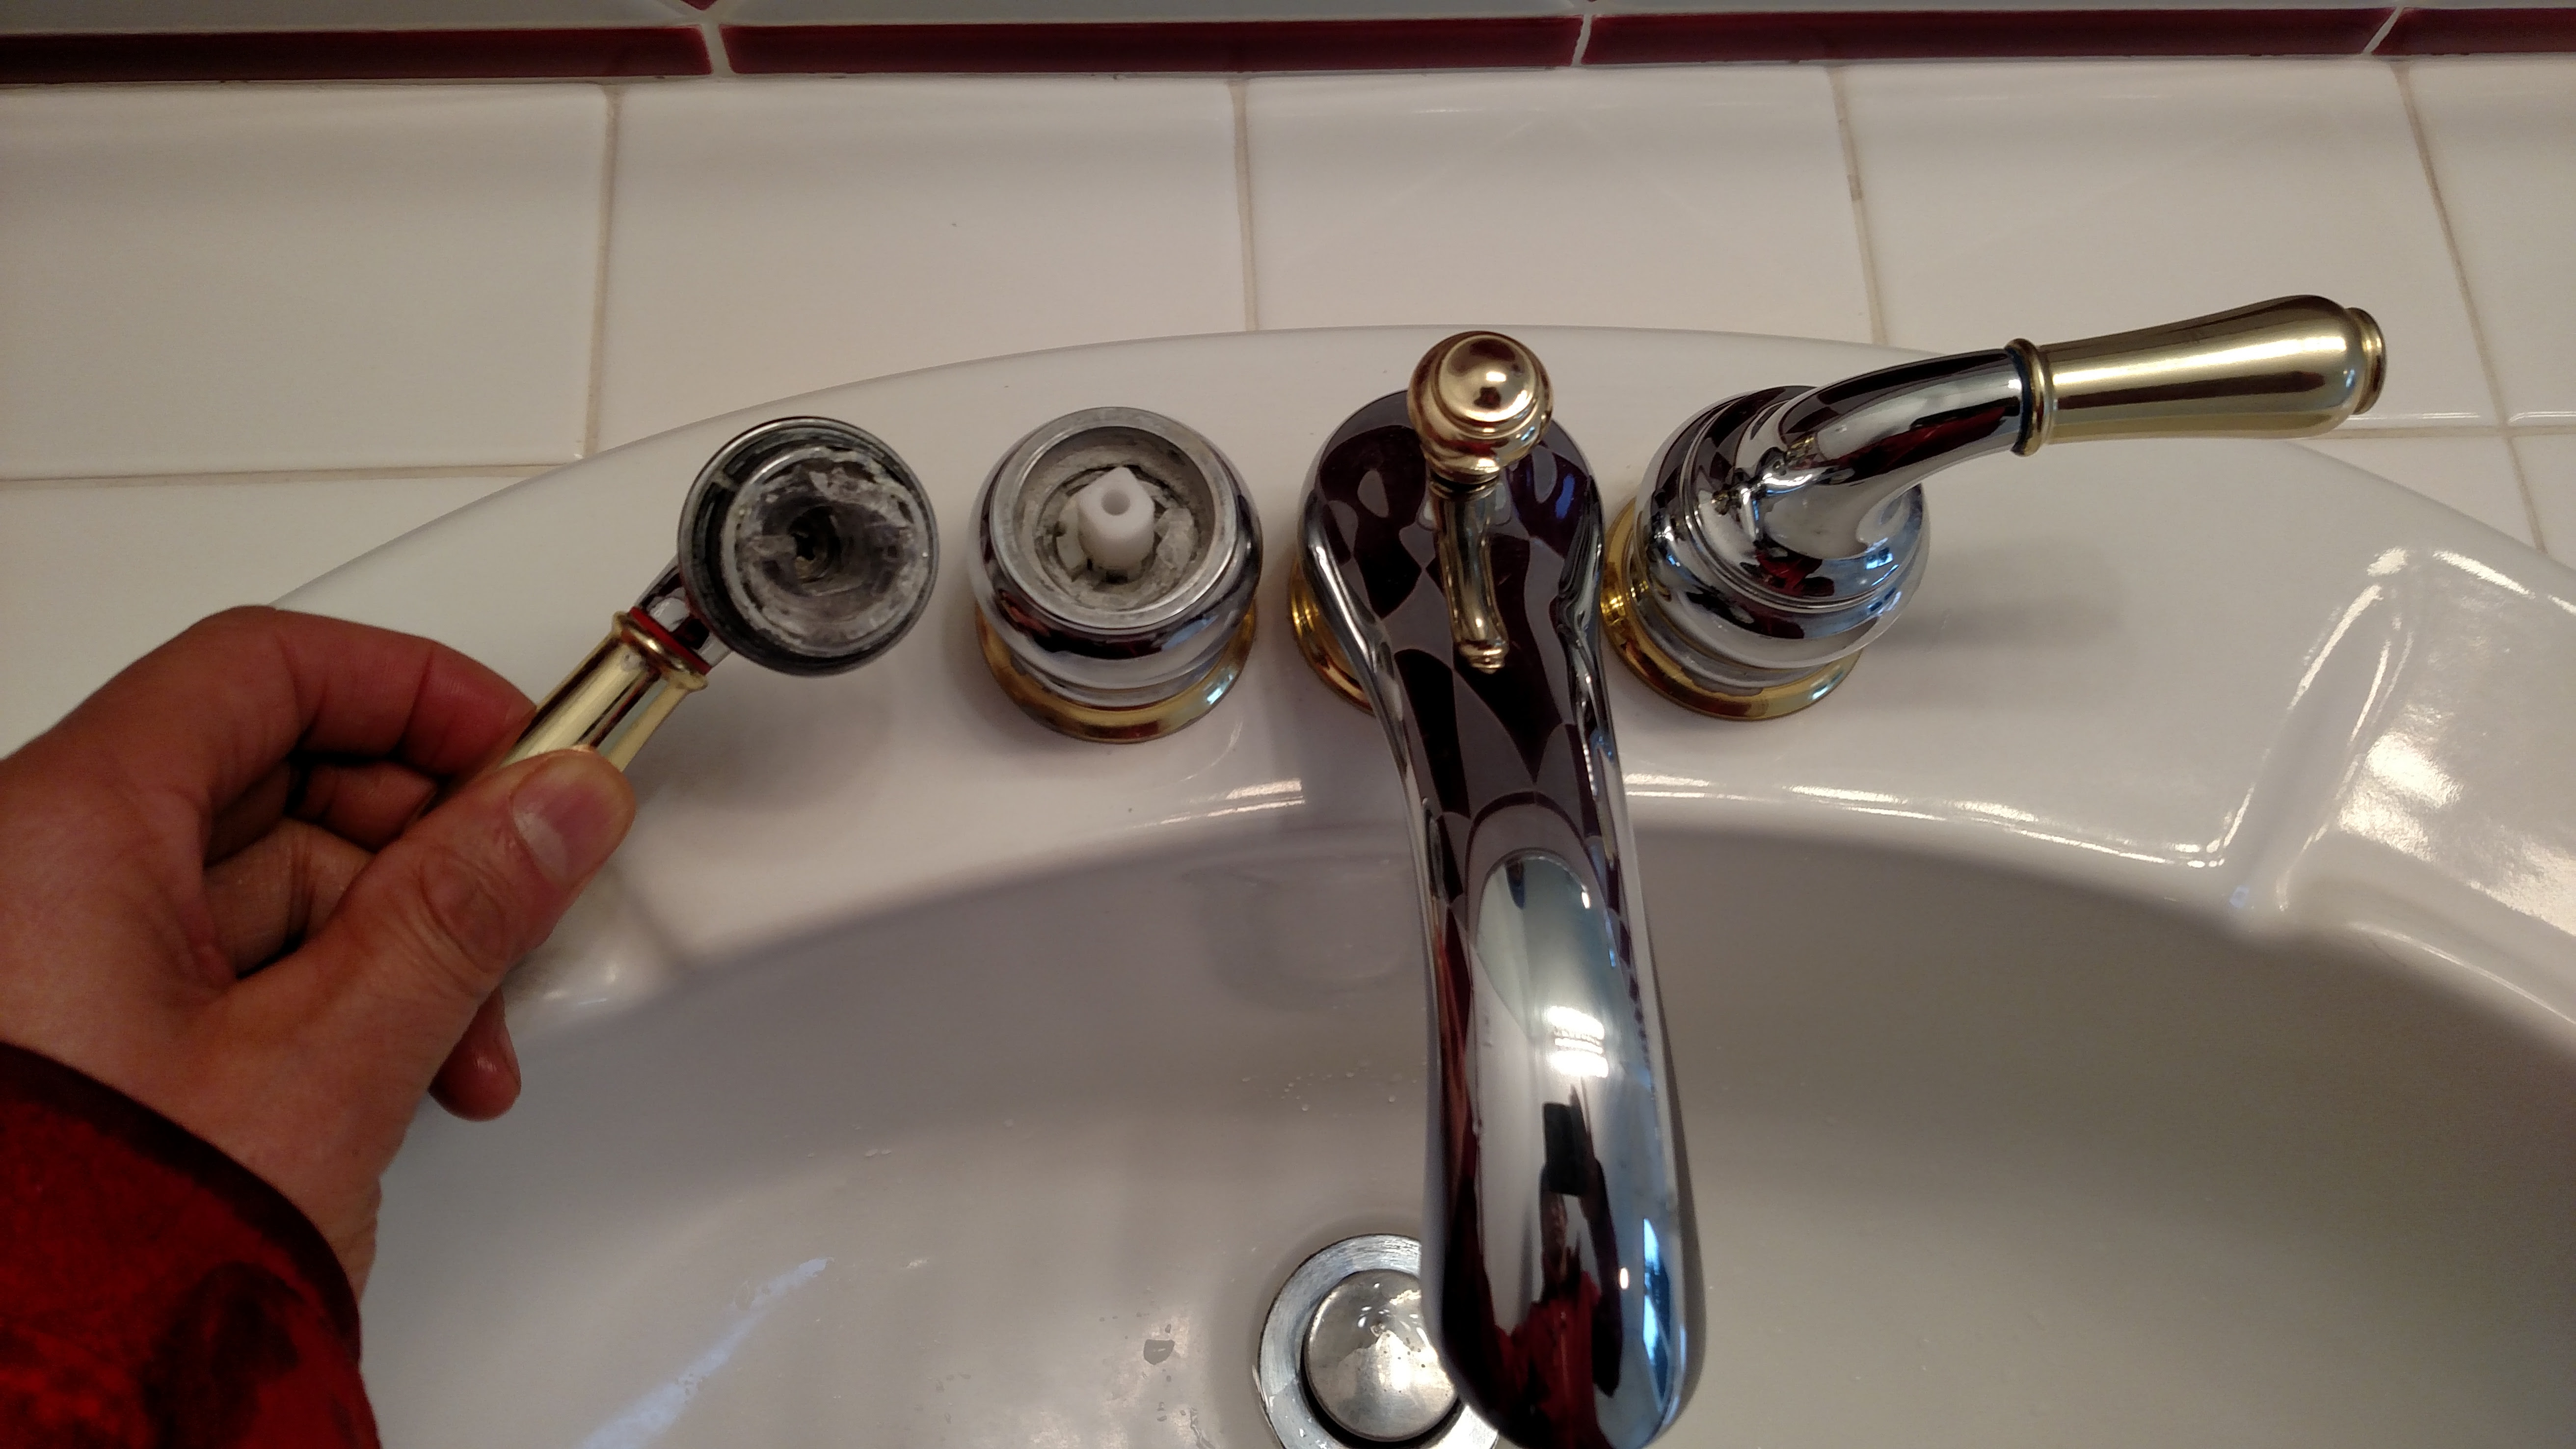
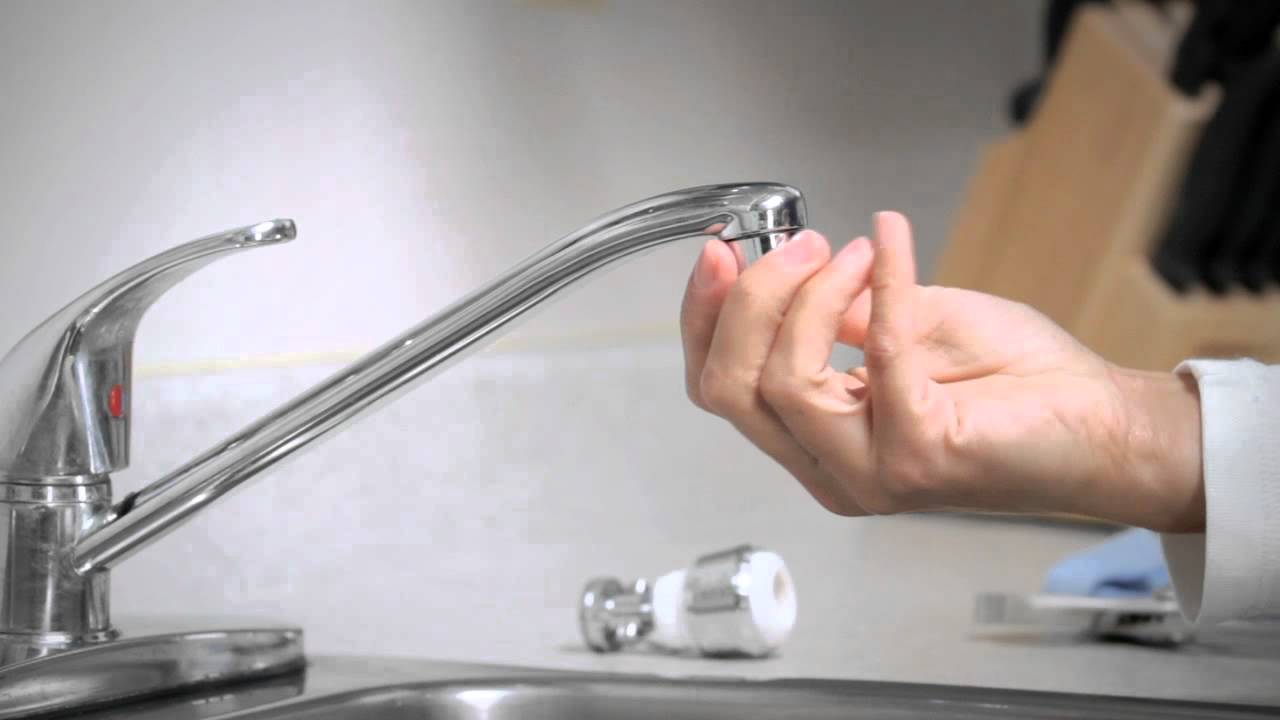
Step 1: As with replacing the aerator, start by turning off the water supply to your sink. Step 2: Locate the aerator on your Moen bathroom sink faucet. Step 3: Place a cloth or towel over the aerator to protect it from scratches or damage. Step 4: Using pliers, grip the cloth-covered aerator and twist it counterclockwise to unscrew it from the faucet. Step 5: If the aerator is stuck, try using a rubber jar opener or a strap wrench to get a better grip. Step 6: If the aerator is still not budging, you can use a penetrating oil to help loosen it. Apply the oil to the threads and let it sit for a few minutes before trying to remove the aerator again. Step 7: Once the aerator is removed, clean the inside of the faucet with a rag to remove any debris or buildup.Step-by-Step: Removing a Moen Bathroom Sink Faucet Aerator


Step-by-Step: Removing a Moen Bathroom Sink Faucet Aerator


Removing a stuck aerator can be frustrating, but here are a few tips and tricks to make the process easier: - Soak the aerator in vinegar overnight to help loosen any buildup and make it easier to remove. - Use a toothbrush to scrub around the threads of the aerator to remove any stubborn debris. - To prevent future buildup, clean your aerator regularly by soaking it in vinegar or using a small brush to remove any debris.Removing a Moen Bathroom Sink Faucet Aerator: Tips and Tricks

Removing a Moen Bathroom Sink Faucet Aerator: Tips and Tricks

If you're a DIY enthusiast, you'll be happy to know that removing a Moen bathroom sink faucet aerator is a simple task that you can easily do yourself. With a few household tools and some patience, you can successfully remove the aerator and give your faucet a fresh new look.DIY: Removing a Moen Bathroom Sink Faucet Aerator


DIY: Removing a Moen Bathroom Sink Faucet Aerator


If you're short on time or don't have the necessary tools, there is a quick and easy method for removing a Moen bathroom sink faucet aerator. Simply wrap a rubber band around the aerator and use pliers to grip and twist it counterclockwise. The rubber band will provide extra grip and make it easier to remove the aerator without causing any damage.Quick and Easy Method for Removing a Moen Bathroom Sink Faucet Aerator

Quick and Easy Method for Removing a Moen Bathroom Sink Faucet Aerator


If you encounter a stubborn aerator that just won't budge, don't force it. Trying to remove a stuck aerator using excessive force can cause damage to your faucet. Instead, try the tips and tricks mentioned earlier, or seek the help of a professional plumber.Removing a Stuck Moen Bathroom Sink Faucet Aerator


Removing a Stuck Moen Bathroom Sink Faucet Aerator
When attempting to remove a Moen bathroom sink faucet aerator, there are a few common mistakes that you should avoid to prevent any damage to your faucet: - Using excessive force to remove a stuck aerator. - Not turning off the water supply before attempting to remove the aerator. - Using tools that are too small or not suitable for the job, which can cause scratches or damage to the aerator and faucet.Common Mistakes to Avoid When Removing a Moen Bathroom Sink Faucet Aerator


Common Mistakes to Avoid When Removing a Moen Bathroom Sink Faucet Aerator
If you encounter any difficulties or unexpected issues while trying to remove your Moen bathroom sink faucet aerator, don't hesitate to seek the help of a professional plumber. They have the necessary tools and experience to safely remove the aerator without causing any damage to your faucet. Now that you know how to remove a Moen bathroom sink faucet aerator, you can easily update the look of your bathroom and improve the performance of your faucet. Remember to always turn off the water supply before attempting to remove the aerator, and use the tips and tricks mentioned in this guide to make the process smoother. With a bit of patience and the right tools, you can successfully remove and replace your aerator in no time.Troubleshooting: Moen Bathroom Sink Faucet Aerator Removal

Troubleshooting: Moen Bathroom Sink Faucet Aerator Removal


The Importance of Aerator Removal in Maintaining a Well-Designed Bathroom
/cleaning-the-aerator-from-deposits--the-girl-hand-washes-a-dirty-limestone-aerator-with-water-1126244919-72868100964f42d5aa564a928371fea5.jpg)
Proper Aerator Maintenance Can Save You Money and Add Style to Your Bathroom
 When it comes to designing a bathroom, every detail matters. From the tiles to the fixtures, every element contributes to the overall aesthetic and functionality of the space. However, one often overlooked aspect of bathroom design is the
aerator
of the sink faucet. While it may seem like a small and insignificant part, the aerator plays a crucial role in both the appearance and efficiency of your bathroom.
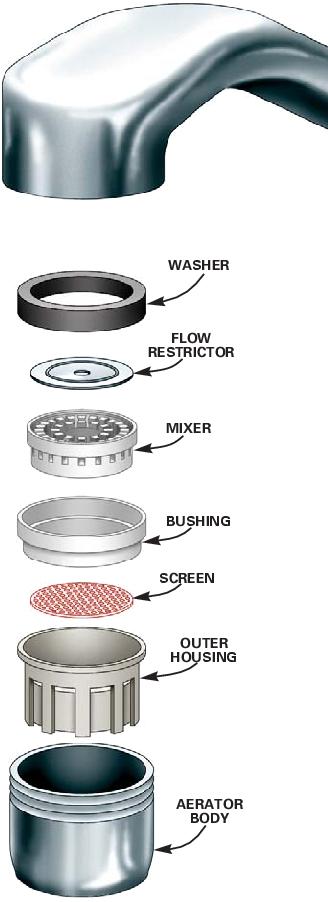
Aerators
are small mesh screens placed at the end of the faucet that mix air with the water flow. This not only
conserves water
, but it also
reduces splashing
and creates a smooth and consistent stream of water. Over time, however, aerators can become clogged with sediment and mineral deposits, affecting their performance and appearance. This is where the importance of
aerator removal
comes in.
Regularly removing and cleaning the aerator can
save you money
in the long run. A clogged aerator can
increase your water bill
as it restricts the flow of water, causing you to use more to achieve the same amount of water. Additionally, a damaged or dirty aerator can
cause leaks
, resulting in costly repairs. By
maintaining
your aerator, you can
prevent
these issues and
extend the lifespan
of your bathroom fixtures.
Moreover, aerator removal can also
add style
to your bathroom. With advancements in technology and design, aerators now come in various finishes, shapes, and sizes. By removing and replacing your old aerator, you can
update the look
of your sink faucet and
enhance the overall design
of your bathroom. It's a simple and
cost-effective
way to give your bathroom a fresh and modern touch.
In conclusion, while it may seem like a small and insignificant task,
aerator removal
is crucial in maintaining a well-designed bathroom. Not only does it
save you money
and
prevent
potential issues, but it also
adds style
to your space. So don't overlook this important aspect of bathroom design and make sure to
regularly clean and update
your aerator for a functional and stylish bathroom.
When it comes to designing a bathroom, every detail matters. From the tiles to the fixtures, every element contributes to the overall aesthetic and functionality of the space. However, one often overlooked aspect of bathroom design is the
aerator
of the sink faucet. While it may seem like a small and insignificant part, the aerator plays a crucial role in both the appearance and efficiency of your bathroom.
Aerators
are small mesh screens placed at the end of the faucet that mix air with the water flow. This not only
conserves water
, but it also
reduces splashing
and creates a smooth and consistent stream of water. Over time, however, aerators can become clogged with sediment and mineral deposits, affecting their performance and appearance. This is where the importance of
aerator removal
comes in.
Regularly removing and cleaning the aerator can
save you money
in the long run. A clogged aerator can
increase your water bill
as it restricts the flow of water, causing you to use more to achieve the same amount of water. Additionally, a damaged or dirty aerator can
cause leaks
, resulting in costly repairs. By
maintaining
your aerator, you can
prevent
these issues and
extend the lifespan
of your bathroom fixtures.
Moreover, aerator removal can also
add style
to your bathroom. With advancements in technology and design, aerators now come in various finishes, shapes, and sizes. By removing and replacing your old aerator, you can
update the look
of your sink faucet and
enhance the overall design
of your bathroom. It's a simple and
cost-effective
way to give your bathroom a fresh and modern touch.
In conclusion, while it may seem like a small and insignificant task,
aerator removal
is crucial in maintaining a well-designed bathroom. Not only does it
save you money
and
prevent
potential issues, but it also
adds style
to your space. So don't overlook this important aspect of bathroom design and make sure to
regularly clean and update
your aerator for a functional and stylish bathroom.


:max_bytes(150000):strip_icc()/IKEARoomDividerBookcase-591250fc3df78c92830e9526.jpg)