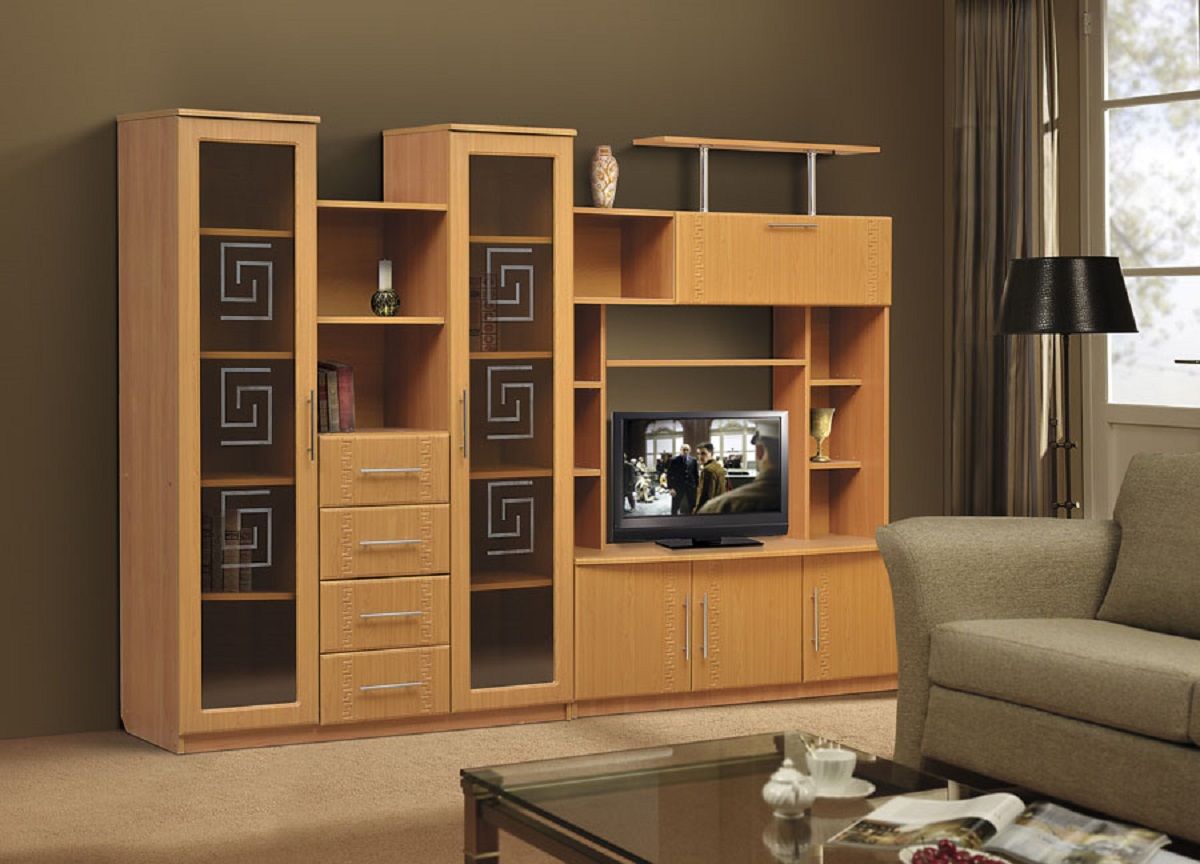
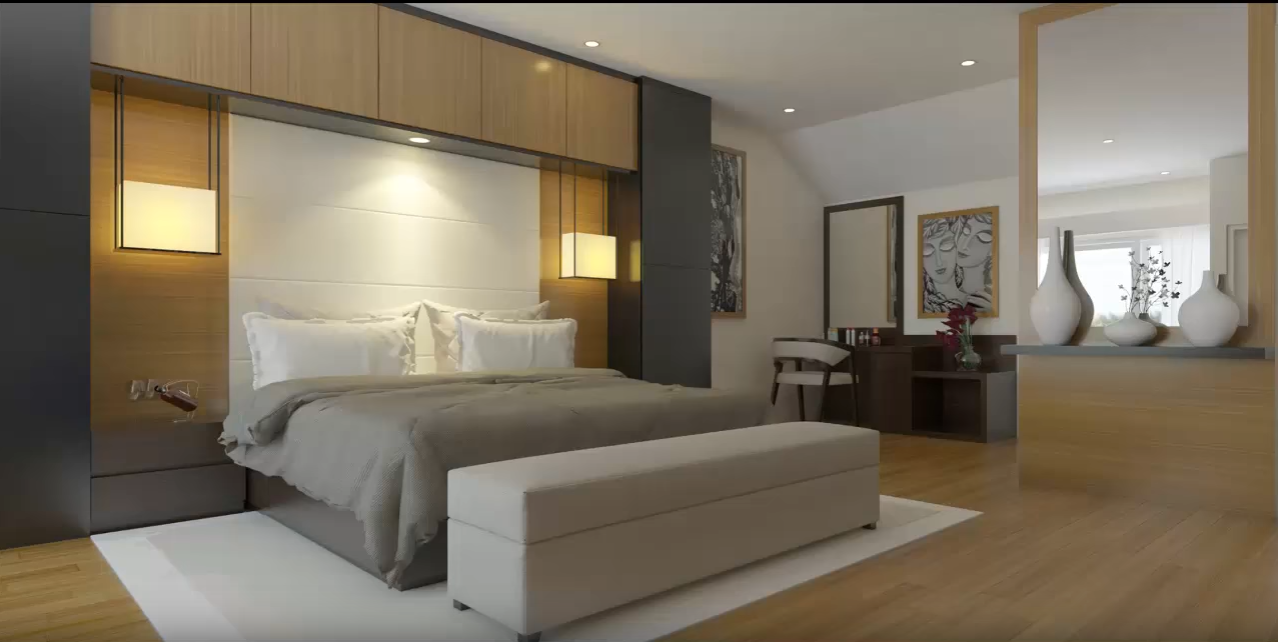
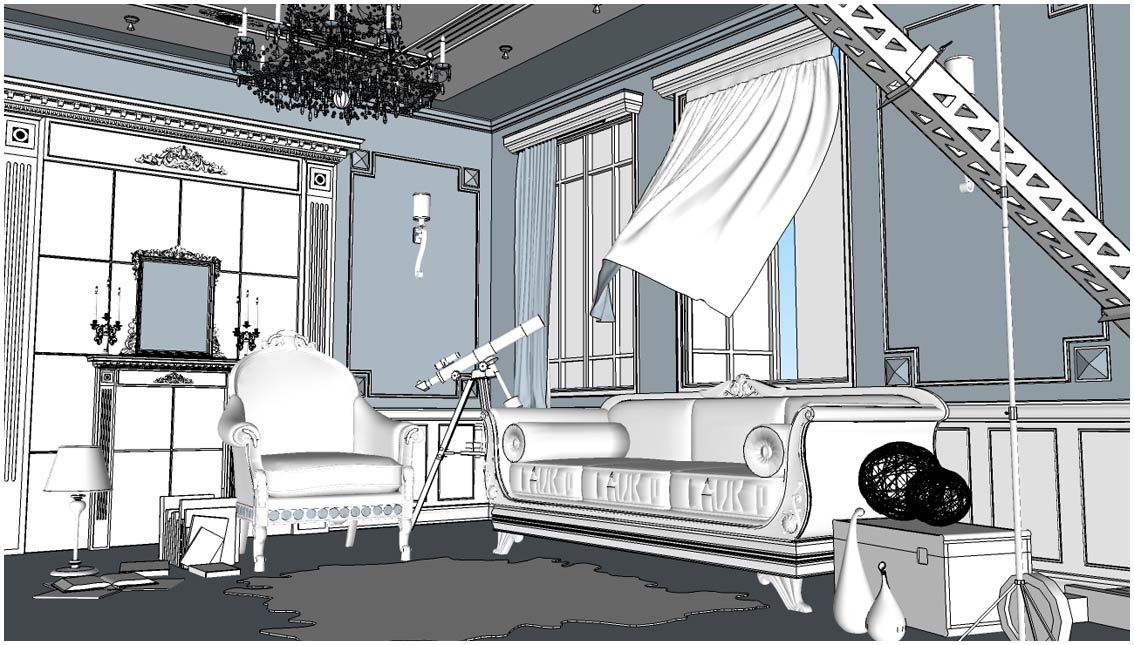
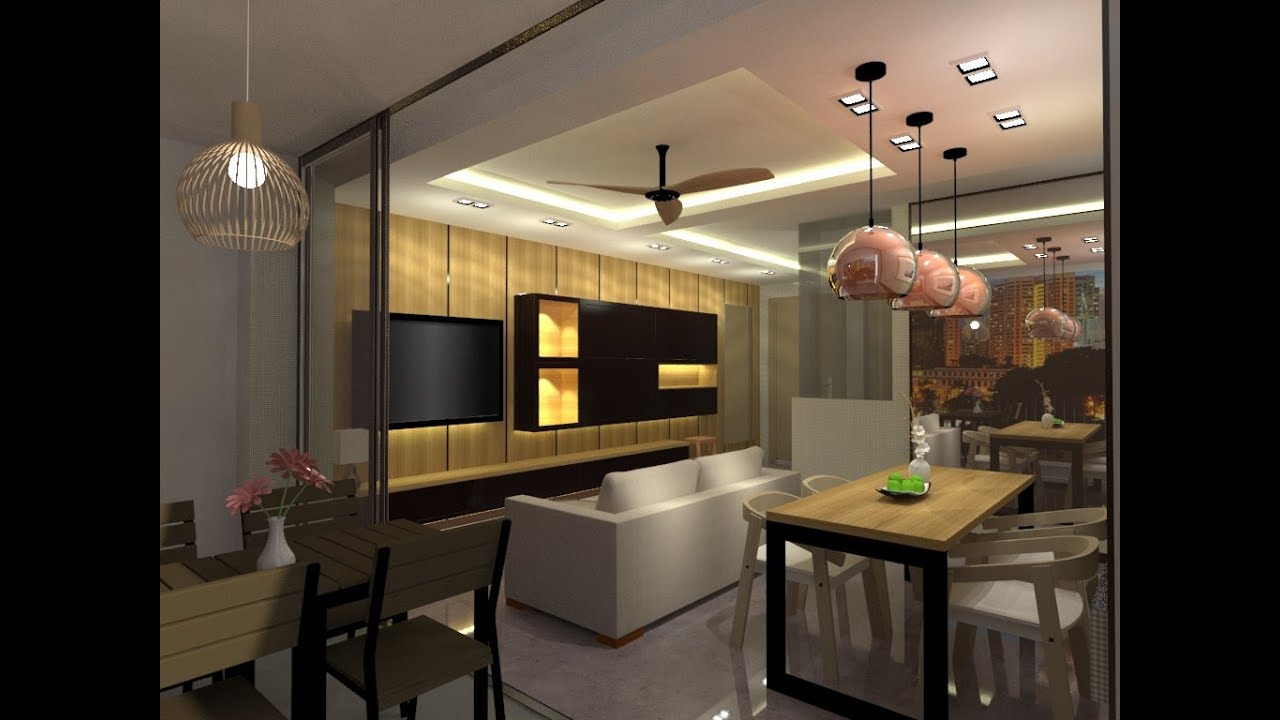
If you're looking to design a stunning living room in SketchUp, incorporating Vray rendering can take your design to the next level. With its advanced lighting and material capabilities, Vray can help you create a realistic and visually appealing living room that will impress anyone who sees it. To get started, you'll first need to have SketchUp and Vray installed on your computer. Once you have both programs, you can follow this step-by-step tutorial to create your own stunning living room design using Vray. First, start by creating a basic room shape in SketchUp using the rectangle tool. Make sure to add doors and windows to your room for a more realistic design. You can also add in furniture pieces using the 3D warehouse or by creating your own using SketchUp's tools. Next, it's time to add in lighting. Vray offers various lighting options such as spotlights, point lights, and sun and sky settings. Experiment with different lighting options to find the best fit for your living room design. Don't be afraid to play around with the intensity and color of the lights to achieve the desired effect. After you have your lighting set up, it's time to add materials to your living room. Vray offers a wide range of material options, from wood and fabric to glass and metal. You can also customize these materials by adjusting their texture, glossiness, and other properties to make them look more realistic. Once you have all the materials and lighting in place, it's time to set up your Vray render settings. This will determine the quality and resolution of your final image. You can choose from various presets or customize your own settings to achieve the desired result. Finally, hit the render button and let Vray work its magic. Depending on your computer's processing speed, the rendering may take some time, but the end result will be worth the wait. Once the render is complete, you can save your image and make any final adjustments in Photoshop or other editing software. With this tutorial, you can easily create a beautiful living room design in SketchUp using Vray rendering. Don't be afraid to experiment with different lighting and material options to achieve the perfect look for your design.1. SketchUp Living Room Design Tutorial with Vray Rendering


1. SketchUp Living Room Design Tutorial with Vray Rendering


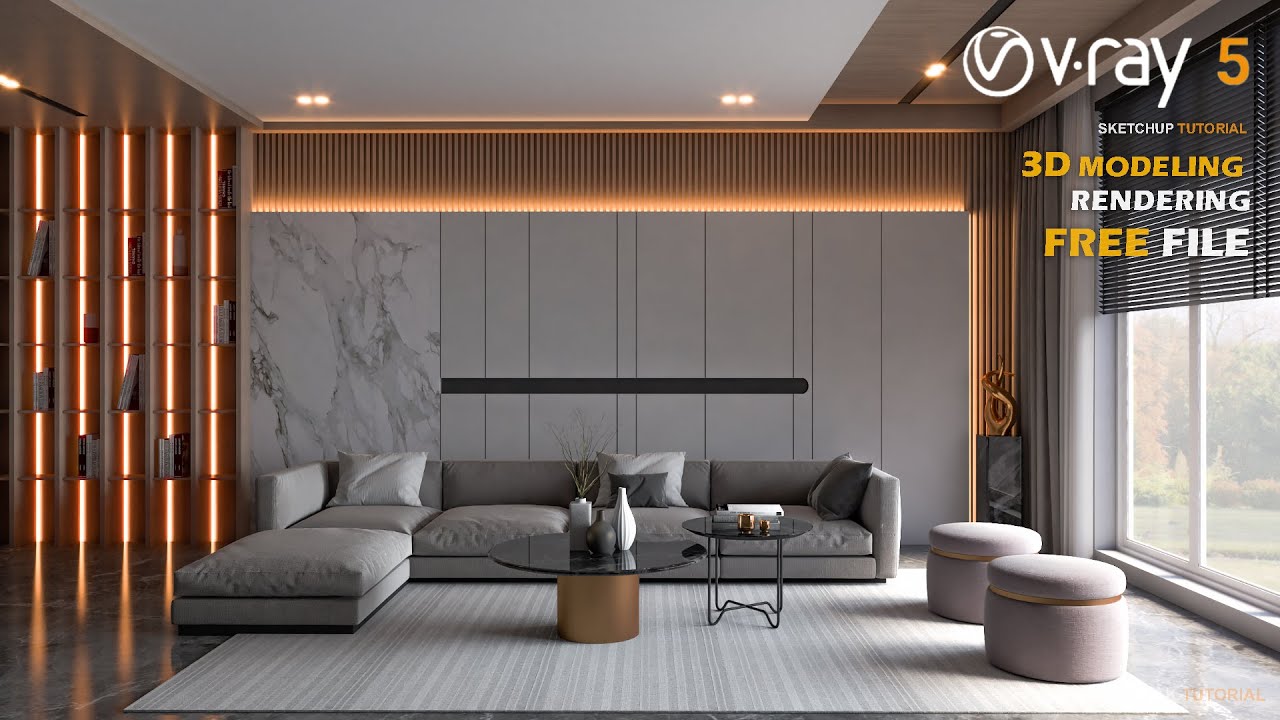
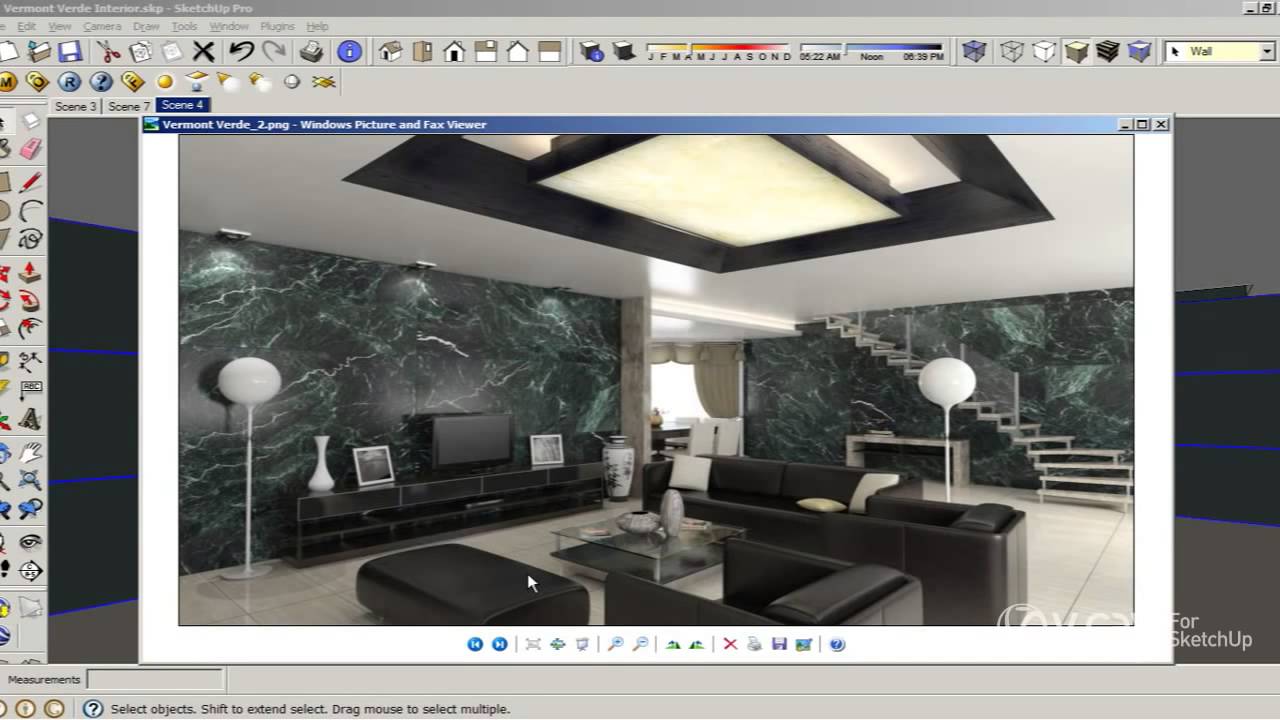
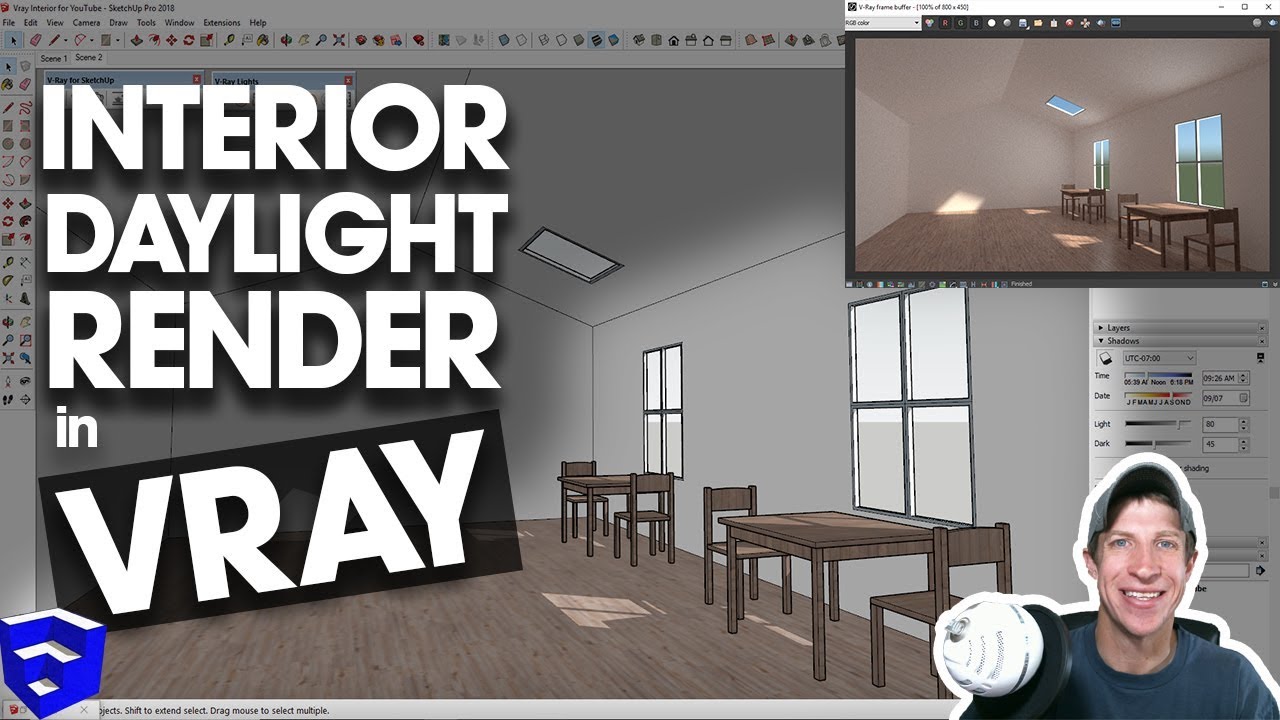
Lighting plays a crucial role in interior design, and with Vray for SketchUp, you have a wide range of lighting options at your disposal. In this tutorial, we'll take a closer look at how to use Vray to create stunning interior lighting for your living room design. The first step is to create a basic room shape in SketchUp using the rectangle tool. Then, add in doors and windows to your room for a more realistic design. You can also add in furniture pieces using the 3D warehouse or by creating your own using SketchUp's tools. Once your room is set up, it's time to start adding in lighting. Vray offers various lighting options such as spotlights, point lights, and sun and sky settings. You can also adjust the intensity, color, and direction of these lights to create the desired effect. Next, it's important to pay attention to the placement of your lights. Think about where the natural light would come from in a real room and try to replicate that in your design. You can also use multiple light sources to create a more dynamic and realistic lighting setup. After you have your lighting set up, it's time to adjust the camera settings. Vray allows you to adjust the exposure, white balance, and other camera settings to achieve the desired look for your interior design. Finally, hit the render button and let Vray work its magic. You may need to make some adjustments to the lighting and camera settings to get the perfect result, but with some trial and error, you'll be able to create stunning interior lighting for your living room design. With Vray for SketchUp, you have the power to create realistic and visually appealing interior lighting for your living room design. Don't be afraid to experiment with different lighting options to achieve the perfect look for your space.2. Vray for SketchUp Tutorial: Interior Lighting


2. Vray for SketchUp Tutorial: Interior Lighting


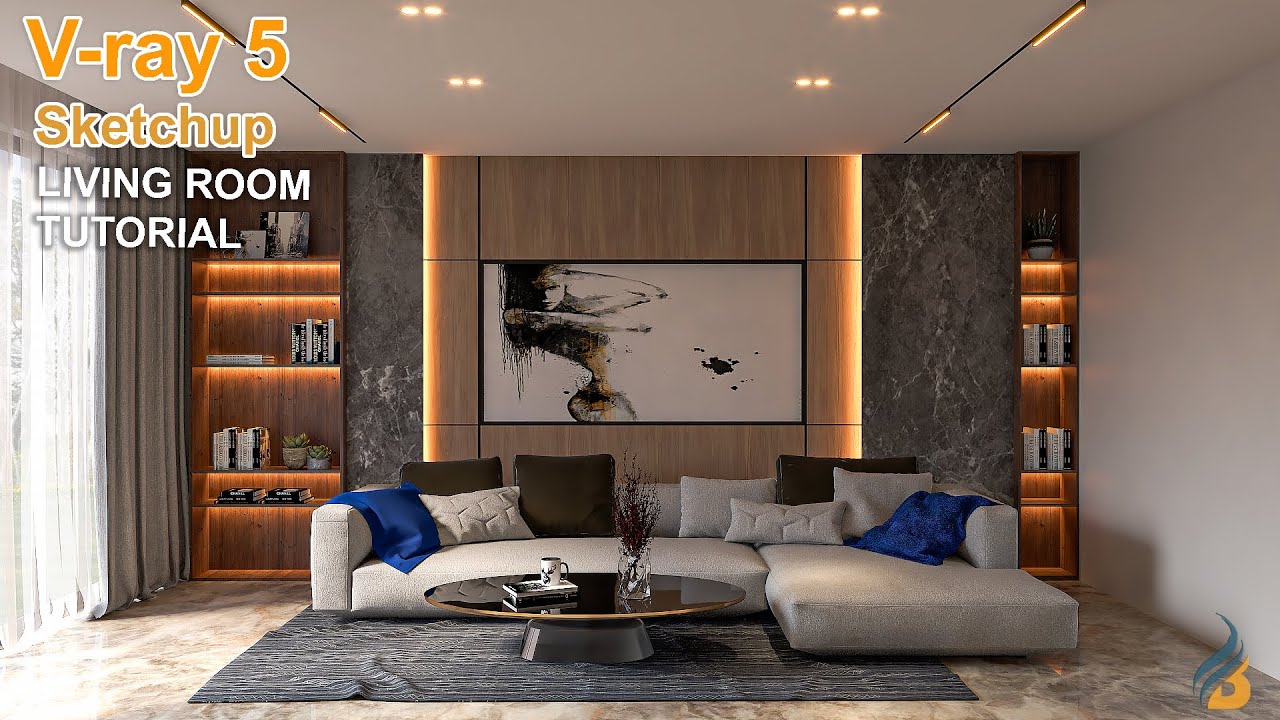
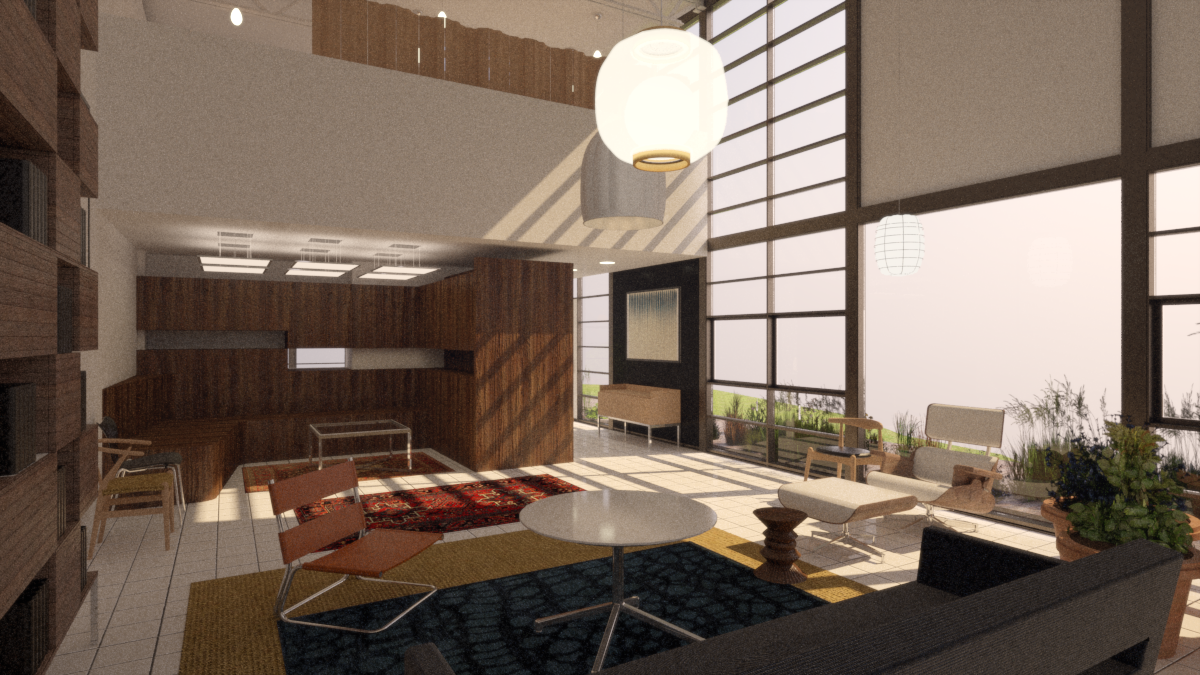
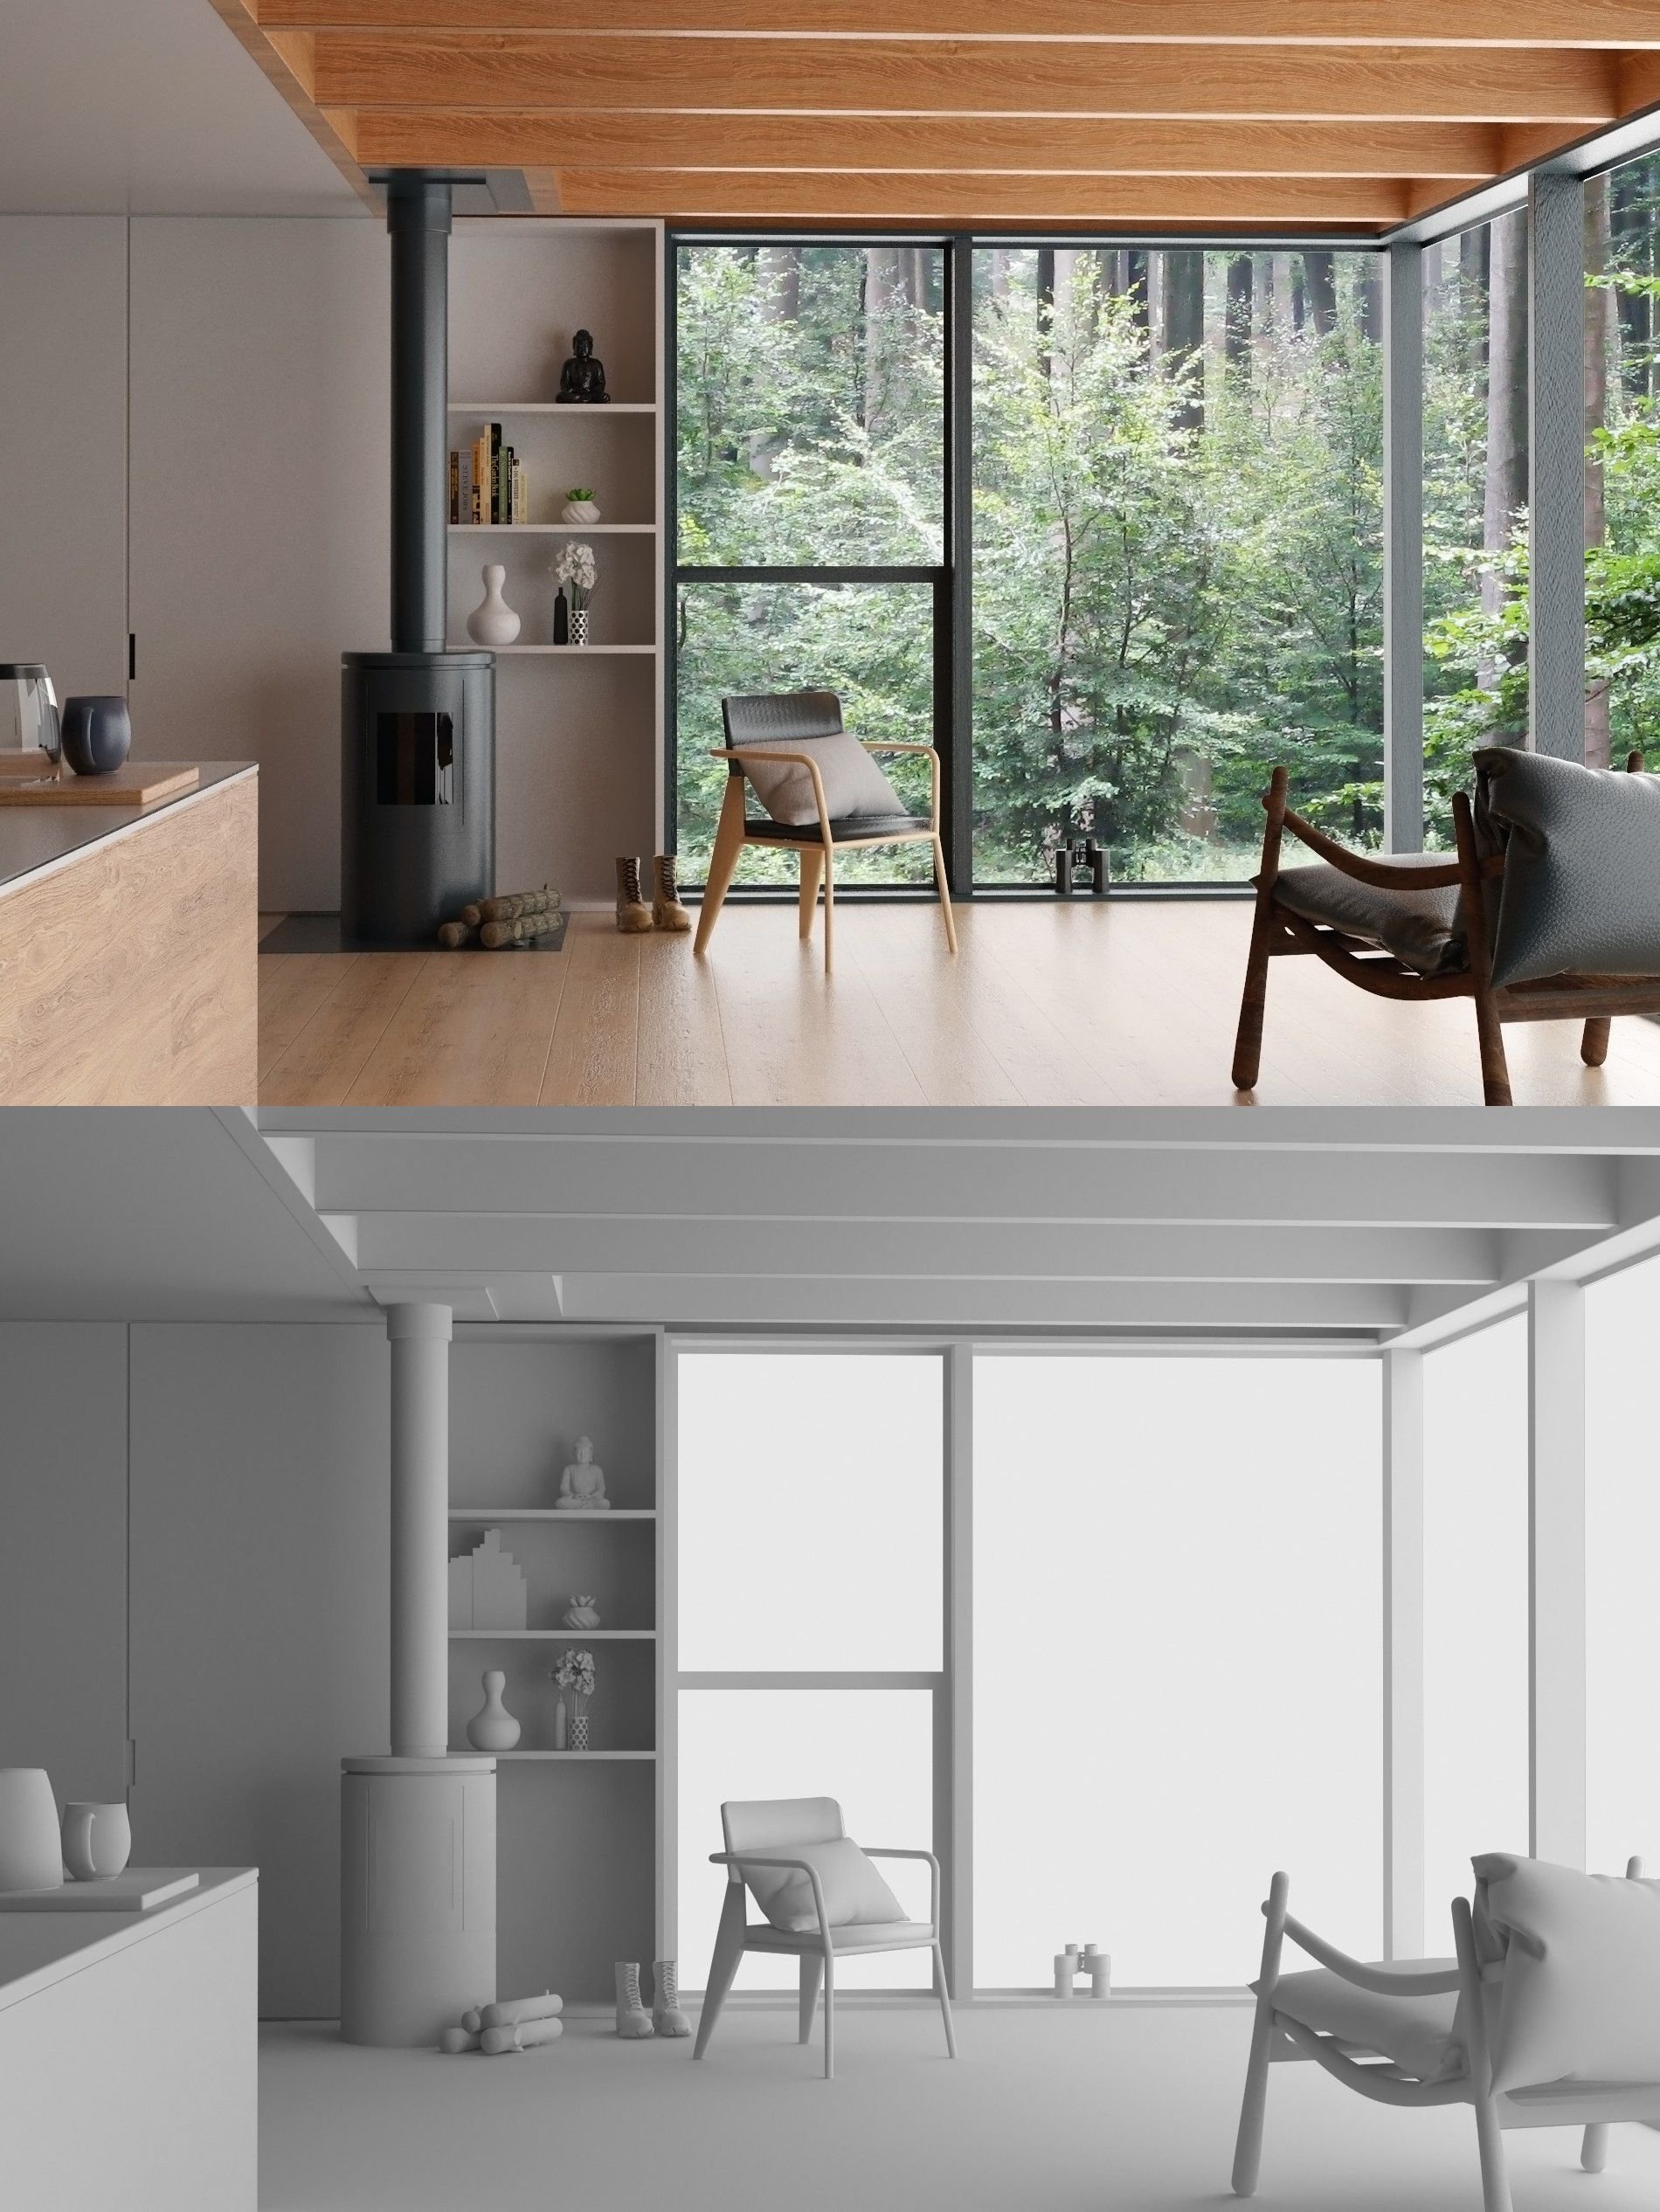
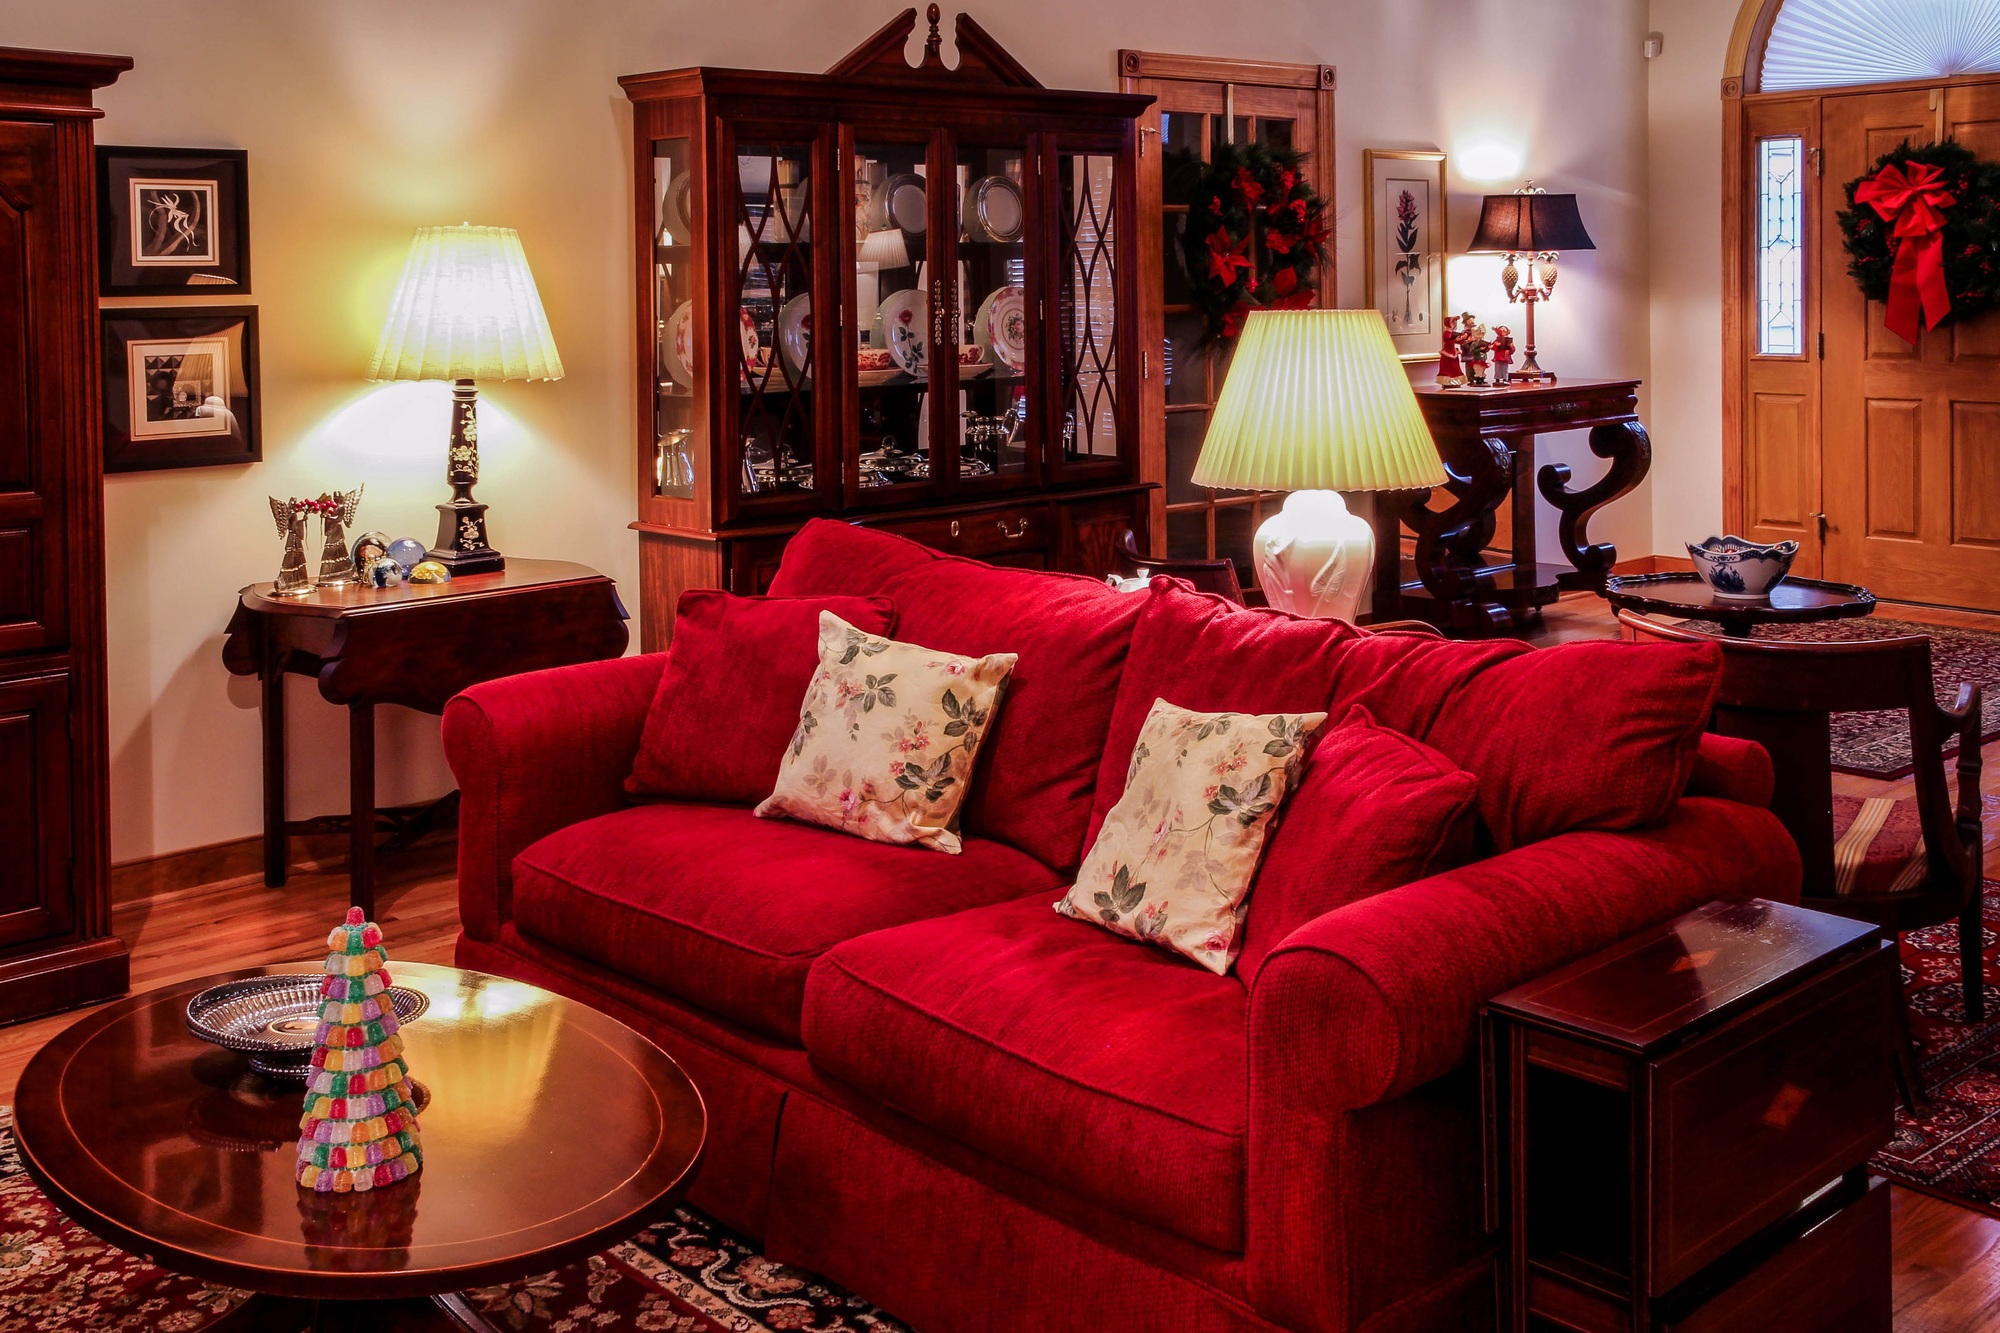
Creating a realistic living room design in SketchUp may seem like a daunting task, but with the help of Vray, it can be easily achieved. In this tutorial, we'll take a step-by-step approach to show you how to create a stunning living room design that looks like it's straight out of a magazine. To start, create a basic room shape in SketchUp using the rectangle tool. Add in doors and windows to your room for a more realistic design, and then start adding in furniture pieces using the 3D warehouse or by creating your own using SketchUp's tools. Next, it's time to add in lighting. Vray offers various lighting options such as spotlights, point lights, and sun and sky settings. Experiment with different lighting options to find the best fit for your living room design. Don't be afraid to play around with the intensity and color of the lights to achieve the desired effect. After you have your lighting set up, it's time to add materials to your living room. Vray offers a wide range of material options, from wood and fabric to glass and metal. You can also customize these materials by adjusting their texture, glossiness, and other properties to make them look more realistic. Once you have all the materials and lighting in place, it's time to set up your Vray render settings. This will determine the quality and resolution of your final image. You can choose from various presets or customize your own settings to achieve the desired result. Finally, hit the render button and let Vray work its magic. Depending on your computer's processing speed, the rendering may take some time, but the end result will be worth the wait. Once the render is complete, you can save your image and make any final adjustments in Photoshop or other editing software. With this tutorial, you can easily create a realistic living room design in SketchUp using Vray. Don't be afraid to experiment with different lighting and material options to achieve the perfect look for your design.3. How to Create a Realistic Living Room in SketchUp with Vray

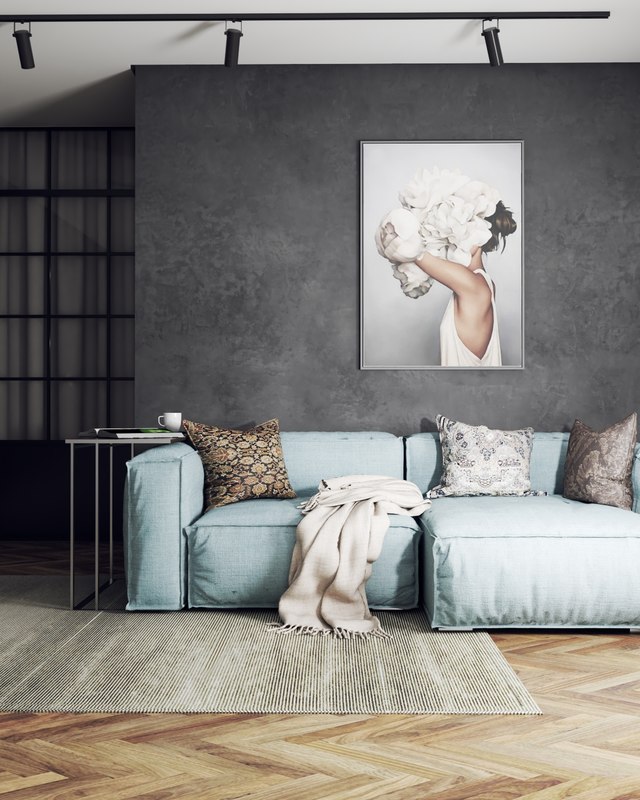

3. How to Create a Realistic Living Room in SketchUp with Vray
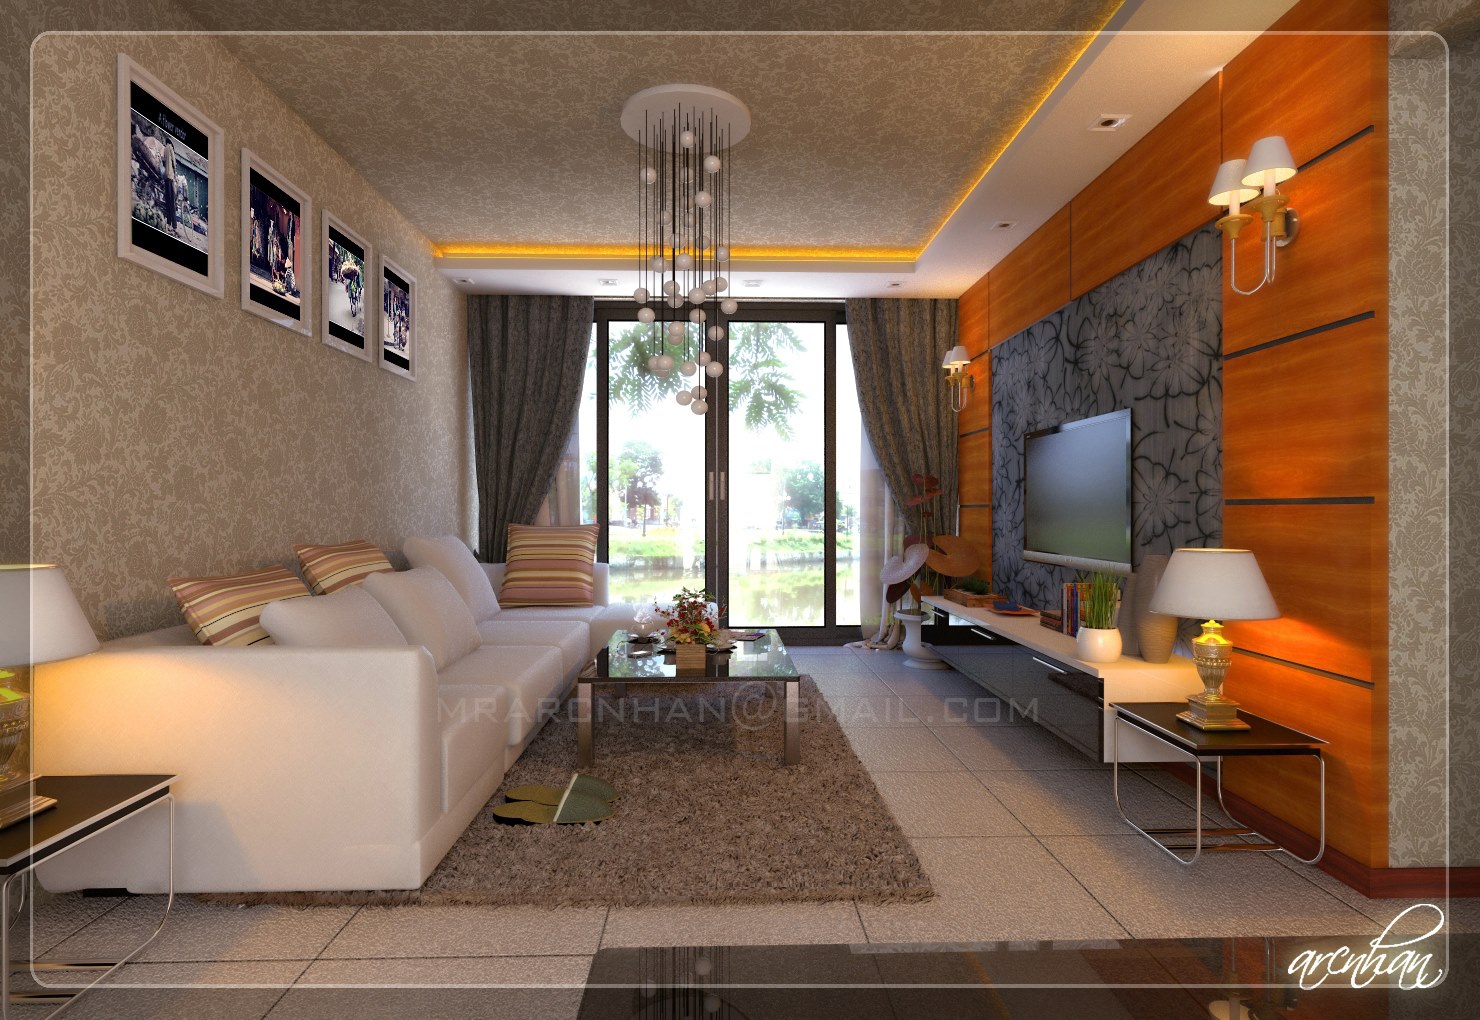


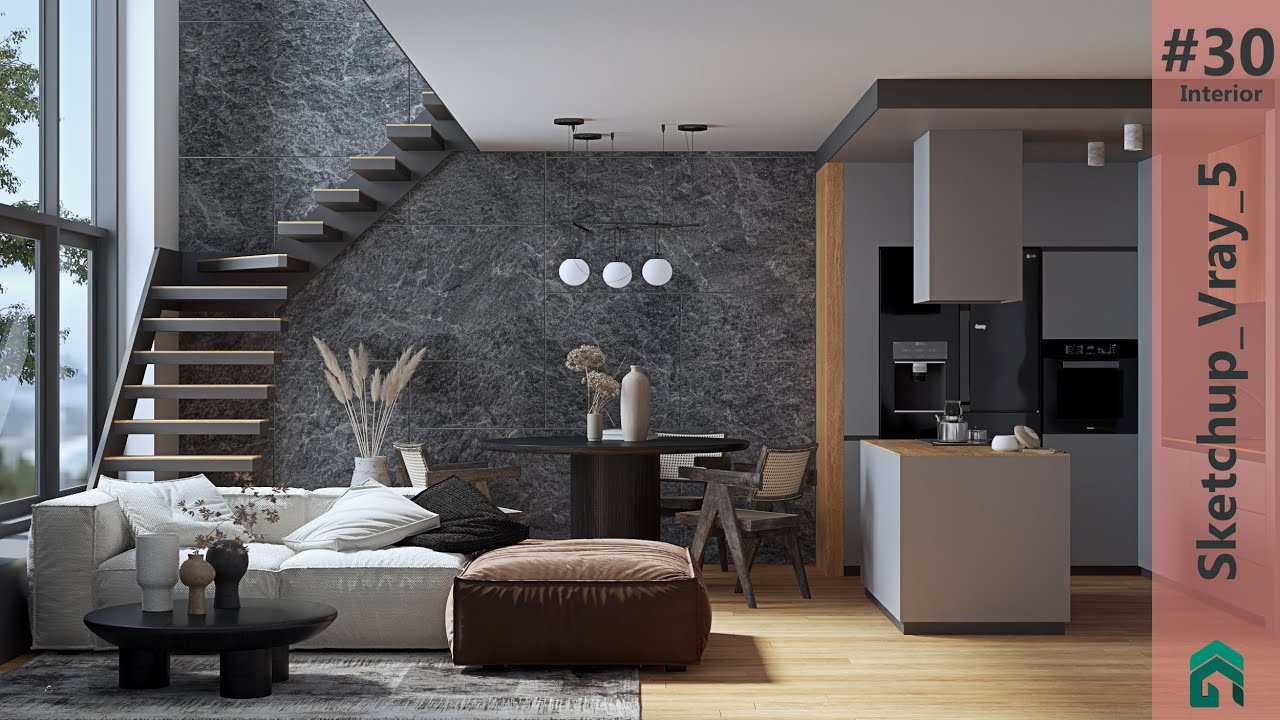
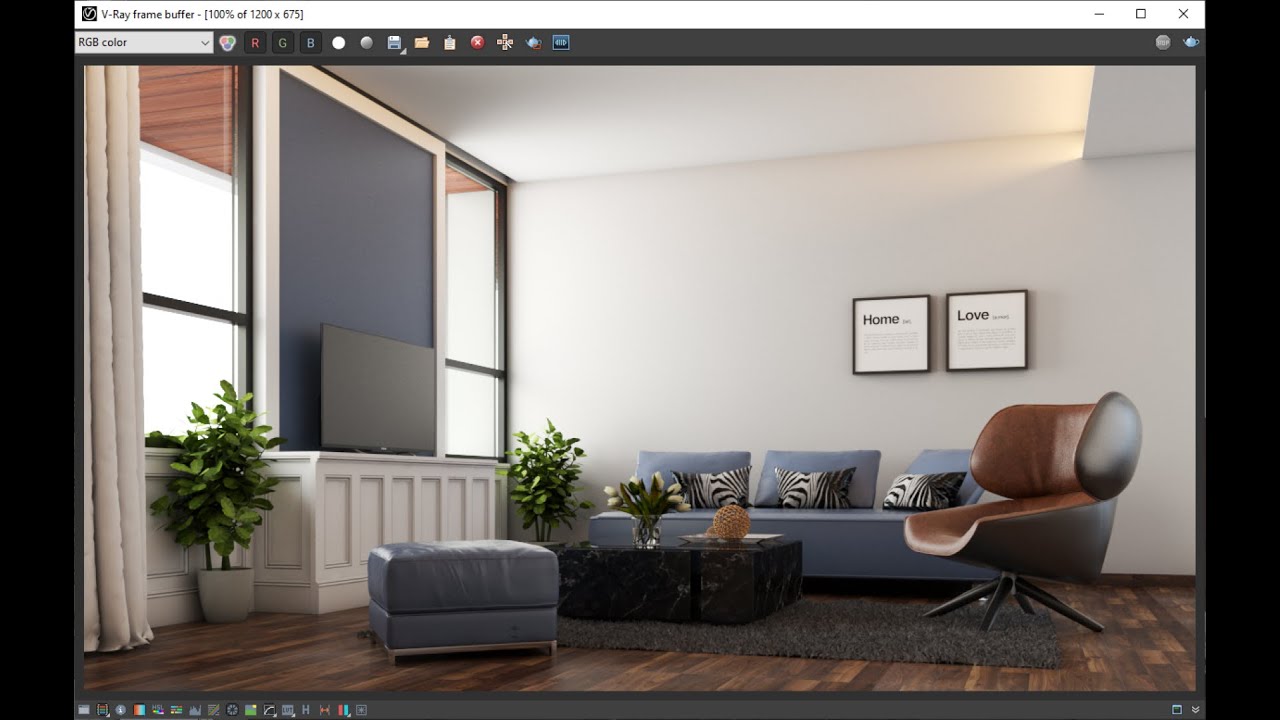
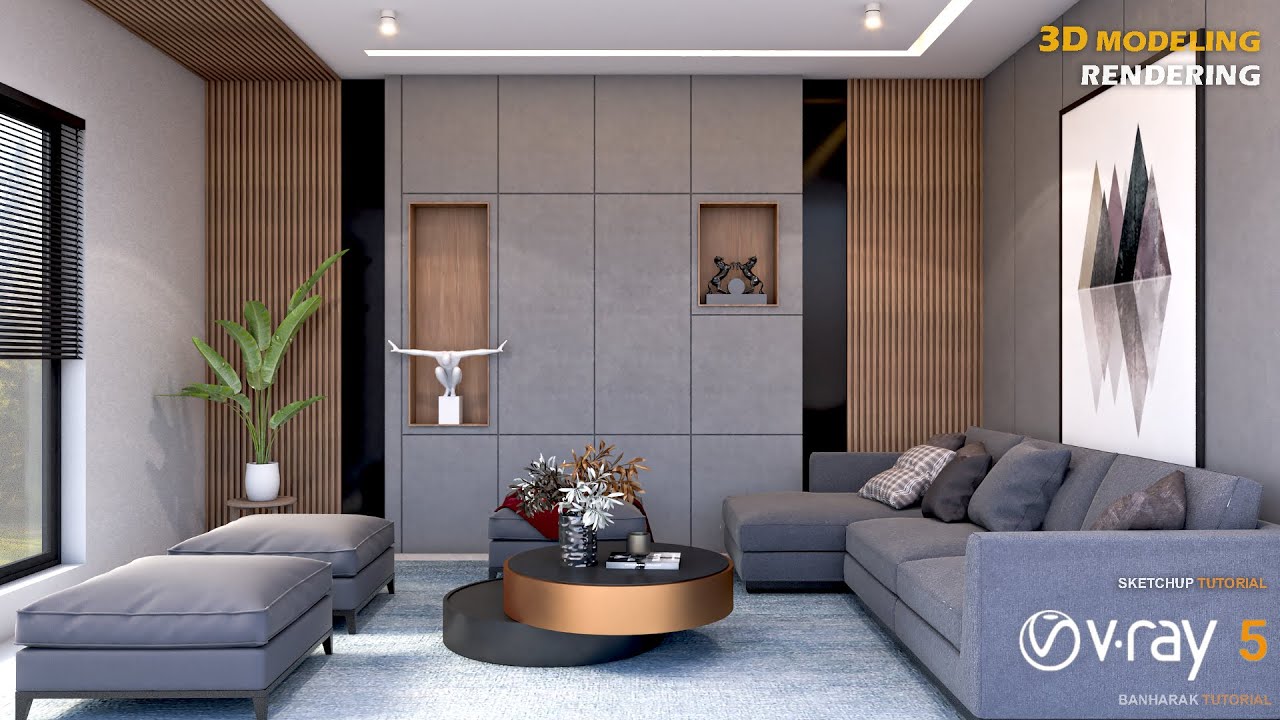
Vray is a powerful tool that can help you create stunning interior renderings in SketchUp. In this tutorial, we'll take a closer look at how to use Vray to render a beautiful living room design that will impress anyone who sees it. The first step is to create a basic room shape in SketchUp using the rectangle tool. Then, add in doors and windows to your room for a more realistic design. You can also add in furniture pieces using the 3D warehouse or by creating your own using SketchUp's tools. Next, it's time to add in lighting. Vray offers various lighting options such as spotlights, point lights, and sun and sky settings. You can also adjust the intensity, color, and direction of these lights to create the desired effect. After you have your lighting set up, it's time to add materials to your living room. Vray offers a wide range of material options, from wood and fabric to glass and metal. You can also customize these materials by adjusting their texture, glossiness, and other properties to make them look more realistic. Once you have all the materials and lighting in place, it's time to set up your Vray render settings. This will determine the quality and resolution of your final image. You can choose from various presets or customize your own settings to achieve the desired result. Finally, hit the render button and let Vray work its magic. Depending on your computer's processing speed, the rendering may take some time, but the end result will be worth the wait. Once the render is complete, you can save your image and make any final adjustments in Photoshop or other editing software. With this tutorial, you can easily create a beautiful living room design in SketchUp using Vray. Don't be afraid to experiment with different lighting and material options to achieve the perfect look for your space.4. SketchUp Vray Interior Rendering Tutorial: Living Room


4. SketchUp Vray Interior Rendering Tutorial: Living Room


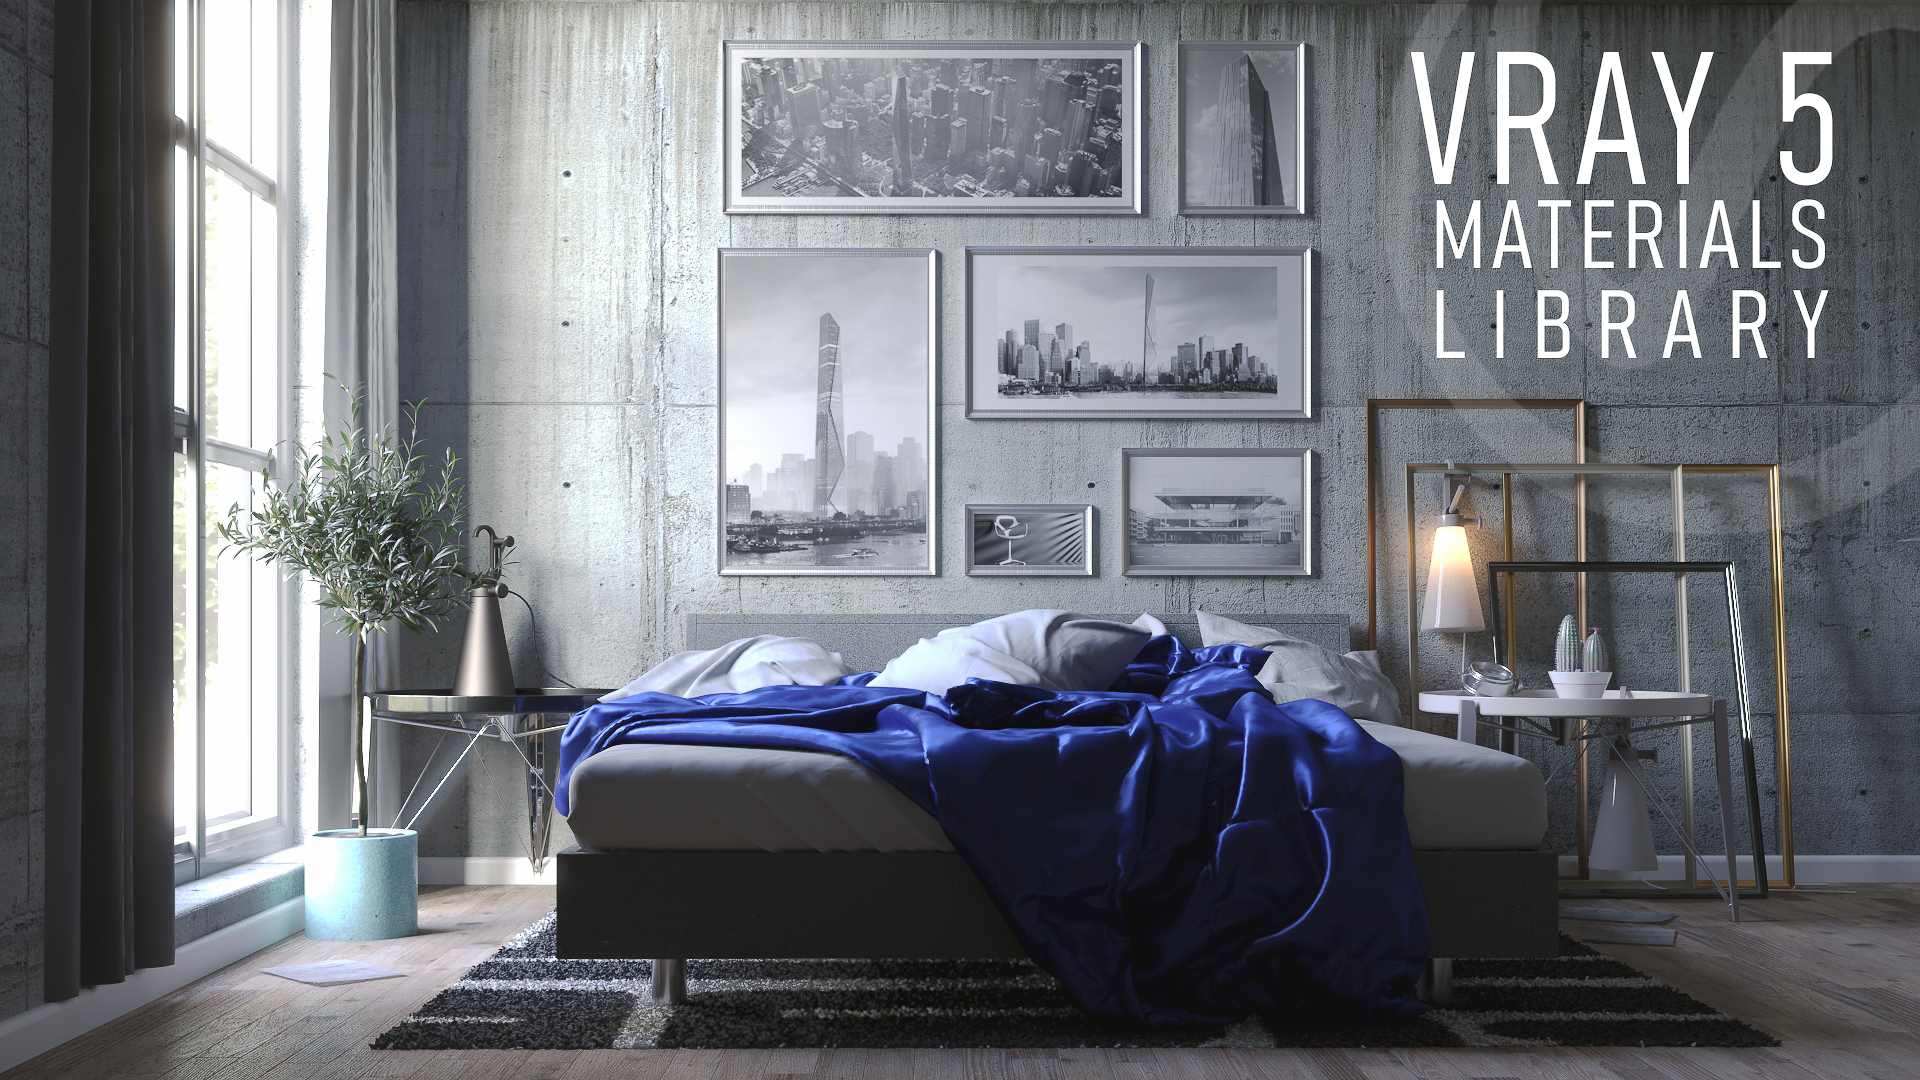
The materials used in a living room design can make all the difference in creating a realistic and visually appealing scene. With Vray for SketchUp, you have a wide range of material options to choose from, making it easy to create materials that will bring your living room design to life. To get started, create a basic room shape in SketchUp using the rectangle tool. Then, add in doors and windows to your room for a more realistic design. You can also add in furniture pieces using the 3D warehouse or by creating your own using SketchUp's tools. Next, it's time to start adding in materials. Vray offers a wide range of material options, from wood and fabric to glass and metal. You can also customize these materials by adjusting their texture, glossiness, and other properties to make them look more realistic. When choosing materials for your living room, think about the texture and color of each item. For example, a leather couch will have a different texture and shine compared to a wooden coffee table. Paying attention to these details will help create a more realistic scene. After you have all the materials in place, it's time to adjust your Vray render settings. This will determine the quality and resolution of your final image. You can choose from various presets or customize your own settings to achieve the desired result. Finally, hit the render button and let Vray work its magic. Depending on your computer's processing speed, the rendering may take some time, but the end result will be worth the wait. Once the render is complete, you can save your image and make any final adjustments in Photoshop or other editing software. With Vray, creating materials for your living room scene is easy and allows for a more realistic and visually appealing design. Don't be afraid to experiment with different materials and their properties to achieve the perfect look for your space.5. Vray for SketchUp Tutorial: Creating Materials for a Living Room Scene


5. Vray for SketchUp Tutorial: Creating Materials for a Living Room Scene


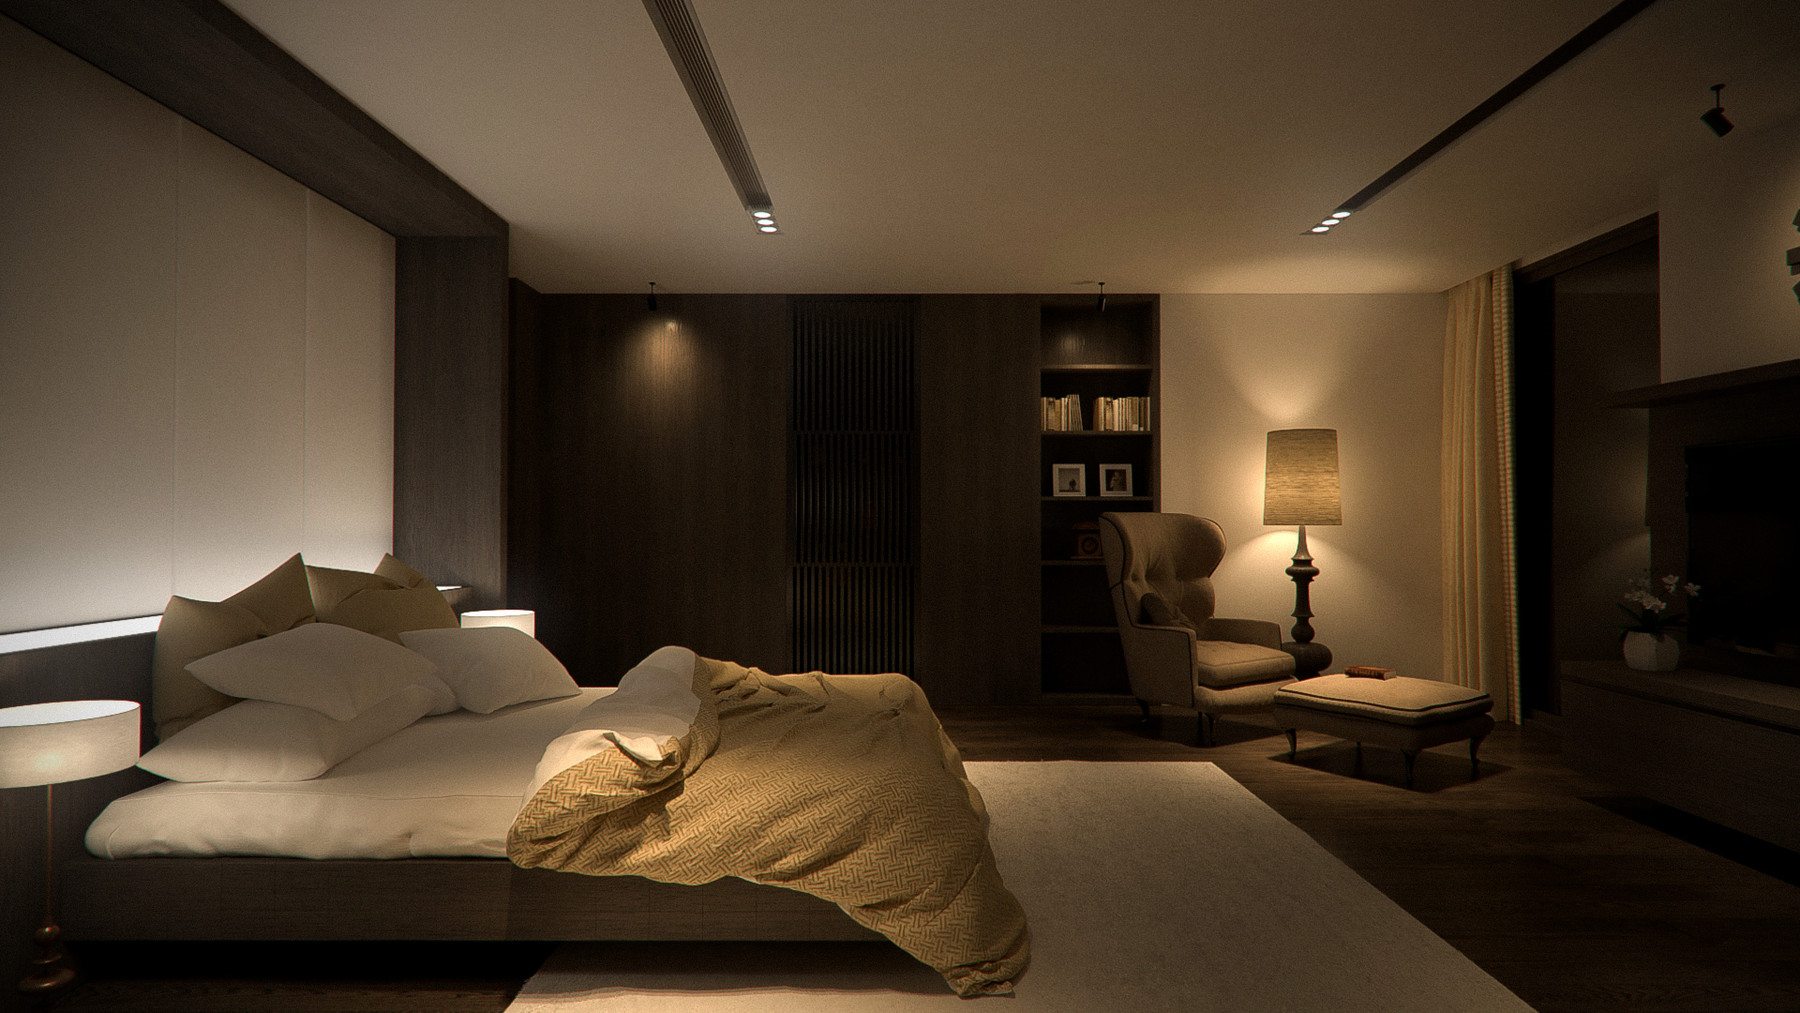
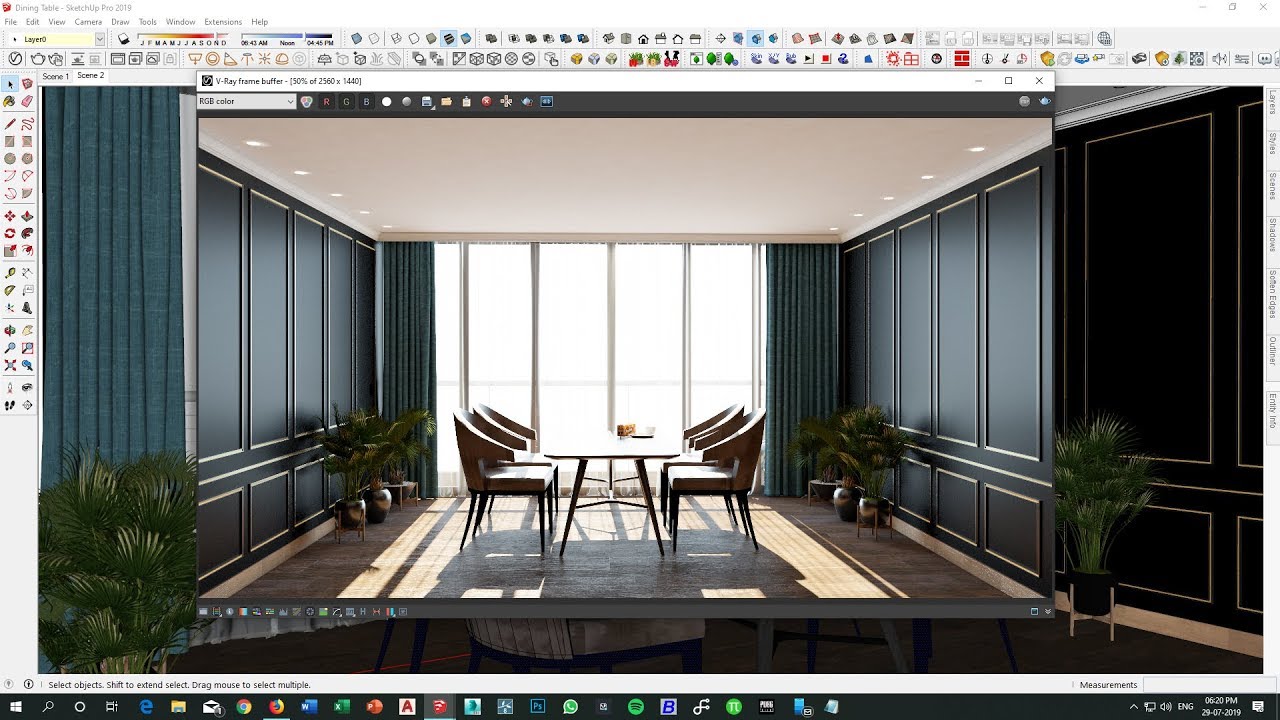
In interior design, lighting is a crucial element that can make or break a space. With Vray for SketchUp, you have a wide range of lighting options at your disposal, making it easy to create stunning and realistic interior lighting for your living room design. To get started, create a basic room shape in SketchUp using the rectangle tool. Then, add in doors and windows to your room for a more realistic design. You can also add in furniture pieces using the 3D warehouse or by creating your own using SketchUp's tools. Next, it's time to start adding in lighting. Vray offers various lighting options such as spotlights, point lights, and sun and sky settings. Experiment with different lighting options to find the best fit for your living room design. Don't be afraid to play around with the intensity and color of the lights to achieve the desired effect. When it comes to interior lighting, the placement of the lights is key. Think about where the natural light would come from in a real room and try to replicate that in your design. You can also use multiple light sources to create a more dynamic and realistic lighting setup. After you have your lighting set up, it's time to adjust the camera settings. Vray allows you to adjust the exposure, white balance, and other camera settings to achieve the desired look for your interior design. Finally, hit the render button and let Vray work its magic. You may need to make some adjustments to the lighting and camera settings to get the perfect result, but with some trial and error, you'll be able to create stunning interior lighting for your living room design. With Vray for SketchUp, you have the power to create realistic and visually appealing interior lighting for your living room design. Don't be afraid to experiment with different lighting options to achieve the perfect look for your space.6. SketchUp Vray Interior Lighting Tutorial: Living Room

6. SketchUp Vray Interior Lighting Tutorial: Living Room


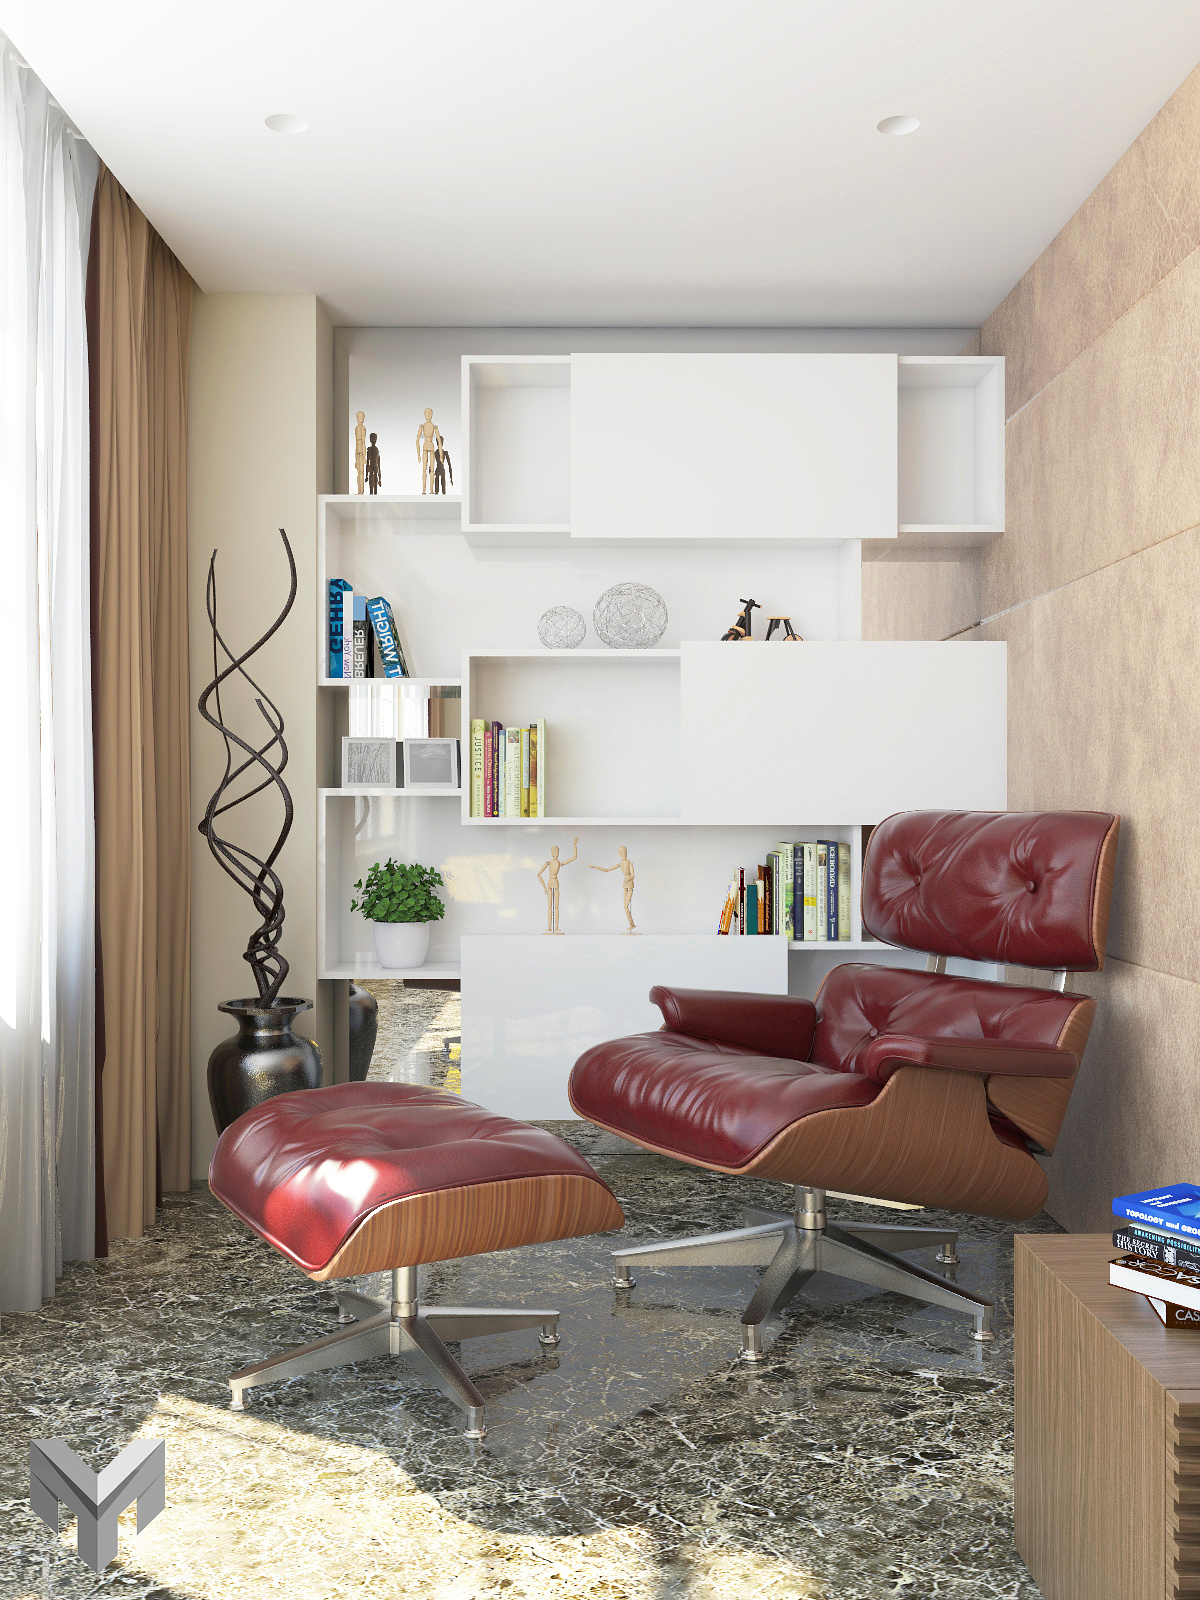
Furniture and decorations are what make a living room feel like home. With SketchUp and Vray, you can easily add these elements to your living room design and make it look like a real-life space. To start, create a basic room shape in SketchUp using the rectangle tool. Then, add in doors and windows to your room for a more realistic design. You can also add in furniture pieces using the 3D warehouse or by creating your own using SketchUp's tools. When adding furniture, it's important to pay attention to scale and proportions. Make sure the furniture pieces you choose are the right size for your room and don't overcrowd the space. You can also use Vray materials to customize the look of your furniture and make it look more realistic. Next, add in decorations such as pillows, rugs, and artwork. These small details can make a big impact on the overall look and feel of your living room design. Again, use Vray materials to add texture and make these elements look more realistic. Once you have all the furniture and decorations in place, it's time to adjust your Vray render settings. This will determine the quality and resolution of your final image. You can choose from various presets or customize your own settings to achieve the desired result. Finally, hit the render button and let Vray work its magic. Depending on your computer's processing speed, the rendering may take some time, but the end result will be worth the wait. Once the render is complete, you can save your image and make any final adjustments in Photoshop or other editing software.7. How to Add Furniture and Decorations to a Living Room in SketchUp with Vray


7. How to Add Furniture and Decorations to a Living Room in SketchUp with Vray


:max_bytes(150000):strip_icc()/cdn.cliqueinc.com__cache__posts__212361__-2030968-1483470364.700x0c-8571e60cad7b42a981ab29ae10b5c153-1c3248487c784cd2994c5a3ba02f7115.jpg)
The Importance of Utilizing Sketchup and Vray for Your Living Room Design
Creating a stunning living room design can be a daunting task for many homeowners. With so many design options and elements to consider, it can be overwhelming to even know where to begin. However, with the help of Sketchup and Vray, designing your living room can become a much easier and more enjoyable process.
 Sketchup is a 3D modeling software that allows you to create detailed and accurate models of your living room space. With its user-friendly interface and extensive library of pre-made furniture and decor, Sketchup makes it easy for even those with no design experience to create a visually appealing living room design. And with the added feature of Vray, a rendering software, you can bring your design to life with realistic lighting and textures.
One of the main benefits of using Sketchup and Vray for your living room design is the ability to visualize your space before any physical changes are made.
This software allows you to experiment with different layouts, furniture arrangements, and color schemes, giving you a clear idea of what your living room will look like before making any costly mistakes. This not only saves you time and money but also ensures that you are completely satisfied with the final design.
But it's not just about the visuals.
Sketchup and Vray also offer practical solutions for your living room design.
With precise measurements and the ability to add in real furniture and decor, you can accurately plan and arrange your living room to make the most out of your space. This software also allows you to test out different lighting options, helping you achieve the perfect atmosphere and ambiance for your living room.
Moreover, Sketchup and Vray are constantly evolving and improving, providing users with the latest design tools and techniques.
This means that you can stay ahead of design trends and create a living room that is both stylish and functional. Plus, with the ability to save and share your designs, you can easily collaborate with your family, friends, or interior designer to bring your vision to life.
In conclusion,
incorporating Sketchup and Vray into your living room design process can greatly enhance the overall outcome.
Not only does it offer a user-friendly and efficient way to create and visualize your design, but it also provides practical solutions and keeps you up-to-date with the latest design trends. So why not take advantage of these powerful tools and create the living room of your dreams?
Sketchup is a 3D modeling software that allows you to create detailed and accurate models of your living room space. With its user-friendly interface and extensive library of pre-made furniture and decor, Sketchup makes it easy for even those with no design experience to create a visually appealing living room design. And with the added feature of Vray, a rendering software, you can bring your design to life with realistic lighting and textures.
One of the main benefits of using Sketchup and Vray for your living room design is the ability to visualize your space before any physical changes are made.
This software allows you to experiment with different layouts, furniture arrangements, and color schemes, giving you a clear idea of what your living room will look like before making any costly mistakes. This not only saves you time and money but also ensures that you are completely satisfied with the final design.
But it's not just about the visuals.
Sketchup and Vray also offer practical solutions for your living room design.
With precise measurements and the ability to add in real furniture and decor, you can accurately plan and arrange your living room to make the most out of your space. This software also allows you to test out different lighting options, helping you achieve the perfect atmosphere and ambiance for your living room.
Moreover, Sketchup and Vray are constantly evolving and improving, providing users with the latest design tools and techniques.
This means that you can stay ahead of design trends and create a living room that is both stylish and functional. Plus, with the ability to save and share your designs, you can easily collaborate with your family, friends, or interior designer to bring your vision to life.
In conclusion,
incorporating Sketchup and Vray into your living room design process can greatly enhance the overall outcome.
Not only does it offer a user-friendly and efficient way to create and visualize your design, but it also provides practical solutions and keeps you up-to-date with the latest design trends. So why not take advantage of these powerful tools and create the living room of your dreams?