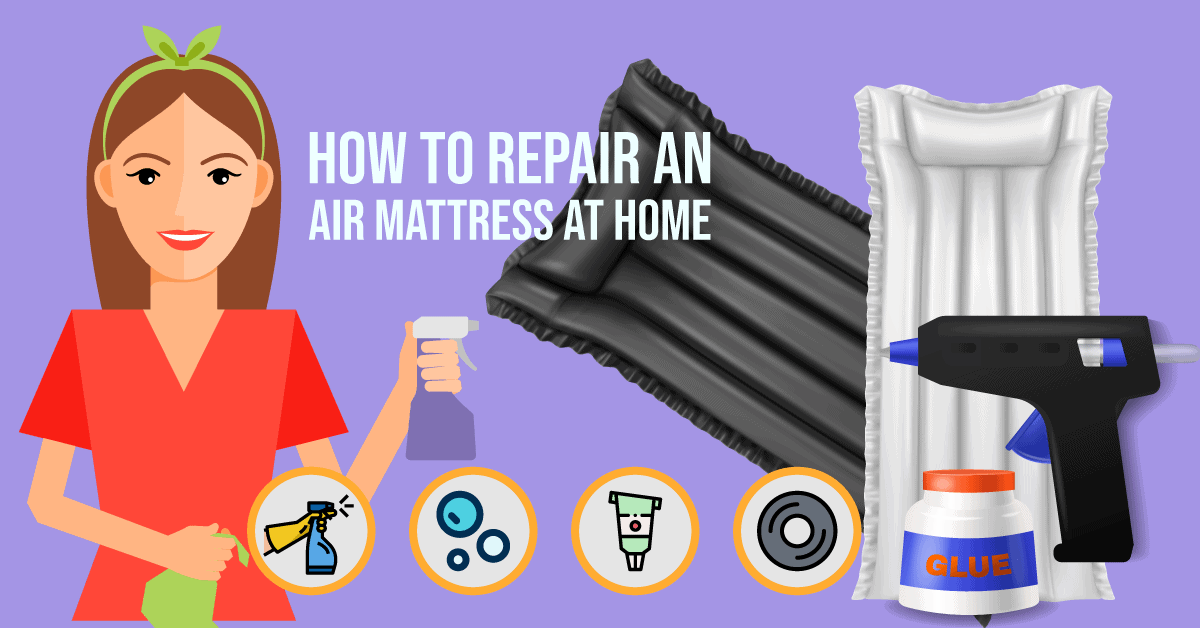
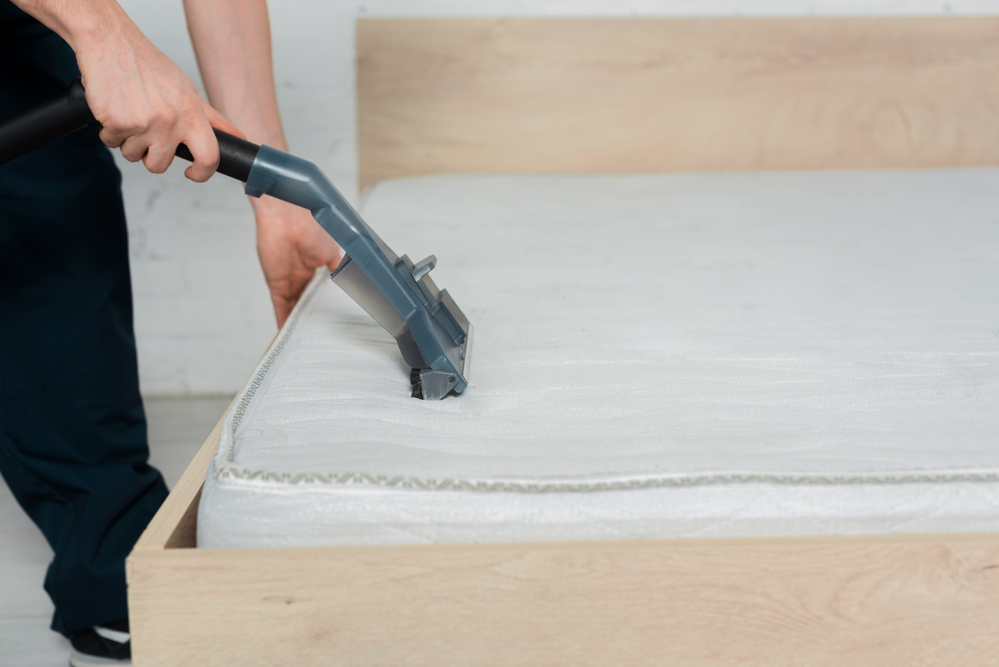
If you love camping or have unexpected guests staying over, an air mattress is a convenient and comfortable solution. However, accidents can happen and your air mattress may get punctured or start leaking air. Before you panic and throw it away, follow these easy steps to patch it up and save your mattress. First, locate the leak by filling the mattress with air and listening for any hissing sounds. If you can't find the leak, try submerging the mattress in water and look for bubbles. Once you have found the leak, it's time to start the patching process. Featured Keywords: patch, air mattress, punctured, leaking, patch up1. How to Patch an Air Mattress in 5 Easy Steps


1. How to Patch an Air Mattress in 5 Easy Steps


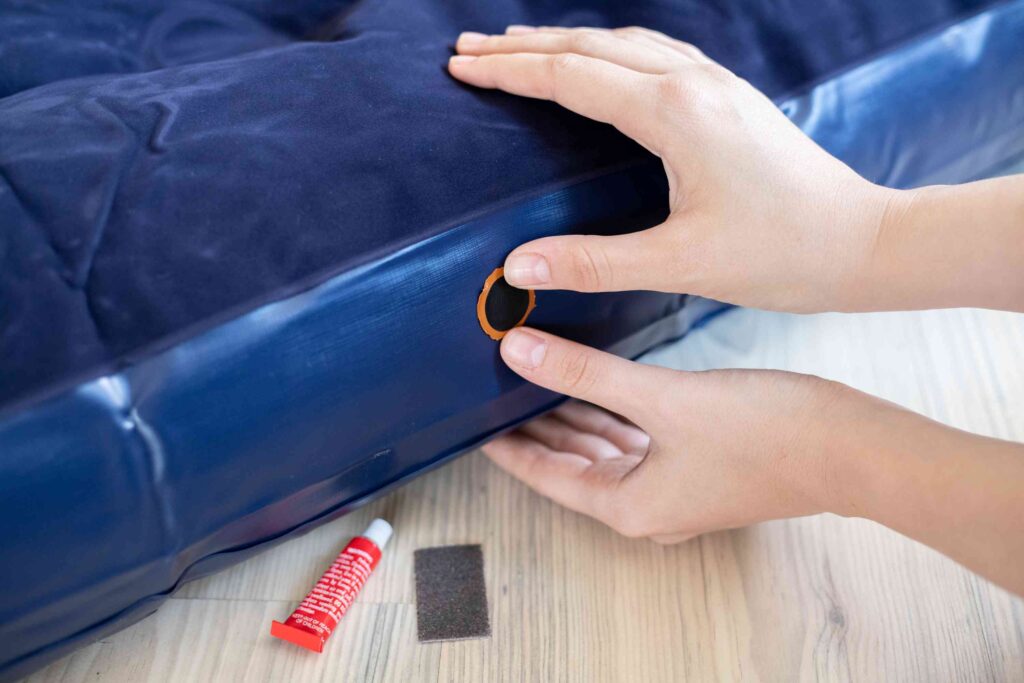
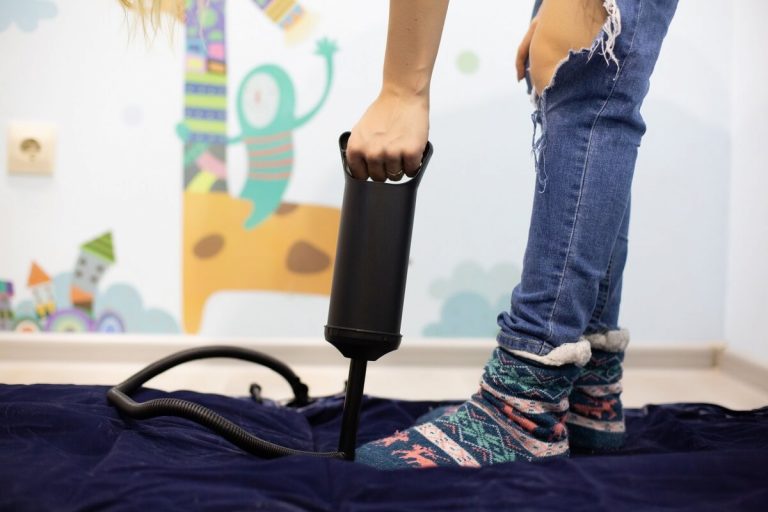
Now that you have located the leak, it's time to gather the necessary materials to fix it. You will need a patch kit, which usually includes a patch, adhesive, and sandpaper. If you don't have a patch kit, you can also use duct tape or a bicycle tire patch as a temporary fix. Start by sanding the area around the leak to create a smooth surface for the patch to adhere to. Then, apply the adhesive to both the patch and the sanded area. Place the patch over the leak and firmly press down to ensure it sticks. Let it dry for the recommended time on the patch kit before inflating the mattress again. Featured Keywords: fix, leaky, air mattress, patch kit, temporary fix2. The Best Way to Fix a Leaky Air Mattress


2. The Best Way to Fix a Leaky Air Mattress


If you don't have a patch kit on hand, there are still some quick and easy ways to repair your air mattress. One option is to use a hot glue gun to seal the leak. Simply apply a small amount of hot glue over the hole and let it dry before inflating the mattress again. Another option is to use a piece of plastic, such as a plastic bag or shower curtain, as a patch. Cut a piece of plastic larger than the hole and use duct tape to secure it to the mattress. This will create a waterproof seal and allow you to continue using the air mattress until you can get a proper patch kit. Featured Keywords: air mattress repair, hot glue gun, seal, plastic, waterproof3. Quick and Easy Air Mattress Repair


3. Quick and Easy Air Mattress Repair


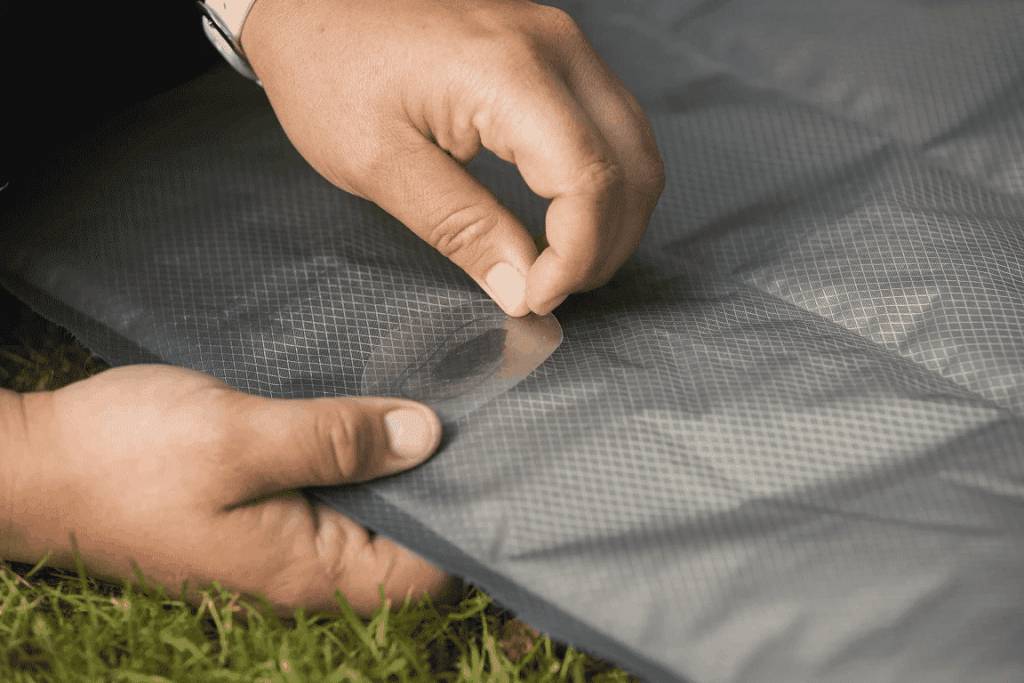
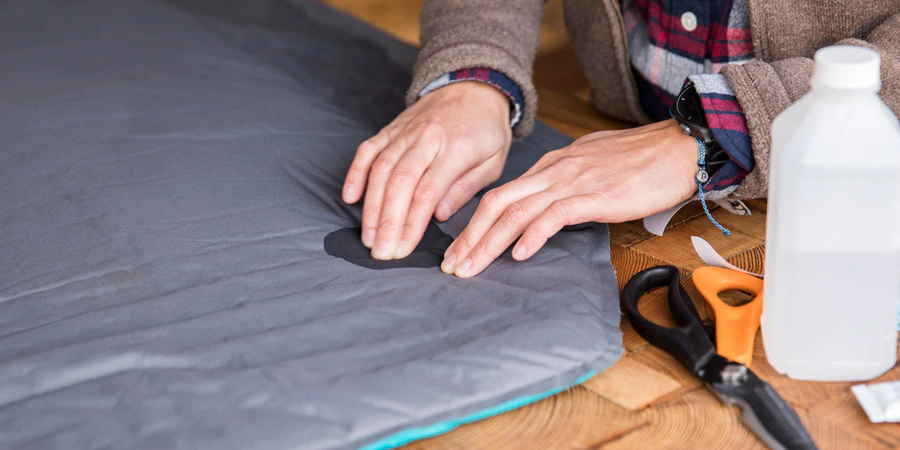
If you're feeling crafty, you can try making your own patch for your air mattress. Cut a piece of fabric, such as an old t-shirt or towel, to cover the leak. Then, use a waterproof adhesive, such as silicone or rubber cement, to seal the edges and create a strong bond. Another tip is to use a bike tire inner tube as a patch. Cut a piece slightly larger than the leak and use rubber cement to attach it to the mattress. This method is effective and can withstand a lot of pressure, making it a durable fix for your air mattress. Featured Keywords: DIY, patching, fabric, adhesive, bike tire inner tube4. DIY Air Mattress Patching: Tips and Tricks


4. DIY Air Mattress Patching: Tips and Tricks


:max_bytes(150000):strip_icc()/81QHm8NXr2L._AC_SL1500_1-17bafdc326cf4922b0d8acca4d9b5639.jpg)


Now that you know the different ways to patch an air mattress, here are some additional tips to ensure a successful repair. Make sure to thoroughly clean and dry the area before applying the patch to ensure a strong bond. Also, consider using multiple patches for larger holes or tears to ensure a secure seal. And don't forget to let the adhesive dry completely before inflating the mattress again. With these tips, your air mattress will be as good as new in no time. Featured Keywords: ultimate guide, patching, air mattress, clean, dry, multiple patches5. The Ultimate Guide to Patching an Air Mattress


5. The Ultimate Guide to Patching an Air Mattress


To summarize, here are the top 10 tips for repairing an air mattress: 1. Locate the leak by filling the mattress with air and listening for hissing sounds. 2. Use a patch kit or alternative materials, such as duct tape or a plastic bag, to seal the leak. 3. Sand the area around the leak for a smooth surface before applying the patch. 4. Let the adhesive dry completely before inflating the mattress again. 5. Consider using multiple patches for larger holes or tears. 6. Clean and dry the area before patching for a strong bond. 7. Use a hot glue gun or bike tire inner tube as alternative patching methods. 8. Don't overinflate the mattress to avoid putting pressure on the patch. 9. Keep a patch kit or alternative materials on hand for quick fixes. 10. Properly store and handle the air mattress to prevent future punctures or leaks. Featured Keywords: top 10 tips, repairing, air mattress, patch kit, alternative materials6. Top 10 Tips for Repairing an Air Mattress


6. Top 10 Tips for Repairing an Air Mattress


If you want to ensure a successful patch job, it's important to use the right products. Here are some of the best products for patching an air mattress: - Intex Deluxe Pillow Rest Inflatable Air Mattress Patch Kit - Tear-Aid Fabric Repair Kit - Gear Aid Tenacious Tape Repair Tape - Coghlan's Airstop Sealant - Gorilla Clear Repair Tape These products are specifically designed for repairing air mattresses and will provide a strong and long-lasting bond. Featured Keywords: best products, patching, air mattress, patch kit, fabric repair kit, repair tape, sealant7. The Best Products for Patching an Air Mattress


7. The Best Products for Patching an Air Mattress

Prevention is key when it comes to air mattress leaks. To avoid punctures and leaks, make sure to properly inspect and prepare the surface where you will be placing the mattress. Clear away any sharp objects or debris that could damage the mattress. If you do find a leak, follow the steps mentioned earlier to patch it up. It's also a good idea to regularly check your air mattress for leaks and fix them immediately to prevent them from getting worse. Featured Keywords: find, fix, leak, air mattress, prevention, inspect8. How to Find and Fix a Leak in Your Air Mattress


8. How to Find and Fix a Leak in Your Air Mattress


To summarize the steps for patching an air mattress, here is a step-by-step guide: 1. Locate the leak by filling the mattress with air and listening for hissing sounds or by submerging it in water. 2. Gather your patch kit or alternative materials. 3. Sand the area around the leak for a smooth surface. 4. Apply adhesive to both the patch and the sanded area. 5. Place the patch over the leak and firmly press down. 6. Let the adhesive dry completely before inflating the mattress again. 7. Consider using multiple patches for larger holes or tears. 8. Properly store and handle the air mattress to prevent future leaks. Featured Keywords: step-by-step guide, patching, air mattress, patch kit, alternative materials, adhesive9. Step-by-Step Guide to Patching an Air Mattress


9. Step-by-Step Guide to Patching an Air Mattress
After trying different methods and products, you may be wondering what the most effective way to patch an air mattress is. The truth is, the most effective method will depend on the type of leak and the materials you have on hand. However, the key to a successful patch job is to properly clean and dry the area, use a strong adhesive, and let it dry completely before inflating the mattress again. With these steps, you can ensure a secure seal and a fully functional air mattress. Featured Keywords: effective way, patch, air mattress, clean, dry, adhesive10. The Most Effective Way to Patch an Air Mattress


10. The Most Effective Way to Patch an Air Mattress
:max_bytes(150000):strip_icc()/inflatable-mattress-in-an-empty-room-1165771286-cdef8878a02c456188562f33c8f66d5d.jpg)

The Importance of Properly Patching Up Your Air Mattress
Don't Let a Leaky Air Mattress Ruin Your Sleep
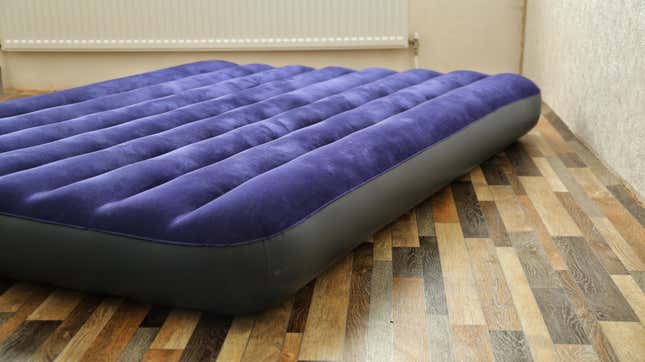
 One of the biggest downsides of owning an air mattress is the possibility of it springing a leak. Whether it's due to wear and tear or accidental punctures, a leaky air mattress can quickly turn a comfortable night's sleep into a restless and uncomfortable one. Not to mention, constantly having to refill the mattress with air can be a hassle. But fear not, with the right tools and techniques, patching up your air mattress can be a simple and effective solution.
Gather Your Materials
 Before you begin the patching process, make sure you have all the necessary materials. You will need a patch kit, which can be purchased at most home goods or camping stores, and some rubbing alcohol. It's important to use a patch kit specifically designed for air mattresses as they are made to withstand the pressure and movement of air. Avoid using generic patch kits meant for other materials, as they may not hold up as well. Additionally, make sure your mattress is completely deflated before starting the patching process.
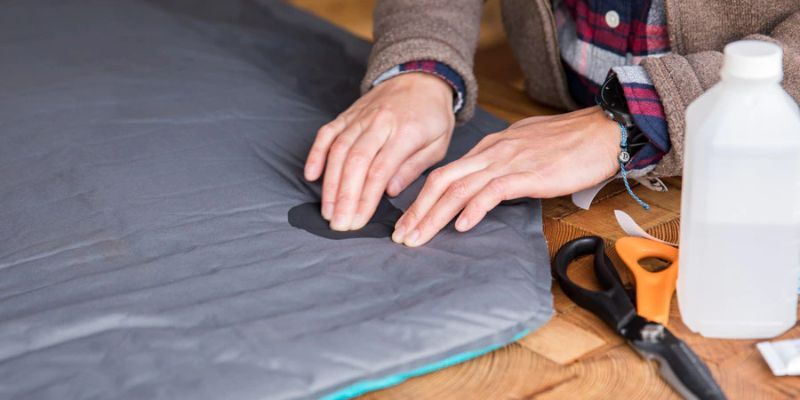
Clean and Dry the Area
 Once you have all your materials ready, it's time to clean and dry the area where the leak is located. Use a damp cloth and mild soap to gently clean the surface, removing any dirt or debris. Then, use a dry cloth to completely dry the area. This step is crucial, as any moisture left on the surface can prevent the patch from adhering properly.
Apply the Patch
 Next, follow the instructions on your patch kit to apply the patch to the leak. This typically involves applying a layer of adhesive to the patch and then firmly pressing it onto the surface of the mattress. Make sure to smooth out any air bubbles and firmly hold the patch in place for a few minutes to ensure a strong bond.
Let it Cure
 Once the patch is applied, it's important to let it cure for the recommended amount of time. This can vary depending on the type of patch kit you are using, but typically it takes a few hours for the adhesive to fully dry and create a strong bond. Avoid using the air mattress during this time to ensure the patch has time to properly set.
In Conclusion
 Properly patching up your air mattress is essential for maintaining its longevity and ensuring a comfortable night's sleep. By following these steps and using a high-quality patch kit, you can easily fix any leaks and get your air mattress back in top shape. Don't let a leaky air mattress ruin your sleep – take the time to properly patch it up and enjoy many more restful nights on your comfortable air mattress.