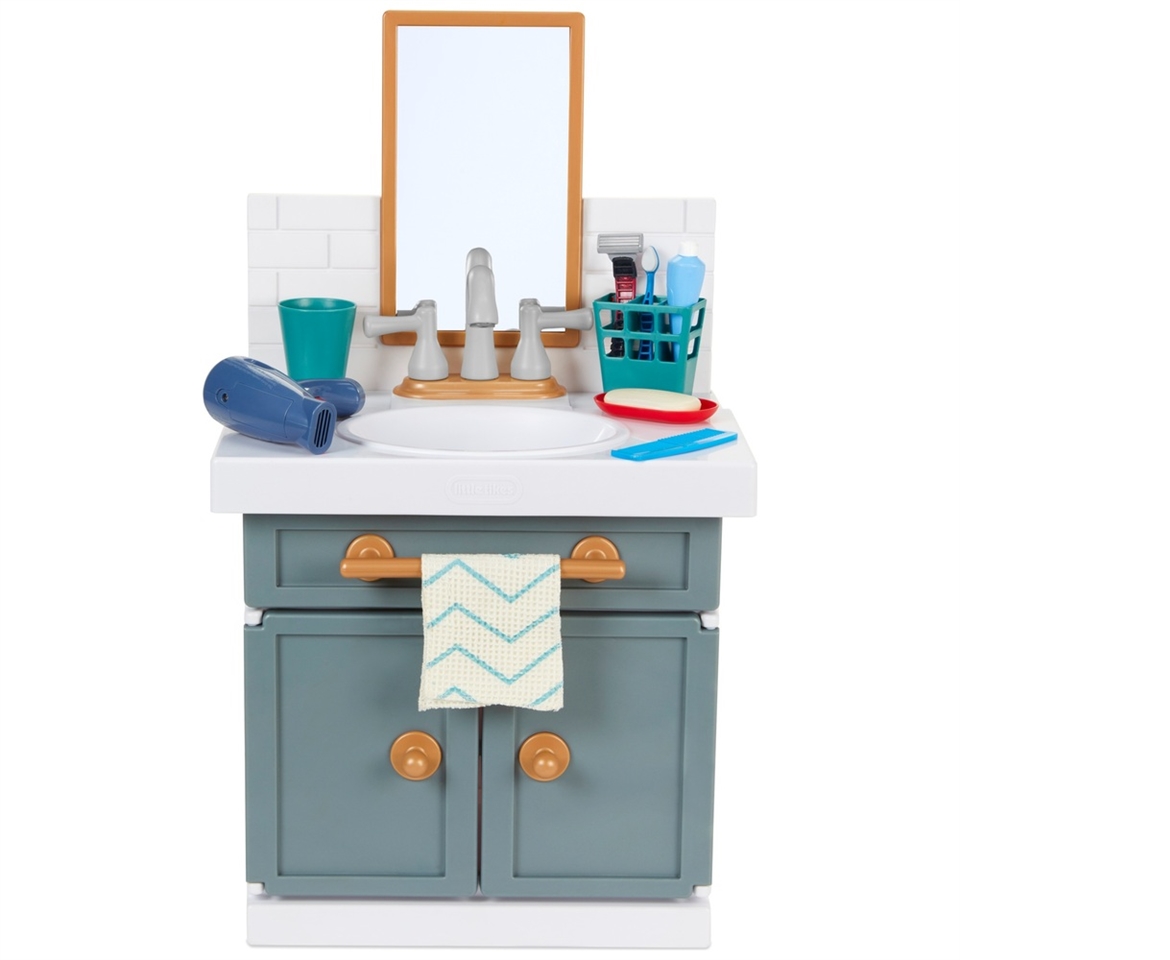
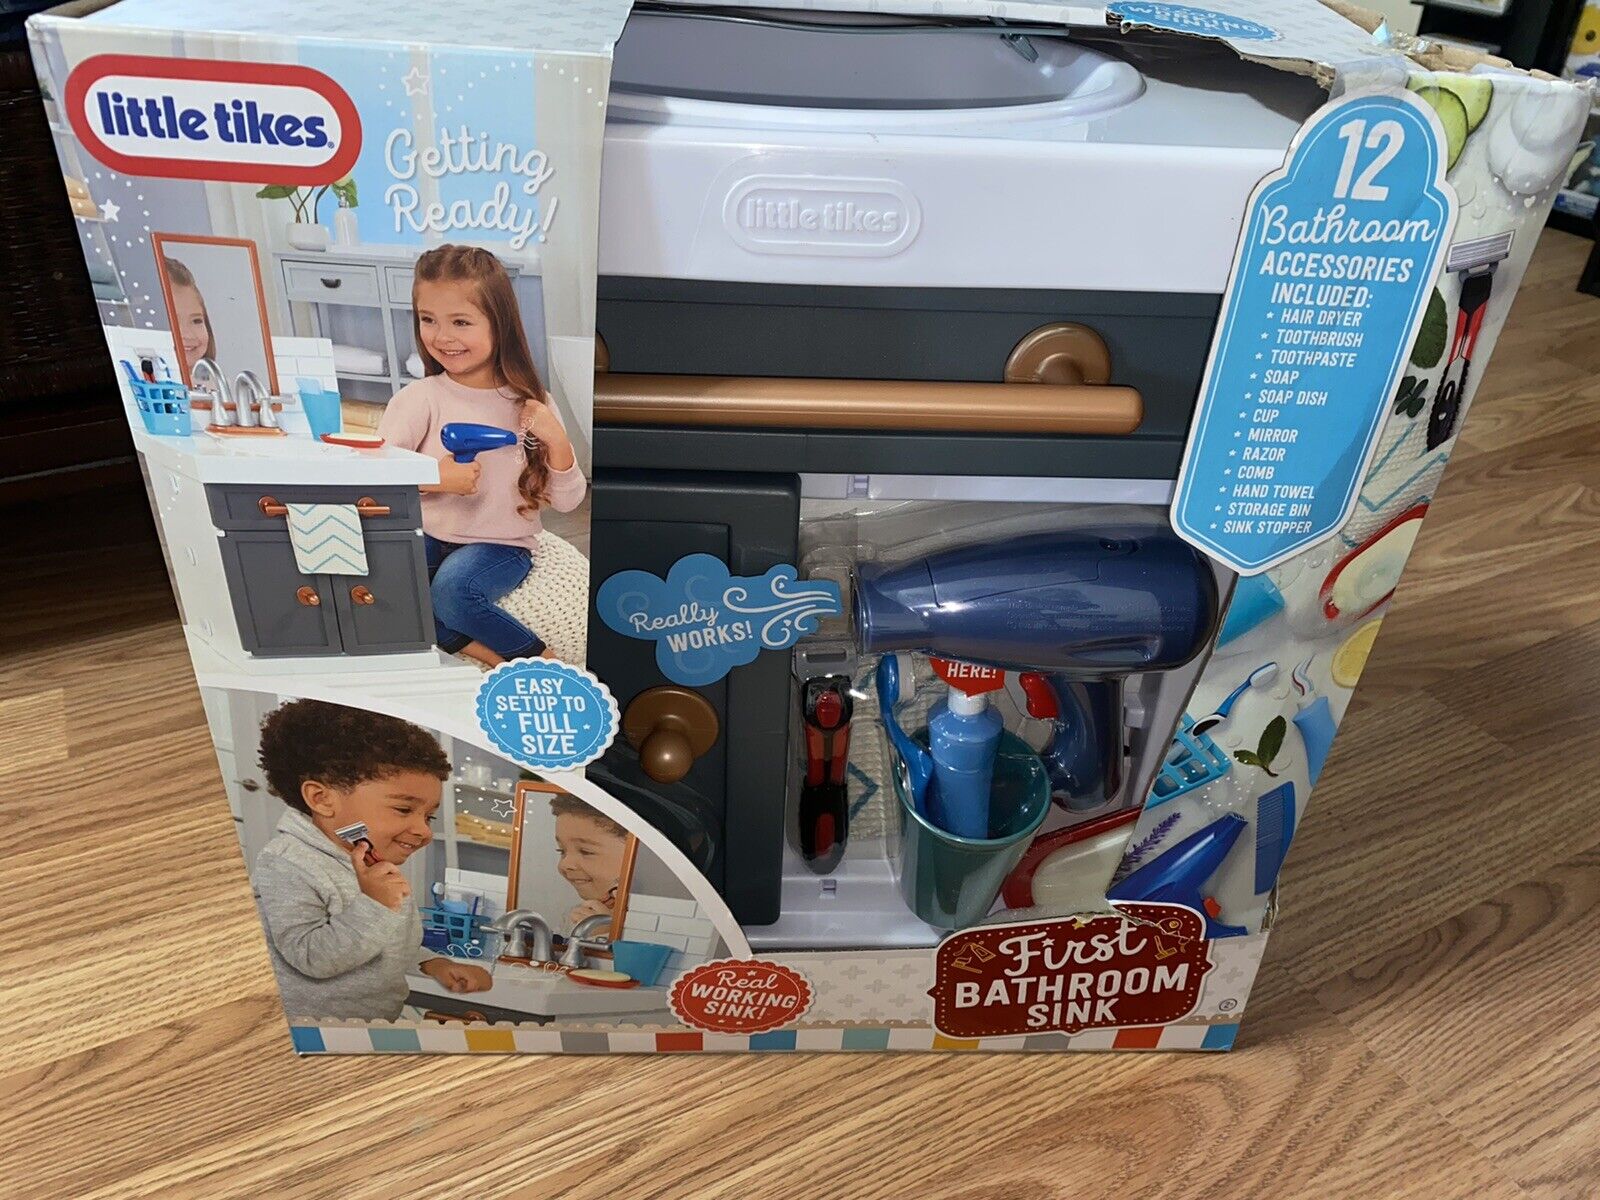
If you have a little one who loves playing pretend, the Little Tikes First Bathroom Sink is the perfect addition to their toy collection. This interactive playset allows children to imagine and role-play as they learn about everyday tasks like washing their hands and brushing their teeth. But before your child can start playing, you'll need to follow the assembly instructions to set up the sink.Introduction to Little Tikes First Bathroom Sink


Little Tikes First Bathroom Sink Instructions
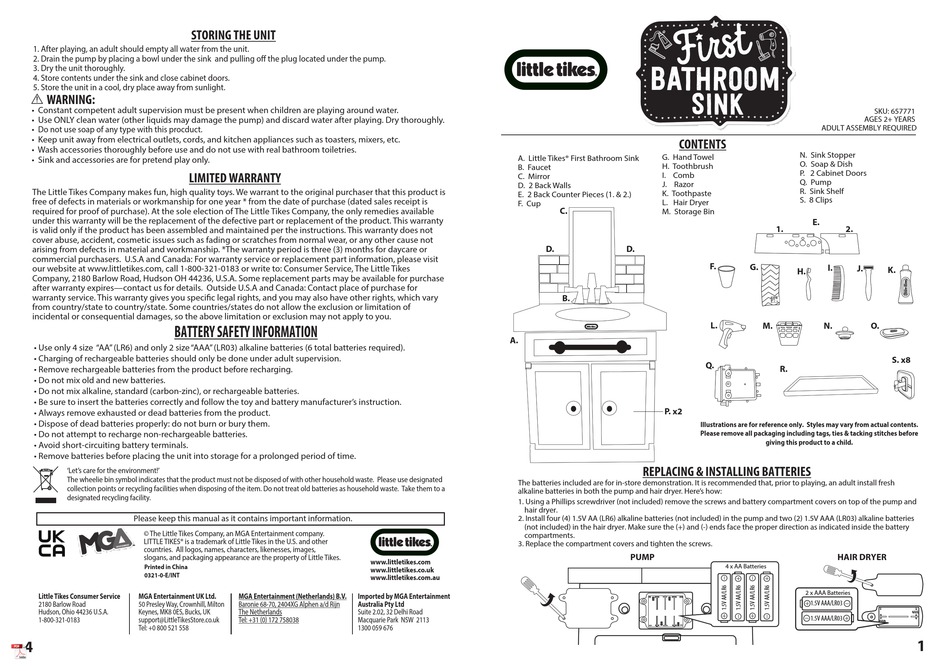

Putting together the Little Tikes First Bathroom Sink is a simple process that can be completed in just a few steps. First, take out all the pieces from the packaging and lay them out on a flat surface. Make sure you have all the necessary parts, including the sink, faucet, drain, and accessories. Next, follow the instructions provided in the manual to attach the faucet to the sink. This usually involves inserting the faucet into the designated hole and securing it with screws. Then, attach the drain to the bottom of the sink using the provided clips. Once the sink is assembled, you can attach any additional accessories, such as a soap dispenser or toothbrush holder. Finally, place the sink on a stable surface and fill it with water. Now your child is ready to start playing with their new Little Tikes First Bathroom Sink!Little Tikes First Bathroom Sink Instructions


Little Tikes Sink Instructions


If you're looking for a more compact sink option for your child, the Little Tikes Sink is a great choice. This sink toy is designed to be smaller and easier to assemble than the First Bathroom Sink. To start, lay out all the pieces and make sure you have everything you need. First, attach the faucet to the sink using the screws provided. Then, attach the drain to the bottom of the sink using the clips. Finally, add any additional accessories and fill the sink with water. The Little Tikes Sink is ready for your child to start playing and learning!Little Tikes Sink Instructions


Little Tikes Bathroom Sink Assembly Instructions


Similar to the First Bathroom Sink, the Little Tikes Bathroom Sink also requires assembly before your child can start playing. To begin, unpack all the pieces and lay them out on a flat surface. Make sure you have all the necessary parts, including the sink, faucet, drain, and accessories. Next, attach the faucet to the sink using the provided screws. Then, attach the drain to the bottom of the sink using the clips. Finally, add any additional accessories and fill the sink with water. Your child can now enjoy playing with the Little Tikes Bathroom Sink!Little Tikes Bathroom Sink Assembly Instructions


Little Tikes Sink Toy Instructions


The Little Tikes Sink Toy is a smaller and more compact version of the First Bathroom Sink. Assembling this sink toy is a breeze and can be done in just a few simple steps. Start by unpacking all the pieces and laying them out on a flat surface. Next, insert the faucet into the designated hole on the sink and secure it with the provided screws. Then, attach the drain to the bottom of the sink using the clips. Finally, add any desired accessories and fill the sink with water. Your child can now have fun playing with the Little Tikes Sink Toy!Little Tikes Sink Toy Instructions

Little Tikes Sink Playset Instructions


The Little Tikes Sink Playset is a fun and interactive way for children to learn about household chores. Assembling this playset is easy and can be done in just a few steps. Start by laying out all the pieces on a flat surface and making sure you have all the necessary parts. Next, attach the faucet to the sink using the screws provided. Then, attach the drain to the bottom of the sink using the clips. Finally, add any desired accessories and fill the sink with water. Your child can now enjoy playing and learning with the Little Tikes Sink Playset!Little Tikes Sink Playset Instructions

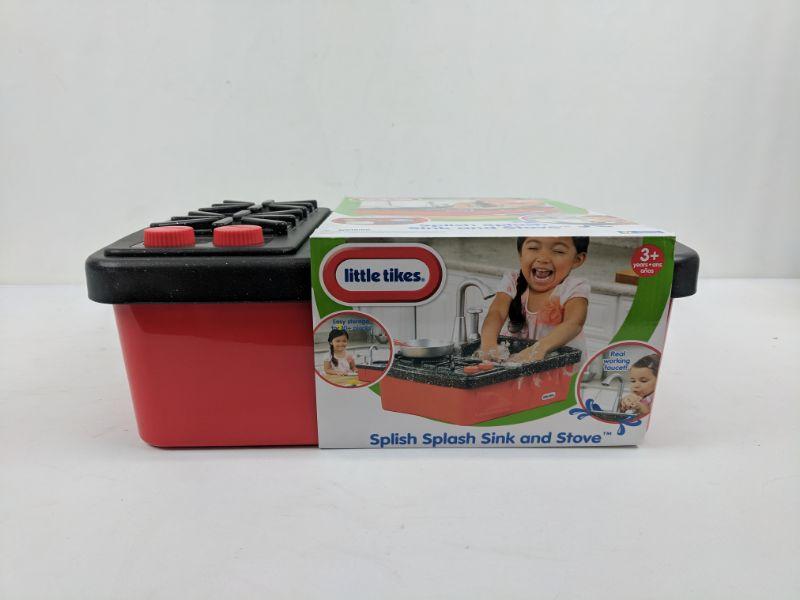
Little Tikes Sink and Stove Instructions

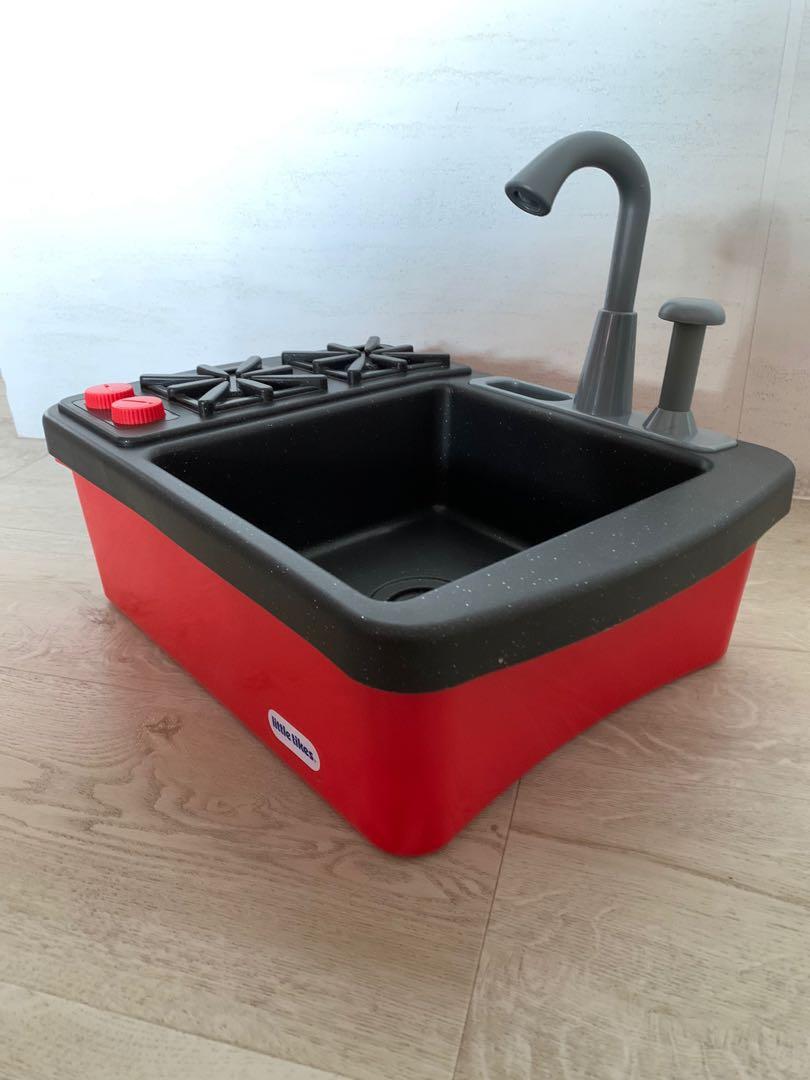
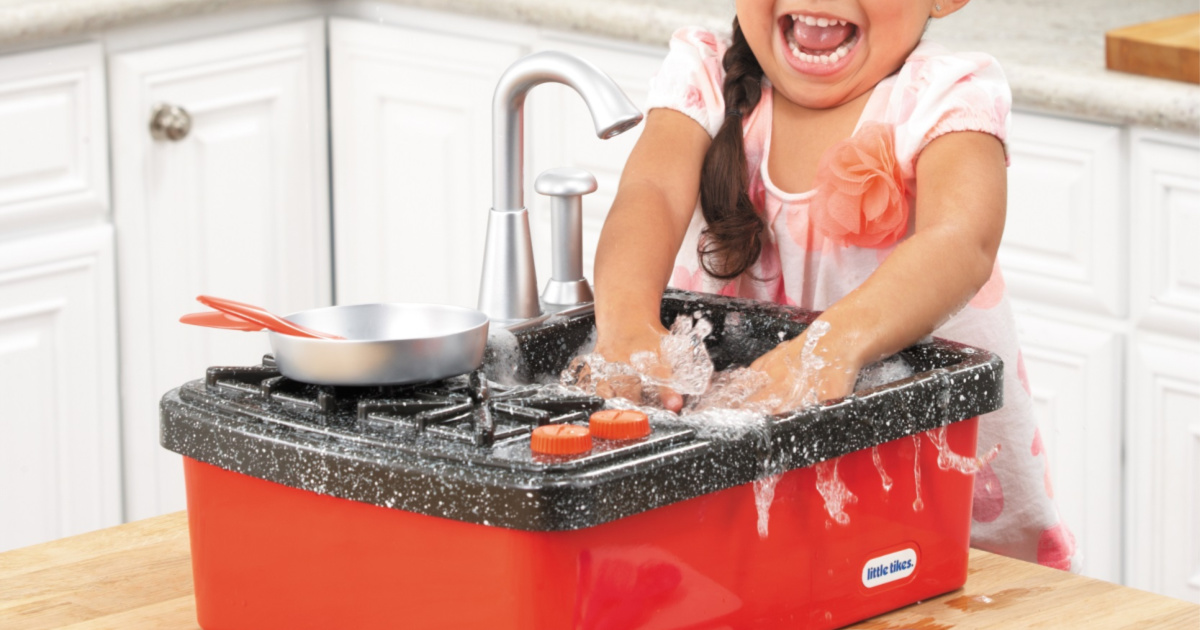
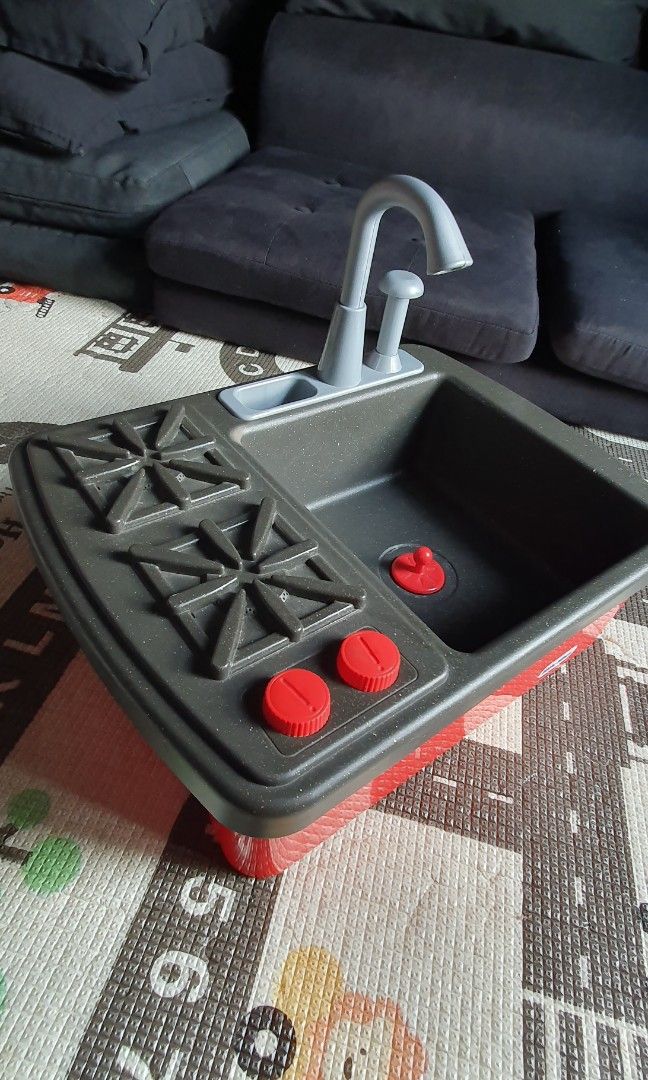
In addition to the sink, the Little Tikes Sink and Stove playset also includes a stove for children to play with. Assembling this playset is a bit more involved than the others, but still simple and easy to follow. Start by unpacking all the pieces and laying them out on a flat surface. Next, attach the faucet to the sink and the knobs to the stove using the provided screws. Then, attach the drain to the bottom of the sink using the clips. Finally, add any desired accessories and fill the sink with water. Your child can now have fun playing with the Little Tikes Sink and Stove!Little Tikes Sink and Stove Instructions


Little Tikes Splish Splash Sink Instructions
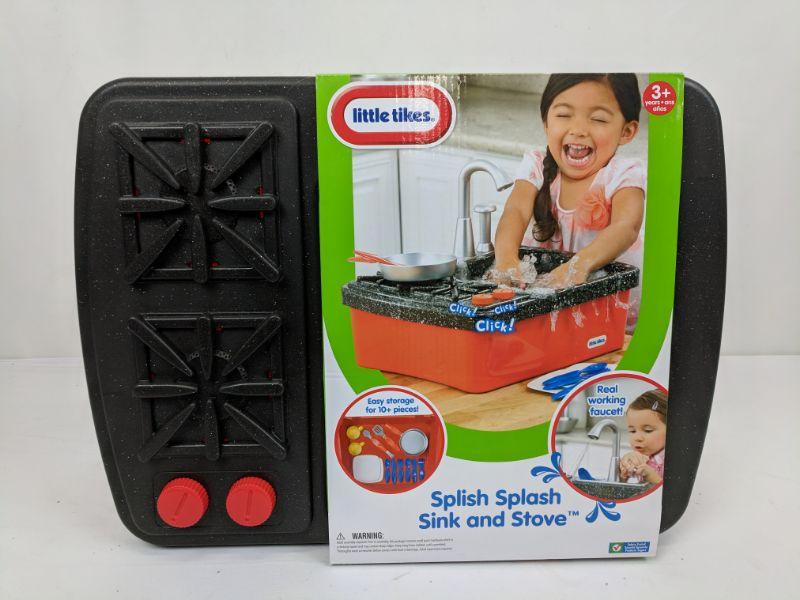


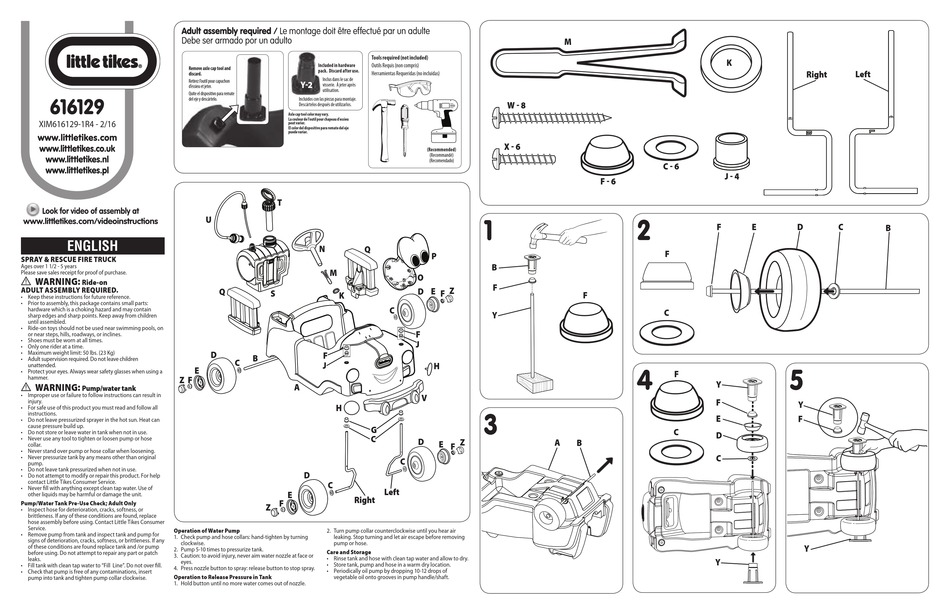
The Little Tikes Splish Splash Sink is a more advanced playset that includes a working pump and real water flow. Assembling this sink is slightly more involved, but still easy to follow. First, unpack all the pieces and lay them out on a flat surface. Next, attach the faucet to the sink using the provided screws. Then, attach the drain to the bottom of the sink using the clips. Finally, attach the pump to the back of the sink and fill it with water. Your child can now enjoy the interactive features of the Little Tikes Splish Splash Sink!Little Tikes Splish Splash Sink Instructions


.jpg)
Little Tikes Sink and Vanity Instructions
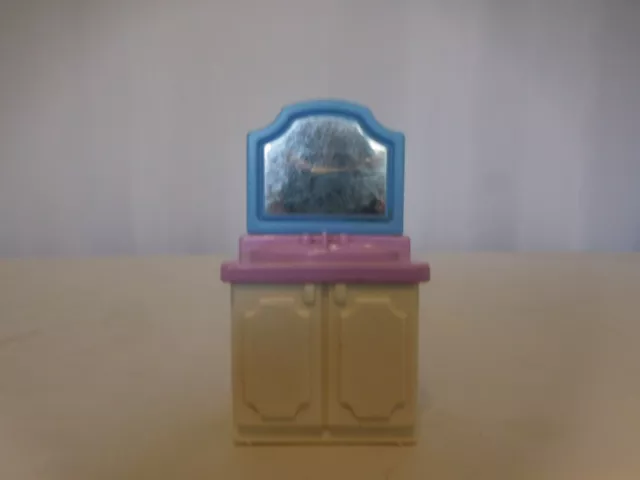
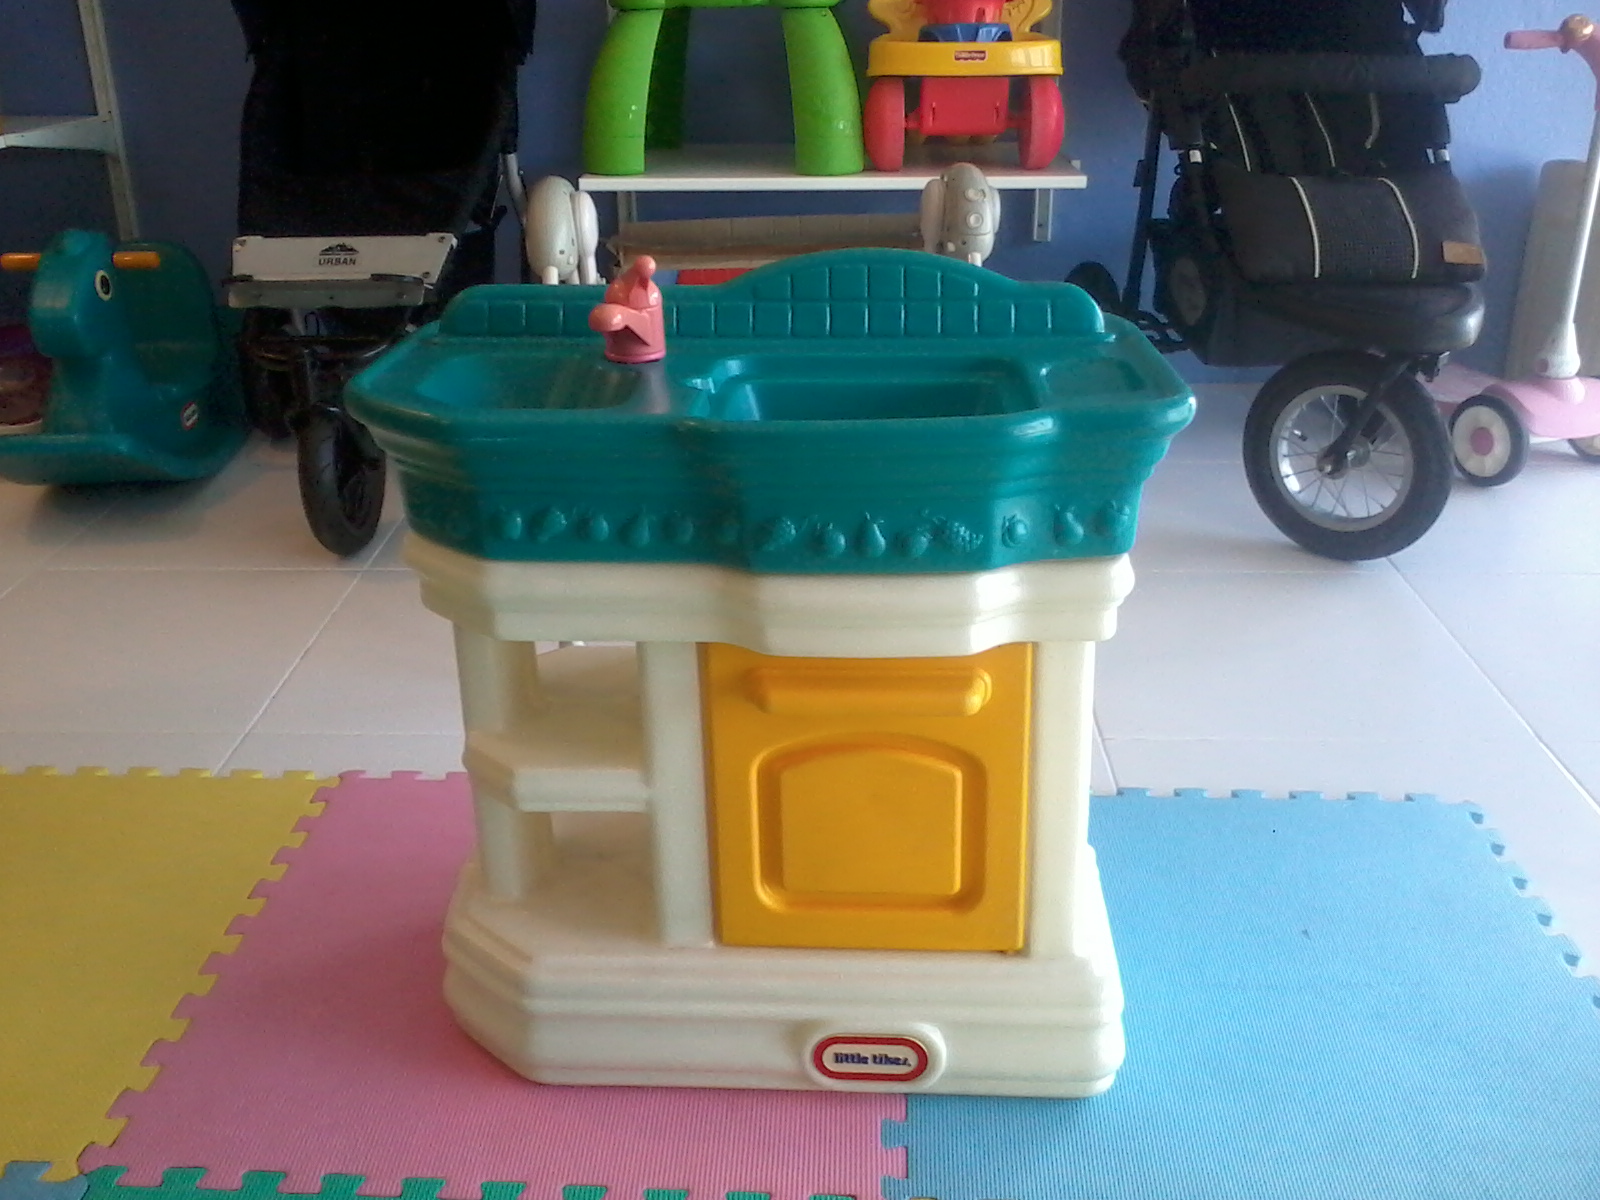
The Little Tikes Sink and Vanity playset is perfect for children who love to pretend and play dress-up. Assembling this playset is simple and can be done in just a few steps. Start by laying out all the pieces and making sure you have everything you need. Next, attach the faucet to the sink using the screws provided. Then, attach the drain to the bottom of the sink using the clips. Finally, add any desired accessories and fill the sink with water. Your child can now enjoy playing and getting ready at their own Little Tikes Sink and Vanity!Little Tikes Sink and Vanity Instructions

Little Tikes Sink and Dishwasher Instructions


The Little Tikes Sink and Dishwasher playset is perfect for children who love to help out in the kitchen. Assembling this playset is easy and can be completed in just a few steps. Start by unpacking all the pieces and laying them out on a flat surface. Next, attach the faucet to the sink using the provided screws. Then, attach the drain to the bottom of the sink using the clips. Finally, add any desired accessories and fill the sink with water. Your child can now enjoy washing dishes and playing with the Little Tikes Sink and Dishwasher!Little Tikes Sink and Dishwasher Instructions

Little Tikes Sink and Laundry Instructions
Transform Your Child's Bathroom with Little Tikes First Bathroom Sink
Creating a Fun and Functional Space for Your Child
 If you're a parent, you know that getting your child to engage in daily routines like brushing their teeth and washing their hands can be a challenge. But what if you could make these tasks more enjoyable for your little one? With the
Little Tikes First Bathroom Sink
, you can do just that. This adorable and interactive sink is designed specifically for children, providing a fun and functional space for them to take care of their daily hygiene needs.
If you're a parent, you know that getting your child to engage in daily routines like brushing their teeth and washing their hands can be a challenge. But what if you could make these tasks more enjoyable for your little one? With the
Little Tikes First Bathroom Sink
, you can do just that. This adorable and interactive sink is designed specifically for children, providing a fun and functional space for them to take care of their daily hygiene needs.
Design and Features
 The
Little Tikes First Bathroom Sink
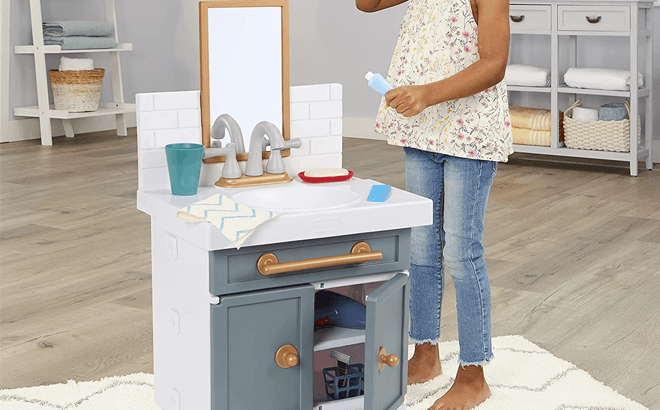
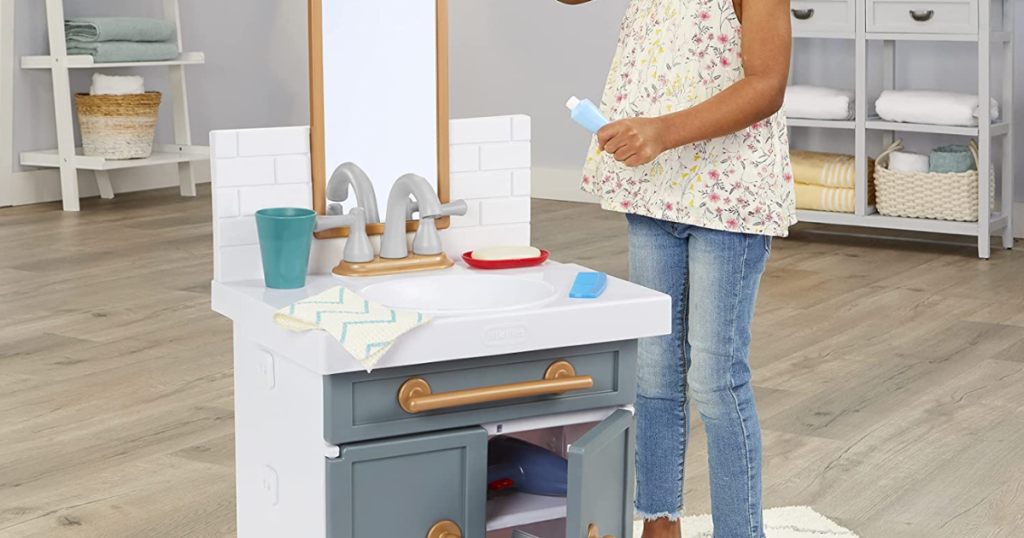
is designed to look like a real bathroom sink, but in a smaller size that is perfect for children. It comes in a vibrant and playful color scheme, making it a great addition to any child's bathroom. The sink is made of durable plastic, ensuring it can withstand the wear and tear of daily use by young children.
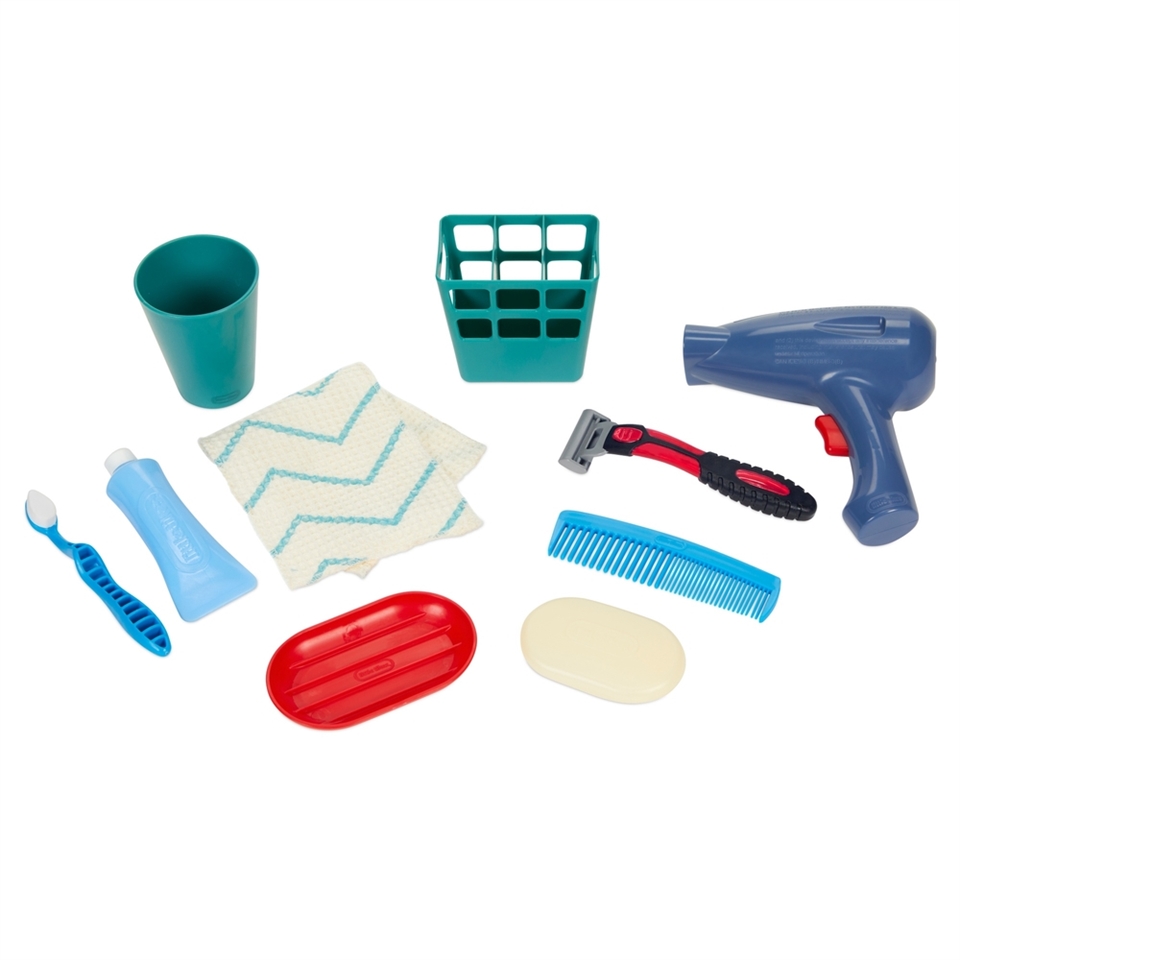
One of the main features of this sink is its realistic and interactive design. It comes with a working faucet that pumps real water, allowing your child to actually wash their hands and brush their teeth. The sink also has a built-in mirror and storage compartments for soap and toothbrushes, making it a complete and functional set.
The
Little Tikes First Bathroom Sink
is designed to look like a real bathroom sink, but in a smaller size that is perfect for children. It comes in a vibrant and playful color scheme, making it a great addition to any child's bathroom. The sink is made of durable plastic, ensuring it can withstand the wear and tear of daily use by young children.
One of the main features of this sink is its realistic and interactive design. It comes with a working faucet that pumps real water, allowing your child to actually wash their hands and brush their teeth. The sink also has a built-in mirror and storage compartments for soap and toothbrushes, making it a complete and functional set.
Benefits for Your Child
 Aside from the obvious benefit of keeping your child's hygiene in check, the
Little Tikes First Bathroom Sink
offers many other advantages. By providing a designated space for your child to take care of their personal hygiene, you are teaching them important life skills and promoting independence. The interactive design also encourages imaginative play, which is essential for a child's cognitive and emotional development.
Furthermore, this sink can also be used as a teaching tool. You can use it to demonstrate proper handwashing techniques or even introduce your child to the concept of dental hygiene. This can make these tasks more engaging and less of a chore for your child.
Aside from the obvious benefit of keeping your child's hygiene in check, the
Little Tikes First Bathroom Sink
offers many other advantages. By providing a designated space for your child to take care of their personal hygiene, you are teaching them important life skills and promoting independence. The interactive design also encourages imaginative play, which is essential for a child's cognitive and emotional development.
Furthermore, this sink can also be used as a teaching tool. You can use it to demonstrate proper handwashing techniques or even introduce your child to the concept of dental hygiene. This can make these tasks more engaging and less of a chore for your child.
The Perfect Addition to Your Child's Bathroom
 The
Little Tikes First Bathroom Sink
is not only functional and beneficial, but it also adds a touch of fun and cuteness to your child's bathroom. Its compact size makes it easy to fit in any space, making it a great addition to any bathroom, big or small.
In conclusion, the
Little Tikes First Bathroom Sink
is a must-have for any parent who wants to make their child's bathroom experience more enjoyable and educational. With its realistic design and interactive features, it is sure to become a favorite in your child's daily routine. So why wait? Get your little one's bathroom transformed today with the
Little Tikes First Bathroom Sink
!
The
Little Tikes First Bathroom Sink
is not only functional and beneficial, but it also adds a touch of fun and cuteness to your child's bathroom. Its compact size makes it easy to fit in any space, making it a great addition to any bathroom, big or small.
In conclusion, the
Little Tikes First Bathroom Sink
is a must-have for any parent who wants to make their child's bathroom experience more enjoyable and educational. With its realistic design and interactive features, it is sure to become a favorite in your child's daily routine. So why wait? Get your little one's bathroom transformed today with the
Little Tikes First Bathroom Sink
!