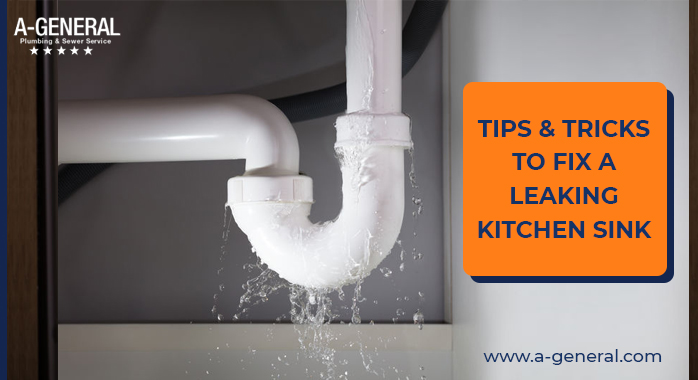
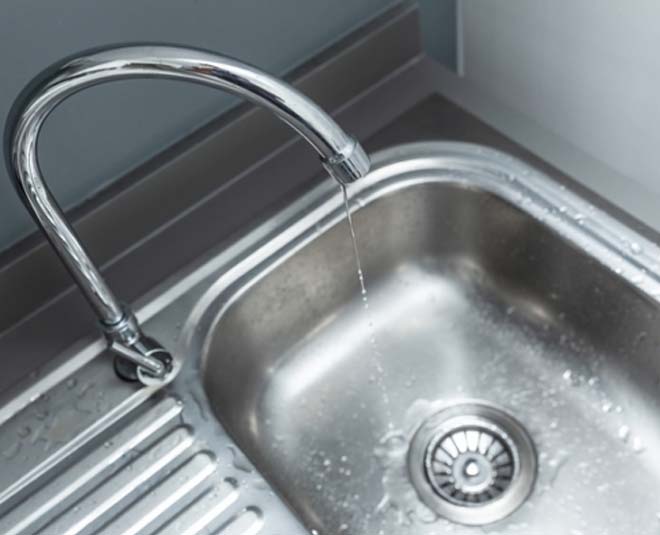
Dealing with a leaking kitchen sink sprayer can be frustrating, but luckily it's a common and easily fixable issue. A leaking sprayer can waste water, create a mess, and even cause damage to your cabinets or flooring if left untreated. Don't panic though, because with a few simple steps you can fix the problem and get back to using your sink without any leaks.How to Fix a Leaking Kitchen Sink Sprayer


How to Fix a Leaking Kitchen Sink Sprayer


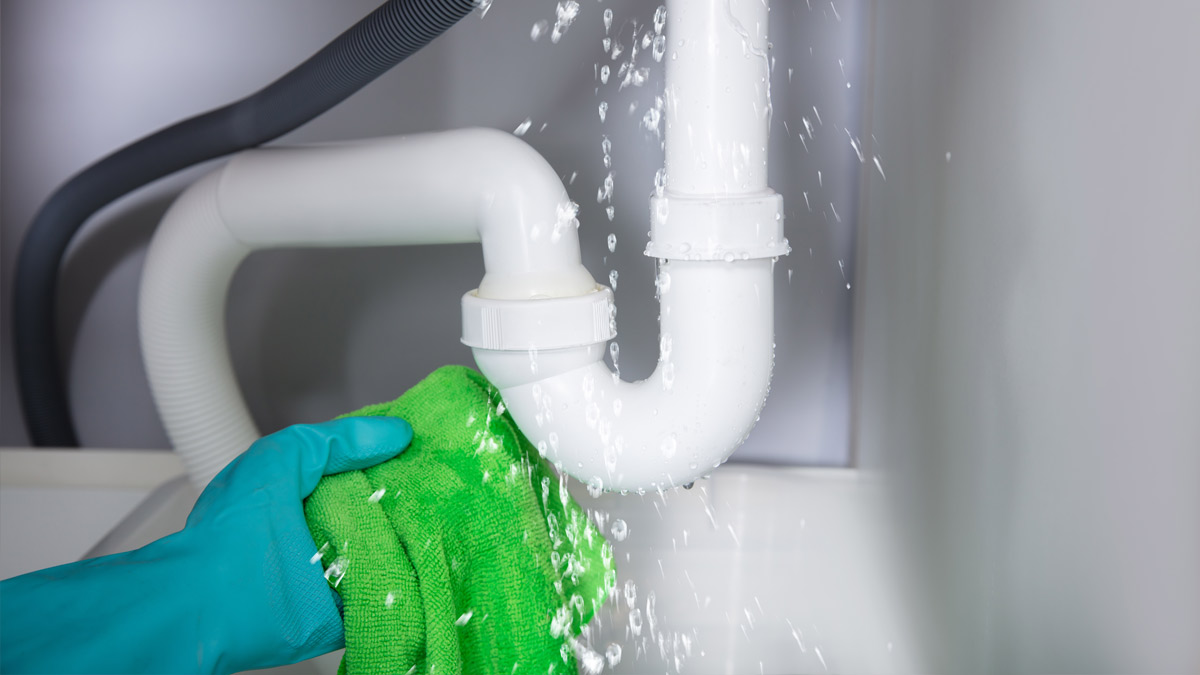
If your kitchen sink sprayer is leaking, the first thing you need to do is locate the source of the leak. It could be coming from the sprayer head, the hose, or the connection between the hose and faucet. Once you've identified the source, you can then take the necessary steps to repair it.How to Repair a Leaking Kitchen Sink Sprayer


How to Repair a Leaking Kitchen Sink Sprayer


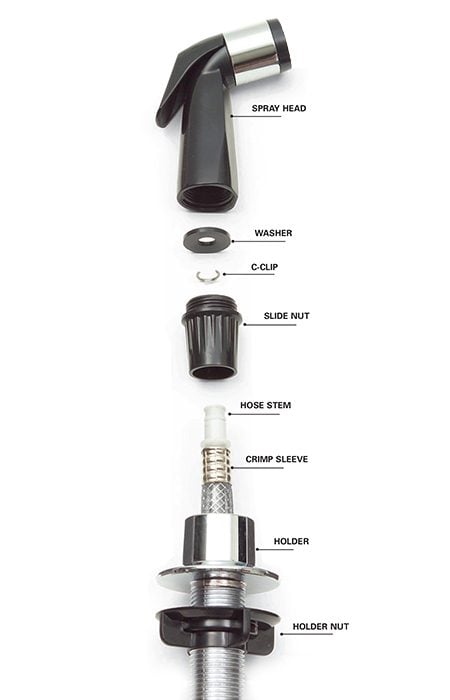
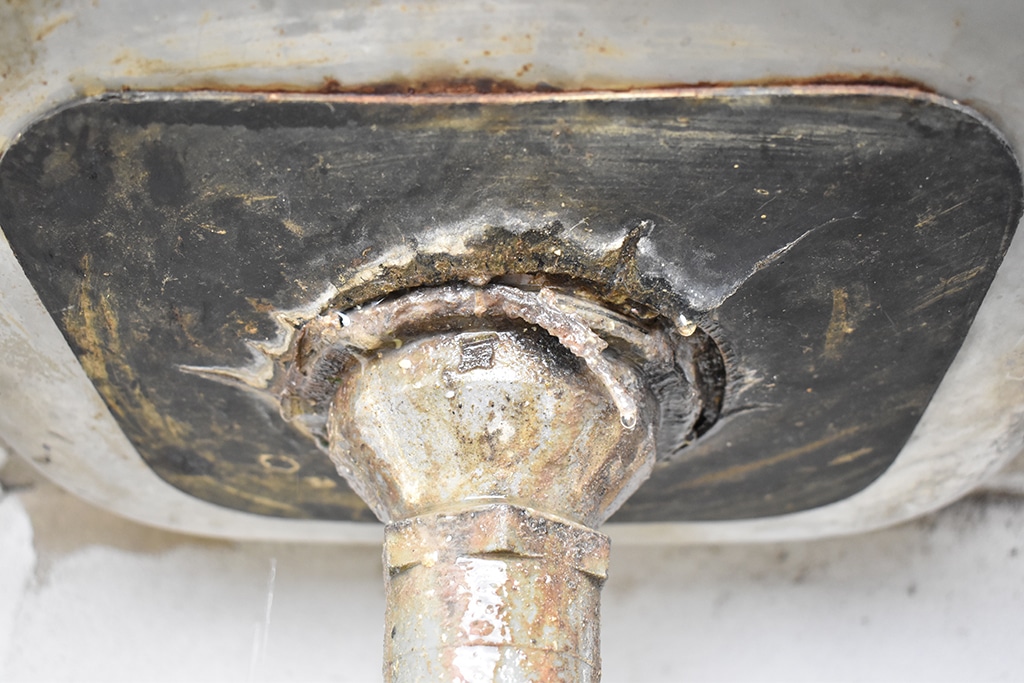
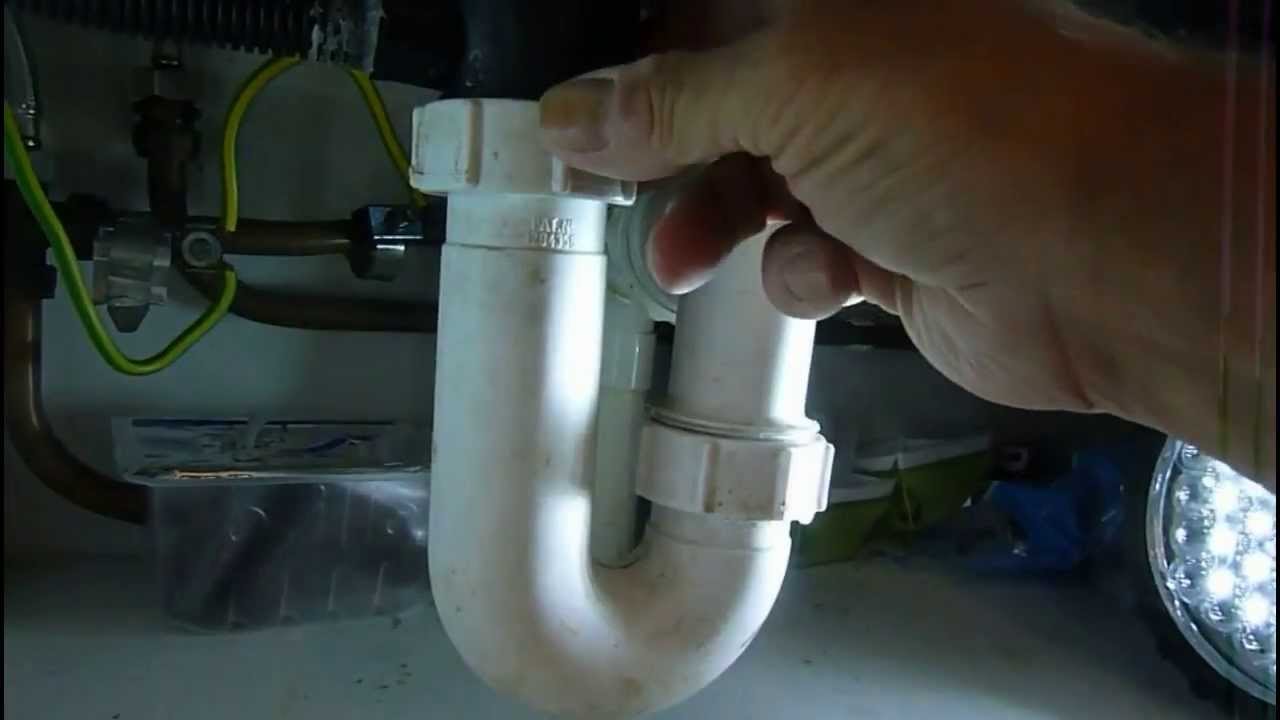
There are a few common causes of a leaking kitchen sink sprayer. One of the most common is a worn out or damaged O-ring. The O-ring is a small rubber ring that helps create a watertight seal between the sprayer head and the hose. If this ring is worn out or damaged, it can cause a leak. Another common cause is a loose connection between the sprayer hose and the faucet. Over time, the connection can become loose and cause water to leak out.Common Causes of a Leaking Kitchen Sink Sprayer


Common Causes of a Leaking Kitchen Sink Sprayer


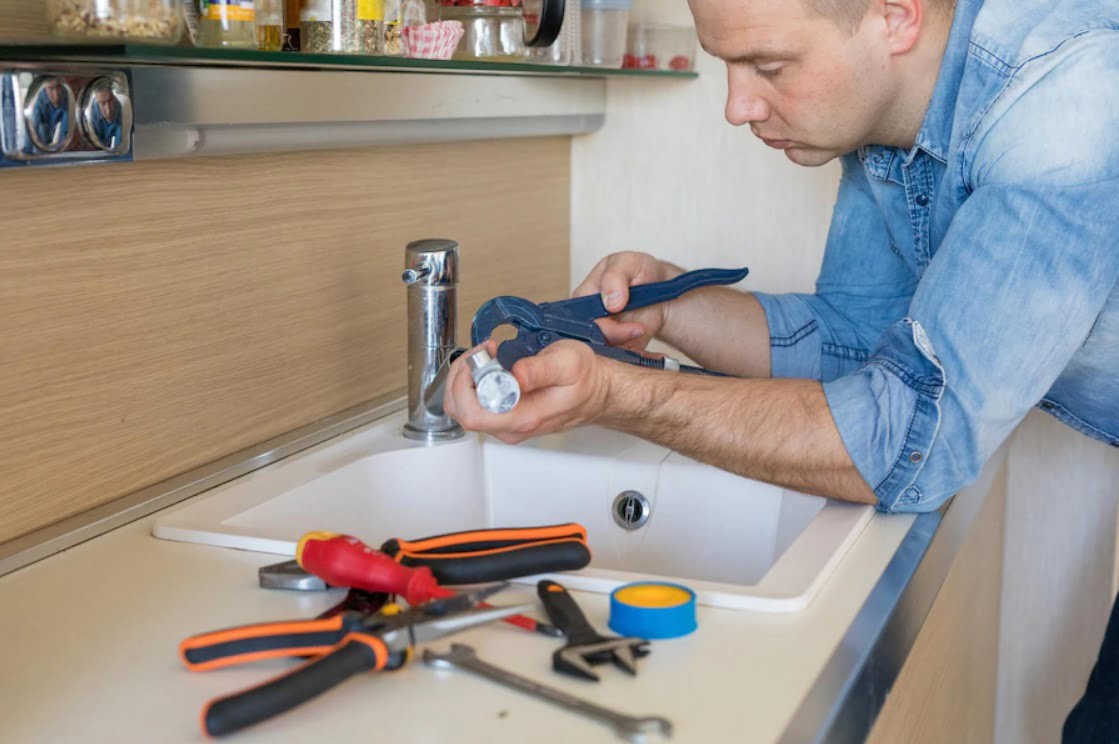
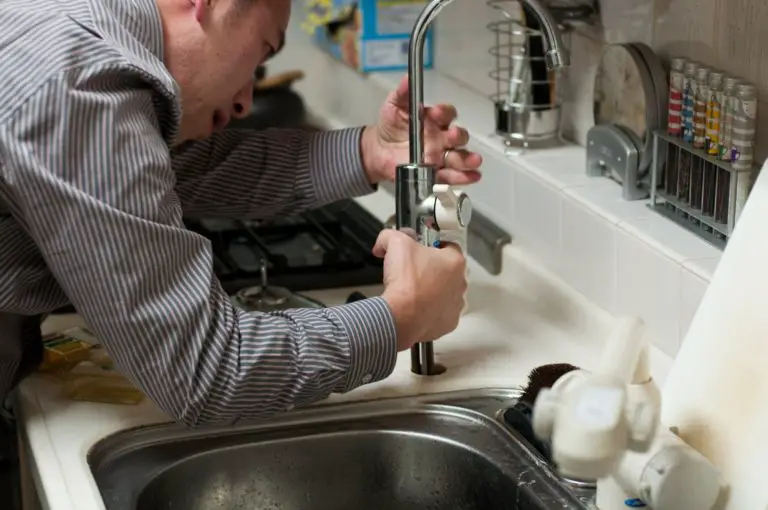
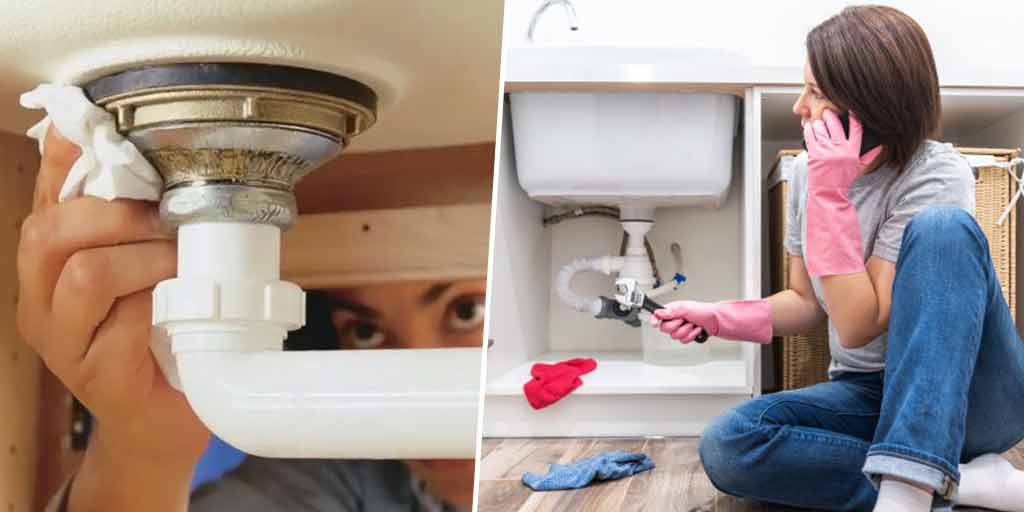
If you're a handy person, you may be able to fix a leaking kitchen sink sprayer on your own. The first step is to turn off the water supply to the sink. Then, take apart the sprayer head and check the O-ring for any damage. If it's worn out or damaged, you can easily replace it with a new one. You can also check the connection between the hose and faucet and tighten it if it's loose. Once you've made any necessary repairs, reassemble the sprayer and turn the water supply back on.DIY Kitchen Sink Sprayer Leak Repair


DIY Kitchen Sink Sprayer Leak Repair


If you've noticed a leak in your kitchen sink sprayer, it's important to take action right away. The longer you wait, the worse the leak can become. Follow these steps to stop your kitchen sink sprayer from leaking: 1. Turn off the water supply: Before you start any repairs, make sure to turn off the water supply to your sink. This will prevent any further leaks or water damage. 2. Identify the source of the leak: As mentioned earlier, the leak could be coming from the sprayer head, the hose, or the connection between the hose and faucet. Once you've identified the source, you can proceed with the necessary repairs. 3. Replace the O-ring: If the O-ring is worn out or damaged, replace it with a new one. You can find O-rings at most hardware stores and they are relatively inexpensive. 4. Tighten the connection: If the connection between the hose and faucet is loose, you can simply tighten it with a wrench. Make sure not to overtighten, as this can cause damage. 5. Test for leaks: After you've made the necessary repairs, turn the water supply back on and test for any leaks. If you still notice a leak, you may need to call in a professional for further assistance.Steps to Stop a Kitchen Sink Sprayer from Leaking


Steps to Stop a Kitchen Sink Sprayer from Leaking


In some cases, a leaking kitchen sink sprayer can be fixed with a quick and simple solution. These quick fixes can help stop the leak temporarily until you can make more permanent repairs. 1. Use plumber's tape: If the leak is coming from the connection between the hose and faucet, you can use plumber's tape to create a tighter seal. Simply wrap the tape around the threads of the connection and then reattach the hose. 2. Tighten the sprayer head: If the leak is coming from the sprayer head, try tightening it with a wrench. Be careful not to overtighten, as this can cause damage. 3. Use a rubber band: In a pinch, you can use a rubber band to temporarily stop a leak from the sprayer head. Simply wrap the rubber band tightly around the base of the sprayer head and then reattach it to the hose.Quick Fixes for a Leaking Kitchen Sink Sprayer


Quick Fixes for a Leaking Kitchen Sink Sprayer


If your kitchen sink sprayer is beyond repair, you may need to replace it. This is a relatively easy task that you can do on your own or with the help of a professional. Here's how to replace a leaking kitchen sink sprayer: 1. Turn off the water supply: As always, make sure to turn off the water supply before working on any plumbing repairs. 2. Disconnect the old sprayer: Use a wrench to loosen the connection between the hose and faucet and then remove the old sprayer. 3. Install the new sprayer: Attach the new sprayer to the hose and then tighten the connection with a wrench. 4. Test for leaks: Turn the water supply back on and test for any leaks. If there are no leaks, you're good to go!How to Replace a Leaking Kitchen Sink Sprayer
How to Replace a Leaking Kitchen Sink Sprayer


/installing-a-kitchen-sink-sprayer-2718817-hero-2b7047468d594da6be2494ba0eebb480.jpg)
The best way to deal with a leaking kitchen sink sprayer is to prevent it from happening in the first place. Here are a few tips to help you prevent a kitchen sink sprayer from leaking: 1. Inspect and maintain regularly: Inspect your kitchen sink sprayer regularly for any signs of wear or damage. Make any necessary repairs or replacements as soon as possible. 2. Avoid harsh chemicals: Harsh chemicals can damage the O-ring and other components of your kitchen sink sprayer. Stick to gentle cleaners to avoid any potential damage. 3. Don't overtighten: When tightening connections, be careful not to overtighten as this can cause damage. 4. Replace old parts: If your kitchen sink sprayer is old, it may be time to replace it with a new one. This can save you from future leaks and repairs.Preventing a Kitchen Sink Sprayer from Leaking


Preventing a Kitchen Sink Sprayer from Leaking

:max_bytes(150000):strip_icc()/installing-a-kitchen-sink-sprayer-2718817-03-514088ddb922466eb3d4cd73f3aa85f4.jpg)
If you've tried all the DIY methods and your kitchen sink sprayer is still leaking, it may be time to call in a professional plumber. They can help troubleshoot the issue and make any necessary repairs or replacements. Don't hesitate to call for help if you need it.Troubleshooting a Leaking Kitchen Sink Sprayer

Troubleshooting a Leaking Kitchen Sink Sprayer


While some leaking kitchen sink sprayers can be fixed with DIY methods, others may require the help of a professional. If you're not comfortable working with plumbing or have tried all the DIY methods without success, it's best to call a professional plumber. They have the expertise and tools to fix any issues with your kitchen sink sprayer and prevent future leaks. Dealing with a leaking kitchen sink sprayer can be a hassle, but with these tips and tricks, you can easily fix the problem and prevent it from happening again in the future. Remember to regularly inspect and maintain your sprayer to avoid any future leaks. If all else fails, don't hesitate to call a professional for assistance. Your kitchen sink sprayer will be back to working properly in no time!Professional Repair for a Leaking Kitchen Sink Sprayer


Professional Repair for a Leaking Kitchen Sink Sprayer


How to Fix a Leaking Kitchen Sink Sprayer

A Common Household Problem
 If you've noticed that your kitchen sink sprayer is leaking water, you're not alone. This is a common issue that many homeowners face and can be quite frustrating to deal with. Not only does it waste water, but it can also create a mess in your kitchen. Luckily, fixing a leaking kitchen sink sprayer is a relatively simple task that you can do yourself with just a few tools and some basic knowledge. In this article, we'll guide you through the steps to fix this problem and get your kitchen sink sprayer working like new again.
Identify the Source of the Leak
 The first step in fixing a leaking kitchen sink sprayer is to identify where the leak is coming from. It could be coming from the sprayer itself, the hose, or the connection to the faucet. To determine the source, turn on the water and observe where the leak is coming from. Once you've identified the source, you can move on to fixing it.
Fixing a Leaking Sprayer
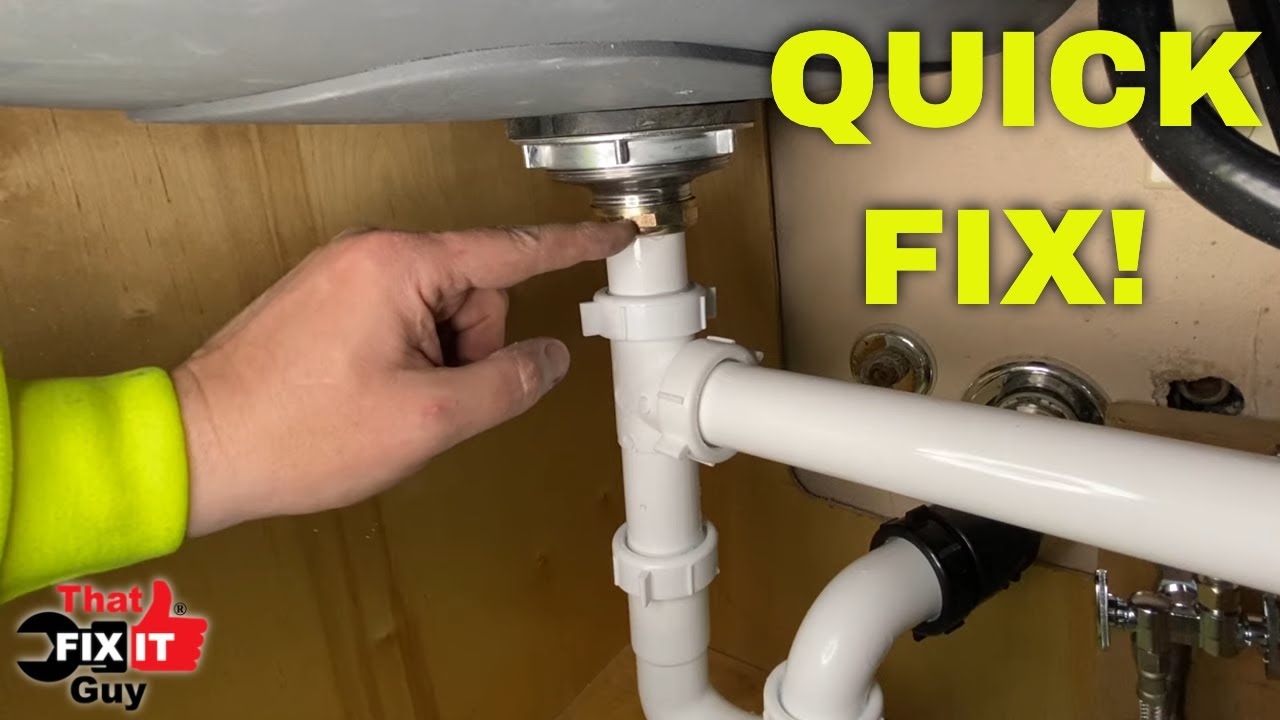
 If the leak is coming from the sprayer, the most common cause is a worn-out O-ring. This is a small rubber ring that seals the connection between the sprayer and the hose. To fix this, you'll need to remove the sprayer head from the hose by unscrewing it. Then, locate the O-ring and replace it with a new one. This should solve the problem and stop the leak.
Fixing a Leaking Hose or Connection
 If the leak is coming from the hose or the connection to the faucet, you may need to replace the hose or tighten the connection. To replace the hose, you'll need to disconnect it from both ends and replace it with a new one. If the connection is loose, simply tighten it with a wrench to stop the leak.
Preventing Future Leaks
 To prevent future leaks, it's important to properly maintain your kitchen sink sprayer. This includes regularly checking for any wear and tear on the O-ring and hose, as well as ensuring all connections are tight. It's also a good idea to clean your sprayer regularly to prevent any buildup that could lead to leaks.
Conclusion
 A leaking kitchen sink sprayer may seem like a small issue, but it can cause a lot of inconvenience and waste water. By following the steps outlined in this article, you can easily fix the problem and prevent it from happening again in the future. Remember to regularly check and maintain your sprayer to avoid any future leaks. With these simple steps, you can keep your kitchen sink sprayer working efficiently and effectively.


