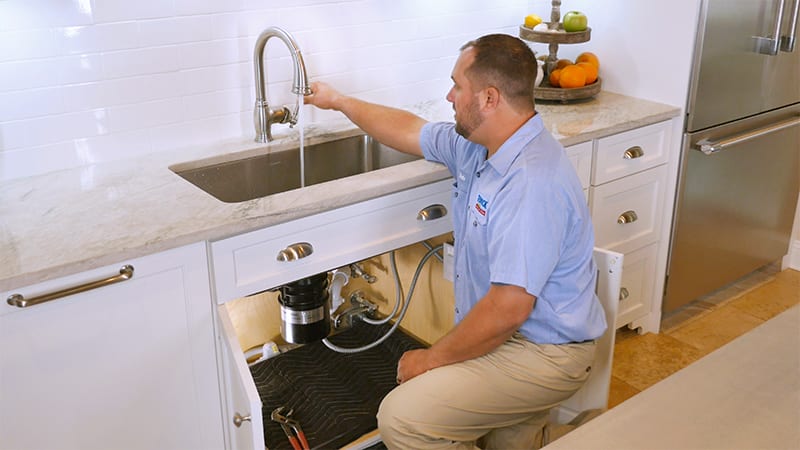
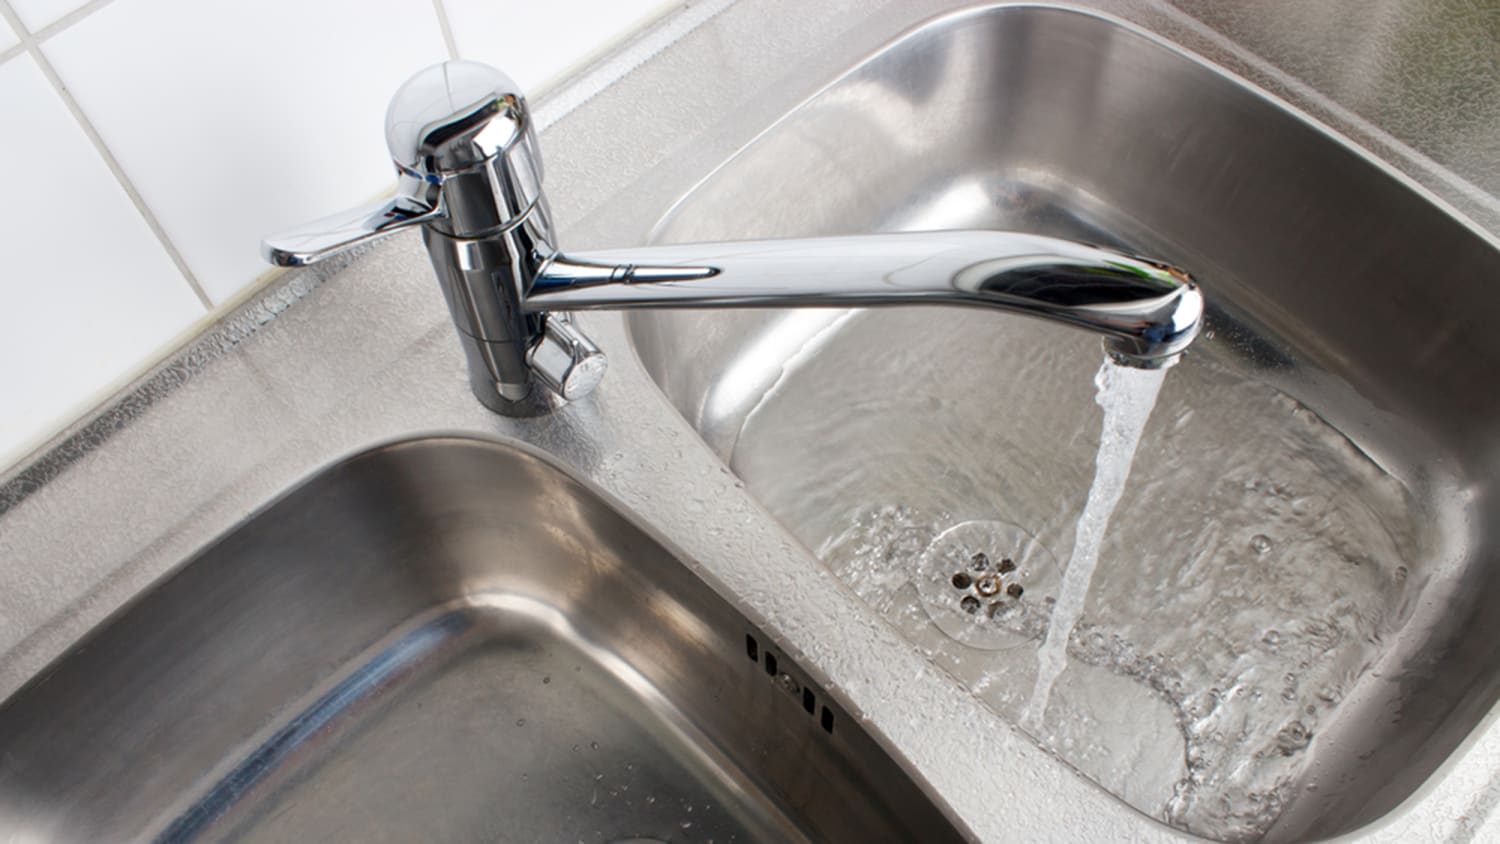
Installing a new kitchen sink can seem like a daunting task, but with the right instructions and tools, it can be a simple and rewarding DIY project. Before you begin, make sure you have all the necessary materials, including a new sink, faucet, strainer, and any other hardware required. Follow these step-by-step instructions to successfully install your new kitchen sink and have it looking like a professional job.How to Install a Kitchen Sink


How to Install a Kitchen Sink


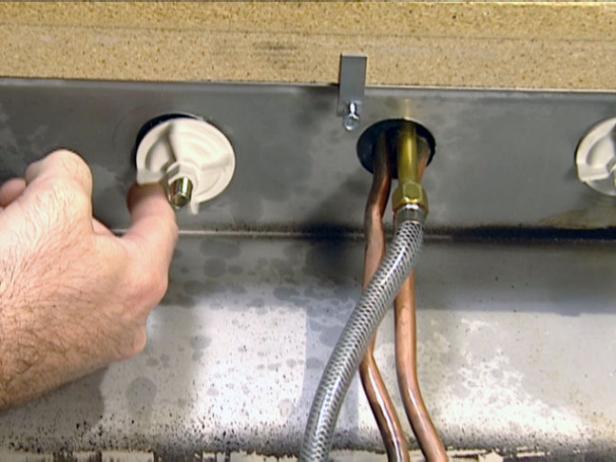
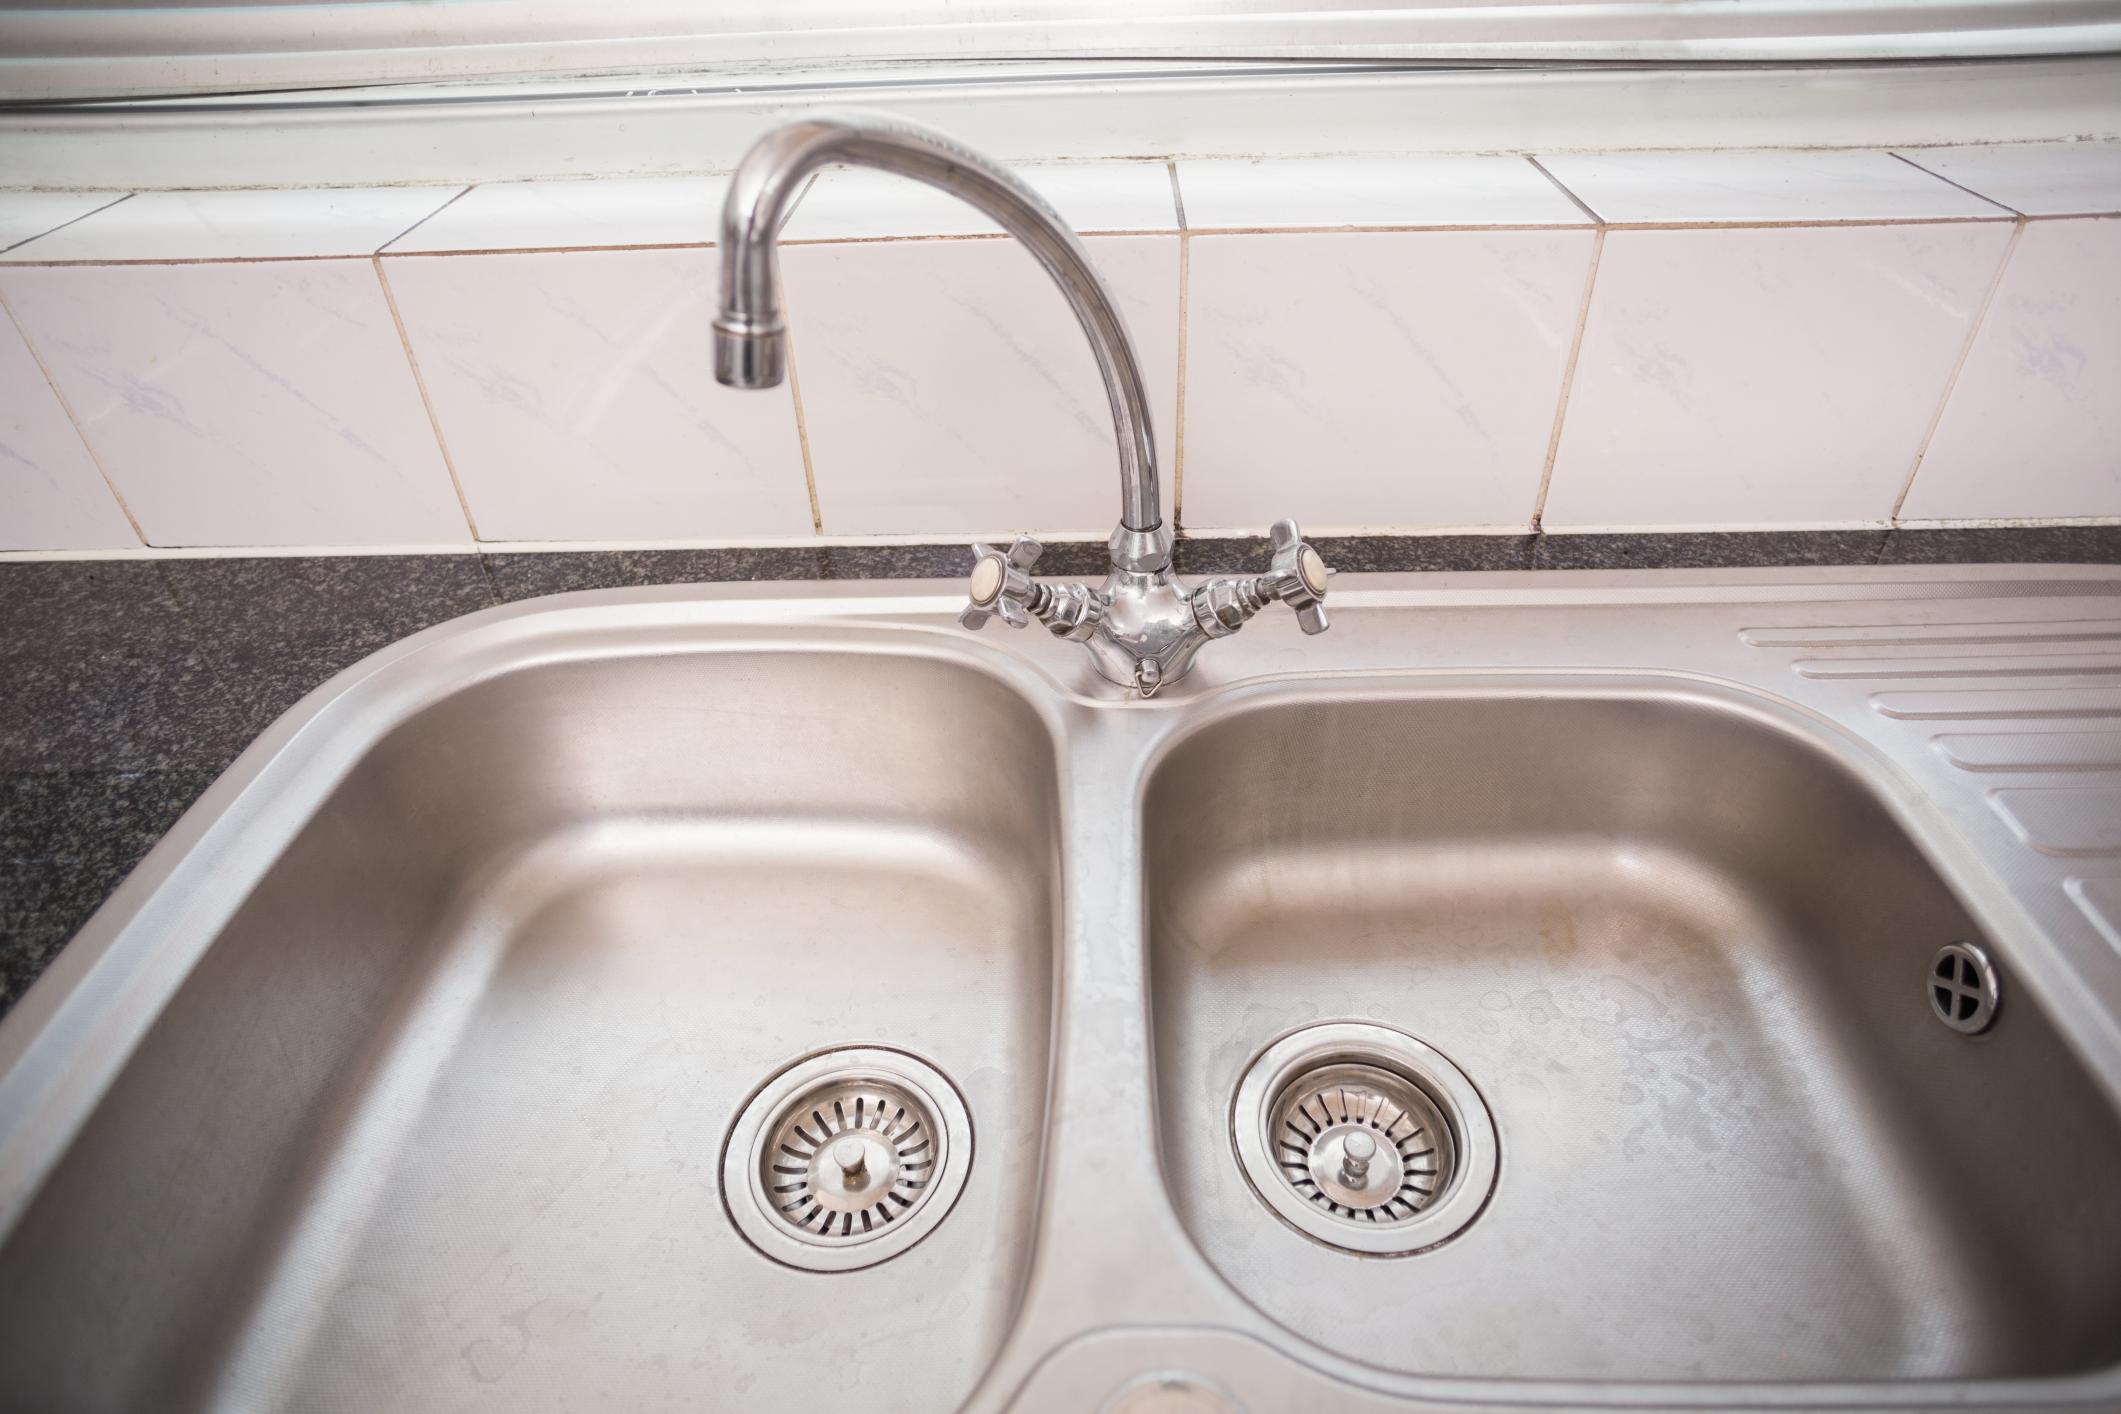
The drain is an important component of your kitchen sink, as it carries away all the dirty water. Installing a new drain is a relatively easy process, but it does require some precision and attention to detail. The first step is to remove the old drain, which may involve cutting it out with a hacksaw if it is corroded or stuck. Once the old drain is removed, follow the manufacturer's instructions for installing the new drain, including applying plumber's putty or silicone sealant to create a watertight seal.How to Install a Kitchen Sink Drain


How to Install a Kitchen Sink Drain
/how-to-install-a-sink-drain-2718789-hero-b5b99f72b5a24bb2ae8364e60539cece.jpg)


:max_bytes(150000):strip_icc()/how-to-install-a-sink-drain-2718789-hero-24e898006ed94c9593a2a268b57989a3.jpg)


The strainer is the part of the drain that sits inside the sink and catches any larger food particles or debris to prevent them from clogging the drain. To install a new strainer, you will first need to remove the old one by unscrewing the locknut underneath the sink. Then, place the new strainer in the drain hole and secure it with the locknut. Apply plumber's putty or silicone sealant around the edge of the strainer to create a tight seal and prevent any leaks.How to Install a Kitchen Sink Strainer


How to Install a Kitchen Sink Strainer


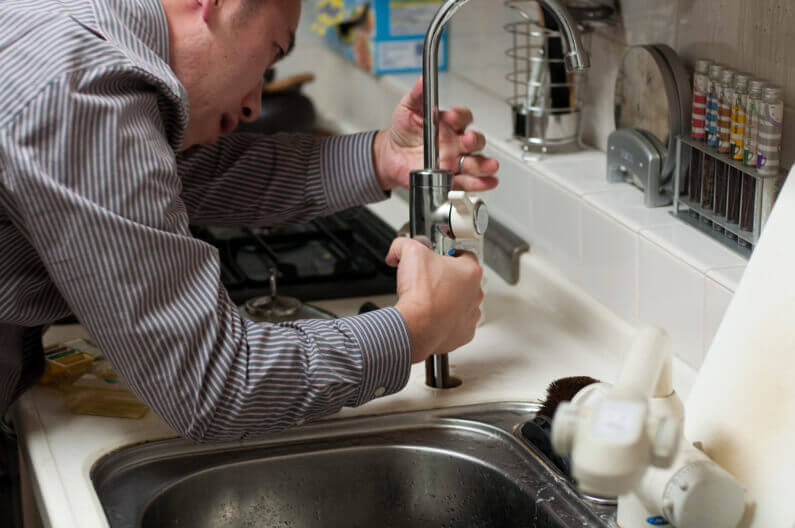
The faucet is the most visible part of your kitchen sink and can greatly affect the overall look and functionality of your kitchen. When installing a new faucet, make sure to follow the manufacturer's instructions carefully and shut off the water supply before beginning. You will need to remove the old faucet and then attach the new one, making sure to properly connect the hot and cold water supply lines. Once the faucet is securely in place, turn the water back on and test for any leaks.How to Install a Kitchen Sink Faucet


How to Install a Kitchen Sink Faucet


If your current sink is damaged or outdated, you may want to replace it with a new one. The first step is to remove the old sink by disconnecting the water supply lines and loosening the clips that hold it in place. Once the old sink is removed, you can install the new one by following the same steps as installing a new sink. Make sure to properly align the sink and seal it with silicone or plumber's putty to prevent any leaks.How to Replace a Kitchen Sink


How to Replace a Kitchen Sink


A clogged kitchen sink can be a frustrating and messy problem, but it can usually be resolved with a few simple steps. The first step is to try using a plunger to dislodge the clog. If that doesn't work, you can try using a drain snake to remove any debris or hair that may be causing the clog. For more stubborn clogs, you may need to use a chemical drain cleaner or call a professional plumber.How to Unclog a Kitchen Sink
/plumber-unclogging-kitchen-sink-169270382-5797a9355f9b58461f27f024.jpg)

How to Unclog a Kitchen Sink
/how-to-unclog-a-kitchen-sink-2718799_sketch_FINAL-8c5caa805a69493ab22dfb537c72a1b7.png)


A leaky kitchen sink can waste water and cause damage to your cabinets and floors. The most common cause of a leaky sink is a worn or damaged seal, which can easily be replaced. First, shut off the water supply and then remove the old seal. Clean the area thoroughly and then replace the seal with a new one, making sure to tighten it securely. Turn the water supply back on and check for any leaks.How to Fix a Leaky Kitchen Sink


How to Fix a Leaky Kitchen Sink


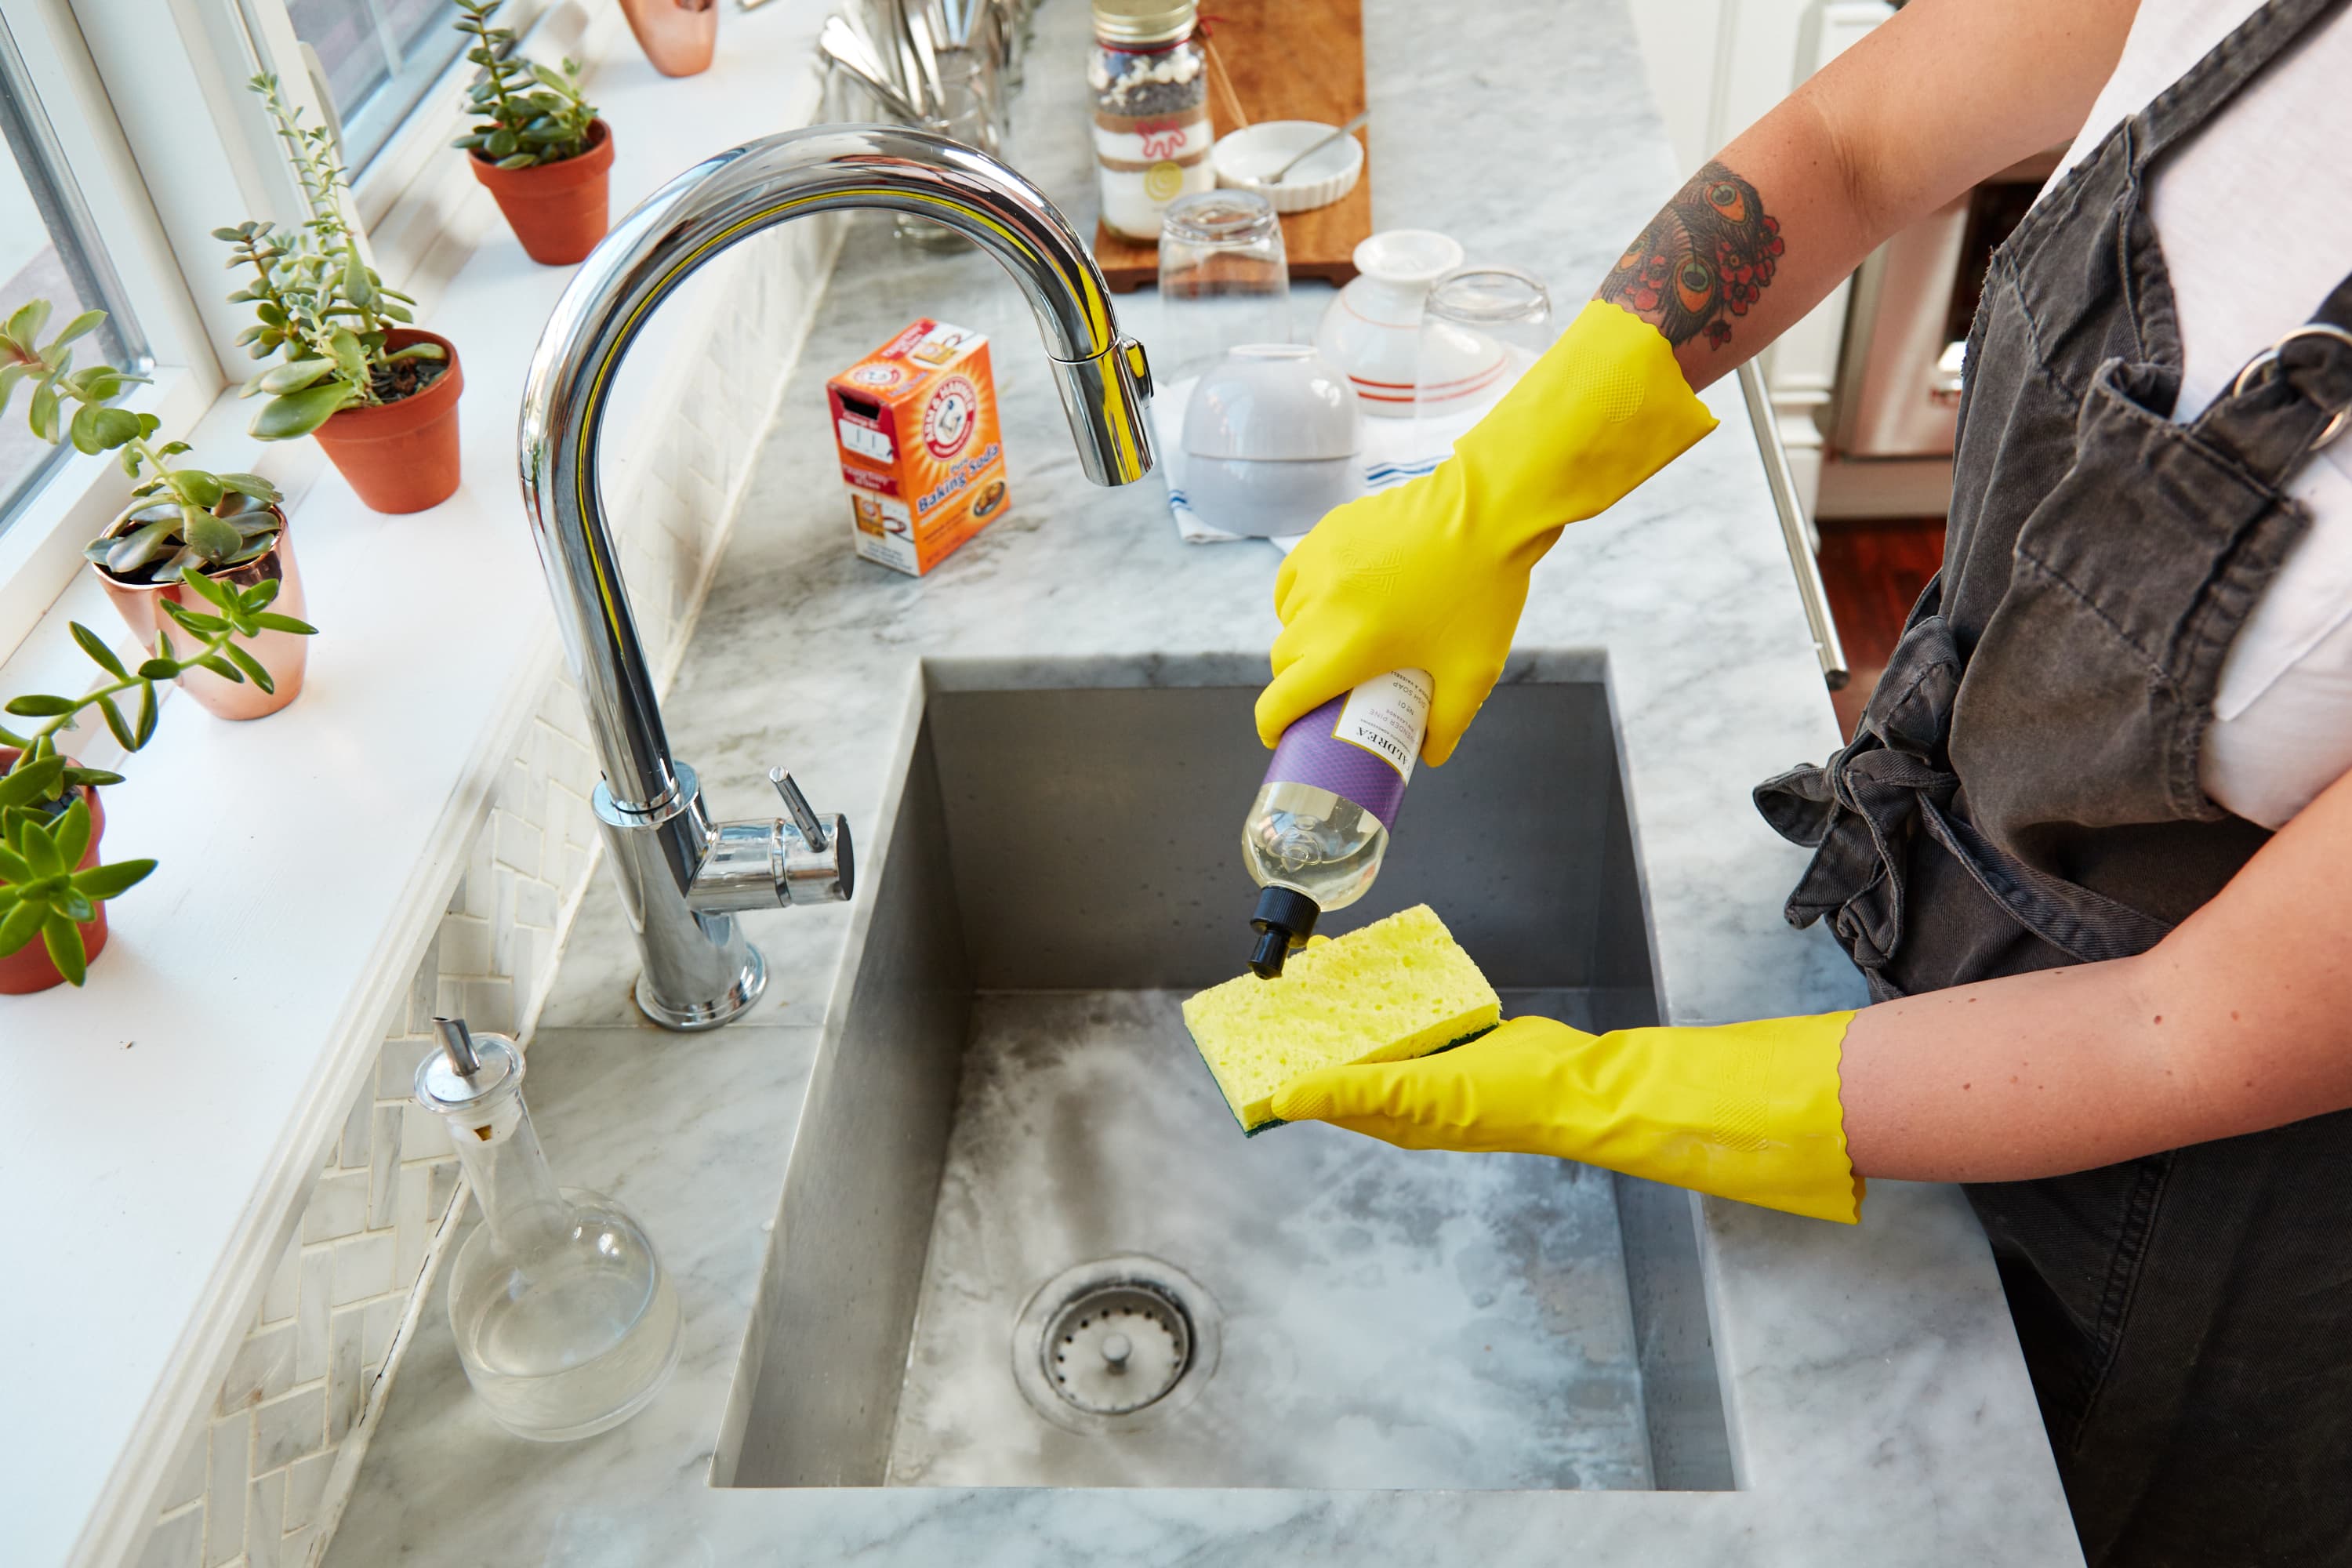
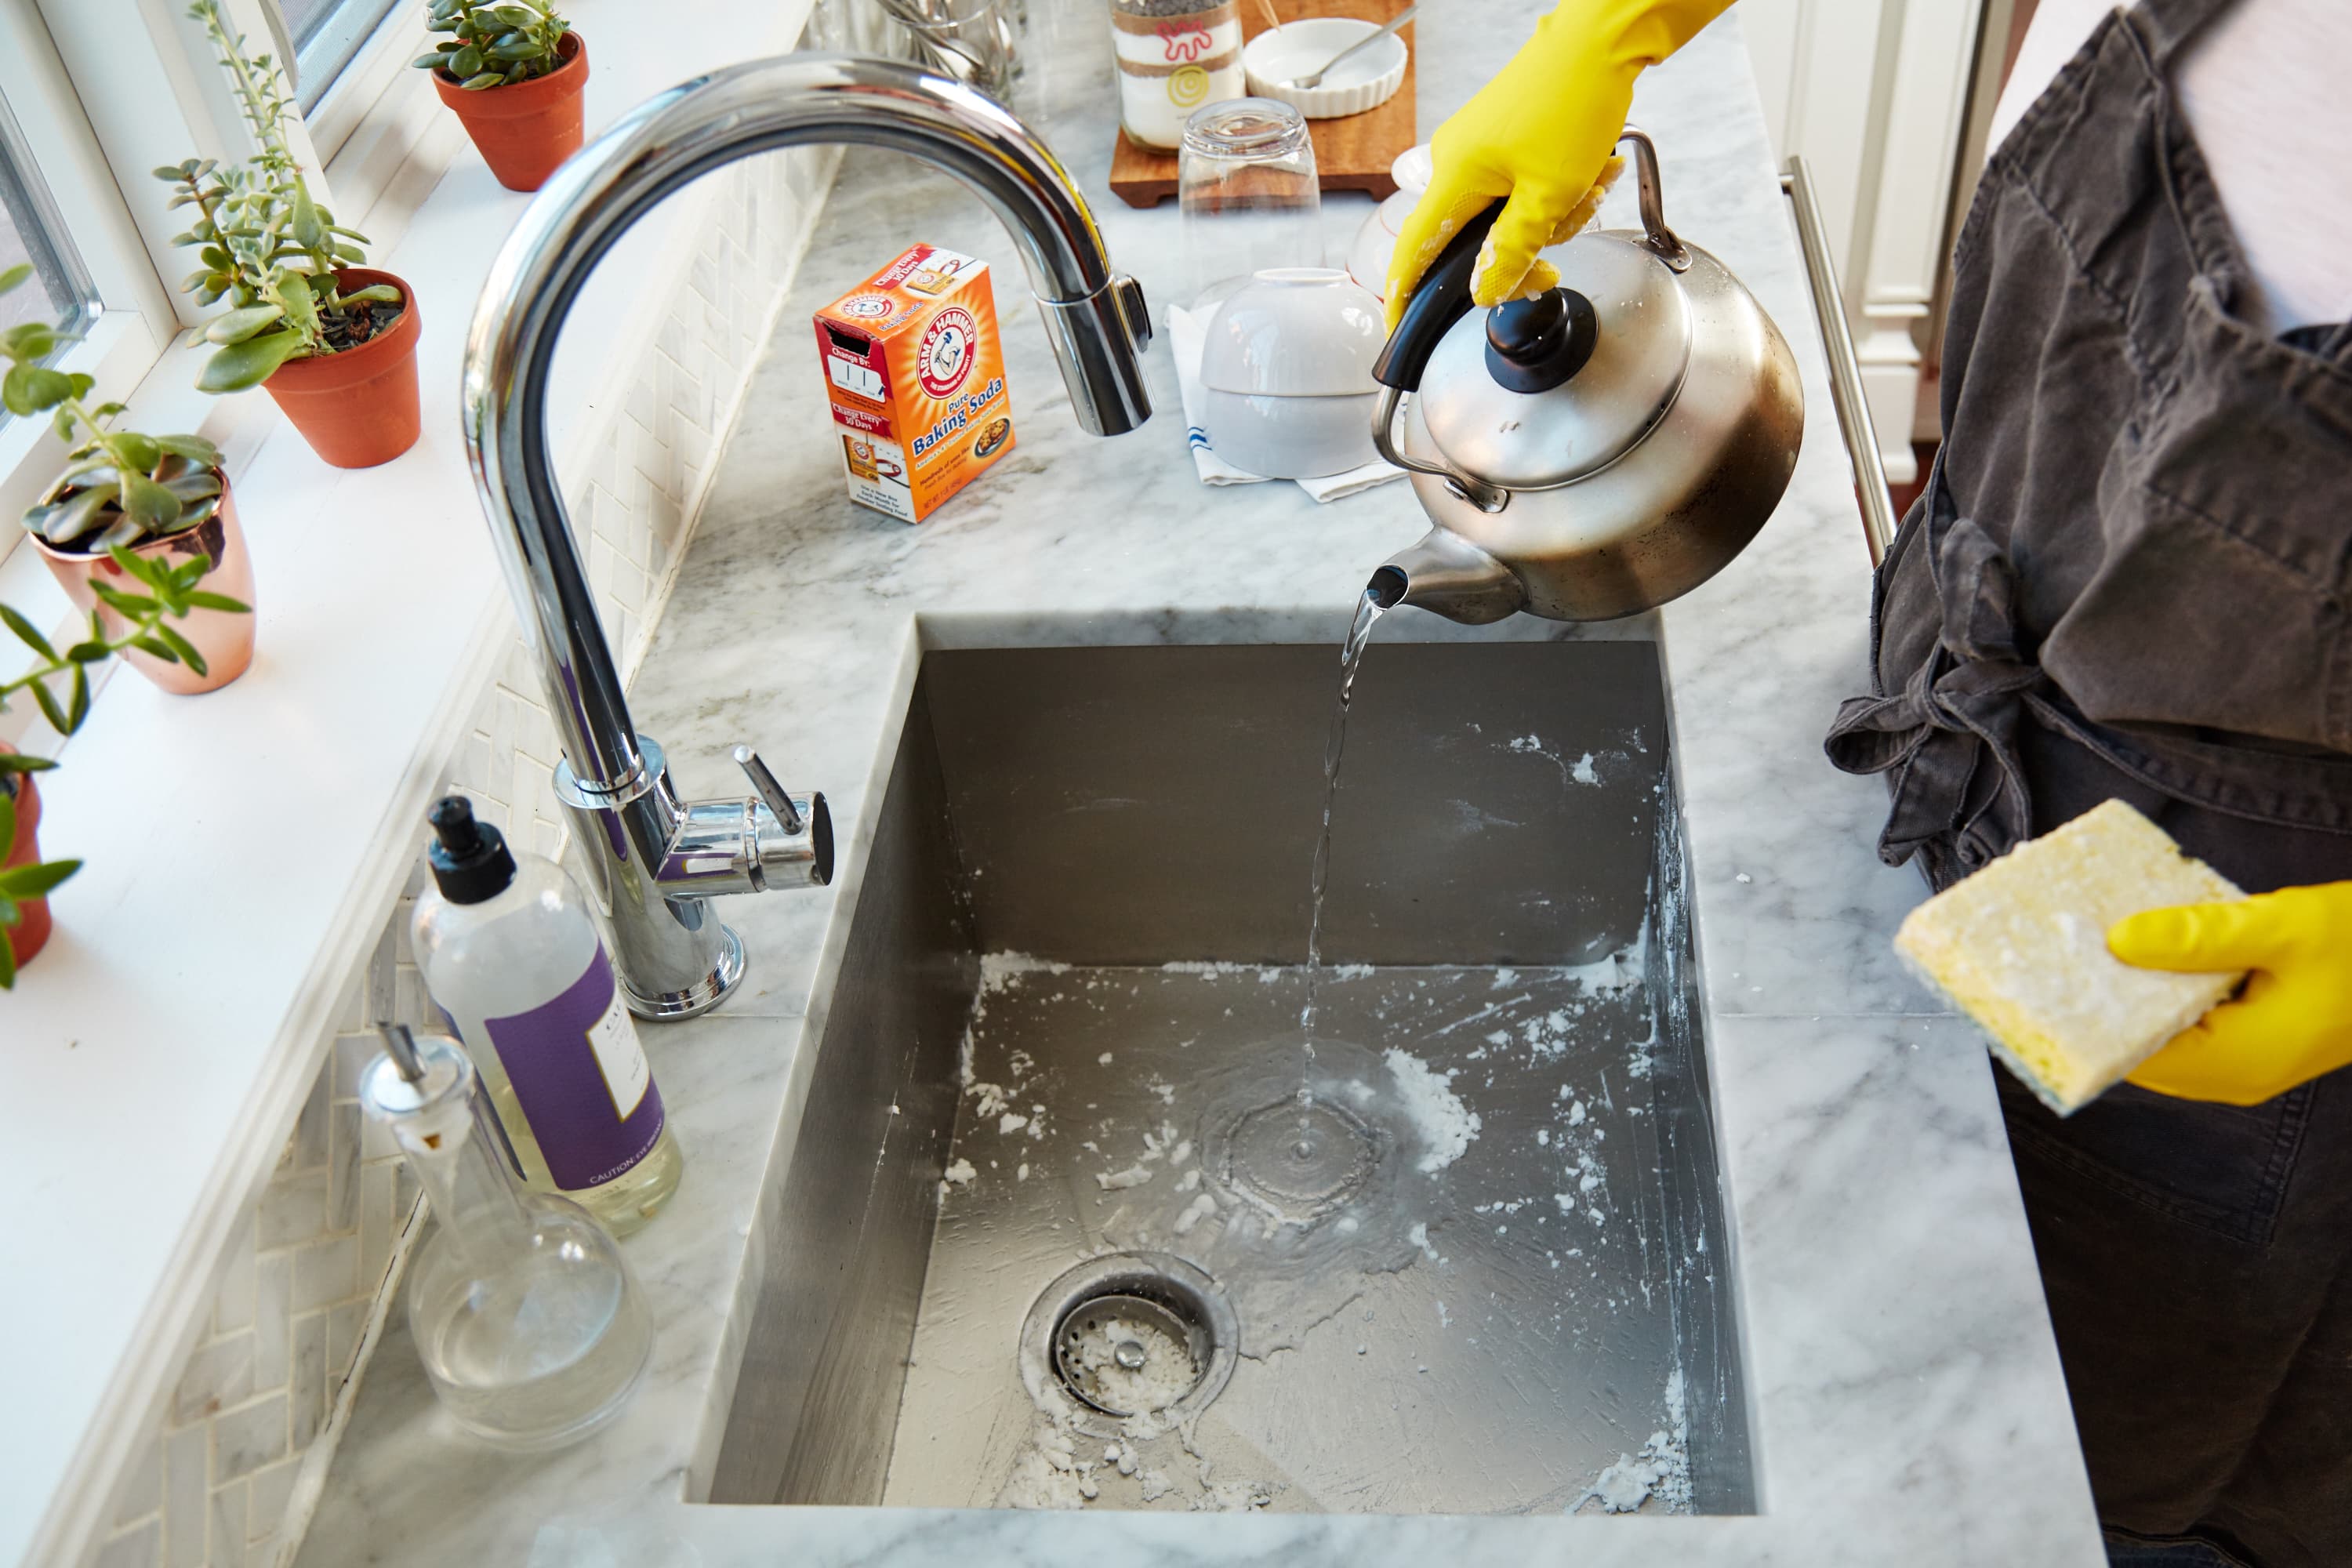
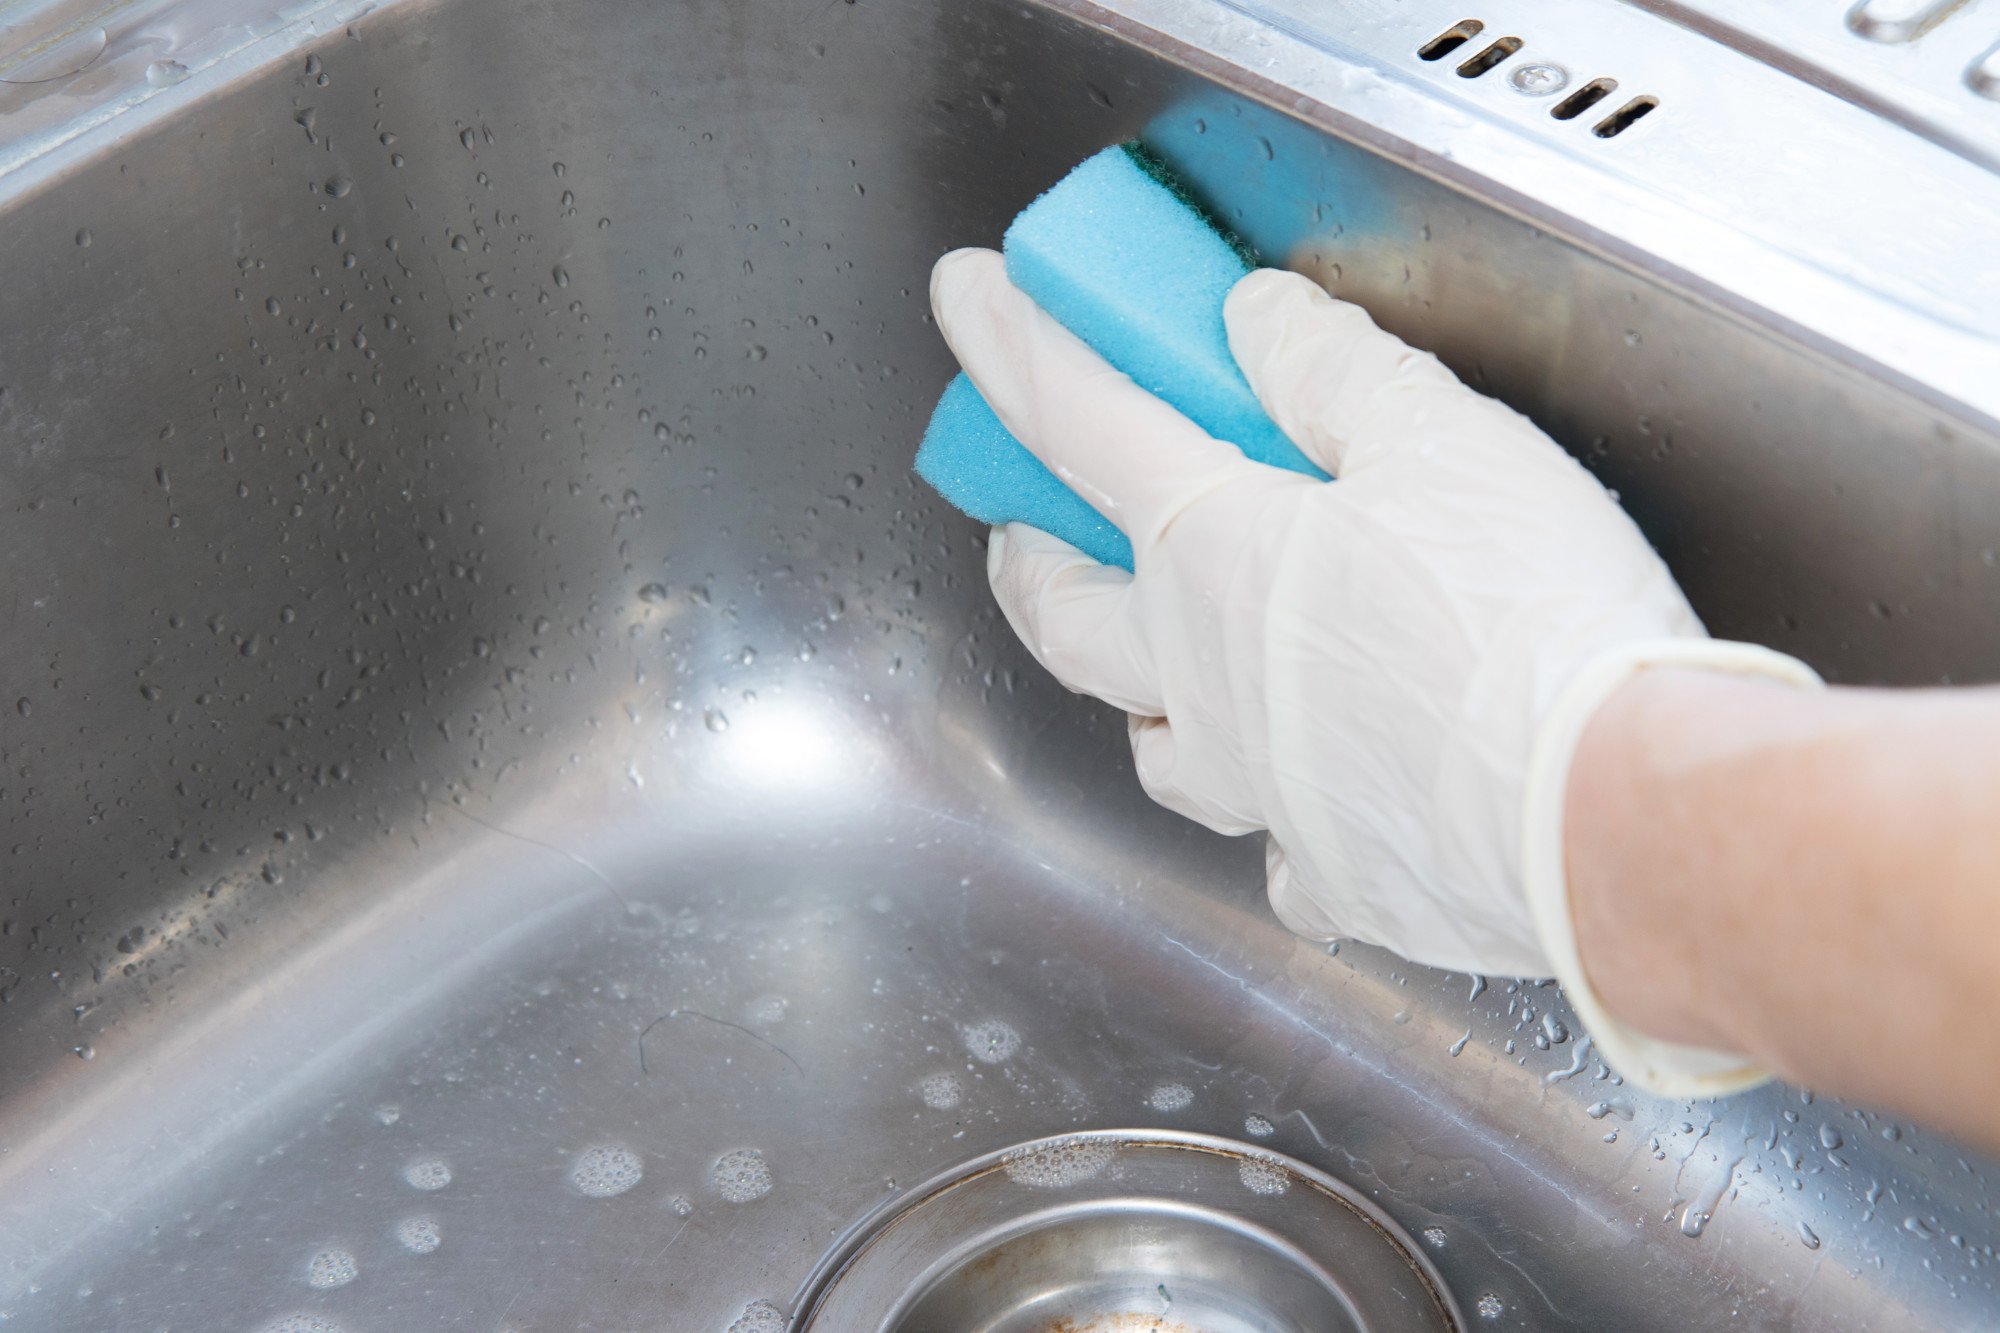
Keeping your kitchen sink clean is important for both hygiene and maintenance purposes. To clean your sink, start by rinsing it with warm water and mild soap. For tougher stains or buildup, you can use a mixture of baking soda and water or a specialized cleaner. Use a clean cloth or sponge to scrub the sink, making sure to get into all the corners and crevices. Rinse thoroughly and dry with a clean towel.How to Clean a Kitchen Sink


How to Clean a Kitchen Sink


If you need to remove your kitchen sink for any reason, the process is similar to replacing it. First, shut off the water supply and disconnect the supply lines and drain. Then, loosen the clips or bolts that hold the sink in place and carefully lift it out. If the sink is caulked to the countertop, you may need to cut through the caulk with a utility knife. Make sure to properly dispose of the old sink and clean the area before installing a new one.How to Remove a Kitchen Sink


How to Remove a Kitchen Sink


If your kitchen sink is damaged, you may be able to repair it rather than replacing it. The type of repair needed will depend on the issue. For small scratches or chips, you can use a repair kit specifically designed for sinks. For larger cracks or holes, you may need to use an epoxy or silicone sealant. Make sure to follow the manufacturer's instructions carefully and allow the repair to fully dry before using the sink again.How to Repair a Kitchen Sink


How to Repair a Kitchen Sink


Additional Tips for Kitchen Sink Plumbing
/how-to-install-a-sink-drain-2718789-hero-24e898006ed94c9593a2a268b57989a3.jpg)
1. Choose the Right Materials
 When it comes to kitchen sink plumbing, the materials you choose are crucial.
High-quality and durable materials
will ensure that your sink will function properly and last for a long time.
PVC pipes
are a popular and cost-effective option for drains and waste pipes, while
copper pipes
are a better choice for water supply lines. Make sure to use
stainless steel
or
ceramic
for the sink itself, as these materials are not only durable but also resistant to stains and scratches.
When it comes to kitchen sink plumbing, the materials you choose are crucial.
High-quality and durable materials
will ensure that your sink will function properly and last for a long time.
PVC pipes
are a popular and cost-effective option for drains and waste pipes, while
copper pipes
are a better choice for water supply lines. Make sure to use
stainless steel
or
ceramic
for the sink itself, as these materials are not only durable but also resistant to stains and scratches.
2. Plan the Layout
 Before starting the plumbing process, it's important to have a clear plan for the layout of your kitchen sink. Consider the location of your water supply lines, drain, and waste pipes. Also,
make sure there is enough space under the sink
for easy access to the plumbing in case of any future repairs or maintenance.
Before starting the plumbing process, it's important to have a clear plan for the layout of your kitchen sink. Consider the location of your water supply lines, drain, and waste pipes. Also,
make sure there is enough space under the sink
for easy access to the plumbing in case of any future repairs or maintenance.
3. Use Proper Techniques
 Proper plumbing techniques are essential for a leak-free and efficient kitchen sink. When connecting pipes, make sure to
use pipe joint compound or Teflon tape
to seal the connections and prevent any leaks.
Hand-tighten
the connections first, then use a wrench to tighten them a little more. Avoid over-tightening, as this can damage the pipes.
Proper plumbing techniques are essential for a leak-free and efficient kitchen sink. When connecting pipes, make sure to
use pipe joint compound or Teflon tape
to seal the connections and prevent any leaks.
Hand-tighten
the connections first, then use a wrench to tighten them a little more. Avoid over-tightening, as this can damage the pipes.
4. Install a P-Trap
 A P-trap is a curved pipe that connects the drain to the waste pipe and prevents odors from entering your kitchen. It's an important component of kitchen sink plumbing and
should be installed correctly
to prevent any unpleasant smells. Make sure to install a
removable P-trap
for easy cleaning and maintenance.
A P-trap is a curved pipe that connects the drain to the waste pipe and prevents odors from entering your kitchen. It's an important component of kitchen sink plumbing and
should be installed correctly
to prevent any unpleasant smells. Make sure to install a
removable P-trap
for easy cleaning and maintenance.
5. Consider a Garbage Disposal
 If you regularly cook and create food waste in your kitchen,
consider installing a garbage disposal
under your sink. This device helps shred food waste into smaller pieces, making it easier to flush down the drain. When installing a garbage disposal, make sure to
follow the manufacturer's instructions
carefully to avoid any mishaps.
If you regularly cook and create food waste in your kitchen,
consider installing a garbage disposal
under your sink. This device helps shred food waste into smaller pieces, making it easier to flush down the drain. When installing a garbage disposal, make sure to
follow the manufacturer's instructions
carefully to avoid any mishaps.
6. Test for Leaks
 Once you have completed the plumbing process, it's important to test for any leaks. Fill the sink with water and let it drain while checking for any leaks under the sink. If you notice any leaks,
tighten the connections
or
replace any damaged pipes
. It's important to address leaks immediately to avoid any water damage to your kitchen.
By following these additional tips for kitchen sink plumbing, you can ensure a smooth and successful installation. Remember to take your time and be thorough to avoid any future plumbing issues. Happy plumbing!
Once you have completed the plumbing process, it's important to test for any leaks. Fill the sink with water and let it drain while checking for any leaks under the sink. If you notice any leaks,
tighten the connections
or
replace any damaged pipes
. It's important to address leaks immediately to avoid any water damage to your kitchen.
By following these additional tips for kitchen sink plumbing, you can ensure a smooth and successful installation. Remember to take your time and be thorough to avoid any future plumbing issues. Happy plumbing!