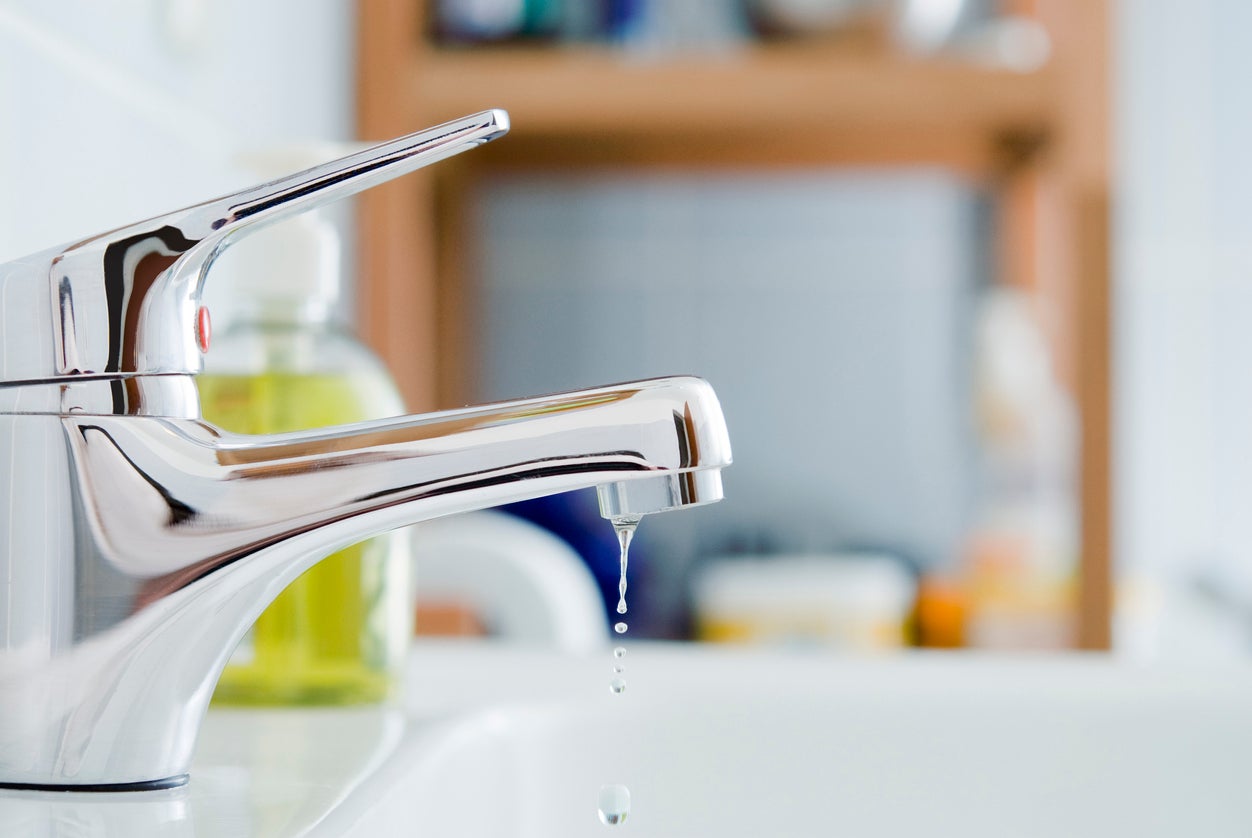
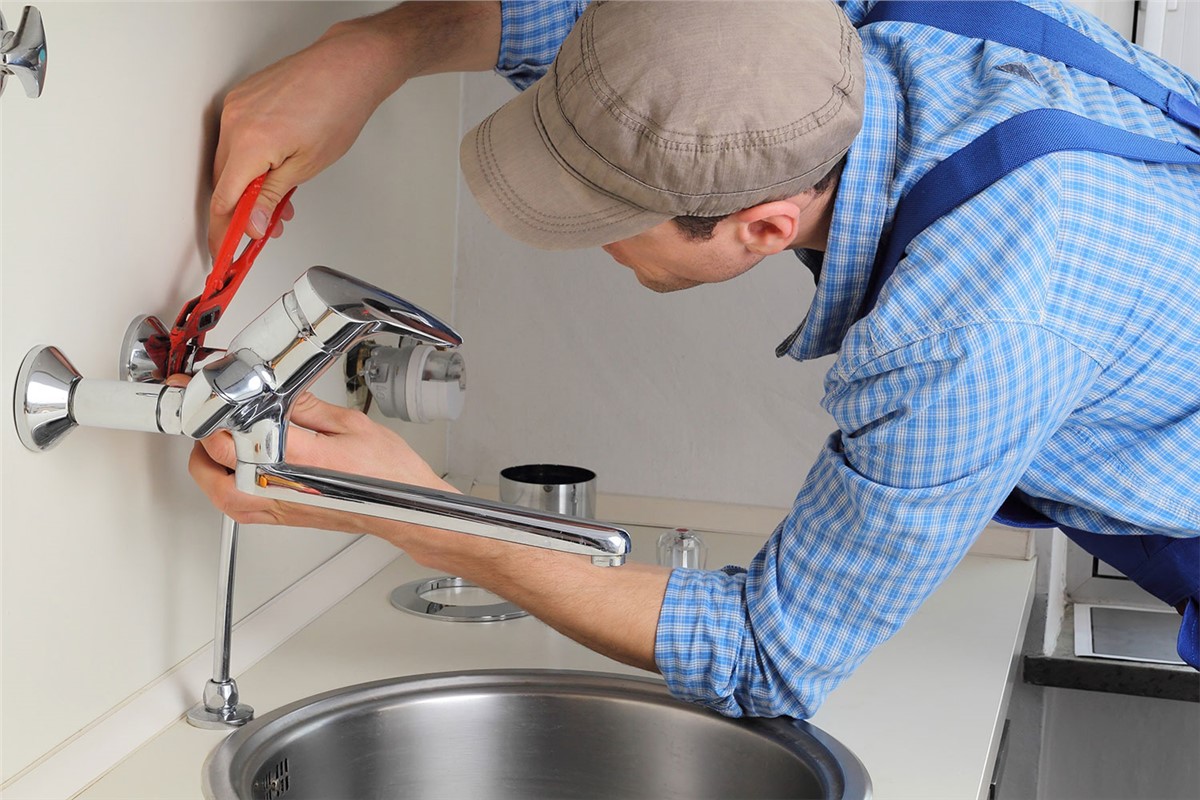
If you're tired of constantly dealing with a leaky kitchen faucet, it's time to roll up your sleeves and get to work. Luckily, fixing a leaky faucet is a relatively simple DIY task that can save you money on a plumber's visit. The key to a successful repair is knowing the different parts of a kitchen sink faucet and how they work together. In this guide, we'll walk you through the steps of repairing a leaky kitchen faucet and help you identify the main kitchen sink faucet parts that may need replacement.How to Repair a Leaky Kitchen Faucet


How to Repair a Leaky Kitchen Faucet


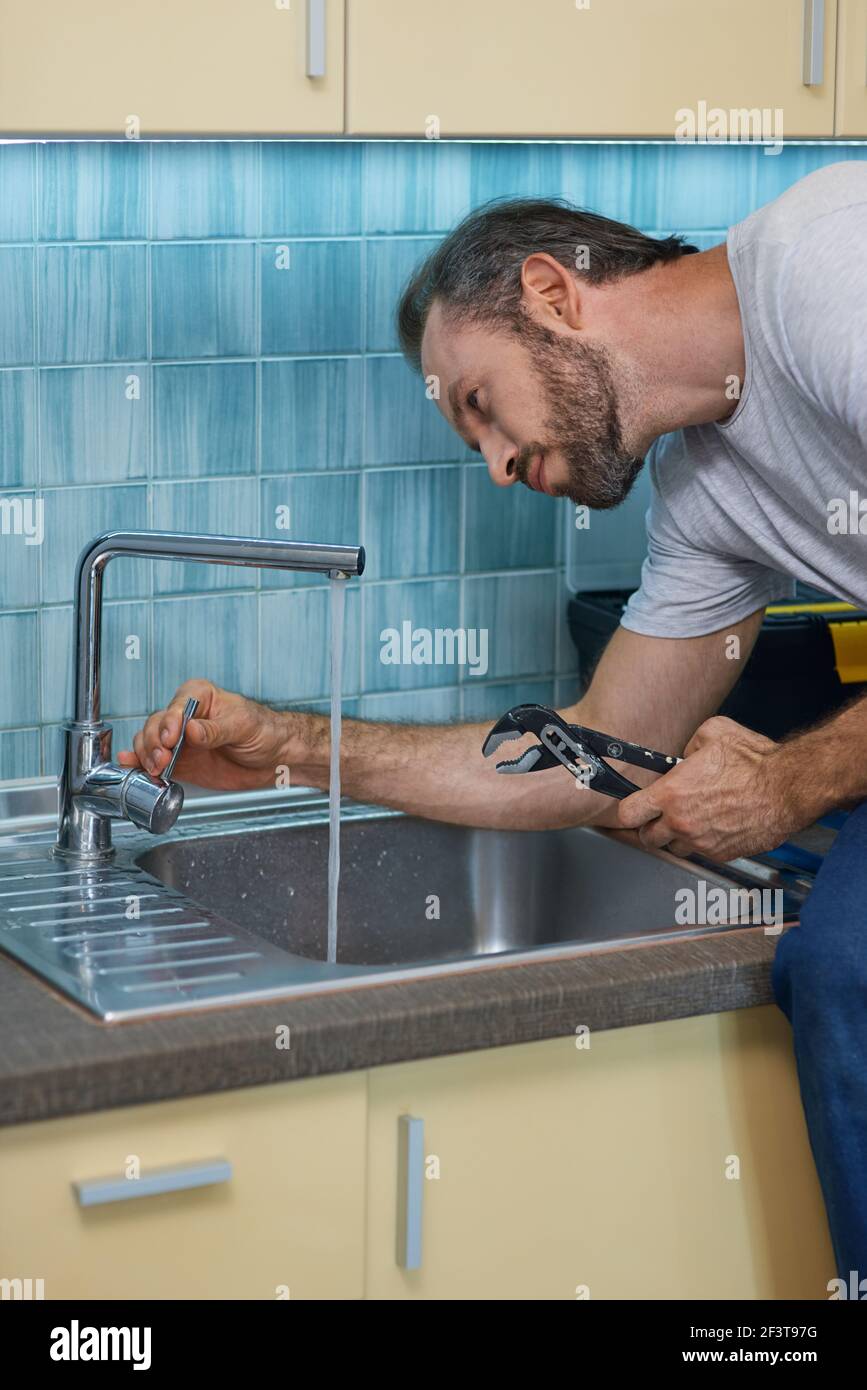
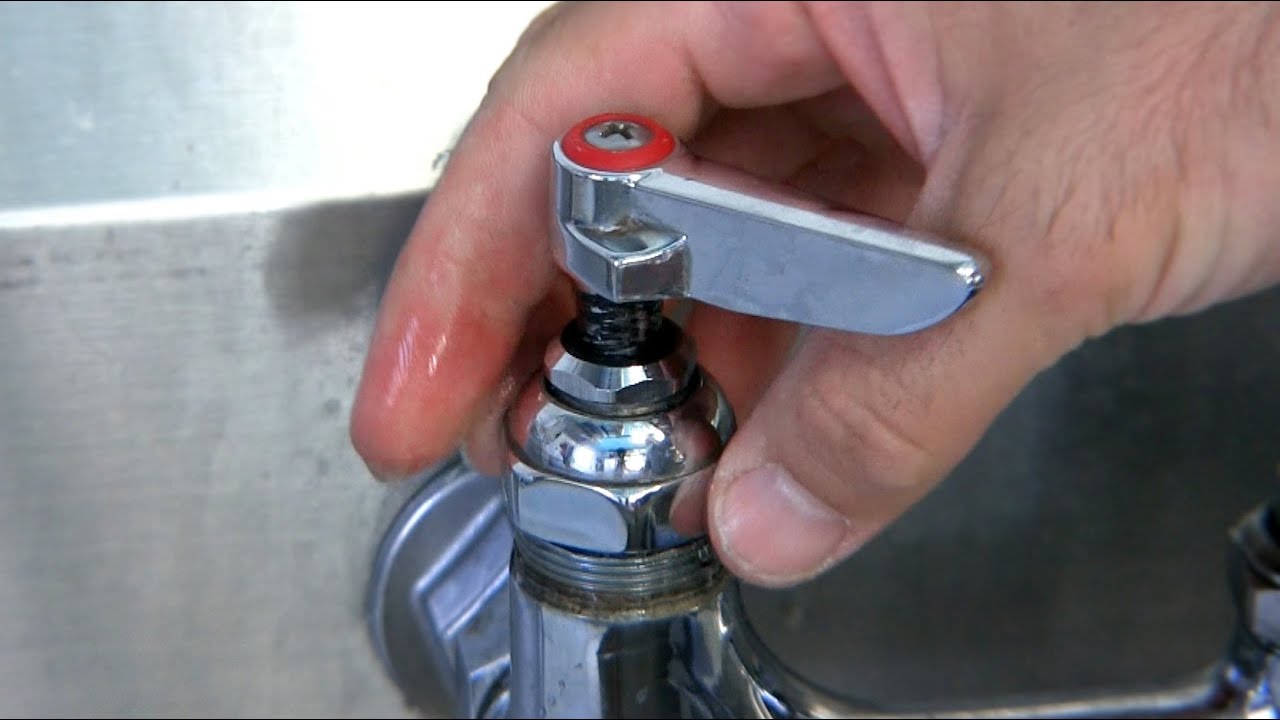
The first step in fixing a leaky kitchen faucet is to determine the source of the leak. Most often, the leak is caused by a worn out O-ring, gasket, or cartridge, but it could also be a loose or damaged valve seat. Turn off the water supply to your faucet and then follow these steps to fix the leak: 1. Remove the Handle Use a screwdriver or an Allen wrench to remove the handle of your faucet. This will give you access to the inner parts that need to be replaced. 2. Replace the O-Ring or Gasket If the leak is coming from the base of the faucet, the problem is most likely a worn out O-ring or gasket. Remove the old O-ring or gasket and replace it with a new one, making sure to clean and dry the area beforehand. 3. Replace the Cartridge If the leak is coming from the spout, the cartridge may need to be replaced. Remove the old cartridge and replace it with a new one, making sure to align it properly. 4. Tighten the Valve Seat If the leak is coming from the handle, the valve seat may be loose or damaged. Use a wrench to tighten the valve seat or replace it if it is damaged.How to Fix a Leaky Faucet


How to Fix a Leaky Faucet


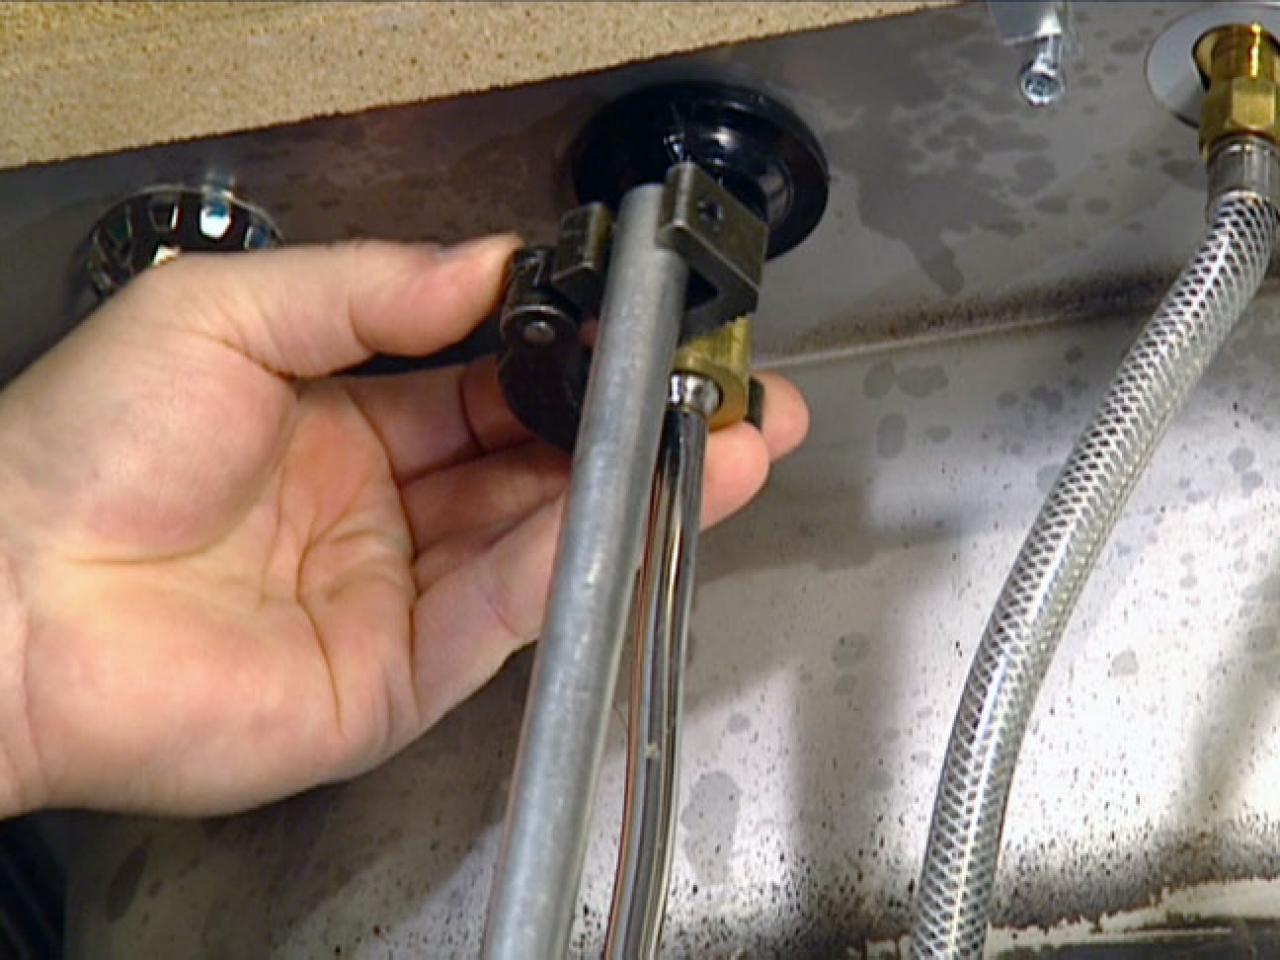
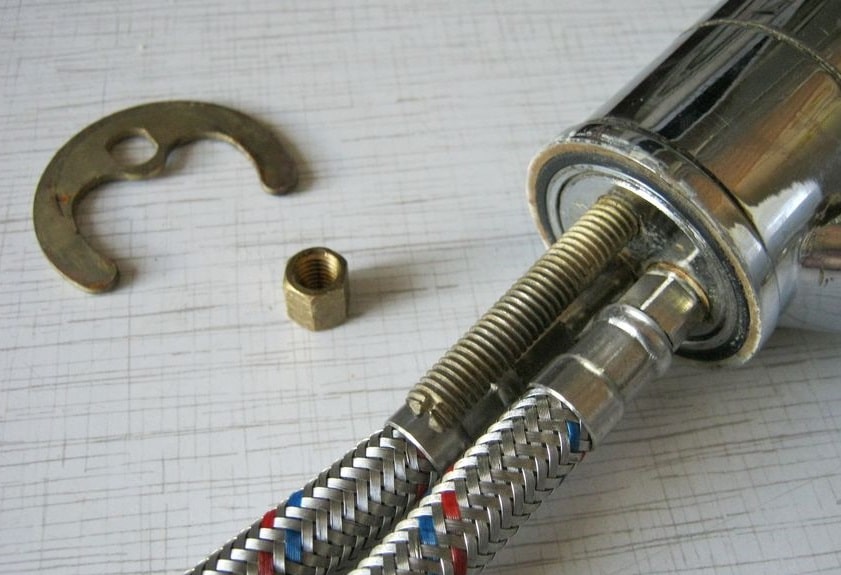
If your kitchen faucet is beyond repair, it may be time for a replacement. The good news is that replacing a kitchen faucet is a fairly simple task that can be done in a few easy steps. 1. Turn Off the Water Supply Before removing your old faucet, you'll need to turn off the water supply. This can usually be done by turning the shut-off valves located under your sink clockwise. 2. Remove the Old Faucet Use a wrench to loosen and remove the nuts that hold your old faucet in place. Once the nuts are removed, you should be able to pull the faucet out from the top of the sink. 3. Install the New Faucet Follow the manufacturer's instructions to install the new faucet. Make sure to tighten all nuts and connections securely. 4. Turn the Water Supply Back On Once the new faucet is installed, turn the water supply back on and check for any leaks. If everything looks good, you're all set!How to Replace a Kitchen Faucet


How to Replace a Kitchen Faucet


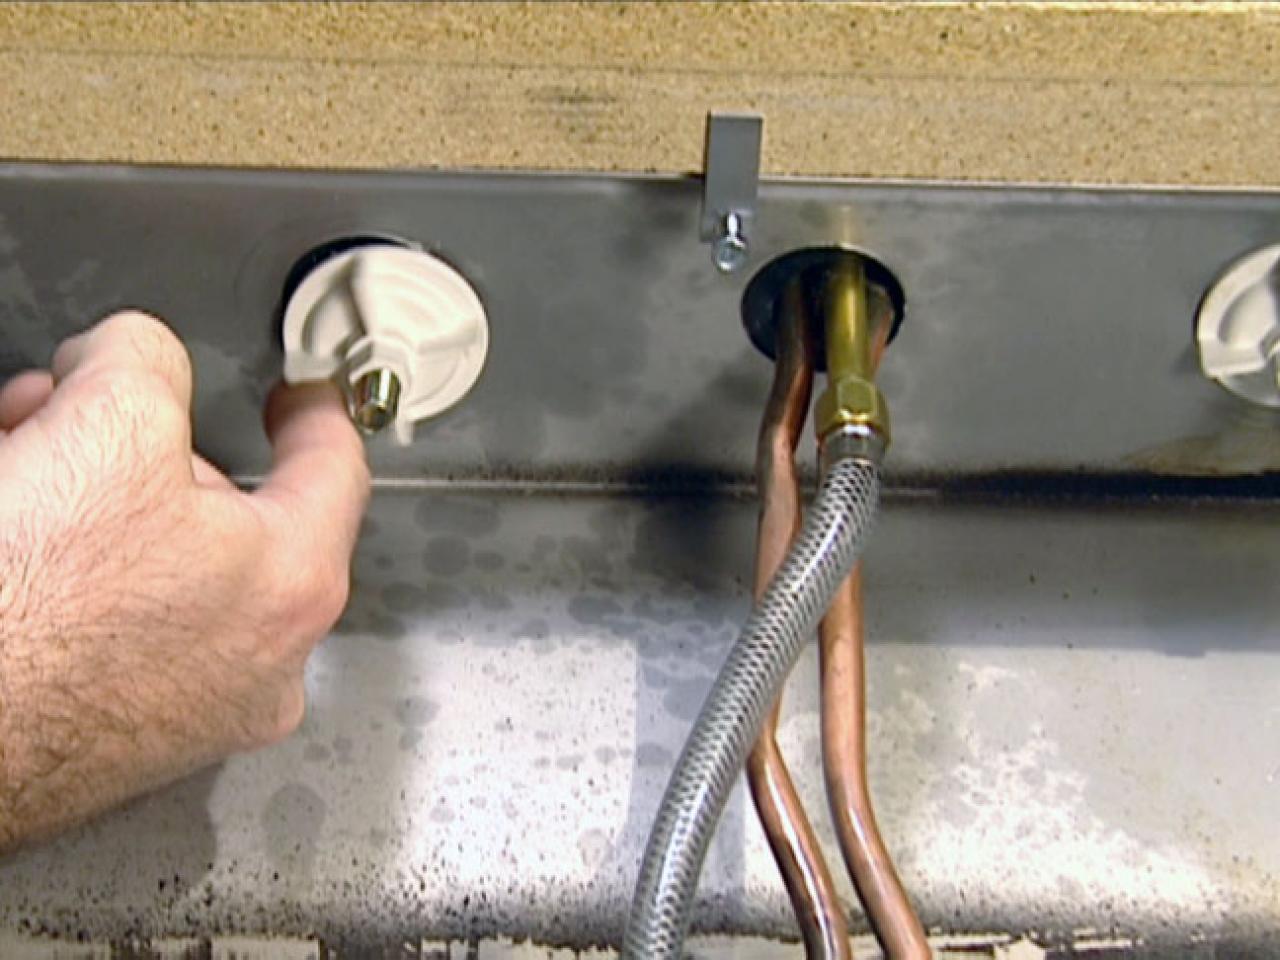

If you're replacing an old faucet or installing a new one, it's important to follow the proper installation process to ensure a leak-free and properly functioning faucet. Here's a general guide on how to install a kitchen faucet: 1. Gather Your Tools To install a kitchen faucet, you'll need a wrench, pliers, screwdriver, and possibly a basin wrench. 2. Remove the Old Faucet Follow the steps mentioned above to remove your old faucet. 3. Prepare the Sink Clean the area where the old faucet was installed and dry it thoroughly. Place a new rubber gasket or seal over the faucet holes in the sink. 4. Install the New Faucet Follow the manufacturer's instructions to install the new faucet. Make sure to tighten all nuts and connections securely. 5. Connect the Water Supply Connect the water supply lines to the new faucet. If your faucet has a pull-out sprayer, you'll also need to connect the spray hose. 6. Turn the Water Supply Back On Once everything is connected, turn the water supply back on and check for any leaks. If there are no leaks, congratulations on successfully installing your new kitchen faucet!How to Install a Kitchen Faucet

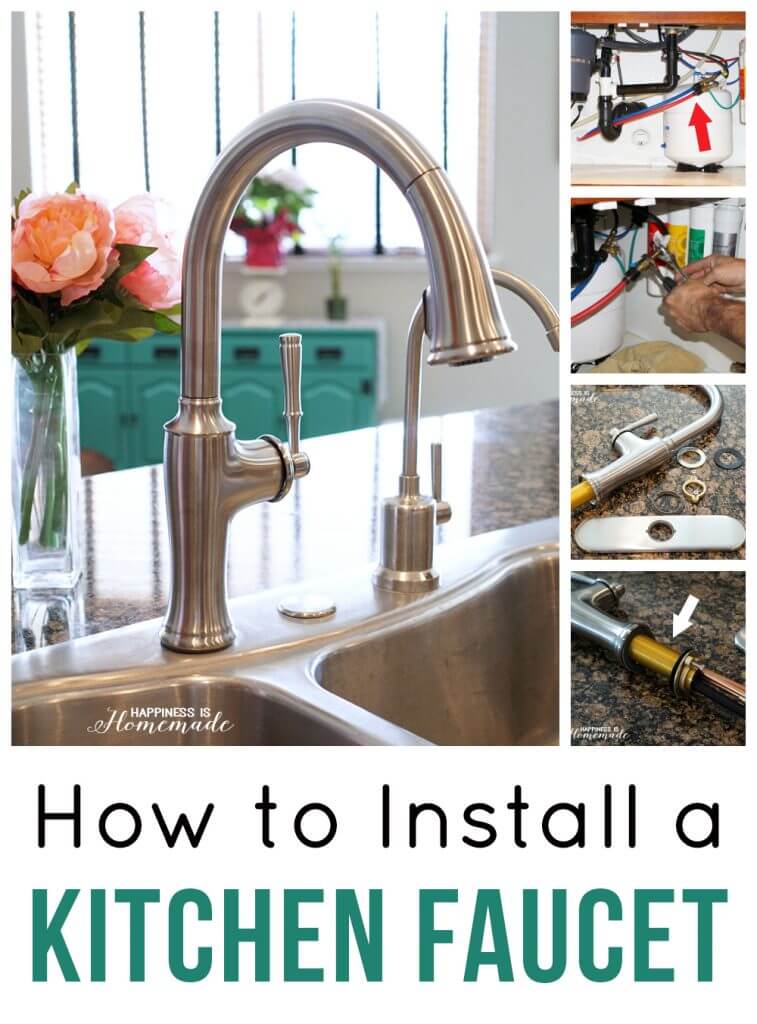
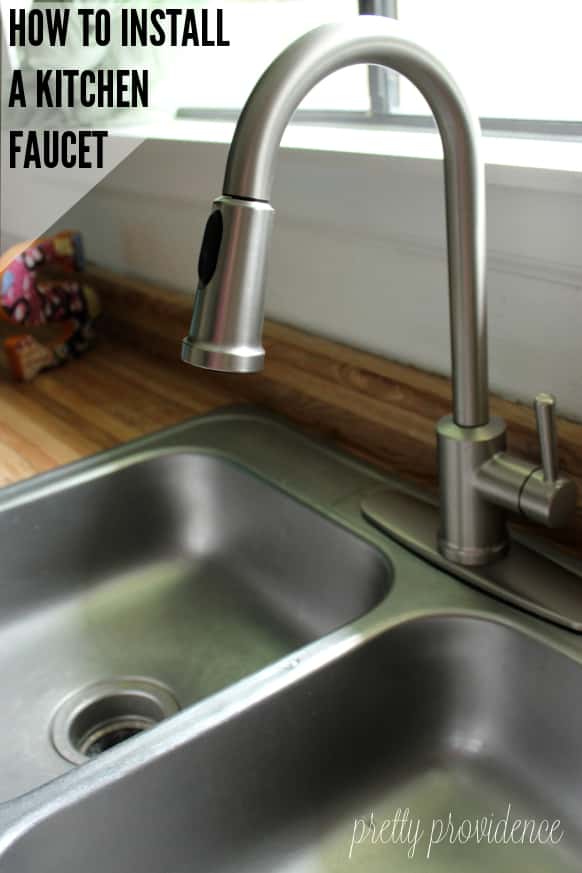
How to Install a Kitchen Faucet


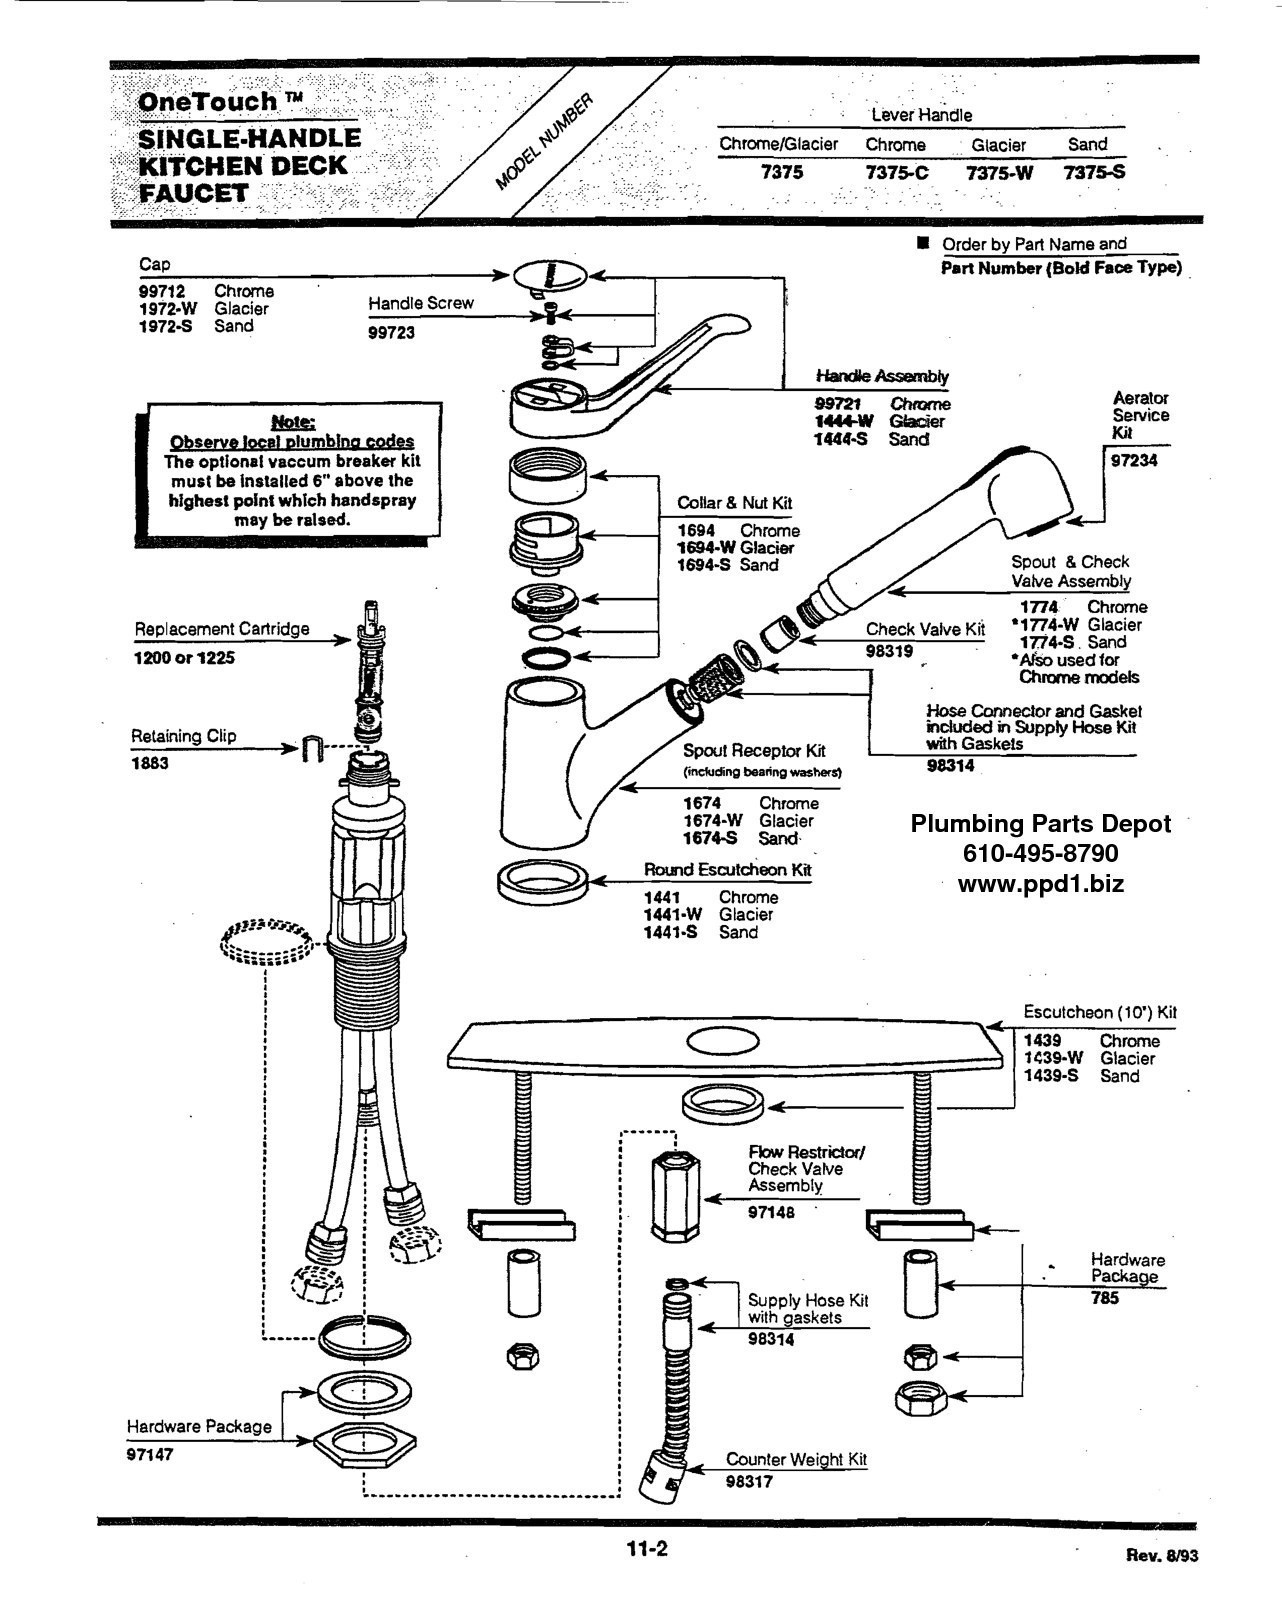
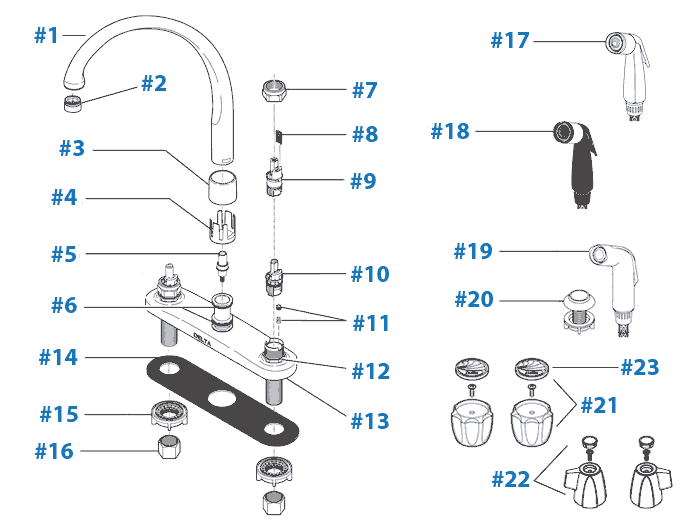
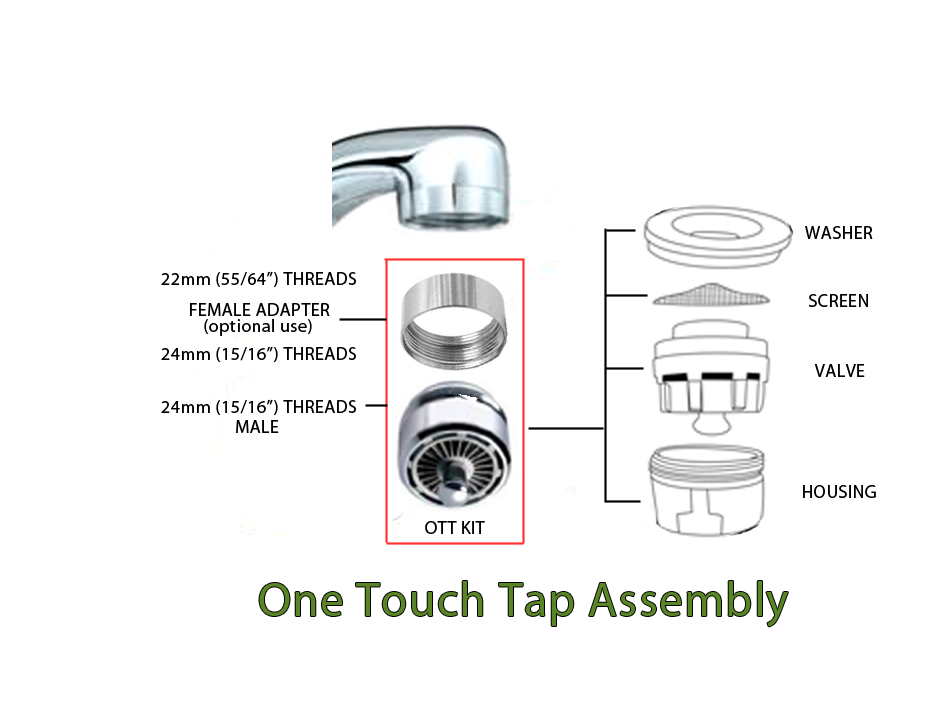
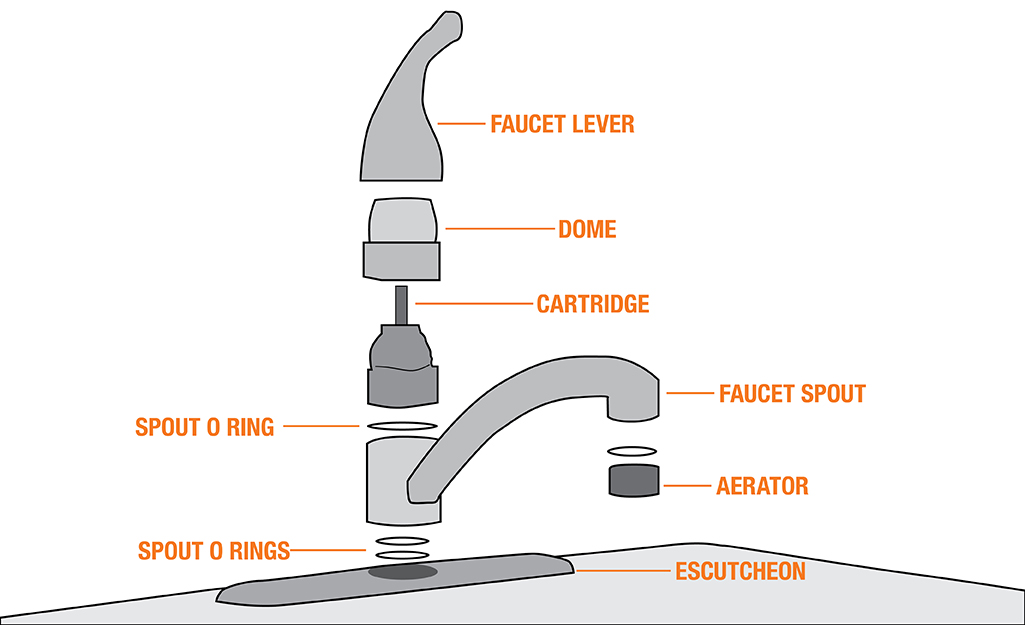
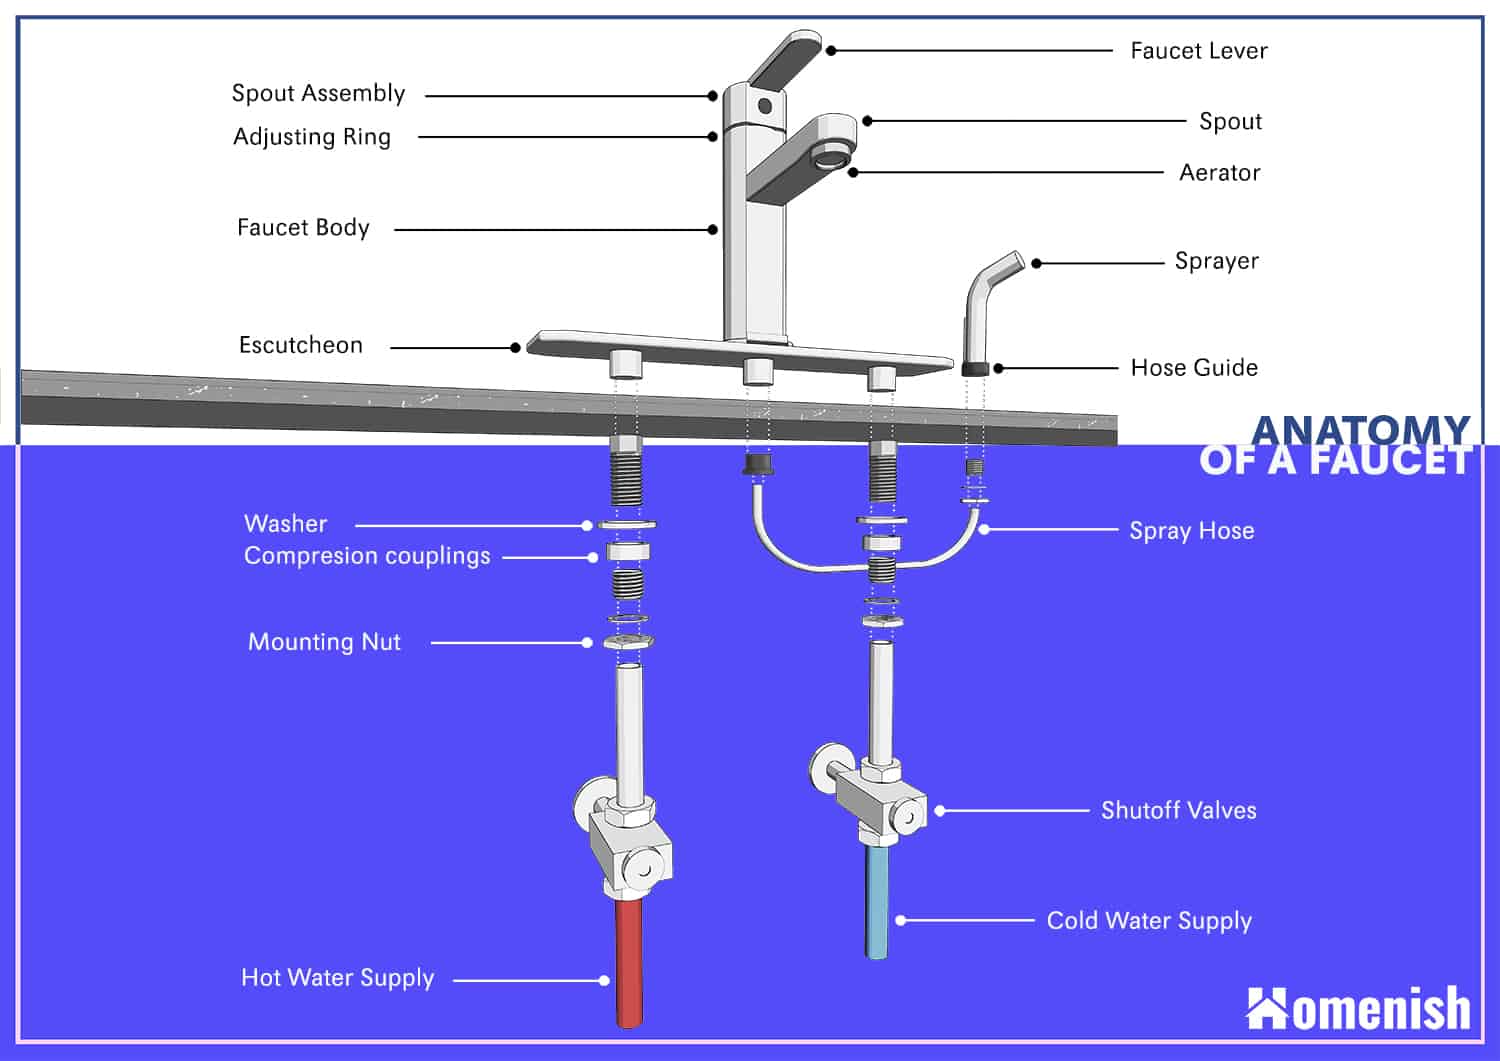
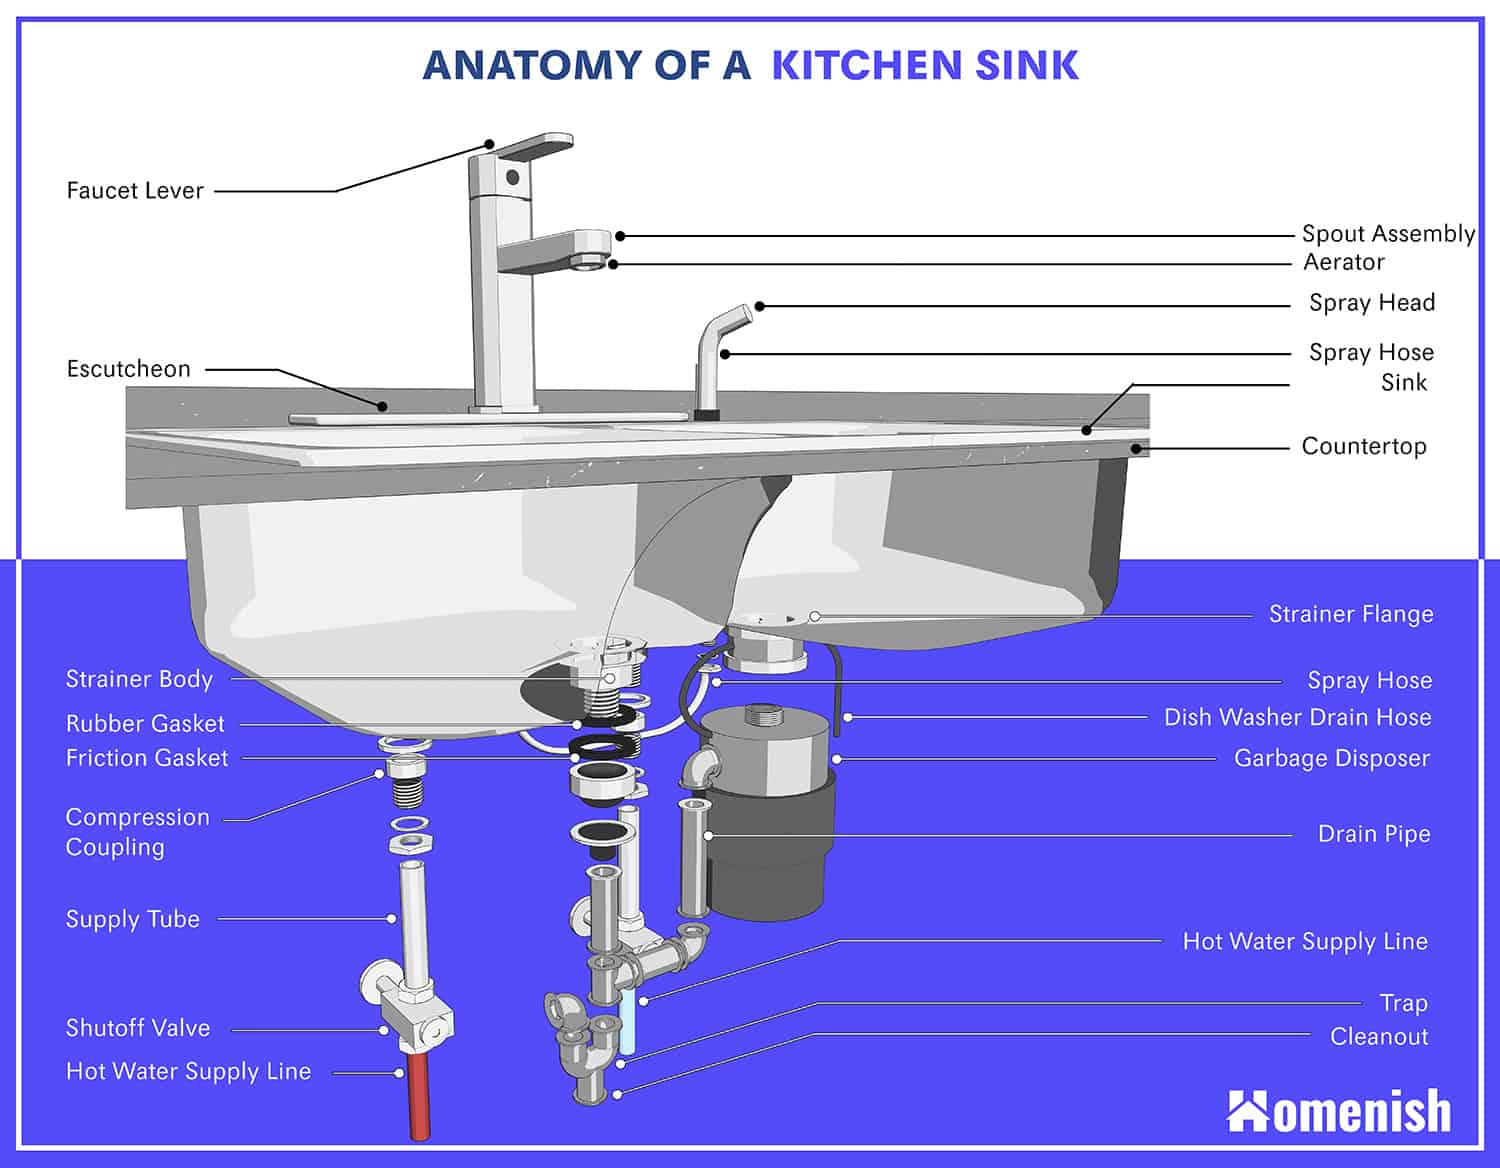
When repairing or replacing your kitchen faucet, it's helpful to have a kitchen faucet parts diagram to refer to. Here are the main kitchen sink faucet parts you should be familiar with: 1. Handle The handle controls the flow and temperature of the water. It is usually connected to the valve stem or cartridge. 2. Spout The spout is the part of the faucet that water flows out of. It is connected to the body of the faucet and can be either fixed or movable. 3. Cartridge The cartridge controls the flow of water and can be replaced if it becomes damaged or worn out. 4. O-Ring The O-ring is a small rubber ring that creates a watertight seal between different parts of the faucet. 5. Gasket The gasket is a flat rubber or plastic piece that creates a seal between the faucet and the sink. 6. Valve Seat The valve seat is the connection between the faucet and the spout. It can become loose or damaged, causing leaks.Kitchen Faucet Parts Diagram


Kitchen Faucet Parts Diagram


If you're planning to repair your kitchen sink faucet, it's important to have the right parts on hand. Here are some kitchen sink faucet repair parts that you may need: 1. O-Ring Kit An O-ring kit contains a variety of sizes of O-rings that can be used to replace worn out or damaged O-rings in your faucet. 2. Cartridge If the leak is coming from the spout, you may need to replace the cartridge. Make sure to get the right size and type for your specific faucet. 3. Gasket If the leak is coming from the base of the faucet, you may need to replace the gasket. Make sure to get the right size and type for your specific faucet. 4. Valve Seat If the leak is coming from the handle, you may need to tighten or replace the valve seat. Make sure to get the right size and type for your specific faucet.Kitchen Sink Faucet Repair Parts


Kitchen Sink Faucet Repair Parts


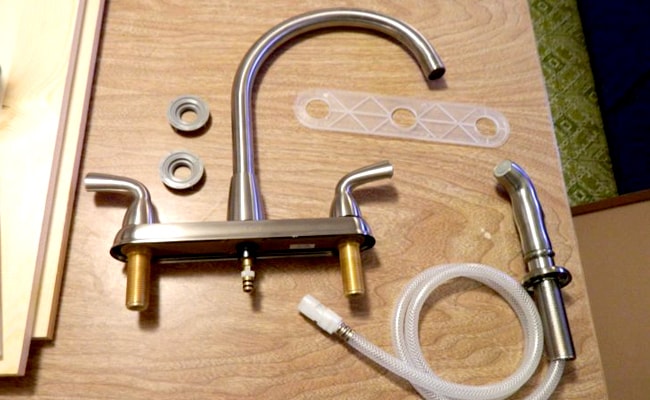
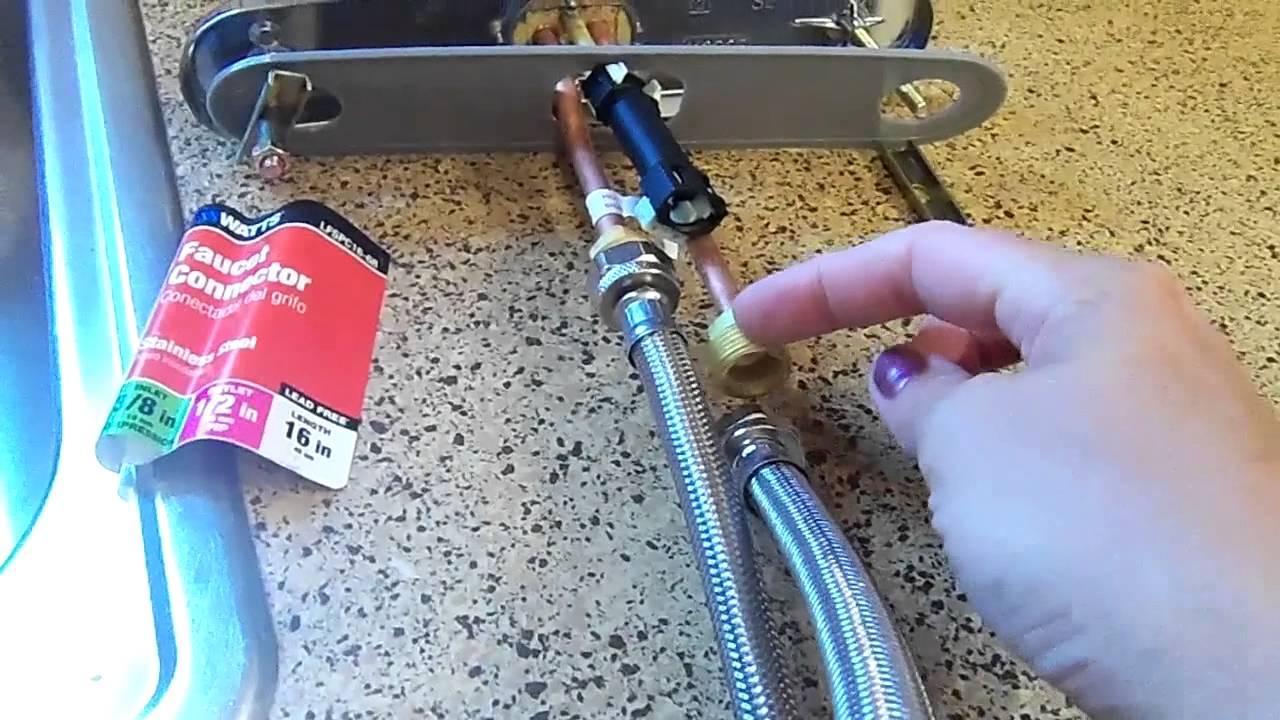
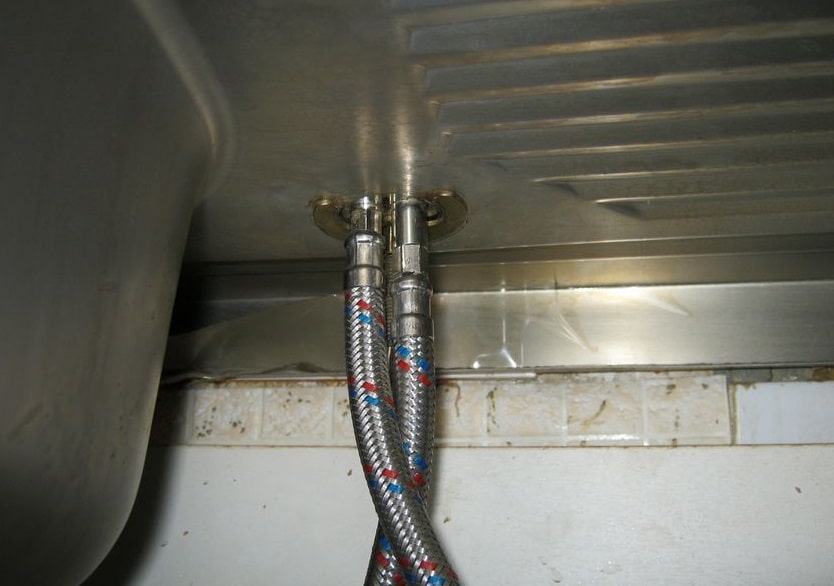
If you're planning to replace your kitchen sink faucet, you'll need to make sure you have all the necessary parts. Here are some kitchen sink faucet replacement parts that you may need: 1. Faucet The faucet itself is the main replacement part. Make sure to get the right size and type for your specific sink. 2. Water Supply Lines These are the flexible tubes that connect the water supply to your faucet. Make sure to get the right size and type for your specific faucet. 3. Spray Hose If your faucet has a pull-out sprayer, you'll need to replace the spray hose as well. Make sure to get the right size and type for your specific faucet. 4. Mounting Hardware Make sure to have all the necessary nuts, washers, and bolts to properly install your new faucet.Kitchen Sink Faucet Replacement Parts


Kitchen Sink Faucet Replacement Parts


If you're not familiar with the inner workings of a kitchen sink faucet, an assembly diagram can be helpful in understanding how all the parts fit together. Here's a basic kitchen sink faucet assembly diagram to give you a better idea: 1. Handle 2. Cartridge 3. O-Ring 4. Gasket 5. Valve Seat 6. SpoutKitchen Sink Faucet Assembly Diagram
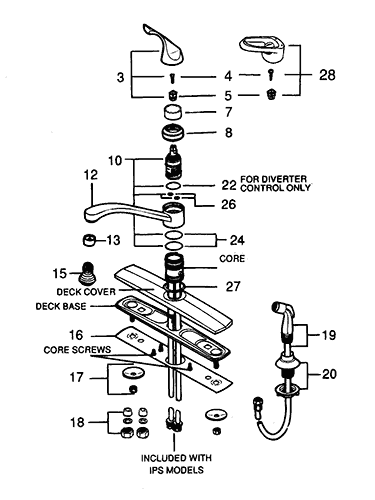
Kitchen Sink Faucet Assembly Diagram


If you're not sure how to repair a leaky kitchen faucet, don't worry. We've put together a kitchen sink faucet repair guide to help you through the process: 1. Identify the Source of the Leak As mentioned earlier, the first step in repairing a leaky kitchen faucet is determining where the leak is coming from. 2. Turn Off the Water Supply Before starting any repairs, turn off the water supply to your faucet. 3. Follow the Steps for Repair or Replacement Depending on where the leak is coming from, follow the steps mentioned above for repairing or replacing the necessary parts. 4. Test for Leaks Once the repairs are complete, turn the water supply back on and check for any leaks. If there are no leaks, your faucet should be good as new!Kitchen Sink Faucet Repair Guide


Kitchen Sink Faucet Repair Guide


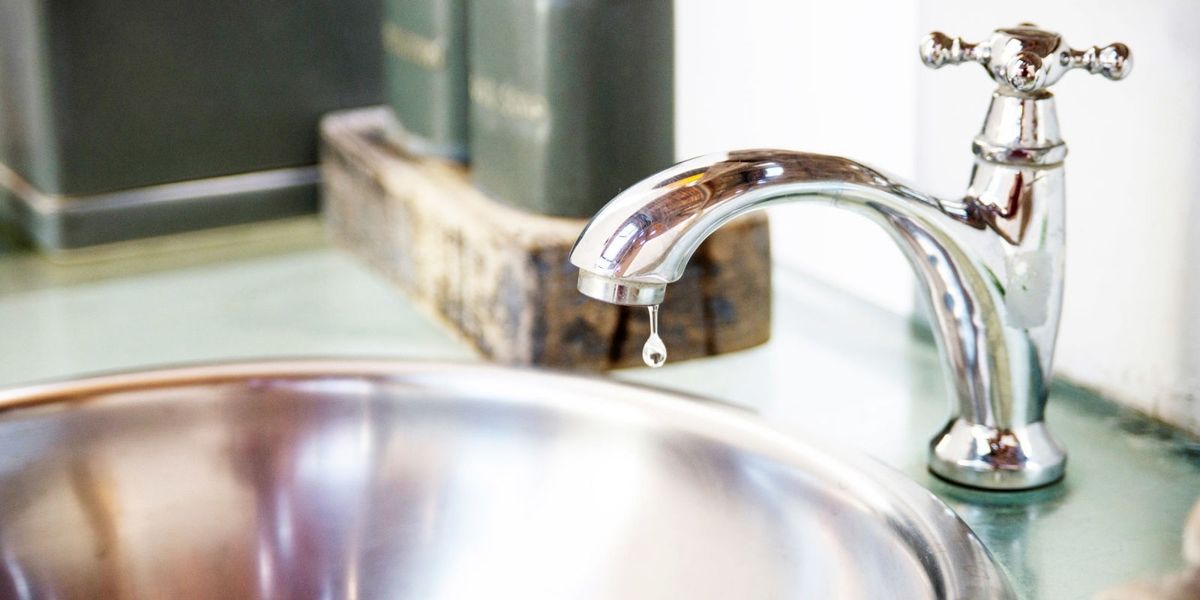
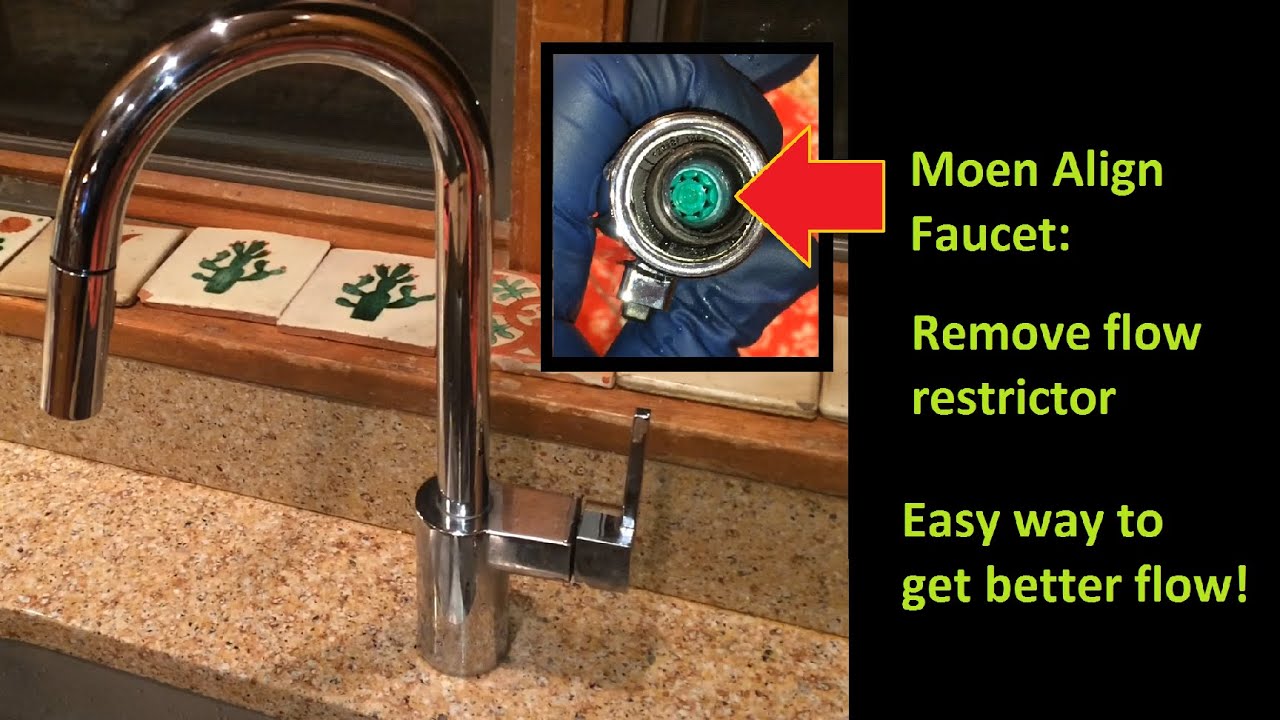
If your kitchen sink faucet is not working properly, here are some troubleshooting tips that may help: 1. Low Water Pressure If your faucet has low water pressure, the aerator may be clogged. Remove the aerator and clean it, or replace it if necessary. 2. No Hot Water If your faucet is not producing hot water, the problem may be with your water heater. Check to make sure it is functioning properly. 3. Constant Dripping If your faucet is constantly dripping, it may be time to replace the washer or seats and springs in your faucet. These can become worn out over time and cause leaks.Kitchen Sink Faucet Troubleshooting


Kitchen Sink Faucet Troubleshooting


The Importance of Understanding Kitchen Sink Faucet Parts for House Design
Introduction
 When it comes to house design, every detail counts. From the layout and color scheme to the furnishings and fixtures, every element plays a crucial role in creating a functional and aesthetically pleasing space. One often overlooked but essential feature in the kitchen is the sink faucet. Not only does it provide a source of water for cooking and cleaning, but it also adds a touch of style to the overall design. To truly understand the significance of a kitchen sink faucet, it is essential to have a thorough understanding of its parts and how they work together. In this article, we will delve into the
kitchen sink faucet parts diagram
and explain their functions and importance in house design.
When it comes to house design, every detail counts. From the layout and color scheme to the furnishings and fixtures, every element plays a crucial role in creating a functional and aesthetically pleasing space. One often overlooked but essential feature in the kitchen is the sink faucet. Not only does it provide a source of water for cooking and cleaning, but it also adds a touch of style to the overall design. To truly understand the significance of a kitchen sink faucet, it is essential to have a thorough understanding of its parts and how they work together. In this article, we will delve into the
kitchen sink faucet parts diagram
and explain their functions and importance in house design.
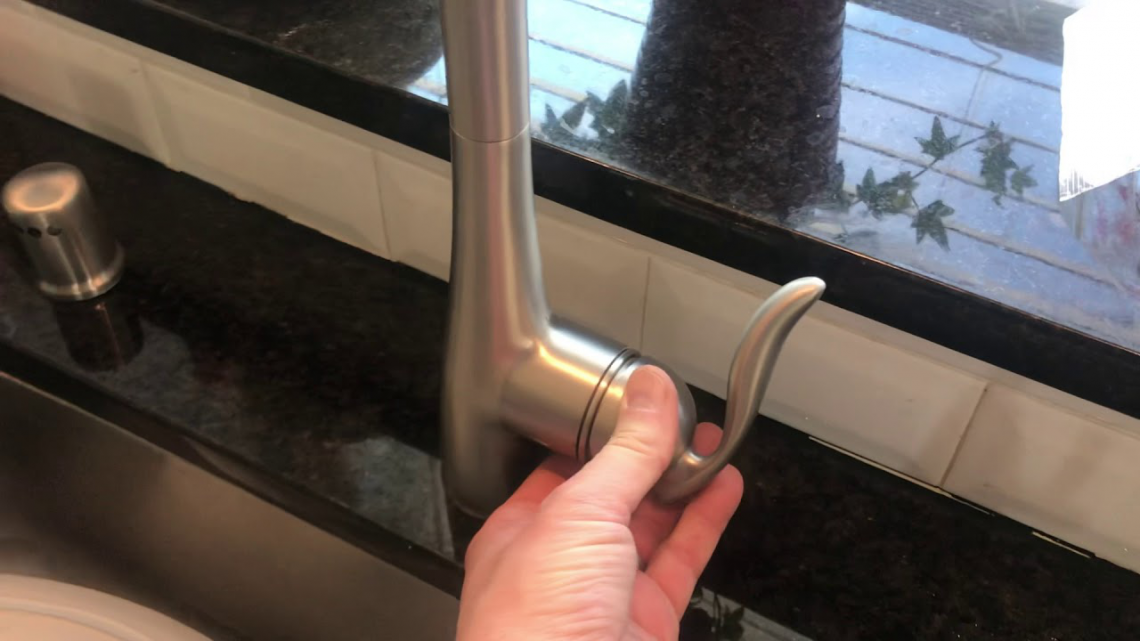
The Handle
 The handle is the most visible part of a kitchen sink faucet and is responsible for controlling the flow and temperature of water. It comes in various styles, including single and double handles, cross handles, and lever handles. The handle's design and placement are crucial in determining the overall look and functionality of the faucet. For instance, a single lever handle is more modern and streamlined, while separate hot and cold handles give a traditional and classic look. The handle's placement is also essential, as it should be easily accessible and comfortable to use.
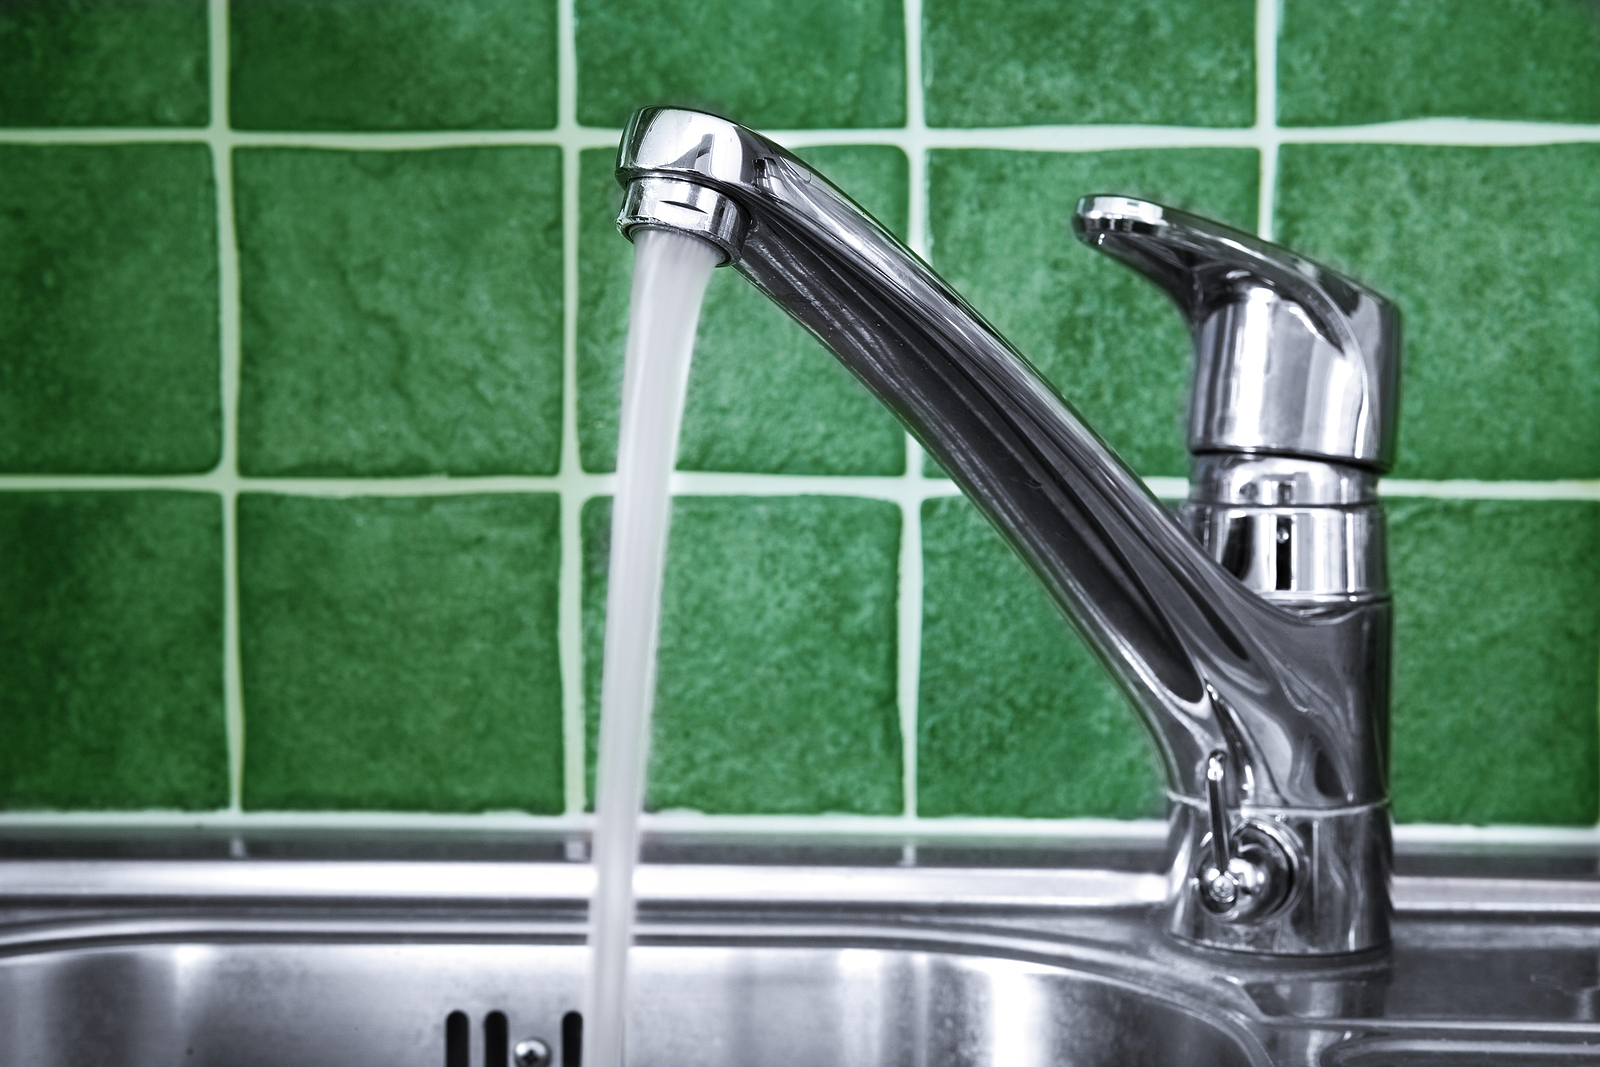
The Spout
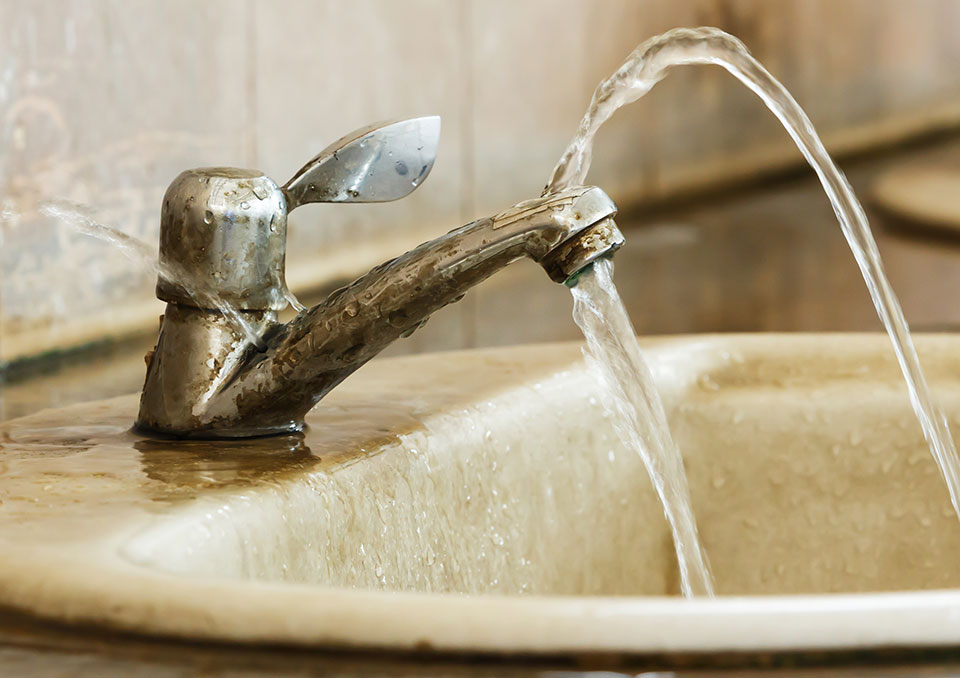
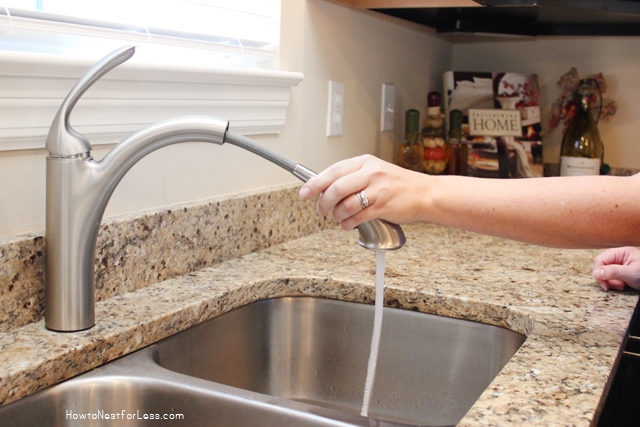
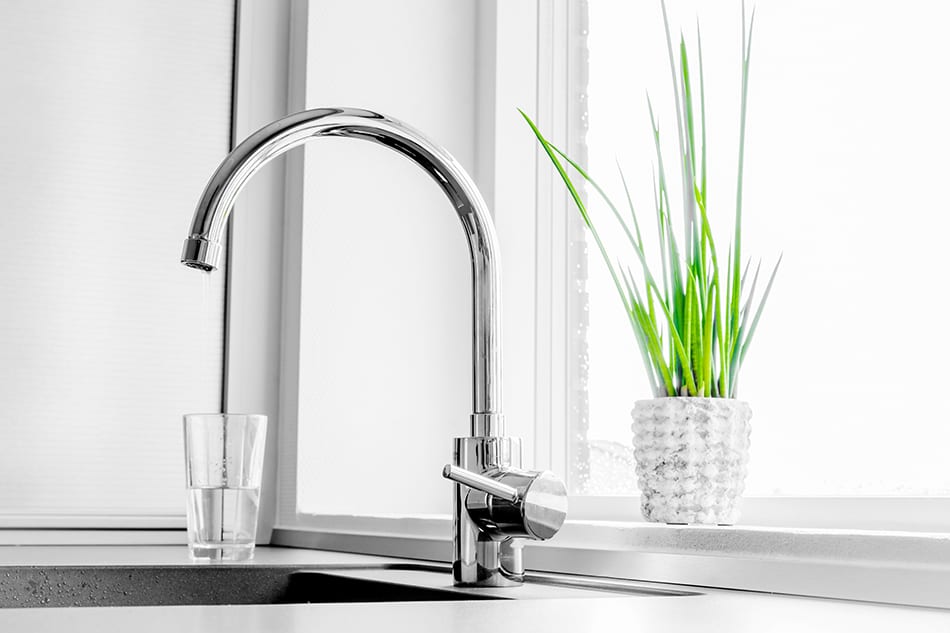
 The spout is the part of the faucet that extends over the sink and delivers water to the basin. Like the handle, it comes in different styles and lengths, each with its unique functionality and aesthetic appeal. A high-arc spout, for example, allows for more room to fill and wash larger pots and pans, while a low-arc spout is ideal for smaller sinks and creates a more minimalistic look. The spout's design also plays a role in the overall house design, as it can add a touch of elegance or simplicity to the kitchen.
The Aerator
 The aerator is a small but significant part of the faucet that is often overlooked. It is a mesh screen that is placed at the end of the spout and is responsible for controlling the water flow and reducing splashing. It also helps to conserve water by adding air to the water stream, creating a steady and efficient flow. The aerator's size and type can affect the overall water pressure and can be customized to suit personal preferences.
The Cartridge
 The cartridge is the heart of the faucet and is responsible for controlling the flow and temperature of water. It is a replaceable part that is located inside the handle and can be made of different materials, such as ceramic or brass. The cartridge's quality and design can significantly impact the faucet's durability and functionality, making it an essential part of the
kitchen sink faucet parts diagram
.
The cartridge is the heart of the faucet and is responsible for controlling the flow and temperature of water. It is a replaceable part that is located inside the handle and can be made of different materials, such as ceramic or brass. The cartridge's quality and design can significantly impact the faucet's durability and functionality, making it an essential part of the
kitchen sink faucet parts diagram
.
Conclusion
 In conclusion, understanding the various parts of a kitchen sink faucet is crucial in creating a well-designed and functional space. The handle, spout, aerator, and cartridge all play a vital role in the faucet's performance and contribute to the overall house design. By carefully considering these parts and their functions, homeowners can choose the perfect faucet that meets their needs and complements their style.