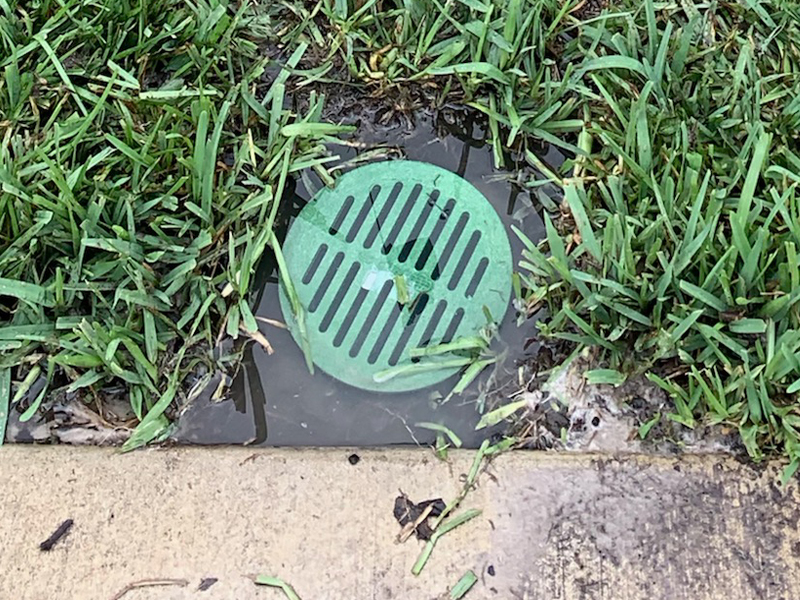
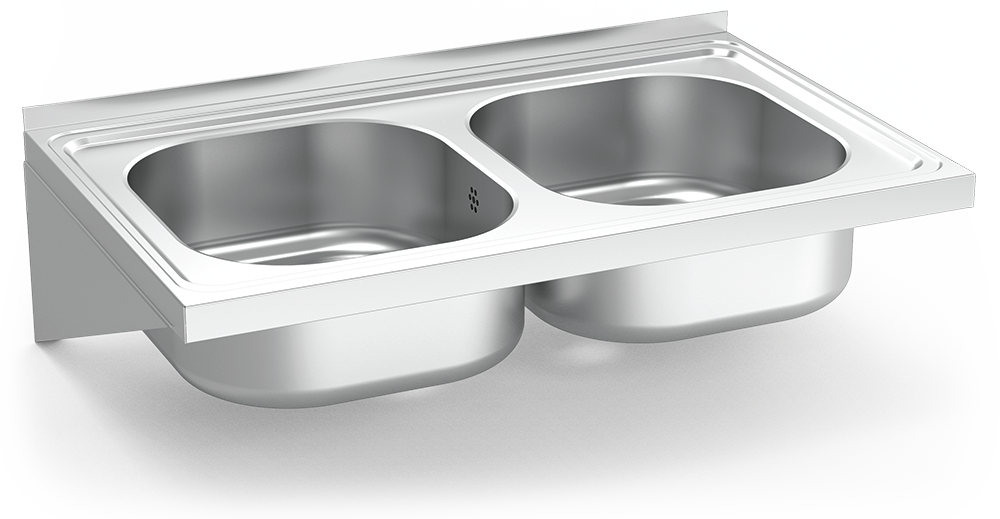
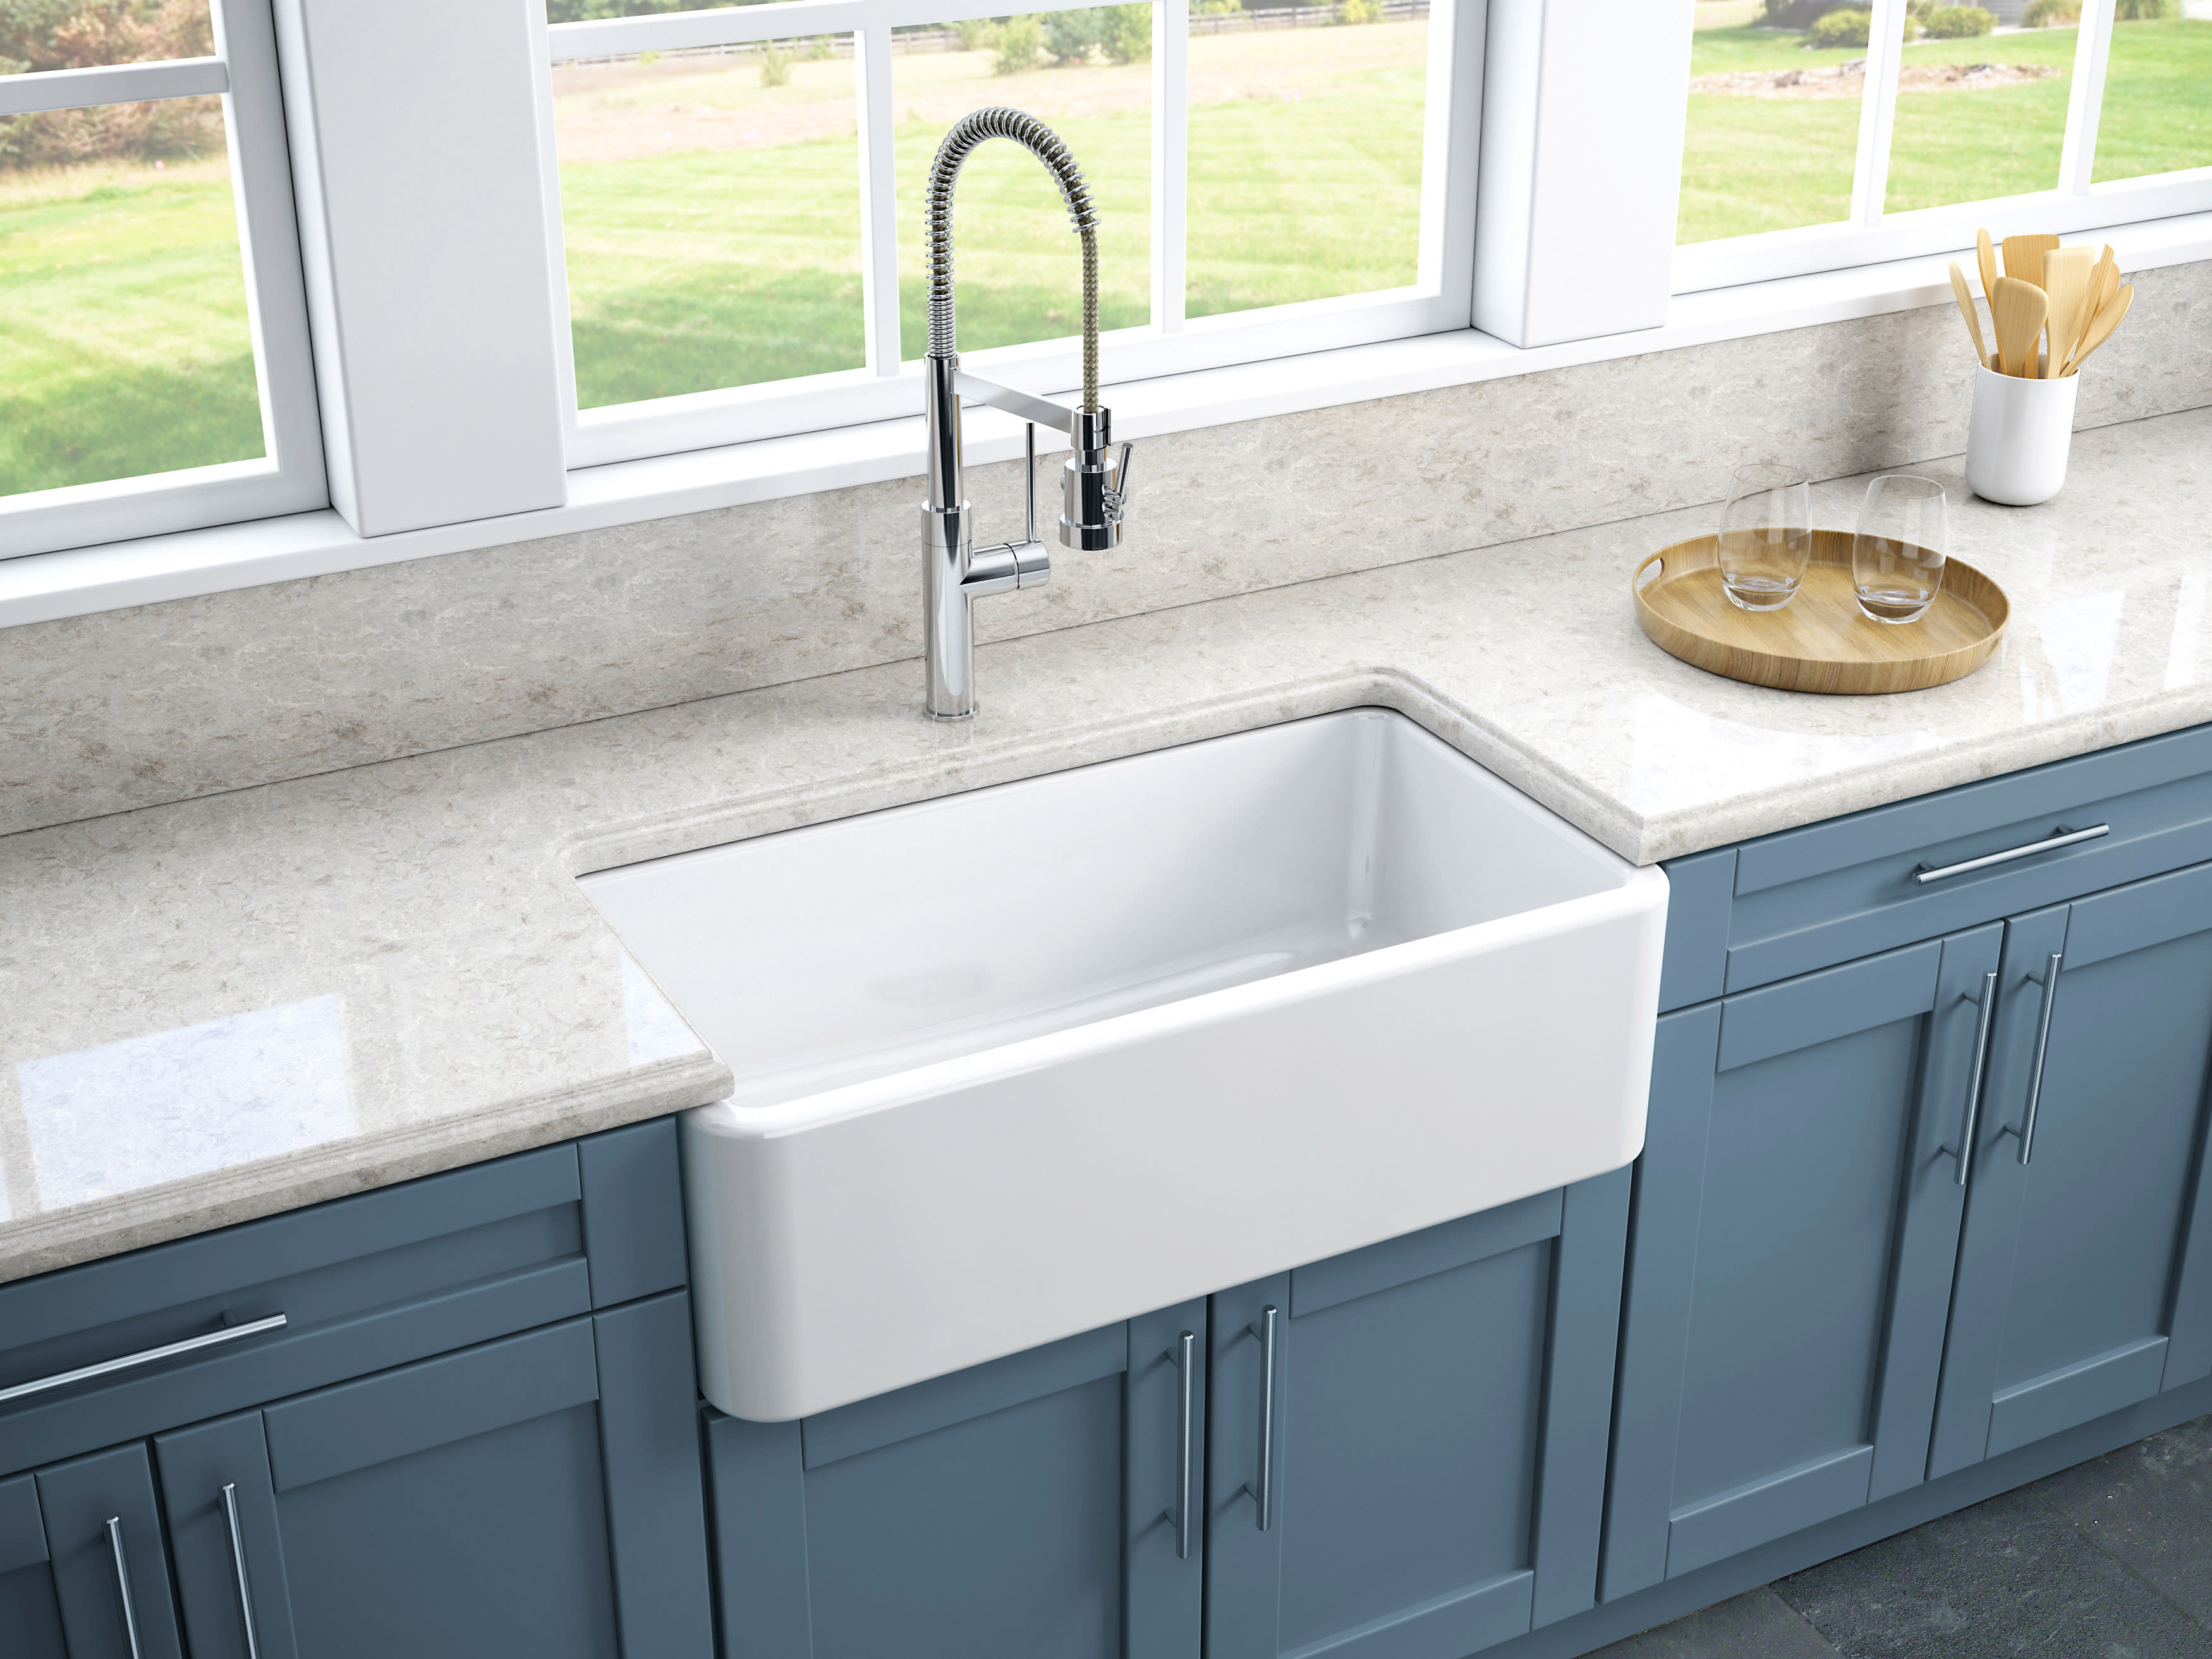
Installing a floor drain in your kitchen is an essential part of maintaining proper drainage and preventing water damage in your home. Without a functional drain, your kitchen sink can become a breeding ground for bacteria and mold, leading to foul odors and potential health hazards. Proper drainage also ensures that any spills or leaks from your sink are directed away from your home, preventing costly water damage repairs. When installing a floor drain, it is crucial to consider the type of flooring in your kitchen. If you have a tiled floor, the drain can be installed directly into the floor. However, if you have a concrete or hardwood floor, a channel drain may be a better option. This type of drain is installed along the perimeter of the kitchen and collects water from the floor's surface.1. Floor Drain Installation: The Importance of Proper Drainage


1. Floor Drain Installation: The Importance of Proper Drainage

.png?width=979&name=Screen Shot 2020-06-05 at 11.10.13 AM (1).png)


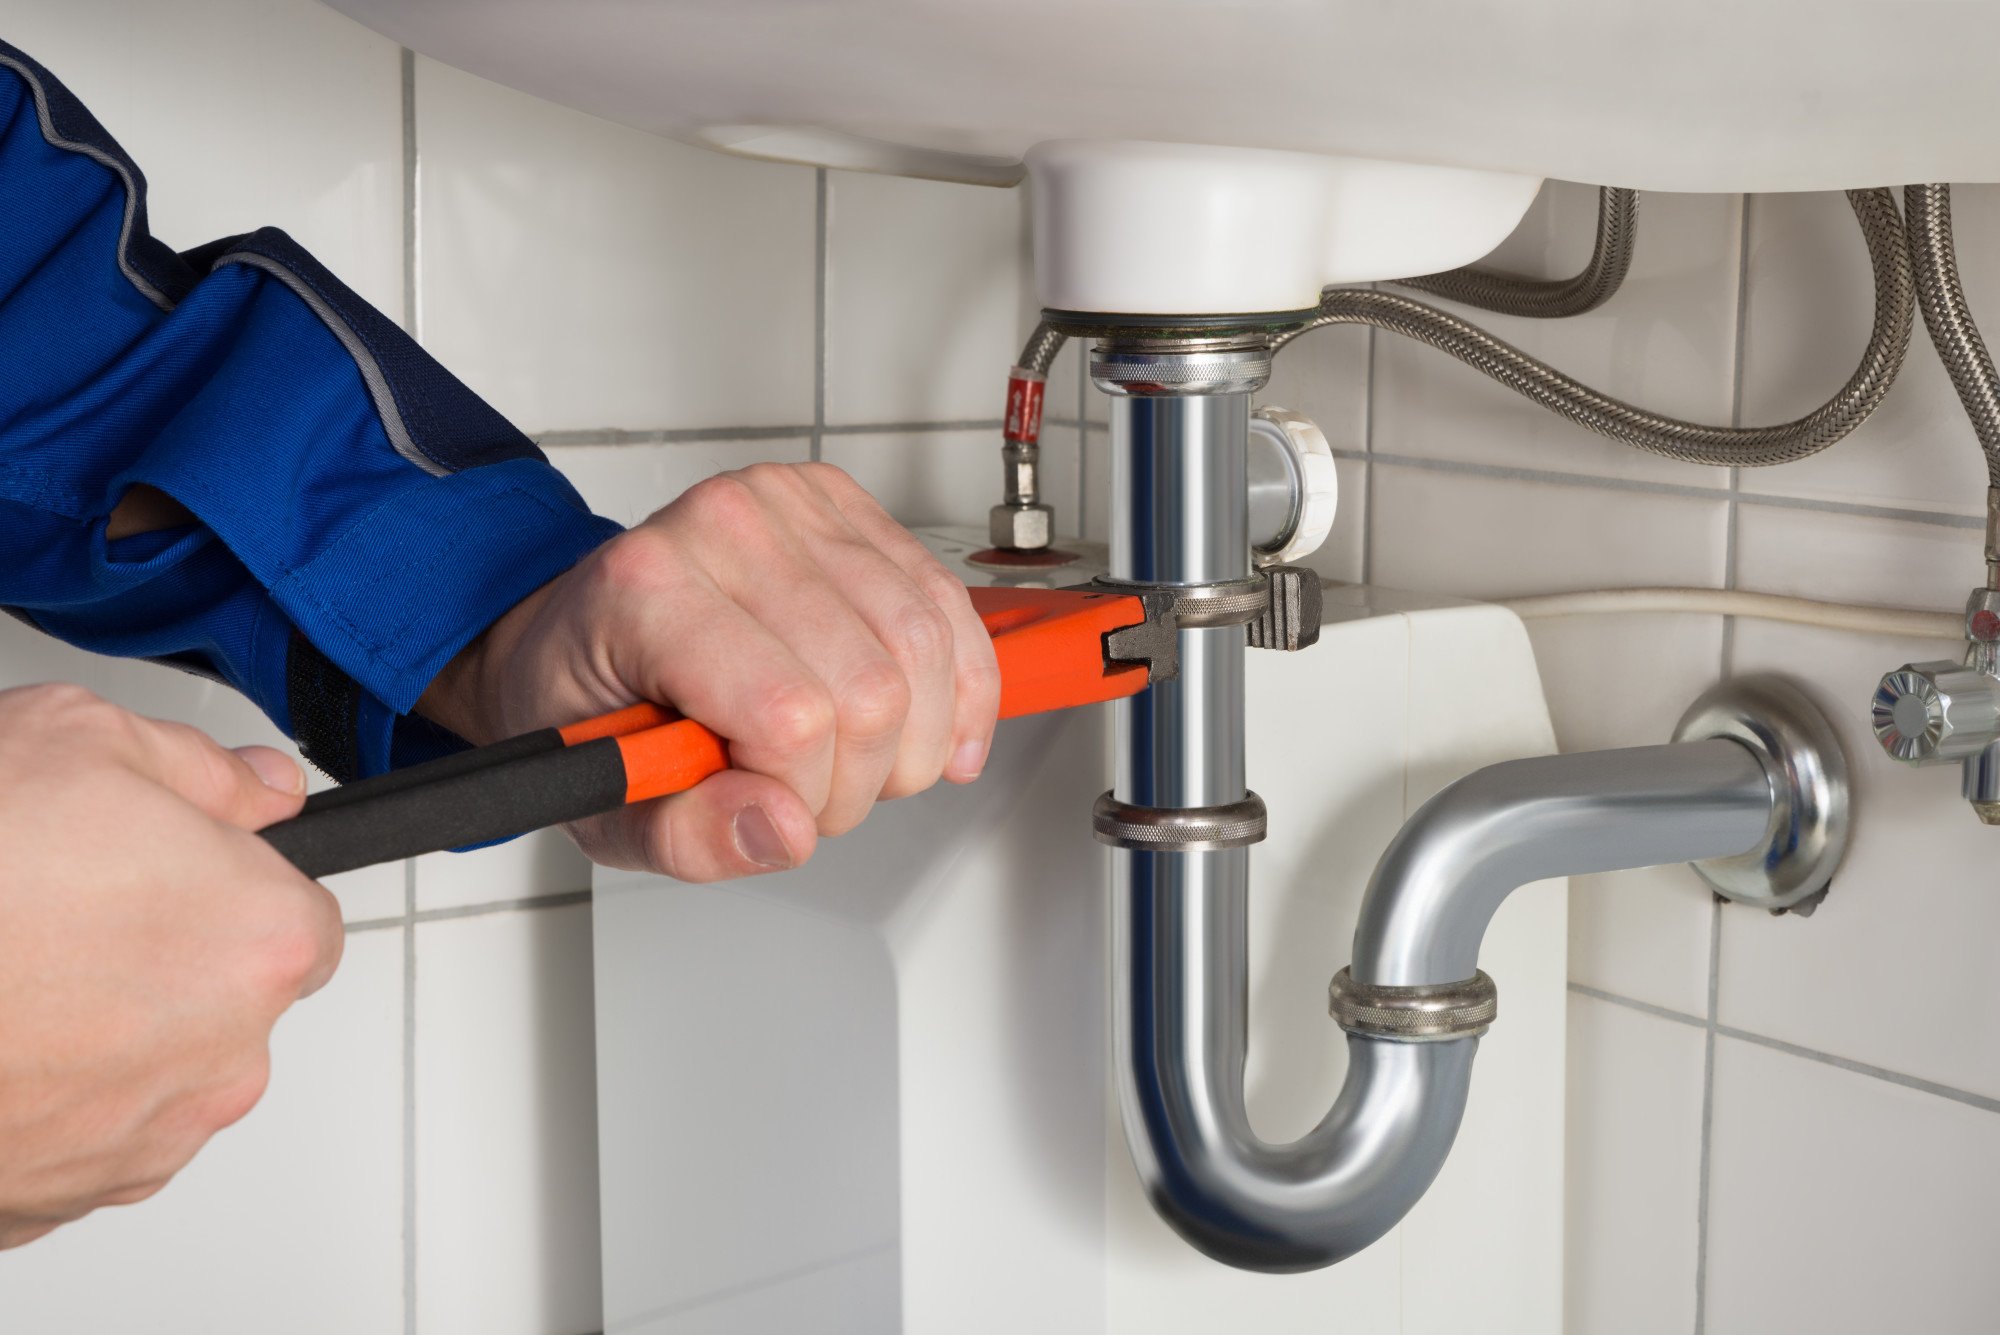
Installing a kitchen sink drain may seem like a daunting task, but with the right tools and knowledge, it can be a relatively straightforward process. First, you will need to remove the old drain, which involves disconnecting the plumbing and unscrewing the drain from the sink. Once the old drain is removed, you can install the new one by attaching the strainer and tightening it with pliers. Next, you will need to apply plumber's putty around the drain's edges before placing it into the sink's opening. This putty creates a watertight seal between the sink and the drain. Once the drain is in place, you can attach the gasket and nut from underneath the sink, securing it tightly. Finally, you can reconnect the plumbing and run water through the sink to test for any leaks.2. How to Install a Kitchen Sink Drain


2. How to Install a Kitchen Sink Drain
:max_bytes(150000):strip_icc()/how-to-install-a-sink-drain-2718789-hero-24e898006ed94c9593a2a268b57989a3.jpg)


/how-to-install-a-sink-drain-2718789-hero-b5b99f72b5a24bb2ae8364e60539cece.jpg)

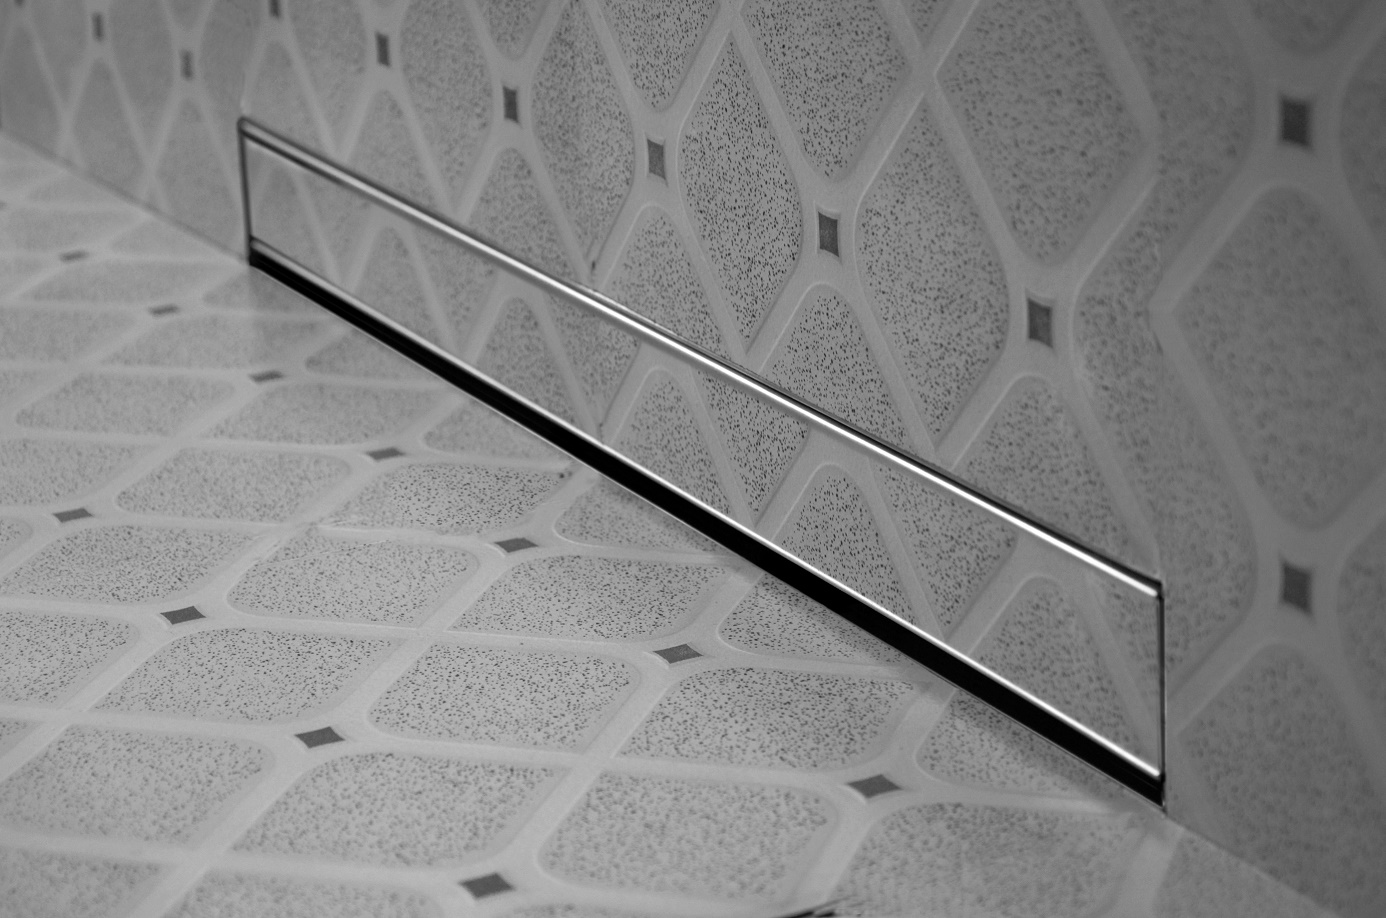
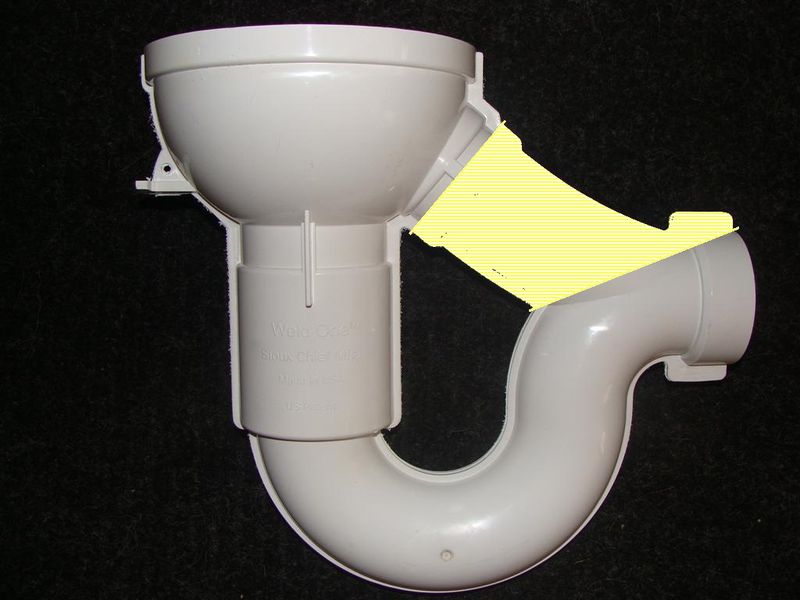
When it comes to choosing between a wall drain and a floor drain for your kitchen sink, it ultimately depends on your home's layout and your personal preference. A wall drain is a popular choice for kitchens with limited space, as it allows for more room under the sink for storage. Additionally, a wall drain can be easier to install since it only requires a small hole in the wall for the plumbing to run through. However, a floor drain may be a better option for larger kitchens or homes with a concrete slab foundation. A floor drain can handle larger volumes of water and may be more efficient in preventing water damage if a leak were to occur. It is also important to consider the cost of installation; a wall drain may be less expensive initially, but a floor drain may save you money in the long run if it prevents costly water damage repairs.3. Wall Drain vs Floor Drain: Which is Better?


3. Wall Drain vs Floor Drain: Which is Better?
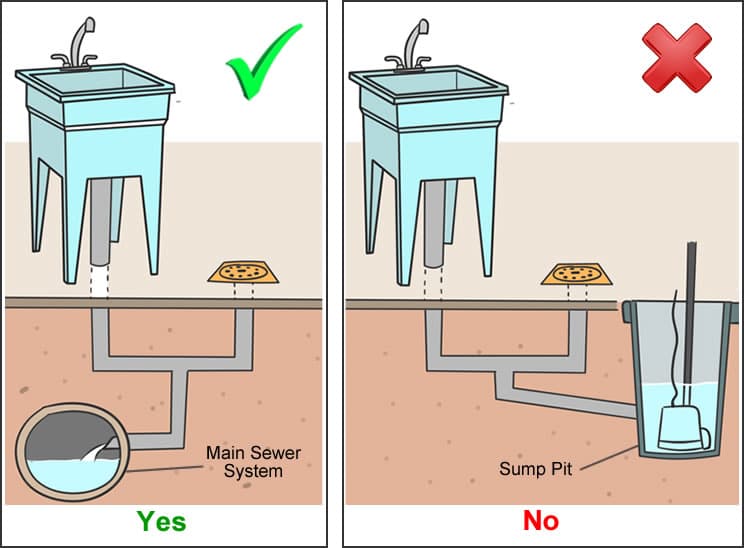


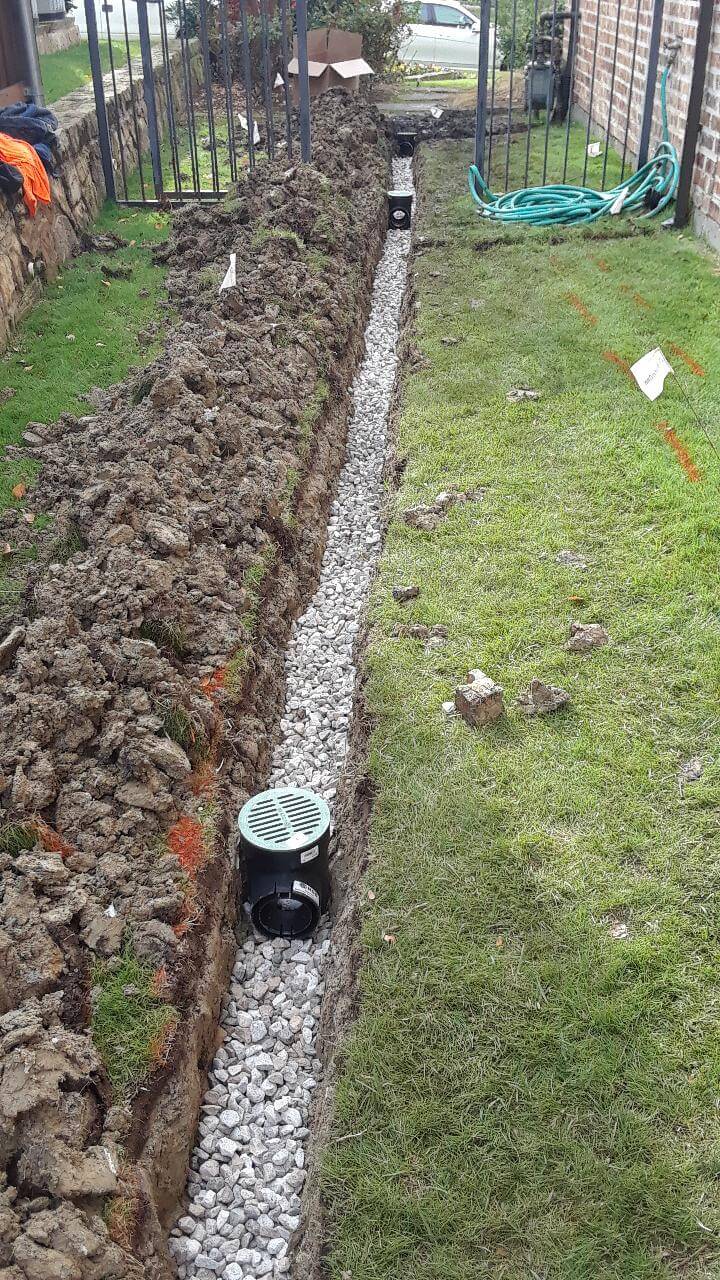
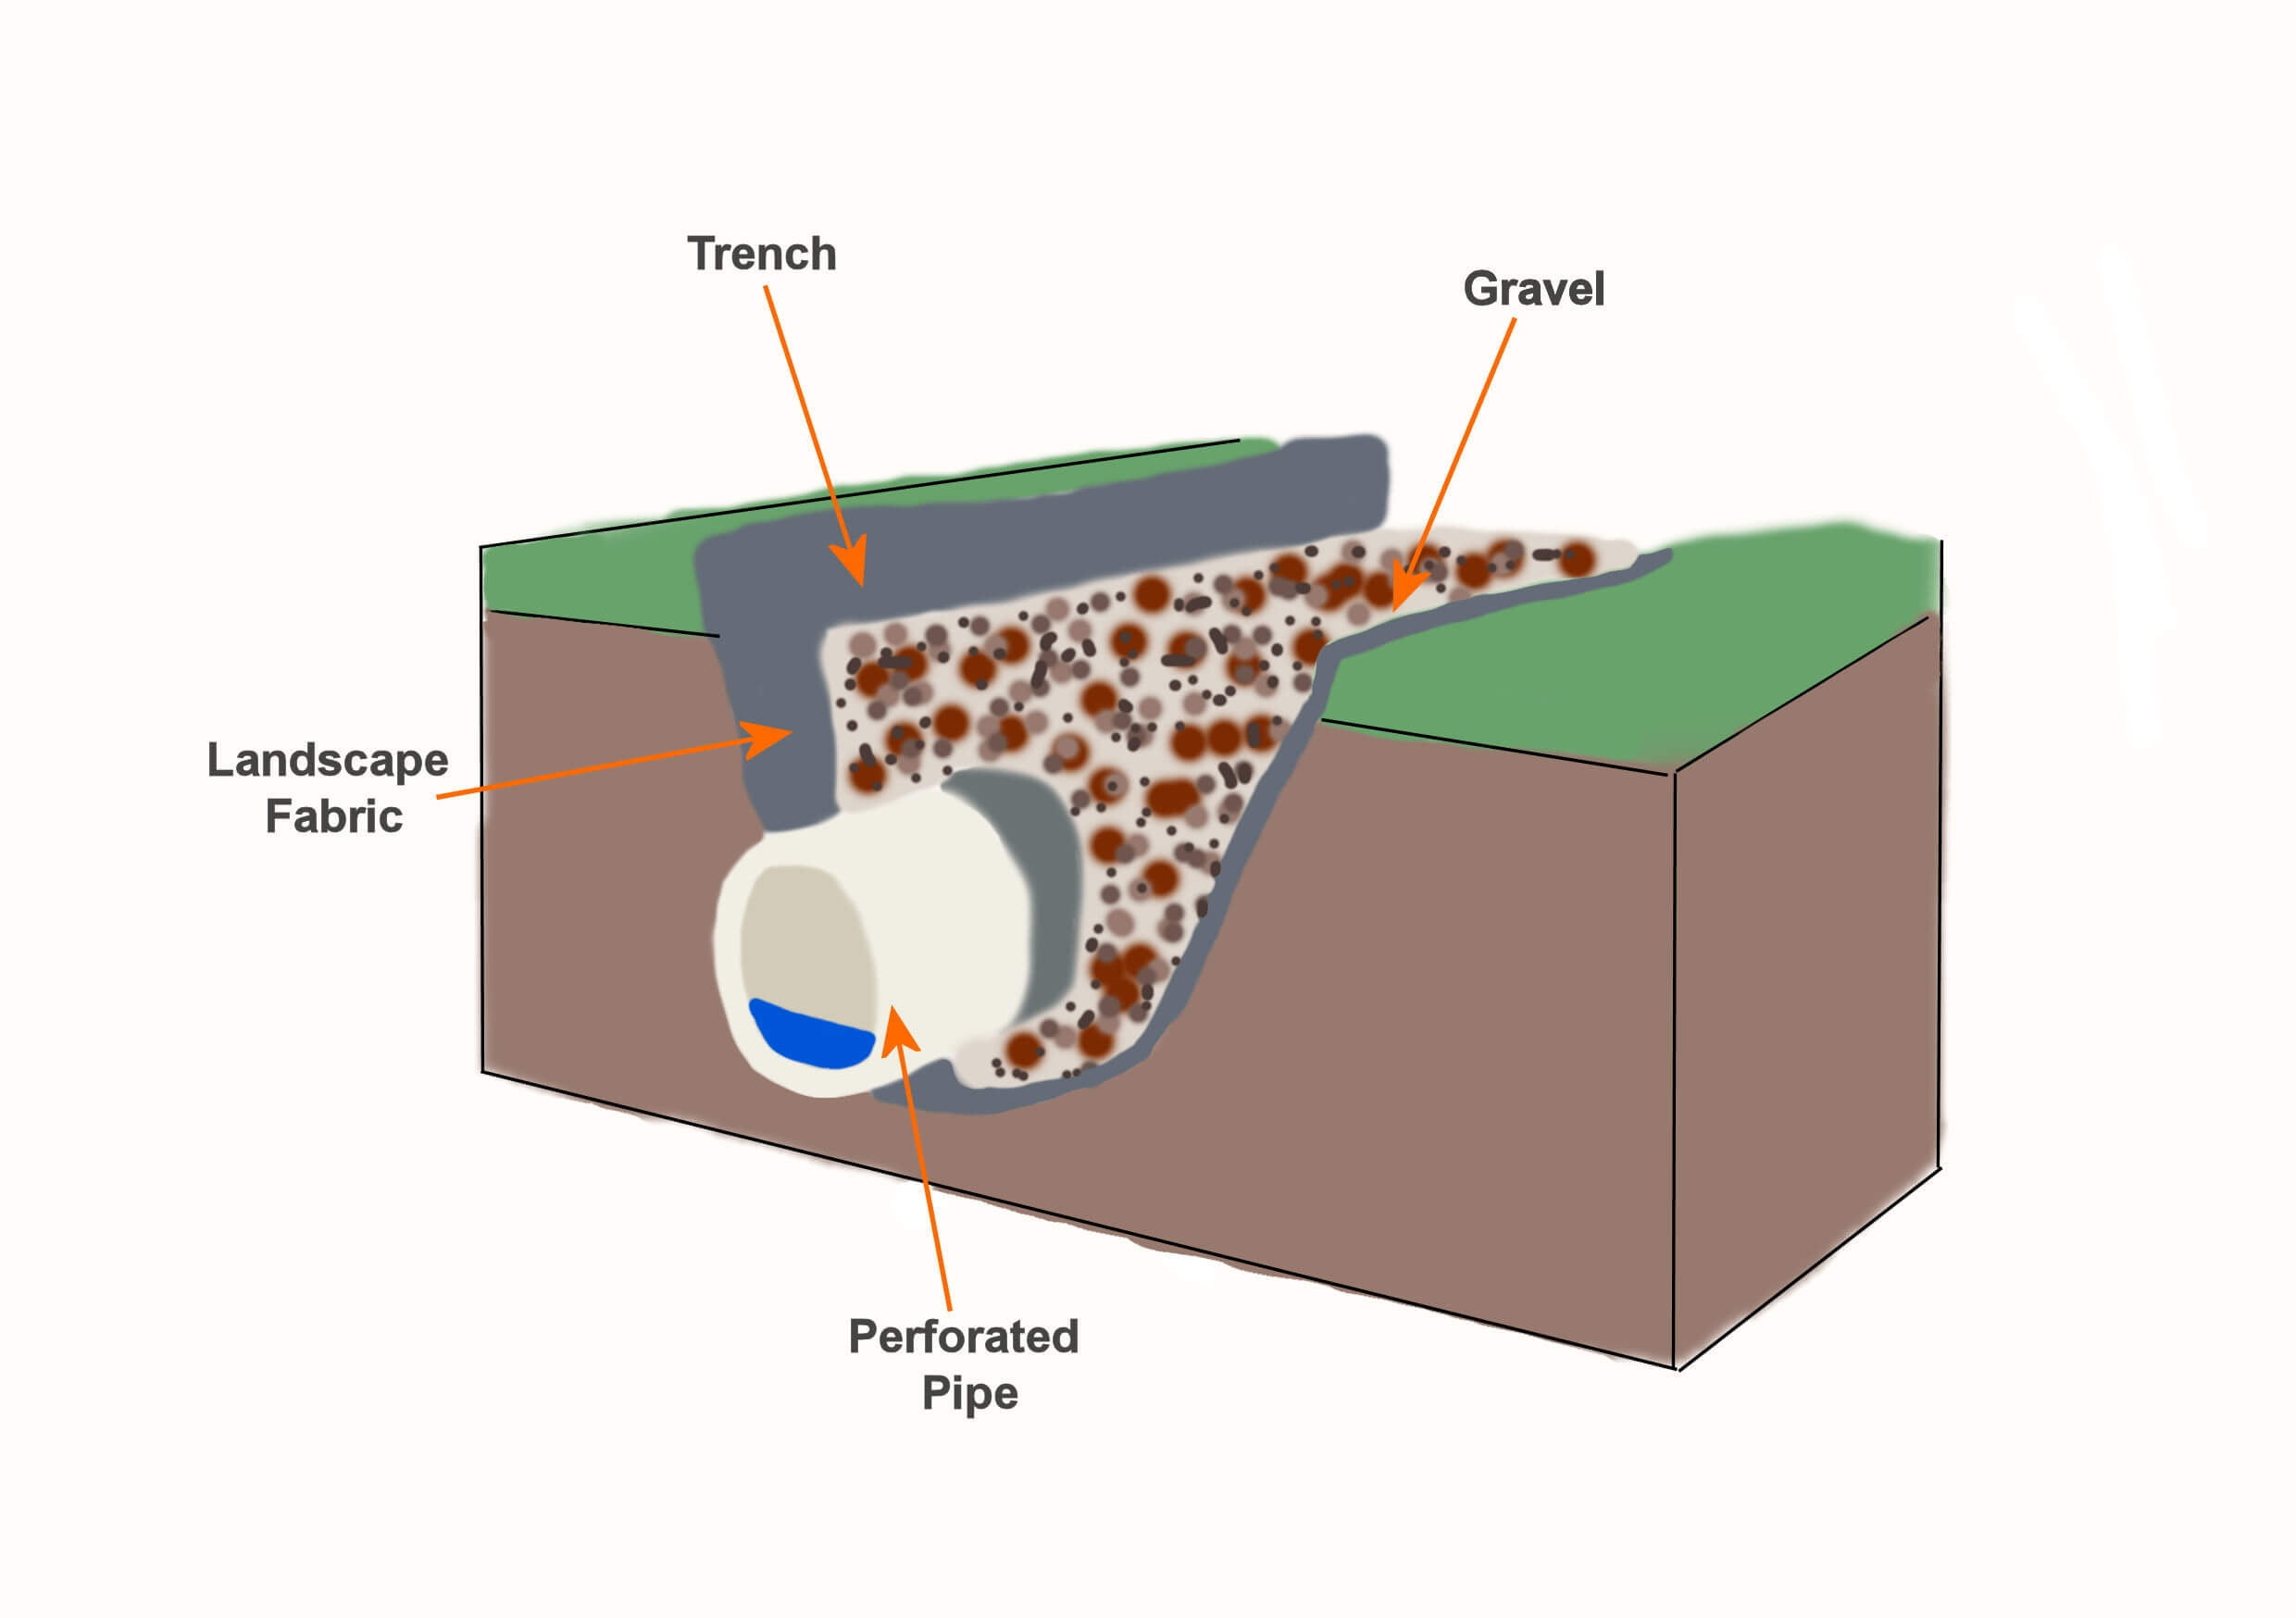
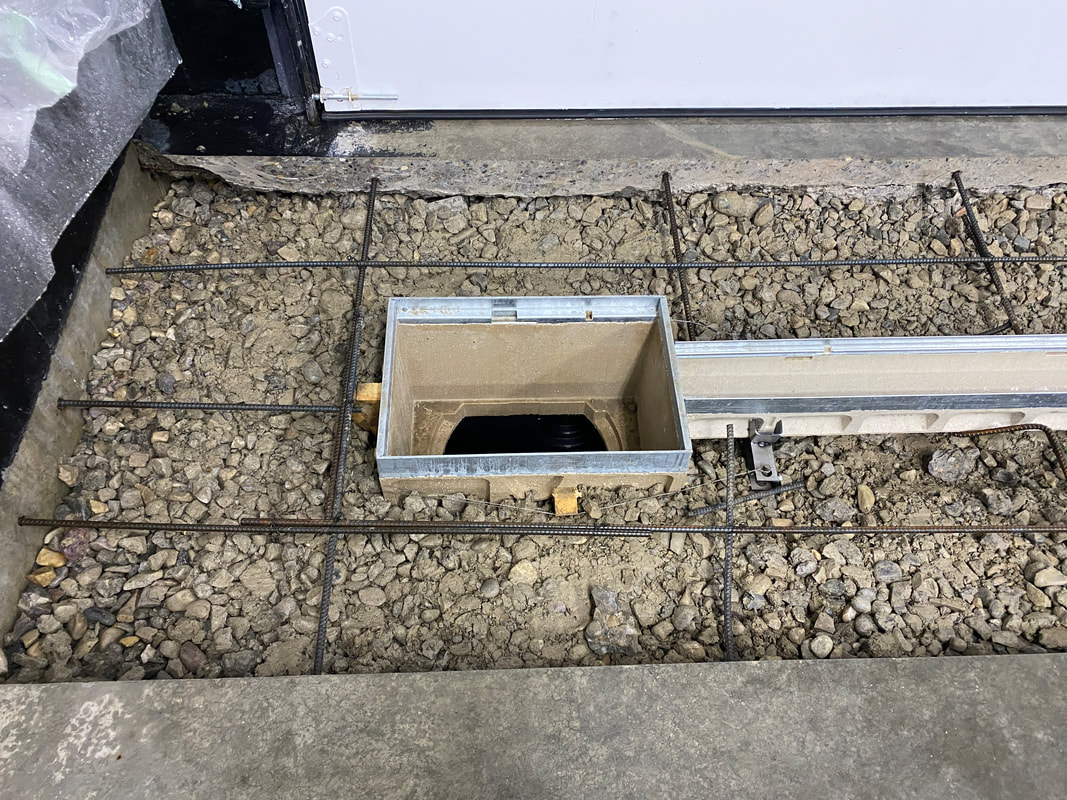
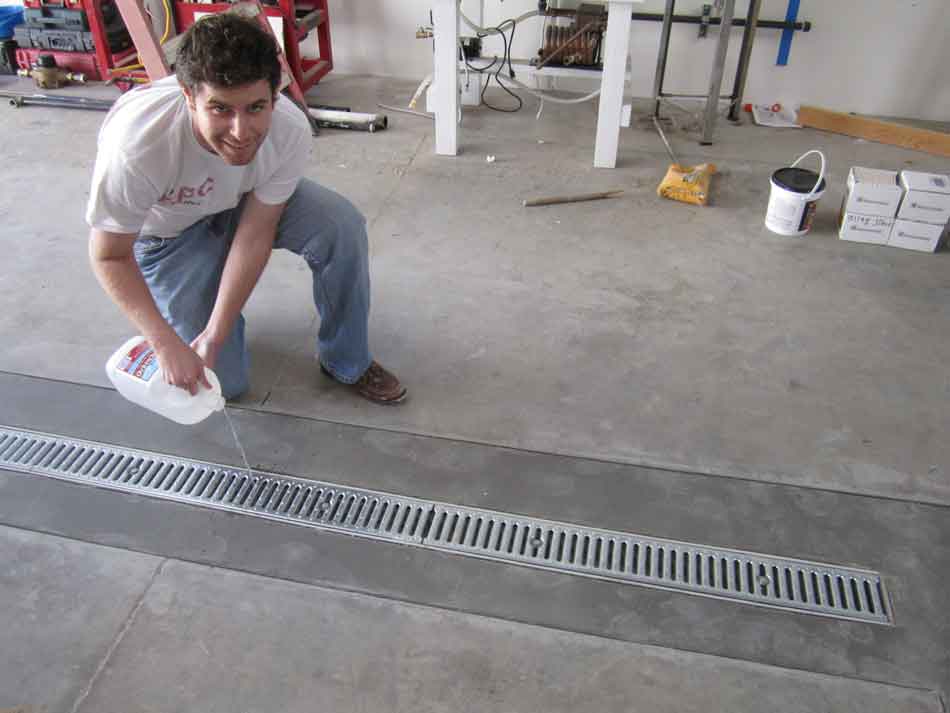
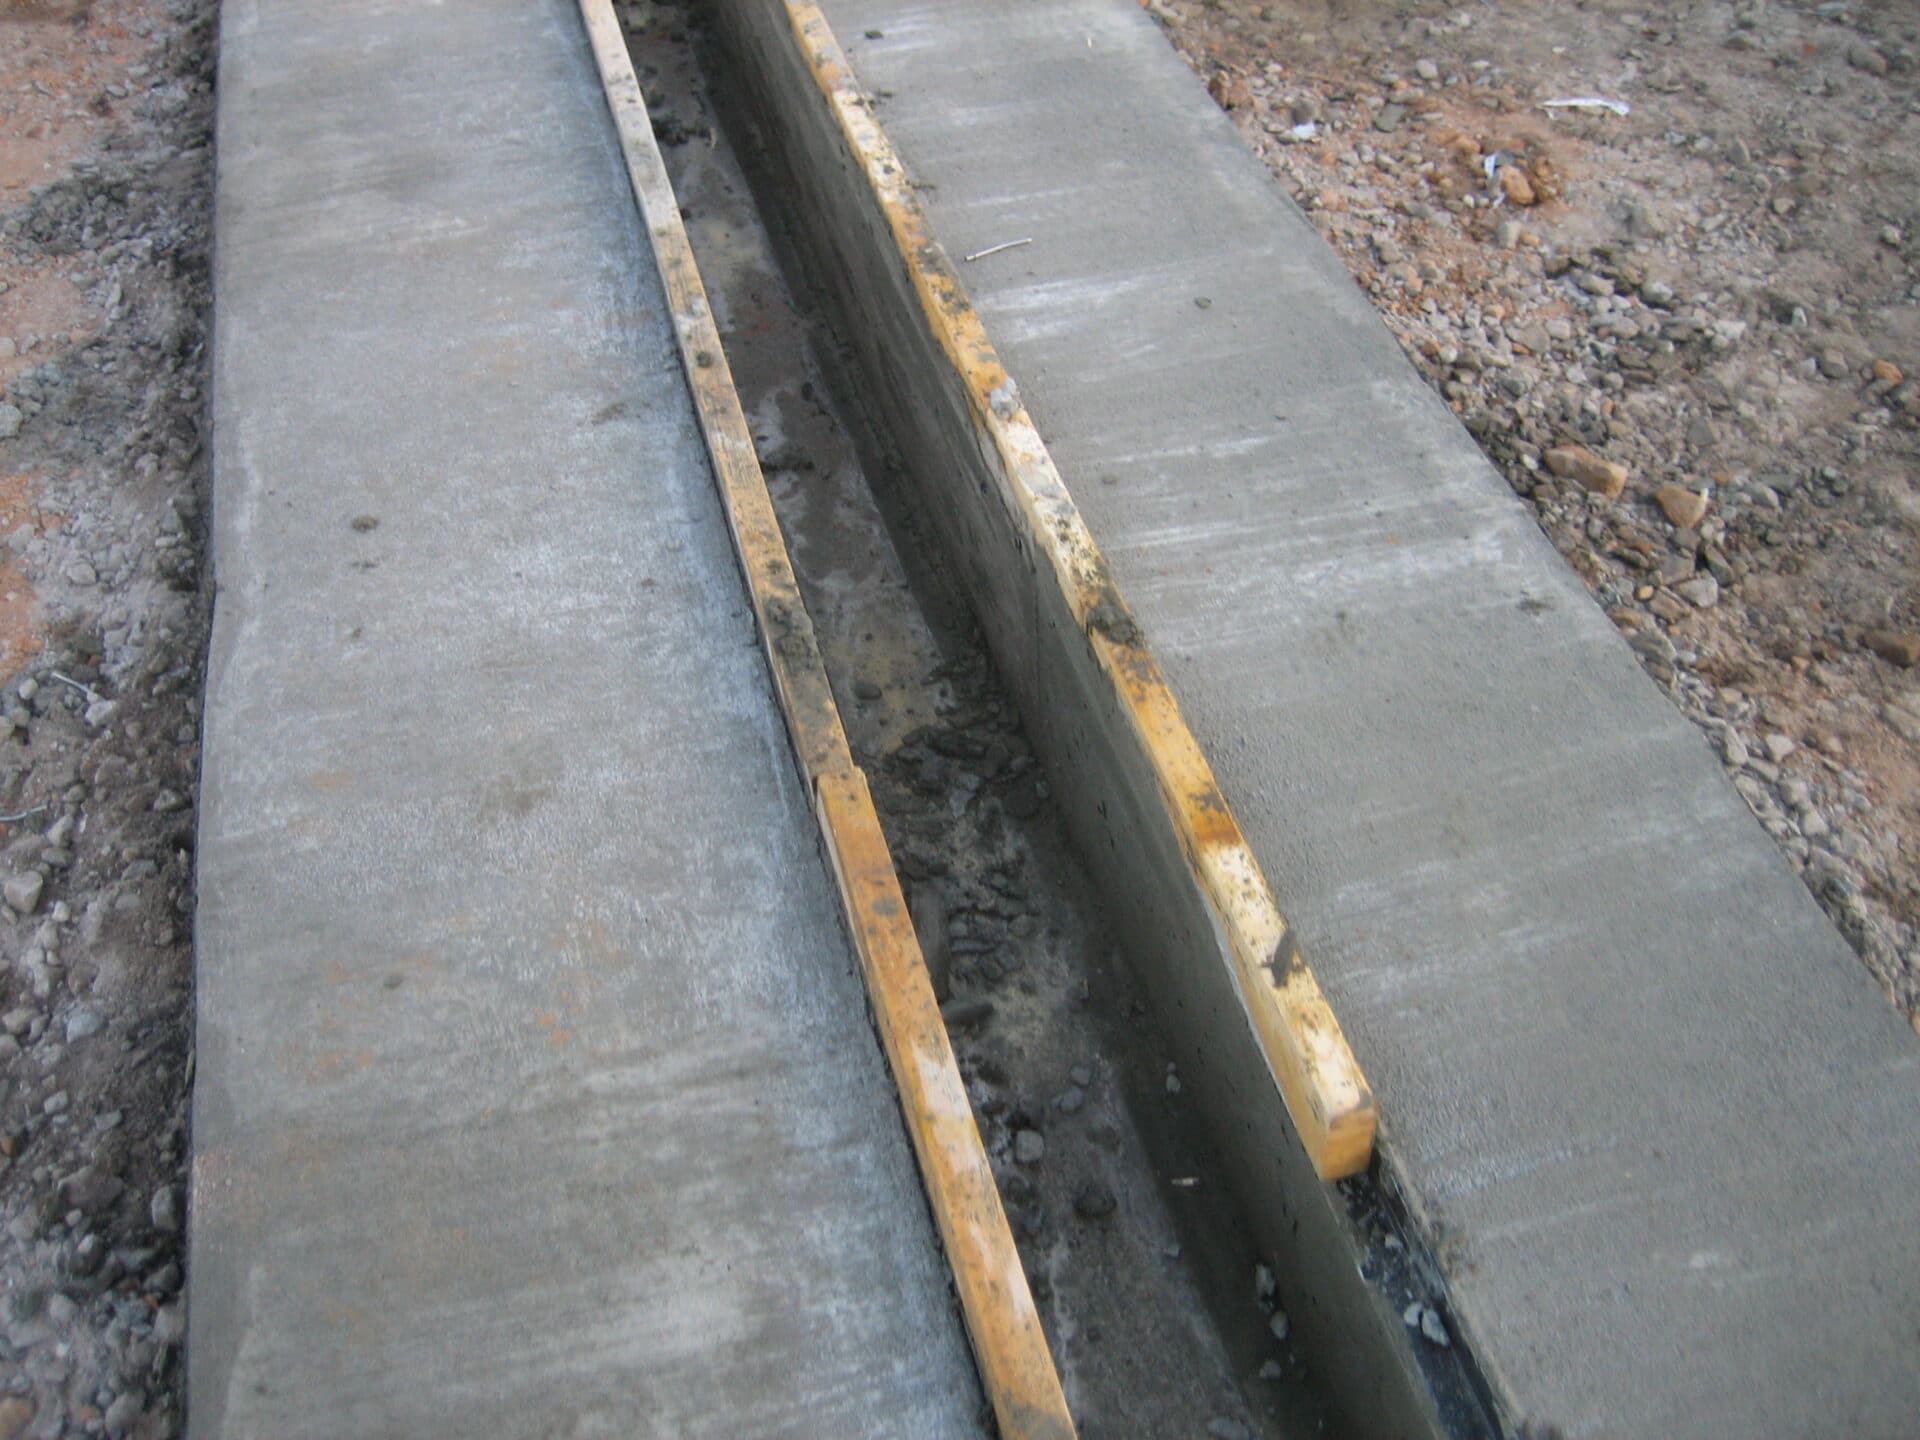
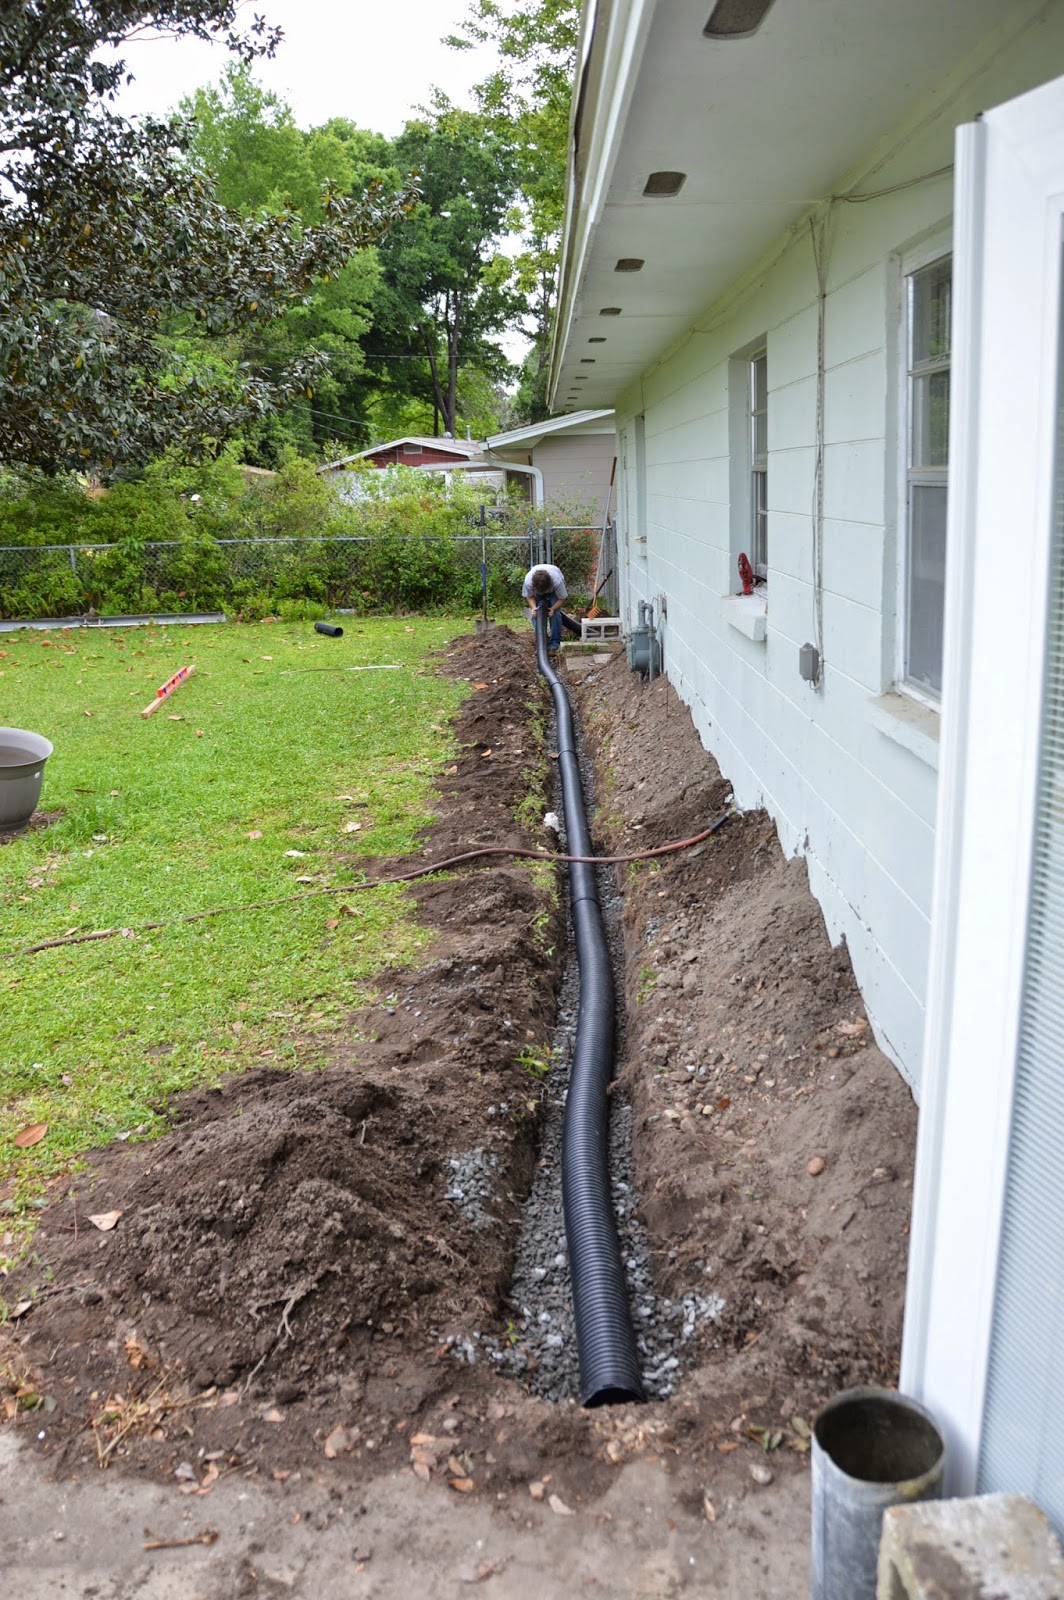
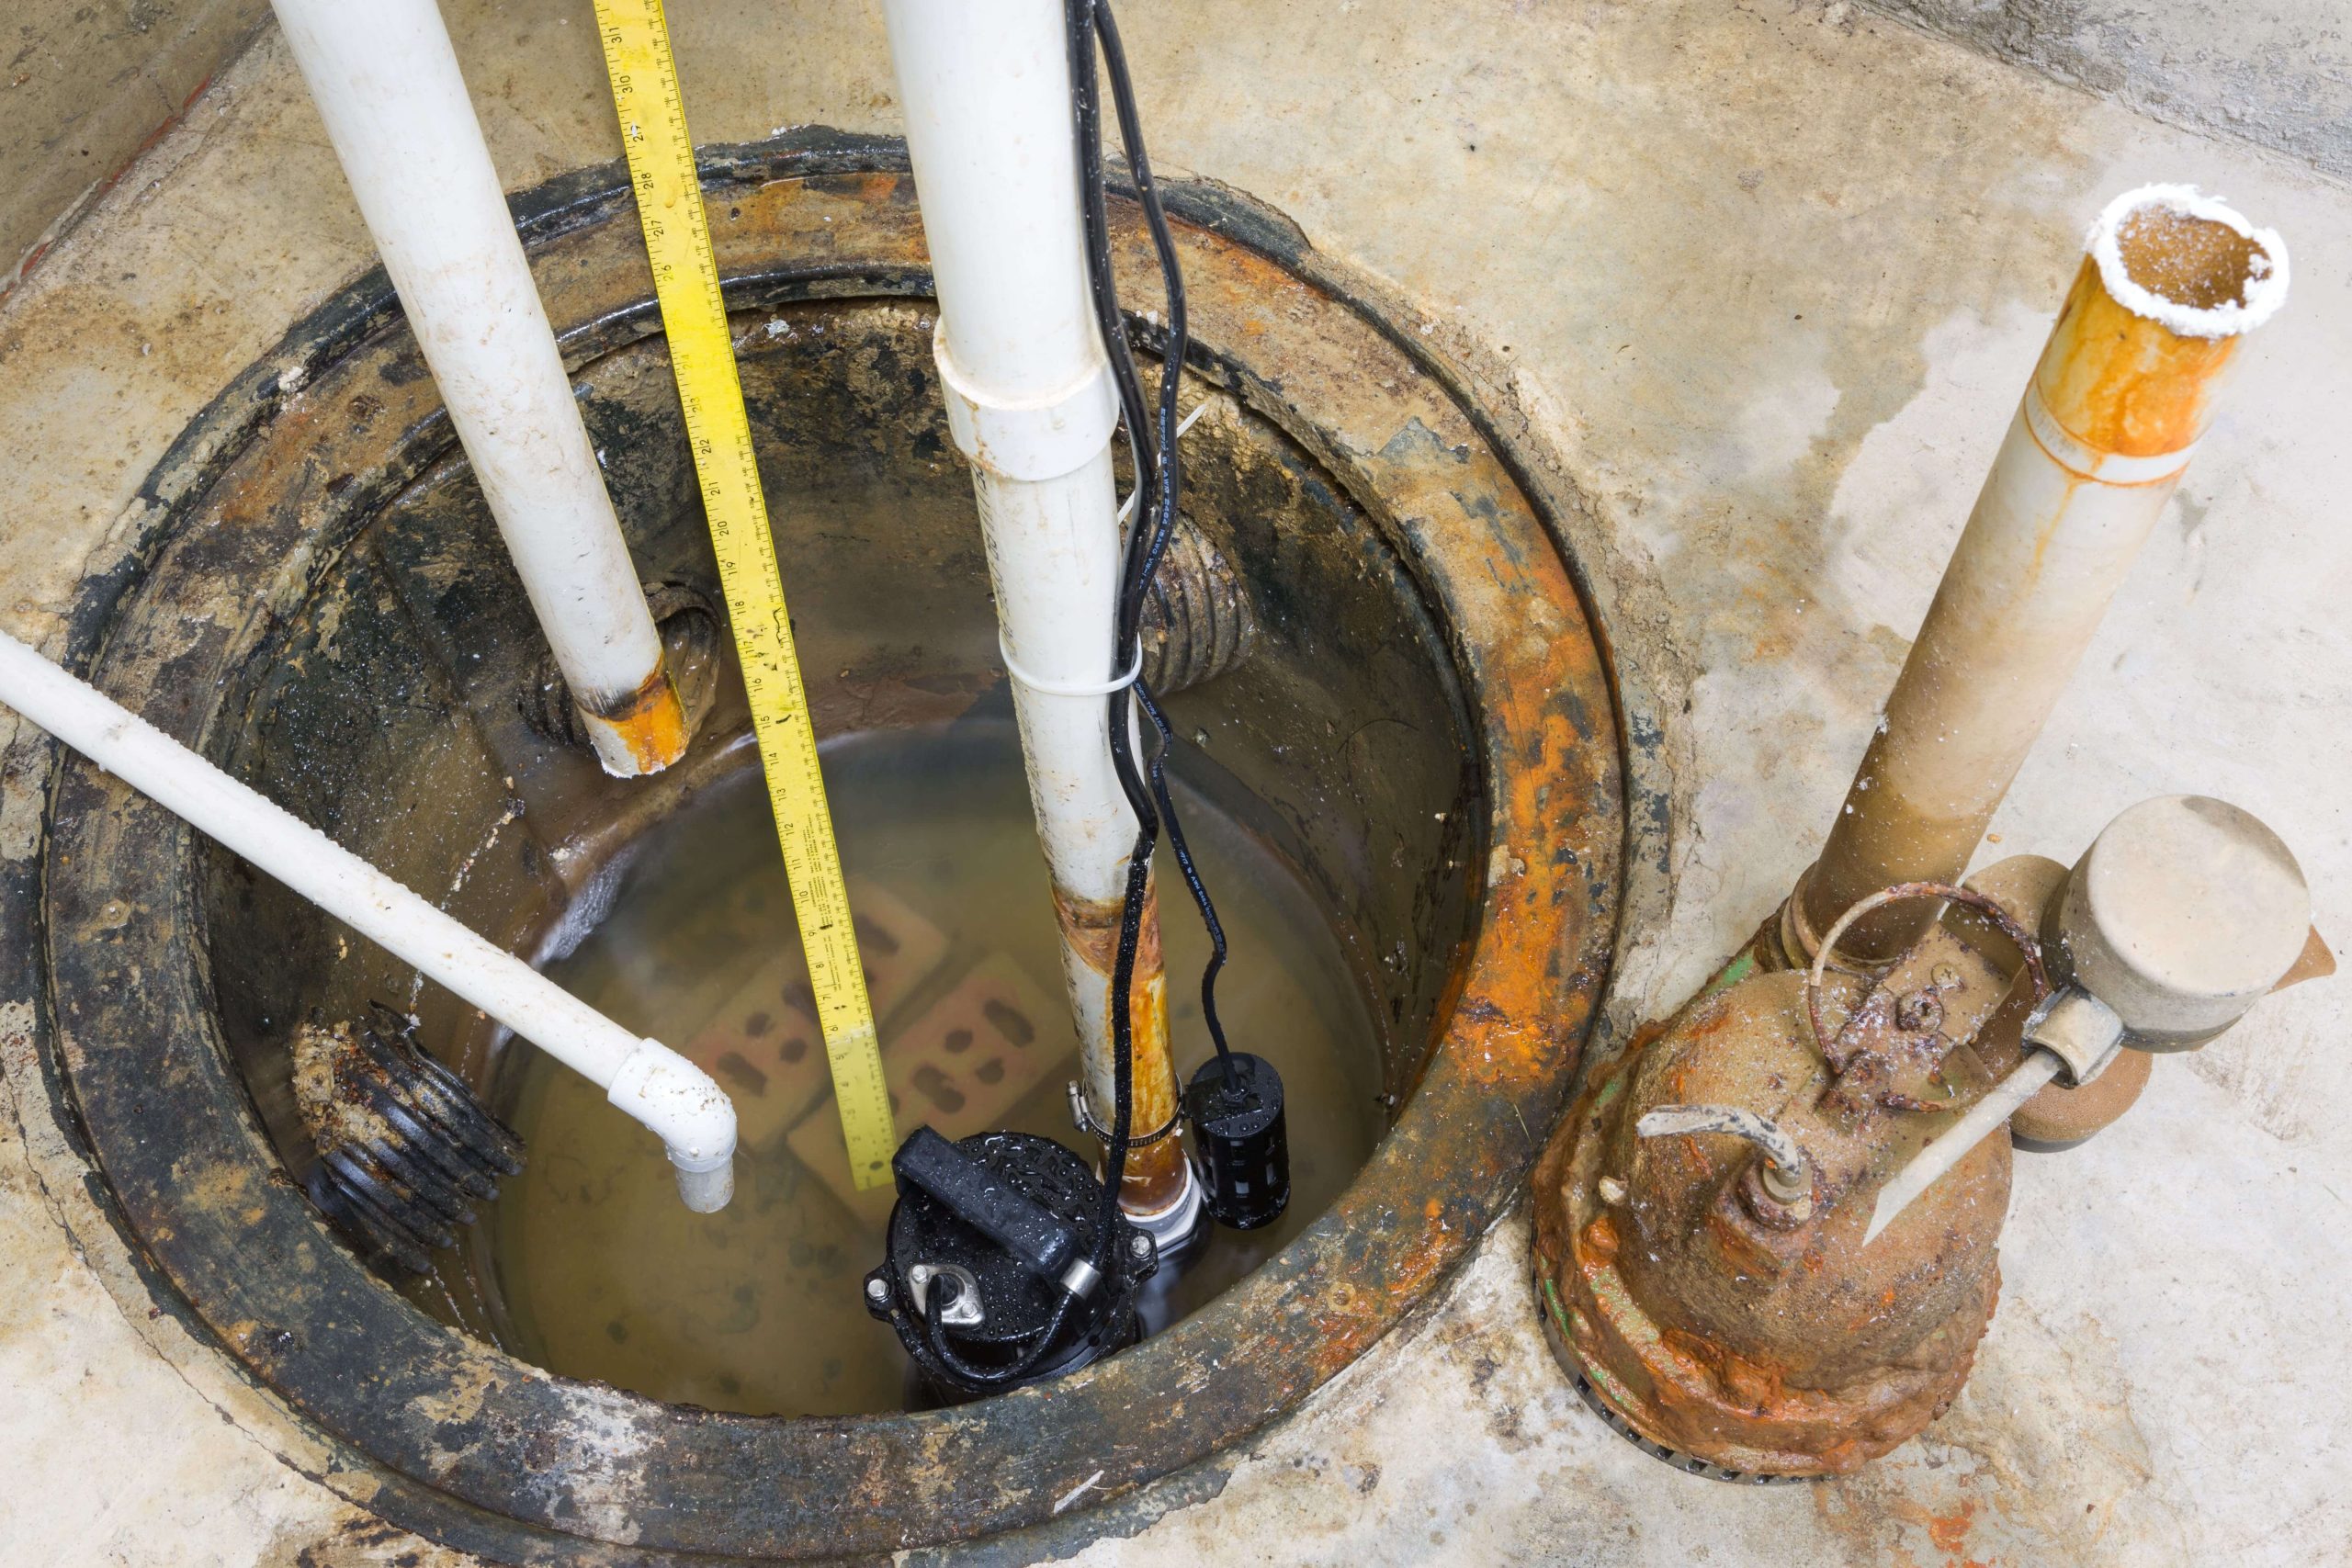
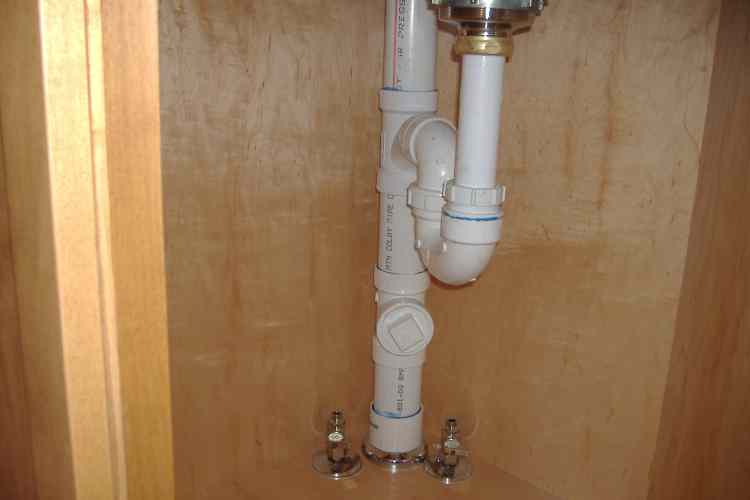
If your kitchen is built on a concrete slab foundation, installing a floor drain may seem like a daunting task. However, with the right tools and techniques, it can be a manageable DIY project. The first step is to locate the main drainpipe that runs under the slab. You can use a hammer drill to create a hole in the concrete for the drainpipe to connect to the main line. Next, you will need to dig a trench for the drainpipe to run from the sink to the main line. The trench should be at least 18 inches deep and sloped towards the main line to ensure proper drainage. Once the trench is dug, you can install the drainpipe and connect it to the main line. Finally, you can pour concrete over the trench and install the floor drain on top, making sure it is level and secure.4. How to Install a Floor Drain in a Concrete Slab


4. How to Install a Floor Drain in a Concrete Slab


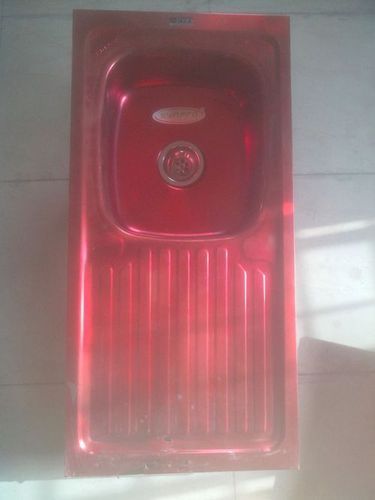
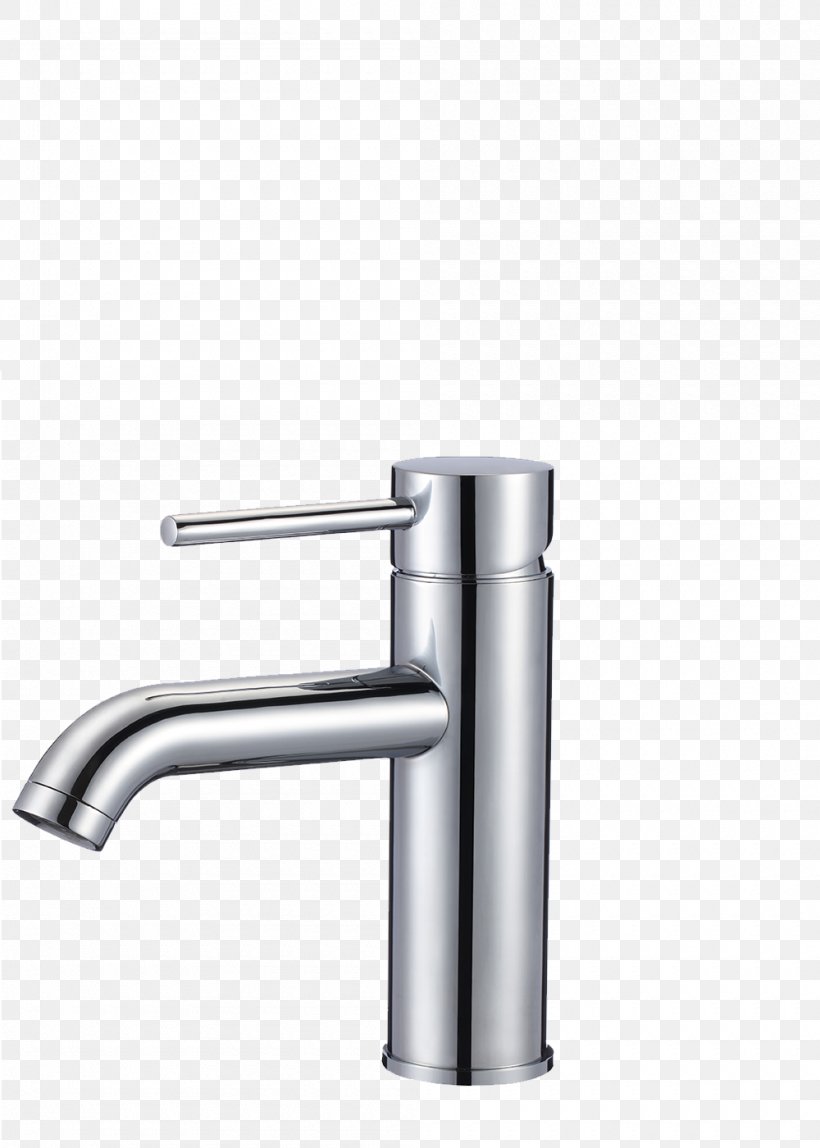
When it comes to kitchen sink drains, there are several options to choose from, each with its own benefits and drawbacks. The most common type is a basket strainer, which is a removable basket that catches food particles and debris to prevent clogs. Another popular option is a disposal flange, which connects to a garbage disposal and grinds up food waste. If you want a sleeker look for your sink, a push-button or pop-up drain may be a better choice. These drains are operated with a button or lever and do not have a visible strainer. However, they may be more prone to clogging and can be more challenging to clean. Ultimately, the right drain for your home will depend on your personal preference and the type of sink you have.5. Choosing the Right Kitchen Sink Drain for Your Home


5. Choosing the Right Kitchen Sink Drain for Your Home


/how-to-install-a-sink-drain-2718789-hero-24e898006ed94c9593a2a268b57989a3.jpg)


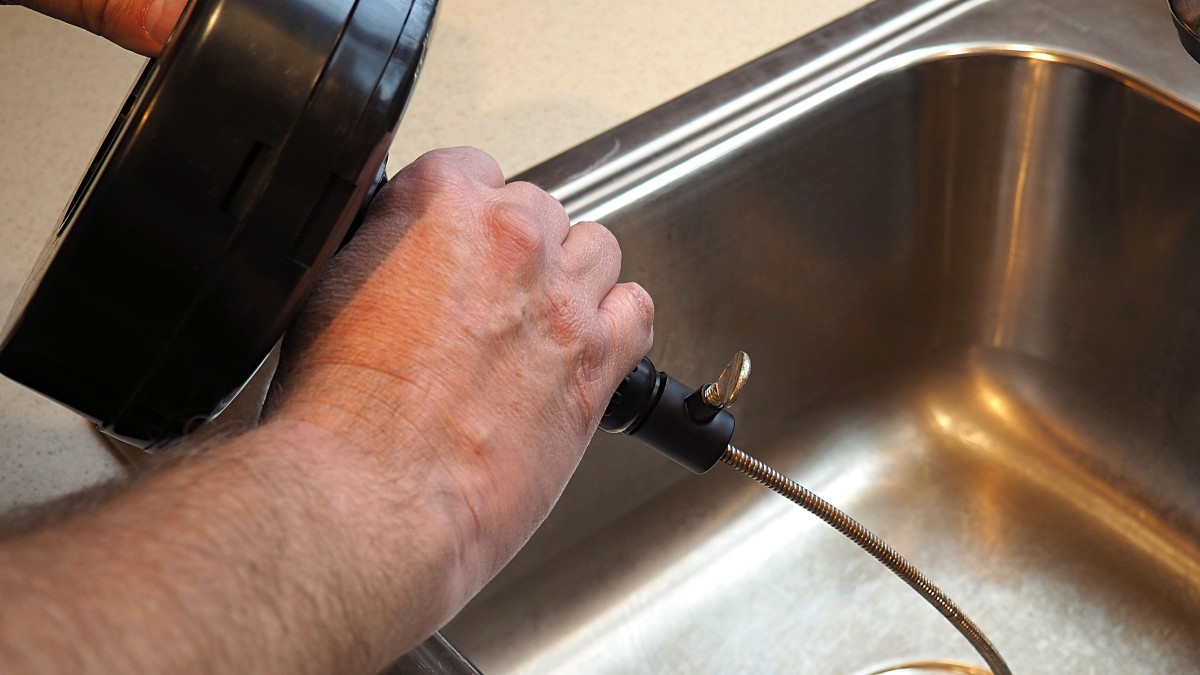
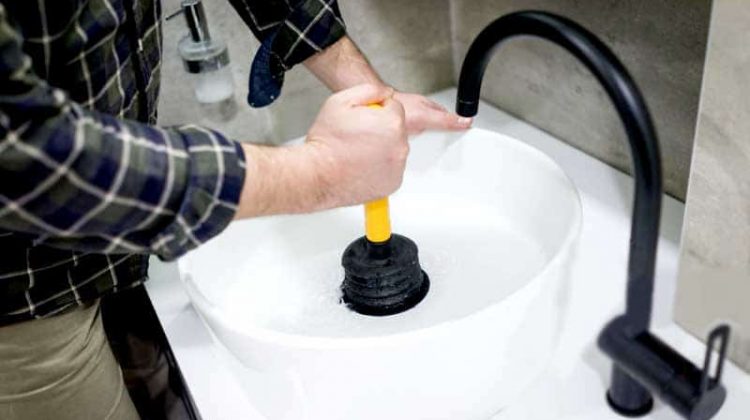
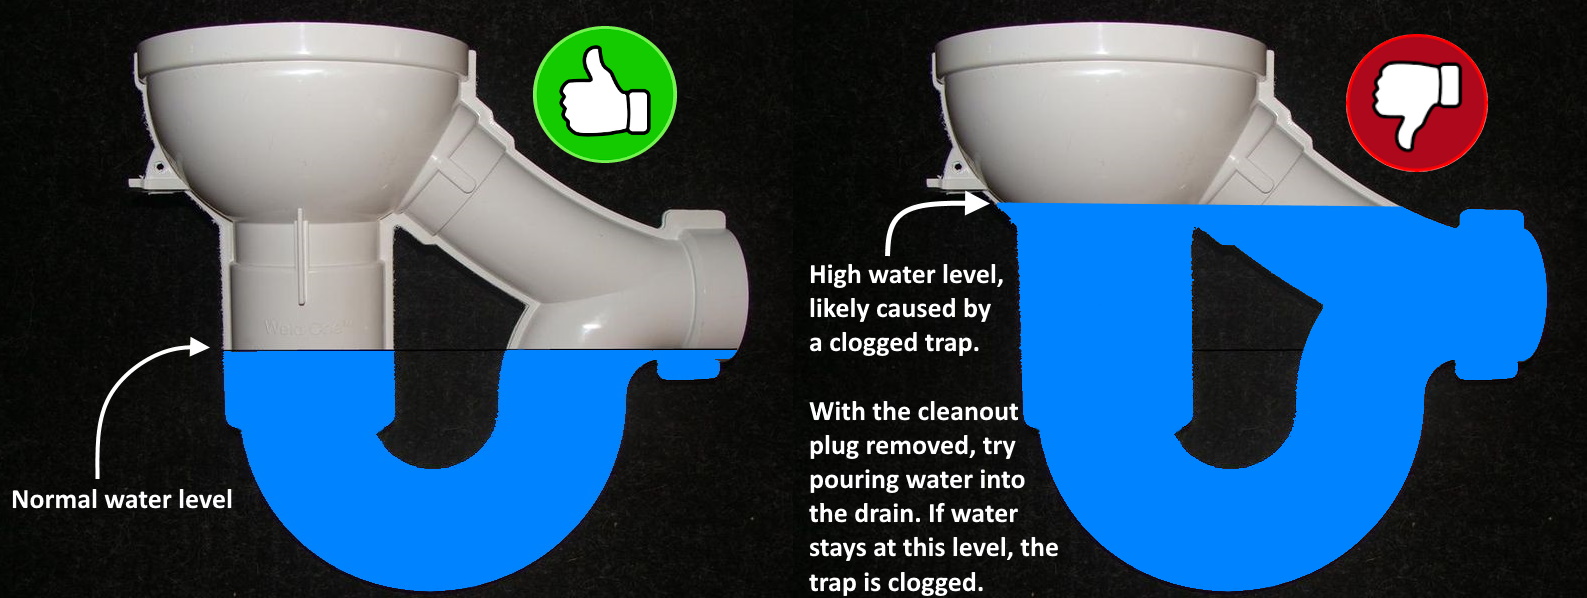
A clogged kitchen sink drain is a common issue that can be frustrating to deal with. Fortunately, there are several methods you can try to unclog your drain before calling a plumber. One simple solution is to pour boiling water down the drain, which can help dissolve any grease or debris that may be causing the clog. You can also use a plunger to try and dislodge the blockage. If these methods do not work, you can try using a drain snake to remove the clog manually. Insert the snake into the drain and twist it to break up the blockage. Once the clog is cleared, run hot water down the drain to ensure it is completely cleared. If these DIY methods do not work, it may be necessary to call a professional plumber for more advanced techniques.6. How to Unclog a Kitchen Sink Drain


6. How to Unclog a Kitchen Sink Drain


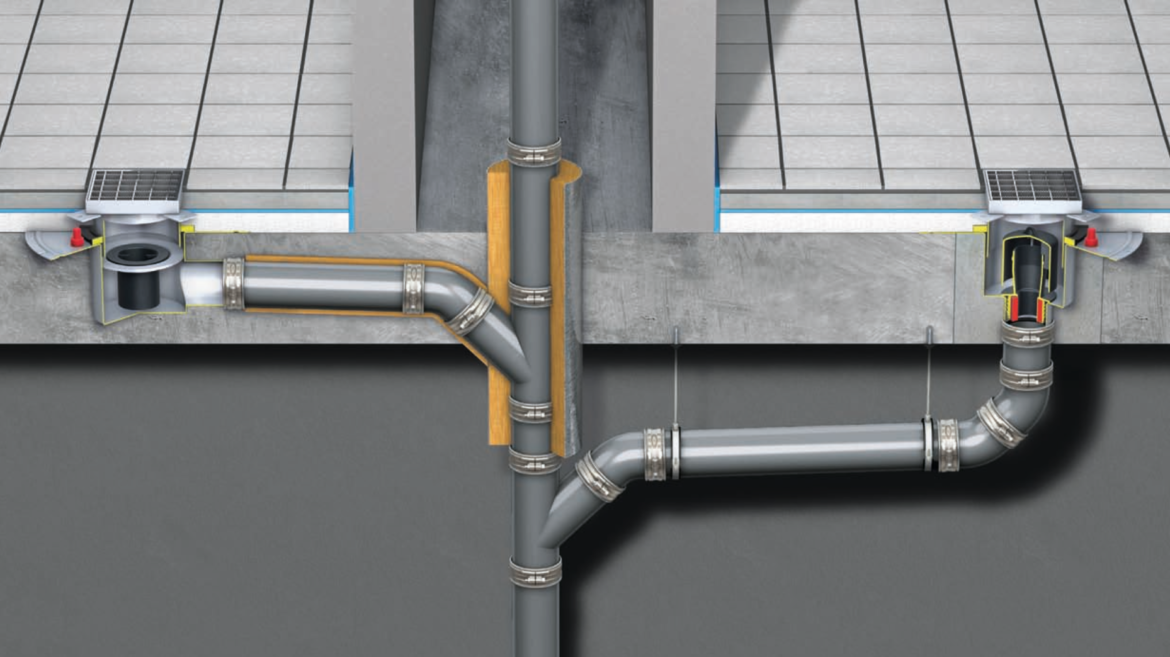
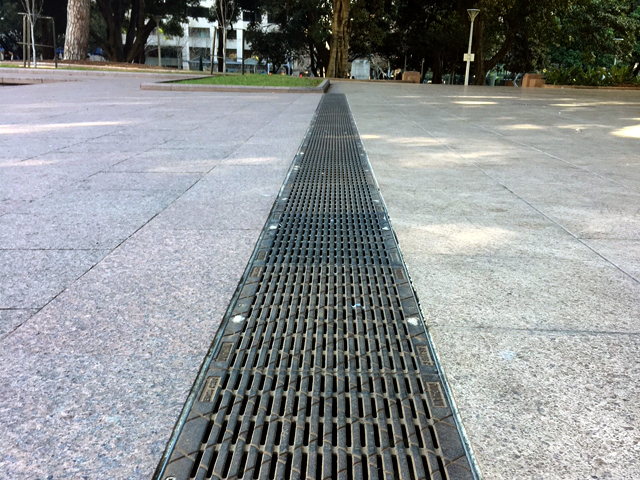
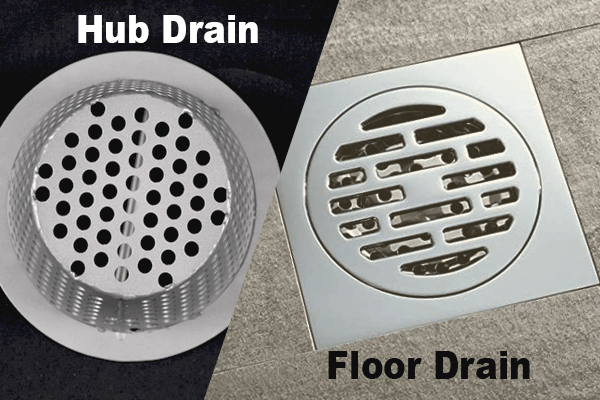
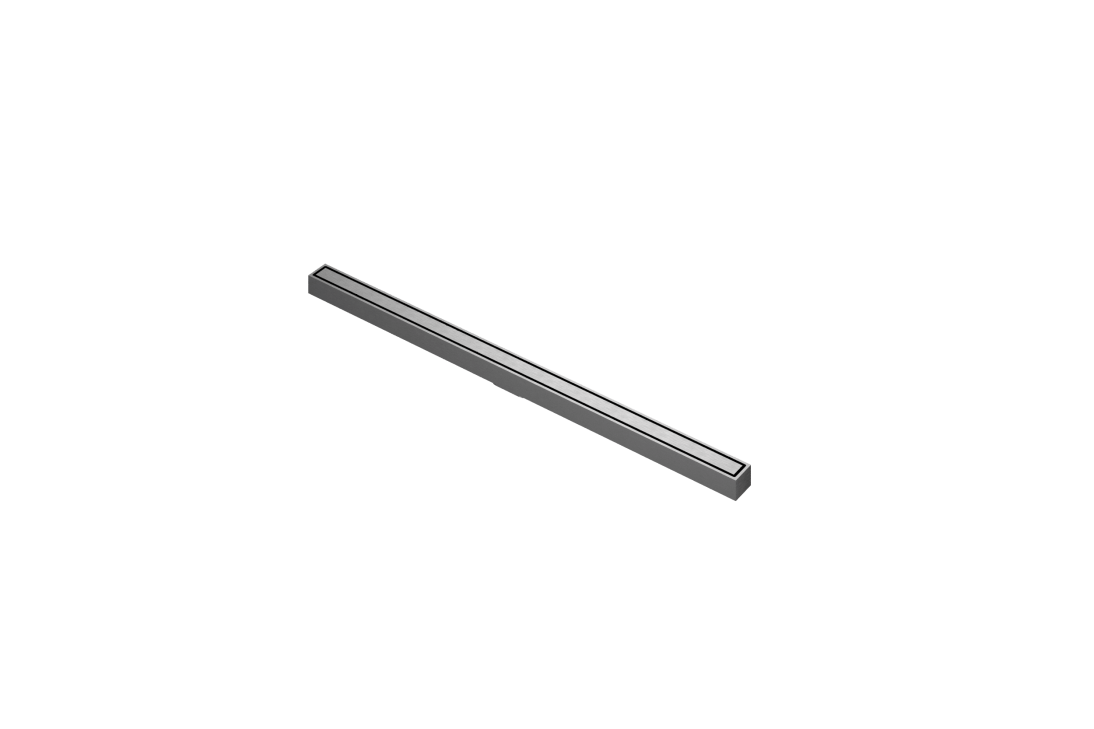
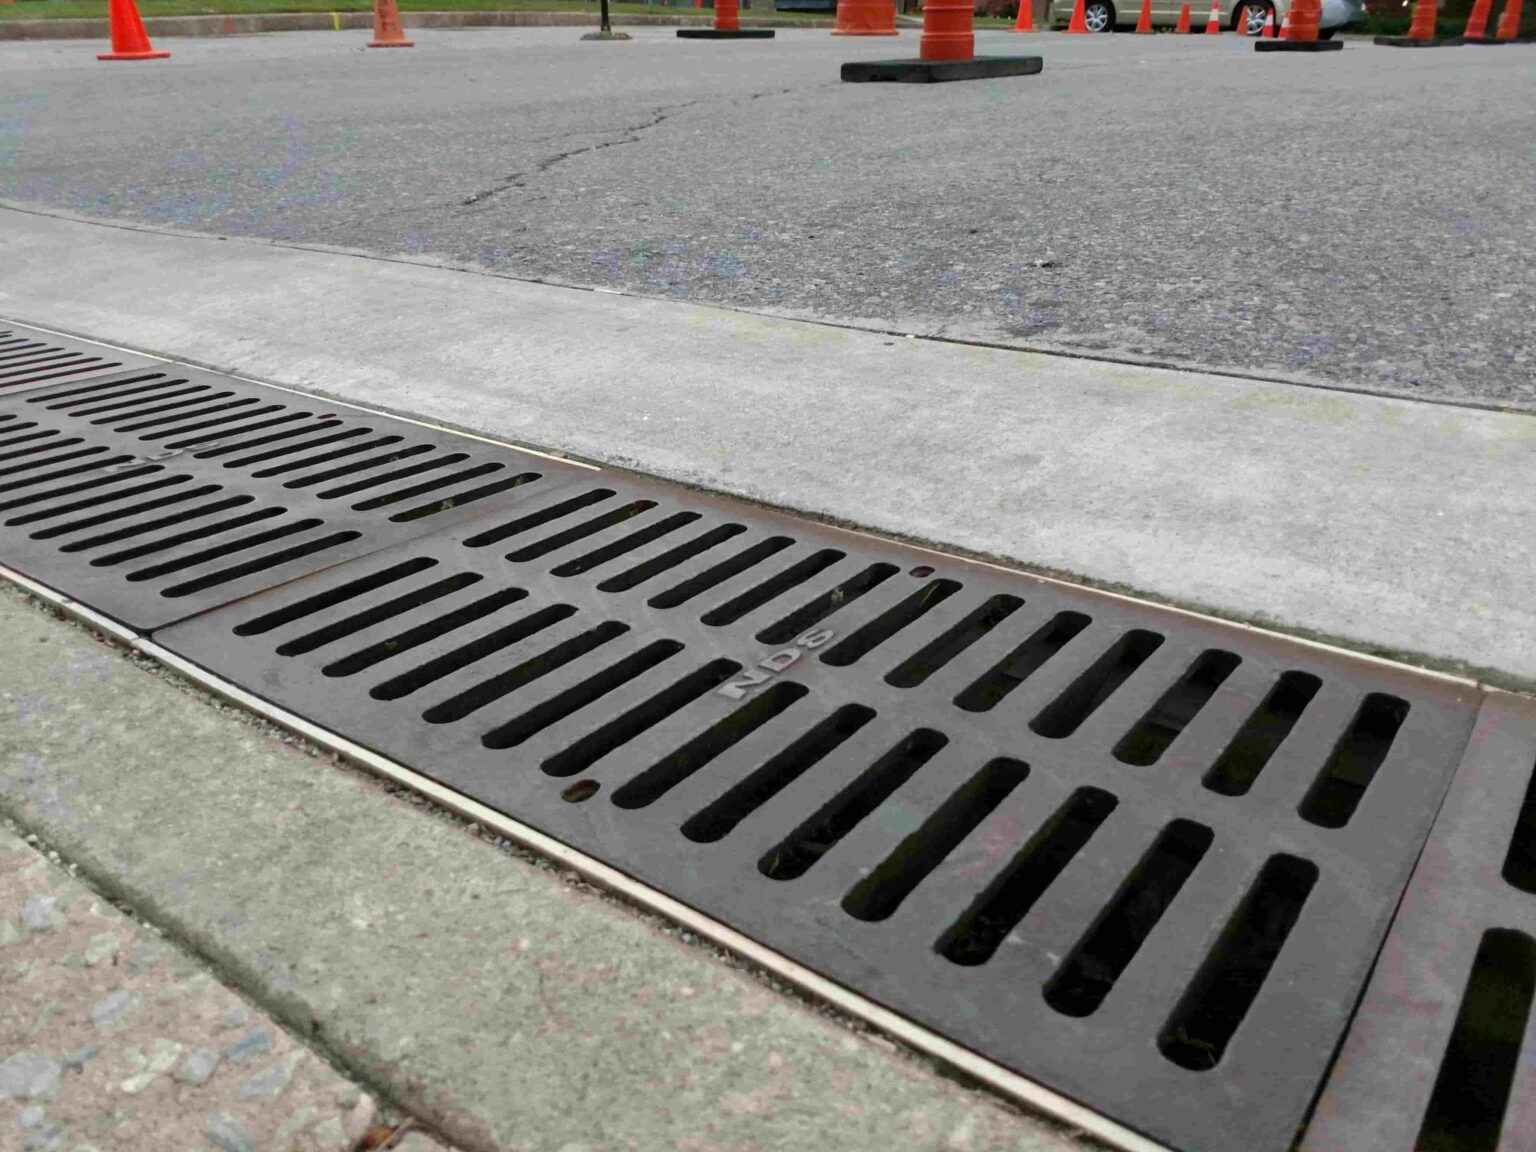
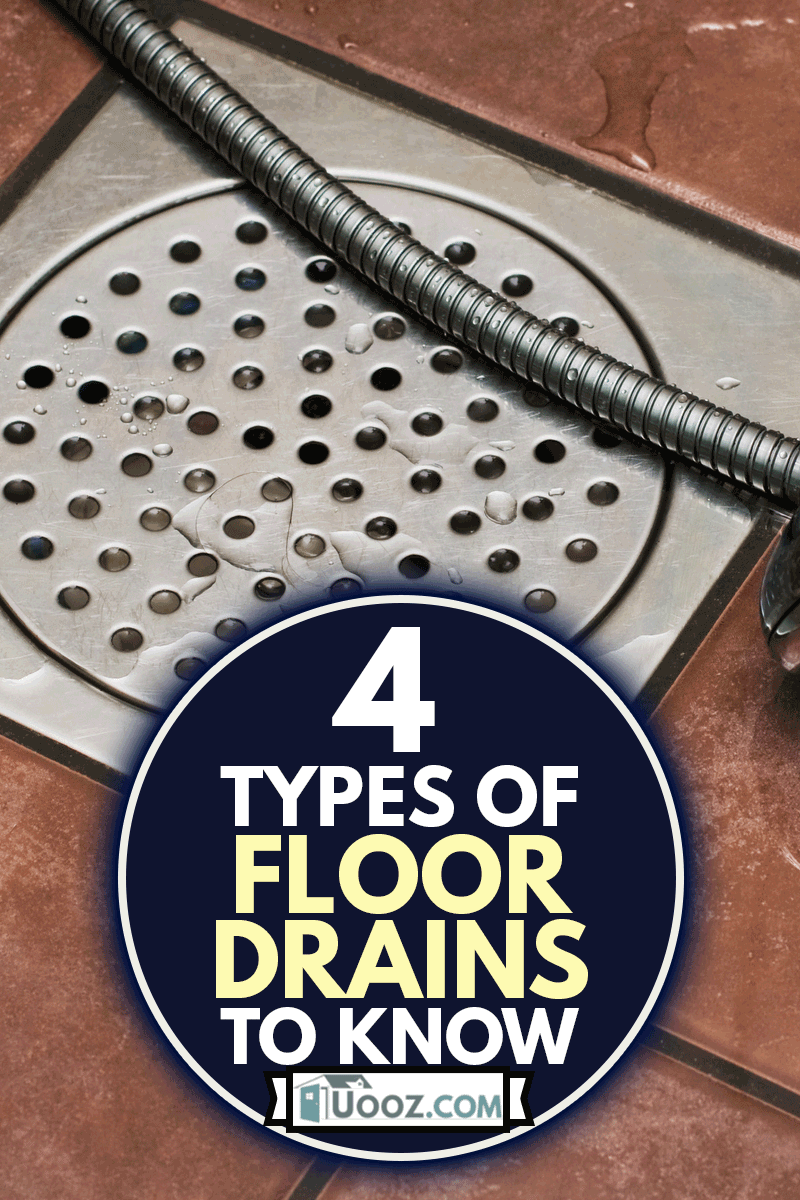
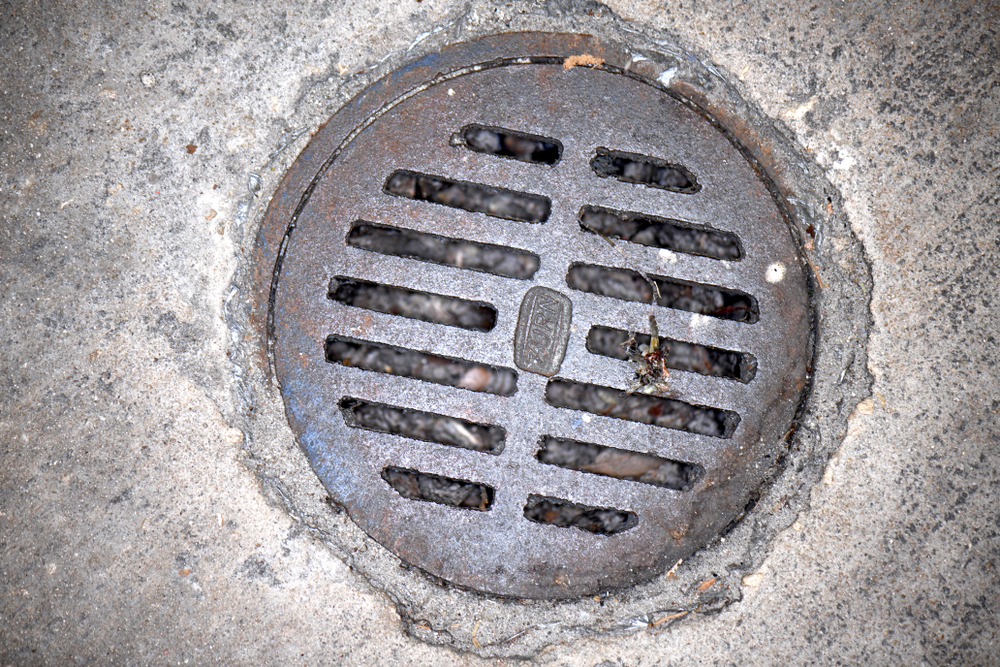
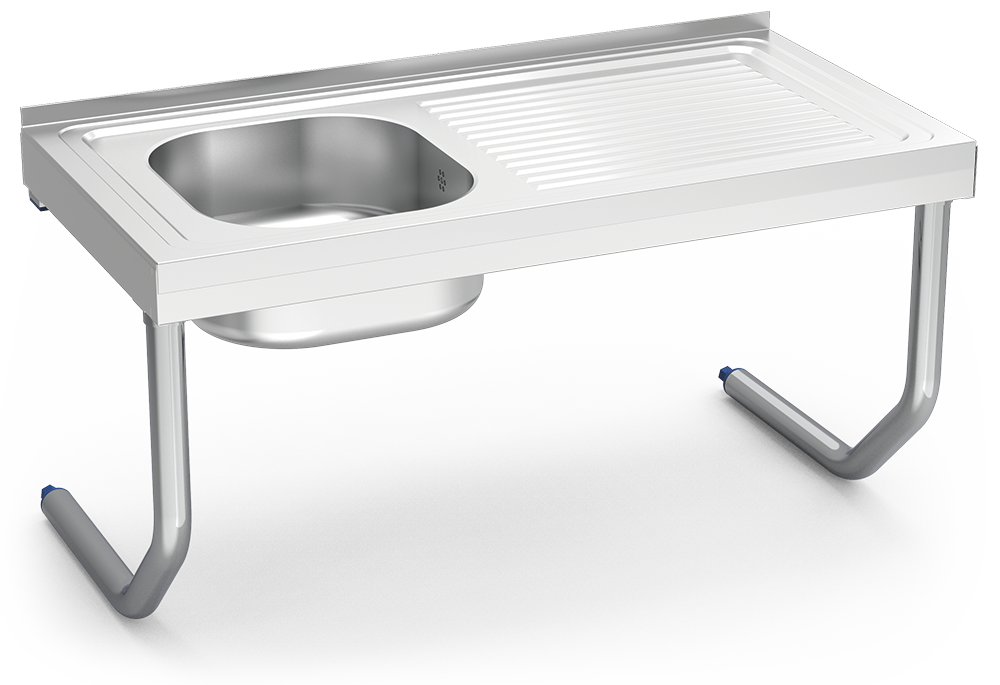
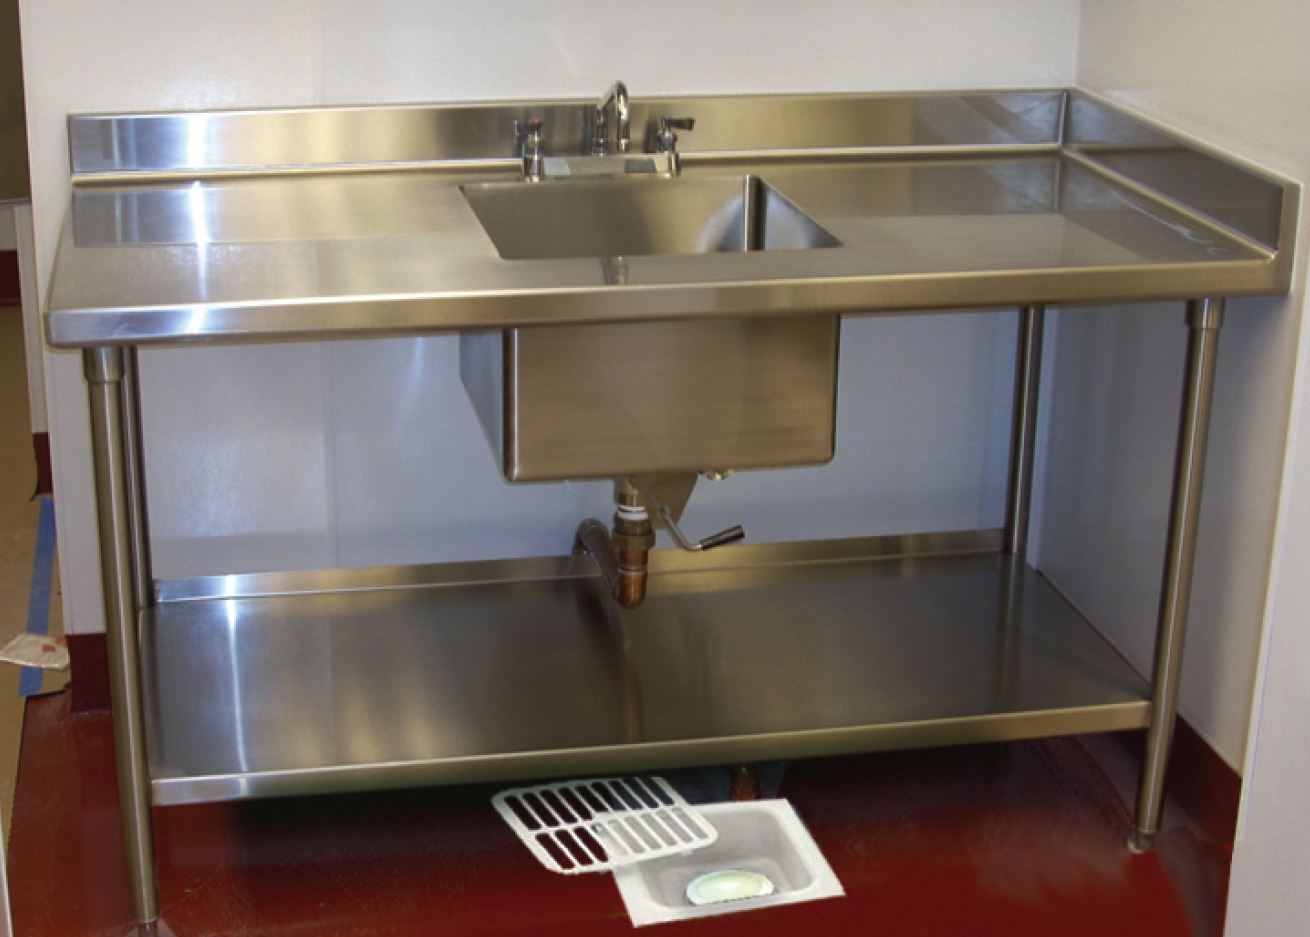
There are several types of floor drains available for your kitchen, each with its own unique features and installation process. The most common type is a floor sink, which is a large, deep sink installed into the floor. These sinks are typically used in commercial kitchens but can also be installed in residential kitchens with high water usage. You can also choose between a trench drain or a channel drain for your kitchen floor. These drains are long, narrow drains installed along the perimeter of the kitchen to collect water and direct it towards the main drain. Trench drains are typically made of metal or plastic, while channel drains are typically made of concrete or composite materials.7. Floor Drain Basics: Types and Installation
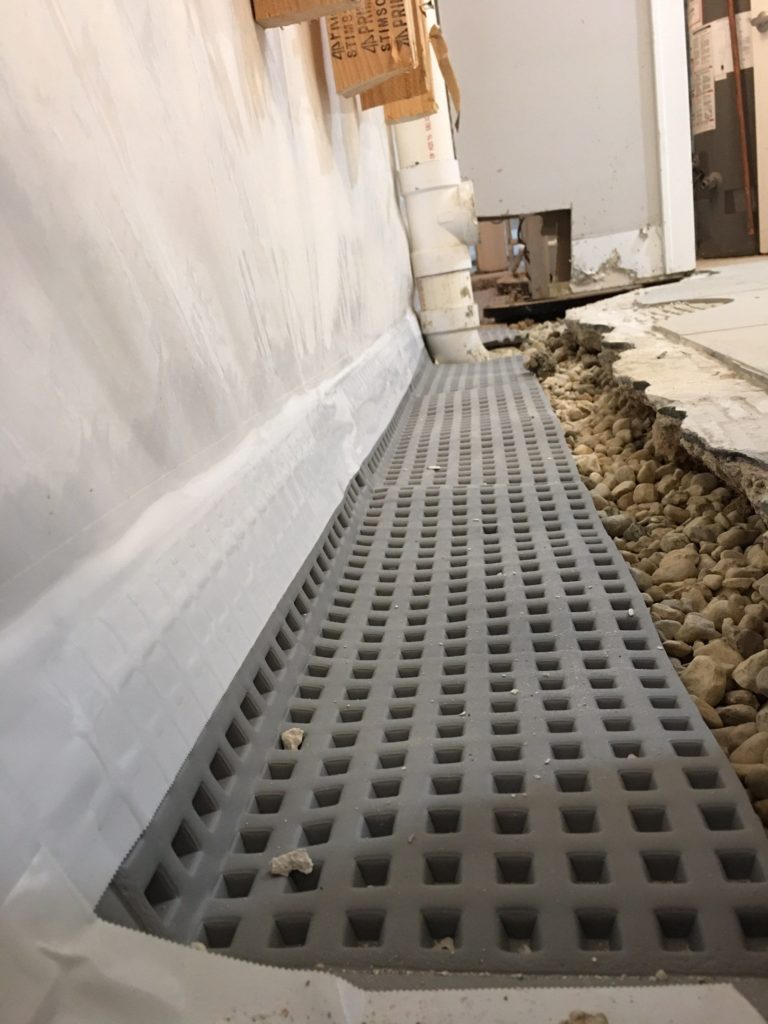
7. Floor Drain Basics: Types and Installation


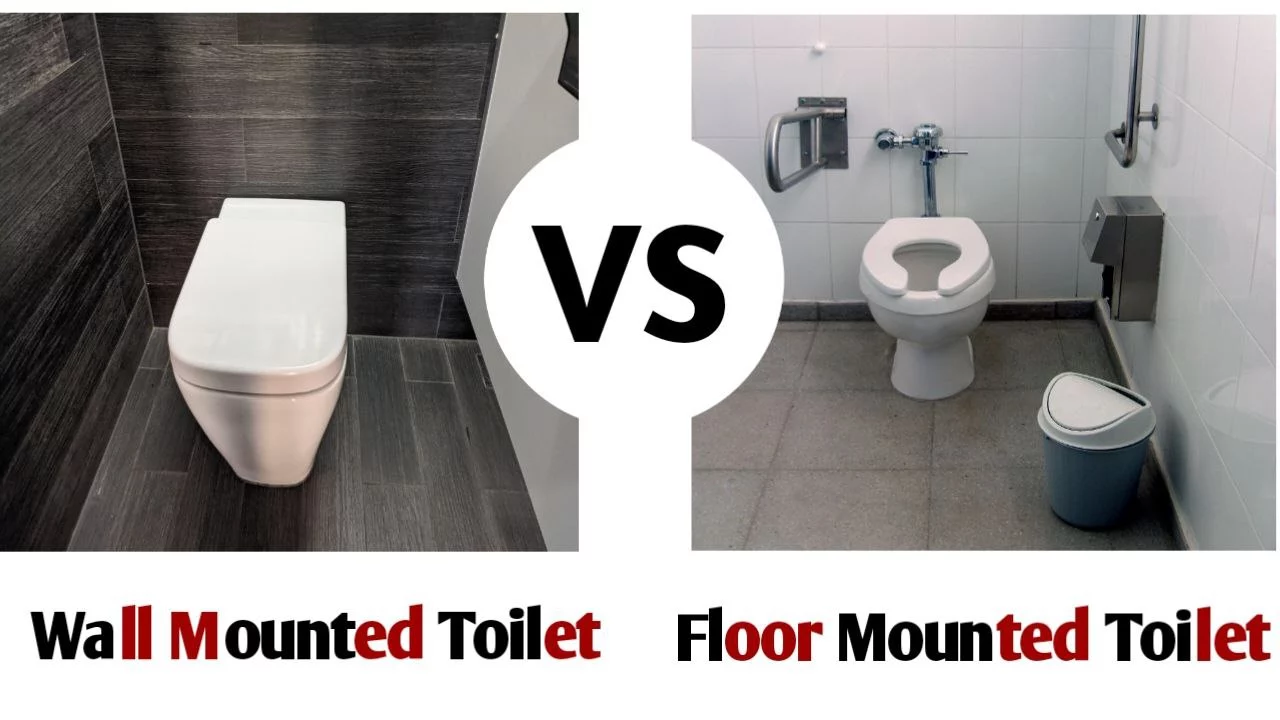
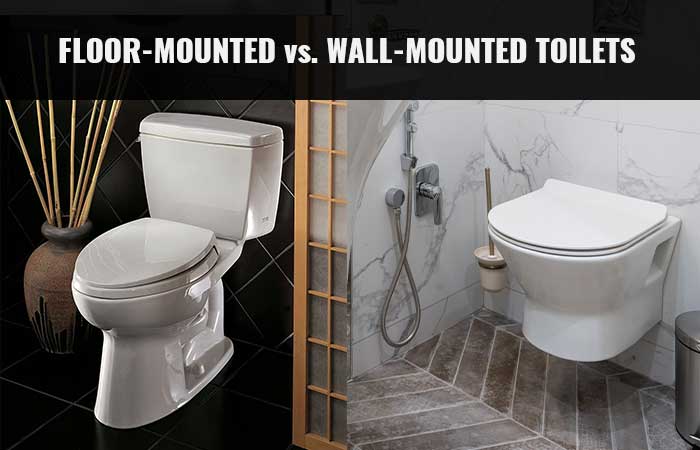
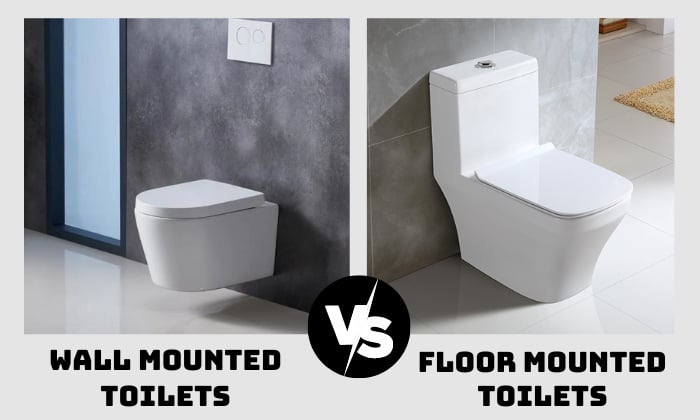
When it comes to installing a toilet in your bathroom, you may be faced with the decision between a wall-mounted or floor-mounted toilet. A wall-mounted toilet is attached to the bathroom wall and has a concealed tank, giving it a sleek, modern look. However, these toilets can be more expensive to install and may require additional support in the wall. On the other hand, a floor-mounted toilet is attached to the bathroom floor and has a visible tank. These toilets are generally less expensive and easier to install, but may not provide the same aesthetic appeal as a wall-mounted toilet. Ultimately, the right choice for your bathroom will depend on your budget, the layout of your bathroom, and your personal preference.8. Wall-Mounted vs. Floor-Mounted Toilets: Which is Right for You?

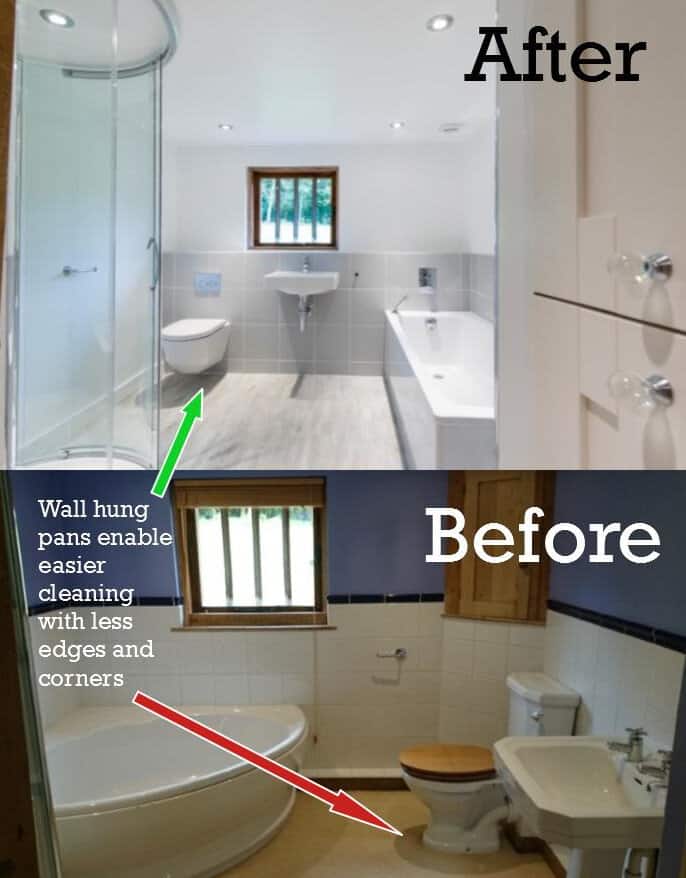

8. Wall-Mounted vs. Floor-Mounted Toilets: Which is Right for You?


A wall-mounted sink is an excellent space-saving option for smaller bathrooms, but it may seem challenging to install. However, with the right tools and techniques, it can be a straightforward process. The first step is to locate the wall studs and mark where the sink will be mounted. Then, you can attach a bracket to the wall studs and secure it with screws. Next, you will need to install the sink's drain and water supply lines before mounting the sink onto the bracket. Once the sink is securely in place, you can connect the plumbing and turn on the water to test for any leaks. Finally, you can caulk around the edges of the sink to create a watertight seal and give it a finished look.9. How to Install a Wall-Mounted Sink
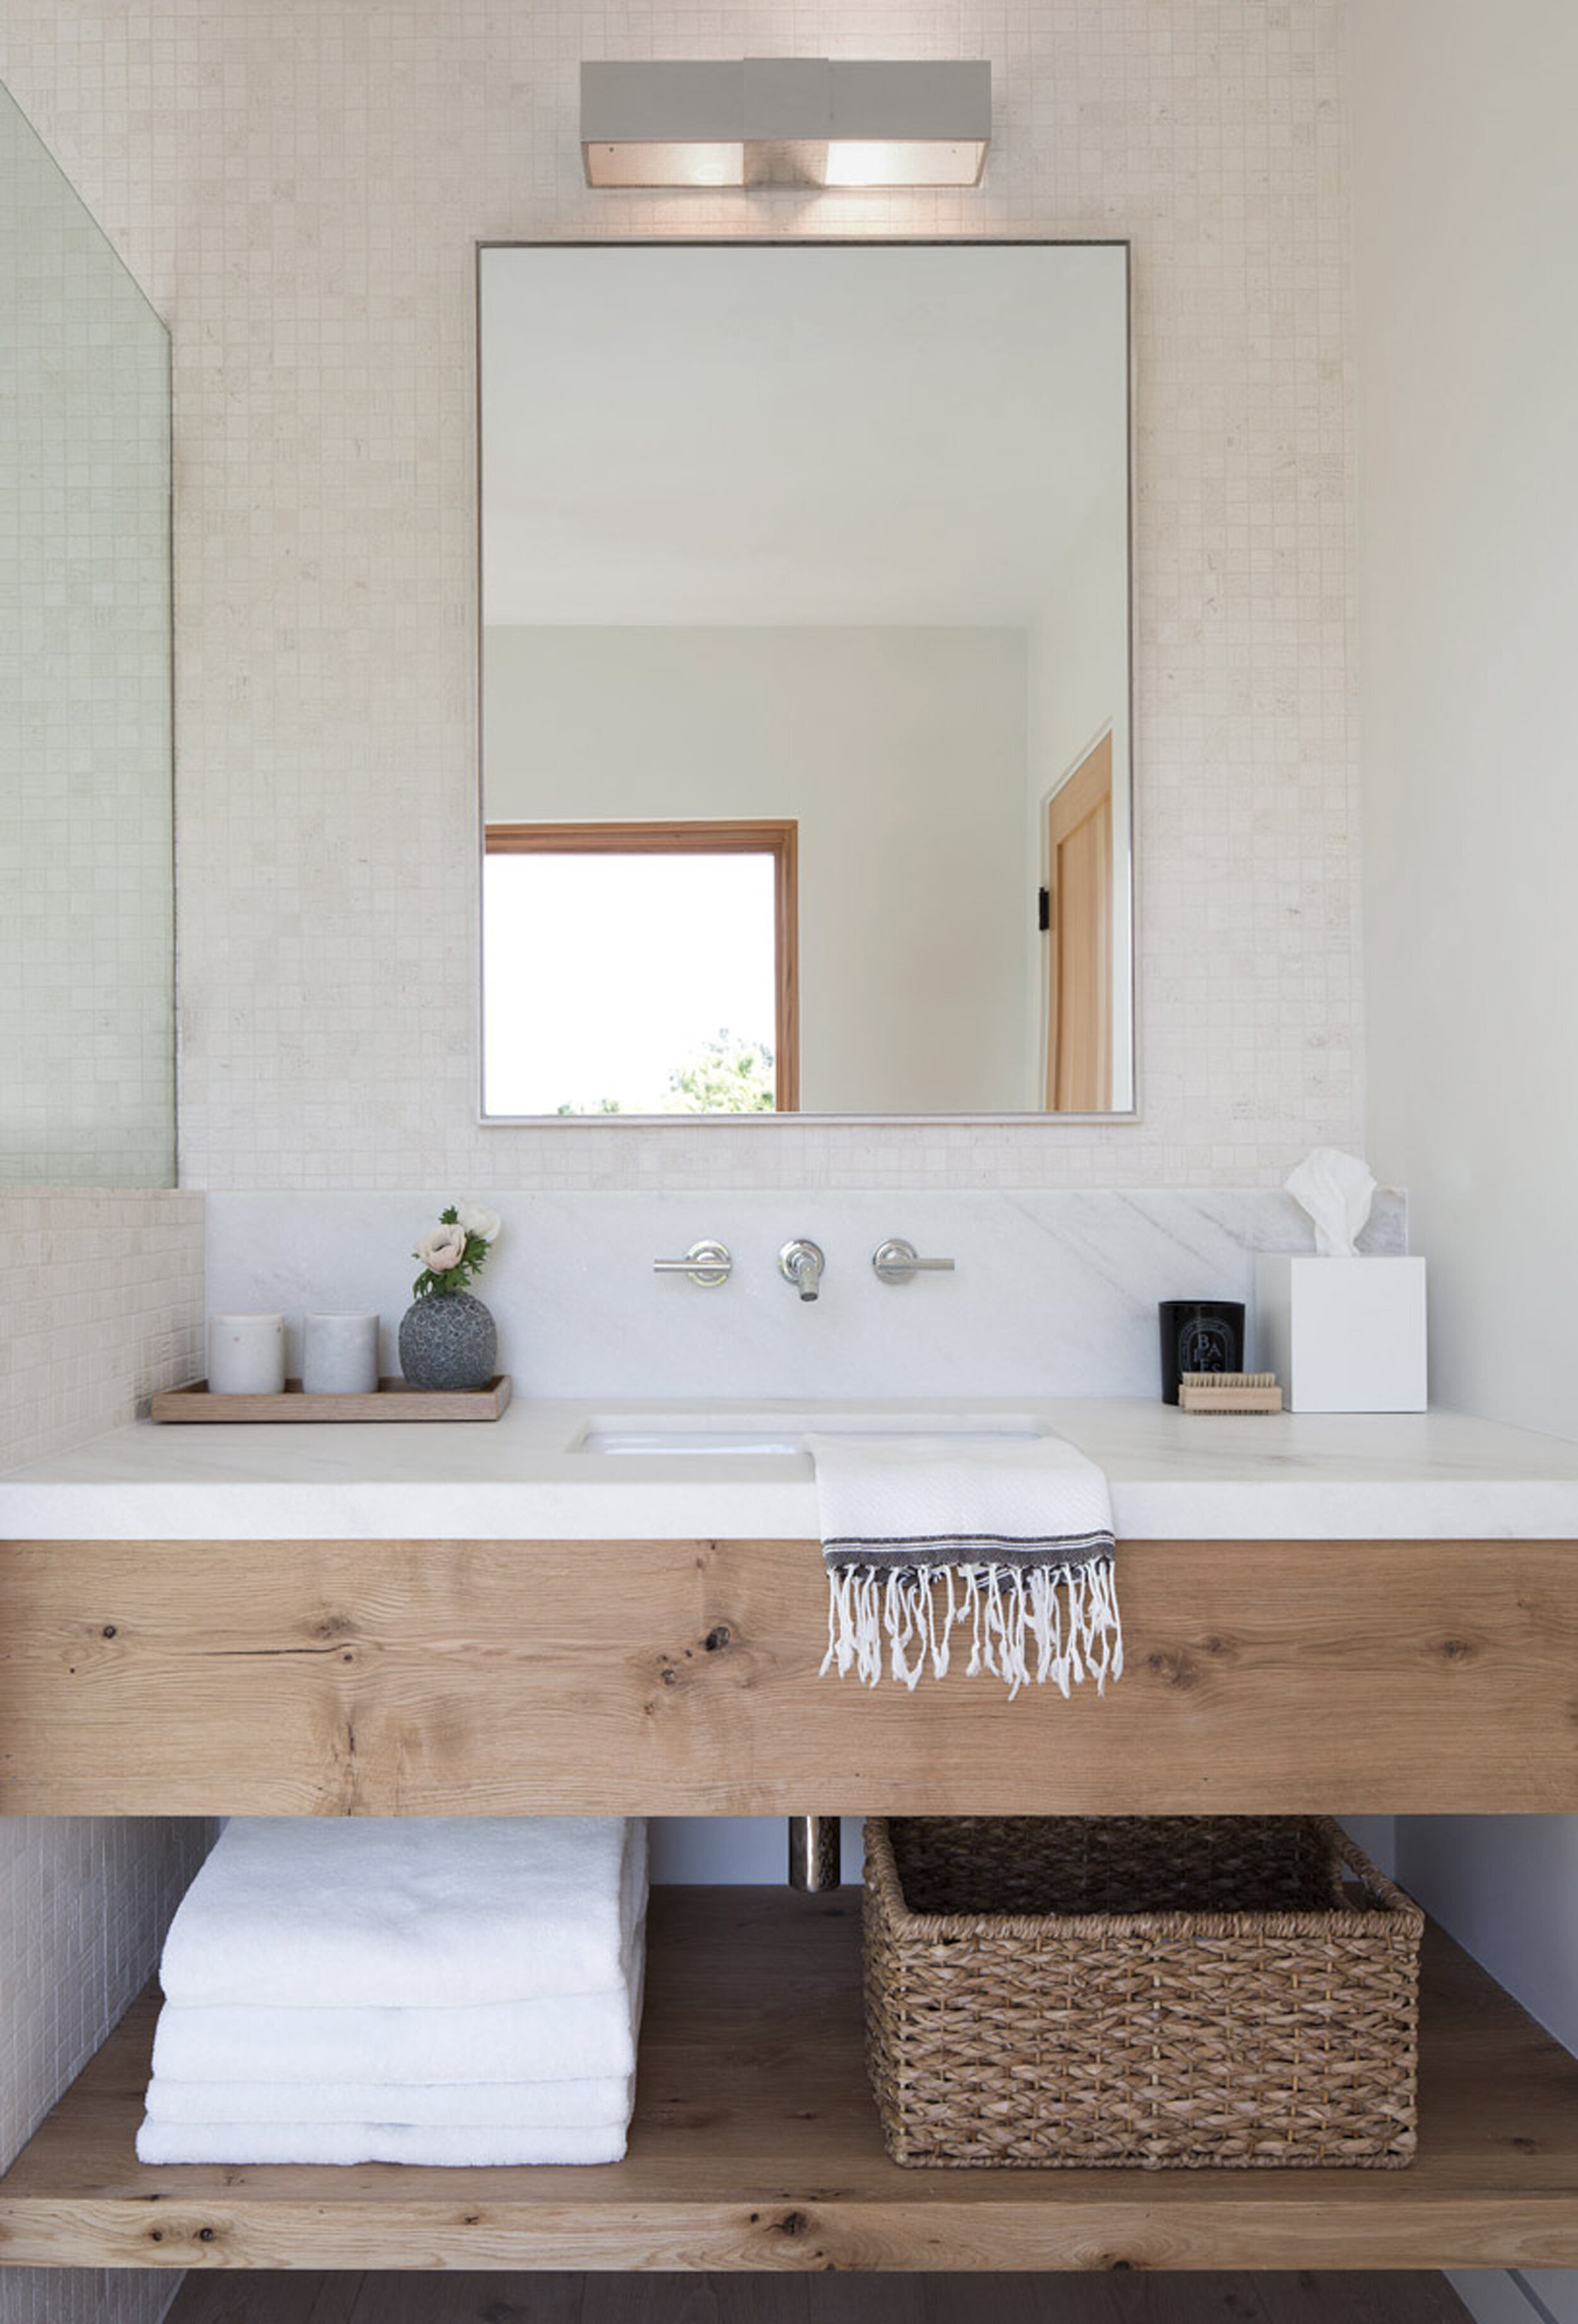


9. How to Install a Wall-Mounted Sink


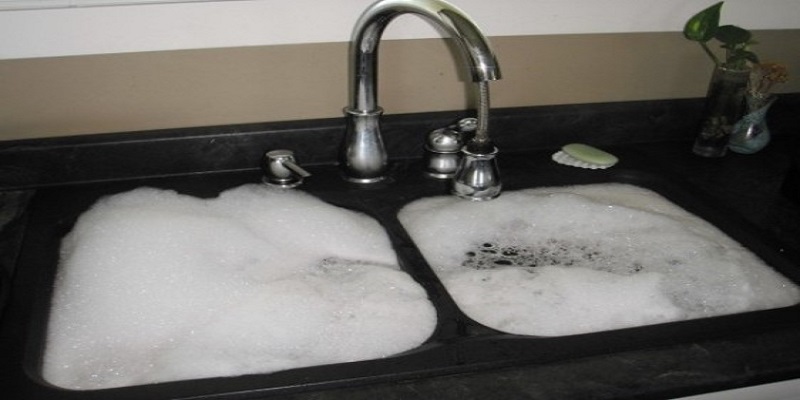
Despite proper installation and maintenance, kitchen sink plumbing issues can still occur. Some of the most common problems include leaks, clogs, and low water pressure. If you notice a leak, it is essential to address it immediately to prevent water damage. You can try tightening any loose connections or replacing worn-out gaskets to fix the issue. Clogs can be caused by a variety of factors, including food particles, grease, and soap scum. Using a plunger or drain snake can often clear these clogs. If you have low water pressure, it may be due to a clogged aerator, which can be easily cleaned or replaced. If these solutions do not work, it may be best to call a professional plumber for assistance.10. Common Kitchen Sink Plumbing Issues and How to Fix Them
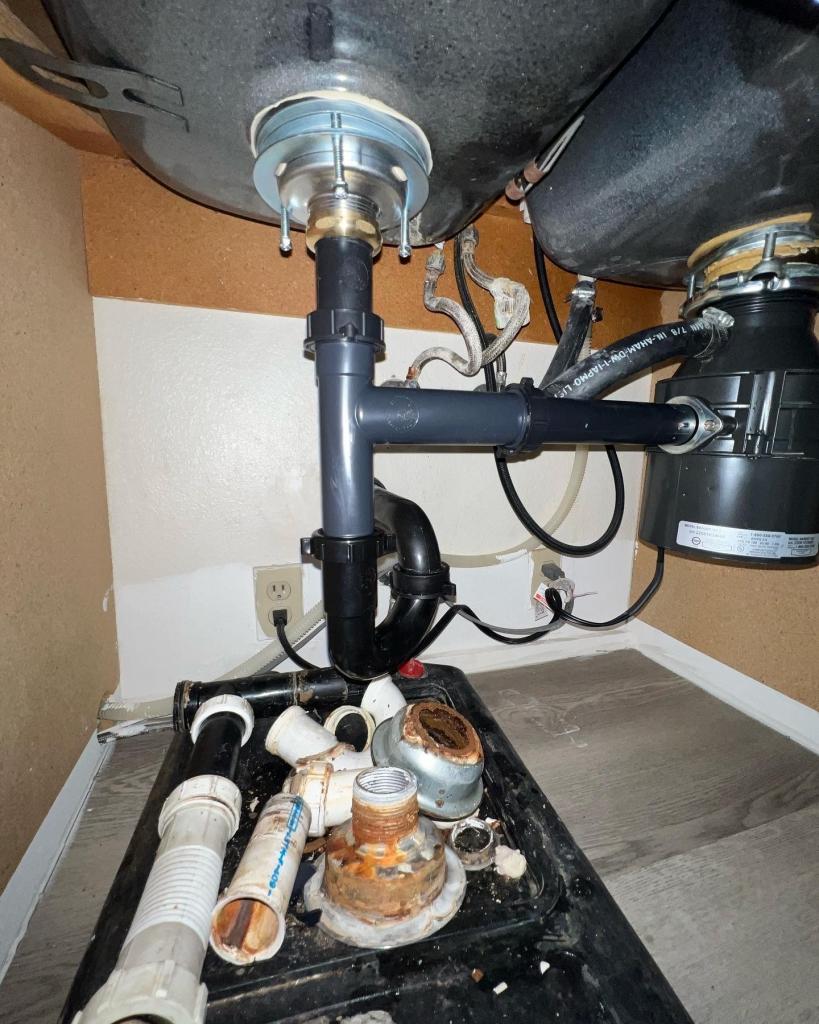

10. Common Kitchen Sink Plumbing Issues and How to Fix Them


Why You Should Consider a Kitchen Sink Drain Through Floor or Wall

Efficient Use of Space
 When it comes to designing your dream kitchen, every inch of space counts. That's why the location of your kitchen sink drain is crucial. A drain through the floor or wall can be a game-changer in terms of space optimization. By eliminating the need for a traditional under-sink cabinet, you can have more room for storage or even add a kitchen island. With
kitchen sink drain through floor or wall
, you can design a more functional and spacious kitchen that fits your needs.
When it comes to designing your dream kitchen, every inch of space counts. That's why the location of your kitchen sink drain is crucial. A drain through the floor or wall can be a game-changer in terms of space optimization. By eliminating the need for a traditional under-sink cabinet, you can have more room for storage or even add a kitchen island. With
kitchen sink drain through floor or wall
, you can design a more functional and spacious kitchen that fits your needs.
Clean and Modern Aesthetic
 Another benefit of having a kitchen sink drain through the floor or wall is the clean and modern look it provides. Traditional under-sink cabinets can often make a kitchen feel cluttered and dated. By opting for a drain through the floor or wall, you can achieve a sleek and streamlined look. This design choice is especially popular in contemporary and minimalist kitchens, where clean lines and open space are essential. With
kitchen sink drain through floor or wall
, you can elevate the overall aesthetic of your kitchen.
Another benefit of having a kitchen sink drain through the floor or wall is the clean and modern look it provides. Traditional under-sink cabinets can often make a kitchen feel cluttered and dated. By opting for a drain through the floor or wall, you can achieve a sleek and streamlined look. This design choice is especially popular in contemporary and minimalist kitchens, where clean lines and open space are essential. With
kitchen sink drain through floor or wall
, you can elevate the overall aesthetic of your kitchen.
More Flexibility in Kitchen Layout
 Having a kitchen sink drain through the floor or wall also gives you more flexibility in designing your kitchen layout. Traditional drains that require a cabinet underneath limit your options for where you can place the sink. With
kitchen sink drain through floor or wall
, you can position your sink in any area of the kitchen, depending on your preference and the overall layout of the space. This added flexibility allows for a more customized and personalized kitchen design.
Having a kitchen sink drain through the floor or wall also gives you more flexibility in designing your kitchen layout. Traditional drains that require a cabinet underneath limit your options for where you can place the sink. With
kitchen sink drain through floor or wall
, you can position your sink in any area of the kitchen, depending on your preference and the overall layout of the space. This added flexibility allows for a more customized and personalized kitchen design.
Less Risk of Water Damage
 One of the main concerns with traditional under-sink drains is the potential for water damage. Any leaks or clogs can go unnoticed for a long time, leading to costly repairs and potential health hazards. With a drain through the floor or wall, any issues are immediately visible and can be addressed promptly, reducing the risk of extensive damage. By choosing
kitchen sink drain through floor or wall
, you can have peace of mind and avoid any potential water-related disasters in your kitchen.
One of the main concerns with traditional under-sink drains is the potential for water damage. Any leaks or clogs can go unnoticed for a long time, leading to costly repairs and potential health hazards. With a drain through the floor or wall, any issues are immediately visible and can be addressed promptly, reducing the risk of extensive damage. By choosing
kitchen sink drain through floor or wall
, you can have peace of mind and avoid any potential water-related disasters in your kitchen.
Conclusion
 In conclusion, a
kitchen sink drain through floor or wall
offers numerous advantages that make it a smart choice for any kitchen design. It not only saves space and creates a modern aesthetic but also provides more flexibility in layout and reduces the risk of water damage. So, when planning your dream kitchen, consider the option of a drain through the floor or wall for a functional, stylish, and worry-free space.
In conclusion, a
kitchen sink drain through floor or wall
offers numerous advantages that make it a smart choice for any kitchen design. It not only saves space and creates a modern aesthetic but also provides more flexibility in layout and reduces the risk of water damage. So, when planning your dream kitchen, consider the option of a drain through the floor or wall for a functional, stylish, and worry-free space.


