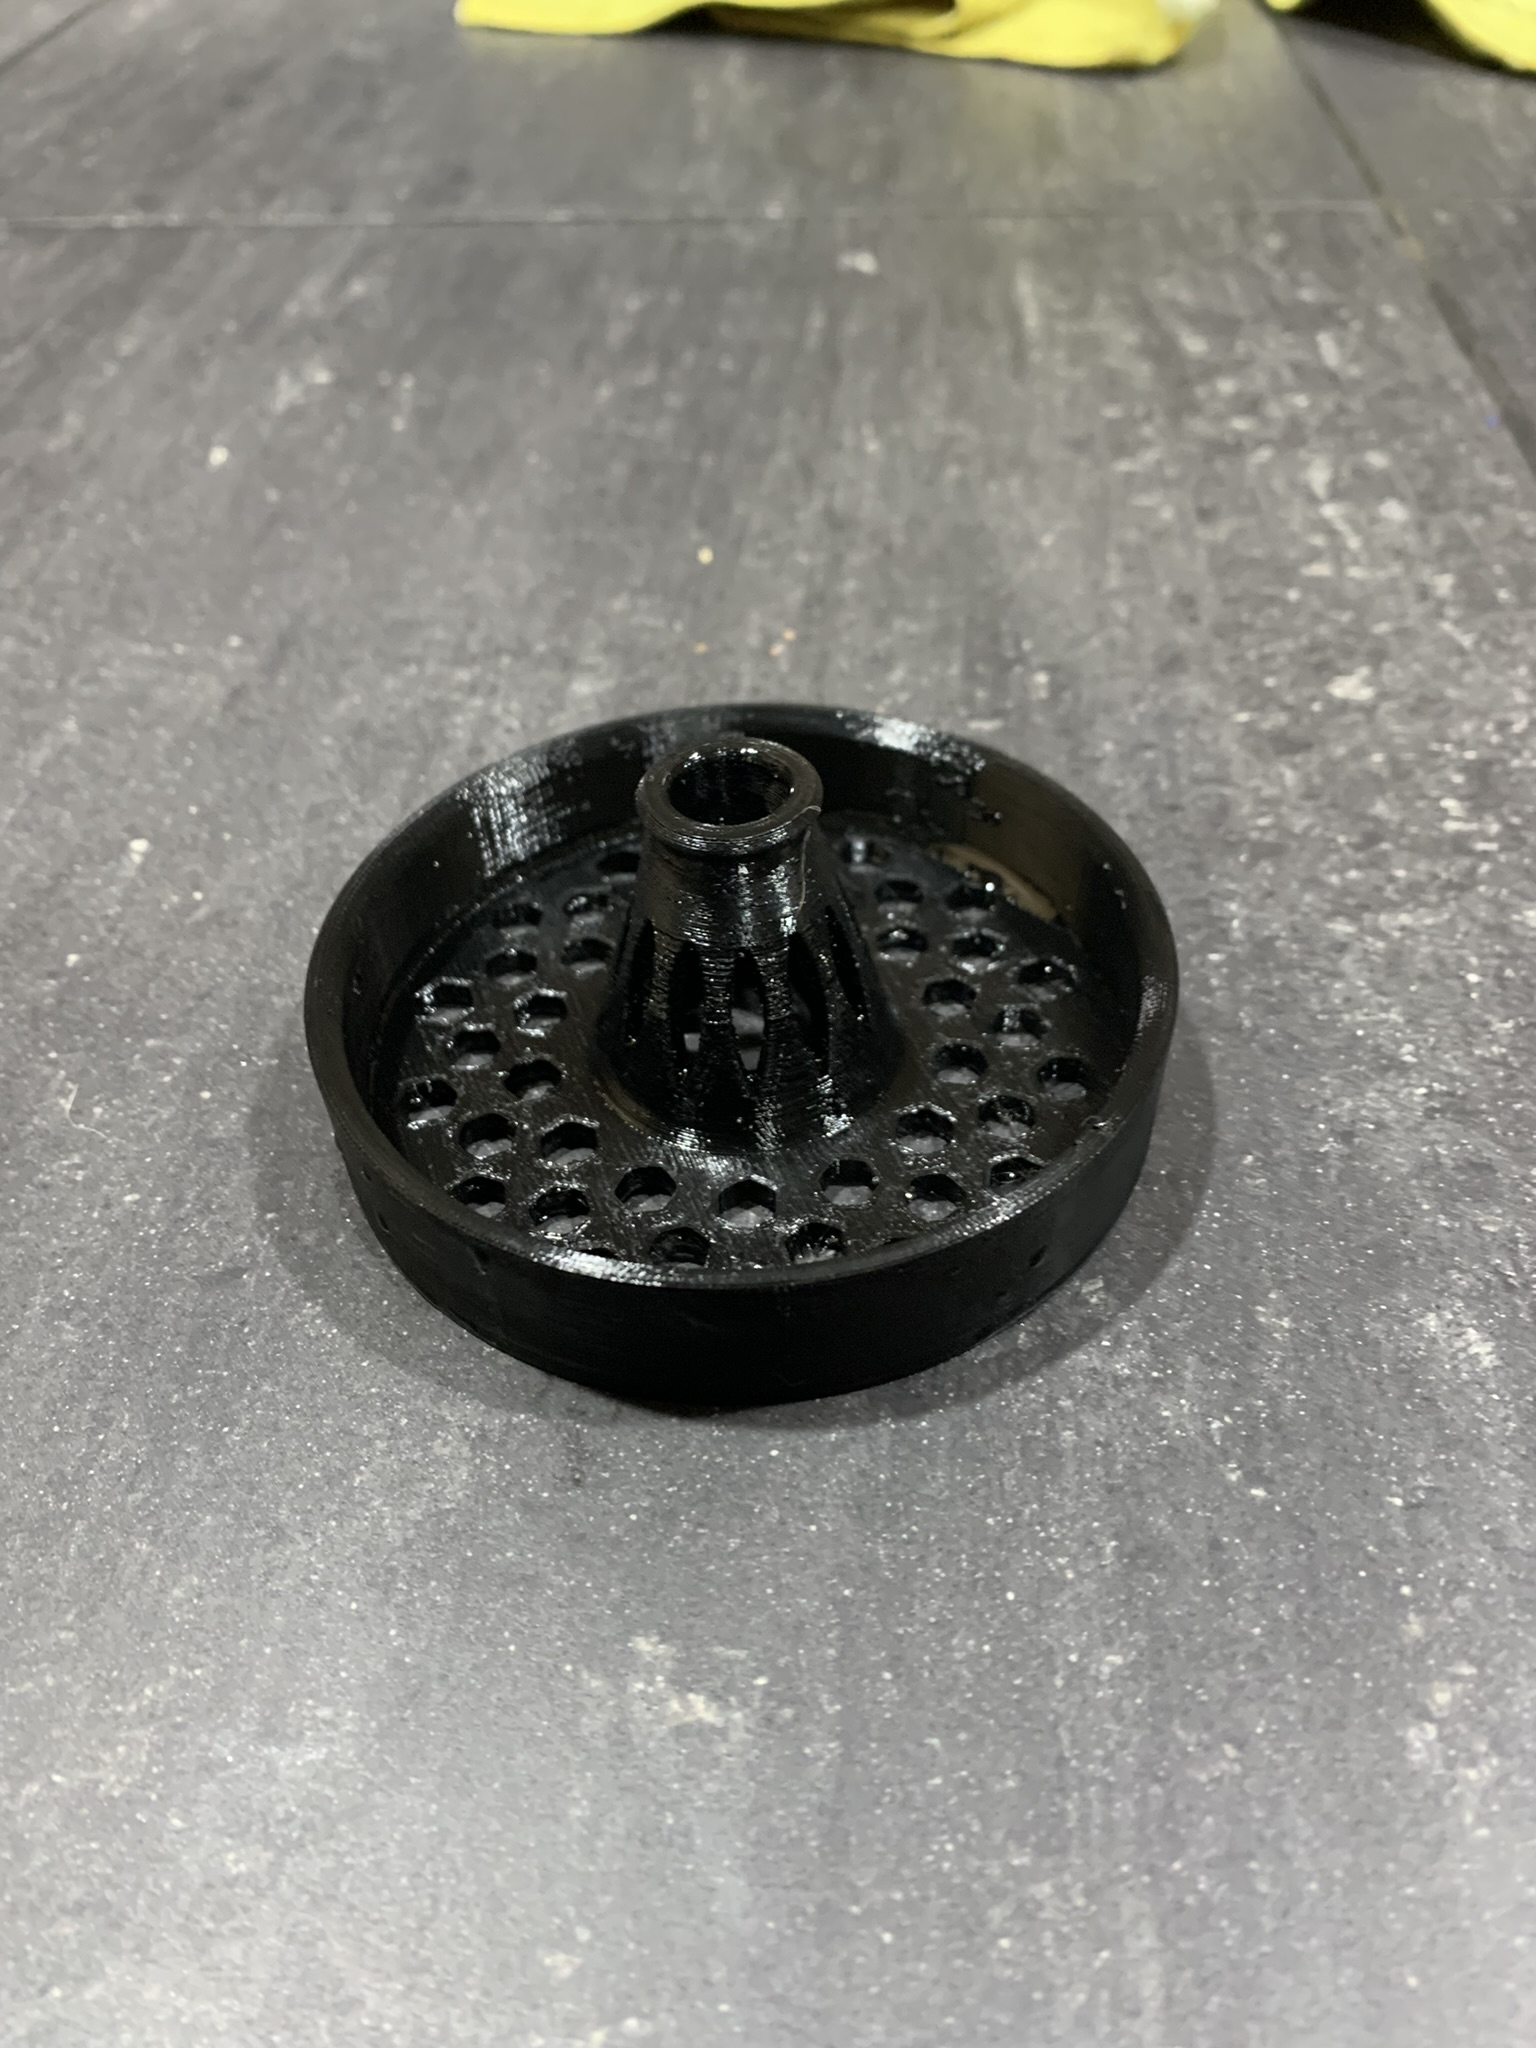
Is your kitchen sink drain strainer showing signs of wear and tear? Are you tired of constantly dealing with clogged drains? It may be time to replace your kitchen sink drain strainer. Not sure where to start? Don't worry, we've got you covered. In this article, we will walk you through the process of replacing a kitchen sink drain strainer in 6 easy steps. So roll up your sleeves and let's get started!How to Replace a Kitchen Sink Drain Strainer


How to Replace a Kitchen Sink Drain Strainer


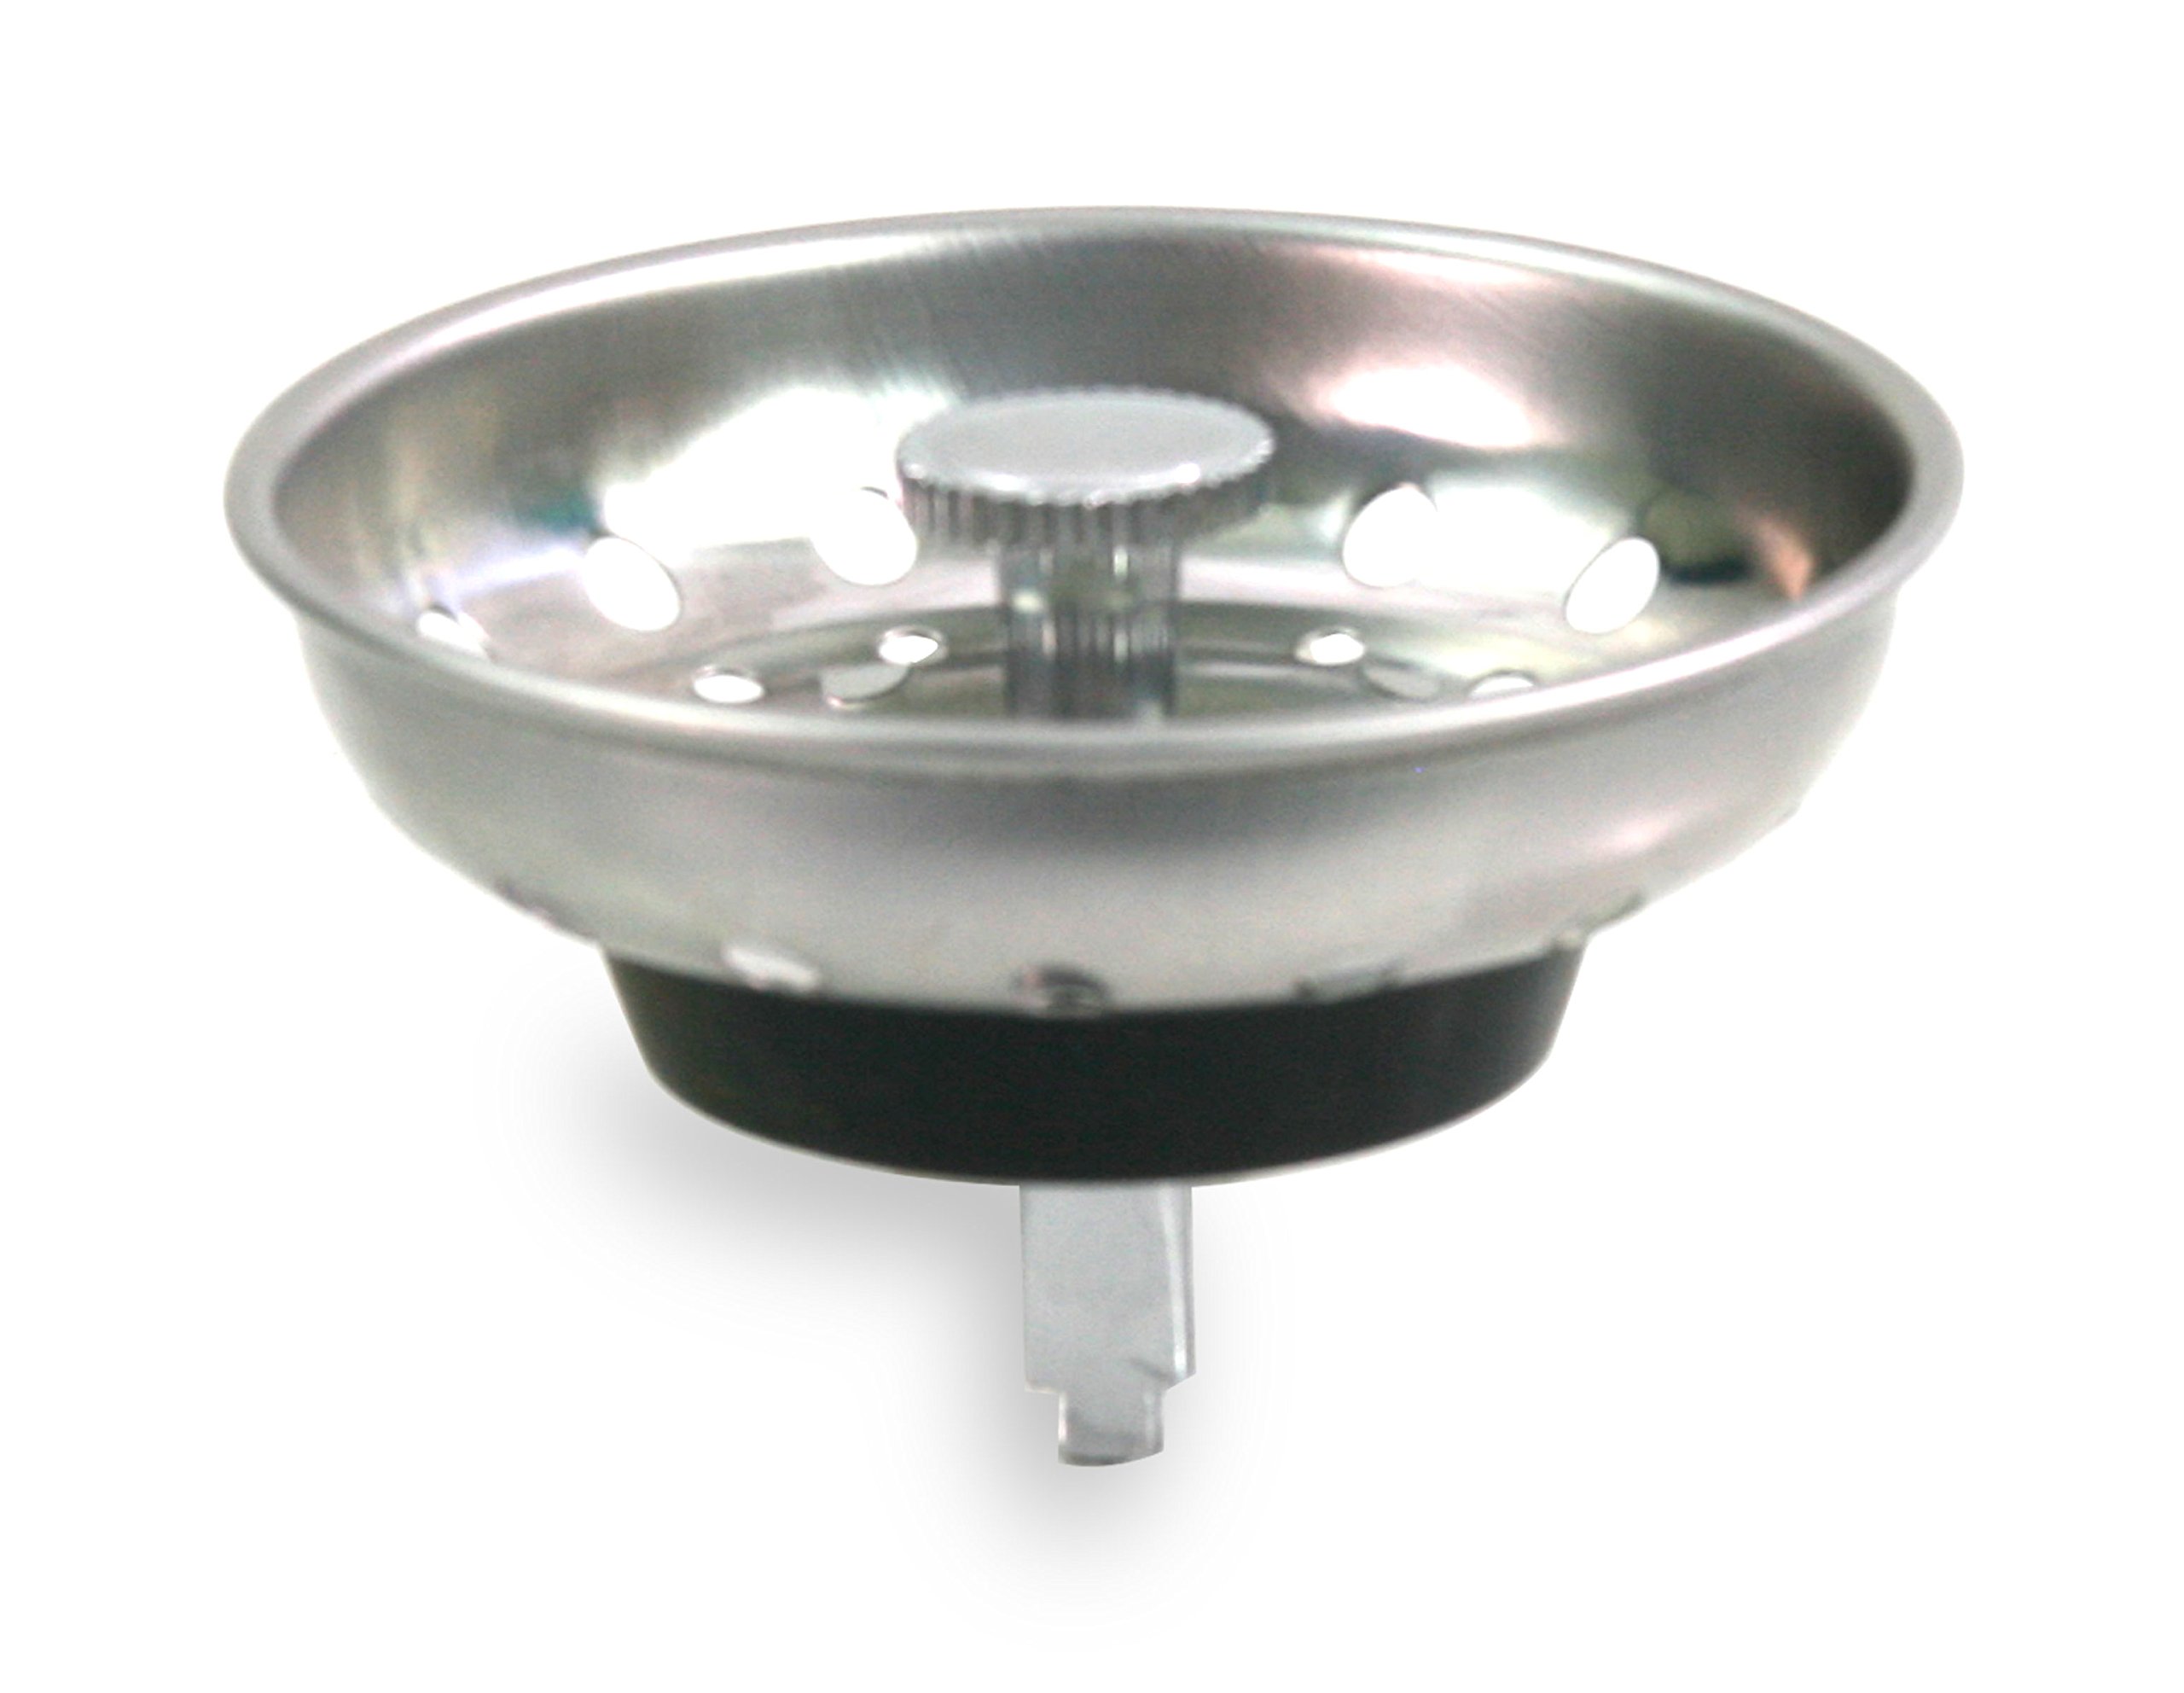
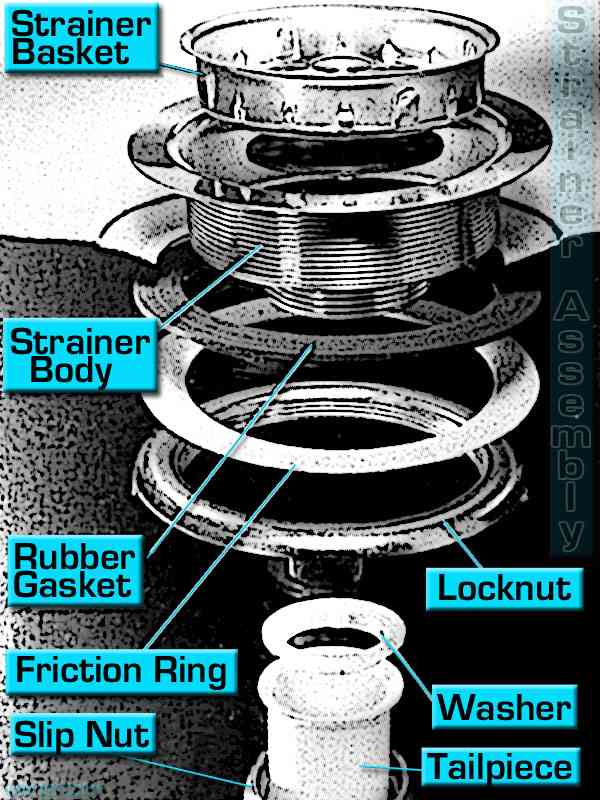
Step 1: Gather your materials Before you begin, make sure you have all the necessary materials on hand. This includes a new kitchen sink drain strainer, pliers, a screwdriver, plumber's putty, and a bucket to catch any water that may spill out during the process. Step 2: Remove the old drain strainer Using your pliers, loosen and remove the slip nuts and washers that are holding the old drain strainer in place. Once the old strainer is loose, carefully pull it out of the sink. Step 3: Clean the area Before installing the new drain strainer, make sure to clean the area around the drain thoroughly. Remove any old plumber's putty or debris that may have accumulated over time. Step 4: Apply plumber's putty Take a small amount of plumber's putty and roll it into a rope shape. Wrap this around the underside of the new drain strainer. This will create a watertight seal once the strainer is installed. Step 5: Install the new drain strainer Place the new drain strainer into the sink and secure it in place by tightening the slip nuts and washers with your pliers. Make sure the strainer is in the correct position before tightening to avoid any leaks. Step 6: Test for leaks Turn on the water and check for any leaks around the new drain strainer. If you notice any leaks, tighten the slip nuts and washers further until the leak stops.How to Replace a Kitchen Sink Drain Strainer in 6 Steps


How to Replace a Kitchen Sink Drain Strainer in 6 Steps


If you're feeling confident and want to save some money, you can replace your kitchen sink drain strainer yourself. Just make sure to follow the steps outlined above and take your time to ensure a proper installation.DIY Kitchen Sink Drain Strainer Replacement
DIY Kitchen Sink Drain Strainer Replacement


Replacing a kitchen sink drain strainer may seem like a daunting task, but with our step-by-step guide, it becomes a simple and straightforward process. Just remember to take your time and be careful during each step to avoid any mishaps.Step-by-Step Guide to Replacing a Kitchen Sink Drain Strainer


Step-by-Step Guide to Replacing a Kitchen Sink Drain Strainer


When it comes to replacing a kitchen sink drain strainer, there are a few tips and tricks that can make the process even easier. For example, adding a small amount of dish soap to the plumber's putty can make it easier to work with. Also, using a plunger to remove any clogs in the drain before installing the new strainer can prevent future clogs.Replacing a Kitchen Sink Drain Strainer: Tips and Tricks


Replacing a Kitchen Sink Drain Strainer: Tips and Tricks

With the right tools and materials, replacing a kitchen sink drain strainer can be a quick and easy task. Just make sure to follow the steps carefully and take your time to ensure a proper installation. This will save you time and hassle in the long run!Quick and Easy Kitchen Sink Drain Strainer Replacement
Quick and Easy Kitchen Sink Drain Strainer Replacement


Before you begin the process of replacing a kitchen sink drain strainer, there are a few things you should keep in mind. First, make sure to choose a high-quality strainer that is the right size for your sink. Also, be aware of any potential plumbing issues that may arise during the installation process.Replacing a Kitchen Sink Drain Strainer: What You Need to Know


Replacing a Kitchen Sink Drain Strainer: What You Need to Know


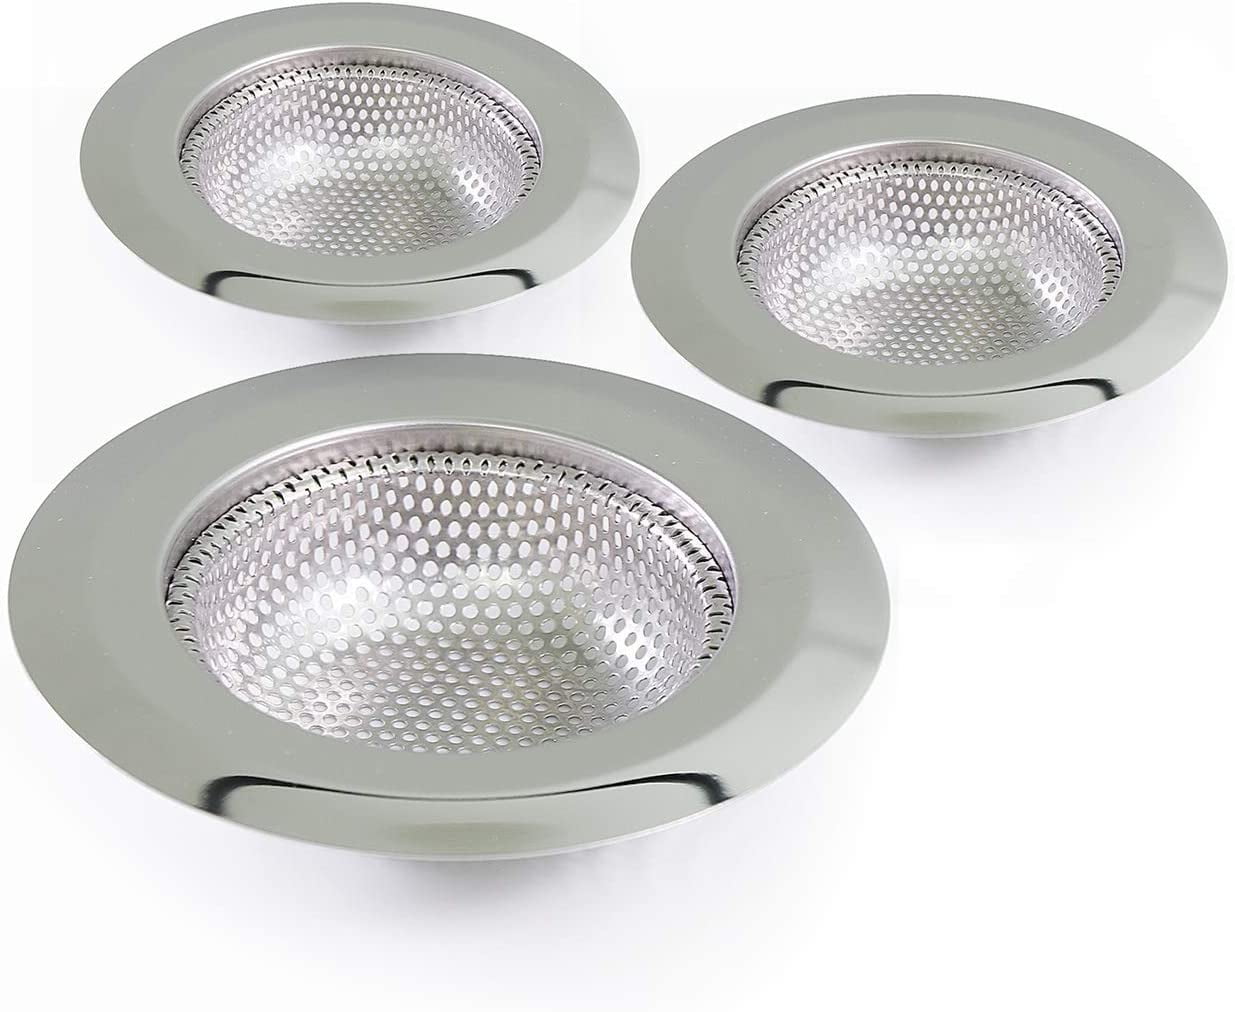
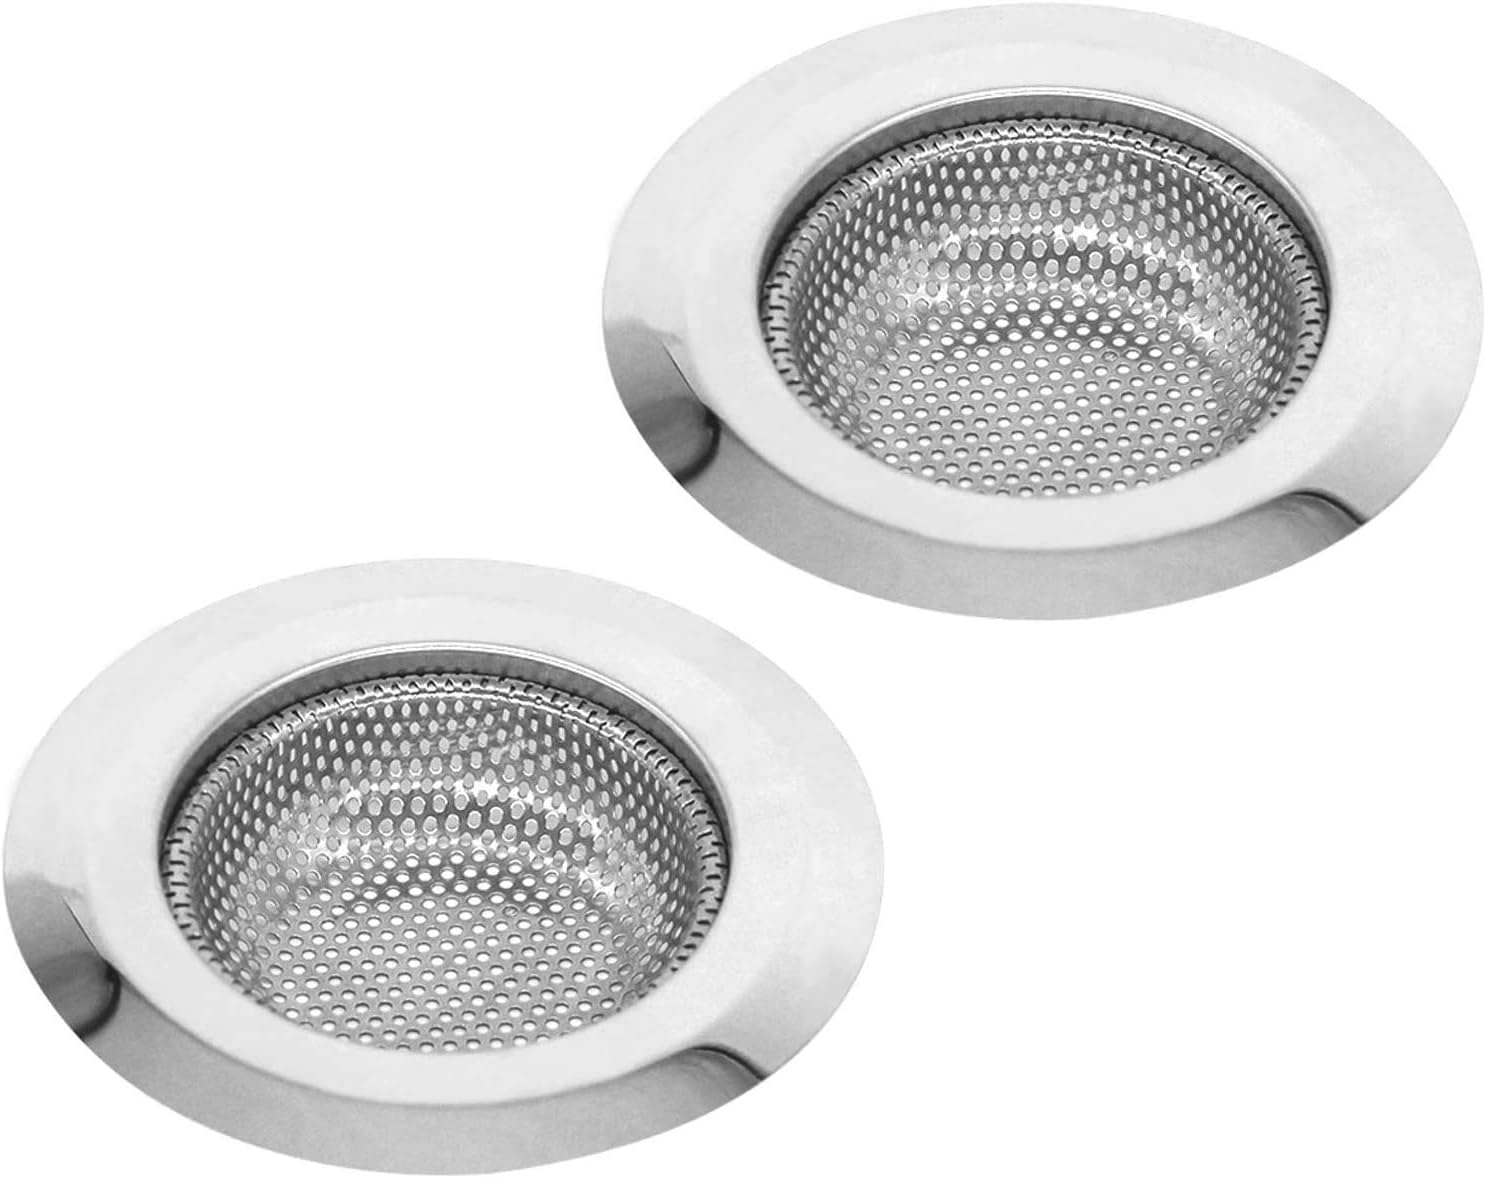
When it comes to choosing a replacement drain strainer for your kitchen sink, there are a few factors to consider. These include the size and shape of your sink, the type of material the strainer is made of, and the quality of the product. It's important to choose a strainer that fits your sink properly and is made of durable materials to ensure longevity.How to Choose the Right Kitchen Sink Drain Strainer Replacement


How to Choose the Right Kitchen Sink Drain Strainer Replacement

While replacing a kitchen sink drain strainer is a relatively simple task, there are some common mistakes that can occur. These include using too much plumber's putty, not tightening the slip nuts and washers enough, and not properly aligning the strainer with the drain. Avoiding these mistakes will ensure a smooth and successful installation.Replacing a Kitchen Sink Drain Strainer: Common Mistakes to Avoid


Replacing a Kitchen Sink Drain Strainer: Common Mistakes to Avoid

If you're still unsure about replacing your kitchen sink drain strainer, here are some expert tips to keep in mind. First, always turn off the water supply before beginning the installation process. Also, make sure to check for any leaks after the installation is complete, and don't hesitate to call a professional if you encounter any issues or complications.Expert Tips for Replacing a Kitchen Sink Drain Strainer


Expert Tips for Replacing a Kitchen Sink Drain Strainer


Why Replace Your Kitchen Sink Drain Strainer for a Better House Design?

Upgrade Your Kitchen with a New Drain Strainer
 When it comes to house design, the kitchen is often considered the heart of the home. It is where families gather to cook, eat, and bond. As such, it is important to keep this space not only functional but also aesthetically pleasing. One of the often-overlooked components of a well-designed kitchen is the sink drain strainer. While it may seem like a small and insignificant part, replacing your old, worn-out strainer can make a big difference in the overall look and feel of your kitchen.
Improve Functionality and Efficiency
:max_bytes(150000):strip_icc()/how-to-install-a-sink-drain-2718789-hero-24e898006ed94c9593a2a268b57989a3.jpg) The main purpose of a kitchen sink drain strainer is to prevent food particles and other debris from clogging your pipes. Over time, these strainers can become worn out and lose their effectiveness. This can lead to frequent clogs and slow draining water, which can be a major inconvenience in a busy kitchen. By replacing your old strainer with a new one, you can ensure that your sink is functioning at its best, making your kitchen tasks more efficient and hassle-free.
The main purpose of a kitchen sink drain strainer is to prevent food particles and other debris from clogging your pipes. Over time, these strainers can become worn out and lose their effectiveness. This can lead to frequent clogs and slow draining water, which can be a major inconvenience in a busy kitchen. By replacing your old strainer with a new one, you can ensure that your sink is functioning at its best, making your kitchen tasks more efficient and hassle-free.
Add Style and Elegance
/how-to-install-a-sink-drain-2718789-hero-b5b99f72b5a24bb2ae8364e60539cece.jpg) Aside from its practical function, a kitchen sink drain strainer can also contribute to the overall style of your kitchen. If you have an outdated or mismatched strainer, it can take away from the overall design of your space. By upgrading to a new strainer, you can add a touch of elegance and sophistication to your kitchen. There are a variety of styles and finishes available, so you can choose one that complements your existing fixtures and adds a cohesive look to your kitchen.
Aside from its practical function, a kitchen sink drain strainer can also contribute to the overall style of your kitchen. If you have an outdated or mismatched strainer, it can take away from the overall design of your space. By upgrading to a new strainer, you can add a touch of elegance and sophistication to your kitchen. There are a variety of styles and finishes available, so you can choose one that complements your existing fixtures and adds a cohesive look to your kitchen.
Prevent Costly Repairs
 Neglecting to replace your kitchen sink drain strainer can lead to more serious and costly plumbing issues down the line. As the strainer becomes less effective, it can allow food and debris to pass through and cause clogs further down in your pipes. This can eventually lead to backups, leaks, and even burst pipes. By regularly replacing your strainer, you can avoid these potential problems and save yourself from expensive repairs in the future.
Kitchen sink drain strainer replace
may seem like a small and insignificant task, but it can have a big impact on the overall design and functionality of your kitchen. By upgrading to a new and improved strainer, you can not only improve the efficiency of your sink but also add style and prevent costly repairs. So why wait? Upgrade your kitchen today and enjoy a more beautiful and functional space.
Neglecting to replace your kitchen sink drain strainer can lead to more serious and costly plumbing issues down the line. As the strainer becomes less effective, it can allow food and debris to pass through and cause clogs further down in your pipes. This can eventually lead to backups, leaks, and even burst pipes. By regularly replacing your strainer, you can avoid these potential problems and save yourself from expensive repairs in the future.
Kitchen sink drain strainer replace
may seem like a small and insignificant task, but it can have a big impact on the overall design and functionality of your kitchen. By upgrading to a new and improved strainer, you can not only improve the efficiency of your sink but also add style and prevent costly repairs. So why wait? Upgrade your kitchen today and enjoy a more beautiful and functional space.


/9SskemKwmE672d3r-5b5793d146e0fb007152b3c9.jpg)