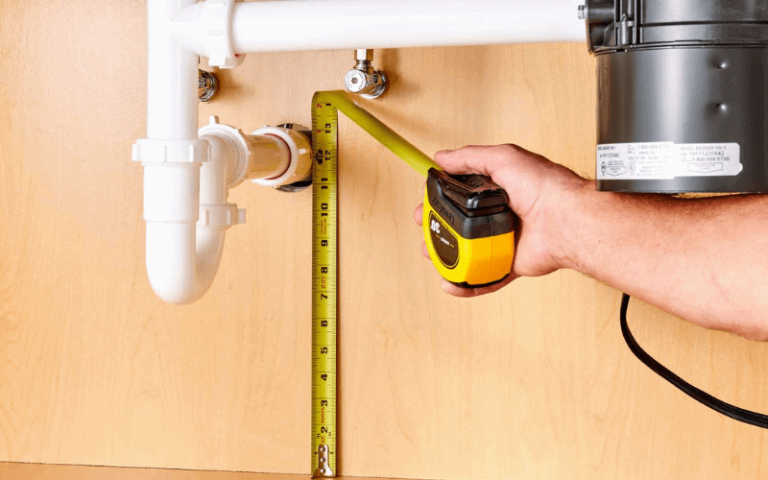
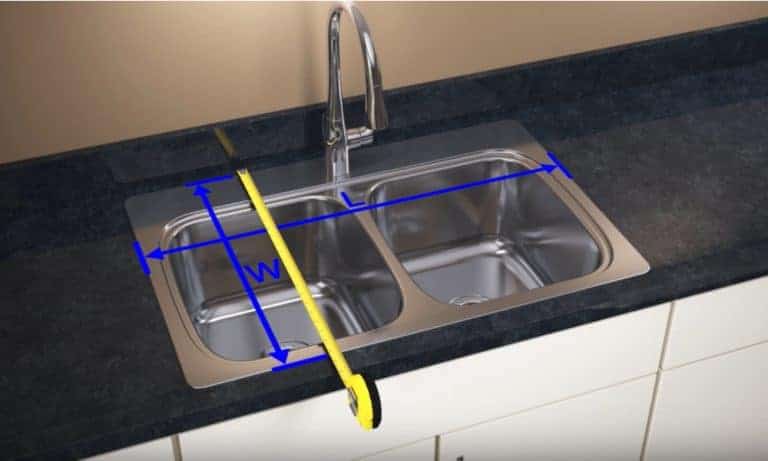
The size of your kitchen sink's drain hole opening is an important factor to consider when purchasing a new sink or replacing a drain. You want to make sure that the new drain will fit properly and function effectively. Here are some simple steps to measure your kitchen sink's drain hole opening. Step 1: Gather your materials. You will need a measuring tape, a pencil, and a piece of paper. Step 2: Remove any objects from your sink, such as dishes or soap, so you have a clear view of the drain hole. Step 3: Place the end of the measuring tape at the top edge of the drain hole. Make sure the tape is straight and not bent or curved. Step 4: Measure the diameter of the drain hole. This is the distance across the center of the hole, from one edge to the opposite edge. Step 5: Write down the measurement in inches on your piece of paper. Step 6: If your sink has multiple drain holes, repeat the process for each one and record the measurements. By following these steps, you can easily measure your kitchen sink's drain hole opening and ensure that your new drain will be a perfect fit.How to Measure a Kitchen Sink Drain Hole Opening


How to Measure a Kitchen Sink Drain Hole Opening


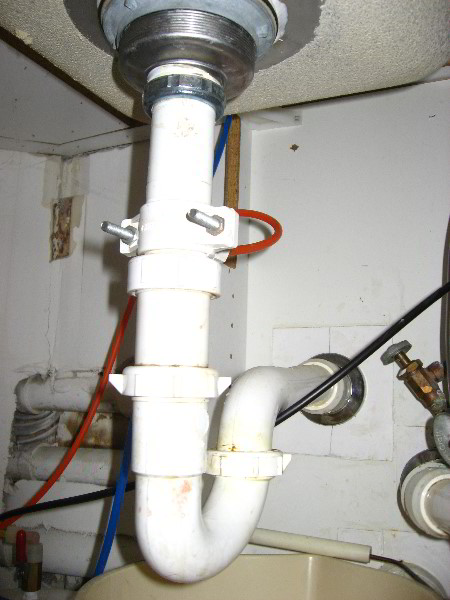
If your kitchen sink drain is old or damaged, it may be time to replace it. Here is a step-by-step guide to help you replace your kitchen sink drain. Step 1: Gather your materials. You will need a new drain, plumber's putty, a pipe wrench, and a bucket. Step 2: Turn off the water supply to your sink by shutting off the valves under the sink. Step 3: Place the bucket under the sink to catch any water that may spill out. Step 4: Use the pipe wrench to loosen and remove the nuts and washers that hold the drain in place. Step 5: Carefully remove the drain and clean around the opening in the sink with a cloth. Step 6: Roll a small amount of plumber's putty into a snake-like shape and place it around the opening in the sink. Step 7: Insert the new drain into the opening and tighten the nuts and washers to hold it in place. Step 8: Wipe away any excess plumber's putty around the drain. Step 9: Turn the water supply back on and check for any leaks. By following these steps, you can easily replace your kitchen sink drain and have a fully functioning sink in no time.How to Replace a Kitchen Sink Drain


How to Replace a Kitchen Sink Drain

/how-to-install-a-sink-drain-2718789-hero-b5b99f72b5a24bb2ae8364e60539cece.jpg)


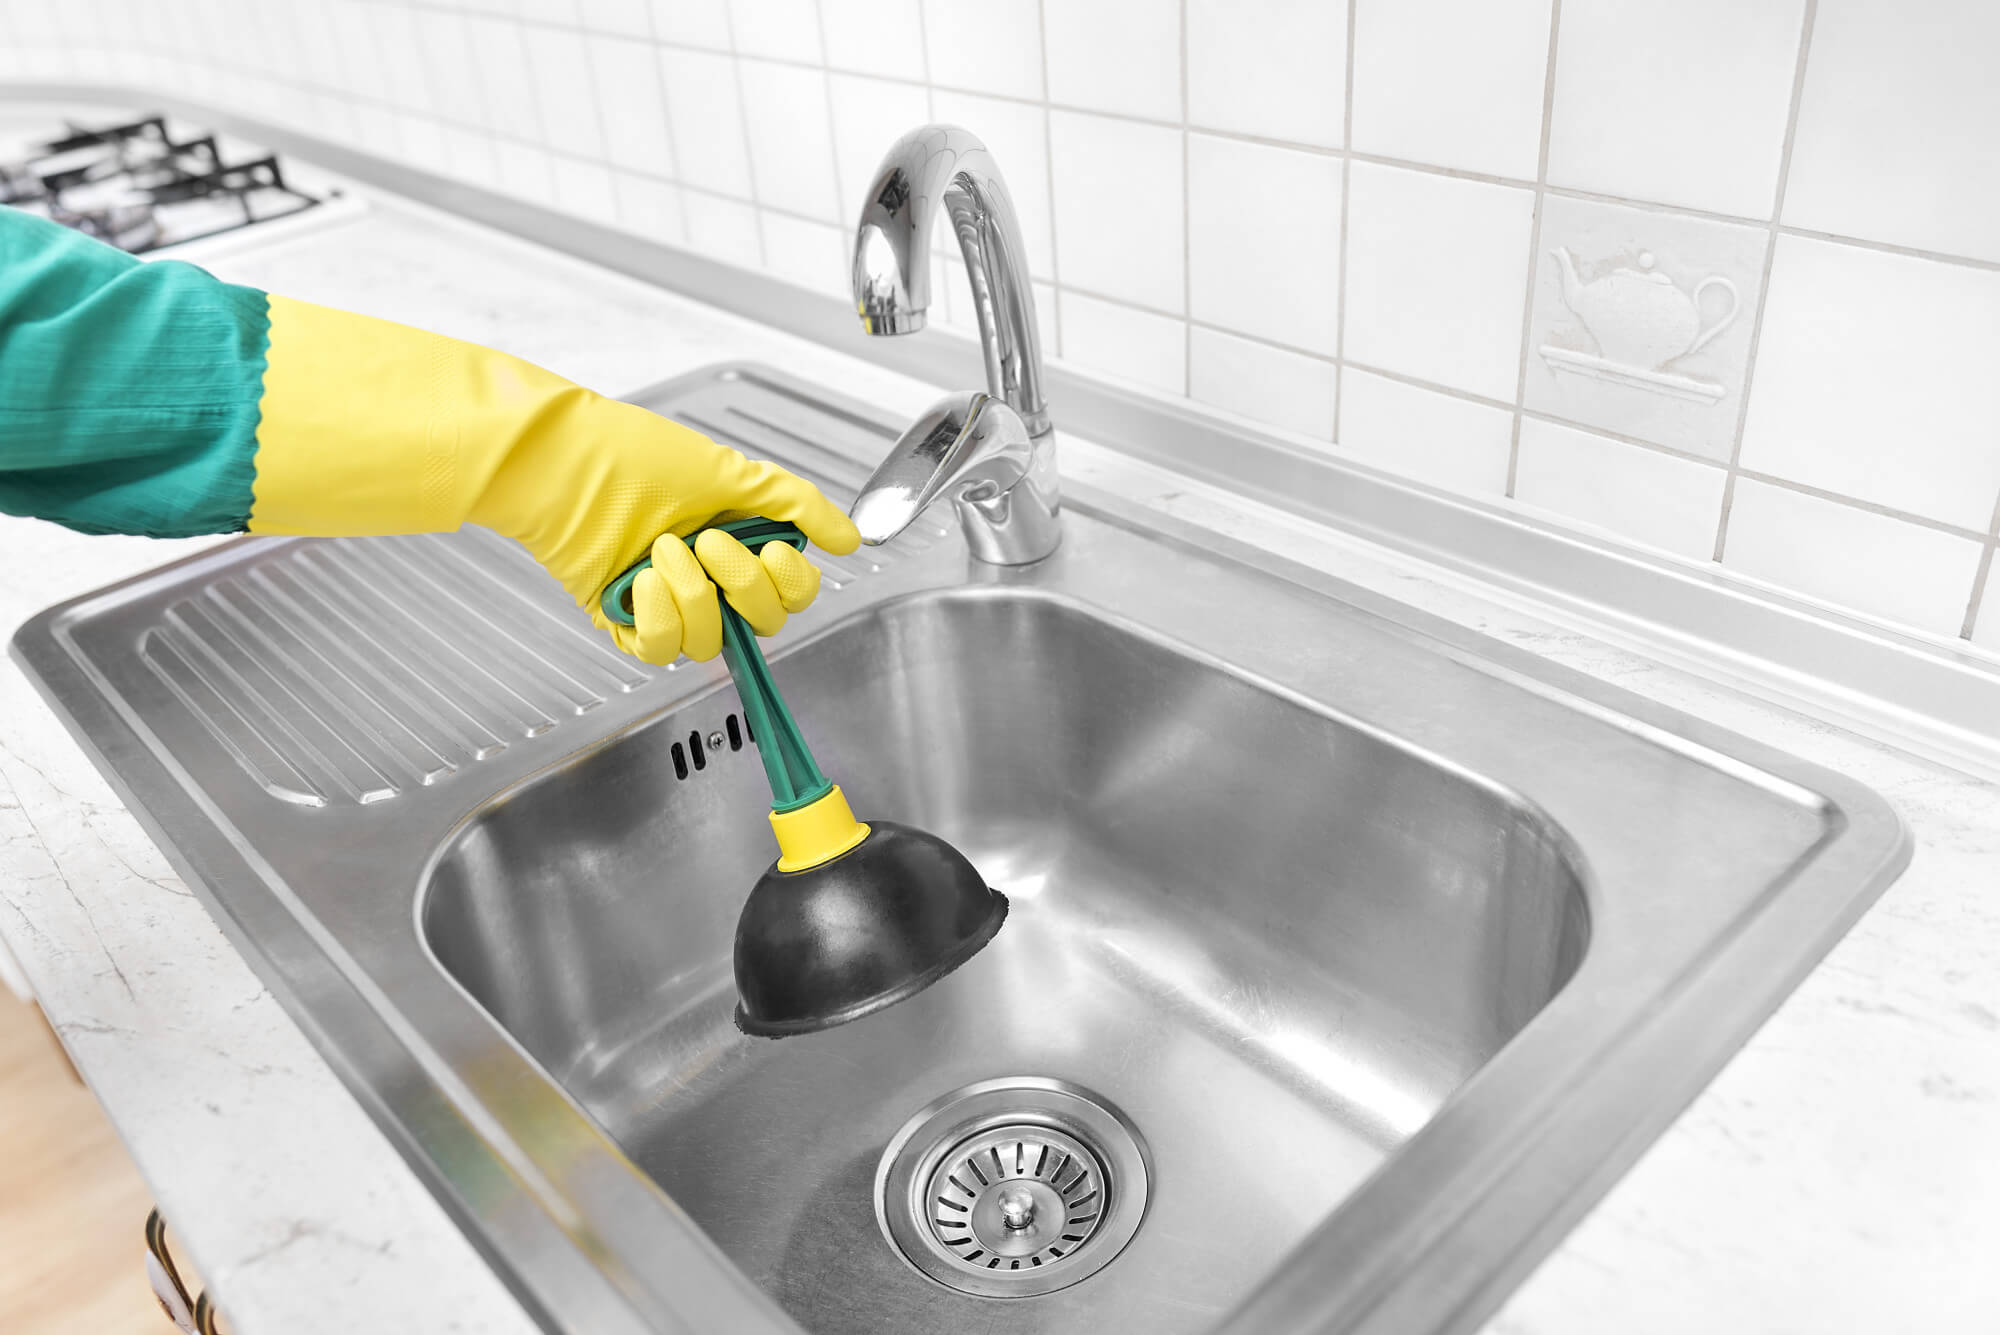
A clogged kitchen sink drain can be a frustrating problem, but with the right tools and methods, you can easily unclog it. Here's how. Step 1: Boil a pot of water and carefully pour it down the drain. This can help loosen any clogs that are close to the surface. Step 2: Use a plunger to try and dislodge the clog. Place the plunger over the drain and plunge up and down several times. Step 3: If the plunger doesn't work, try using a plumbing snake. Insert the snake into the drain and twist it as you push it in. This can help break up and remove the clog. Step 4: For tough clogs, you can use a drain cleaner. Be sure to follow the instructions carefully and use protective gear, as these chemicals can be harmful. Step 5: If none of these methods work, it may be time to call a professional plumber. By following these steps, you can easily unclog your kitchen sink drain and get your sink back to working properly.How to Unclog a Kitchen Sink Drain


How to Unclog a Kitchen Sink Drain

:max_bytes(150000):strip_icc()/freshen-and-unclog-drain-with-baking-soda-1900466-22-bbf940b70afa4d5abef0c54da23b1d3f.jpg)


/how-to-unclog-a-kitchen-sink-2718799_sketch_FINAL-8c5caa805a69493ab22dfb537c72a1b7.png)
Installing a new kitchen sink drain is a simple process that can be done in a few easy steps. Here's how to install a kitchen sink drain. Step 1: Gather your materials. You will need a new drain, plumber's putty, a pipe wrench, and a bucket. Step 2: Turn off the water supply to your sink by shutting off the valves under the sink. Step 3: Place the new drain into the opening in the sink. Make sure it is centered and level. Step 4: Use the pipe wrench to tighten the nuts and washers that hold the drain in place. Step 5: Roll a small amount of plumber's putty into a snake-like shape and place it around the underside of the drain flange. Step 6: Carefully place the drain gasket and rubber seal on top of the putty, followed by the drain basket. Step 7: From underneath the sink, place the rubber gasket, cardboard washer, and locknut onto the drain basket. Tighten the locknut with the pipe wrench. Step 8: Wipe away any excess plumber's putty from around the drain. Step 9: Turn the water supply back on and check for any leaks. By following these steps, you can easily install a new kitchen sink drain and have a fully functioning sink in no time.How to Install a Kitchen Sink Drain


How to Install a Kitchen Sink Drain


:max_bytes(150000):strip_icc()/how-to-install-a-sink-drain-2718789-04-5715d67f5b7d41429d42bf705bb70e2c.jpg)
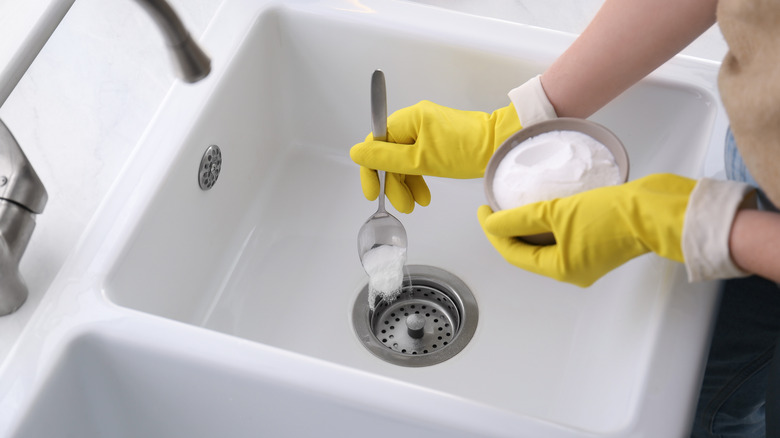
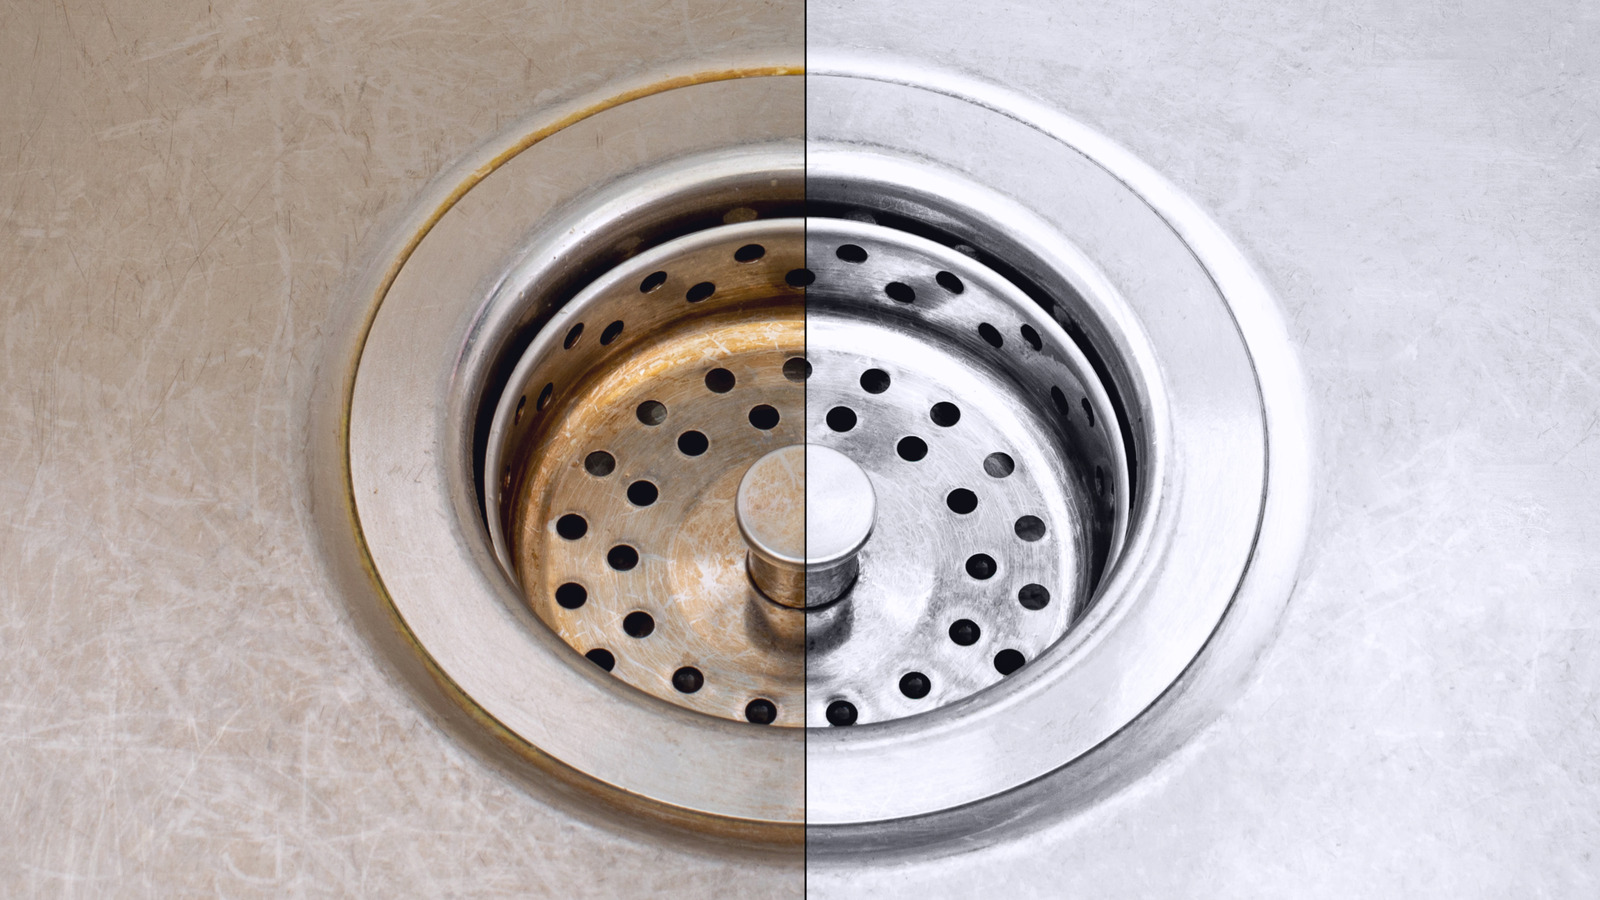
Regularly cleaning your kitchen sink drain can help prevent clogs and keep your sink smelling fresh. Here's how to clean your kitchen sink drain. Step 1: Remove any objects from your sink, such as dishes or soap, so you have a clear view of the drain. Step 2: Pour one cup of baking soda down the drain, followed by one cup of vinegar. Let this mixture sit for about 15 minutes. Step 3: While you wait, boil a pot of water on the stovetop. Step 4: After 15 minutes, pour the hot water down the drain. This will help flush out any loosened debris. Step 5: For tough odors, you can add a few drops of essential oils or lemon juice to the baking soda and vinegar mixture. Step 6: Repeat this process every few weeks to keep your drain clean and fresh. By following these steps, you can easily clean your kitchen sink drain and keep it in top condition.How to Clean a Kitchen Sink Drain


How to Clean a Kitchen Sink Drain


:max_bytes(150000):strip_icc()/how-to-clean-a-kitchen-sink-and-drain-01-5660035-a1d8afe3894346f9a579e66c55e64b7d.jpg)
A leaky kitchen sink drain can waste water and cause damage to your sink and cabinets. Here's how to fix a leaky kitchen sink drain. Step 1: Turn off the water supply to your sink by shutting off the valves under the sink. Step 2: Place a bucket under the sink to catch any water that may spill out. Step 3: Use a pipe wrench to loosen and remove the nuts and washers that hold the drain in place. Step 4: Carefully remove the drain and inspect it for any cracks or damage. Step 5: If the drain is damaged, you will need to replace it. If not, clean the drain and the opening in the sink and reassemble it. Step 6: Turn the water supply back on and check for any leaks. By following these steps, you can easily fix a leaky kitchen sink drain and prevent further damage.How to Fix a Leaky Kitchen Sink Drain


How to Fix a Leaky Kitchen Sink Drain


Sealing your kitchen sink drain is an important step to prevent leaks and keep your sink functioning properly. Here's how to seal a kitchen sink drain. Step 1: Gather your materials. You will need plumber's putty, a new drain, a pipe wrench, and a bucket. Step 2: Turn off the water supply to your sink by shutting off the valves under the sink. Step 3: Place the new drain into the opening in the sink. Make sure it is centered and level. Step 4: Use the pipe wrench to tighten the nuts and washers that hold the drain in place. Step 5: Roll a small amount of plumber's putty into a snake-like shape and place it around the underside of the drain flange. Step 6: Carefully place the drain gasket and rubber seal on top of the putty, followed by the drain basket. Step 7: From underneath the sink, place the rubber gasket, cardboard washer, and locknut onto the drain basket. Tighten the locknut with the pipe wrench. Step 8: Wipe away any excess plumber's putty from around the drain. Step 9: Turn the water supply back on and check for any leaks. By following these steps, you can easily seal your kitchen sink drain and ensure a leak-free sink.How to Seal a Kitchen Sink Drain


How to Seal a Kitchen Sink Drain


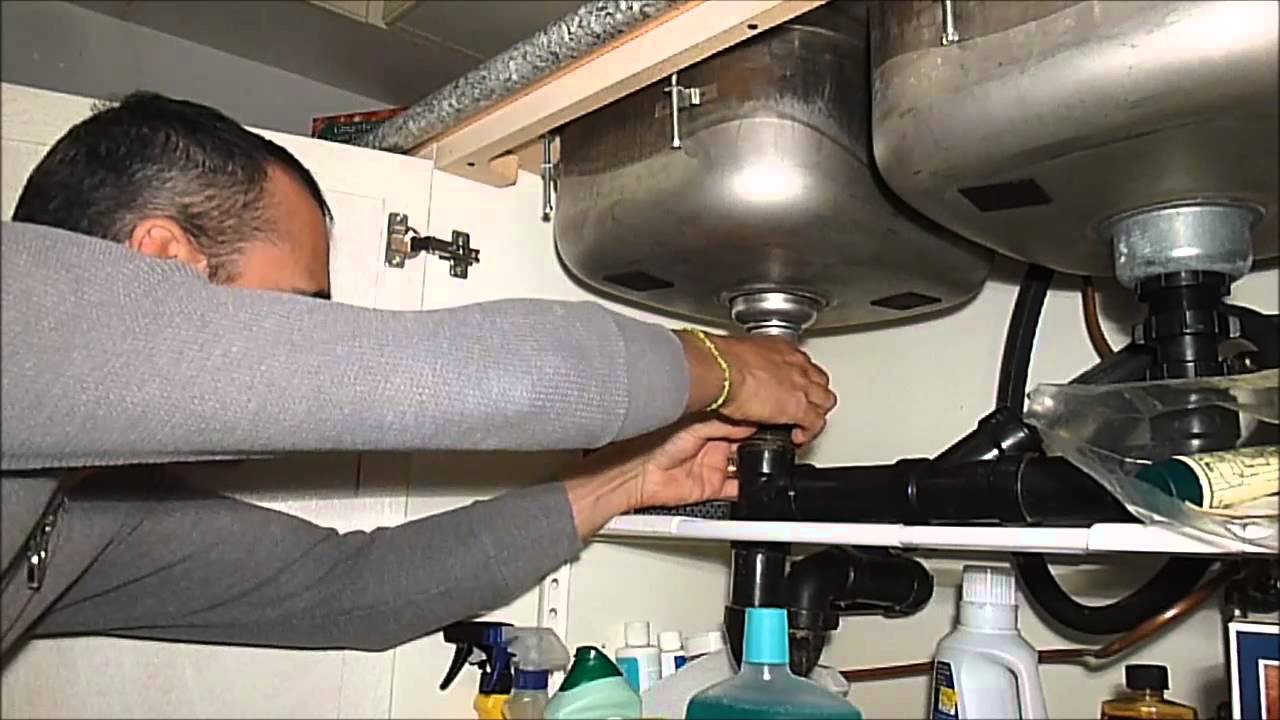
If you need to replace your kitchen sink or perform other plumbing repairs, you may need to remove the sink drain. Here's how to remove a kitchen sink drain. Step 1: Gather your materials. You will need a pipe wrench, a bucket, and possibly a screwdriver. Step 2: Turn off the water supply to your sink by shutting off the valves under the sink. Step 3: Place a bucket under the sink to catch any water that may spill out. Step 4: Use the pipe wrench to loosen and remove the nuts and washers that hold the drain in place. Step 5: Once the nuts and washers are removed, you should be able to easily lift the drain out of the sink. Step 6: If the drain is stuck, you may need to use a screwdriver to pry it loose. Step 7: Clean the opening in the sink and the drain before reinstalling or replacing it. By following these steps, you can easily remove a kitchen sink drain and complete any necessary repairs or replacements.How to Remove a Kitchen Sink Drain


How to Remove a Kitchen Sink Drain


If your kitchen sink drain is damaged, you may be able to repair it instead of replacing it. Here's how to repair a kitchen sink drain. Step 1: Gather your materials. You will need a new drain, plumber's putty, a pipe wrench, and a bucket. Step 2: Turn off the water supply to your sink by shutting off the valves under the sink. Step 3: Place a bucket under the sink to catch any water that may spill out. Step 4: Use the pipe wrench to loosen and remove the nuts and washers that hold the drain in place. Step 5: Carefully remove the drain and inspect it for any cracks or damage. Step 6: If the drain is damaged, you will need to replace it. If not, clean the drain and the opening in the sink and reassemble it. Step 7: Turn the water supply back on and check for any leaks. By following these steps, you can easily repair your kitchen sink drain and save yourself from having to replace it.How to Repair a Kitchen Sink Drain

How to Repair a Kitchen Sink Drain


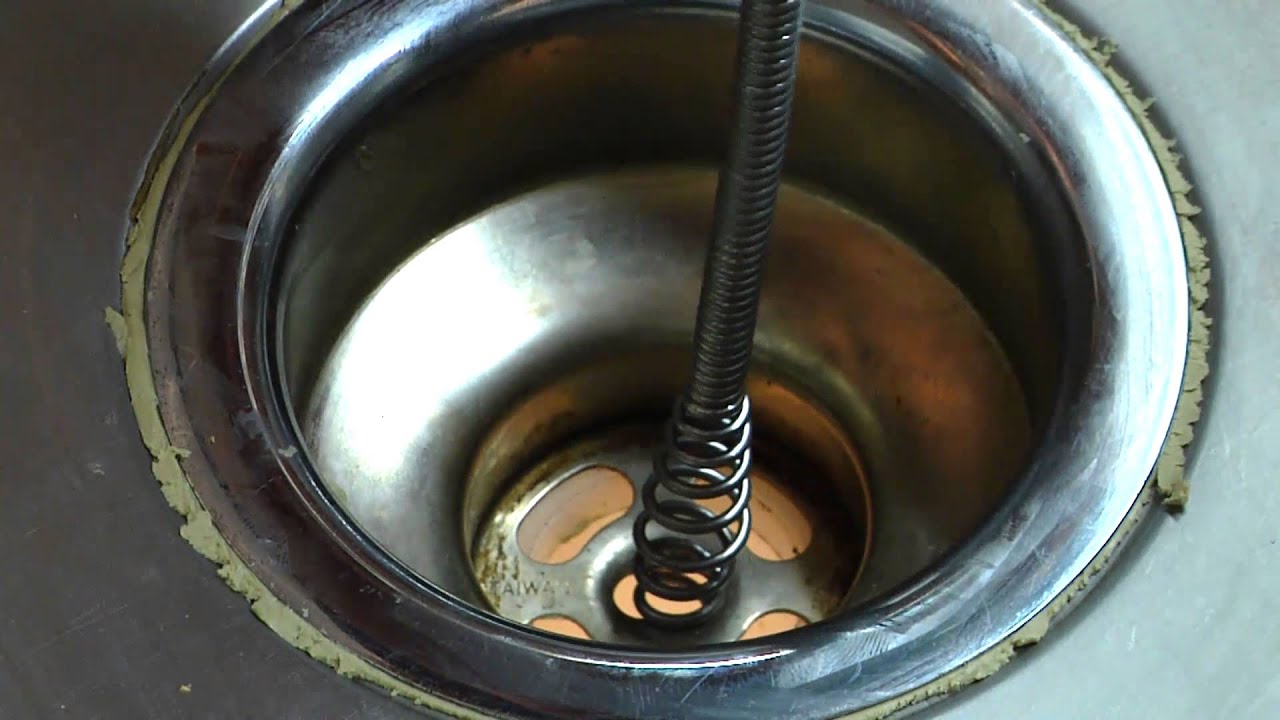
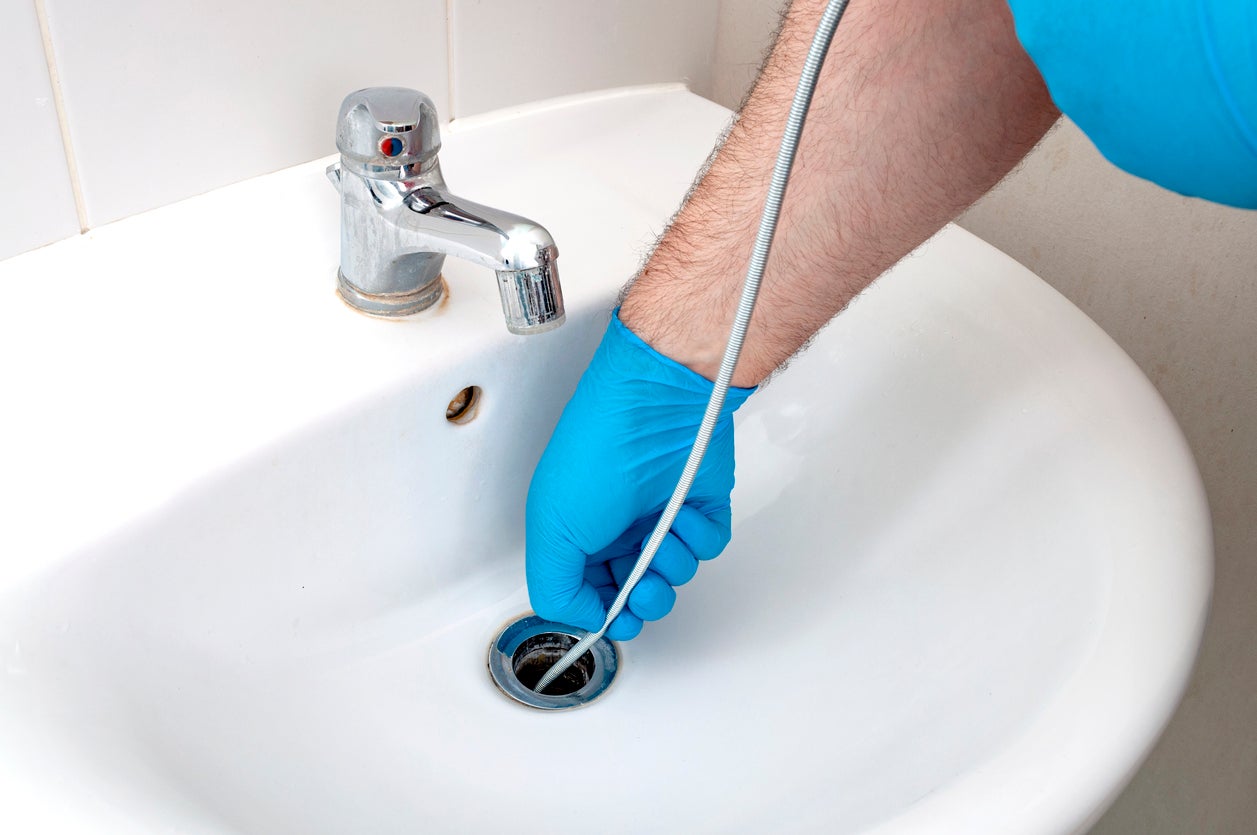
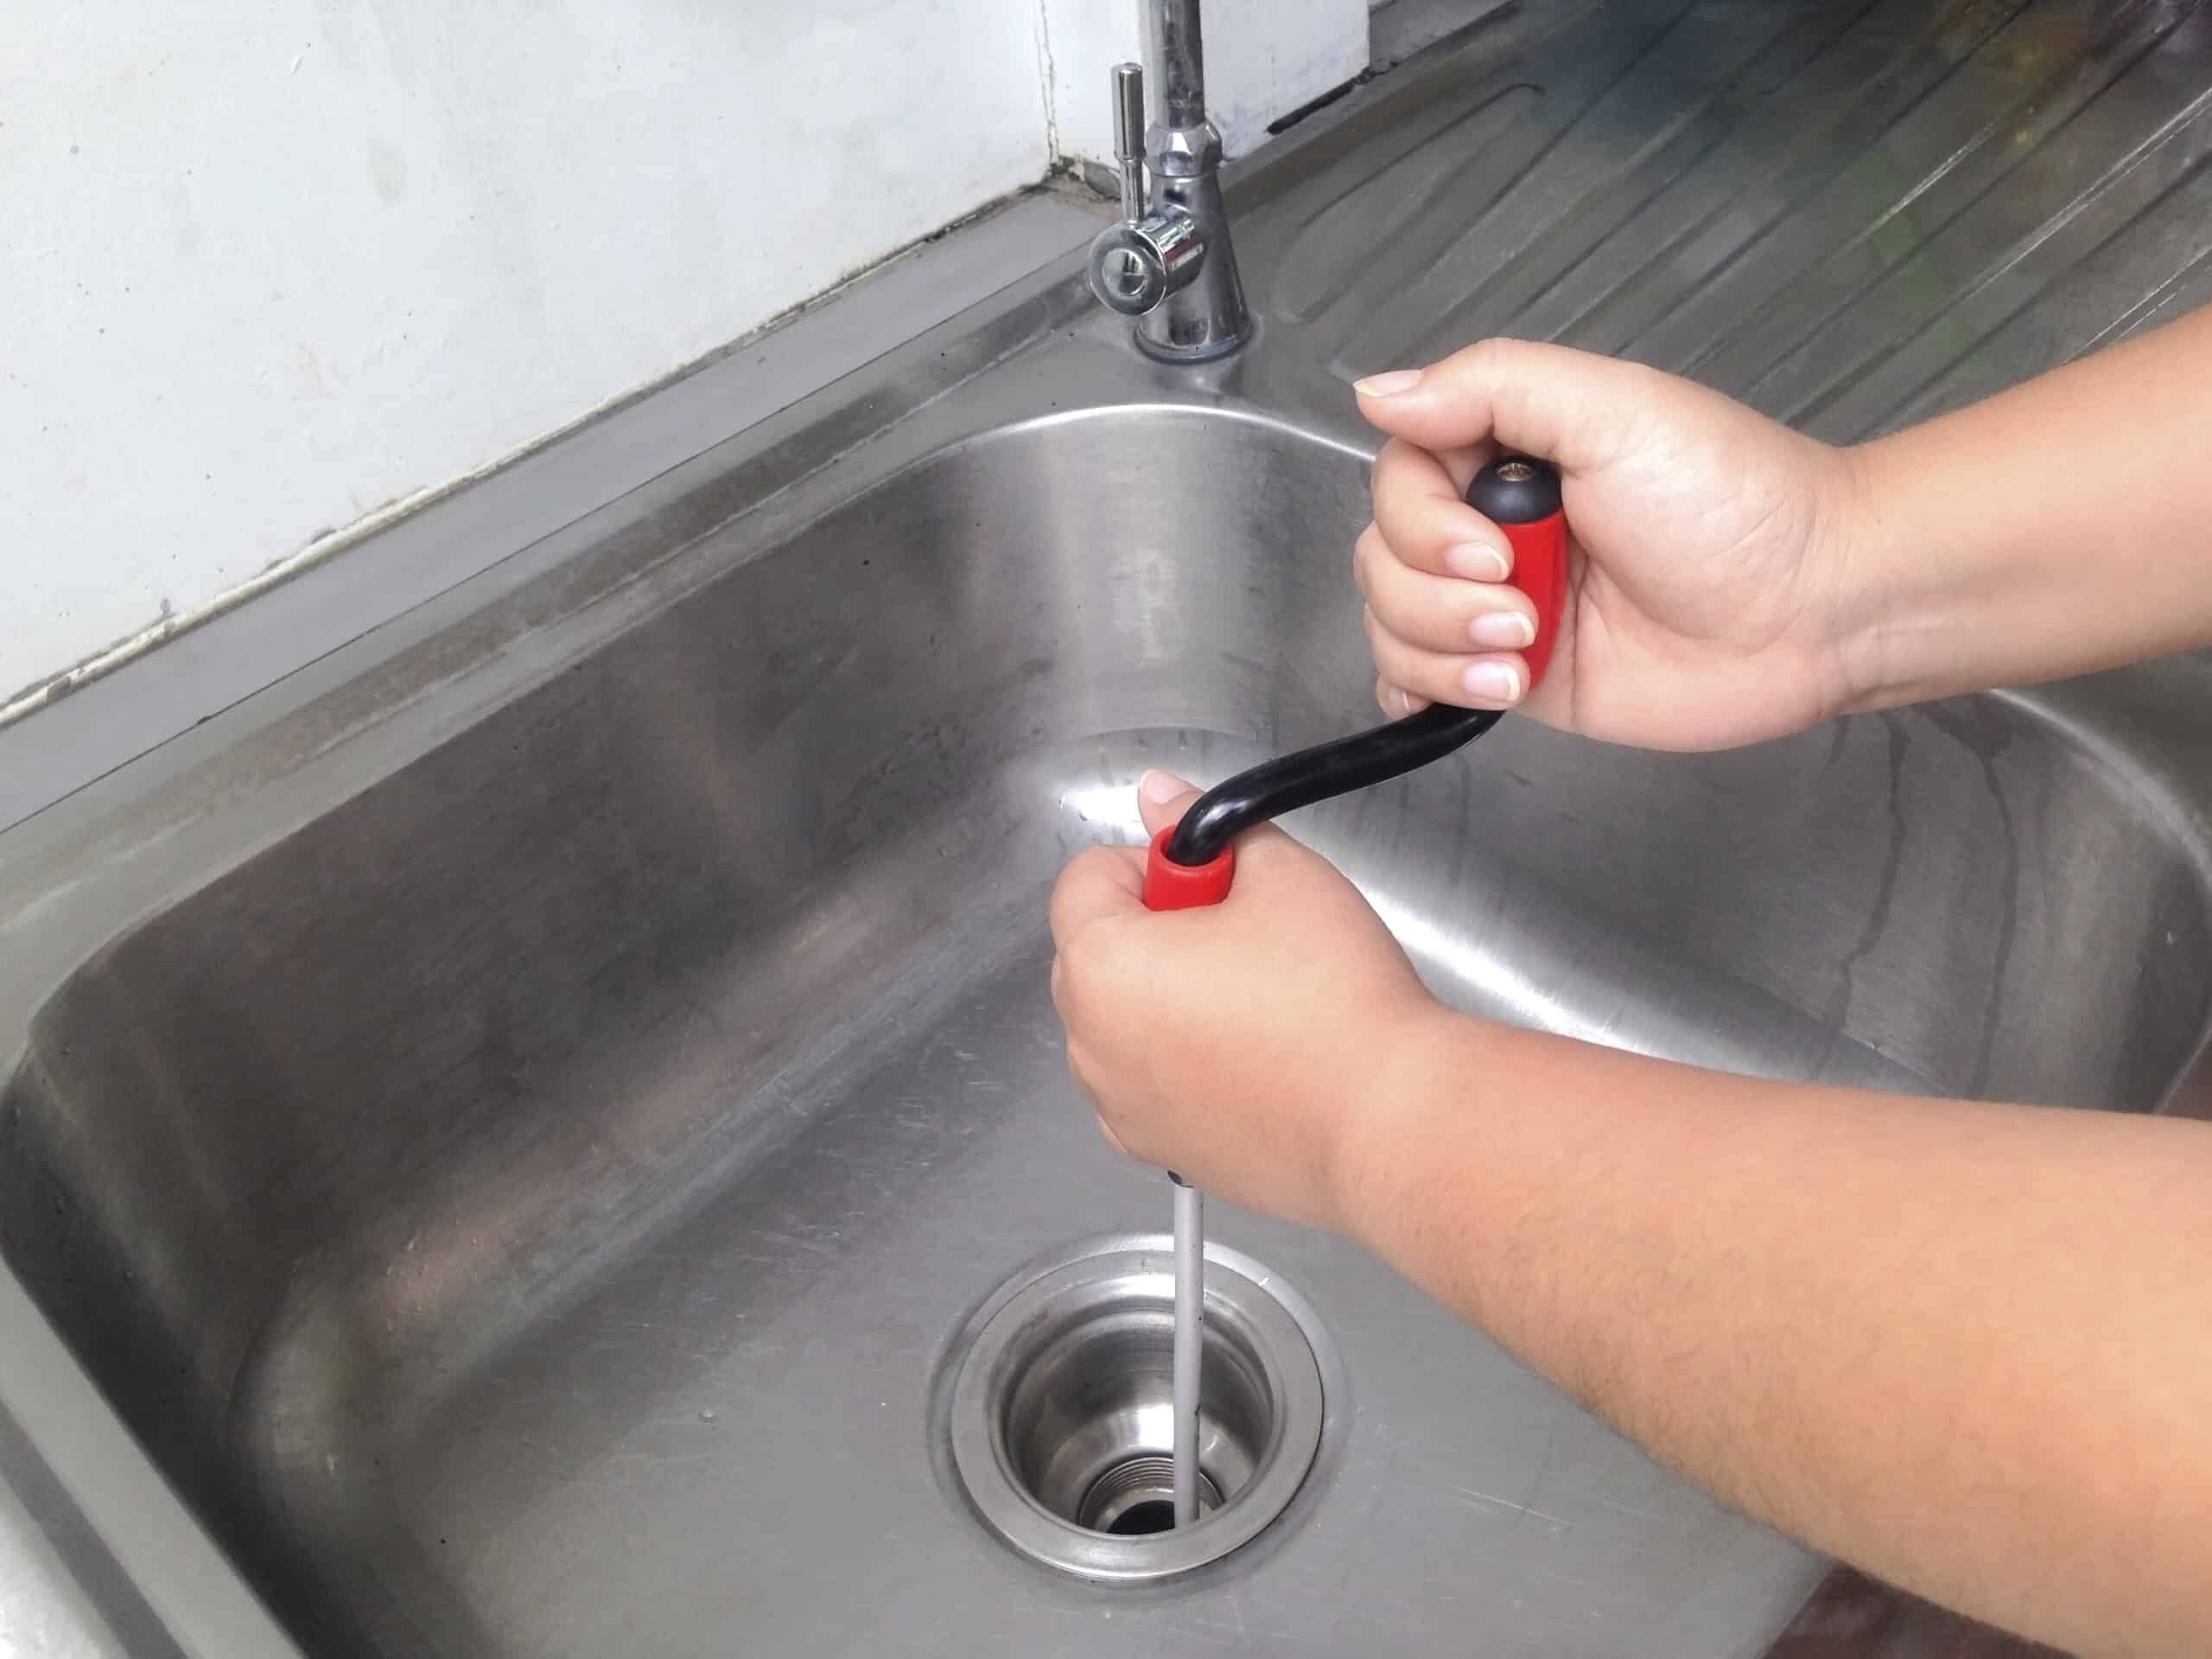
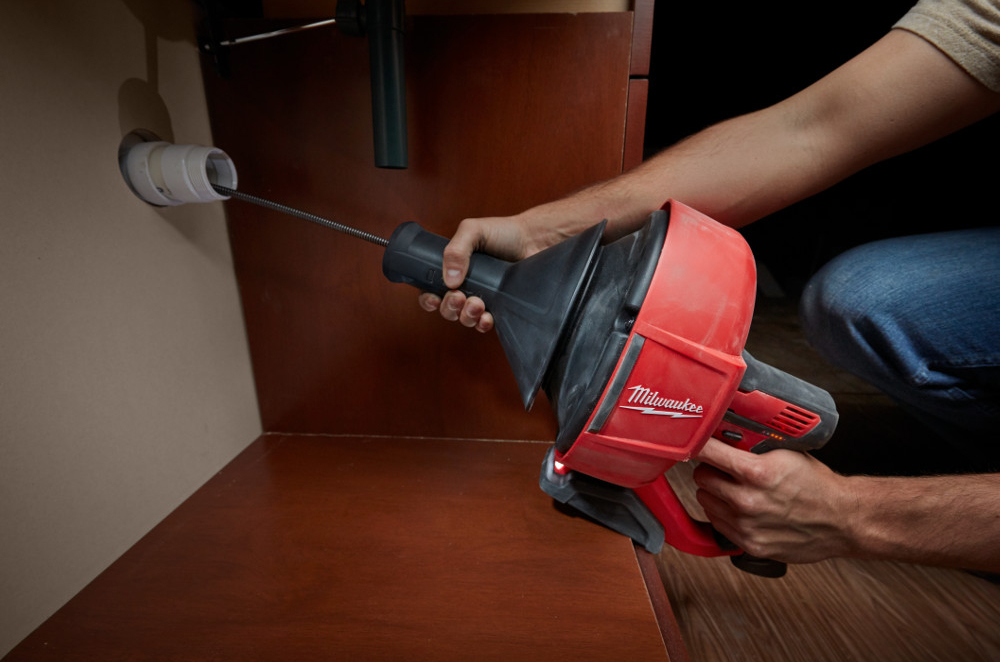
If you have a stubborn clog in your kitchen sink drain, you may need to use a plumbing snake to remove it. Here's how to snake a kitchen sink drain. Step 1: Gather your materials. You will need a plumbing snake, a bucket, and possibly a flashlight. Step 2: Remove any objects from your sink, such as dishes or soap, so you have a clear view of the drain. Step 3: Remove the drain cover, if applicable. Step 4: Insert the end of the plumbing snake into the drain and turn the handle clockwise to feed it further into the drain. Step 5: When you feel resistance, turn the handle counterclockwise to break up the clog.How to Snake a Kitchen Sink Drain
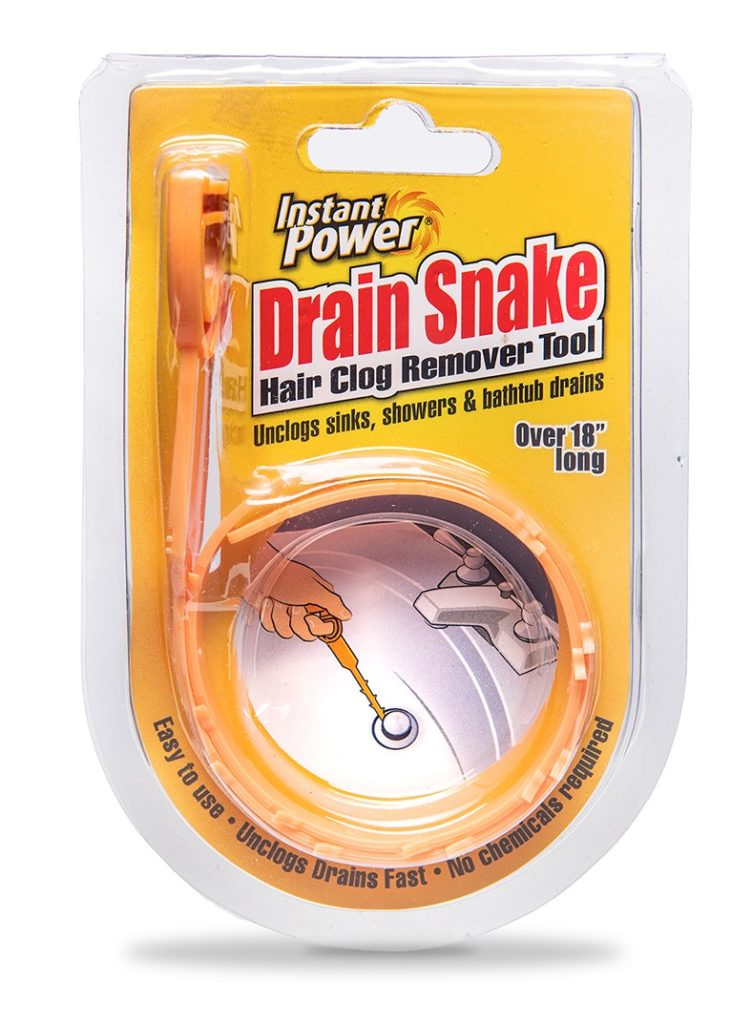

How to Snake a Kitchen Sink Drain


Why the Kitchen Sink Drain Hole Opening is Key in House Design

The Importance of a Functional Kitchen Sink Drain
:max_bytes(150000):strip_icc()/how-to-install-a-sink-drain-2718789-hero-24e898006ed94c9593a2a268b57989a3.jpg) When it comes to house design, every detail matters. From the layout of the rooms to the color of the walls, each element plays a significant role in creating a functional and aesthetically pleasing home. One crucial aspect that is often overlooked is the kitchen sink drain hole opening.
As the focal point of any kitchen, the sink needs to be both practical and visually appealing.
This is where the drain hole opening comes into play. It may seem like a small and insignificant part of the sink, but it serves a vital purpose in keeping your kitchen clean and functioning properly.
When it comes to house design, every detail matters. From the layout of the rooms to the color of the walls, each element plays a significant role in creating a functional and aesthetically pleasing home. One crucial aspect that is often overlooked is the kitchen sink drain hole opening.
As the focal point of any kitchen, the sink needs to be both practical and visually appealing.
This is where the drain hole opening comes into play. It may seem like a small and insignificant part of the sink, but it serves a vital purpose in keeping your kitchen clean and functioning properly.
Preventing Clogs and Blockages
 The main function of a kitchen sink drain hole is to allow water to flow freely down the drain.
Without a proper opening, clogs and blockages can occur, leading to a host of problems. Not only can this cause inconvenience and frustration, but it can also result in costly repairs.
By ensuring that the drain hole opening is the appropriate size and shape, you can prevent these issues from arising.
The main function of a kitchen sink drain hole is to allow water to flow freely down the drain.
Without a proper opening, clogs and blockages can occur, leading to a host of problems. Not only can this cause inconvenience and frustration, but it can also result in costly repairs.
By ensuring that the drain hole opening is the appropriate size and shape, you can prevent these issues from arising.
Efficient Water Drainage
 In addition to preventing clogs, a well-designed drain hole opening also allows for efficient water drainage.
Water should be able to flow smoothly down the drain without any pooling or standing water.
This not only helps keep your sink clean and hygienic but also prevents any potential water damage to your countertops and cabinets.
With the right drain hole opening, you can avoid the frustration of slow-draining sinks and maintain a functional kitchen.
In addition to preventing clogs, a well-designed drain hole opening also allows for efficient water drainage.
Water should be able to flow smoothly down the drain without any pooling or standing water.
This not only helps keep your sink clean and hygienic but also prevents any potential water damage to your countertops and cabinets.
With the right drain hole opening, you can avoid the frustration of slow-draining sinks and maintain a functional kitchen.
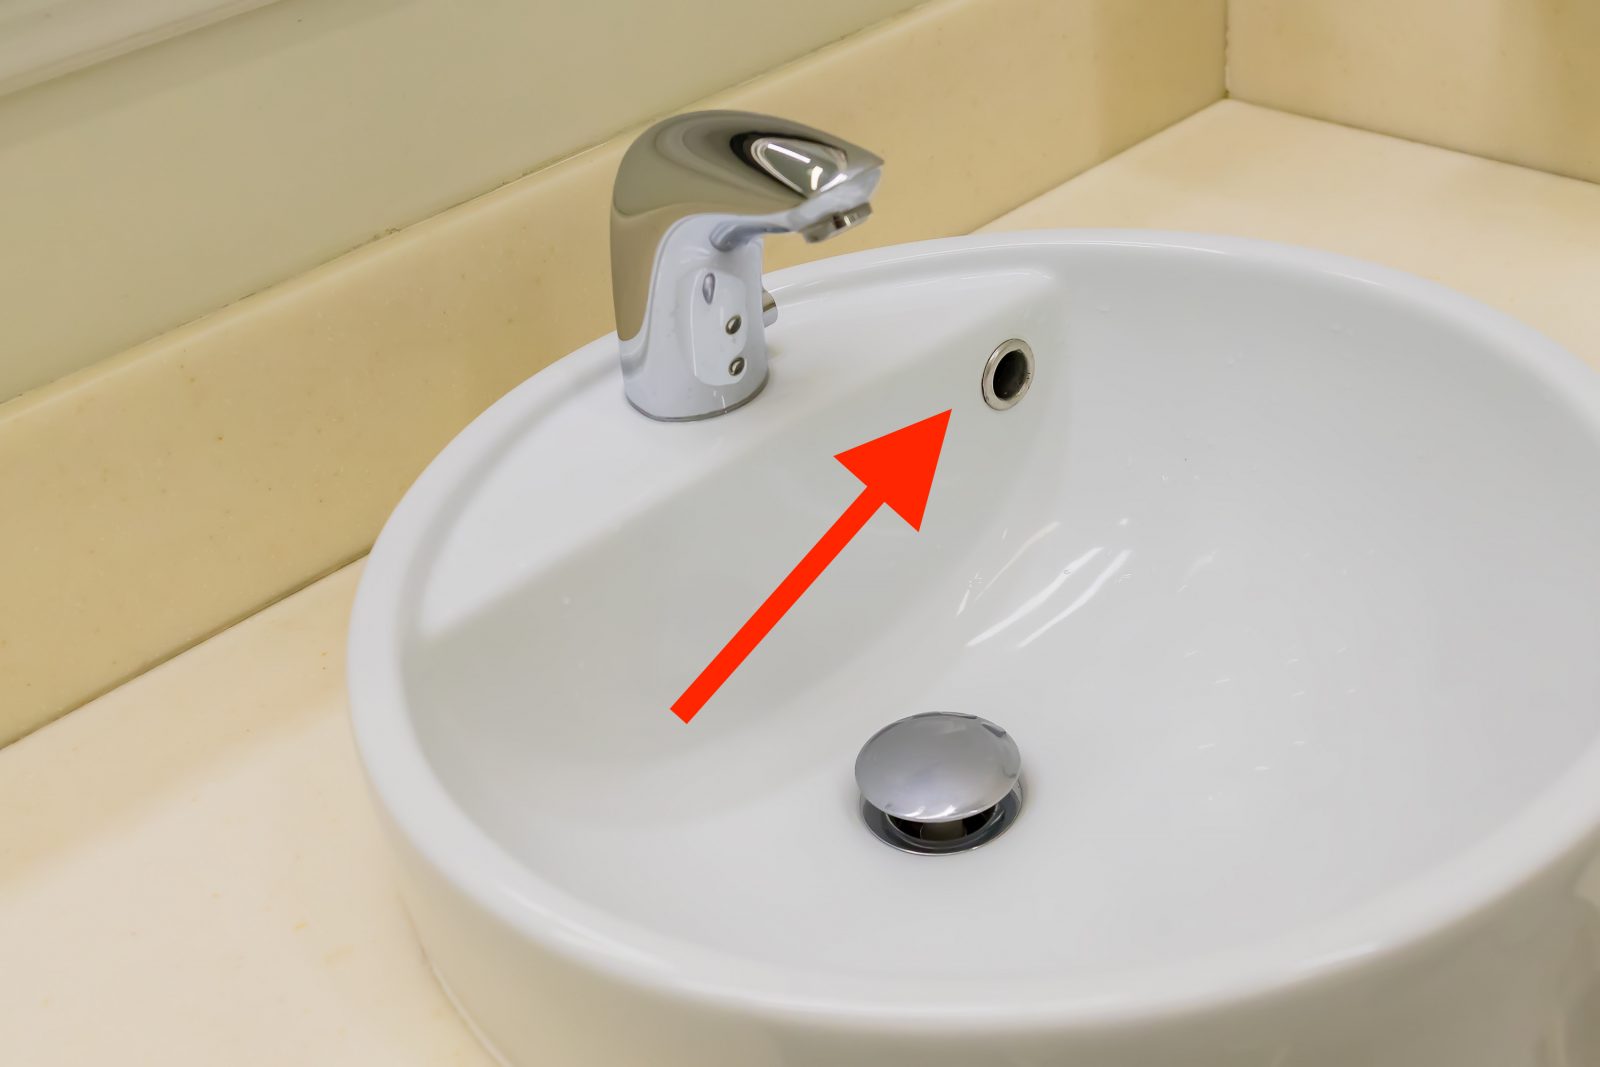
Aesthetic Appeal
 While functionality is essential, the appearance of the drain hole opening should not be overlooked.
An improperly sized or placed drain hole can be an eyesore in an otherwise beautiful kitchen.
By carefully considering the design and placement of the drain hole, you can enhance the overall aesthetic of your kitchen. Whether you opt for a sleek and modern square opening or a more classic round shape, the drain hole can be a stylish addition to your sink.
While functionality is essential, the appearance of the drain hole opening should not be overlooked.
An improperly sized or placed drain hole can be an eyesore in an otherwise beautiful kitchen.
By carefully considering the design and placement of the drain hole, you can enhance the overall aesthetic of your kitchen. Whether you opt for a sleek and modern square opening or a more classic round shape, the drain hole can be a stylish addition to your sink.
Conclusion
 In conclusion, the kitchen sink drain hole opening may seem like a small detail, but it plays a crucial role in the overall functionality and design of your kitchen.
By ensuring that the drain hole is the correct size and shape, you can prevent clogs, promote efficient water drainage, and enhance the aesthetic appeal of your sink.
So the next time you're designing a kitchen, don't forget to give some thought to the often-overlooked drain hole opening.
In conclusion, the kitchen sink drain hole opening may seem like a small detail, but it plays a crucial role in the overall functionality and design of your kitchen.
By ensuring that the drain hole is the correct size and shape, you can prevent clogs, promote efficient water drainage, and enhance the aesthetic appeal of your sink.
So the next time you're designing a kitchen, don't forget to give some thought to the often-overlooked drain hole opening.