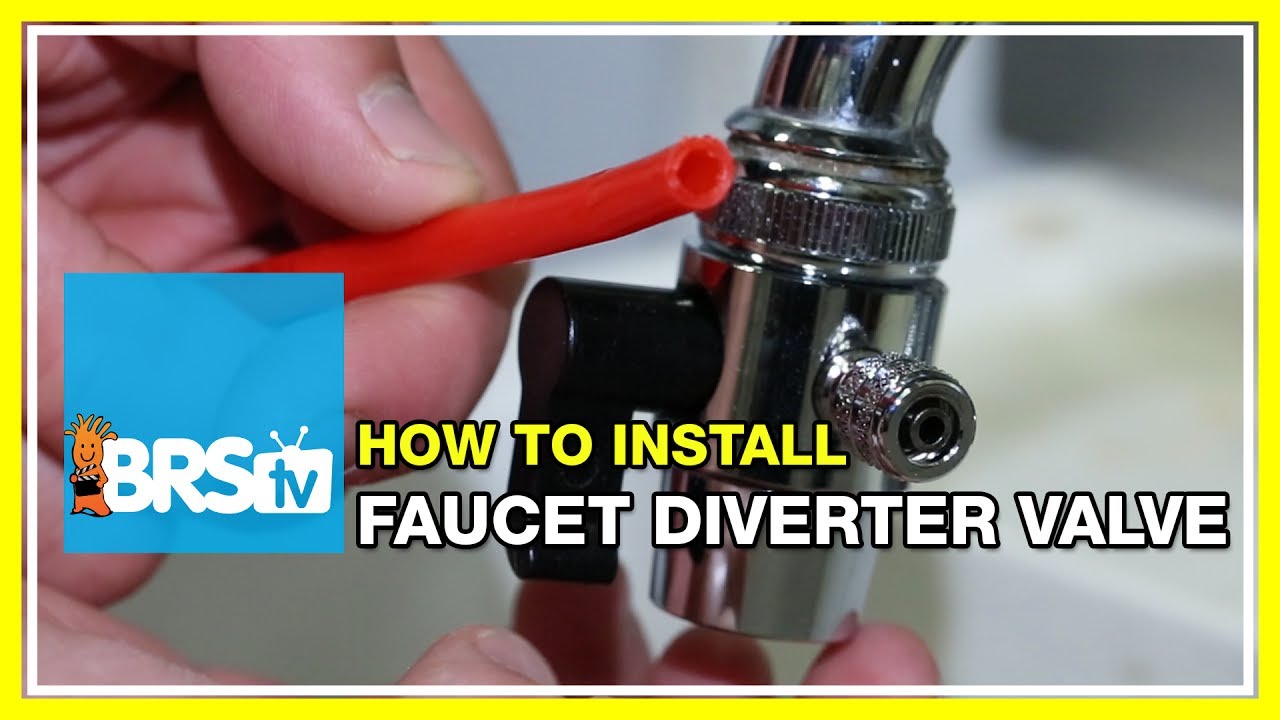
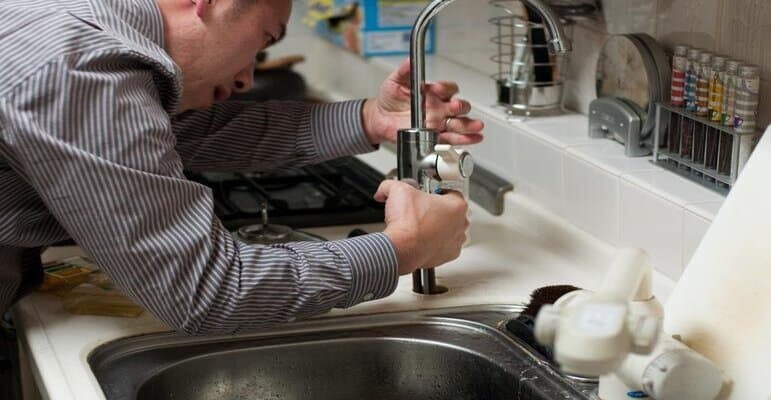
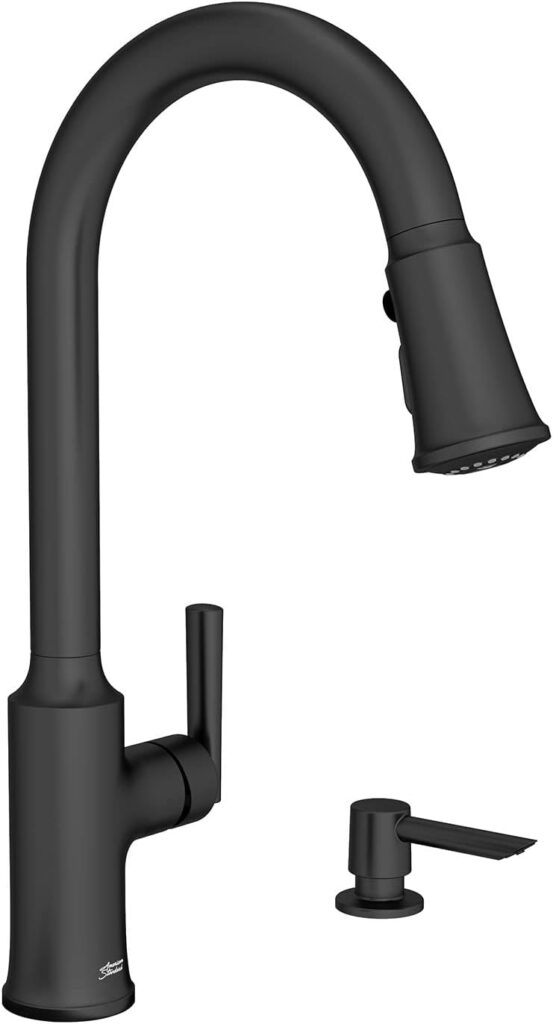
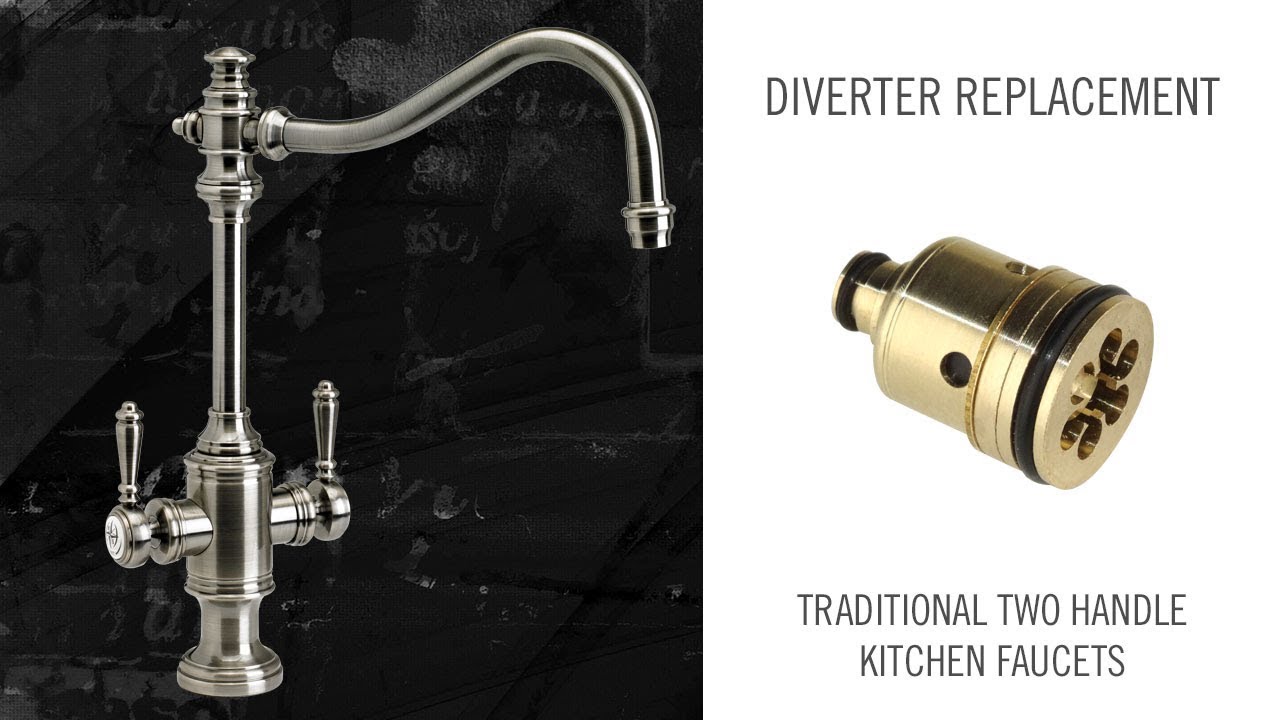
If you've noticed a decrease in water pressure or a change in the flow of water from your kitchen sink sprayer, it may be time to replace the diverter valve. This small but crucial part is responsible for directing water to either the spout or the sprayer, and over time it can wear out or become clogged with debris. In this guide, we'll walk you through the step-by-step process of replacing a kitchen sink diverter valve so you can get your sink back to working like new.How to Replace a Kitchen Sink Diverter Valve


How to Replace a Kitchen Sink Diverter Valve


Before you begin the replacement process, it's important to gather all the necessary tools and materials. You'll need a new diverter valve, pliers, an adjustable wrench, a screwdriver, and plumber's tape. It's also a good idea to have a bucket or towel handy to catch any excess water that may come out during the process.Kitchen Sink Diverter Valve Replacement Guide


Kitchen Sink Diverter Valve Replacement Guide

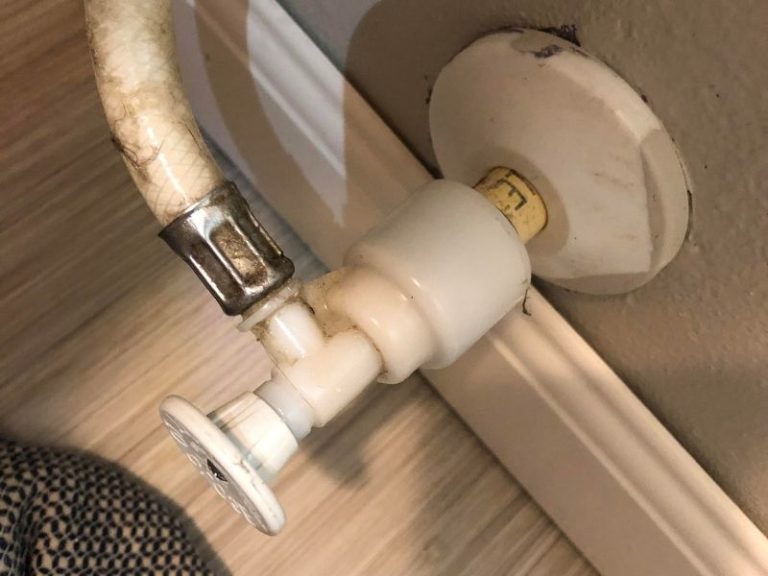
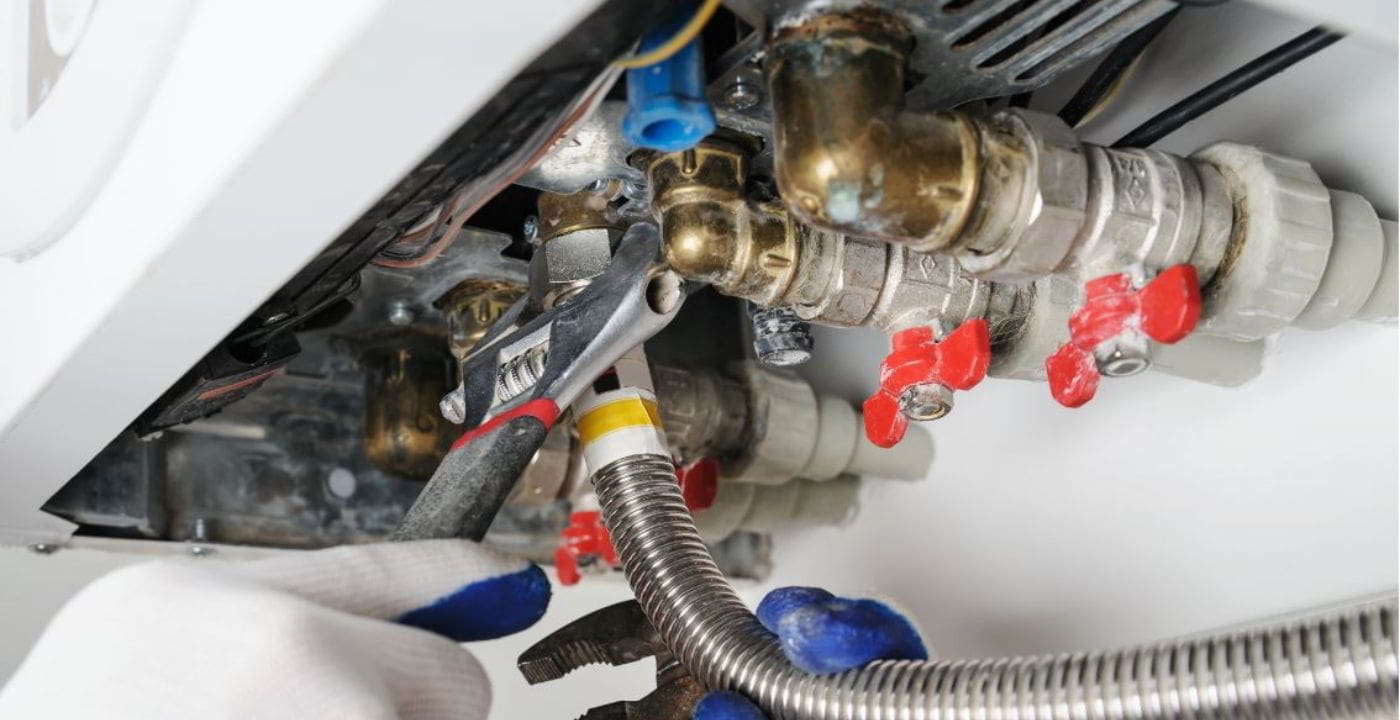
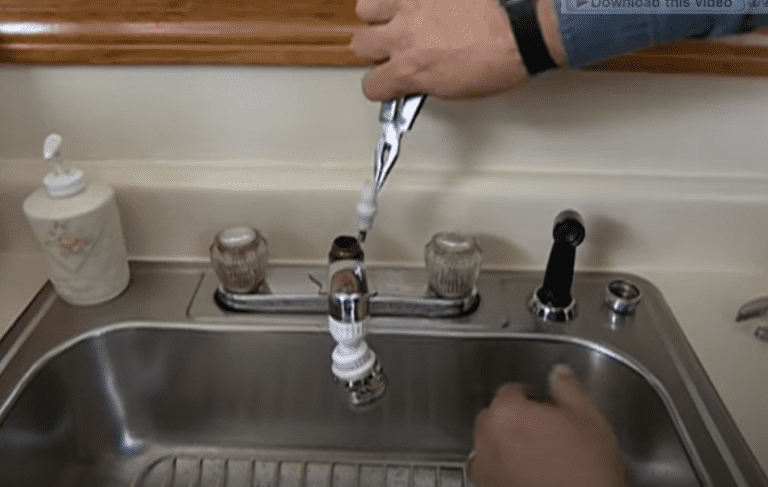
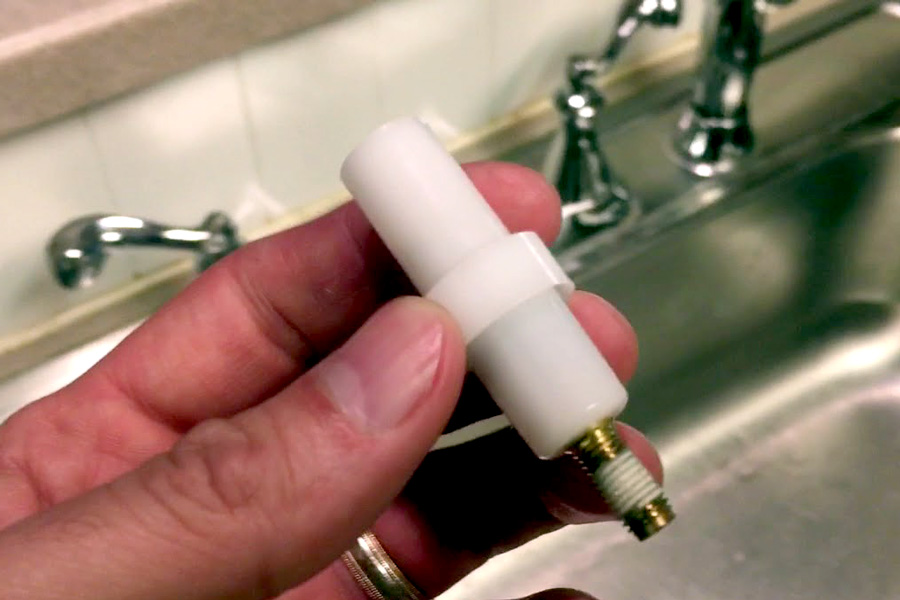
1. Start by turning off the water supply to your kitchen sink. You can usually find the shut-off valves under the sink or near the main water supply for your home. 2. Next, disconnect the sprayer hose from the diverter valve. You may need pliers to loosen the connection. 3. Use pliers to loosen the nut holding the diverter valve in place. Once it's loose, you should be able to remove the valve by pulling it out of the faucet. 4. Clean the inside of the faucet where the diverter valve was located. This will help ensure a smooth installation of the new valve. 5. Apply plumber's tape to the threads of the new diverter valve. This will help create a tight seal and prevent leaks. 6. Insert the new diverter valve into the faucet and tighten the nut with pliers. 7. Reattach the sprayer hose to the new valve and tighten the connection with pliers. 8. Turn the water supply back on and test the sink sprayer. If the water flow is still not functioning properly, you may need to replace the sprayer itself.Step-by-Step Instructions for Replacing a Diverter Valve in Your Kitchen Sink


Step-by-Step Instructions for Replacing a Diverter Valve in Your Kitchen Sink


While it may seem daunting, replacing a kitchen sink diverter valve is a relatively simple DIY project. By following the steps outlined above and having the necessary tools and materials, you can save yourself time and money by doing the replacement yourself.DIY Kitchen Sink Diverter Valve Replacement


DIY Kitchen Sink Diverter Valve Replacement


To ensure a smooth and successful replacement, here are some best practices to keep in mind: - Always turn off the water supply before beginning any plumbing project. - Take the time to thoroughly clean the inside of your faucet before installing the new valve. - Apply plumber's tape to all threaded connections to prevent leaks. - Test the water flow after installation to make sure everything is working properly.Best Practices for Replacing a Diverter Valve in Your Kitchen Sink


Best Practices for Replacing a Diverter Valve in Your Kitchen Sink


One of the most common issues with kitchen sink diverter valves is a decrease in water pressure or a change in the flow of water from the sprayer. This can be caused by a worn out or clogged diverter valve. By following the steps outlined in this guide, you can easily replace the valve and restore proper water flow to your sink.Common Issues with Kitchen Sink Diverter Valves and How to Replace Them

Common Issues with Kitchen Sink Diverter Valves and How to Replace Them


1. Always turn off the water supply before beginning the replacement process. 2. Gather all necessary tools and materials before starting. 3. Clean the inside of the faucet before installing the new valve. 4. Apply plumber's tape to all threaded connections. 5. Test the water flow after installation. 6. Replace the sprayer if water flow is still not functioning properly. 7. Use pliers to loosen connections if necessary. 8. Have a bucket or towel handy to catch any excess water. 9. Take your time and follow the steps carefully. 10. If you're unsure about any step, consult a professional plumber.Top 10 Kitchen Sink Diverter Valve Replacement Tips


Top 10 Kitchen Sink Diverter Valve Replacement Tips


If you're hesitant about taking on this project yourself, it's always a good idea to seek advice from a professional plumber. They can offer guidance and tips to ensure a successful replacement and may even be able to recommend the best type of diverter valve for your specific sink.Expert Advice on Replacing a Diverter Valve in Your Kitchen Sink

Expert Advice on Replacing a Diverter Valve in Your Kitchen Sink

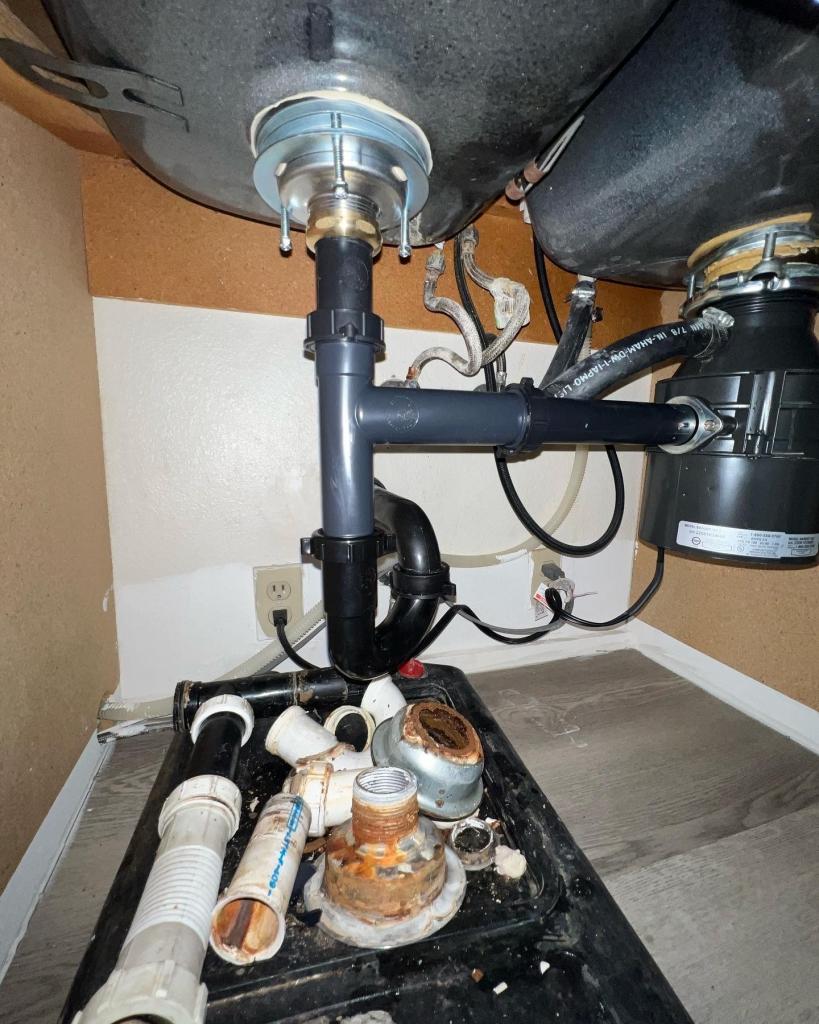
/sink-pipe-under-wash-basin-119001607-75542e154b364e7bb52032249f293908.jpg)

If you encounter any issues or difficulties during the replacement process, here are some troubleshooting tips to help: - If the valve won't come out easily, try using pliers to loosen it. - If the water flow is still not functioning properly after replacing the valve, check the sprayer and its connections for any issues. - If you notice any leaks, make sure all connections are tightened and that plumber's tape was applied to all threaded connections.Troubleshooting Guide for Kitchen Sink Diverter Valve Replacement


Troubleshooting Guide for Kitchen Sink Diverter Valve Replacement


Here's a list of the tools and materials you'll need for a successful kitchen sink diverter valve replacement: - New diverter valve - Pliers - Adjustable wrench - Screwdriver - Plumber's tape - Bucket or towelRecommended Tools and Materials for Replacing a Diverter Valve in Your Kitchen Sink

Recommended Tools and Materials for Replacing a Diverter Valve in Your Kitchen Sink
Why You Should Consider Replacing Your Kitchen Sink Diverter Valve
A Crucial Component in Your Kitchen
 The kitchen sink diverter valve may seem like a small and insignificant part of your kitchen, but it plays a crucial role in the functioning of your sink. This valve is responsible for controlling the flow of water between your faucet and your sprayer. When it works properly, it allows you to switch seamlessly between the two without any issues. However, over time, this valve may become worn out or damaged, causing it to malfunction. This can lead to a host of problems, including low water pressure, leakage, and difficulty in using your sink.
Signs That Your Diverter Valve Needs Replacing
 If you notice any of the following signs, it may be time to consider replacing your kitchen sink diverter valve:
- Low Water Pressure: If you find that the water flow from your faucet is significantly weaker than usual, it could be due to a faulty diverter valve.
- Leakage: A damaged valve can cause water to leak from the base of your faucet, leading to water damage and potential mold growth.
- Difficulty Switching Between Faucet and Sprayer: If you are having trouble switching between your faucet and sprayer, it could be due to a malfunctioning diverter valve.
The Benefits of Replacing Your Diverter Valve
 Replacing your kitchen sink diverter valve may seem like a hassle, but it can actually bring many benefits to your kitchen. Not only will it solve any issues you may be experiencing, but it can also improve the overall functionality and efficiency of your sink. With a new diverter valve, you can expect:
- Better Water Pressure: A properly functioning valve will ensure that you have strong and consistent water pressure, making tasks like washing dishes or filling pots much easier and faster.
- No More Leaks: A new valve will prevent any water from leaking, protecting your kitchen from potential water damage or mold growth.
- Improved Functionality: With a smooth and seamless switch between your faucet and sprayer, you can make the most out of your kitchen sink and complete tasks more efficiently.
Leave It to the Professionals
 While it may be tempting to try and replace your kitchen sink diverter valve yourself, it is always best to leave it to the professionals. A trained plumber will have the necessary knowledge and experience to safely and effectively replace the valve, ensuring that your sink is functioning at its best. Plus, by hiring a professional, you can save yourself time and stress and avoid any potential mishaps.
In conclusion, the kitchen sink diverter valve may be a small part of your kitchen, but it plays a big role in its overall functionality. If you notice any signs of a faulty valve, be sure to address it promptly by hiring a professional to replace it. With a new diverter valve, you can enjoy a properly functioning and efficient kitchen sink once again.
While it may be tempting to try and replace your kitchen sink diverter valve yourself, it is always best to leave it to the professionals. A trained plumber will have the necessary knowledge and experience to safely and effectively replace the valve, ensuring that your sink is functioning at its best. Plus, by hiring a professional, you can save yourself time and stress and avoid any potential mishaps.
In conclusion, the kitchen sink diverter valve may be a small part of your kitchen, but it plays a big role in its overall functionality. If you notice any signs of a faulty valve, be sure to address it promptly by hiring a professional to replace it. With a new diverter valve, you can enjoy a properly functioning and efficient kitchen sink once again.