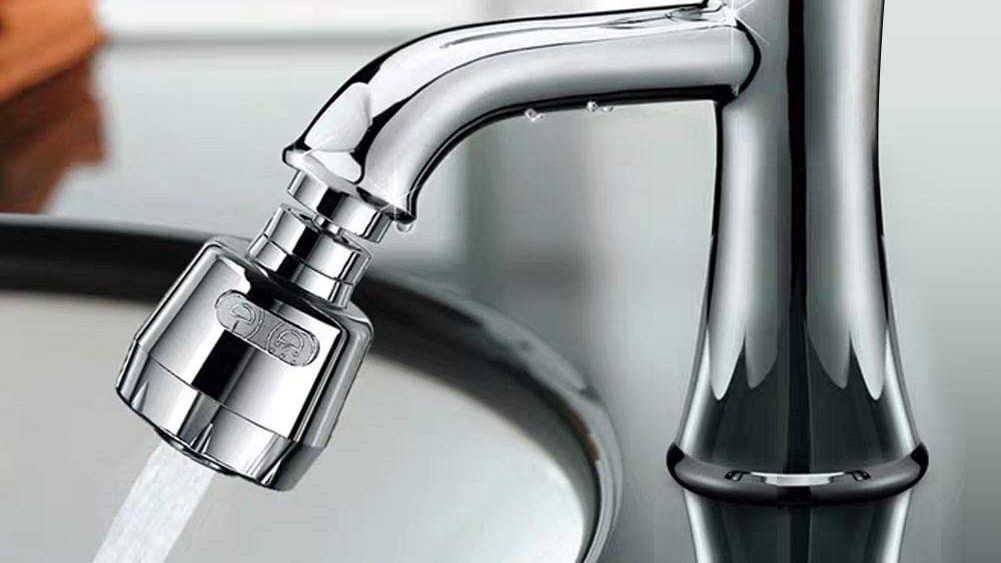
Installing a kitchen sink aerator is a simple and cost-effective way to improve the water flow and efficiency of your sink. Whether you’re looking to save money on your water bill or just want to update your kitchen, installing a kitchen sink aerator is a project that can easily be done on your own. Here’s a step-by-step guide on how to install a kitchen sink aerator.How to Install a Kitchen Sink Aerator


How to Install a Kitchen Sink Aerator


/RemovingAeratorAssembly-99881d30169b43cebc3fe72f6d4b25b9.jpg)

/fixing-a-tap-459986221-5afc675431283400371f7872.jpg)
:max_bytes(150000):strip_icc()/InstallRemoveAerator2-f30bbe2fb3514b7aa88f8b1fcb504a6e.jpg)

If you already have a kitchen sink aerator but it’s old or damaged, it might be time to replace it. The good news is that replacing a kitchen sink aerator is just as easy as installing a new one. Here’s how to do it.How to Replace a Kitchen Sink Aerator


How to Replace a Kitchen Sink Aerator


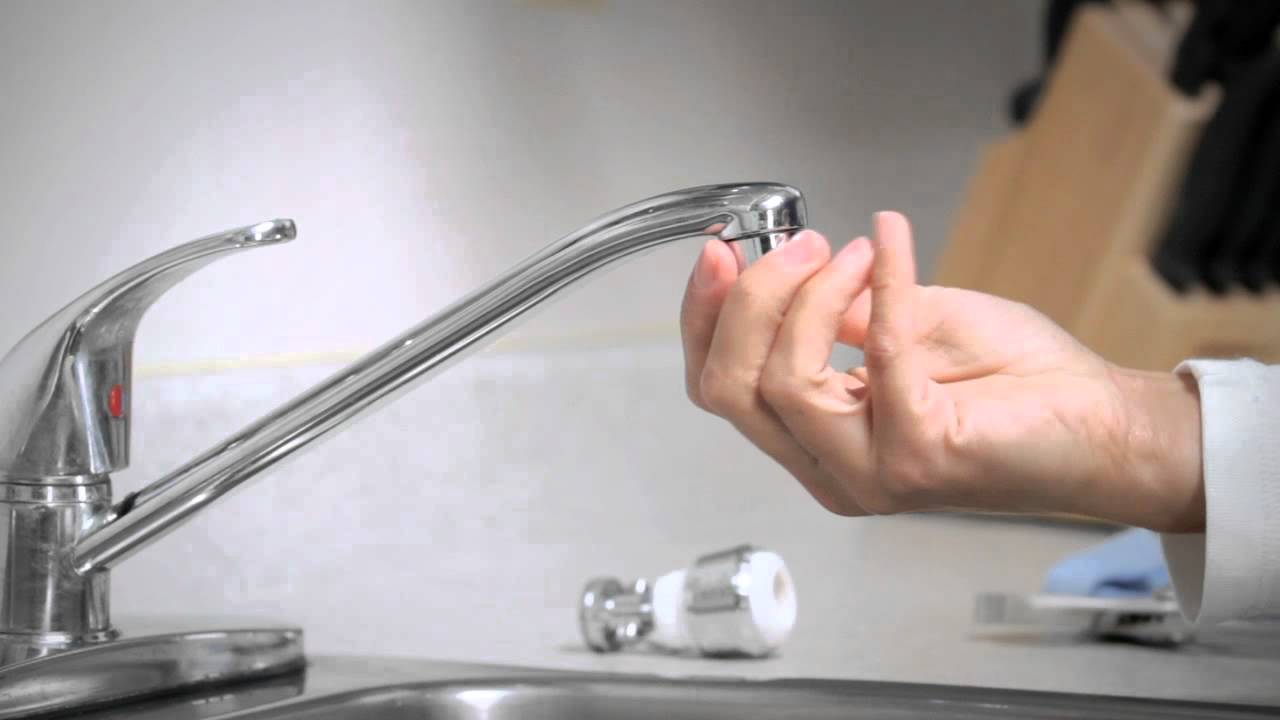
Step 1: Gather your tools and materials. You will need a pair of pliers, Teflon tape, and your new kitchen sink aerator. Step 2: Turn off the water supply to your sink. This can usually be done by turning off the shut-off valves under the sink. Step 3: Unscrew the old aerator from the faucet using your pliers. Step 4: Clean the threads of the faucet with a cloth or brush to remove any debris. Step 5: Wrap Teflon tape around the threads of the faucet. This will help create a tight seal and prevent leaks. Step 6: Screw on the new aerator by hand, making sure it is aligned properly. Step 7: Use the pliers to tighten the aerator, but be careful not to overtighten it. Step 8: Turn on the water supply and test the new aerator for any leaks. If there are any leaks, use the pliers to tighten the aerator a bit more. Step 9: Enjoy your new and improved water flow!Step-by-Step Guide for Installing a Kitchen Sink Aerator


Step-by-Step Guide for Installing a Kitchen Sink Aerator


:max_bytes(150000):strip_icc()/clearing-a-blocked-faucet-aerator-2718807-07-b5a90554991f4bb69efb45a472df7f23.jpg)

:no_upscale()/cdn.vox-cdn.com/uploads/chorus_asset/file/19495086/drain_0.jpg)
Installing a kitchen sink aerator is a DIY project that anyone can do. Not only will it save you money, but it will also give you a sense of accomplishment knowing that you were able to improve your sink on your own. Plus, you can customize your aerator to meet your specific needs and preferences.DIY Kitchen Sink Aerator Installation


DIY Kitchen Sink Aerator Installation

A kitchen sink aerator installation is a quick and easy project that can be completed in just a few minutes. With just a few simple steps and minimal tools, you can have a new and improved kitchen sink in no time.Quick and Easy Kitchen Sink Aerator Installation


Quick and Easy Kitchen Sink Aerator Installation

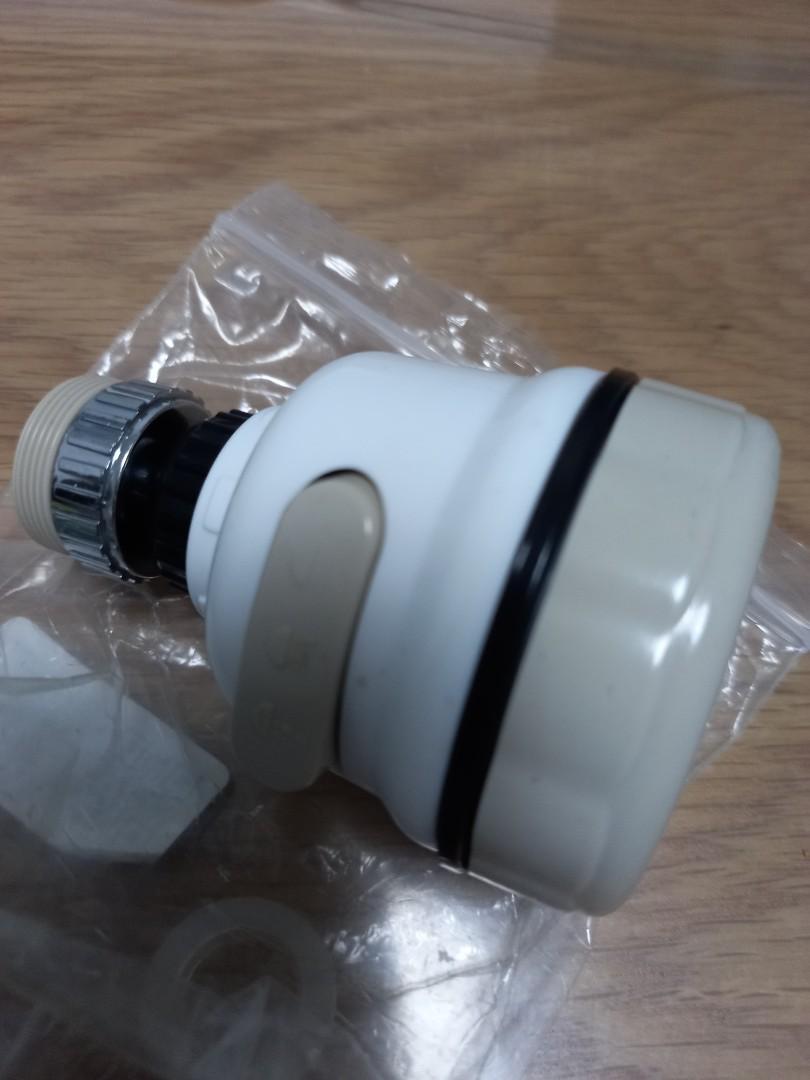
Tools: Pliers Materials: Teflon tape, new kitchen sink aeratorTools and Materials Needed for Kitchen Sink Aerator Installation

Tools and Materials Needed for Kitchen Sink Aerator Installation
/cleaning-the-aerator-from-deposits--the-girl-hand-washes-a-dirty-limestone-aerator-with-water-1126244919-72868100964f42d5aa564a928371fea5.jpg)


Tip 1: Make sure to turn off the water supply before installing or replacing a kitchen sink aerator. Tip 2: Use Teflon tape to ensure a tight seal and prevent leaks. Tip 3: Be careful not to overtighten the aerator as it may cause damage. Tip 4: If you have hard water, clean and descale your aerator regularly to maintain optimal water flow.Tips for Installing a Kitchen Sink Aerator

Tips for Installing a Kitchen Sink Aerator

:max_bytes(150000):strip_icc()/cleaning-the-aerator-from-deposits--the-girl-hand-washes-a-dirty-limestone-aerator-with-water-1126244919-72868100964f42d5aa564a928371fea5.jpg)
Mistake 1: Not turning off the water supply before installation or replacement. Mistake 2: Not using Teflon tape, resulting in leaks. Mistake 3: Overtightening the aerator, causing damage. Mistake 4: Not cleaning and descaling the aerator regularly, leading to reduced water flow.Common Mistakes to Avoid When Installing a Kitchen Sink Aerator


Common Mistakes to Avoid When Installing a Kitchen Sink Aerator


/CompleteAerator-3e947443dd424faeb92a9c9c0a45d8dd.jpg)
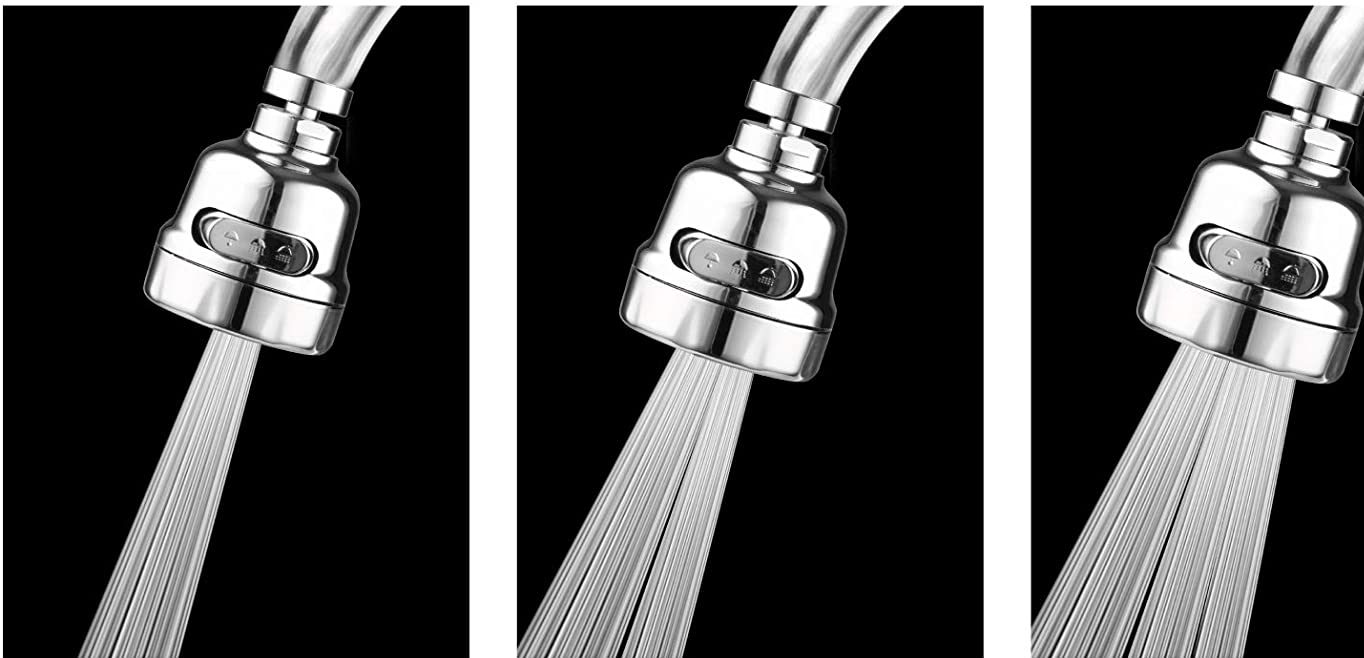
Save money: A kitchen sink aerator can help reduce your water bill by using less water without compromising water pressure. Conserves water: By using less water, you are also helping to conserve this valuable resource. Improves water flow: A kitchen sink aerator can help improve the water flow of your sink, making it easier to wash dishes and fill pots. Reduces splashing: The aerator helps to create a more controlled and steady stream of water, reducing splashing and mess. Customizable: Kitchen sink aerators come in a variety of styles and flow rates, allowing you to choose one that best suits your needs and preferences.Benefits of Installing a Kitchen Sink Aerator
Benefits of Installing a Kitchen Sink Aerator
While you can easily install a kitchen sink aerator on your own, you may choose to hire a professional plumber for peace of mind and to ensure the job is done correctly. However, with the right tools and instructions, this is a project that can easily be done by a DIY enthusiast. Now that you know how to install a kitchen sink aerator, you can enjoy the benefits of improved water flow and efficiency in your kitchen. So why wait? Grab your tools and start upgrading your sink today!Professional vs. DIY Kitchen Sink Aerator Installation

Professional vs. DIY Kitchen Sink Aerator Installation


How to Save Money and Conserve Water by Installing a Kitchen Sink Aerator

Why Install a Kitchen Sink Aerator?
 Kitchen sink aerators are small devices that attach to the end of your faucet and mix air with the water flow, resulting in a steady stream of water that uses less water and energy. By installing a kitchen sink aerator, you can save money on your water and energy bills while also helping to conserve our planet's valuable resources.
Step-by-Step Guide to Installing a Kitchen Sink Aerator
 Installing a kitchen sink aerator is a simple and cost-effective way to make your home more environmentally friendly. Here's a step-by-step guide to installing a kitchen sink aerator:
Step 1: Gather Materials
Before you begin, make sure you have all the necessary materials. You will need a kitchen sink aerator, pliers, and Teflon tape.
Step 2: Turn Off Water Supply
Locate the shut-off valves under your sink and turn off the water supply to the faucet you will be working on.
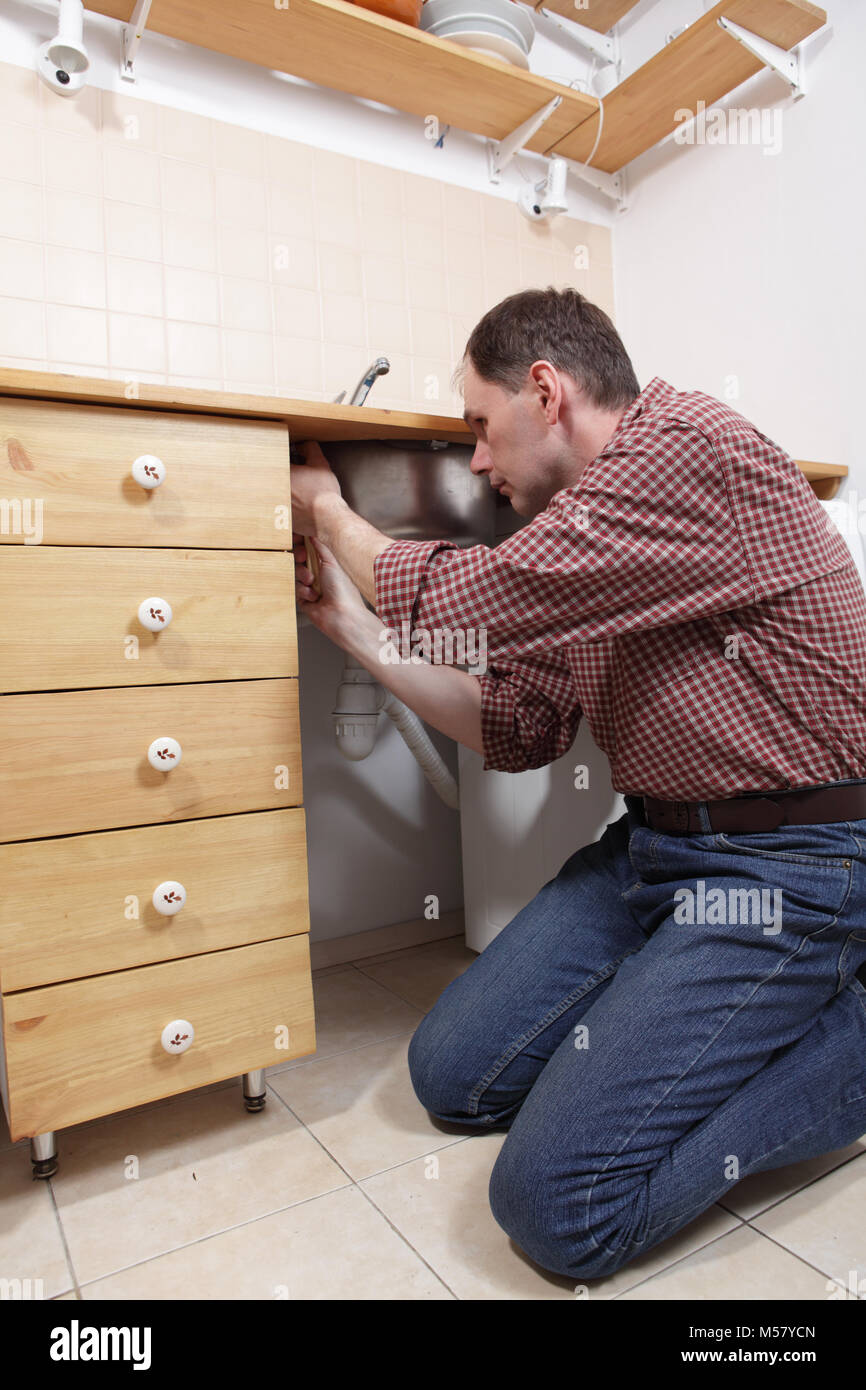
Step 3: Remove Existing Aerator
Using pliers, carefully remove the existing aerator from the end of your faucet. If it is stuck, try using a cloth to grip the aerator and twist it off.
Step 4: Clean the Faucet
Before installing the new aerator, clean any debris or buildup from the end of your faucet. This will ensure a secure fit for the new aerator.
Step 5: Wrap Threads with Teflon Tape
Wrap a few layers of Teflon tape around the threads on the end of your faucet. This will help create a tight seal and prevent leaks.
Step 6: Install the New Aerator
Screw the new aerator onto the end of your faucet by hand. Use pliers to gently tighten it if necessary.
Step 7: Test and Adjust
Turn the water supply back on and test the new aerator. If the water flow is too low, you can adjust it by unscrewing the aerator and removing the flow restrictor.
Installing a kitchen sink aerator is a simple and cost-effective way to make your home more environmentally friendly. Here's a step-by-step guide to installing a kitchen sink aerator:
Step 1: Gather Materials
Before you begin, make sure you have all the necessary materials. You will need a kitchen sink aerator, pliers, and Teflon tape.
Step 2: Turn Off Water Supply
Locate the shut-off valves under your sink and turn off the water supply to the faucet you will be working on.
Step 3: Remove Existing Aerator
Using pliers, carefully remove the existing aerator from the end of your faucet. If it is stuck, try using a cloth to grip the aerator and twist it off.
Step 4: Clean the Faucet
Before installing the new aerator, clean any debris or buildup from the end of your faucet. This will ensure a secure fit for the new aerator.
Step 5: Wrap Threads with Teflon Tape
Wrap a few layers of Teflon tape around the threads on the end of your faucet. This will help create a tight seal and prevent leaks.
Step 6: Install the New Aerator
Screw the new aerator onto the end of your faucet by hand. Use pliers to gently tighten it if necessary.
Step 7: Test and Adjust
Turn the water supply back on and test the new aerator. If the water flow is too low, you can adjust it by unscrewing the aerator and removing the flow restrictor.
Benefits of Installing a Kitchen Sink Aerator
 Installing a kitchen sink aerator has numerous benefits for both your wallet and the environment. By using less water, you will save money on your water bill. Additionally, using less hot water means saving on energy costs. On top of that, aerators help to conserve water, a valuable resource that is becoming increasingly scarce.
Conclusion
 In conclusion, installing a kitchen sink aerator is a simple and cost-effective way to save money and conserve water in your home. By following these steps, you can easily install a kitchen sink aerator and do your part in helping to protect our planet's resources. So why not make the switch today and start reaping the benefits of a more environmentally friendly home?