Are you looking to give your bathroom sink a fresh new look? Installing a plumbing trim kit is a great way to update the appearance of your sink and make it look more modern and stylish. Not only that, but a trim kit also helps to protect your sink and keep it in good condition. In this article, we will discuss the step-by-step process of installing a plumbing trim kit for your bathroom sink.Installing a Plumbing Trim Kit for a Bathroom Sink


Installing a Plumbing Trim Kit for a Bathroom Sink

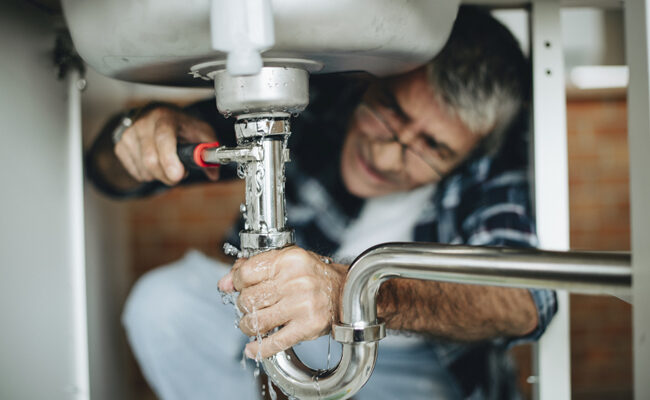
Installing a plumbing trim kit for your bathroom sink may seem like a daunting task, but it is actually quite simple and can be done as a DIY project. Follow these steps to install your trim kit and give your sink a fresh new look:How to Install a Plumbing Trim Kit for a Bathroom Sink


How to Install a Plumbing Trim Kit for a Bathroom Sink


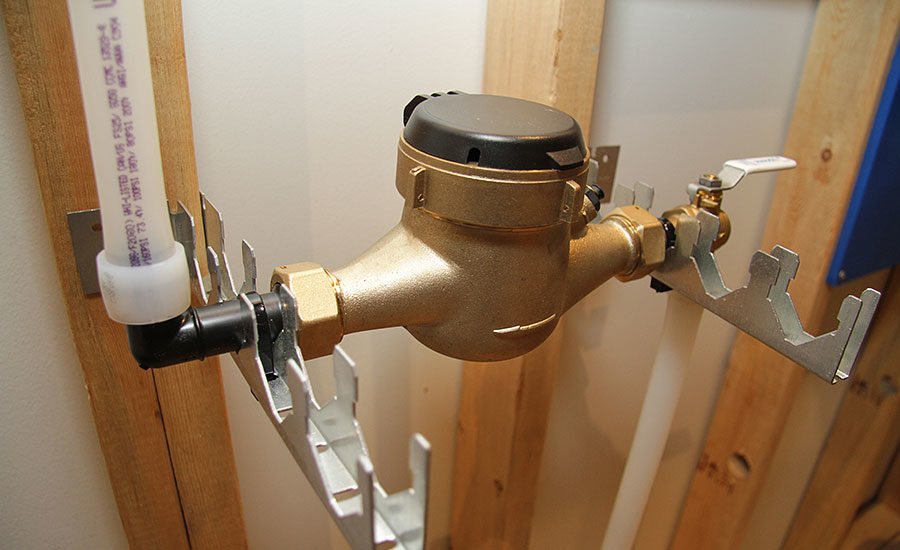
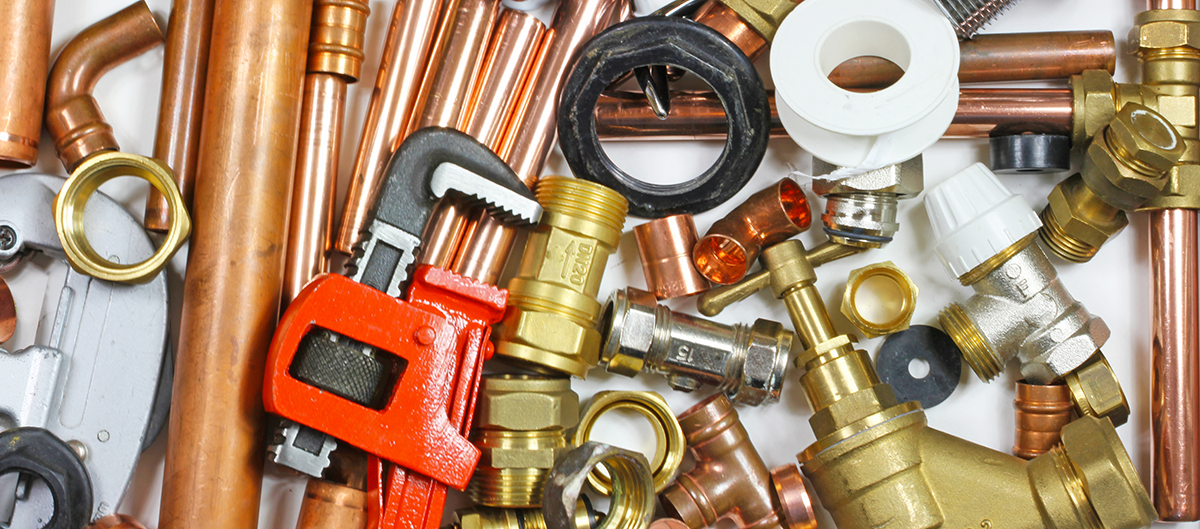
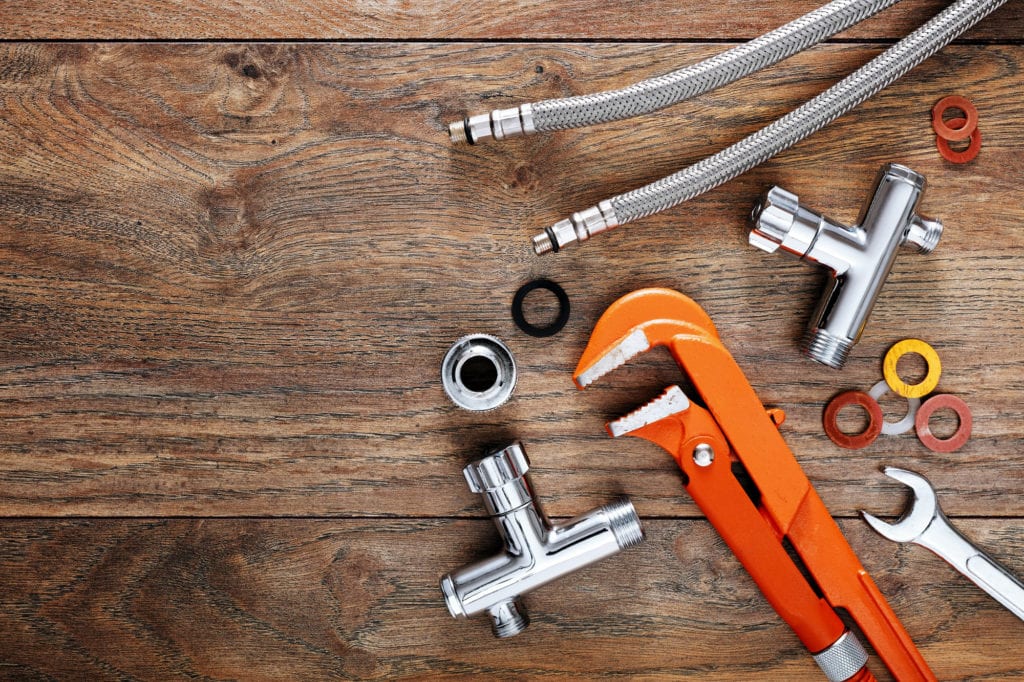
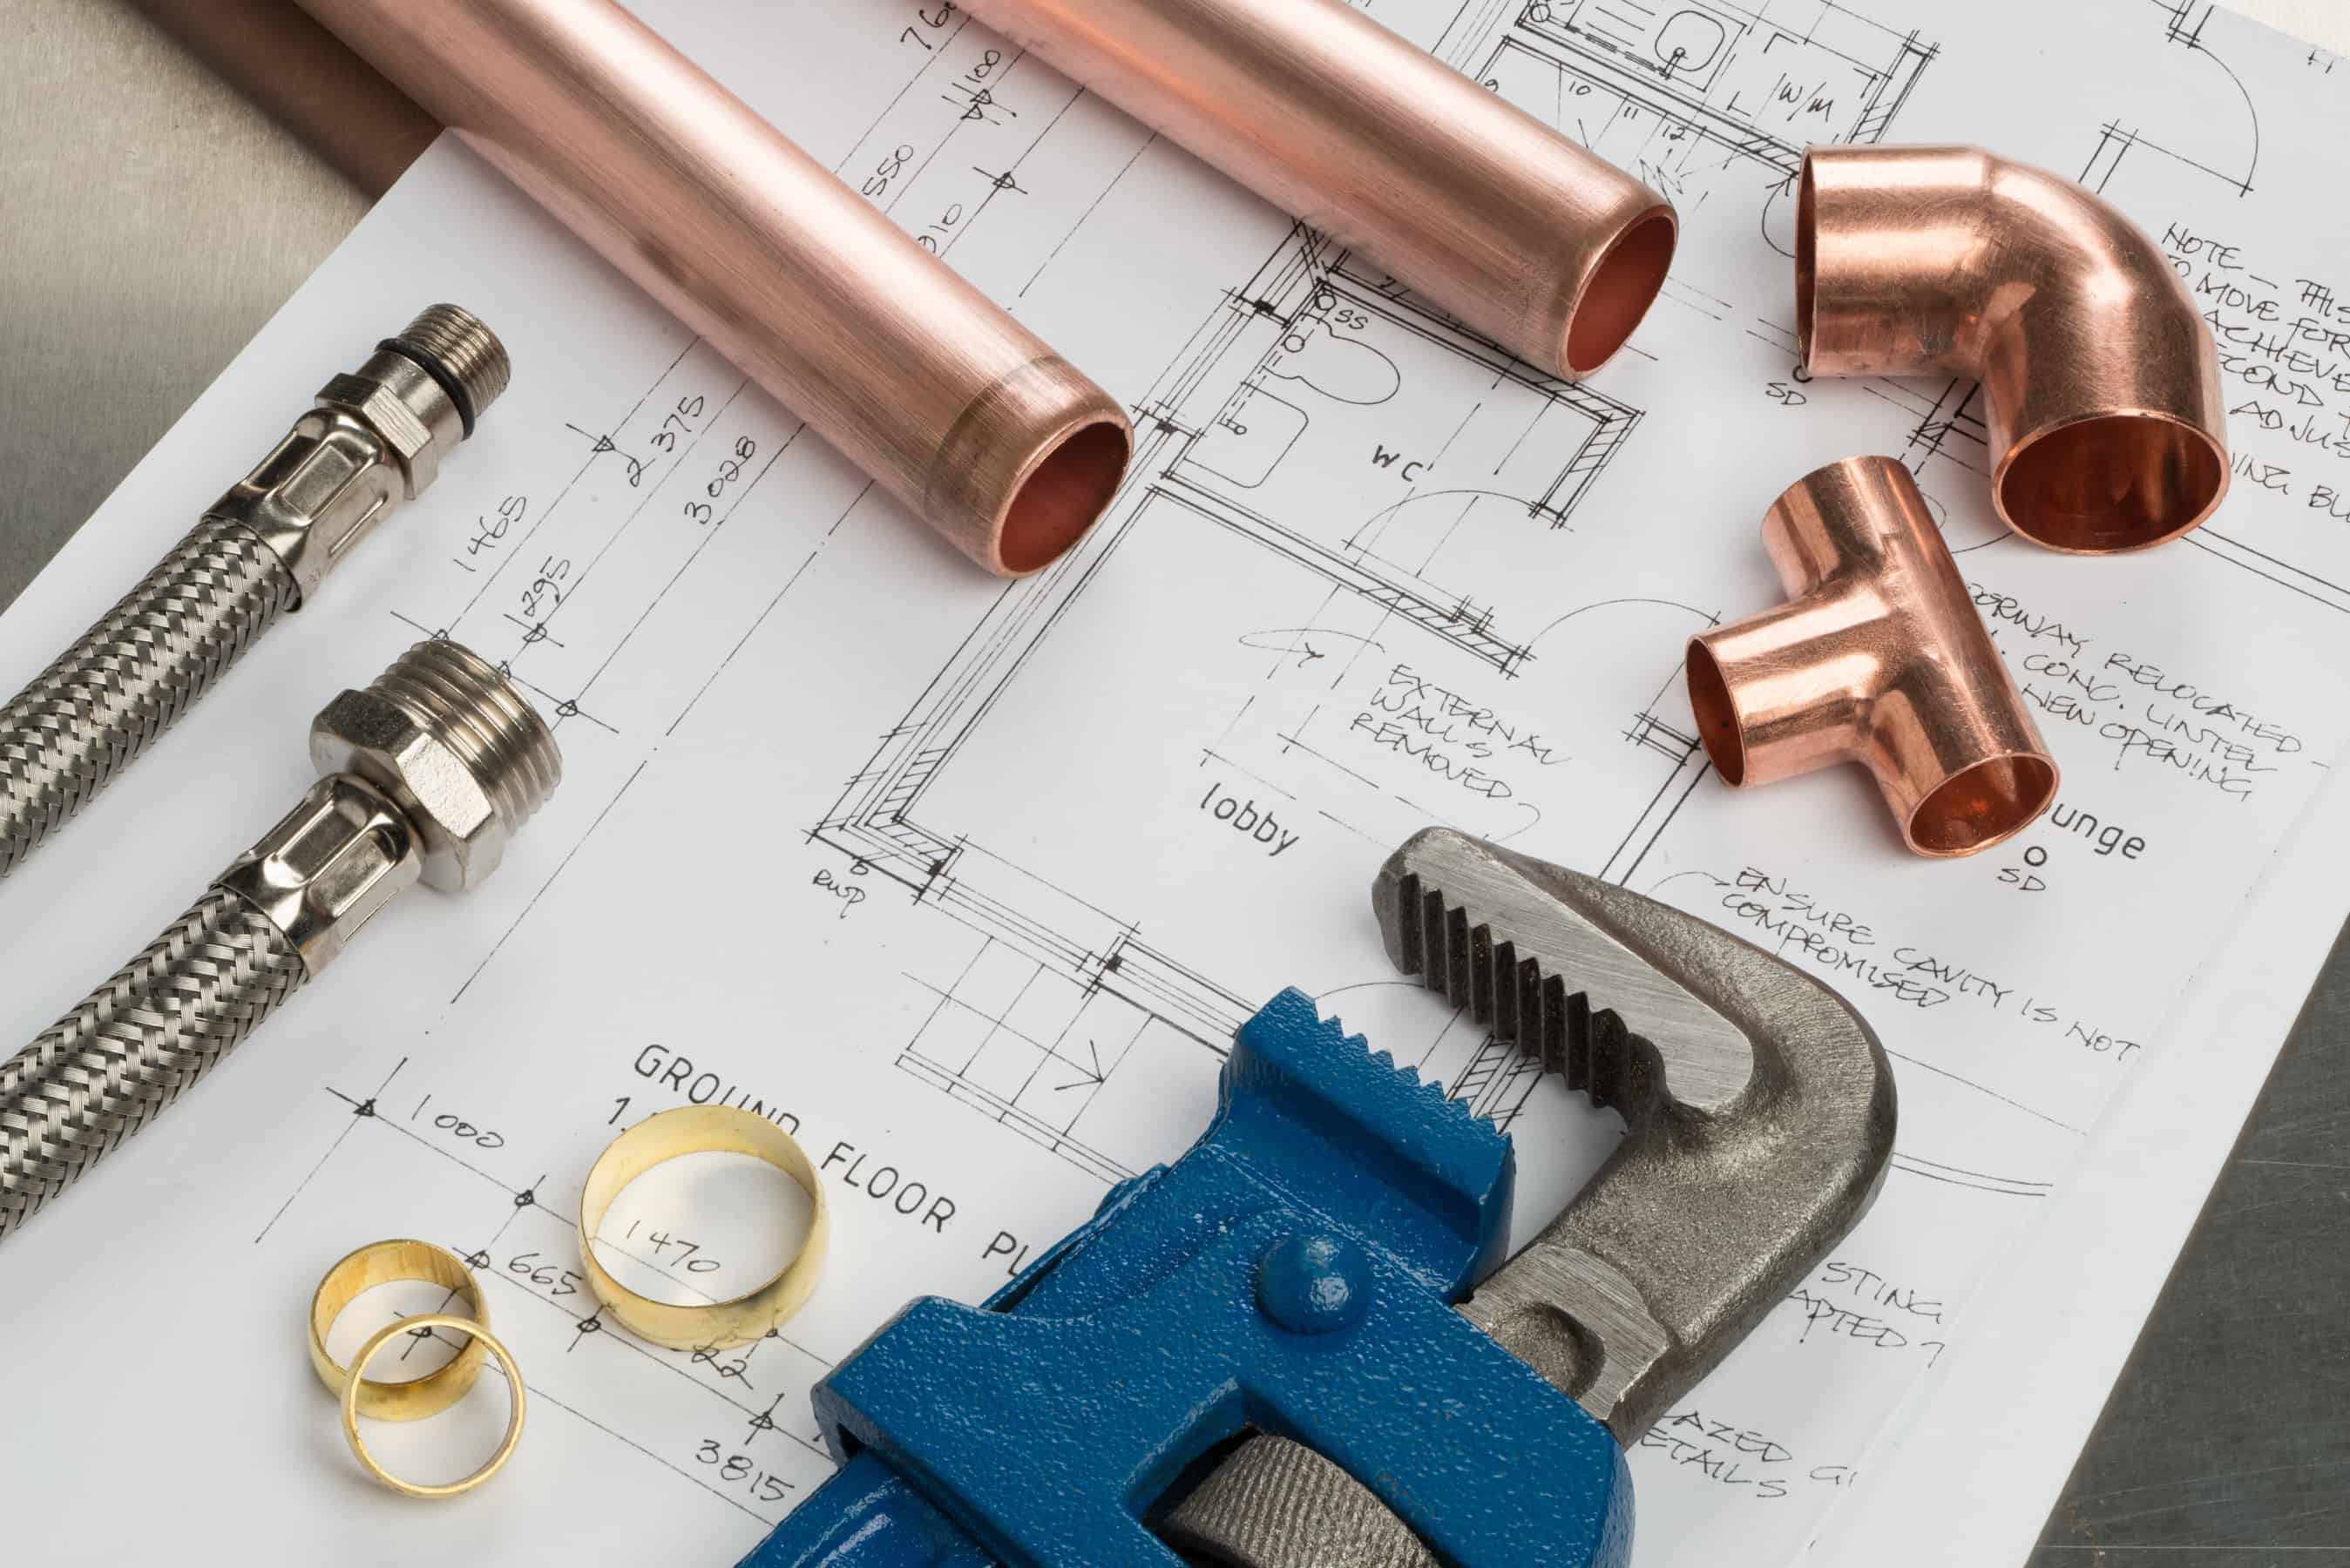
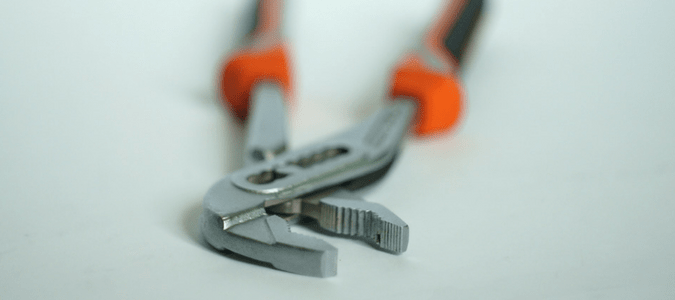
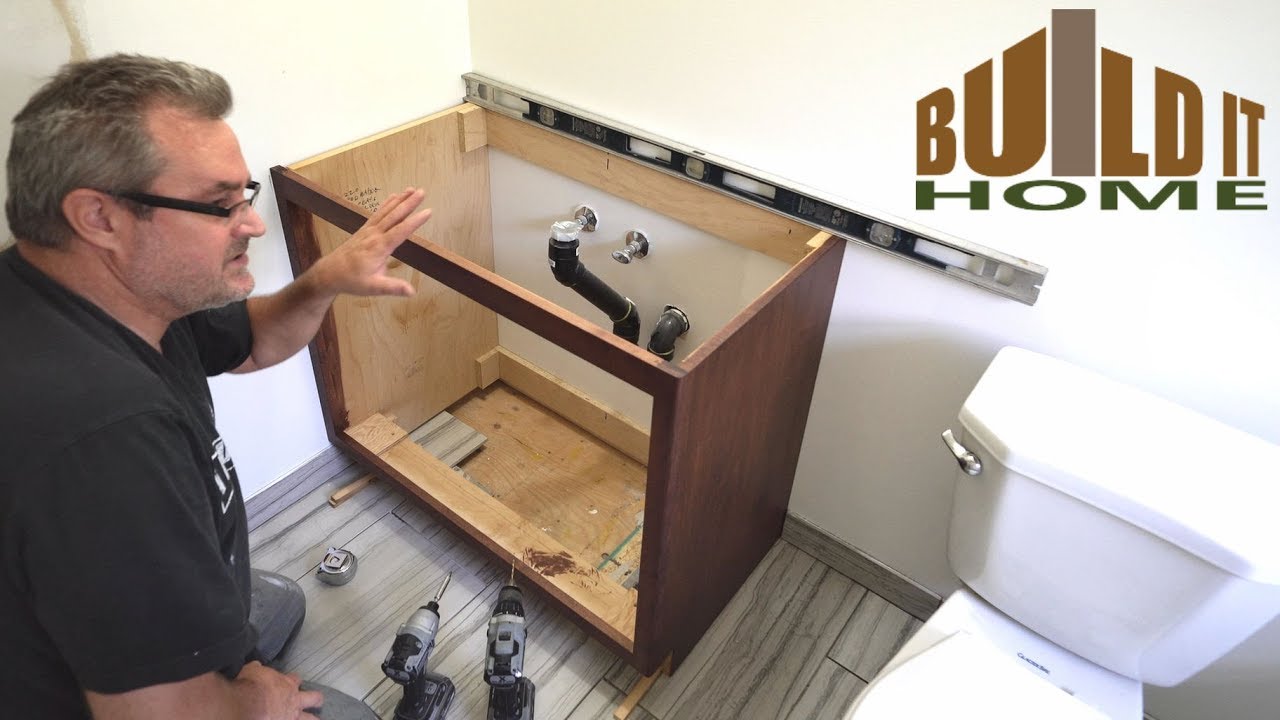
Before you begin the installation process, make sure you have all the necessary tools and materials. You will need a trim kit, a screwdriver, pliers, a wrench, plumber's tape, and a bucket or towel to catch any water that may come out during the installation process.Step 1: Gather Your Tools and Materials

Step-by-Step Guide for Installing a Plumbing Trim Kit for a Bathroom Sink


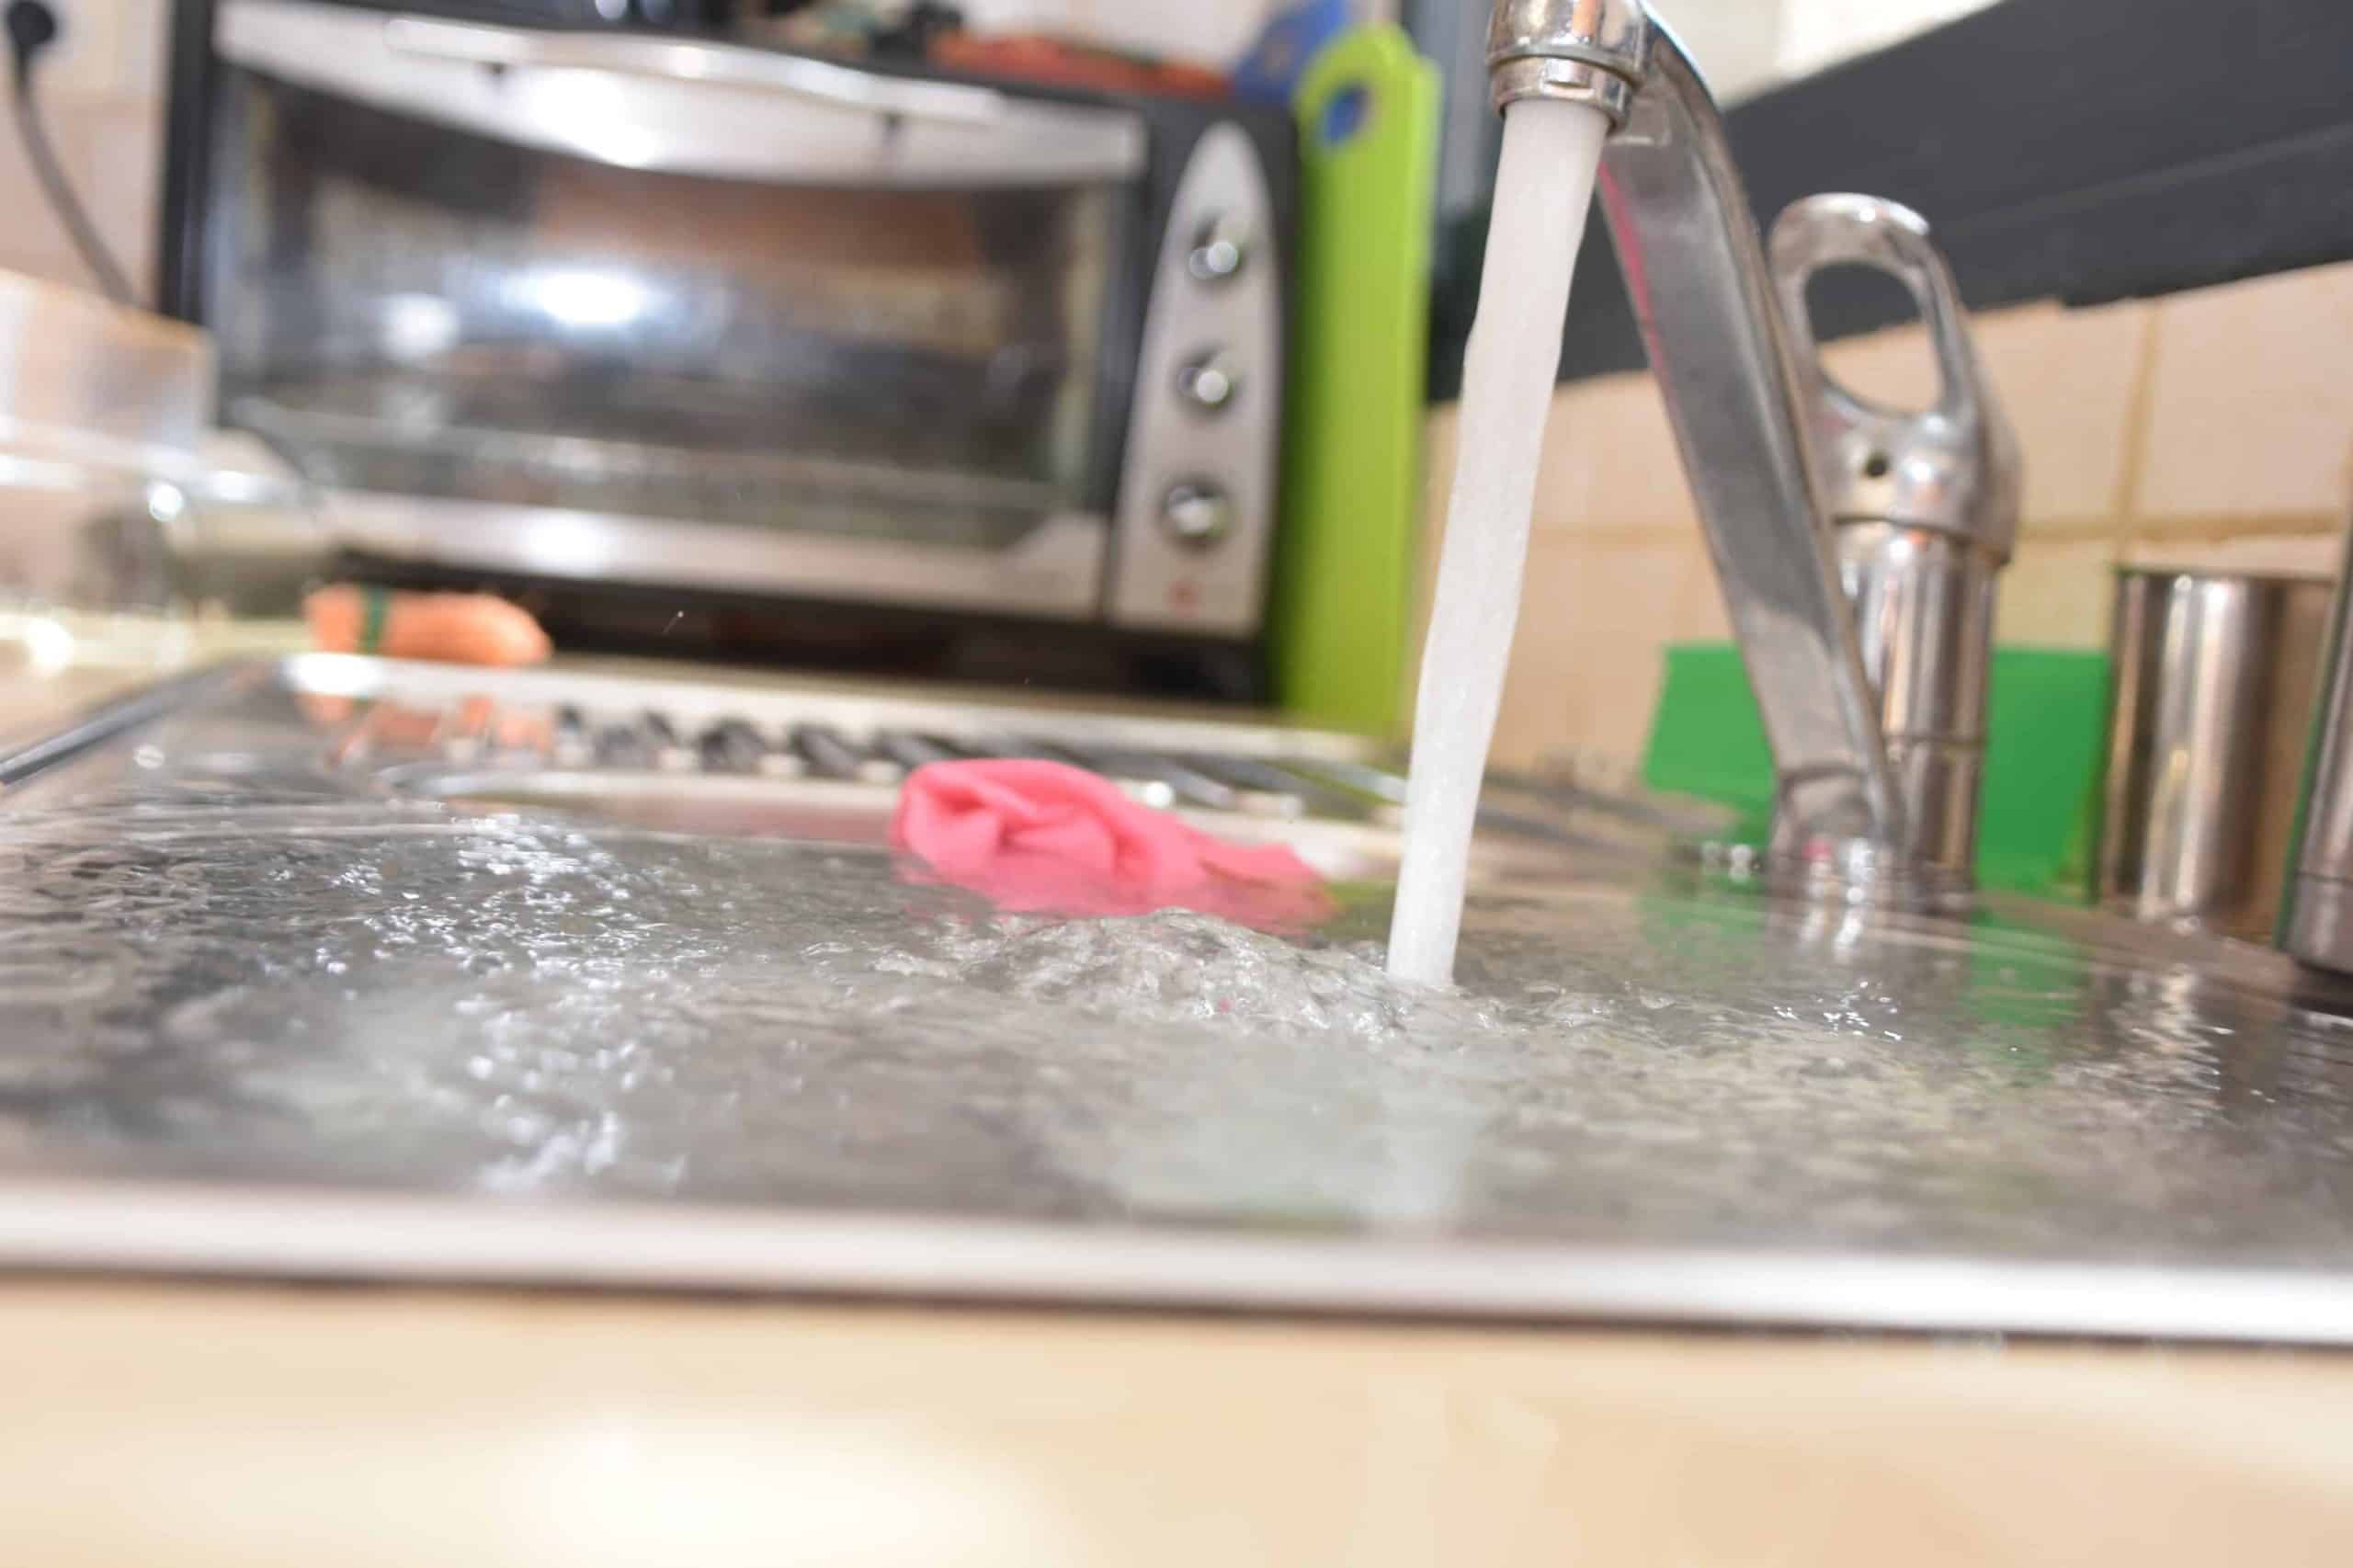
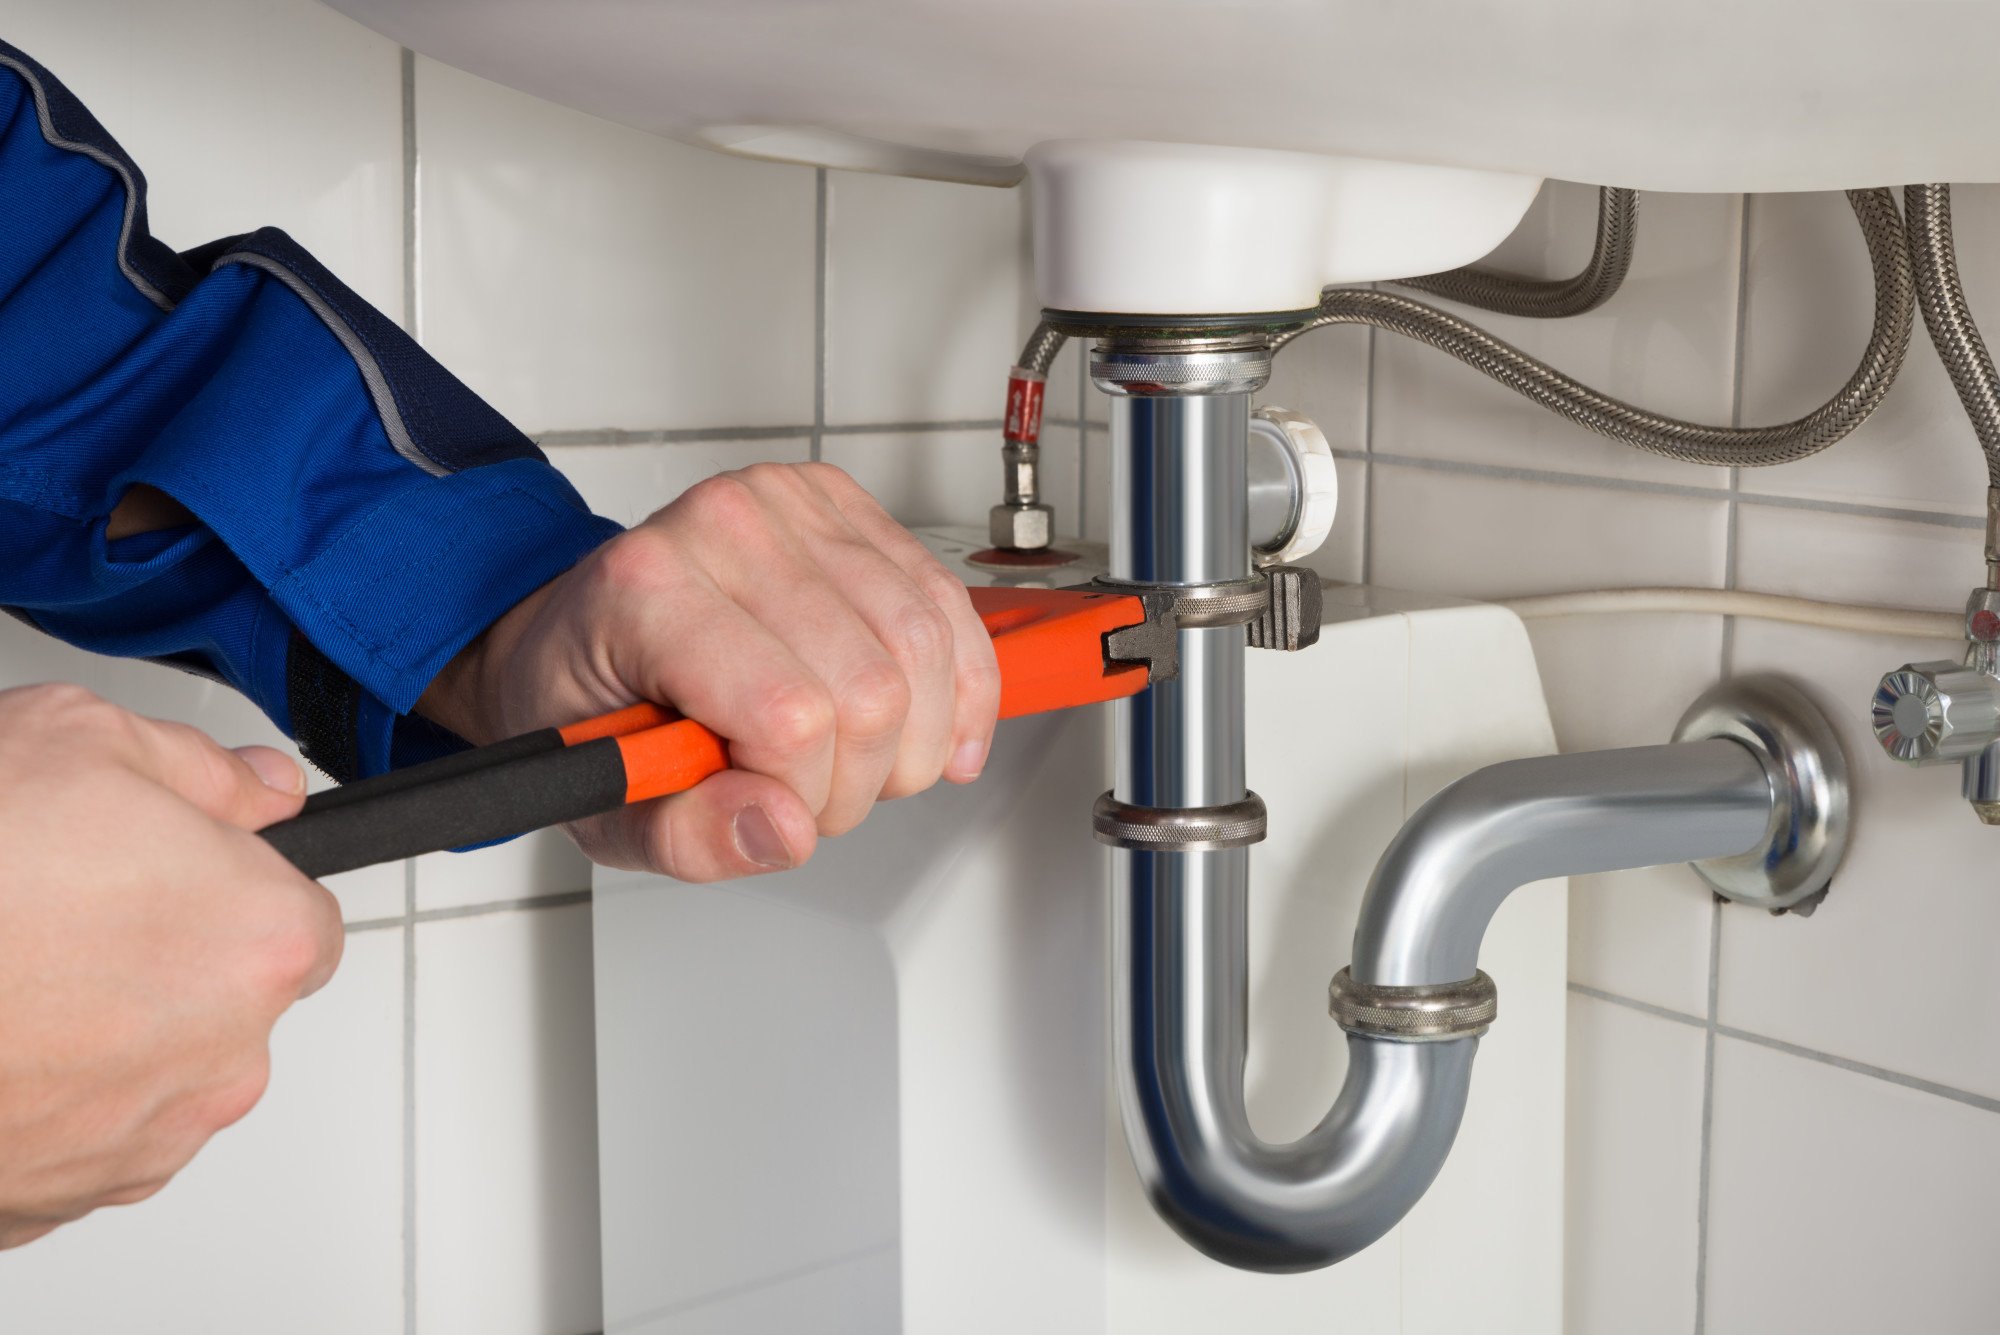
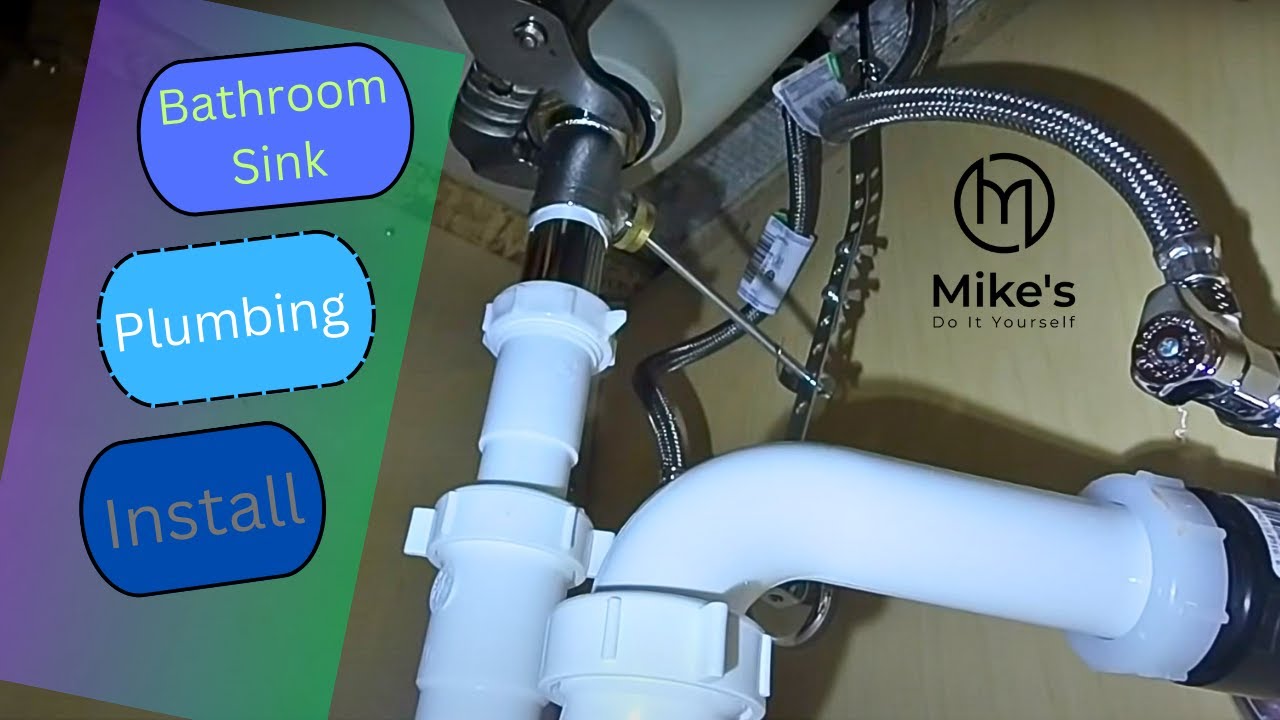
Before you start working on your sink, you need to turn off the water supply to avoid any accidents. Locate the water shut-off valves under the sink and turn them clockwise to close them. Then, turn on the faucet to release any remaining water in the pipes.Step 2: Turn Off the Water Supply


DIY Plumbing: Installing a Trim Kit for a Bathroom Sink


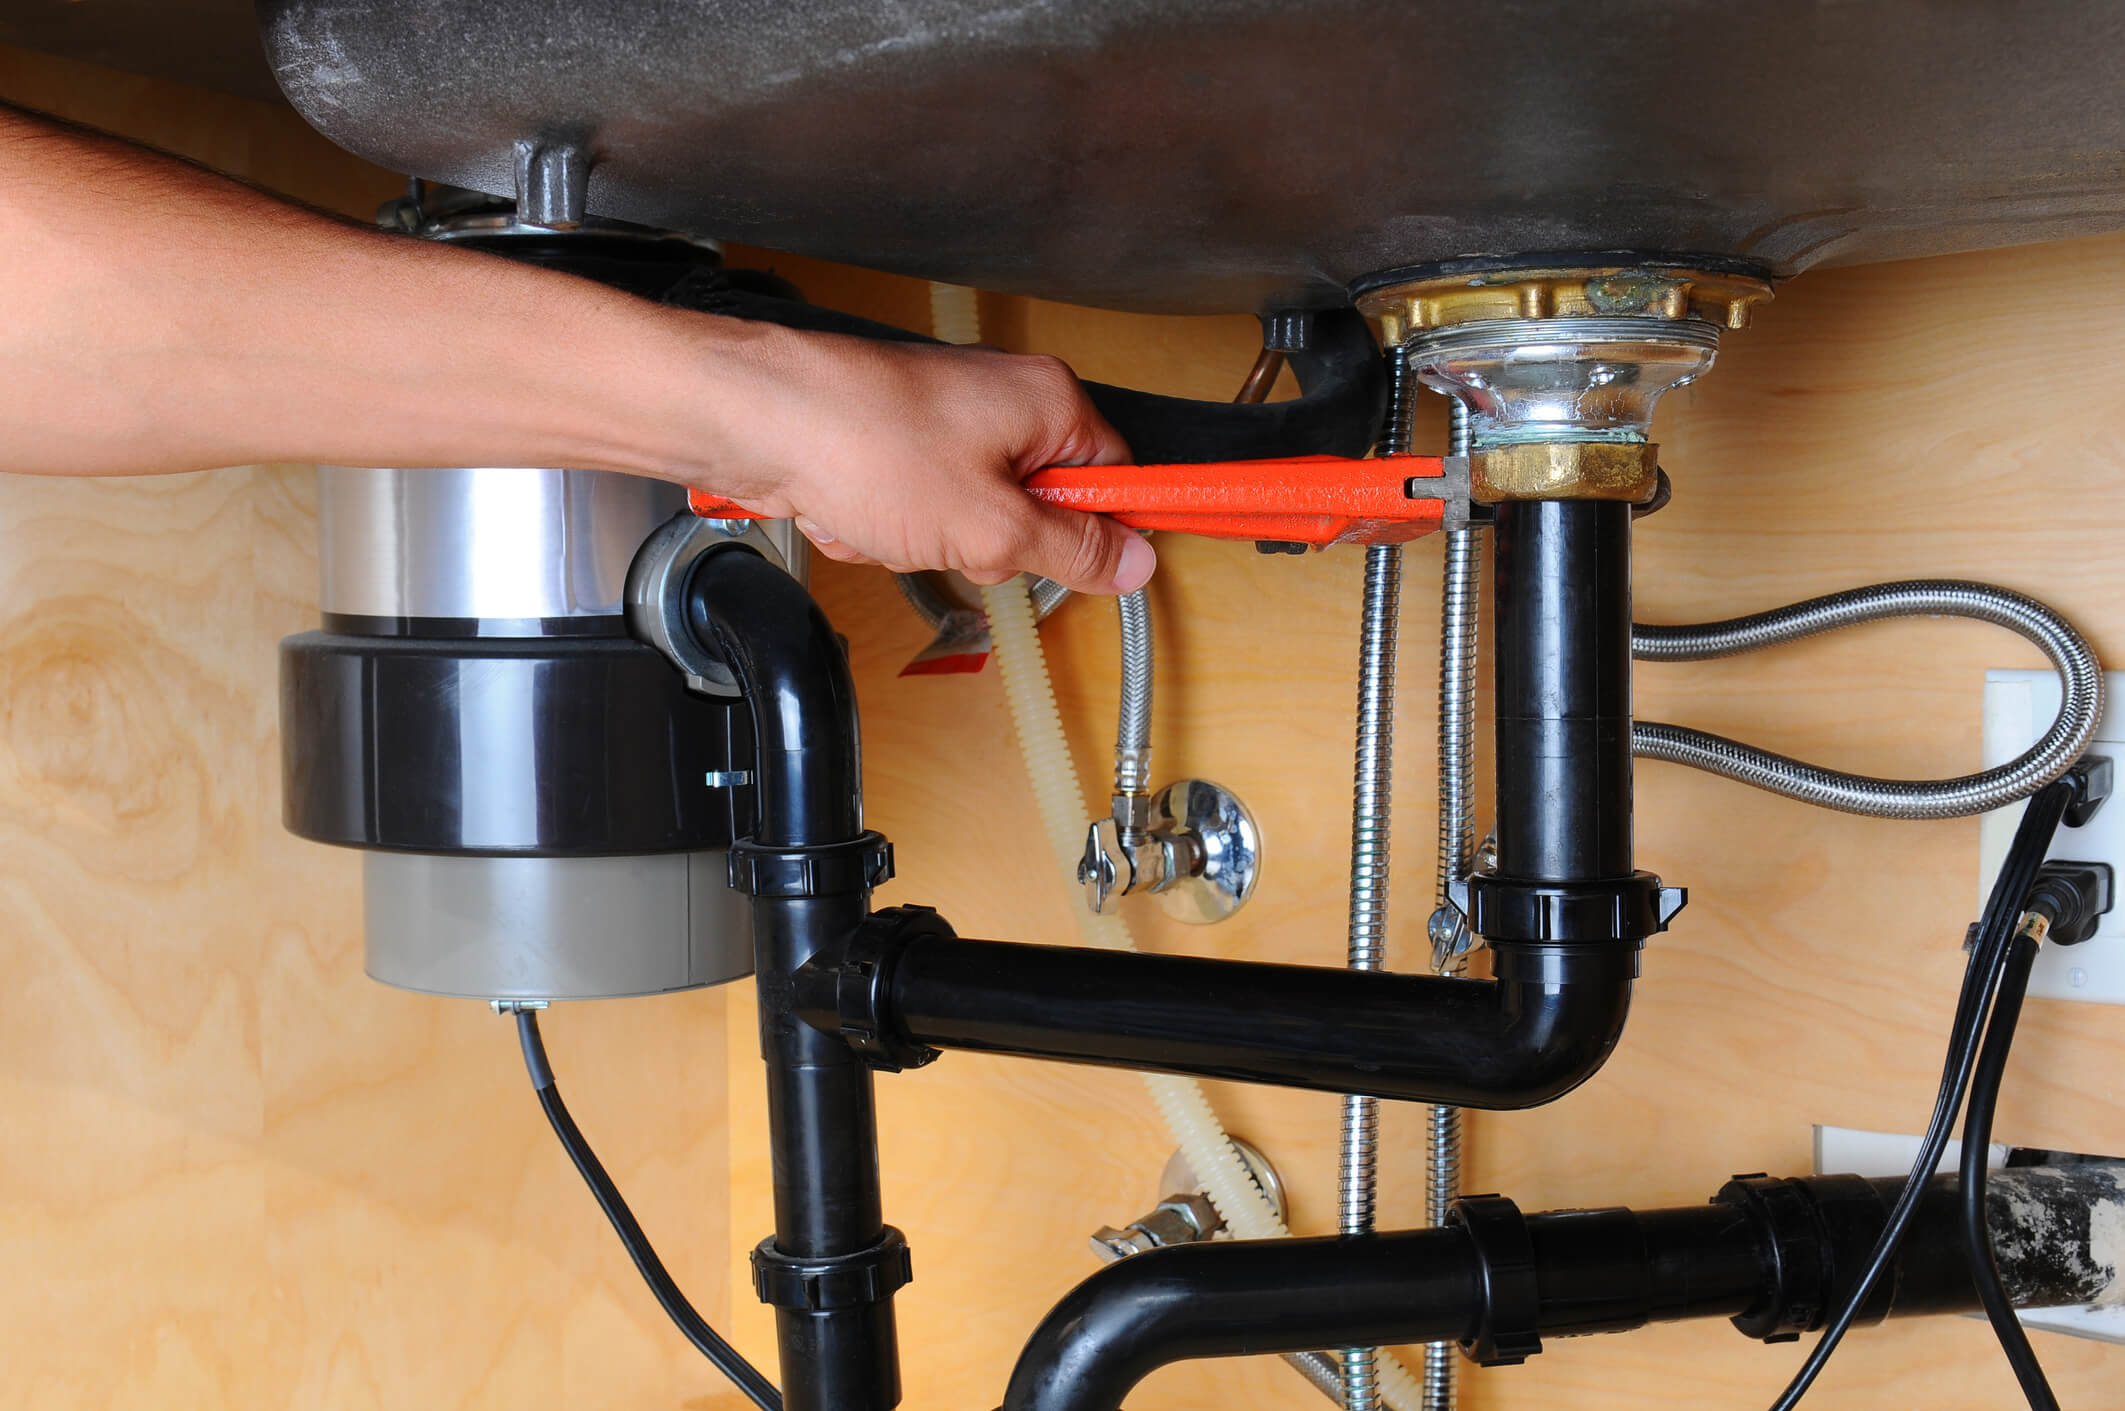
Using a screwdriver or pliers, carefully remove the old faucet trim kit from the sink. Make sure to keep the screws and other small parts in a safe place in case you need them for the new trim kit.Step 3: Remove the Old Faucet Trim Kit


Tools and Materials Needed for Installing a Plumbing Trim Kit for a Bathroom Sink


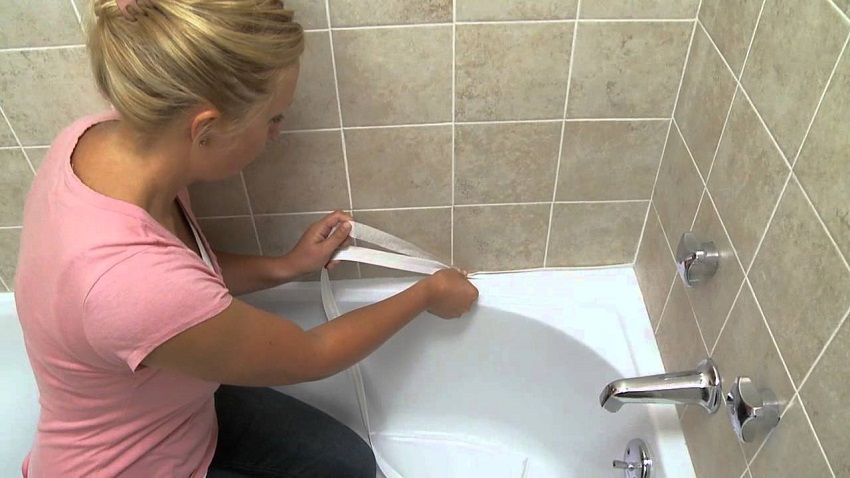
With the old trim kit removed, take the opportunity to clean your sink thoroughly. Use a mild cleaner and a sponge to remove any buildup or grime. Make sure to dry the sink completely before proceeding to the next step.Step 4: Clean the Sink


Tips and Tricks for Installing a Plumbing Trim Kit for a Bathroom Sink
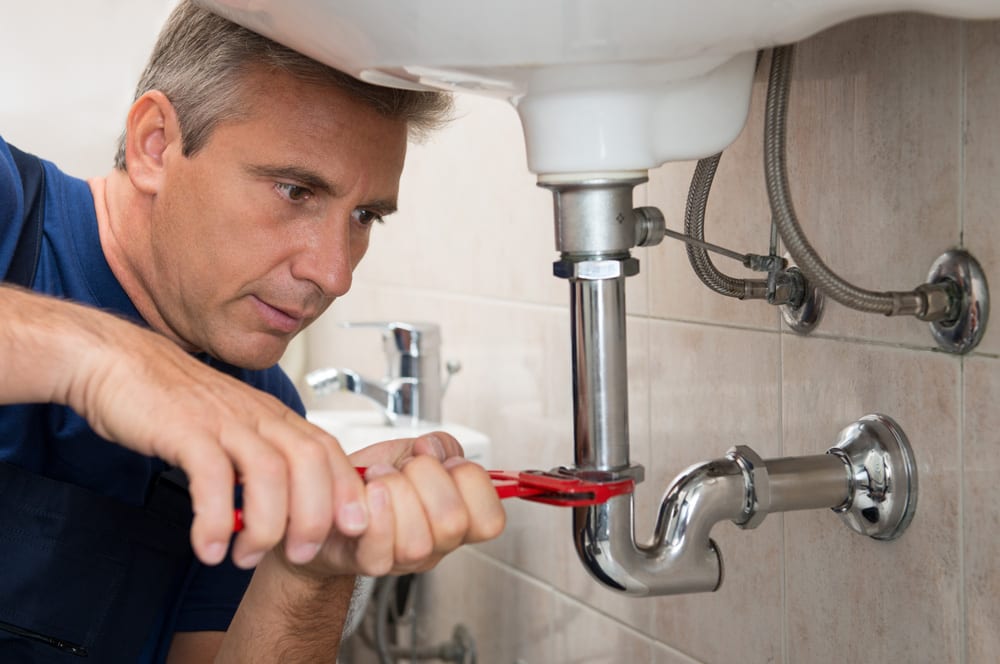


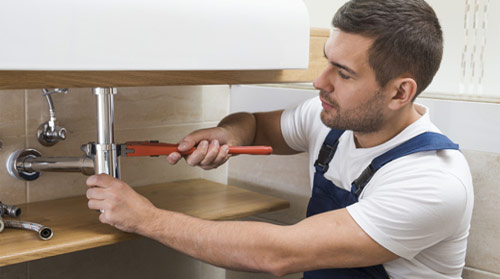
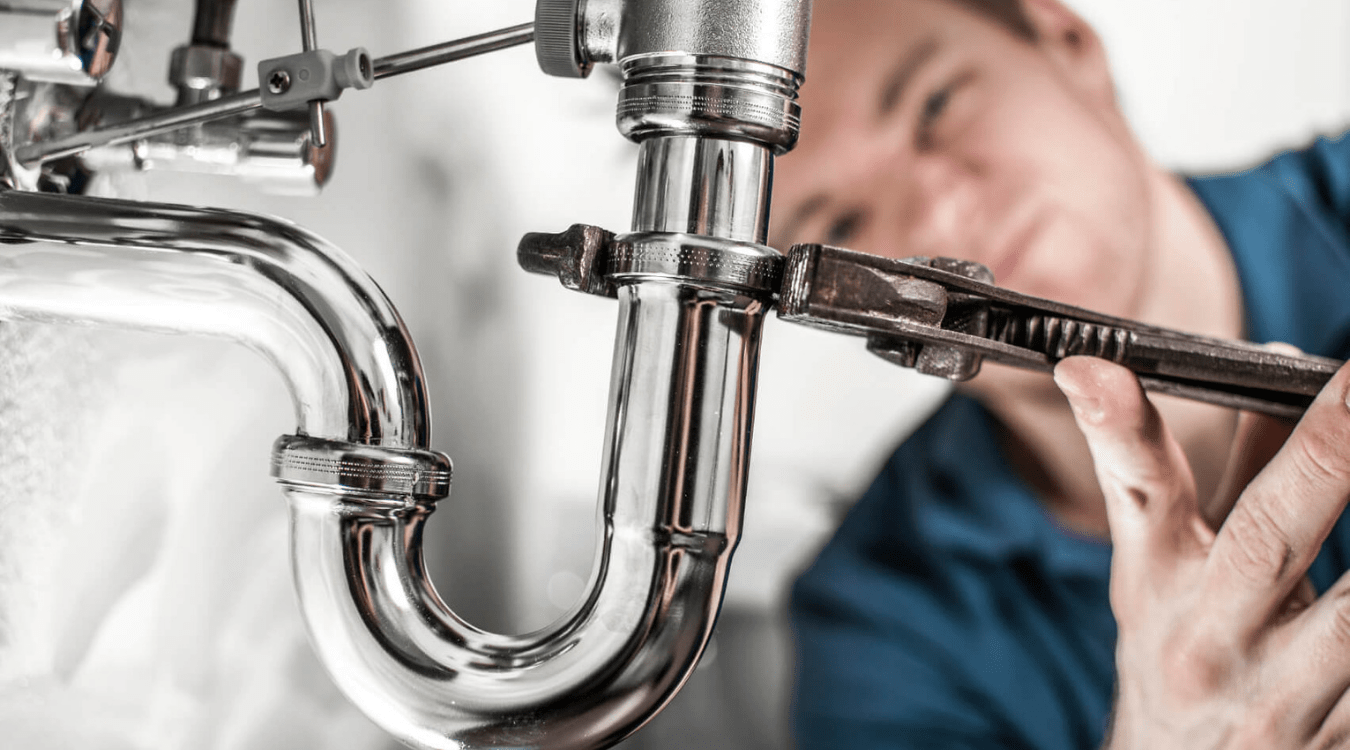
Follow the manufacturer's instructions to install the new trim kit. Usually, this involves placing the new handles and spout onto the sink and securing them with screws. Make sure to tighten the screws properly to prevent any leaks.Step 5: Install the New Trim Kit


Common Mistakes to Avoid When Installing a Plumbing Trim Kit for a Bathroom Sink


Once the new trim kit is installed, it is time to reconnect the water supply. Use plumber's tape to wrap around the threads of the water supply valves and the new trim kit. Then, use a wrench to tighten the connections and make sure there are no leaks.Step 6: Reconnect the Water Supply


Video Tutorial: How to Install a Plumbing Trim Kit for a Bathroom Sink


Here are some additional tips and tricks to make the installation process go smoothly:Tips and Tricks for Installing a Plumbing Trim Kit for a Bathroom Sink


Expert Advice: Installing a Plumbing Trim Kit for a Bathroom Sink


While installing a plumbing trim kit for a bathroom sink is a relatively simple task, there are some common mistakes that people make. Here are a few things to avoid:Common Mistakes to Avoid When Installing a Plumbing Trim Kit for a Bathroom Sink


Troubleshooting: Common Issues When Installing a Plumbing Trim Kit for a Bathroom Sink


Why Installing a Plumbing Trim Kit Can Transform Your Bathroom Sink

Transforming Your Bathroom Sink with a Plumbing Trim Kit
 When it comes to designing your dream home, every detail matters. From the color of the walls to the style of the furniture, every decision contributes to the overall aesthetic of your space. One often overlooked aspect of house design is the plumbing trim kit for your bathroom sink.
Installing a plumbing trim kit
can completely transform the look and functionality of your sink, making it a must-have addition to your bathroom.
When it comes to designing your dream home, every detail matters. From the color of the walls to the style of the furniture, every decision contributes to the overall aesthetic of your space. One often overlooked aspect of house design is the plumbing trim kit for your bathroom sink.
Installing a plumbing trim kit
can completely transform the look and functionality of your sink, making it a must-have addition to your bathroom.
What is a Plumbing Trim Kit?
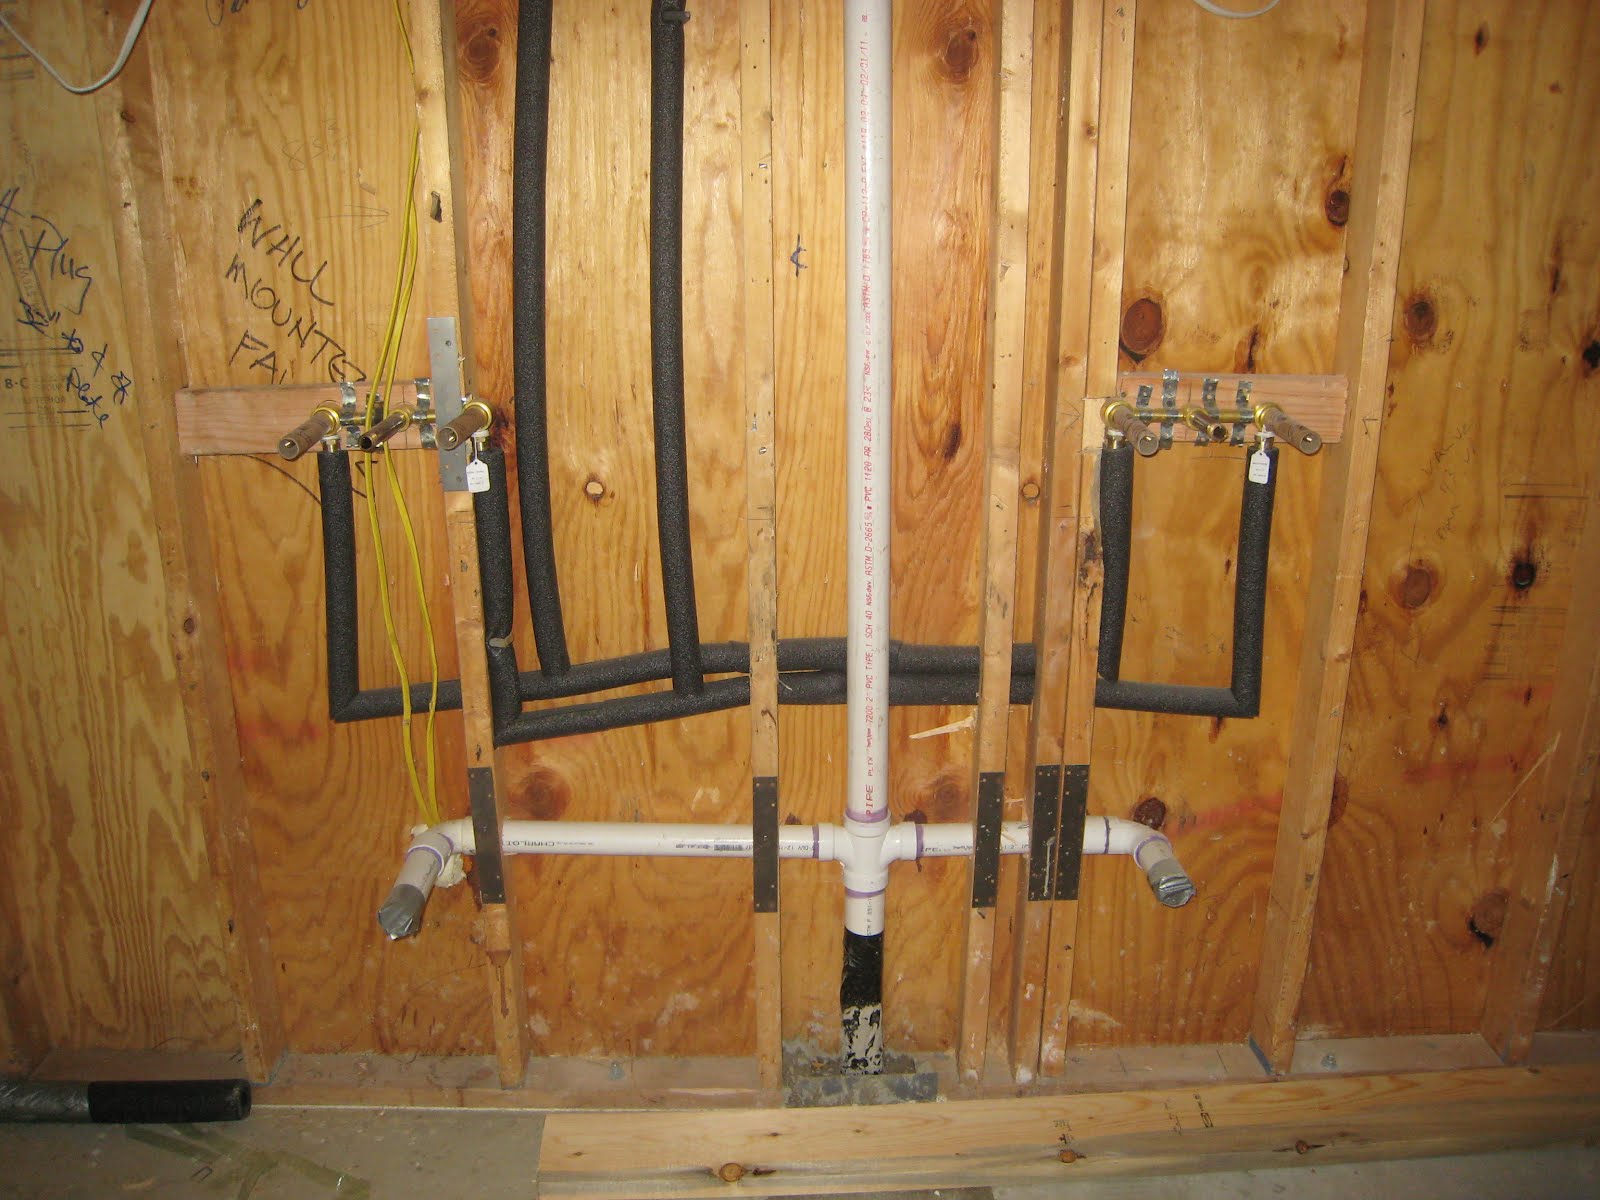
 A plumbing trim kit is a set of coordinating fixtures and hardware that are used to finish off the exposed plumbing pipes in your bathroom sink.
It is an essential element that not only covers up unsightly pipes but also adds a touch of style and sophistication to your sink.
The kit typically includes a sink drain, faucet, and any other necessary hardware, all designed to complement each other and create a cohesive look.
A plumbing trim kit is a set of coordinating fixtures and hardware that are used to finish off the exposed plumbing pipes in your bathroom sink.
It is an essential element that not only covers up unsightly pipes but also adds a touch of style and sophistication to your sink.
The kit typically includes a sink drain, faucet, and any other necessary hardware, all designed to complement each other and create a cohesive look.
Upgrade Your Sink's Aesthetic
 One of the most significant benefits of installing a plumbing trim kit is the aesthetic upgrade it provides for your bathroom sink.
Gone are the days of unsightly pipes and mismatched fixtures detracting from the overall design of your space.
With a plumbing trim kit, you can choose from a variety of styles and finishes to match your unique taste and enhance the look of your sink. Whether you prefer a sleek and modern look or a classic and traditional feel, there is a plumbing trim kit that will elevate your sink's appearance.
One of the most significant benefits of installing a plumbing trim kit is the aesthetic upgrade it provides for your bathroom sink.
Gone are the days of unsightly pipes and mismatched fixtures detracting from the overall design of your space.
With a plumbing trim kit, you can choose from a variety of styles and finishes to match your unique taste and enhance the look of your sink. Whether you prefer a sleek and modern look or a classic and traditional feel, there is a plumbing trim kit that will elevate your sink's appearance.
Enhance Functionality
 In addition to its visual appeal, a plumbing trim kit also improves the functionality of your bathroom sink.
The included drain and faucet are designed for optimal water flow and drainage, making your sink more efficient and practical to use.
You can also choose from a range of features such as touchless faucets or adjustable water pressure, adding convenience and ease to your daily routine.
In addition to its visual appeal, a plumbing trim kit also improves the functionality of your bathroom sink.
The included drain and faucet are designed for optimal water flow and drainage, making your sink more efficient and practical to use.
You can also choose from a range of features such as touchless faucets or adjustable water pressure, adding convenience and ease to your daily routine.
Easy Installation
 Many homeowners may be hesitant to install a plumbing trim kit, thinking it will be a complicated and time-consuming process. However,
the installation is straightforward and can often be completed in just a few simple steps.
With the help of a professional plumber, you can have your new plumbing trim kit up and running in no time, transforming your bathroom sink in the process.
Many homeowners may be hesitant to install a plumbing trim kit, thinking it will be a complicated and time-consuming process. However,
the installation is straightforward and can often be completed in just a few simple steps.
With the help of a professional plumber, you can have your new plumbing trim kit up and running in no time, transforming your bathroom sink in the process.
Final Thoughts
 When it comes to creating a beautiful and functional bathroom, a plumbing trim kit is an essential addition.
From enhancing the aesthetic to improving functionality, this simple addition can have a significant impact on your space.
Consider installing a plumbing trim kit for your bathroom sink and see the difference it can make in your overall house design.
When it comes to creating a beautiful and functional bathroom, a plumbing trim kit is an essential addition.
From enhancing the aesthetic to improving functionality, this simple addition can have a significant impact on your space.
Consider installing a plumbing trim kit for your bathroom sink and see the difference it can make in your overall house design.