An IKEA bathroom sink is a stylish and affordable addition to any bathroom. Whether you are remodeling your bathroom or simply looking to upgrade your current sink, installing an IKEA bathroom sink is a great option. In this step-by-step guide, we will walk you through the process of installing an IKEA bathroom sink, from start to finish. Get ready to transform your bathroom with this easy DIY tutorial.How to Install an IKEA Bathroom Sink


How to Install an IKEA Bathroom Sink


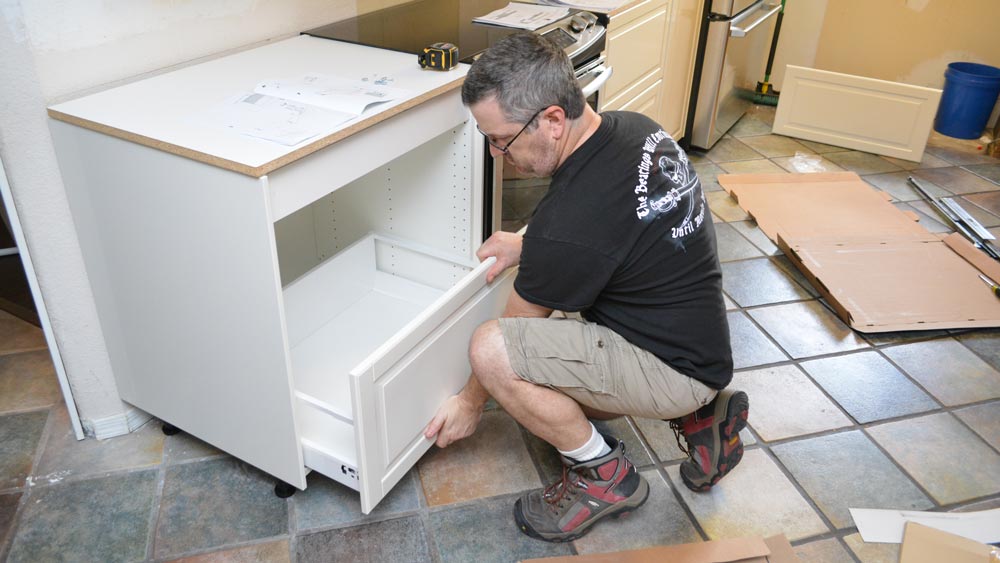
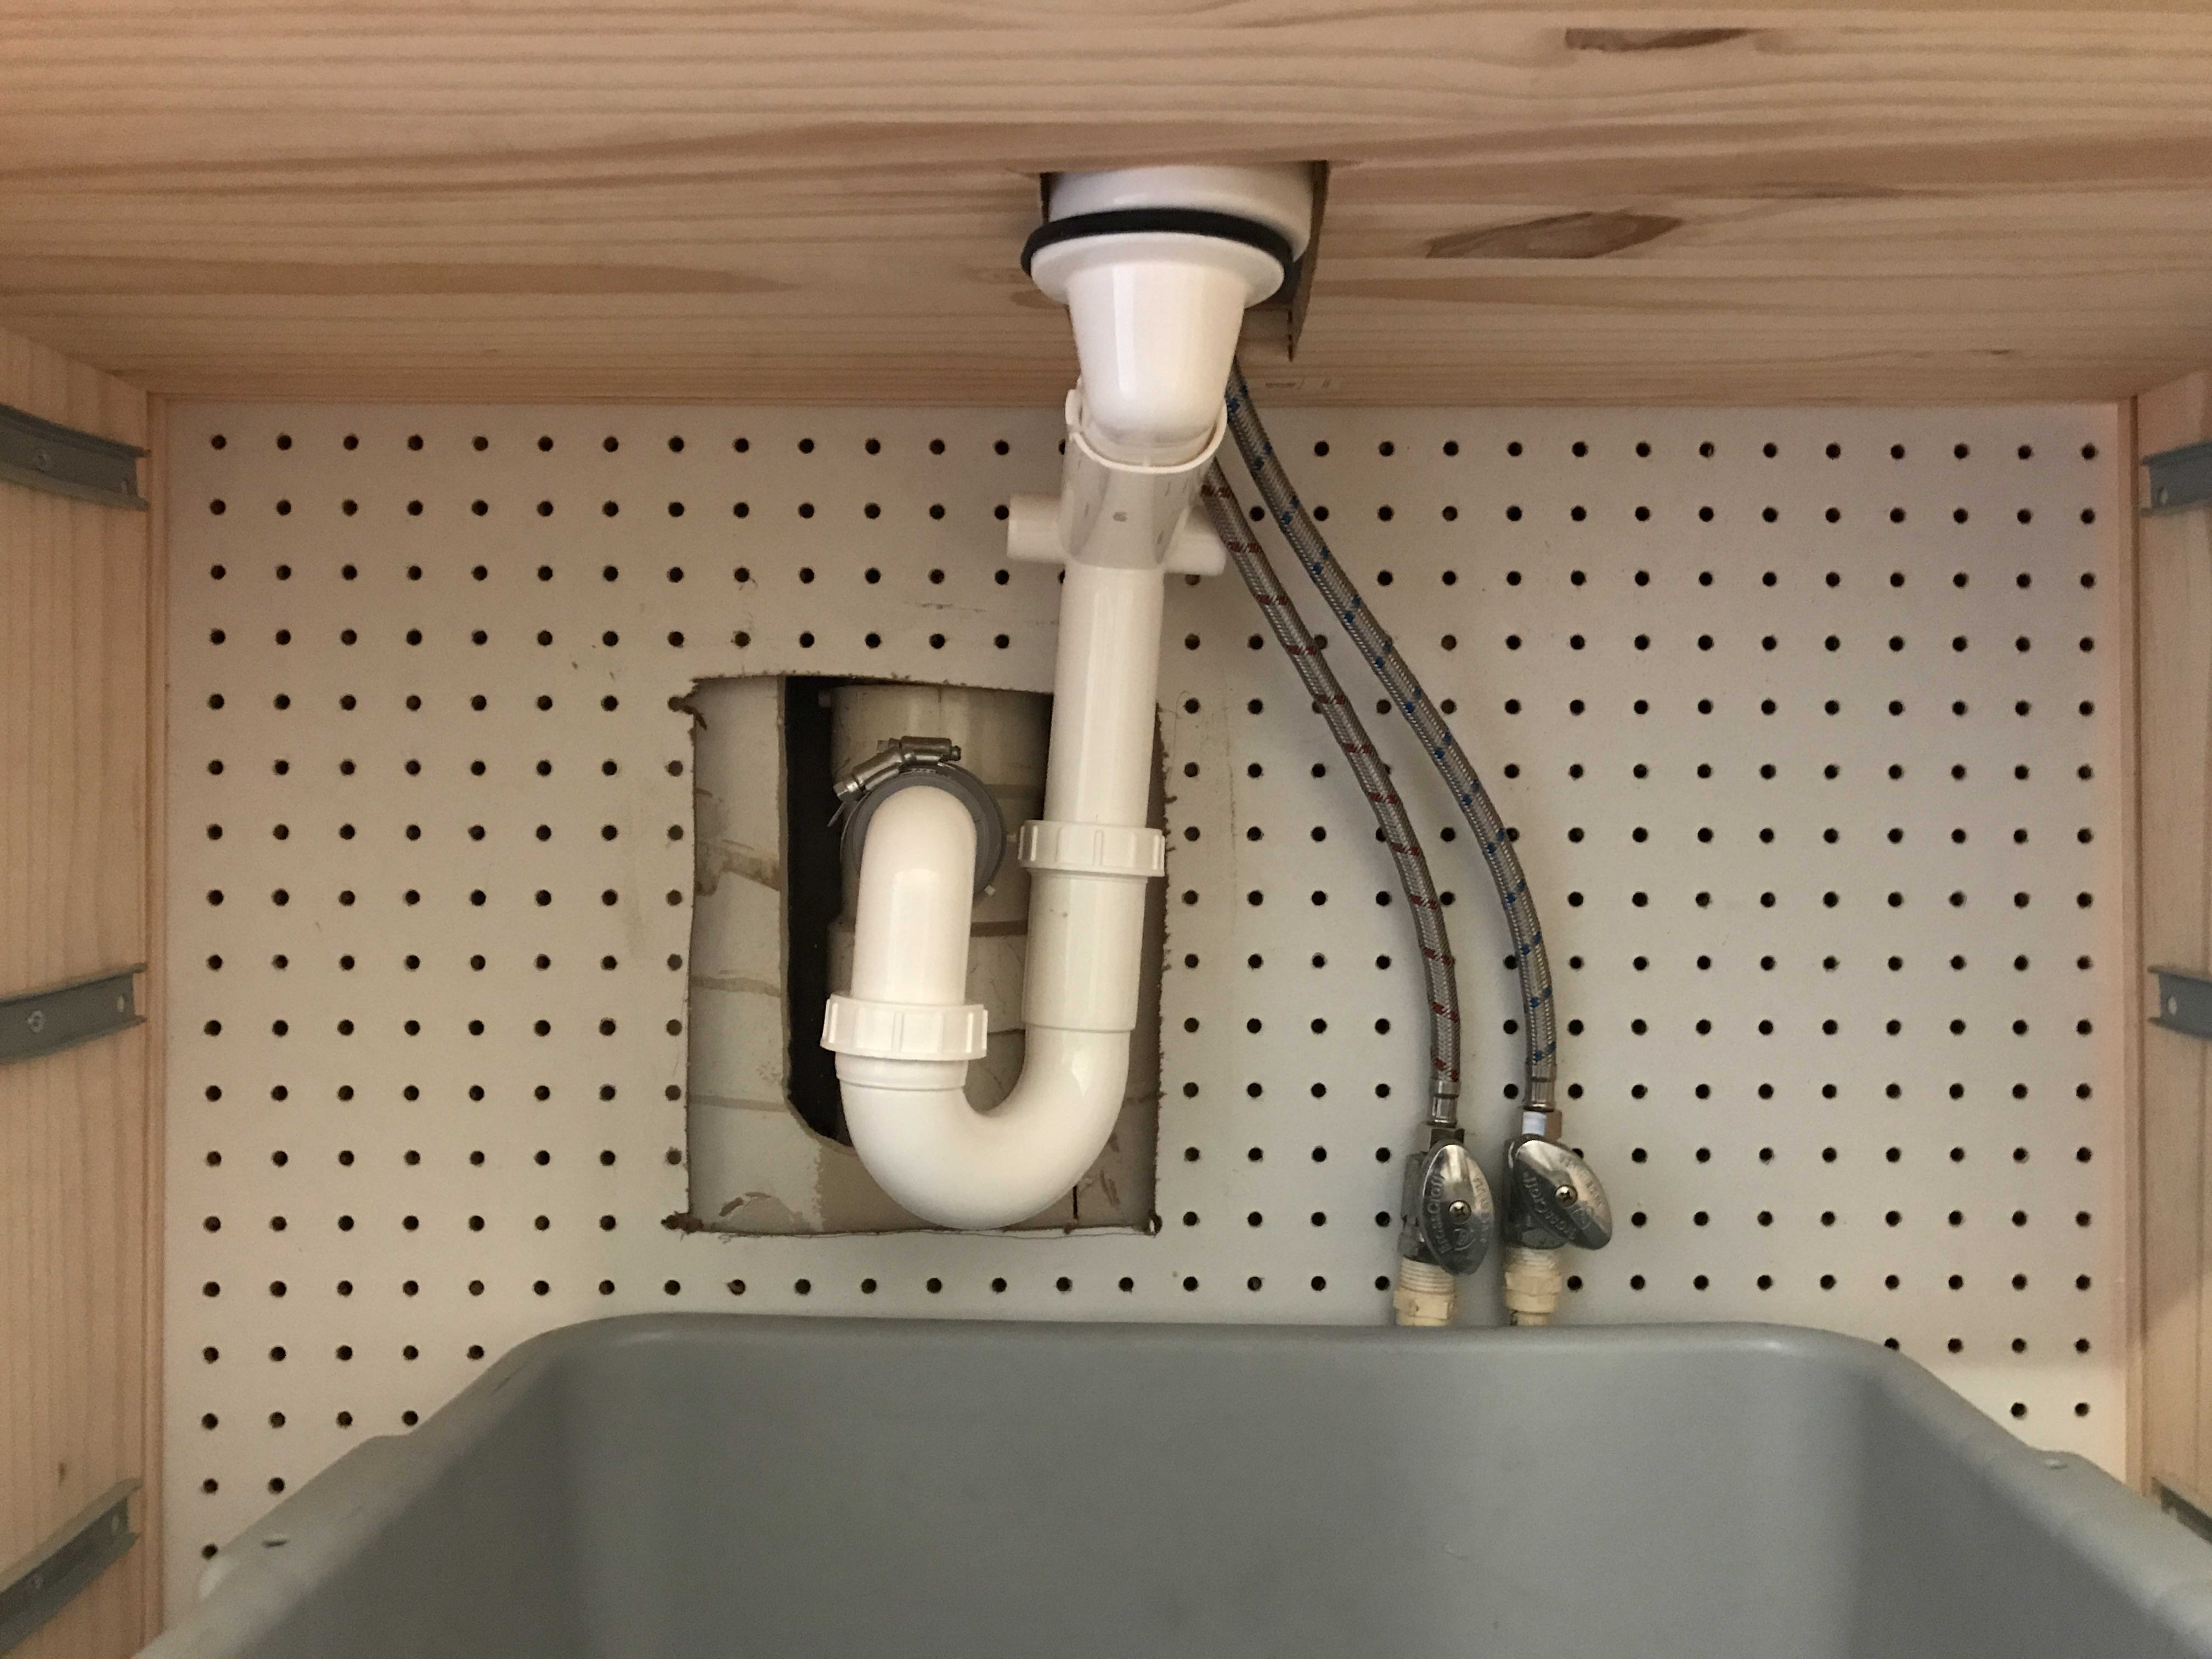
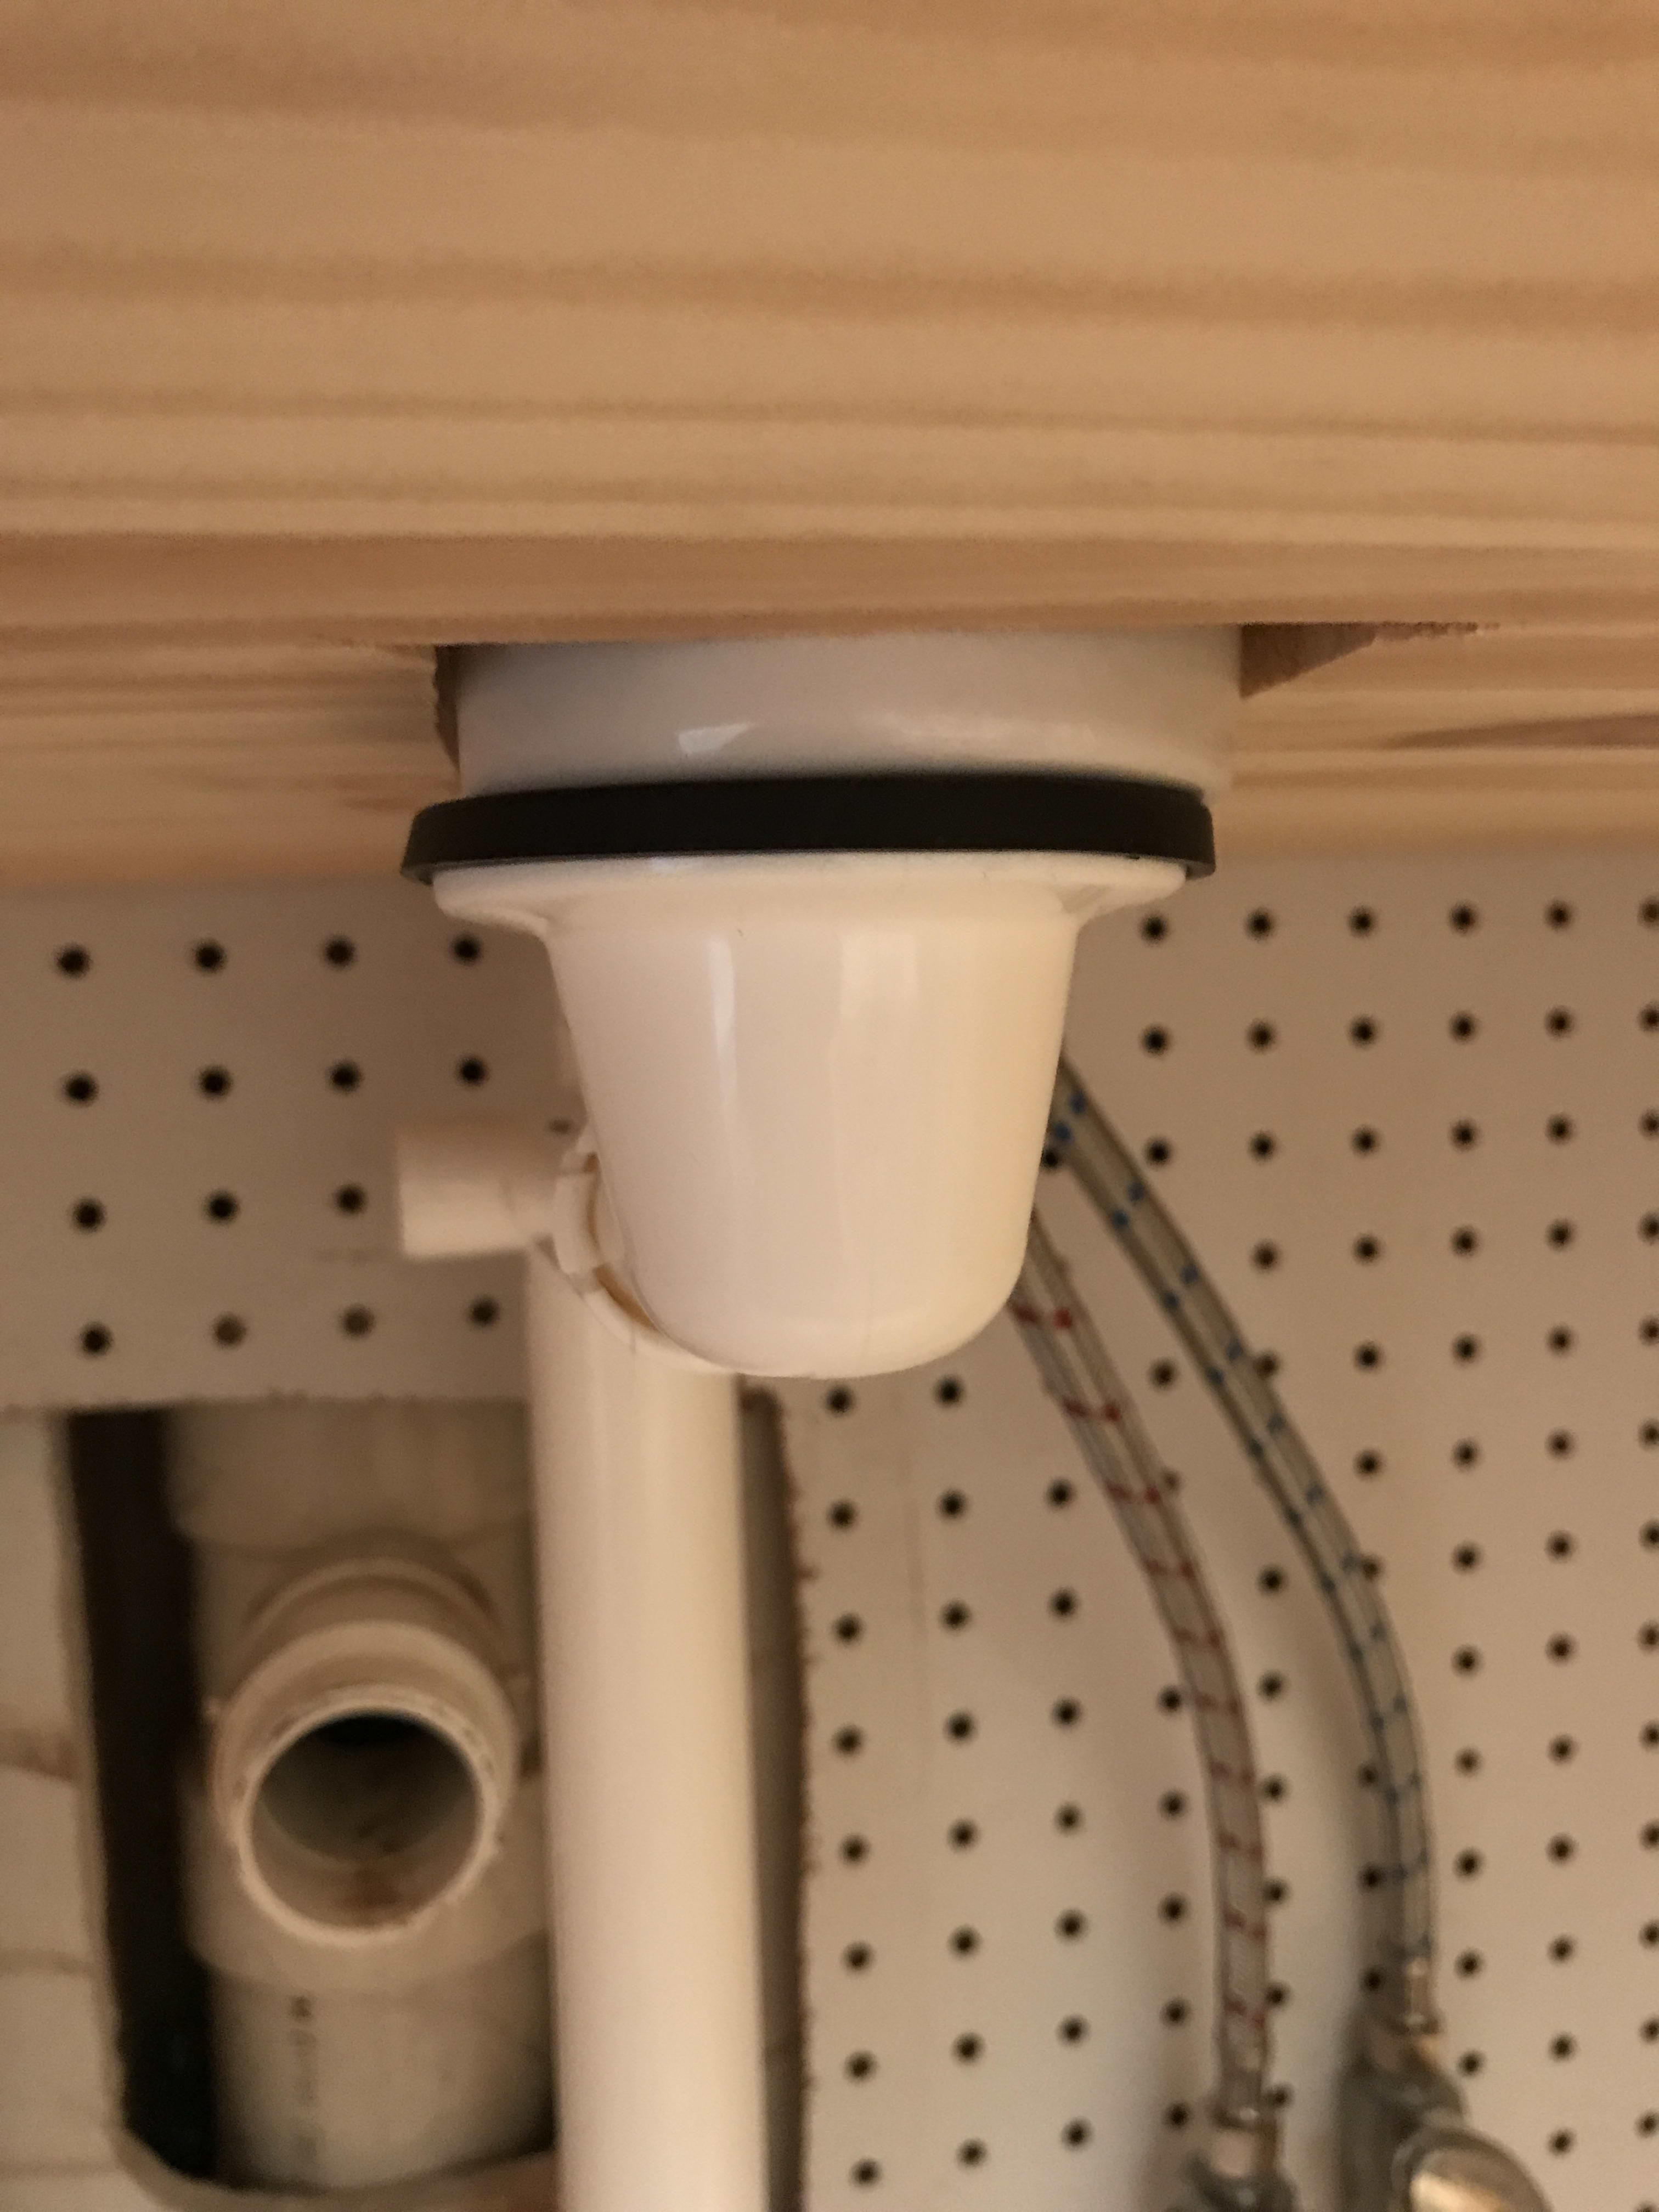
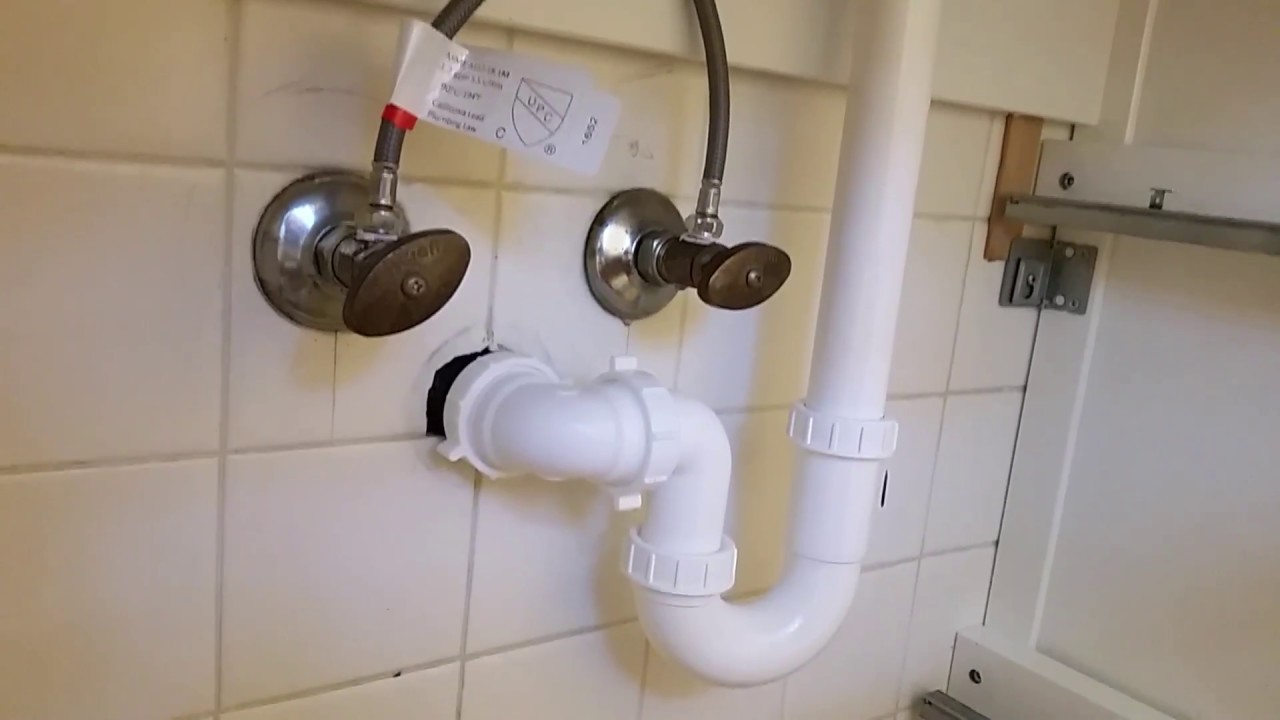
Installing an IKEA bathroom sink may seem like a daunting task, but with the right tools and instructions, it can be done in no time. Start by gathering all the necessary tools and materials, including the sink, faucet, plumbing tools, and a level. Make sure to read the installation instructions provided by IKEA carefully. Step 1: Prepare the area. Before you begin installation, make sure the area is clean and free of any debris. If you are replacing an old sink, remove it and clean the area thoroughly. Step 2: Install the faucet. Begin by installing the faucet on the sink according to the manufacturer's instructions. This may include attaching the water supply lines and securing the faucet to the sink with the provided hardware. Step 3: Install the drain. Next, install the drain on the sink. The specific steps may vary depending on the type of drain and sink you have, so be sure to follow the instructions carefully. Step 4: Attach the sink to the countertop. Place the sink on the countertop and secure it in place using the provided hardware. Use a level to ensure the sink is straight and make any necessary adjustments. Step 5: Connect the water supply lines. Once the sink is securely in place, connect the water supply lines to the faucet. Make sure to tighten all connections and check for any leaks. Step 6: Install the p-trap. The p-trap is an important component of your sink's plumbing system. Follow the instructions provided by IKEA to install the p-trap correctly. Step 7: Test the sink. Turn on the water and test the sink for any leaks. Make any necessary adjustments and tighten any loose connections. Step 8: Seal the sink. Once everything is in place and working properly, seal the sink to the countertop using a silicone sealant. This will prevent any water from leaking under the sink. Congratulations, you have successfully installed your IKEA bathroom sink! Enjoy your new and improved bathroom space.Step-by-Step Guide for Installing an IKEA Bathroom Sink


Step-by-Step Guide for Installing an IKEA Bathroom Sink


Installing an IKEA bathroom sink is a great DIY project for anyone looking to upgrade their bathroom. Not only is it affordable, but it also allows you to customize your bathroom to your liking. Follow our step-by-step tutorial for an easy and stress-free installation process.Easy DIY Tutorial for Installing an IKEA Bathroom Sink


Easy DIY Tutorial for Installing an IKEA Bathroom Sink


Here are a few tips and tricks to keep in mind when installing an IKEA bathroom sink: - Always read the instructions provided by IKEA carefully and follow them step-by-step. - Use a level to ensure the sink is straight and make any necessary adjustments. - Double-check all connections and tighten any loose ones to prevent leaks. - Use a silicone sealant to seal the sink to the countertop and prevent any water from leaking.Installing an IKEA Bathroom Sink: Tips and Tricks


Installing an IKEA Bathroom Sink: Tips and Tricks
If you are considering installing an IKEA bathroom sink, this is the ultimate guide for you. From start to finish, we have covered everything you need to know to successfully install your new sink and transform your bathroom.The Ultimate Guide to Installing an IKEA Bathroom Sink

The Ultimate Guide to Installing an IKEA Bathroom Sink

Here are some expert tips for installing an IKEA bathroom sink: - Measure the space carefully before purchasing your sink to ensure it will fit properly. - Consider adding storage options, such as a vanity or shelves, to maximize the space in your bathroom. - Don't be afraid to ask for help. Installing a sink may require some heavy lifting and having an extra set of hands can make the process easier.Expert Tips for Installing an IKEA Bathroom Sink

Expert Tips for Installing an IKEA Bathroom Sink

While installing an IKEA bathroom sink may seem straightforward, there are a few common mistakes that can easily be avoided: - Not reading the instructions carefully and missing important steps. - Not using a level to ensure the sink is straight. - Forgetting to seal the sink to the countertop, which can lead to water leaks.Installing an IKEA Bathroom Sink: Common Mistakes to Avoid
Installing an IKEA Bathroom Sink: Common Mistakes to Avoid


Here are the quick and easy steps for installing an IKEA bathroom sink: - Prepare the area and gather all necessary tools and materials. - Install the faucet and drain on the sink. - Attach the sink to the countertop and connect the water supply lines. - Install the p-trap and test the sink for leaks. - Seal the sink to the countertop with a silicone sealant.Quick and Easy Steps for Installing an IKEA Bathroom Sink

Quick and Easy Steps for Installing an IKEA Bathroom Sink

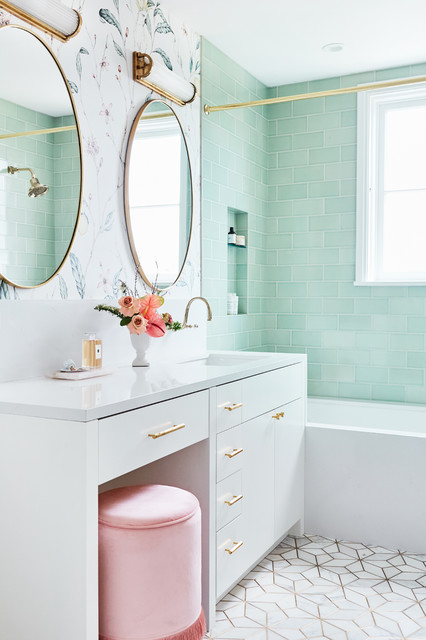
If you have a small bathroom, installing an IKEA bathroom sink can help maximize the space. Consider adding a vanity with storage options or using floating shelves above the sink for additional storage. Be sure to measure the space carefully and choose a sink that fits your needs and the size of your bathroom.Maximizing Space: Installing an IKEA Bathroom Sink in a Small Bathroom


Maximizing Space: Installing an IKEA Bathroom Sink in a Small Bathroom


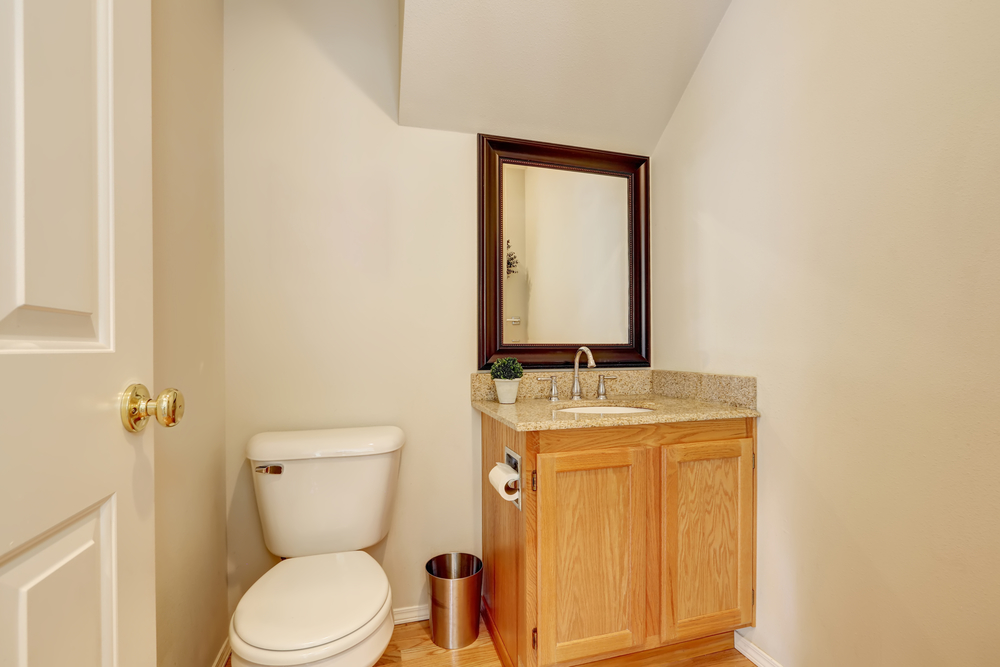

Installing an IKEA bathroom sink is a simple and affordable way to upgrade your bathroom and give it a fresh new look. With a variety of styles and options to choose from, you can easily find the perfect sink to fit your personal style and bathroom design. Follow our guide for a stress-free installation process and enjoy your upgraded bathroom space.How to Upgrade Your Bathroom with an IKEA Sink Installation


How to Upgrade Your Bathroom with an IKEA Sink Installation


Choosing the Right Sink for Your Bathroom

Why an IKEA Sink?
 When it comes to designing your dream bathroom,
choosing the right sink
is essential. Not only does it serve as a functional element, but it can also add style and character to your space. With a variety of options on the market, it can be overwhelming to narrow down the perfect sink for your needs. That's where IKEA comes in. Known for its affordable and stylish furniture, IKEA also offers a wide range of
bathroom sinks
that can fit any design aesthetic.
When it comes to designing your dream bathroom,
choosing the right sink
is essential. Not only does it serve as a functional element, but it can also add style and character to your space. With a variety of options on the market, it can be overwhelming to narrow down the perfect sink for your needs. That's where IKEA comes in. Known for its affordable and stylish furniture, IKEA also offers a wide range of
bathroom sinks
that can fit any design aesthetic.
The Different Types of IKEA Bathroom Sinks
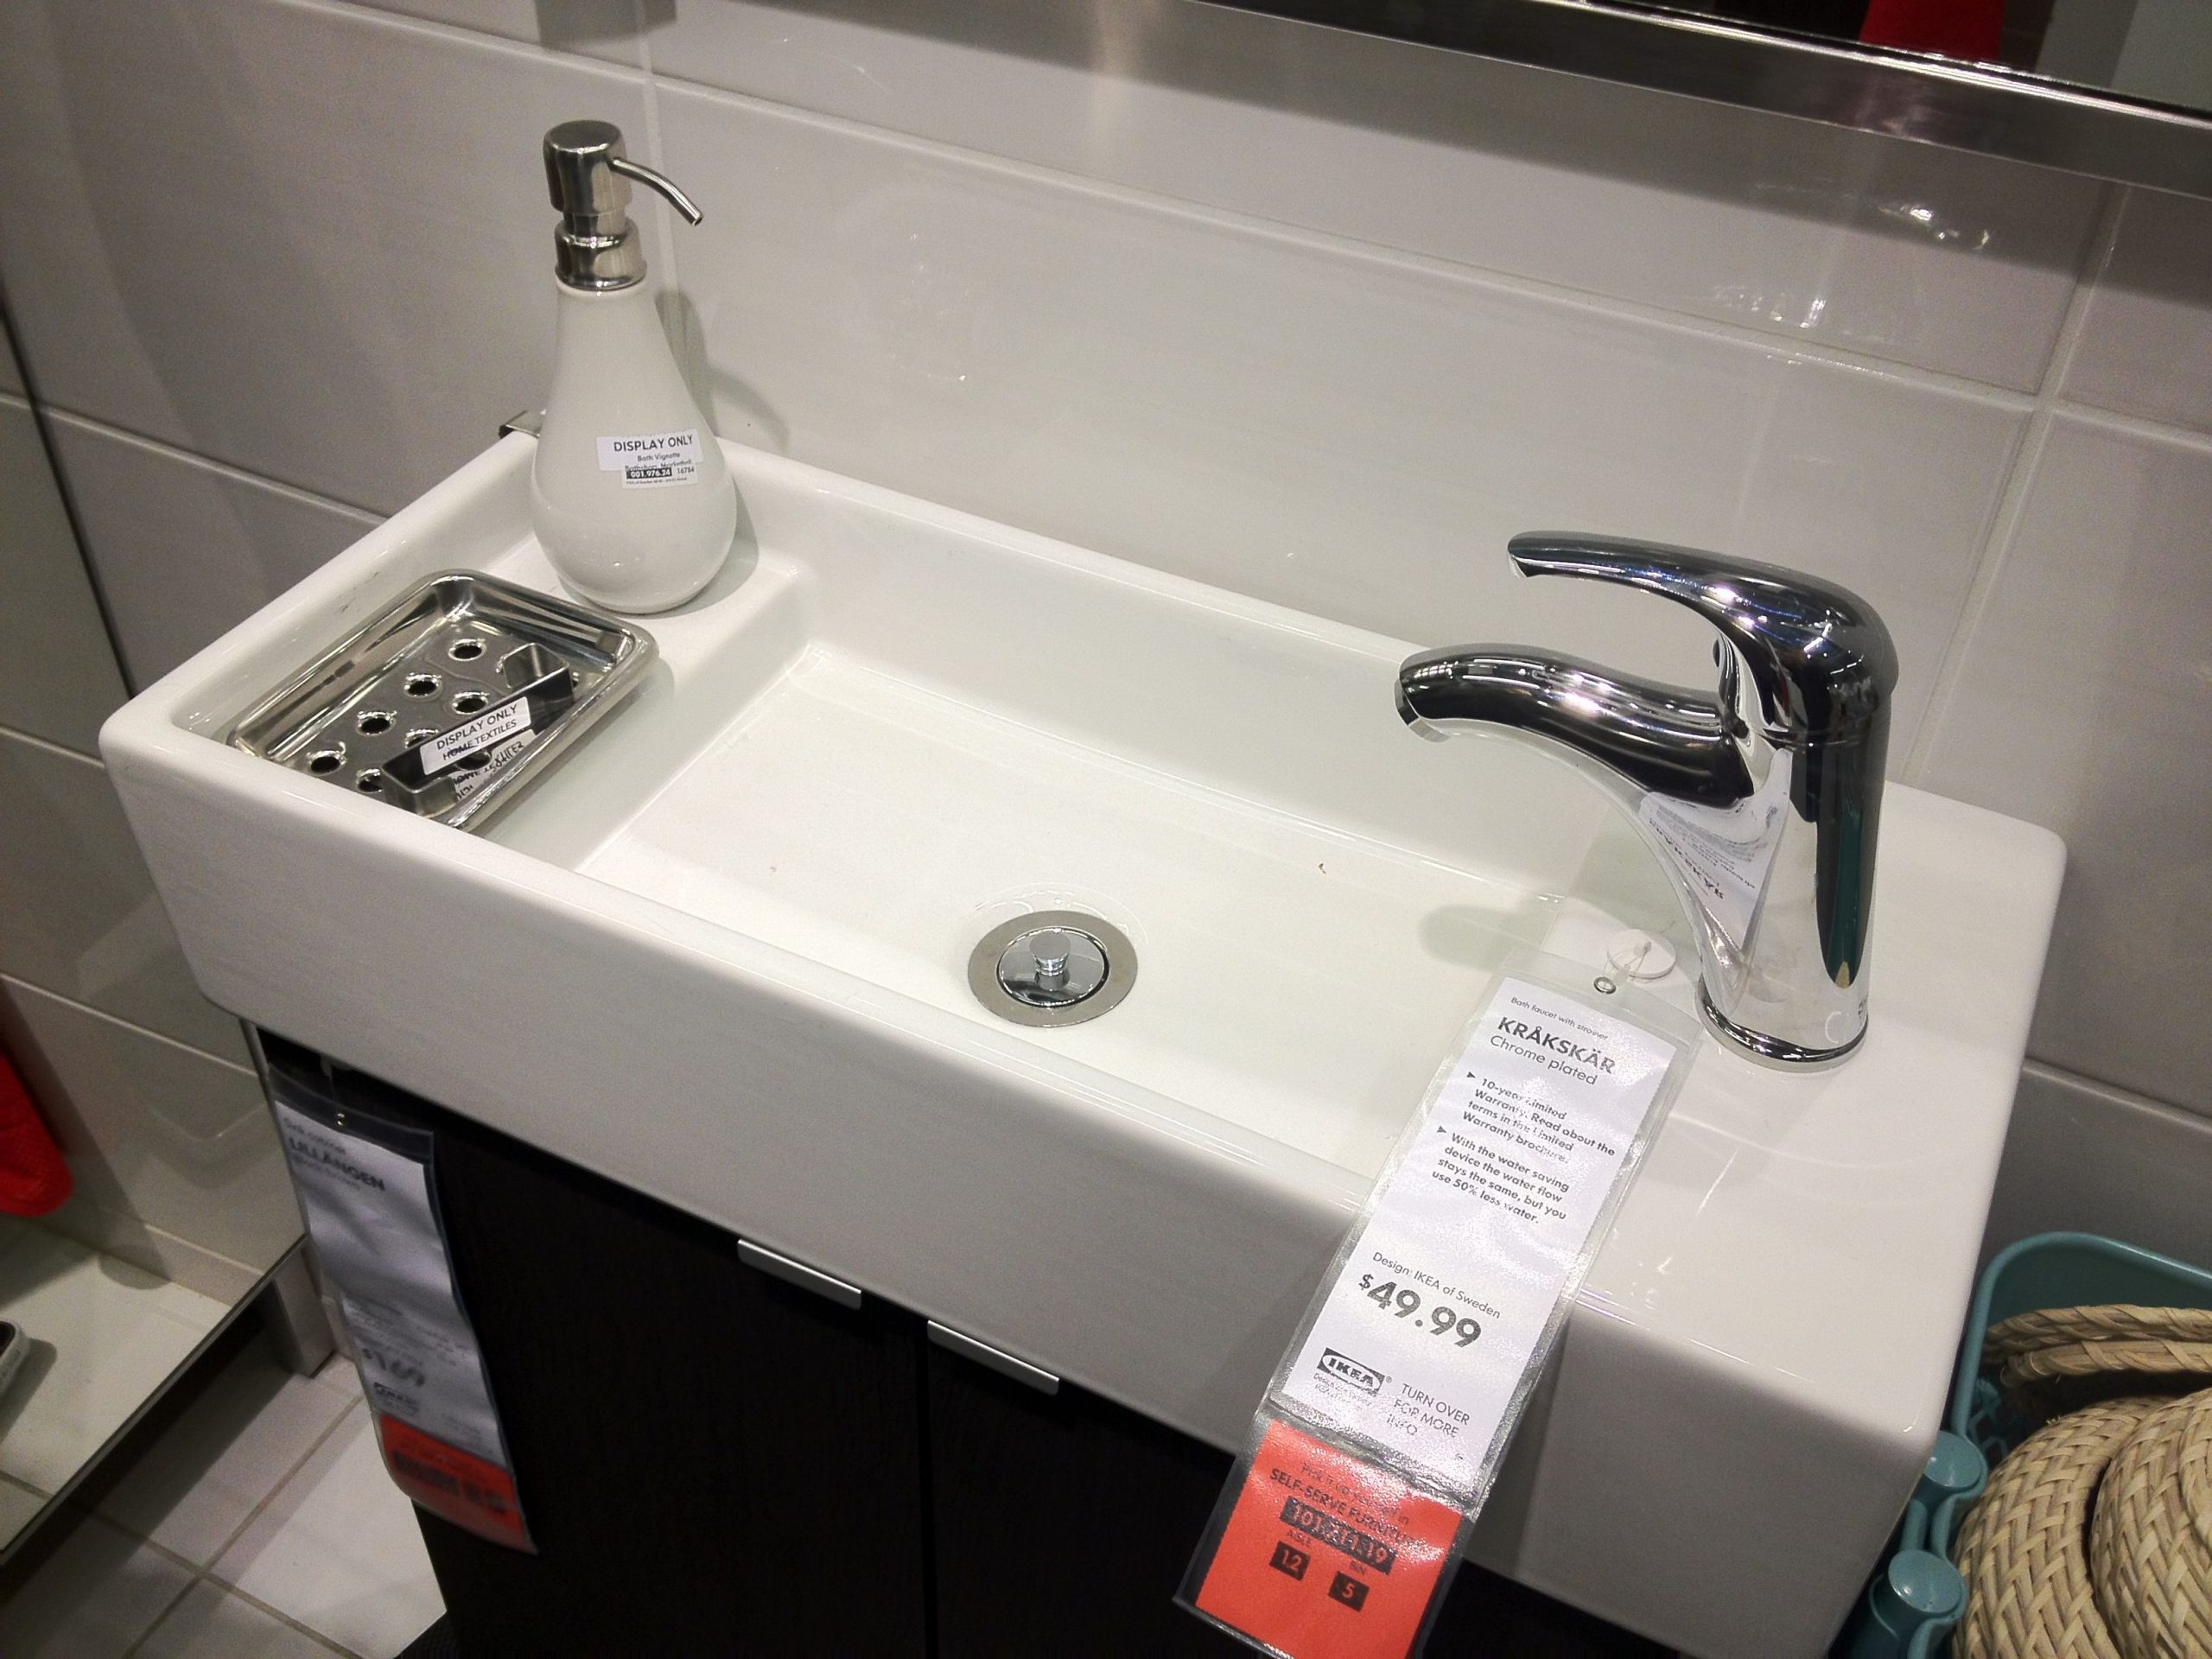
 IKEA offers several types of
bathroom sinks
to choose from, so it's important to consider your needs and preferences before making a decision. For small spaces, a
wall-mounted sink
may be the best option as it takes up less floor space and provides a clean, minimalist look. If you have a larger bathroom and want more storage, a
vanity sink
with cabinets underneath may be the way to go. IKEA also offers
pedestal sinks
and
undermount sinks
for a classic and elegant look.
IKEA offers several types of
bathroom sinks
to choose from, so it's important to consider your needs and preferences before making a decision. For small spaces, a
wall-mounted sink
may be the best option as it takes up less floor space and provides a clean, minimalist look. If you have a larger bathroom and want more storage, a
vanity sink
with cabinets underneath may be the way to go. IKEA also offers
pedestal sinks
and
undermount sinks
for a classic and elegant look.
Installing Your IKEA Bathroom Sink
 Once you've chosen the perfect
IKEA bathroom sink
for your space, it's time to install it. First, make sure to turn off the water supply and disconnect any old plumbing. Follow the instructions provided by IKEA and make sure to use the correct tools and materials. If you're unsure about any step, it's always best to seek professional help to ensure a proper and safe installation.
Once you've chosen the perfect
IKEA bathroom sink
for your space, it's time to install it. First, make sure to turn off the water supply and disconnect any old plumbing. Follow the instructions provided by IKEA and make sure to use the correct tools and materials. If you're unsure about any step, it's always best to seek professional help to ensure a proper and safe installation.
Final Thoughts
 In conclusion,
installing an IKEA bathroom sink
is a great way to add functionality and style to your bathroom. With a variety of options to choose from, you can find the perfect sink that fits your needs and design aesthetic. Just remember to carefully consider the different types of sinks offered by IKEA and seek professional help if needed during the installation process. With a little bit of research and planning, you'll have a beautiful and functional bathroom in no time.
In conclusion,
installing an IKEA bathroom sink
is a great way to add functionality and style to your bathroom. With a variety of options to choose from, you can find the perfect sink that fits your needs and design aesthetic. Just remember to carefully consider the different types of sinks offered by IKEA and seek professional help if needed during the installation process. With a little bit of research and planning, you'll have a beautiful and functional bathroom in no time.