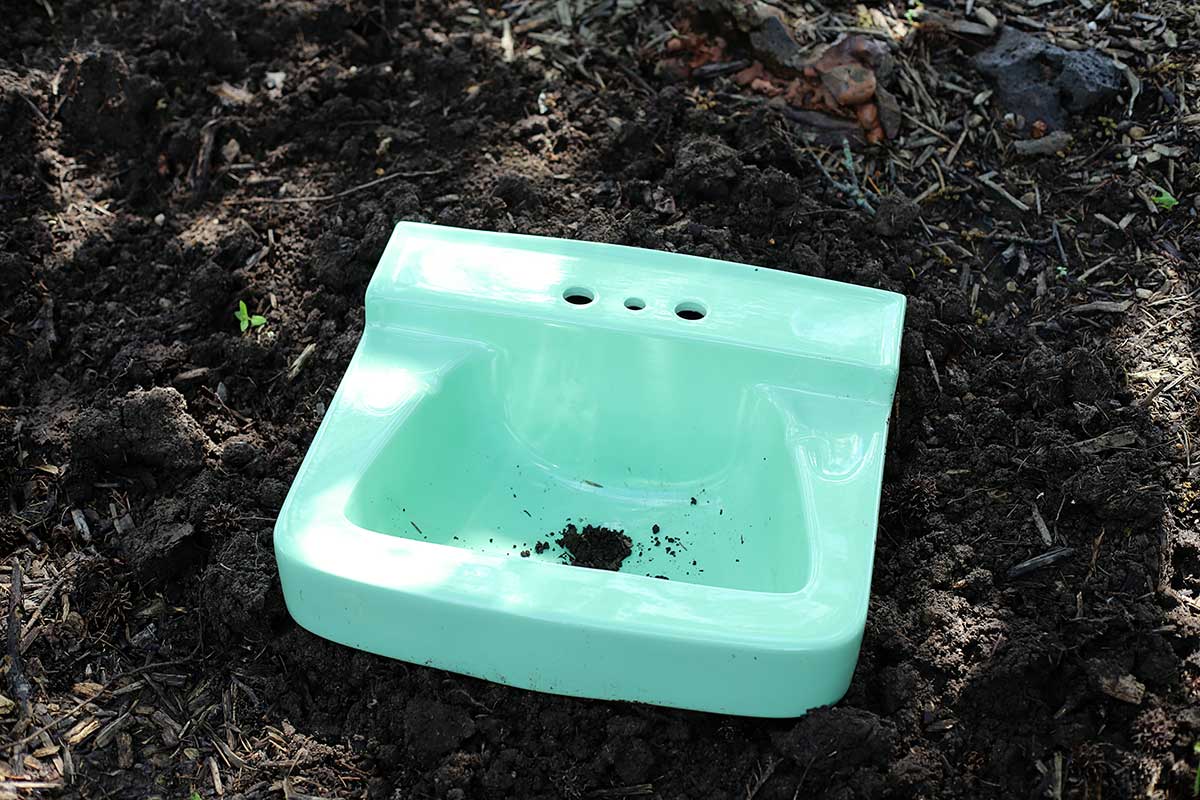
Installing a new porcelain bathroom sink is a great way to update the look of your bathroom and add value to your home. While it may seem like a daunting task, with the right tools and knowledge, it can be a fairly simple DIY project. Follow this step-by-step guide for a successful installation of your new porcelain bathroom sink.How to Install a Porcelain Bathroom Sink


How to Install a Porcelain Bathroom Sink

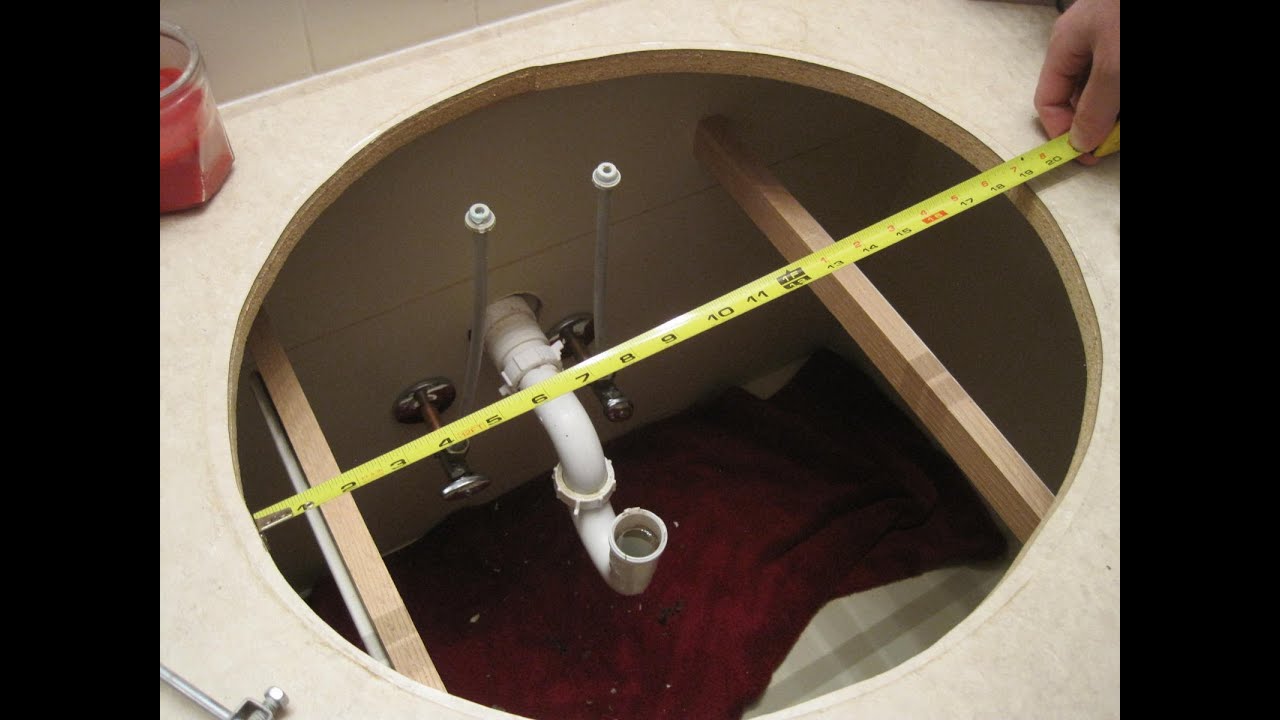


Step 1: Measure and Plan Before you begin the installation process, make sure to measure your current sink and the new porcelain sink to ensure they are the same size. This will also help you determine if any modifications need to be made to your bathroom vanity or countertop. Take time to plan out the installation process and gather all necessary tools and materials. Step 2: Turn off Water Supply Before removing your old sink, turn off the water supply to avoid any potential leaks. You can usually find the water shut-off valves under the sink or near the main water supply for your house. Step 3: Remove Old Sink Using a wrench, carefully loosen and remove the nuts and bolts that hold the sink in place. Once the sink is disconnected from the plumbing, carefully lift it out and set it aside. Step 4: Prepare Vanity or Countertop If your new sink is larger or smaller than your old one, you may need to make some adjustments to your vanity or countertop to ensure a proper fit. Use a saw or drill to make any necessary modifications. Step 5: Install Faucet and Drain Before placing the sink, you will need to install the faucet and drain according to the manufacturer's instructions. Make sure to use plumber's putty to create a watertight seal around the drain. Step 6: Place Sink Gently place the new porcelain sink onto the vanity or countertop. Make sure it is centered and level before moving on to the next step. Step 7: Secure Sink Using the mounting clips provided with your sink, secure the sink to the vanity or countertop. Make sure the sink is evenly supported and does not wobble. Step 8: Connect Plumbing Reconnect the plumbing, including the water supply lines and the drain. Make sure all connections are tight and there are no leaks. Step 9: Seal Sink Using a silicone caulk, carefully seal around the edges of the sink where it meets the vanity or countertop. This will help prevent any water from seeping under the sink. Step 10: Test Sink Turn the water supply back on and test the sink to make sure it is functioning properly. Adjust any necessary connections or seals if needed.Step-by-Step Guide for Installing a Porcelain Bathroom Sink


Step-by-Step Guide for Installing a Porcelain Bathroom Sink


If you're feeling confident in your DIY skills, installing a porcelain bathroom sink can be a rewarding project to take on. Not only will you save money by doing it yourself, but you'll also have the satisfaction of knowing you completed the task on your own. Just make sure to follow the manufacturer's instructions and take your time to avoid any mistakes.DIY: Installing a Porcelain Bathroom Sink


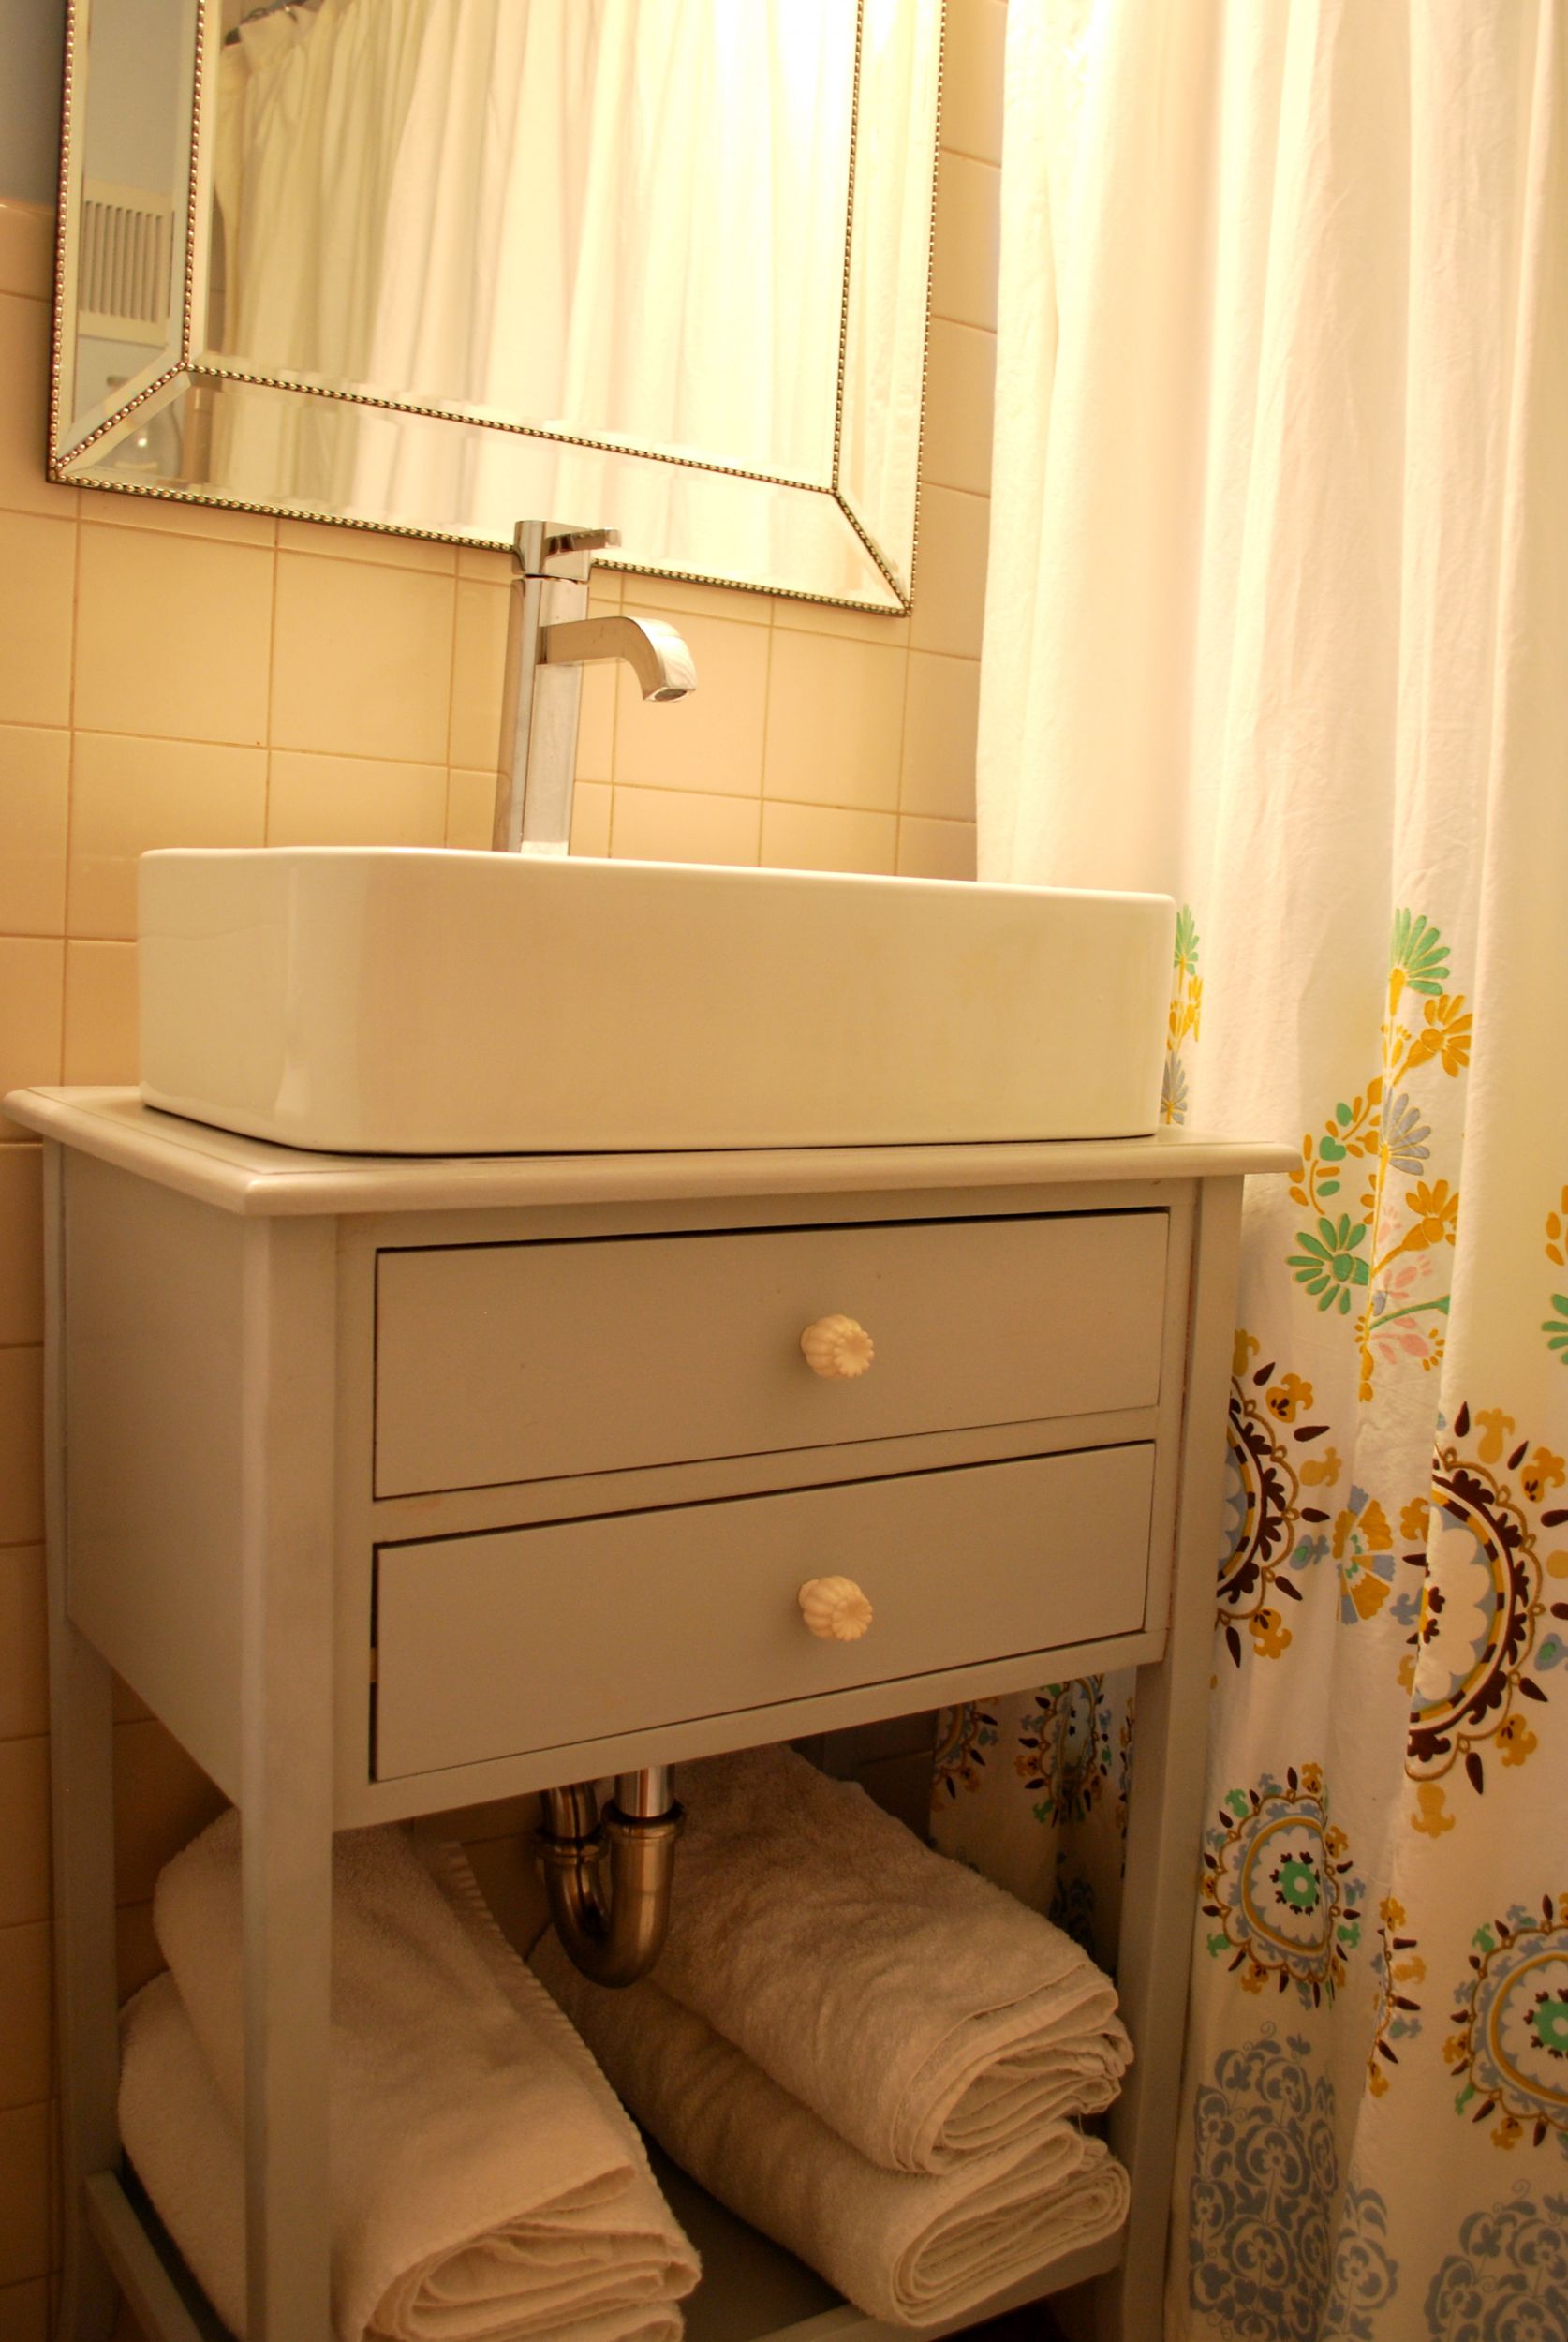
DIY: Installing a Porcelain Bathroom Sink


Tip 1: Enlist Help While installing a porcelain bathroom sink can be a one-person job, it is recommended to have someone assist you. This will make the process easier and safer, especially when lifting and securing the sink. Tip 2: Protect Your Sink Before starting the installation process, place a towel or blanket in the bottom of the sink to prevent any damage in case any tools or parts accidentally fall into it. Tip 3: Use Quality Materials Investing in high-quality materials, such as mounting clips and silicone caulk, can save you from potential headaches in the long run. These materials will provide a better fit and seal, ensuring the longevity of your sink.Porcelain Bathroom Sink Installation Tips


Porcelain Bathroom Sink Installation Tips


Wrench Screwdriver Plumber's Putty Silicone Caulk Saw or Drill (if modifications are needed) Towels or BlanketsEssential Tools for Installing a Porcelain Bathroom Sink


Essential Tools for Installing a Porcelain Bathroom Sink


Before starting the installation process, make sure to clear out any items from under the sink and the surrounding area. This will provide you with enough space to work and avoid any potential damage to your belongings.Prepping Your Bathroom for a Porcelain Sink Installation


Prepping Your Bathroom for a Porcelain Sink Installation


Mistake 1: Not Measuring Properly It is crucial to measure your old sink and the new porcelain sink to ensure they are the same size. Failing to do so can result in a sink that does not fit properly, causing potential leaks and damage. Mistake 2: Rushing the Process Installing a porcelain bathroom sink takes time and patience. Rushing the process can result in mistakes that could have been easily avoided by taking your time and following instructions carefully. Mistake 3: Not Properly Sealing the Sink Properly sealing your sink with silicone caulk is essential to prevent any water from seeping under the sink. Failing to do so can cause damage to your vanity or countertop and lead to mold and mildew growth.Common Mistakes to Avoid When Installing a Porcelain Bathroom Sink


Common Mistakes to Avoid When Installing a Porcelain Bathroom Sink


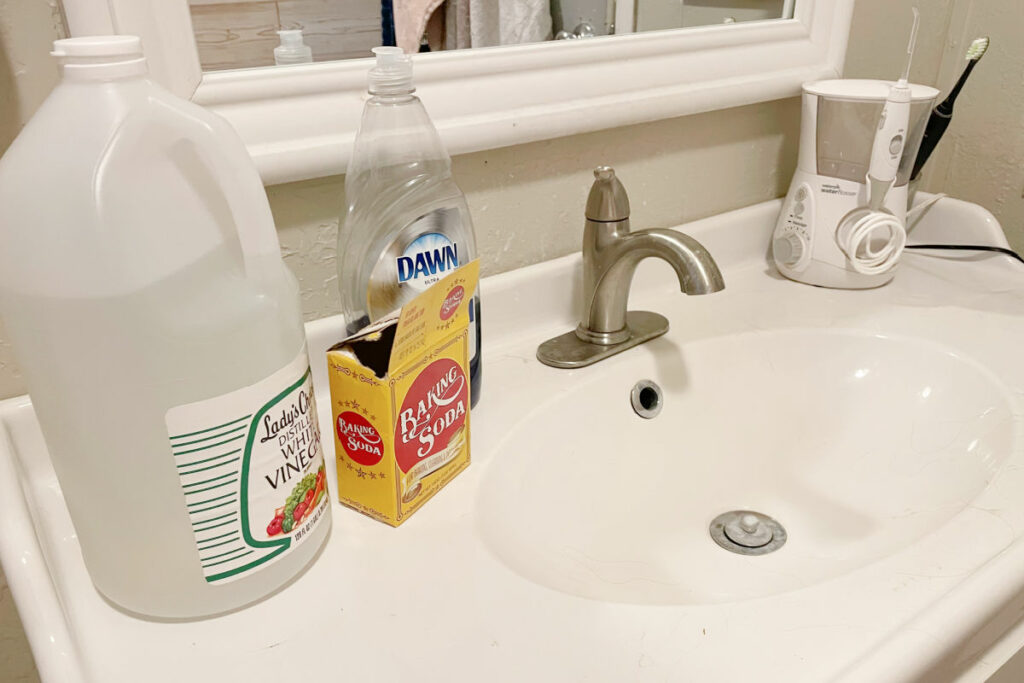
To ensure a proper seal, use a high-quality silicone caulk and carefully apply it around the edges of the sink where it meets the vanity or countertop. Wipe away any excess caulk with a damp cloth and let it dry completely before using the sink.How to Properly Seal a Porcelain Bathroom Sink


How to Properly Seal a Porcelain Bathroom Sink


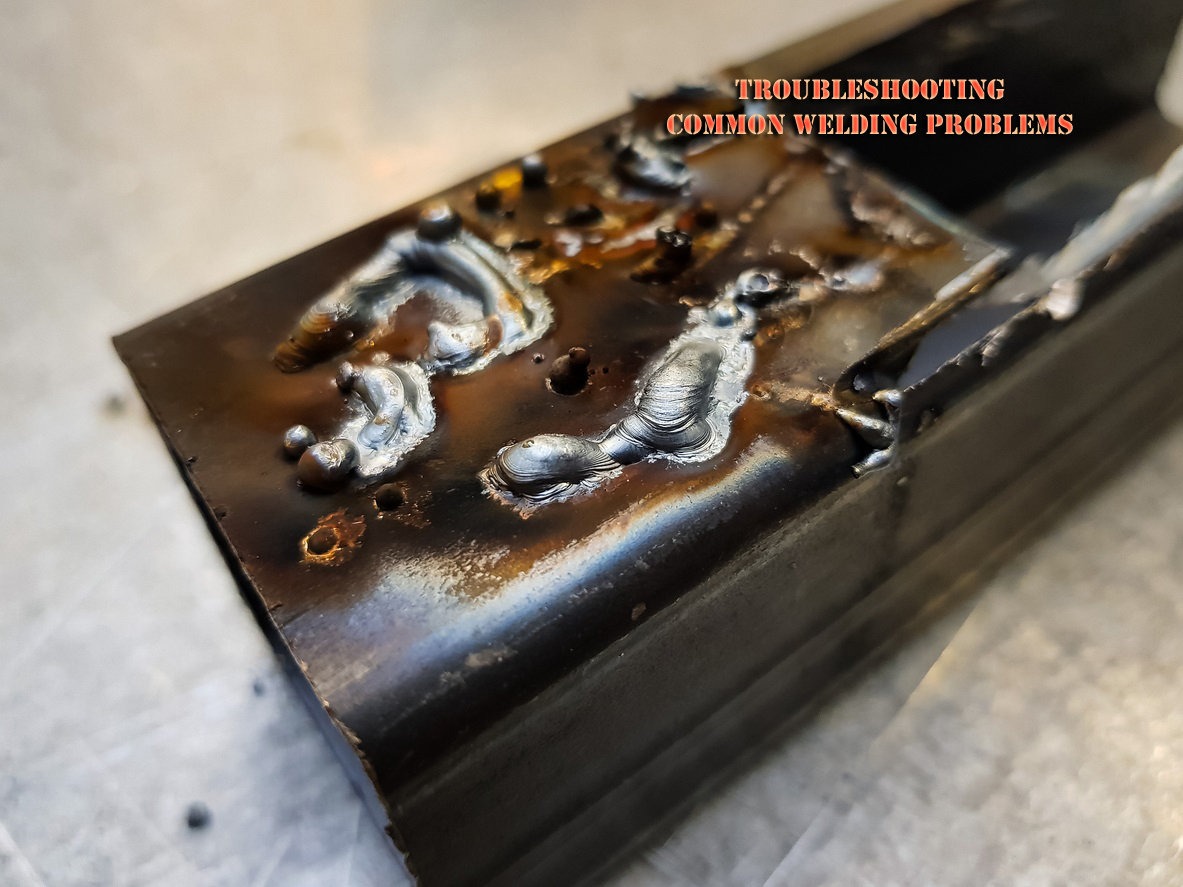
Issue 1: Sink is Not Level If your sink is not level, try adjusting the mounting clips to provide better support. If the issue persists, check to see if the vanity or countertop is level and make any necessary modifications. Issue 2: Leaking Drain If your drain is leaking, check to make sure the connections are tight and there are no cracks in the plumbing. You may also need to reapply plumber's putty to create a better seal. Issue 3: Wobbly Sink If your sink is wobbly, check to make sure the mounting clips are securely in place. You can also add additional support by using shims or adhesive pads under the sink.Troubleshooting Common Issues During a Porcelain Sink Installation


Troubleshooting Common Issues During a Porcelain Sink Installation


Tip 1: Follow Instructions Carefully Make sure to carefully read and follow the manufacturer's instructions for your specific sink. This will ensure a proper installation and avoid any potential mistakes. Tip 2: Have Patience Installing a porcelain bathroom sink may take longer than you anticipate, but it's important to have patience and take your time to avoid any mistakes. Tip 3: Use Protective Gear When working with tools and materials, it's important to wear protective gear, such as gloves and safety glasses, to avoid any potential injuries. With the right tools and knowledge, installing a porcelain bathroom sink can be a simple and rewarding DIY project. By following these tips and instructions, you can successfully update the look of your bathroom and add value to your home. Remember to take your time, follow instructions carefully, and have patience for a successful installation. Expert Tips for a Successful Porcelain Bathroom Sink Installation


Expert Tips for a Successful Porcelain Bathroom Sink Installation


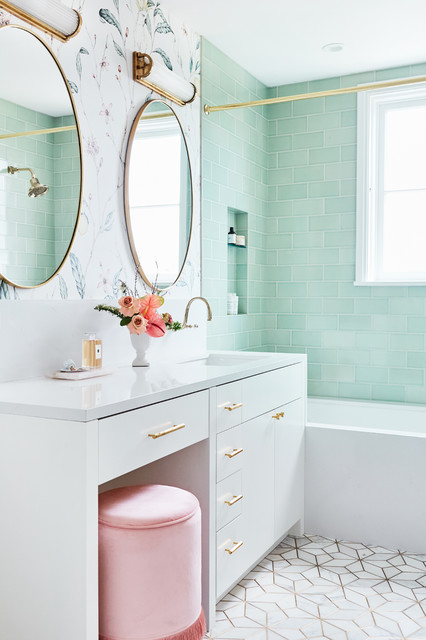
Adding the Finishing Touches

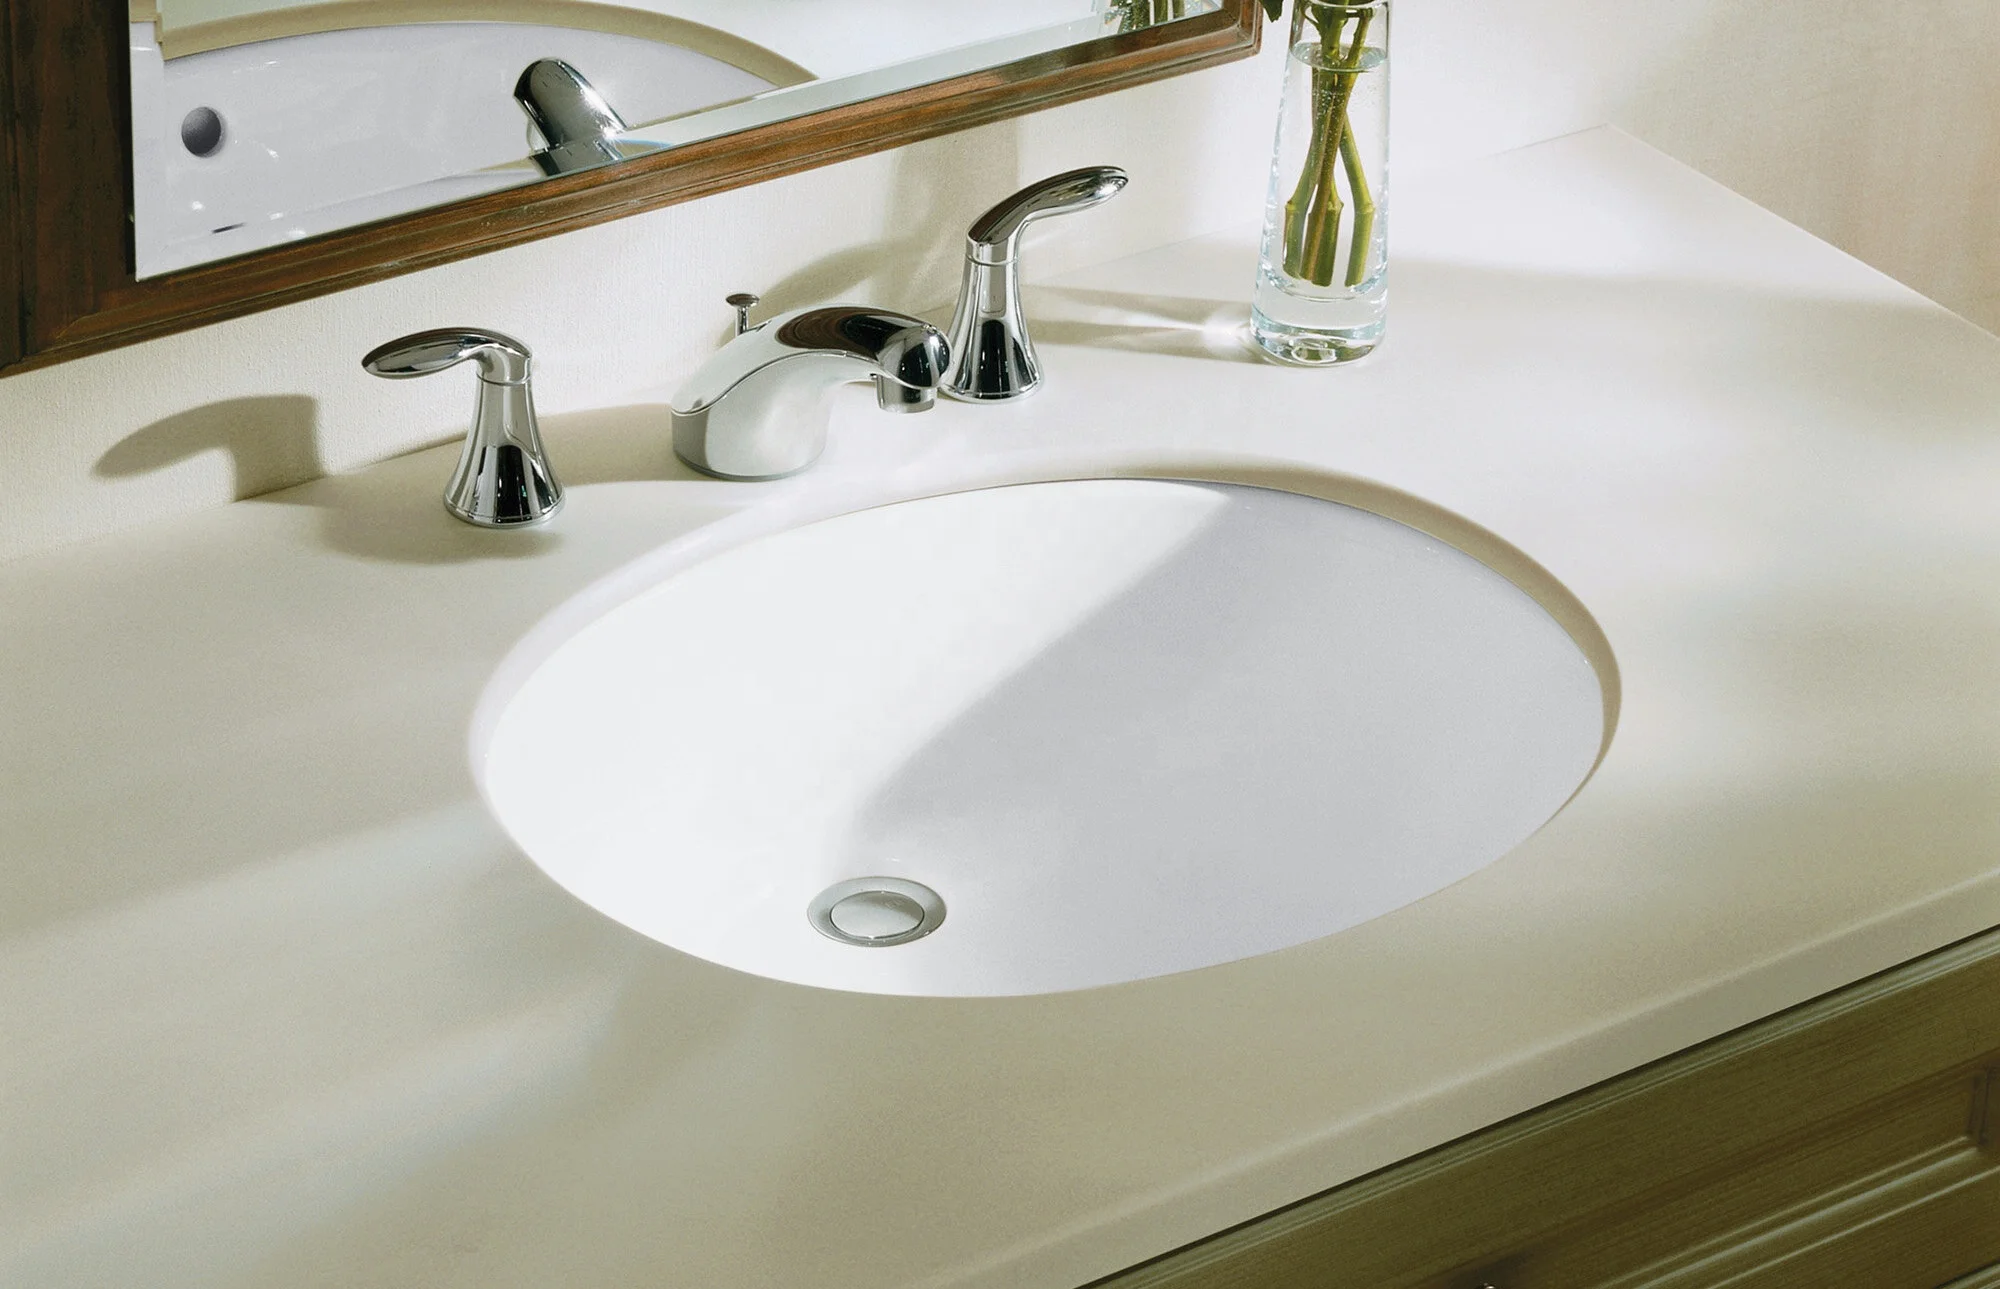
Choosing the Right Faucet and Drain
 Once your porcelain bathroom sink is securely installed, it's time to choose the perfect faucet and drain to complete the look.
Porcelain sinks pair well with traditional-style faucets in finishes like chrome, nickel, or bronze.
These classic designs will complement the elegant and timeless nature of porcelain. Additionally, make sure to choose a drain that matches the finish of your faucet for a cohesive look.
Opt for pop-up drains or push-button drains, as these are easy to use and clean.
This is also a great opportunity to add a pop of color or personality to your bathroom by choosing a unique faucet or drain design.
Once your porcelain bathroom sink is securely installed, it's time to choose the perfect faucet and drain to complete the look.
Porcelain sinks pair well with traditional-style faucets in finishes like chrome, nickel, or bronze.
These classic designs will complement the elegant and timeless nature of porcelain. Additionally, make sure to choose a drain that matches the finish of your faucet for a cohesive look.
Opt for pop-up drains or push-button drains, as these are easy to use and clean.
This is also a great opportunity to add a pop of color or personality to your bathroom by choosing a unique faucet or drain design.
Accessorizing Your Sink
 Now that your porcelain sink is installed and outfitted with the perfect faucet and drain, it's time to add some accessories to make it truly stand out.
A soap dispenser, toothbrush holder, and towel ring are all functional and stylish additions to any bathroom sink.
Choose accessories in complementary colors or materials to create a cohesive and chic look. If you have a larger bathroom, consider adding a small potted plant or some decorative items to add some warmth and personality to the space.
Remember to keep the area around your sink clutter-free and organized for a polished and professional appearance.
Now that your porcelain sink is installed and outfitted with the perfect faucet and drain, it's time to add some accessories to make it truly stand out.
A soap dispenser, toothbrush holder, and towel ring are all functional and stylish additions to any bathroom sink.
Choose accessories in complementary colors or materials to create a cohesive and chic look. If you have a larger bathroom, consider adding a small potted plant or some decorative items to add some warmth and personality to the space.
Remember to keep the area around your sink clutter-free and organized for a polished and professional appearance.
With these tips in mind, you can create a beautiful and functional porcelain bathroom sink that will elevate the design of your entire bathroom. Be sure to properly maintain your sink by cleaning it regularly with gentle, non-abrasive cleaners to keep it looking as good as new for years to come. Whether you're renovating your entire bathroom or just looking to upgrade your sink, a porcelain sink is a timeless and elegant choice that will never go out of style.