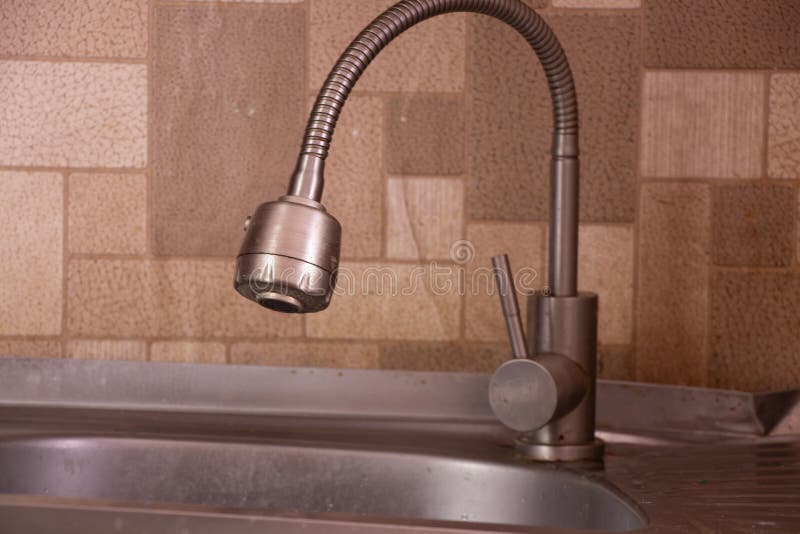
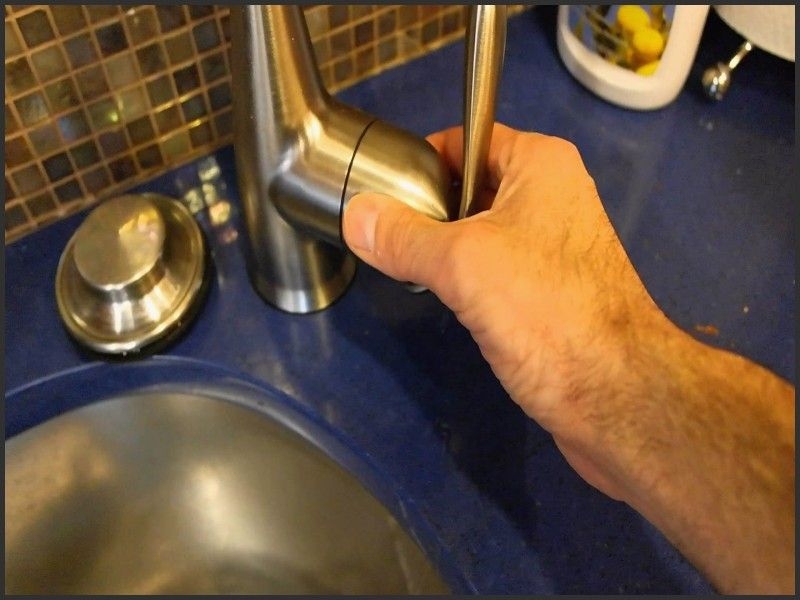
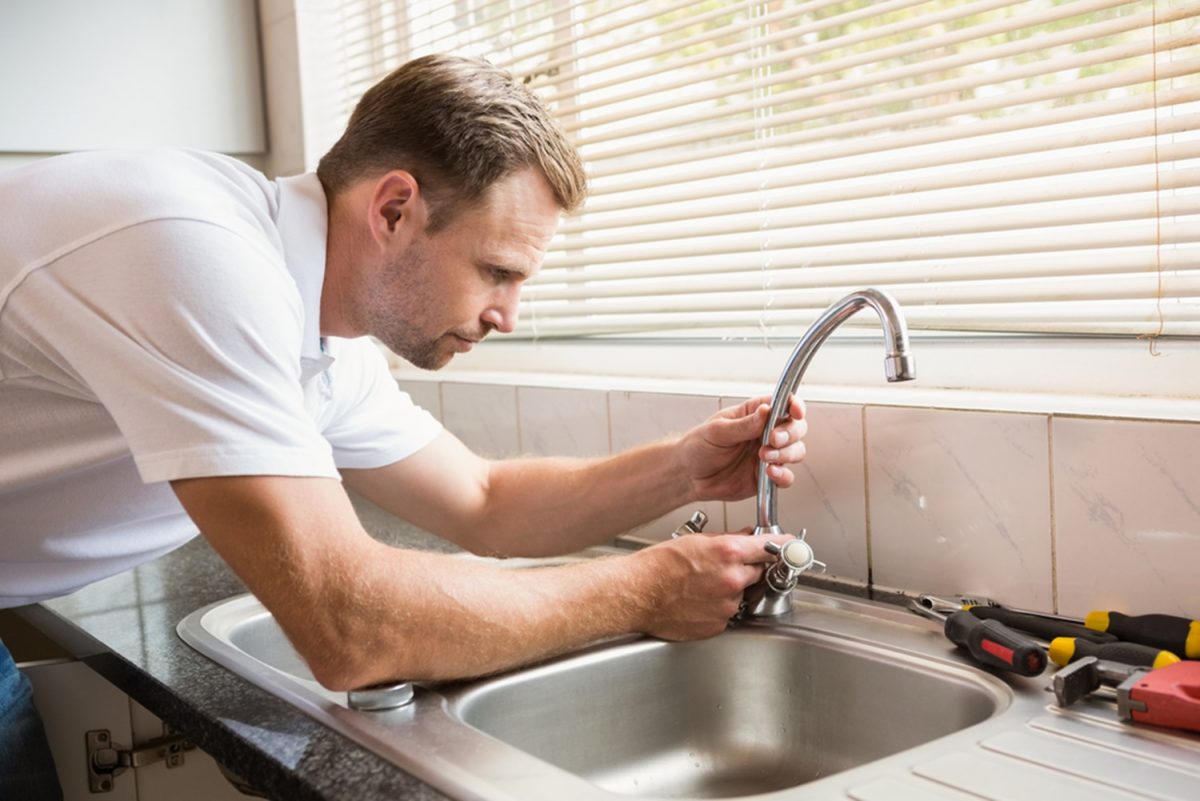
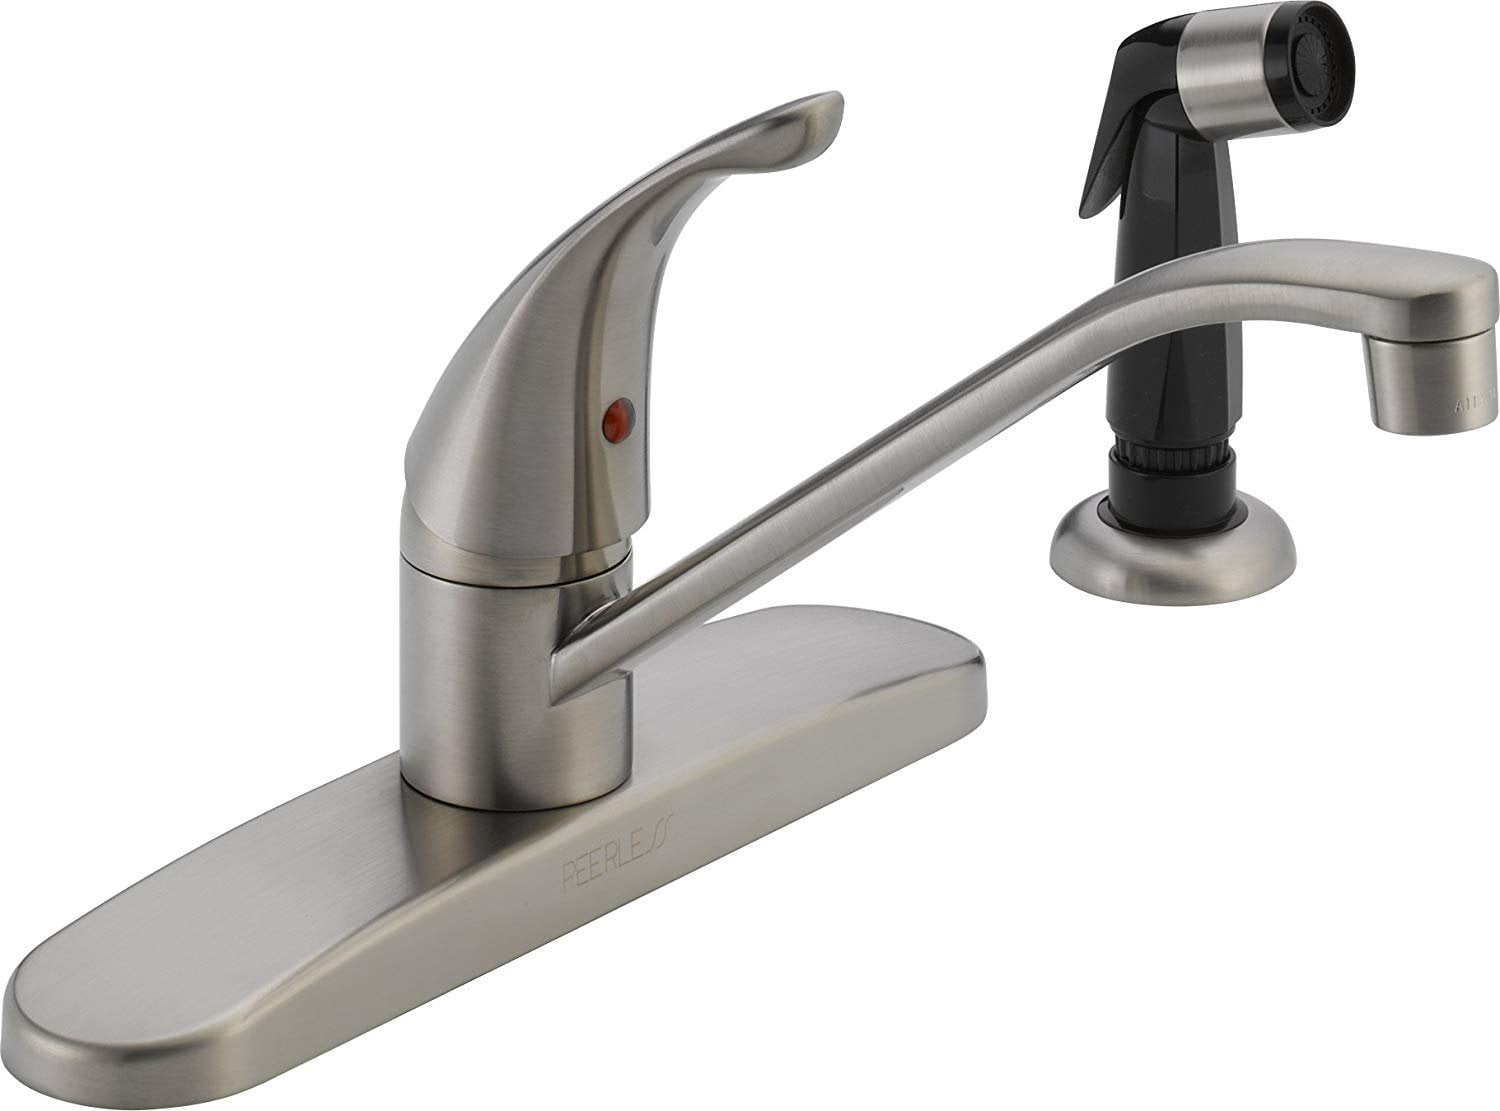
If you're tired of dealing with a constantly dripping kitchen sink handle, don't worry, you're not alone. A leaky handle can be a frustrating and wasteful problem, but fortunately, it's also a relatively easy fix. With a few simple steps, you can have your kitchen sink handle working like new again. First, turn off the water supply to your kitchen sink. This is usually located under the sink and can be shut off by turning the valve clockwise. Next, use a wrench to loosen the bonnet nut that holds the handle in place. Once the nut is loose, remove the handle and take a look at the cartridge inside. This is the part that controls the water flow and is usually the culprit for a leaky handle. Check the cartridge for any damage or wear and tear. If it looks worn or damaged, it will need to be replaced. If it looks fine, try cleaning it with a mixture of equal parts vinegar and water. This can help remove any mineral build-up that may be causing the leak. Once the cartridge is clean, reassemble the handle and turn the water supply back on. If the leak persists, it may be time to replace the entire handle.1. How to Fix a Leaky Kitchen Sink Handle


1. How to Fix a Leaky Kitchen Sink Handle


If your kitchen sink handle is beyond repair, don't worry, replacing it is a relatively simple process. The first step is to find a replacement handle that matches your current one. Take note of the brand and model of your sink and look for a compatible handle at your local hardware store or online. To replace the handle, start by turning off the water supply and removing the old handle as described in the previous section. Next, unscrew the retaining nut that holds the cartridge in place and remove the cartridge. Take the new handle and insert the cartridge into the handle, making sure it is aligned properly. Then, screw the retaining nut back in place and reattach the handle to the sink. Turn the water supply back on and test the new handle to ensure it is working properly.2. Replacing a Kitchen Sink Handle


2. Replacing a Kitchen Sink Handle

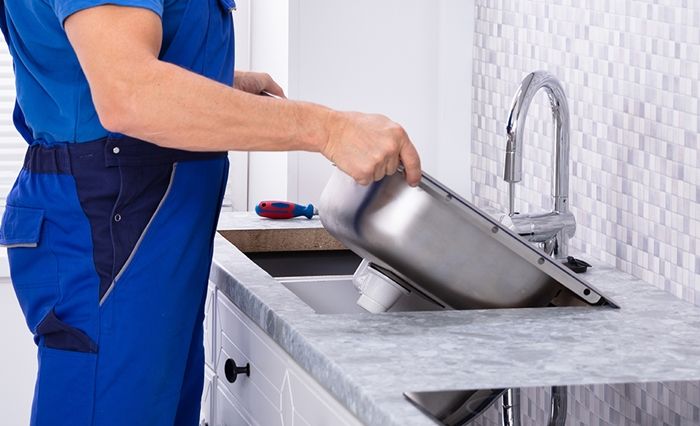


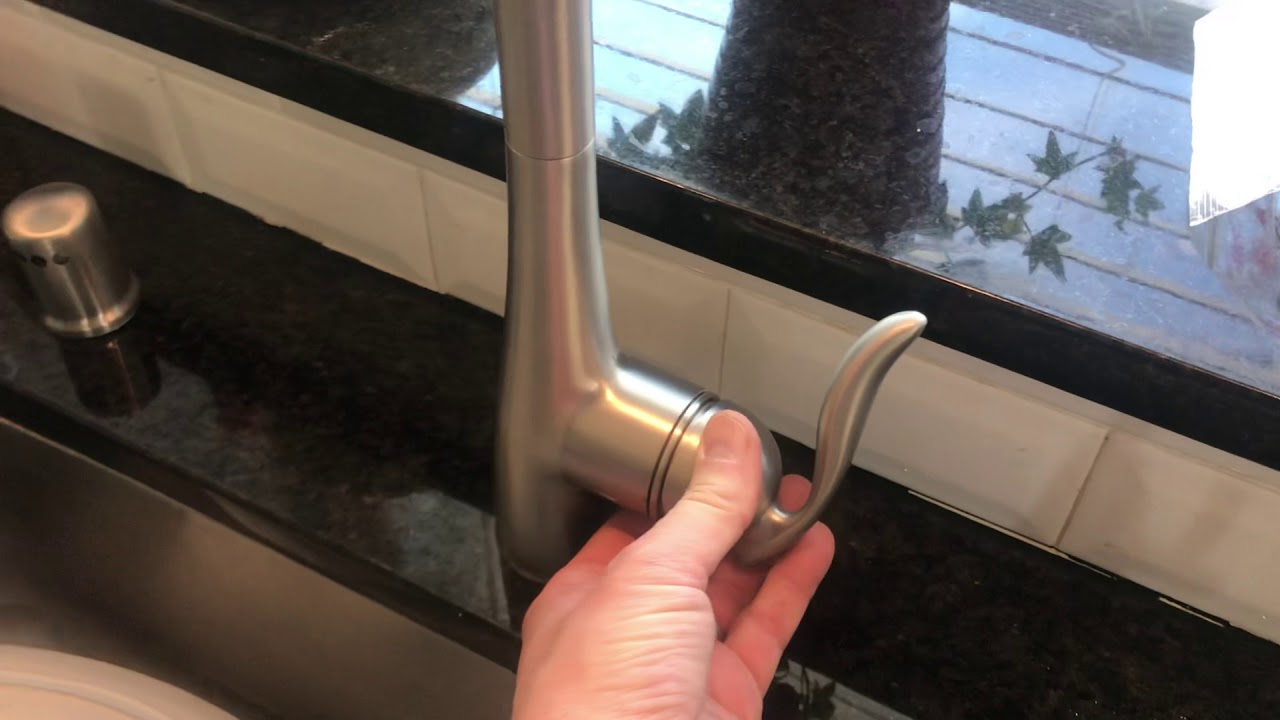
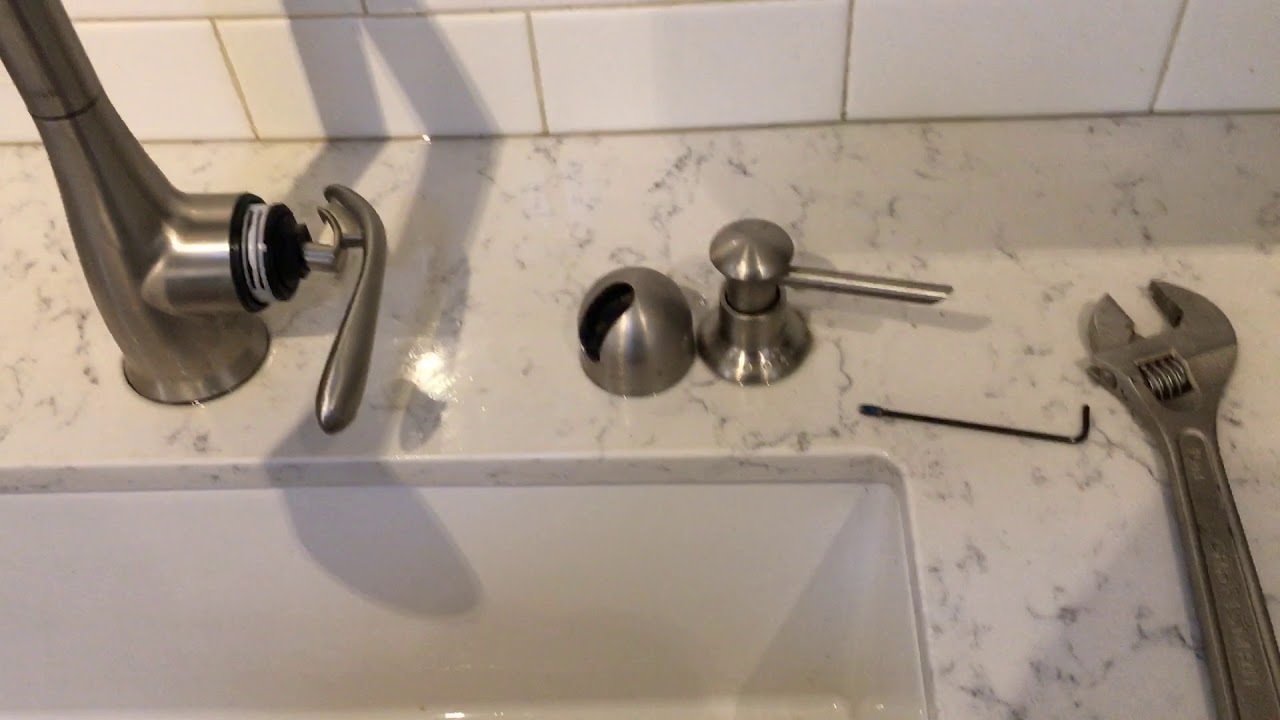
If you're looking to update the look of your kitchen or simply need to replace a worn out handle, removing the old handle is the first step. To remove a kitchen sink handle, start by turning off the water supply and removing the handle as described in the first section. Once the handle is removed, look for a small set screw that holds the handle onto the faucet. Loosen this screw with an Allen wrench and then slide the handle off the faucet. If your handle doesn't have a set screw, it may be held in place by a metal cap. Use a pair of pliers to remove the cap and then slide the handle off the faucet. Once the handle is removed, you can clean the faucet and replace the handle with a new one, if desired.3. Removing a Kitchen Sink Handle


3. Removing a Kitchen Sink Handle


A loose kitchen sink handle can be a nuisance and can make it difficult to control the water flow. Fortunately, this is an easy problem to fix. Start by turning off the water supply and removing the handle as described in the first section. Then, take a look at the mounting nut that holds the handle onto the sink. If it is loose, use a wrench to tighten it. If the nut is tight, the problem may be with the handle itself. Check the handle for any cracks or damage that may be causing it to be loose. If it looks fine, there may be an issue with the cartridge inside. Remove the cartridge and check for any damage or wear and tear. If it looks worn, it may need to be replaced. If the cartridge is fine, try cleaning it with a mixture of equal parts vinegar and water to remove any mineral build-up that may be causing the handle to be loose.4. Troubleshooting a Loose Kitchen Sink Handle


4. Troubleshooting a Loose Kitchen Sink Handle


If your kitchen sink handle is broken or cracked, it will need to be replaced. However, if you are unable to replace it immediately, there are a few temporary fixes you can try. One option is to use epoxy putty to fill in the crack or hold the broken pieces together. Make sure to follow the instructions carefully and allow the putty to dry completely before using the handle again. Another temporary fix is to use a rubber band or hair tie to hold the handle in place. This will not provide a permanent solution, but it can help keep the handle in place until it can be replaced.5. Repairing a Broken Kitchen Sink Handle


5. Repairing a Broken Kitchen Sink Handle


If your kitchen sink handle is difficult to turn or doesn't provide enough water flow, it may need to be adjusted. Start by turning off the water supply and removing the handle as described in the first section. Then, take a look at the handle's mounting nut. If it is too tight, it may be causing the handle to be difficult to turn. Loosen the nut slightly to see if this improves the handle's movement. If the nut is not the issue, the problem may be with the cartridge inside. Remove the cartridge and check for any damage or wear and tear. If it looks fine, try cleaning it with a mixture of equal parts vinegar and water to remove any mineral build-up. If the handle still doesn't turn easily, it may be time to replace the cartridge.6. Adjusting a Kitchen Sink Handle

6. Adjusting a Kitchen Sink Handle


A loose kitchen sink handle can be a frustrating problem, but fortunately, it's an easy fix. Start by turning off the water supply and removing the handle as described in the first section. Then, take a look at the mounting nut that holds the handle onto the sink. If it is loose, use a wrench to tighten it. If the nut is tight, the problem may be with the handle itself. Check the handle for any cracks or damage that may be causing it to be loose. If it looks fine, there may be an issue with the cartridge inside. Remove the cartridge and check for any damage or wear and tear. If it looks worn, it may need to be replaced. If the cartridge is fine, try cleaning it with a mixture of equal parts vinegar and water to remove any mineral build-up that may be causing the handle to be loose.7. Tightening a Loose Kitchen Sink Handle


7. Tightening a Loose Kitchen Sink Handle


If your kitchen sink handle is difficult to remove, it may be stuck due to mineral build-up or corrosion. Start by turning off the water supply and using a wrench to loosen the mounting nut. If the nut is loose but the handle is still stuck, try spraying a lubricant like WD-40 onto the handle and allowing it to sit for a few minutes. This can help loosen any build-up and make it easier to remove the handle. If the handle is still stuck, you may need to use a handle puller tool. This is a small tool designed specifically for removing stuck handles. Simply attach it to the handle and use it to pull the handle off the faucet.8. Removing a Stuck Kitchen Sink Handle


8. Removing a Stuck Kitchen Sink Handle


Over time, kitchen sink handles can become worn and may need to be replaced. If your handle is showing signs of wear, such as cracks or difficulty turning, it's time for a replacement. Start by turning off the water supply and removing the old handle as described in the second section. Then, take the new handle and follow the steps outlined in section two to replace it. Make sure to choose a handle that is compatible with your sink and follows the same installation steps as your old handle.9. Replacing a Worn Kitchen Sink Handle


9. Replacing a Worn Kitchen Sink Handle


A dripping kitchen sink handle can be a frustrating and wasteful problem, but fortunately, it's also an easy fix. Start by turning off the water supply and removing the handle as described in the first section. Then, take a look at the cartridge inside the handle. If it looks worn or damaged, it will need to be replaced. If it looks fine, try cleaning it with a mixture of equal parts vinegar and water to remove any mineral build-up that may be causing the leak. If the cartridge is fine and cleaning it doesn't solve the issue, the problem may be with the valve seat. This is the part that connects the cartridge to the faucet. Use a valve seat wrench to remove the old valve seat and replace it with a new one. This should fix the dripping problem and have your kitchen sink handle working like new again.10. Fixing a Dripping Kitchen Sink Handle


10. Fixing a Dripping Kitchen Sink Handle


How to Handle a Kitchen Sink Off in Your House Design

Introduction
 When it comes to house design, the kitchen is often referred to as the heart of the home. It's where meals are prepared, memories are made, and families gather. But with all the activity that takes place in the kitchen, it's no wonder that things can sometimes go wrong. One common issue that homeowners face is a kitchen sink that is constantly getting clogged or backing up. Not only is this frustrating, but it can also lead to bigger problems if not addressed properly. In this article, we'll discuss how to handle a kitchen sink off in your house design and keep your kitchen running smoothly.
The Causes of a Kitchen Sink Off
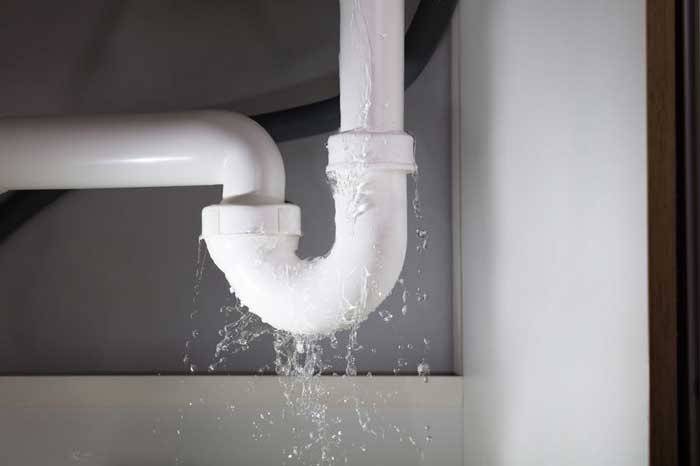
 Before we get into the solutions, it's important to understand the root cause of a kitchen sink off. The most common culprit is food debris, grease, and other substances that get washed down the drain. Over time, these substances can build up and cause a blockage in the pipes, resulting in a clogged or slow-draining sink. Another common cause is a faulty or old garbage disposal. If your garbage disposal is not working properly, it can lead to food debris and other materials getting stuck in the pipes.
Steps to Handle a Kitchen Sink Off
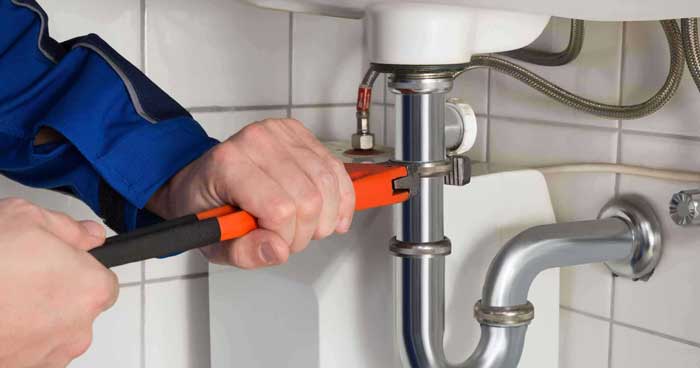
 The first step in handling a kitchen sink off is to identify the cause. If it's a clog caused by food debris, you can try using a plunger or a drain snake to remove the blockage. If that doesn't work, you may need to remove the P-trap under the sink and manually remove the debris. For a faulty garbage disposal, you may need to replace it with a new one. If you're not comfortable doing these tasks yourself, it's best to call a professional plumber to handle the job.
Preventing Future Sink Offs
 Once you've successfully handled a kitchen sink off, you'll want to take steps to prevent it from happening again in the future. One way to do this is to be mindful of what you're putting down your drain. Avoid washing large quantities of food debris down the sink, and always use a drain catcher to catch any excess. It's also important to properly maintain your garbage disposal by regularly cleaning it and avoiding putting non-food items or fibrous foods down the drain.
Conclusion
 A kitchen sink off may seem like a minor inconvenience, but if left unaddressed, it can lead to bigger and more costly problems. By understanding the causes and taking proactive measures to prevent it from happening, you can keep your kitchen sink running smoothly and ensure that your house design remains functional and efficient. Remember, when in doubt, it's always best to call a professional to handle any plumbing issues in your home.