If you're experiencing problems with your kitchen sink sprayer, don't panic. It's a common issue that can easily be fixed with a few simple steps. In this guide, we'll walk you through the process of fixing a kitchen sink sprayer so you can get back to using it in no time.How to Fix a Kitchen Sink Sprayer

How to Fix a Kitchen Sink Sprayer


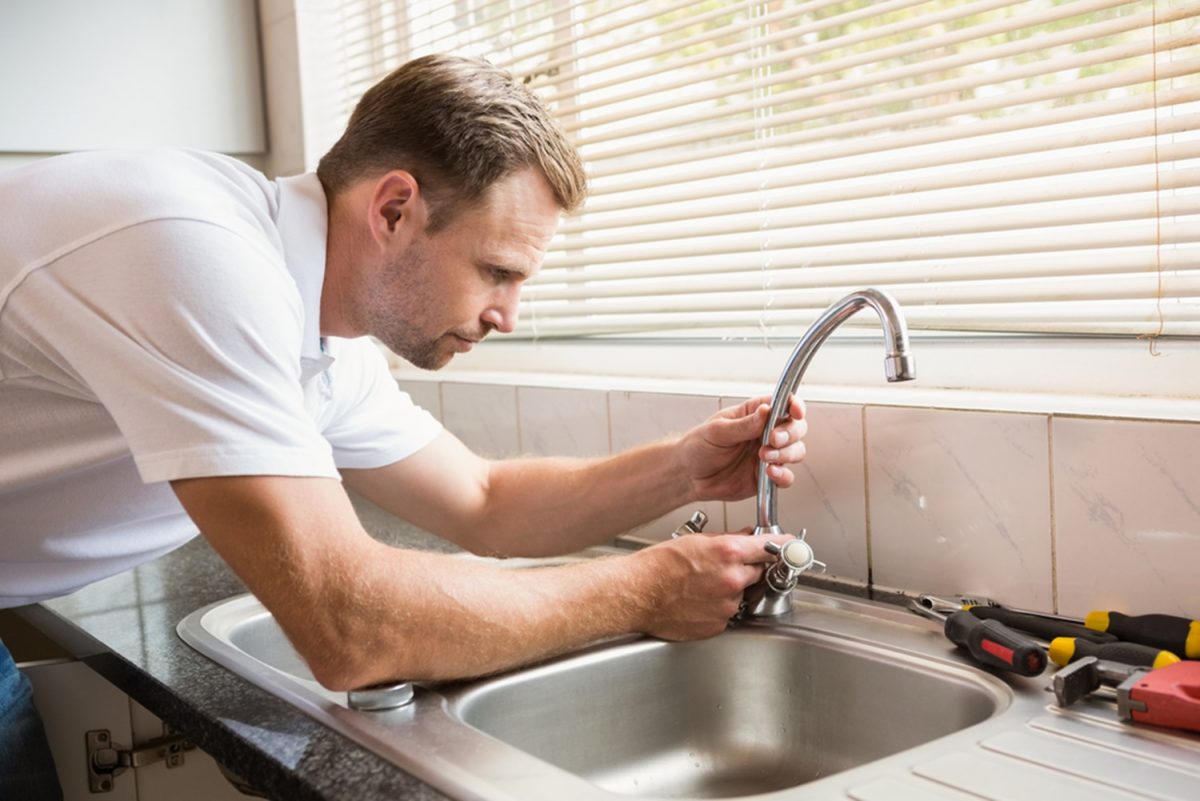
Fixing a kitchen sink sprayer may seem intimidating, but with the right tools and some basic knowledge, it can be a DIY project. Not only will you save money on hiring a professional, but you'll also gain a sense of accomplishment. So roll up your sleeves and let's get started!DIY Kitchen Sink Sprayer Repair


DIY Kitchen Sink Sprayer Repair


The first step in fixing a kitchen sink sprayer is to identify the problem. Is the sprayer leaking? Not working at all? Once you've determined the issue, you can follow this step-by-step guide to fix it. Step 1: Turn off the water supply to your sink. This can usually be done by turning off the valves under the sink or shutting off the main water supply to your house. Step 2: Remove the sprayer head from the hose by twisting it counterclockwise. This will allow you to inspect the sprayer head and hose for any clogs or damage. Step 3: Clean the sprayer head and hose with warm, soapy water. If there are any clogs, you can use a toothpick or small brush to remove them. Step 4: Check the diverter, which is a small valve located where the sprayer hose connects to the faucet. Make sure it is not blocked or damaged. Step 5: If the sprayer is still not working, you may need to replace the sprayer head or hose. You can find these parts at your local hardware store. Step 6: Reattach the sprayer head and turn on the water supply. Test the sprayer to make sure it is working properly.Step-by-Step Guide for Fixing a Kitchen Sink Sprayer


Step-by-Step Guide for Fixing a Kitchen Sink Sprayer


Kitchen sink sprayers can encounter a variety of issues, but most can be easily fixed. Some common problems include low water pressure, leaks, and clogs. By following the steps outlined in this guide, you should be able to fix these issues and get your sprayer working like new again.Common Problems with Kitchen Sink Sprayers and How to Fix Them


Common Problems with Kitchen Sink Sprayers and How to Fix Them


Sometimes, the problem with a kitchen sink sprayer can be solved with a simple fix. If your sprayer isn't working at all, try checking the water supply valves to make sure they are open. If the sprayer is leaking, it may just need to be tightened or have a gasket replaced. These quick solutions can save you time and hassle.Quick and Easy Solutions for a Faulty Kitchen Sink Sprayer

Quick and Easy Solutions for a Faulty Kitchen Sink Sprayer


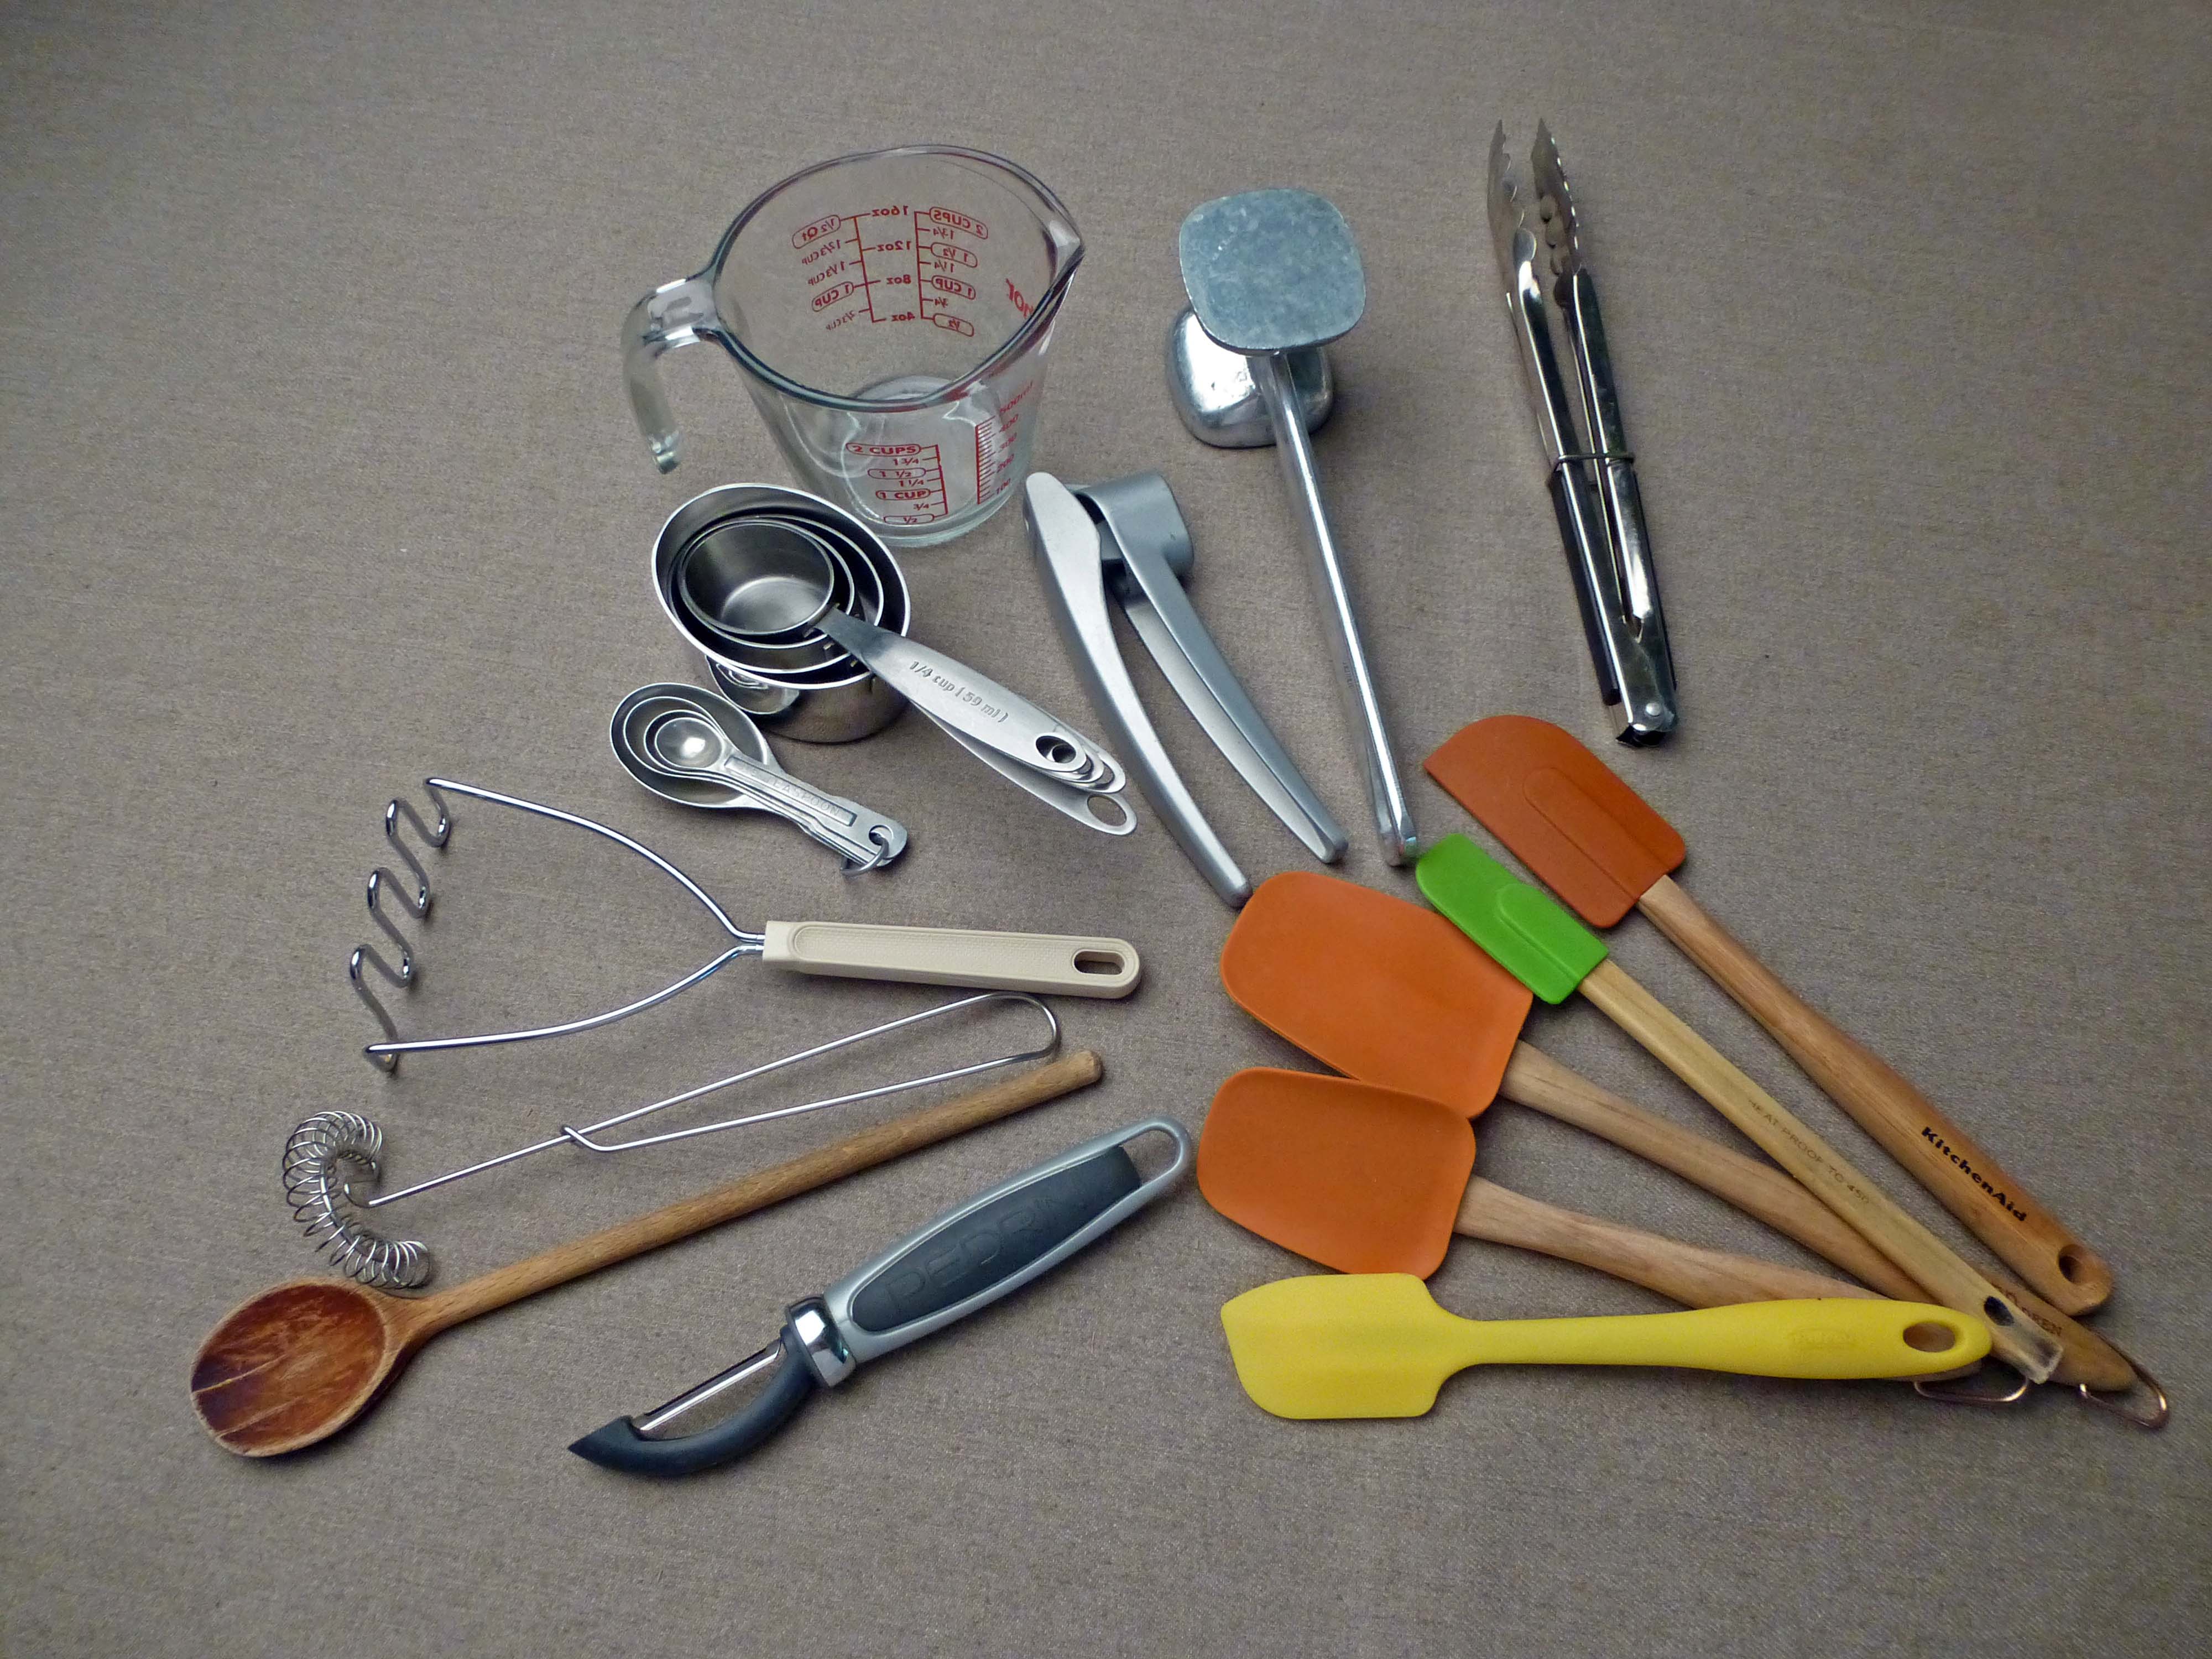
Before you start fixing your kitchen sink sprayer, make sure you have the necessary tools and materials on hand. These may include a wrench, pliers, a toothpick, and replacement parts if needed. Having everything ready will make the process go more smoothly.Tools and Materials Needed for Fixing a Kitchen Sink Sprayer


Tools and Materials Needed for Fixing a Kitchen Sink Sprayer
If you're still having trouble fixing your kitchen sink sprayer, here are some expert tips to help you out: - Use plumber's tape when reattaching the sprayer head to prevent leaks. - If the diverter is damaged, you may need to replace the entire faucet. - Regularly clean and maintain your kitchen sink sprayer to prevent future issues.Expert Tips for Repairing a Kitchen Sink Sprayer


Expert Tips for Repairing a Kitchen Sink Sprayer


If you're a visual learner, you may find it helpful to watch a video tutorial on fixing a kitchen sink sprayer. There are many videos available online that can guide you through the process step-by-step. Just make sure to choose a reliable source.Video Tutorial: How to Fix a Kitchen Sink Sprayer


Video Tutorial: How to Fix a Kitchen Sink Sprayer

If you're still experiencing issues with your kitchen sink sprayer, consult a troubleshooting guide. These guides can help you identify the problem and provide solutions for fixing it. You can find them online or at your local hardware store.Troubleshooting Guide for Kitchen Sink Sprayer Issues


Troubleshooting Guide for Kitchen Sink Sprayer Issues

The best way to avoid problems with your kitchen sink sprayer is to practice preventative maintenance. This includes regularly cleaning the sprayer head and hose, checking for leaks, and addressing any issues promptly. By taking care of your sink sprayer, you can prolong its lifespan and prevent costly repairs. Now that you know how to fix a kitchen sink sprayer, you can confidently tackle any issues that may arise. With a little bit of effort and the right tools, you can keep your sprayer functioning properly for years to come. Remember to regularly maintain your sink sprayer to prevent future problems. Happy fixing! Preventative Maintenance for Kitchen Sink Sprayers
Preventative Maintenance for Kitchen Sink Sprayers


How to Fix a Kitchen Sink Sprayer: A Step-by-Step Guide

Introduction
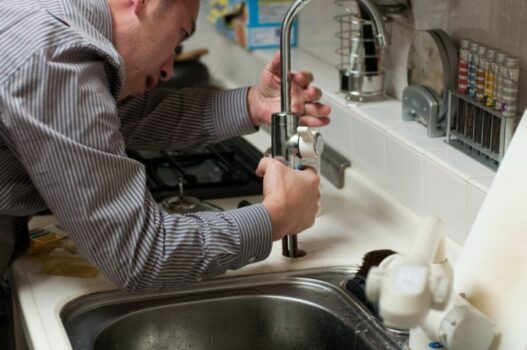
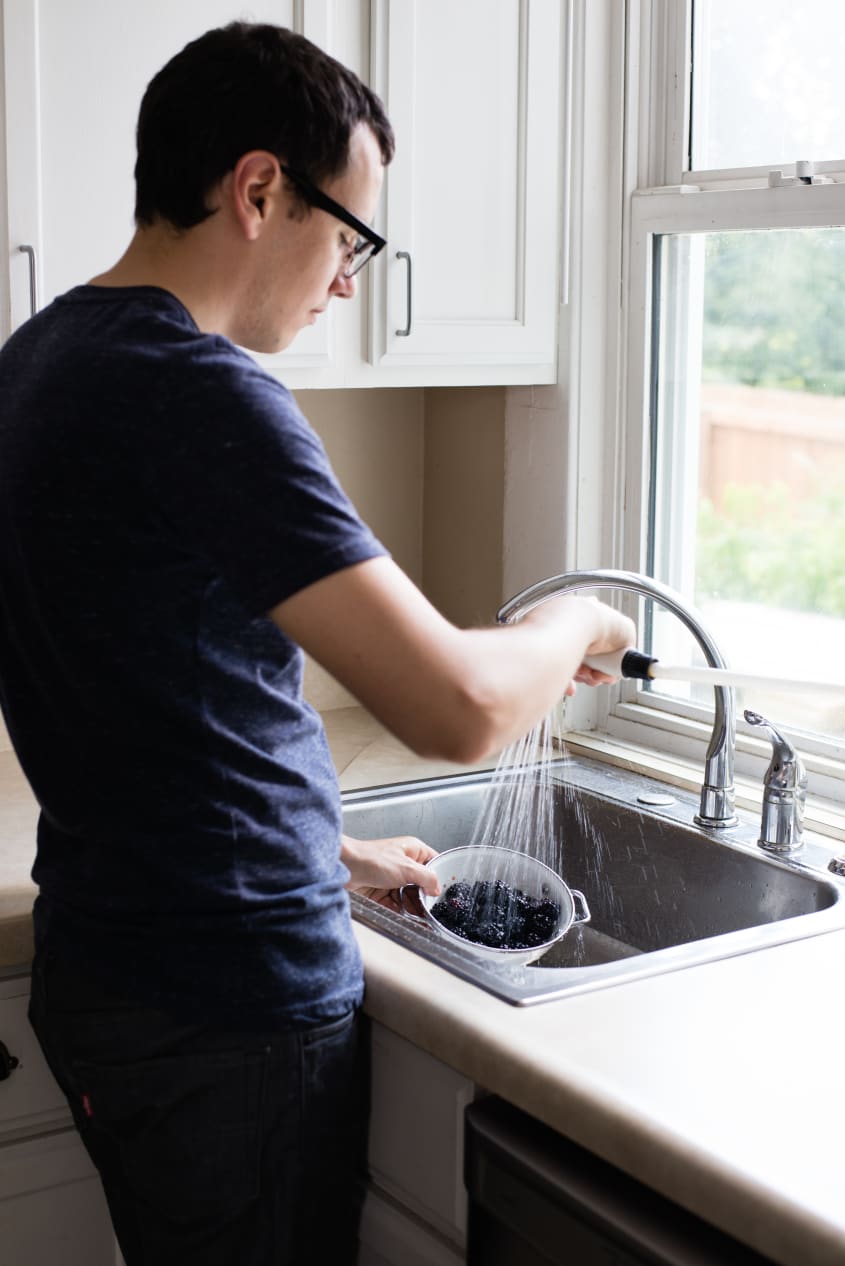
 The kitchen sink sprayer is an essential tool in any kitchen, allowing for easy cleaning and rinsing of dishes and surfaces. However, when it starts to malfunction, it can be quite frustrating. Whether it's spraying in all different directions or not spraying at all, a faulty kitchen sink sprayer can disrupt your daily routine. Instead of calling a plumber and spending a hefty amount of money, you can try fixing it yourself with a few simple steps. In this article, we will guide you through the process of fixing a kitchen sink sprayer, so you can get back to your daily tasks without any hassle.
Step 1: Gather Your Tools
 Before you begin fixing your kitchen sink sprayer, make sure you have all the necessary tools at hand. This will save you time and frustration if you have to stop in the middle of the process to look for a tool. You will need a pair of pliers, an adjustable wrench, a flathead screwdriver, and a replacement sprayer head if needed.
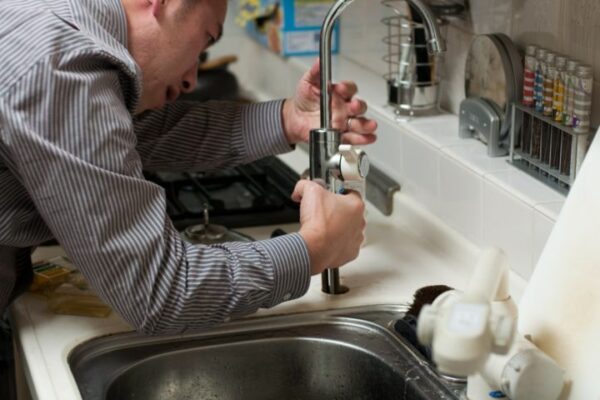
Step 2: Turn Off the Water Supply
 It is crucial to turn off the water supply before you start working on your kitchen sink sprayer. This will prevent any water from spraying out and potentially causing a mess. The water supply can usually be turned off by closing a valve located under the sink.
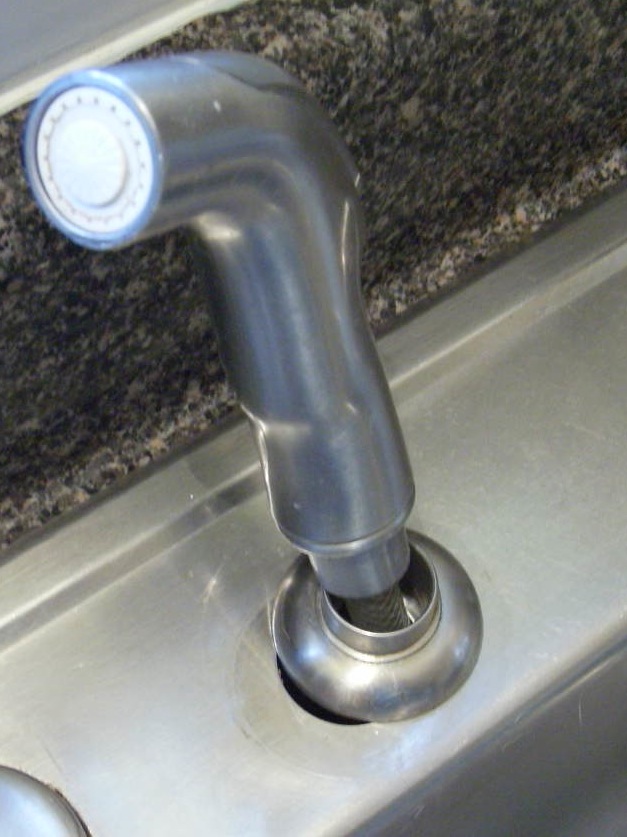
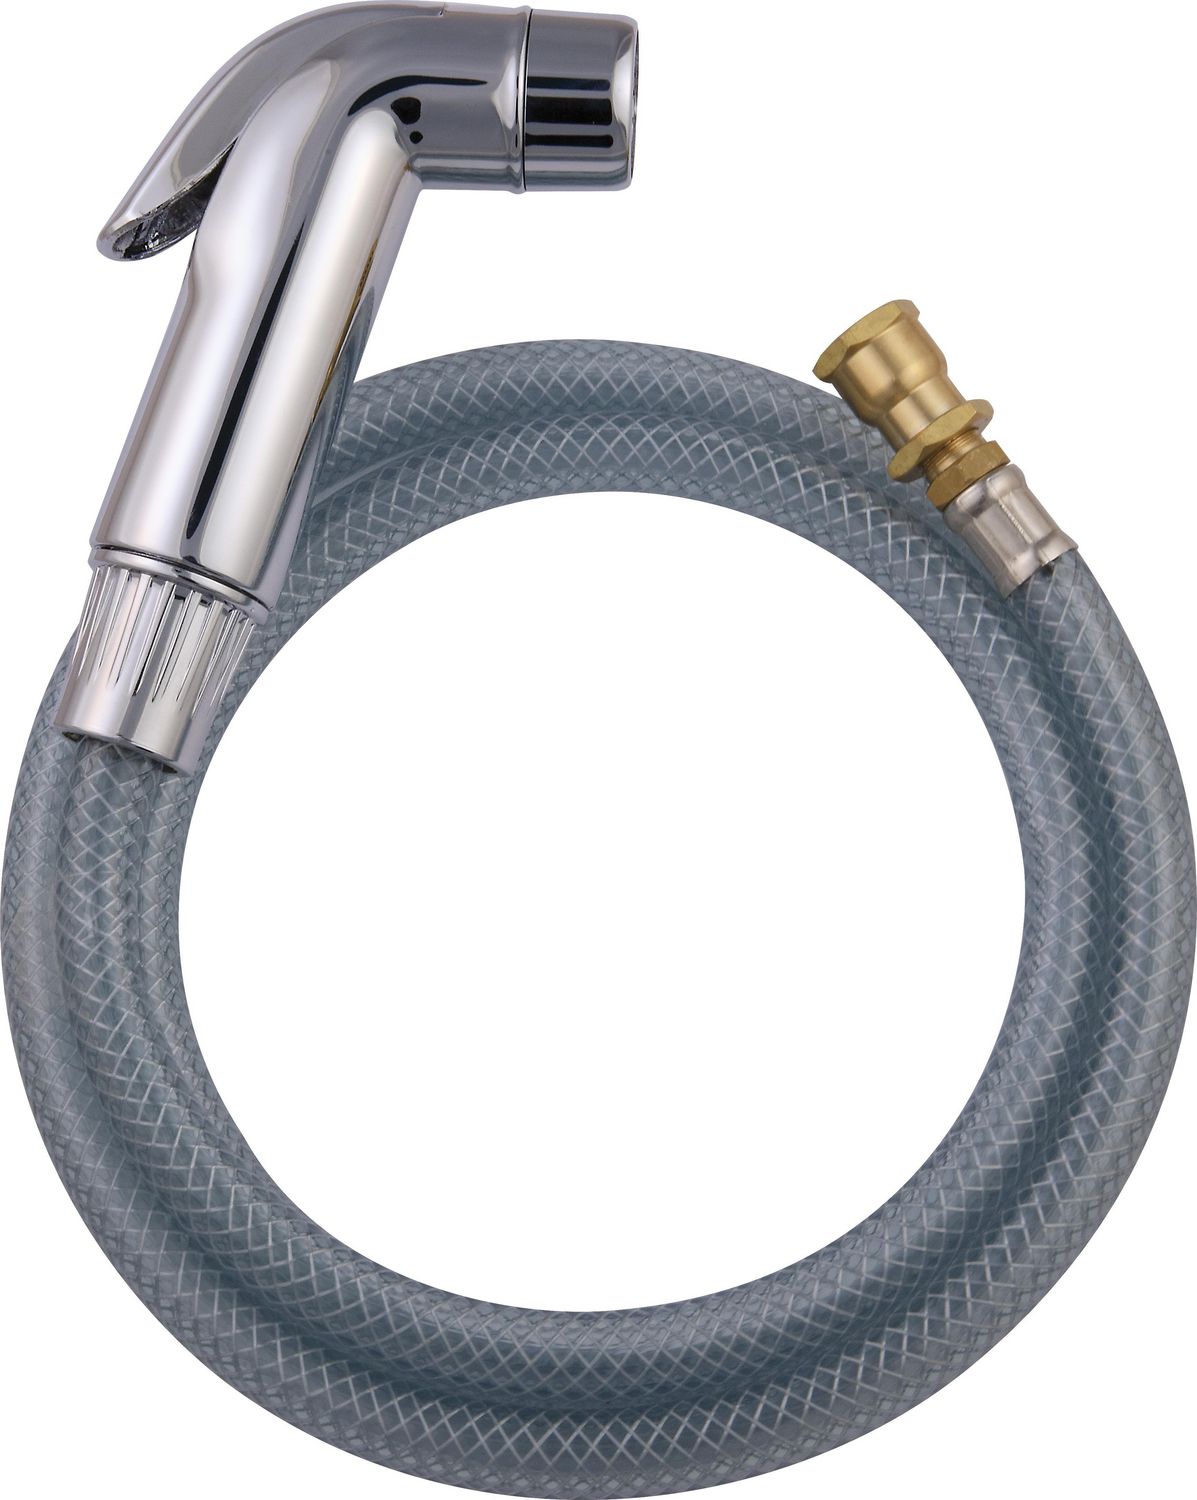
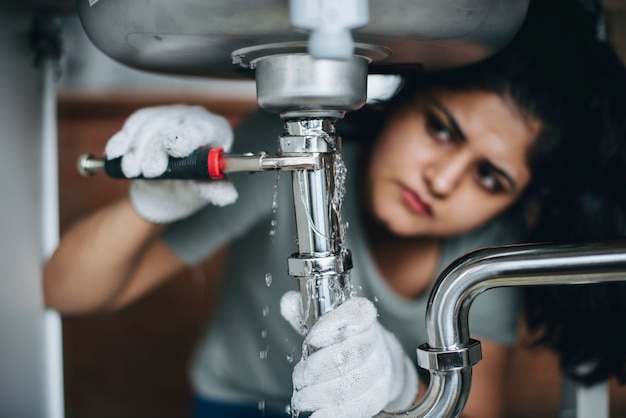
Step 3: Remove the Sprayer Head
 Using a pair of pliers, gently twist and remove the sprayer head from the hose. If the sprayer head is stuck, you can use an adjustable wrench to loosen it. Once removed, check the sprayer head for any clogs or debris that may be causing the malfunction.
Step 4: Clean the Sprayer Head and Hose
 If you find any clogs or debris in the sprayer head, use a toothbrush or a small brush to remove them. Then, run water through the hose to flush out any remaining debris. This will ensure that your sprayer head is clean and functioning properly.
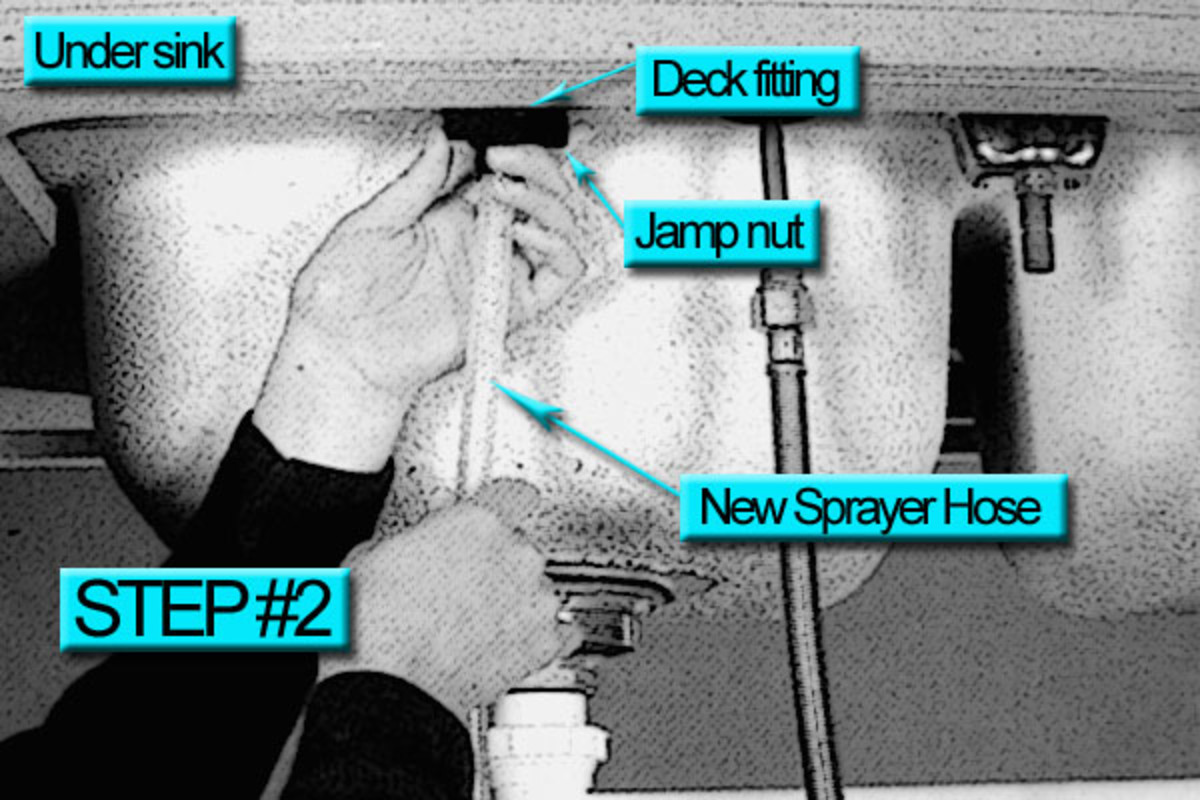
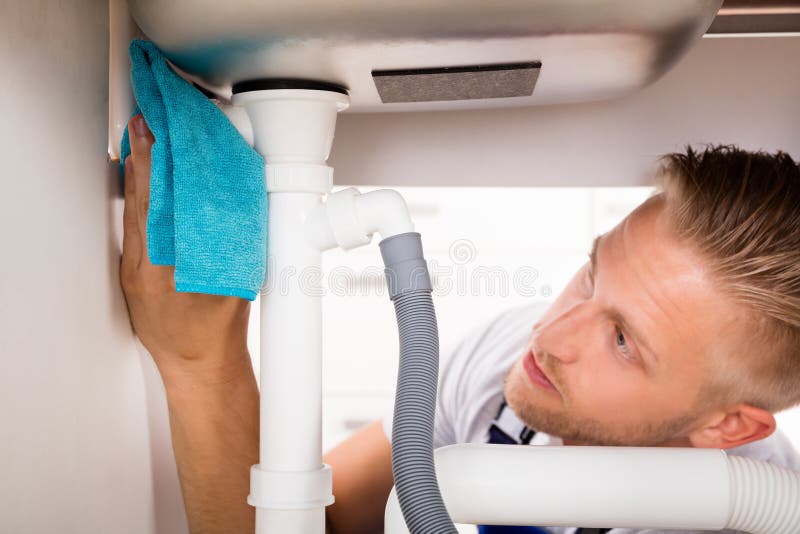
Step 5: Check the Hose for Leaks
 While you have the sprayer head removed, it's a good idea to check the hose for any leaks or cracks. If you find any, you can use plumber's tape to seal them or replace the hose altogether.
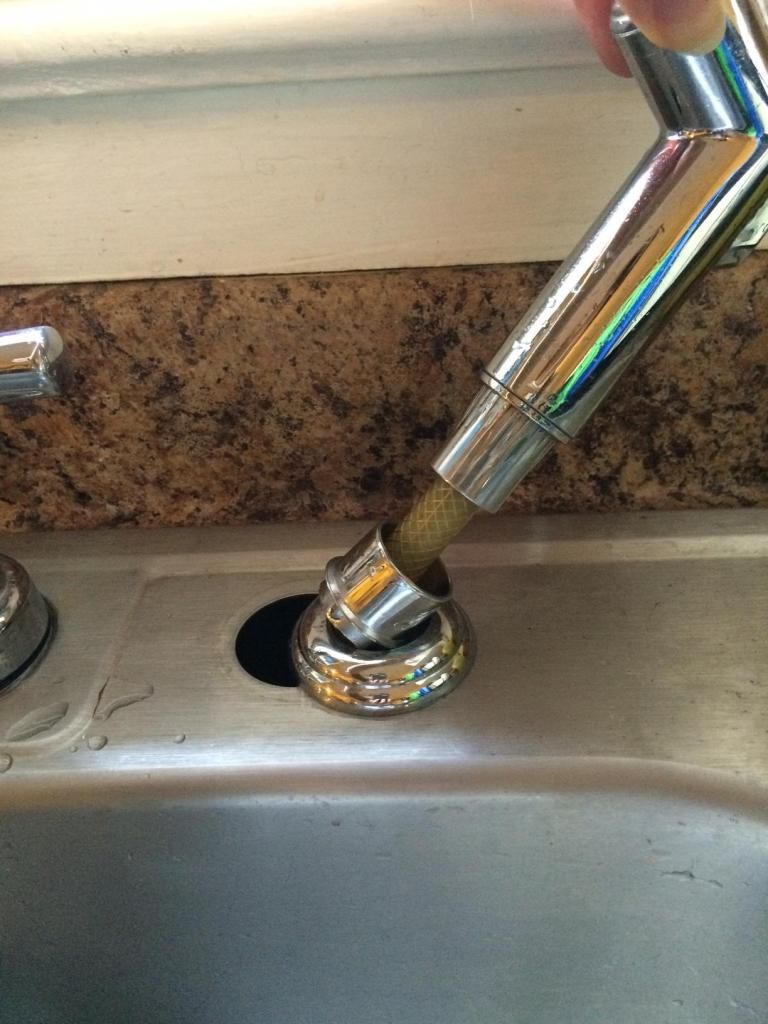
Step 6: Reattach the Sprayer Head
 Once the sprayer head and hose are clean and free of any clogs or leaks, you can reattach the sprayer head to the hose. Use an adjustable wrench to tighten it securely.
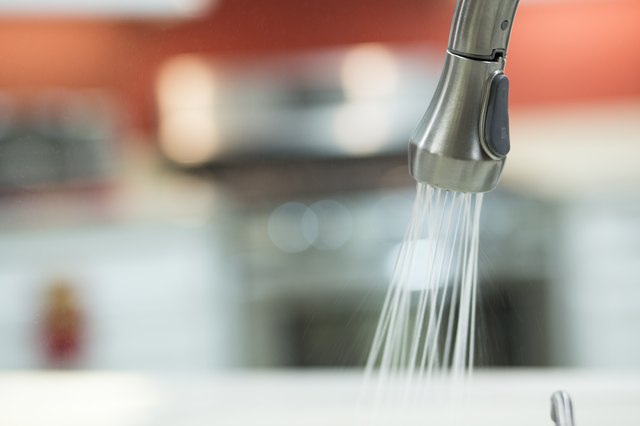
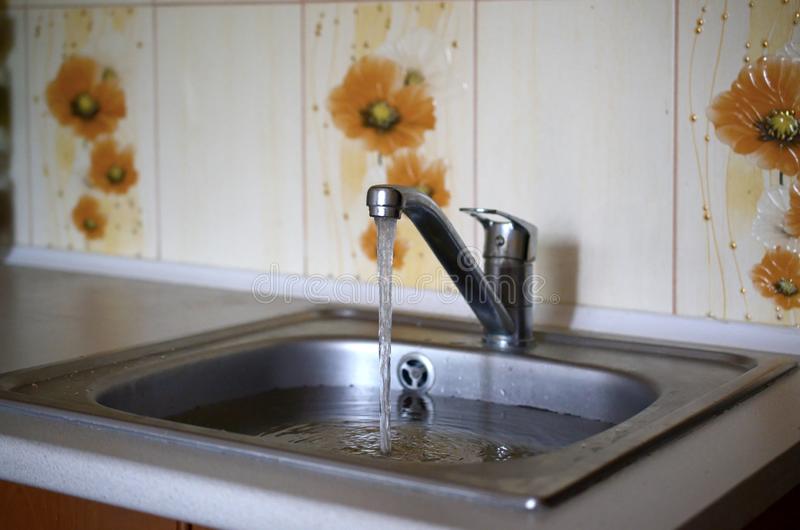
Step 7: Turn On the Water Supply
 With everything reattached and in place, turn the water supply back on and test your kitchen sink sprayer. It should now be working properly.
Conclusion
 Fixing a kitchen sink sprayer may seem like a daunting task, but with the right tools and steps, it can be a simple and cost-effective solution. By following these steps, you can save yourself time and money and have your kitchen sink sprayer functioning like new again. Remember to always turn off the water supply before working on any plumbing fixtures and to consult a professional if you encounter any difficulties. Now that you know how to fix a kitchen sink sprayer, you can get back to enjoying your kitchen without any disruptions.


