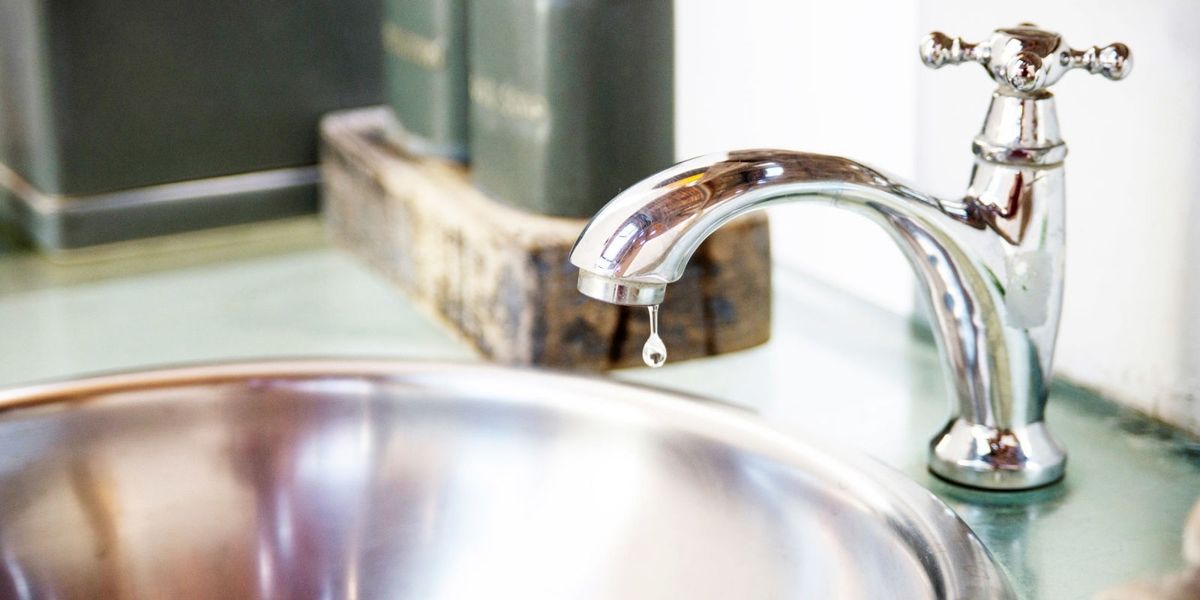
If you've noticed a constant drip or pool of water under your kitchen sink, chances are you have a leaky kitchen sink strainer. This common household problem can be frustrating and cause damage to your cabinets and floors if left unaddressed. But fear not, with a few simple tools and some basic knowledge, you can easily fix a leaky kitchen sink strainer on your own.How to Fix a Leaky Kitchen Sink Strainer


How to Fix a Leaky Kitchen Sink Strainer


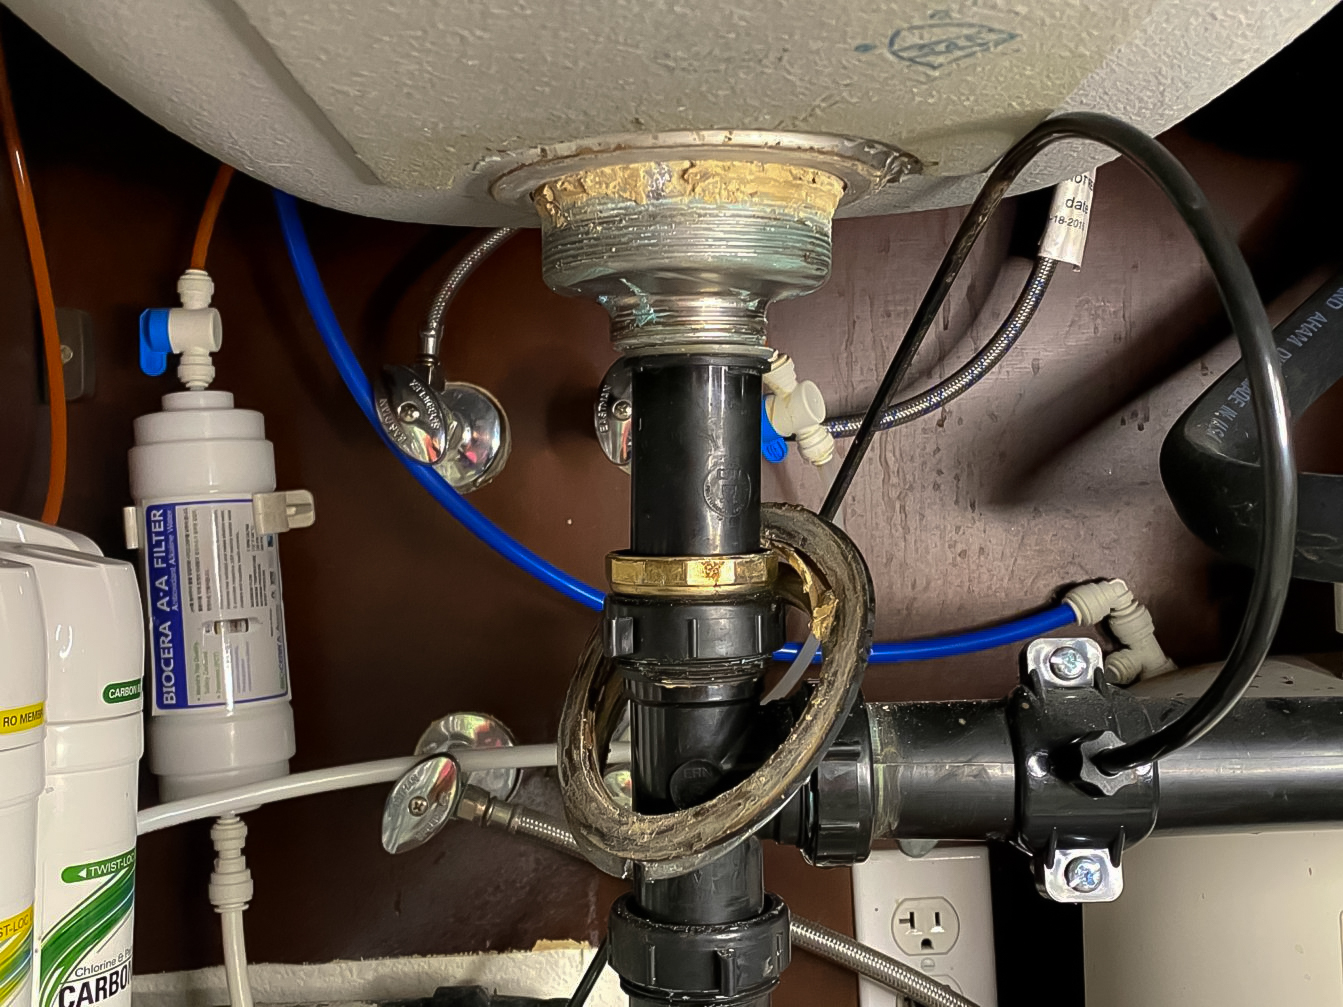
The first step to repairing a leaky kitchen sink strainer is to identify the source of the leak. Most often, the leak is coming from the connection between the strainer and the sink basin. This is where the gasket or plumber's putty may have deteriorated over time, causing water to seep through. In some cases, the leak may also be coming from the basket itself.How to Repair a Leaky Kitchen Sink Strainer


How to Repair a Leaky Kitchen Sink Strainer


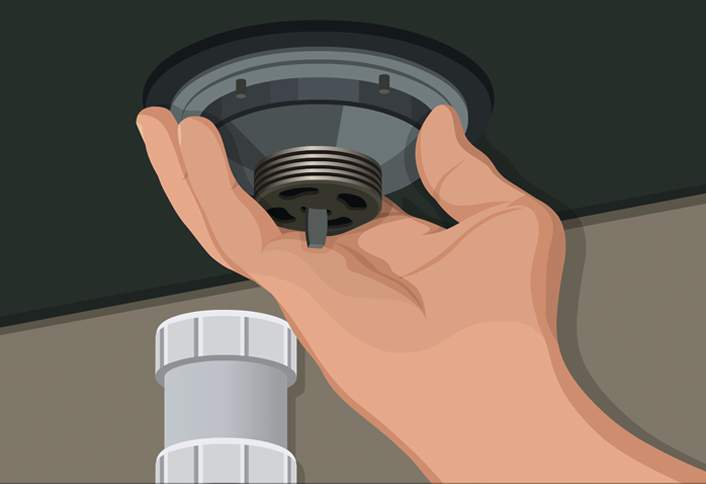
Before you start any repairs, make sure to turn off the water supply to your sink. You don't want to end up with a flooded kitchen! Once the water is off, you can begin disassembling the strainer. Remove the basket by unscrewing the locknut on the bottom of the sink, and then carefully lift out the basket and strainer body.DIY: Fixing a Leaky Kitchen Sink Strainer


DIY: Fixing a Leaky Kitchen Sink Strainer


Once you have the strainer disassembled, inspect the gasket or plumber's putty that creates a seal between the strainer and sink basin. If the gasket is worn or the putty has dried out, it will need to be replaced. Simply remove the old material and replace it with a new gasket or fresh putty. The key is to create a tight seal between the strainer and sink basin to prevent any water from leaking out.Step-by-Step Guide to Fixing a Leaky Kitchen Sink Strainer


Step-by-Step Guide to Fixing a Leaky Kitchen Sink Strainer


If the leak is coming from the basket itself, you may need to replace the entire strainer. This can be done by removing the old strainer body and installing a new one in its place. Make sure to use a high-quality strainer to ensure a tight seal and prevent future leaks.Quick and Easy Fix for a Leaky Kitchen Sink Strainer

Quick and Easy Fix for a Leaky Kitchen Sink Strainer


Besides worn gaskets or putty, there are a few other common causes of a leaky kitchen sink strainer. These include loose connections, damaged pipes, or a faulty basket. If you notice any of these issues, make sure to address them promptly to prevent further damage.Common Causes of a Leaky Kitchen Sink Strainer and How to Fix Them


Common Causes of a Leaky Kitchen Sink Strainer and How to Fix Them


Here's a list of the tools and materials you'll need to fix a leaky kitchen sink strainer:Tools and Materials Needed to Fix a Leaky Kitchen Sink Strainer


Tools and Materials Needed to Fix a Leaky Kitchen Sink Strainer


When replacing the strainer body, make sure to use a high-quality product to ensure a tight seal. It's also a good idea to clean and dry all surfaces before applying new putty or a gasket. This will ensure a strong seal and prevent any future leaks.Expert Tips for Fixing a Leaky Kitchen Sink Strainer

Expert Tips for Fixing a Leaky Kitchen Sink Strainer


To prevent future leaks, make sure to regularly inspect your sink strainer and replace any worn or damaged parts. It's also a good idea to avoid using harsh chemicals or cleaners on your sink, as these can deteriorate the gasket or putty over time.Preventing Future Leaks in Your Kitchen Sink Strainer


Preventing Future Leaks in Your Kitchen Sink Strainer


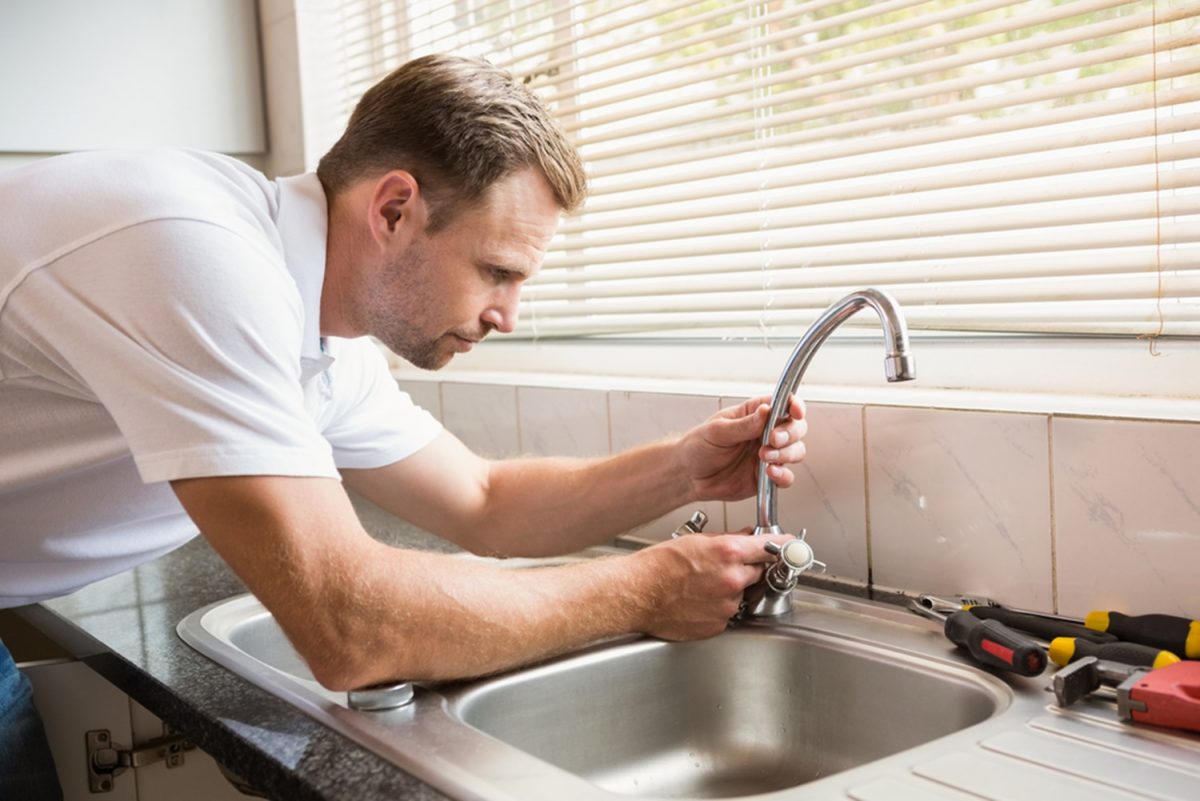
If you're not comfortable with DIY repairs or have tried fixing the leak yourself with no success, it's best to call a professional plumber. They will have the necessary tools and expertise to fix the leak and ensure it doesn't happen again. Don't let a leaky kitchen sink strainer cause you stress and damage to your home. With these simple steps, you can easily fix the problem and enjoy a leak-free sink once again.When to Call a Professional for a Leaky Kitchen Sink Strainer

When to Call a Professional for a Leaky Kitchen Sink Strainer

Troubleshooting the Leaky Kitchen Sink Strainer

Step 4: Check the Strainer Basket and Seal
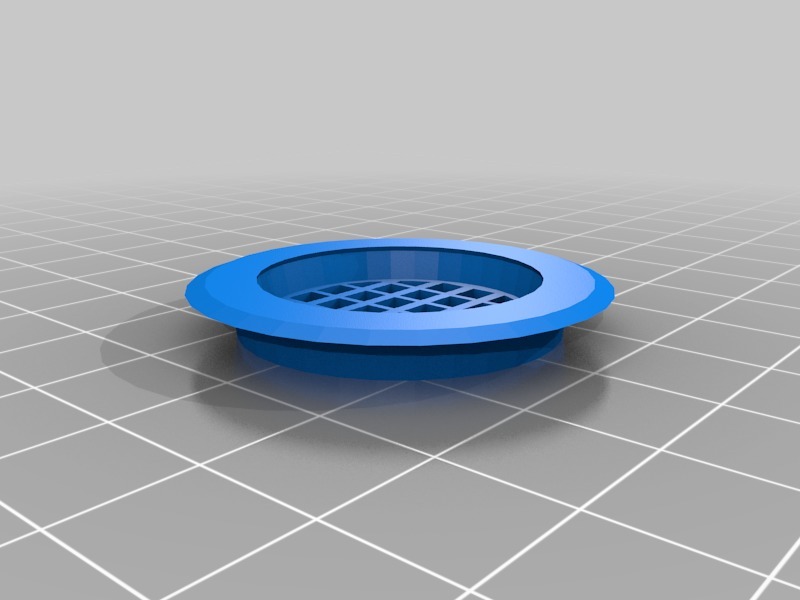
 If tightening the locknut and gasket did not solve the leak, the next step is to check the strainer basket and seal. These are the components that sit inside the drain and prevent food debris from clogging the pipes. Over time, these can become worn or damaged, causing leaks.
To check the strainer basket, remove the locknut and gasket and pull out the basket. Inspect it for any cracks or breaks. If the basket is damaged, it will need to be replaced. You can find replacements at your local hardware store or online.
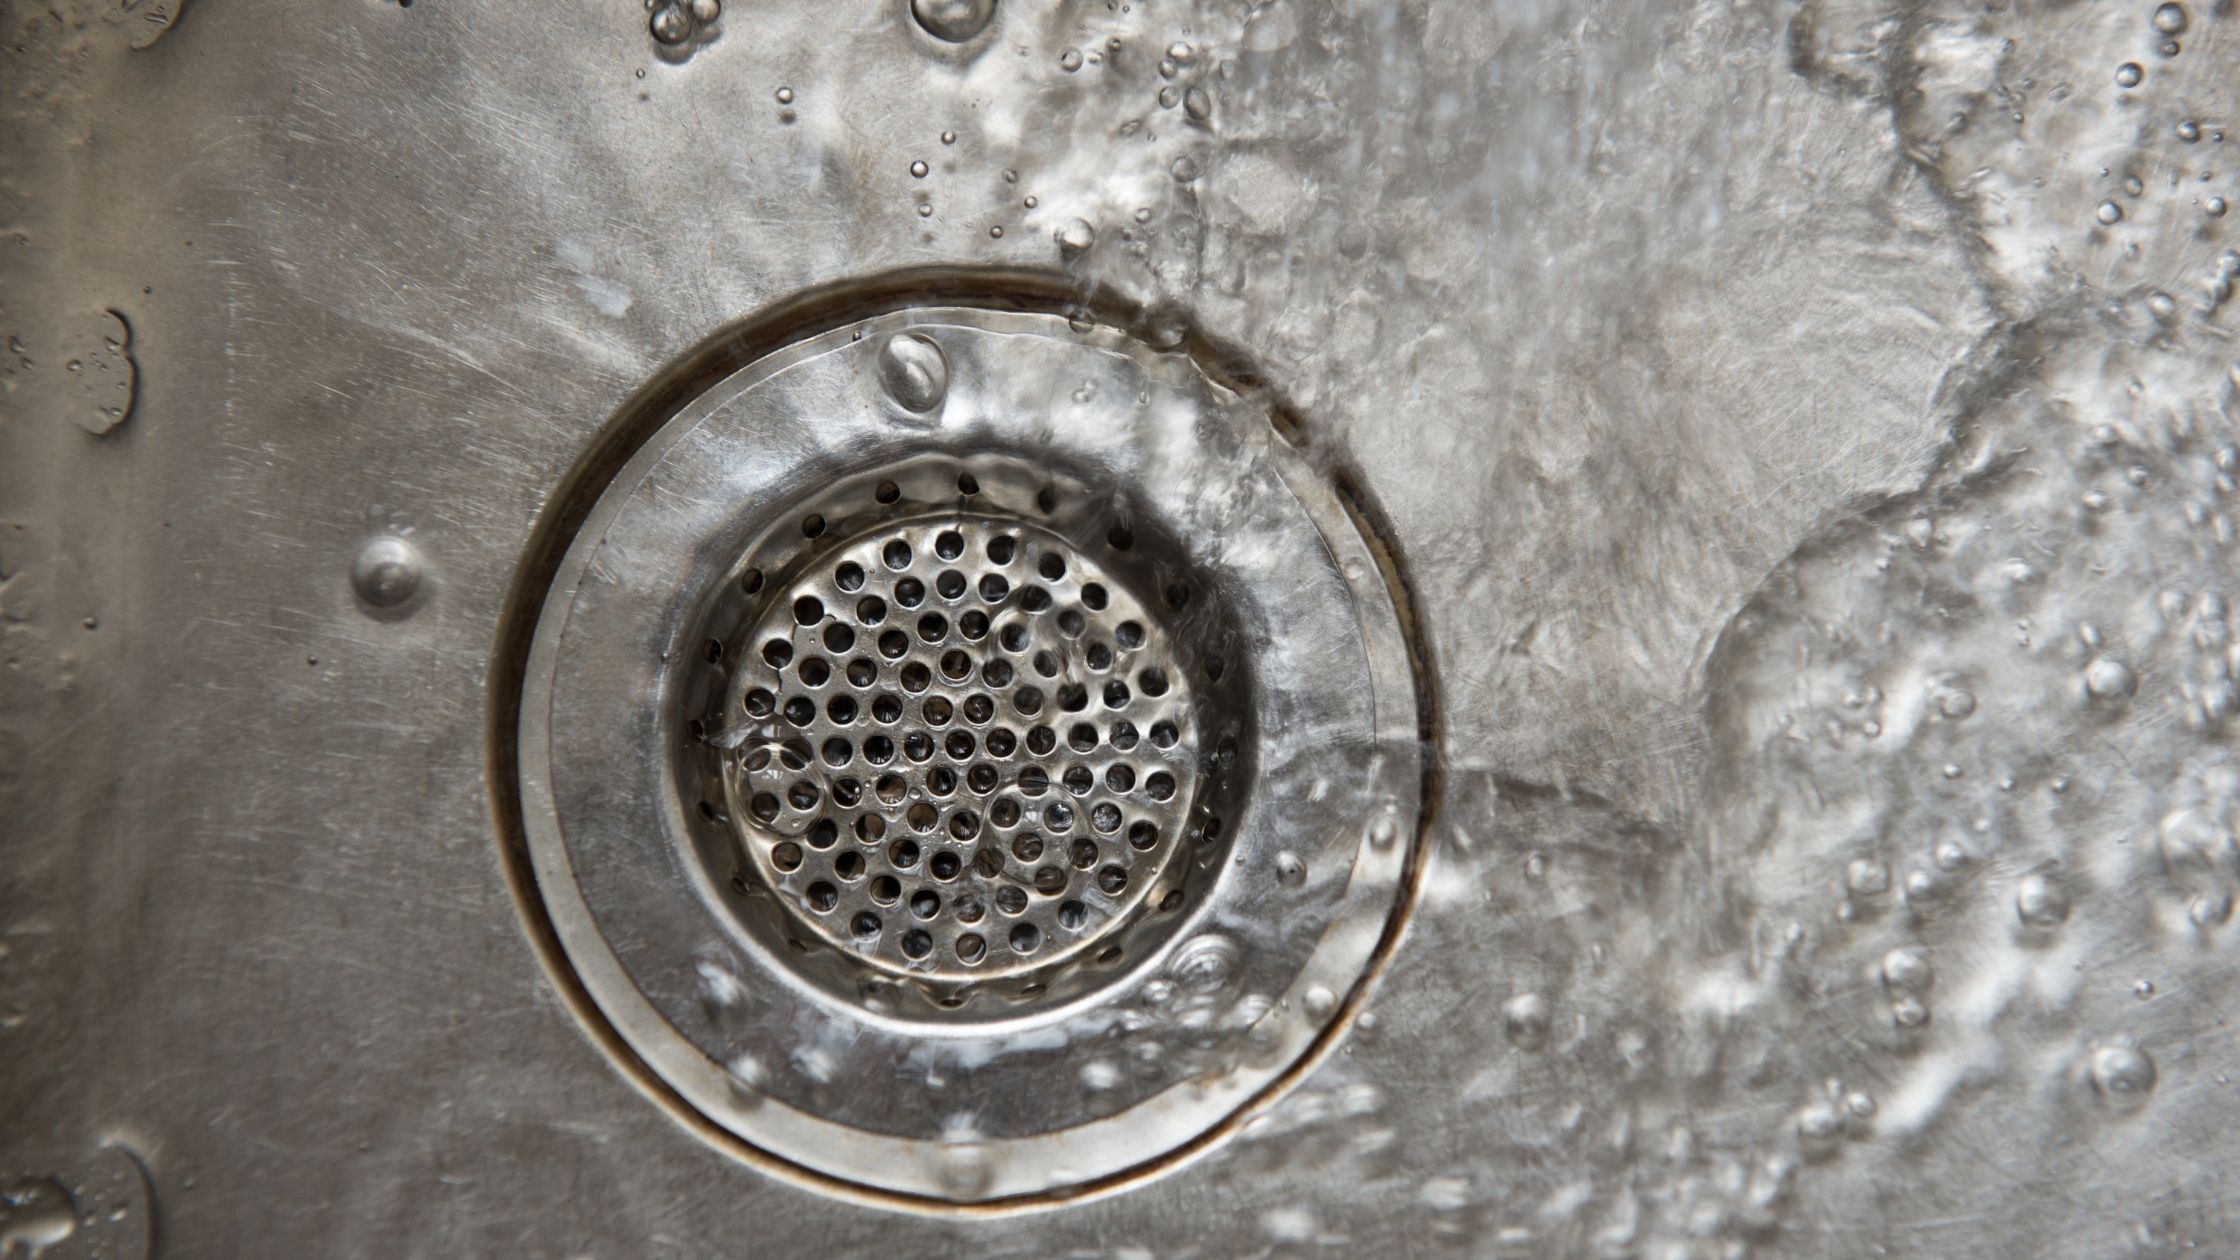
The seal, also known as the plumber's putty, is a soft, moldable material that creates a watertight seal between the strainer basket and the sink. If the seal is cracked or dried out, it can cause leaks. To check the seal, gently remove it from the strainer basket and inspect it. If it's damaged, it will need to be replaced.
If tightening the locknut and gasket did not solve the leak, the next step is to check the strainer basket and seal. These are the components that sit inside the drain and prevent food debris from clogging the pipes. Over time, these can become worn or damaged, causing leaks.
To check the strainer basket, remove the locknut and gasket and pull out the basket. Inspect it for any cracks or breaks. If the basket is damaged, it will need to be replaced. You can find replacements at your local hardware store or online.
The seal, also known as the plumber's putty, is a soft, moldable material that creates a watertight seal between the strainer basket and the sink. If the seal is cracked or dried out, it can cause leaks. To check the seal, gently remove it from the strainer basket and inspect it. If it's damaged, it will need to be replaced.
Step 5: Replace the Strainer Basket and Seal
 If you have determined that the strainer basket and seal are the cause of the leak, it's time to replace them. Start by cleaning the area around the sink and drain to ensure a clean surface for the new components.
To replace the strainer basket, insert the new one into the drain, making sure it fits snugly. Then, apply a new layer of plumber's putty around the edge of the strainer basket and press it firmly into place. Wipe away any excess putty.
Next, place the gasket over the strainer basket and insert the locknut. Tighten the locknut using pliers, making sure it is secure. Turn on the water and check for any leaks. If there are no leaks, congrats, you have successfully fixed your leaky kitchen sink strainer!
If you have determined that the strainer basket and seal are the cause of the leak, it's time to replace them. Start by cleaning the area around the sink and drain to ensure a clean surface for the new components.
To replace the strainer basket, insert the new one into the drain, making sure it fits snugly. Then, apply a new layer of plumber's putty around the edge of the strainer basket and press it firmly into place. Wipe away any excess putty.
Next, place the gasket over the strainer basket and insert the locknut. Tighten the locknut using pliers, making sure it is secure. Turn on the water and check for any leaks. If there are no leaks, congrats, you have successfully fixed your leaky kitchen sink strainer!
Prevent Future Leaks
 To prevent future leaks, it's important to properly maintain your kitchen sink strainer. Regularly clean the strainer basket and seal to remove any build-up or debris. Avoid putting large amounts of food waste down the drain, as this can damage the strainer basket and cause leaks.
By following these troubleshooting steps and properly maintaining your kitchen sink strainer, you can ensure that your sink remains leak-free and your kitchen stays functional and beautiful. Remember, if you encounter any difficulties or the leak persists, don't hesitate to call a professional plumber for assistance.
To prevent future leaks, it's important to properly maintain your kitchen sink strainer. Regularly clean the strainer basket and seal to remove any build-up or debris. Avoid putting large amounts of food waste down the drain, as this can damage the strainer basket and cause leaks.
By following these troubleshooting steps and properly maintaining your kitchen sink strainer, you can ensure that your sink remains leak-free and your kitchen stays functional and beautiful. Remember, if you encounter any difficulties or the leak persists, don't hesitate to call a professional plumber for assistance.