If you've noticed a constant drip from your bathroom sink tap, it's time to take action. Not only is a leaky tap annoying, but it can also waste a significant amount of water and lead to higher utility bills. Luckily, fixing a leaky bathroom sink tap is a relatively simple DIY task that doesn't require any specialized tools or skills.Fixing a Leaky Bathroom Sink Tap


Fixing a Leaky Bathroom Sink Tap


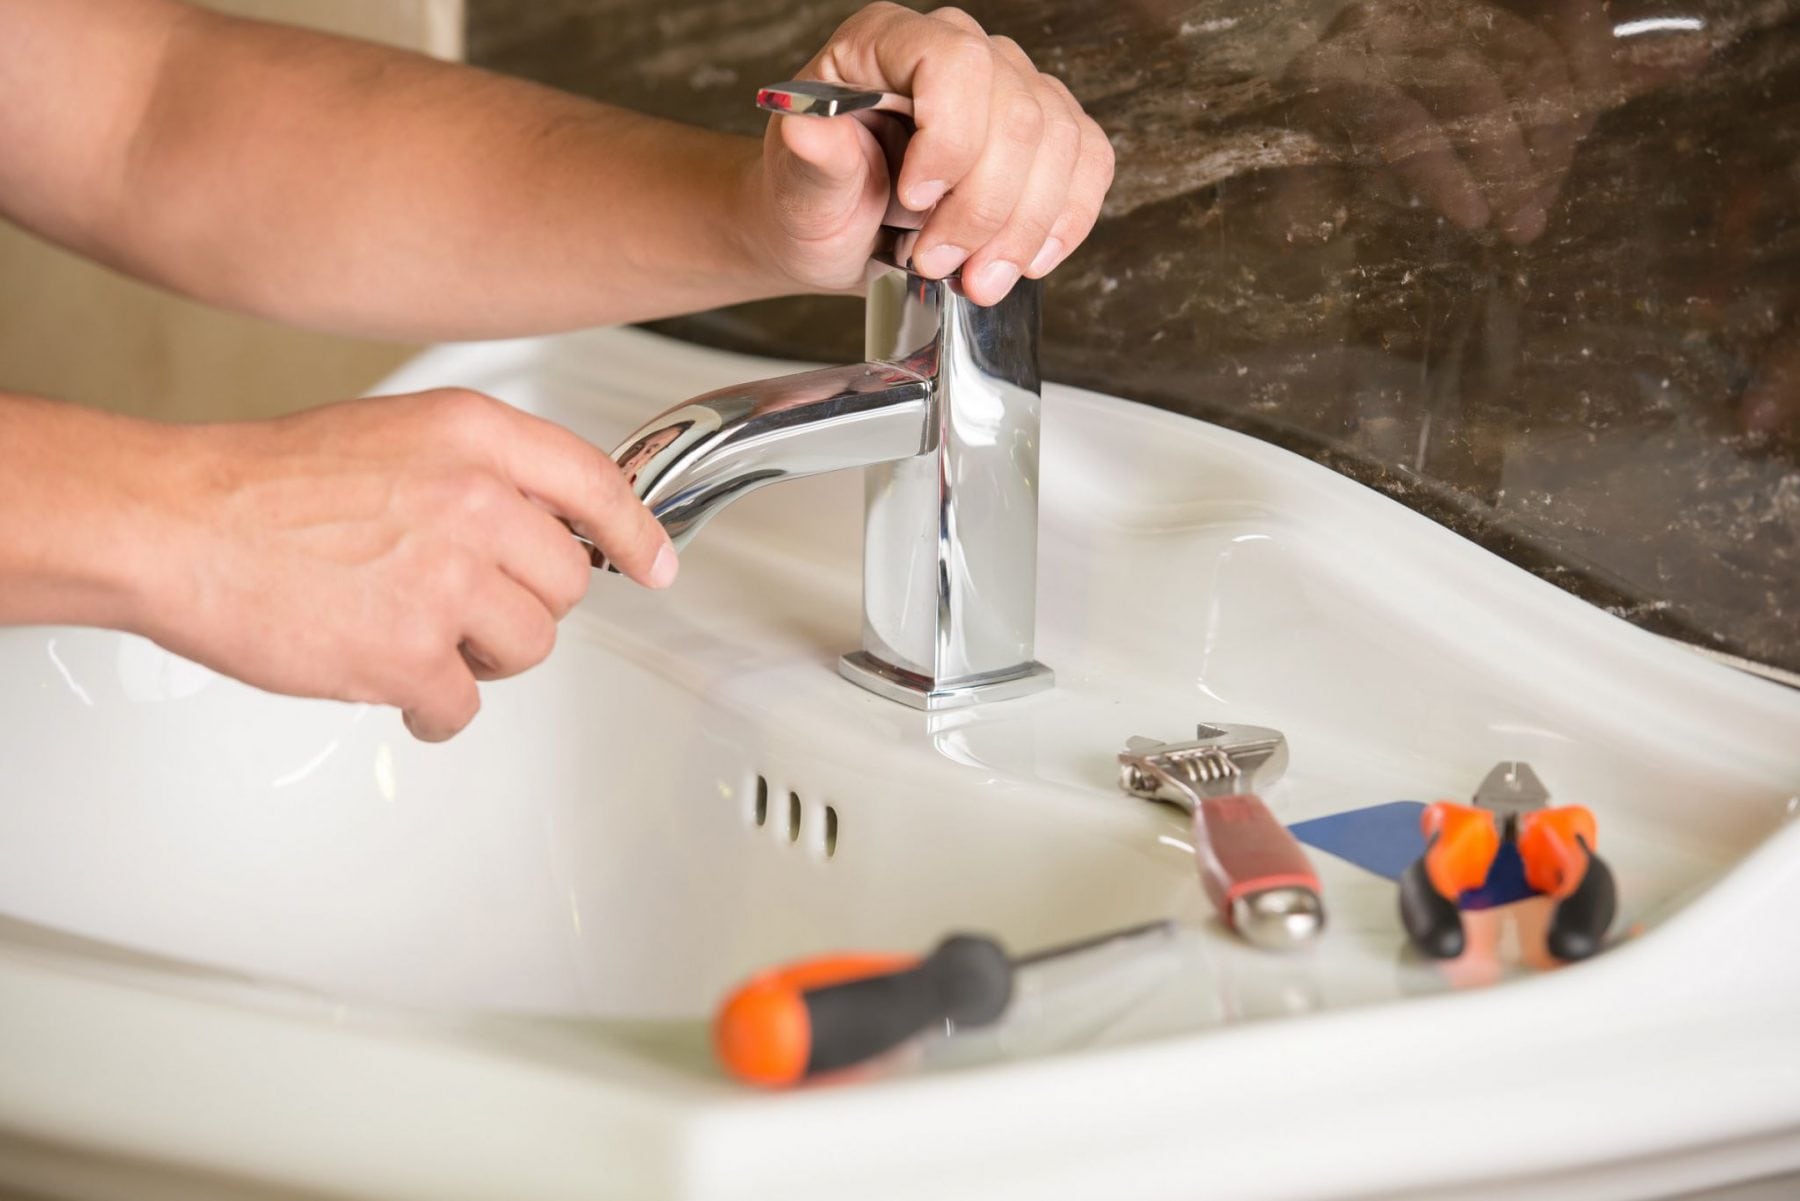

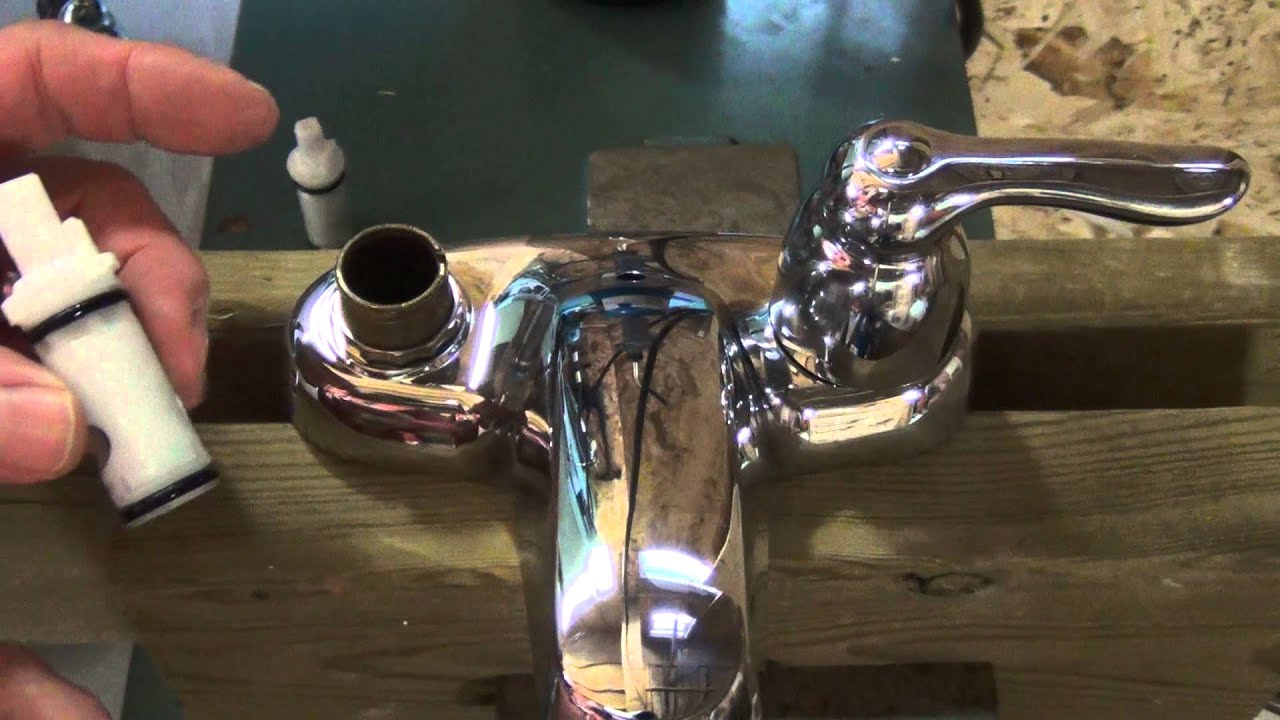
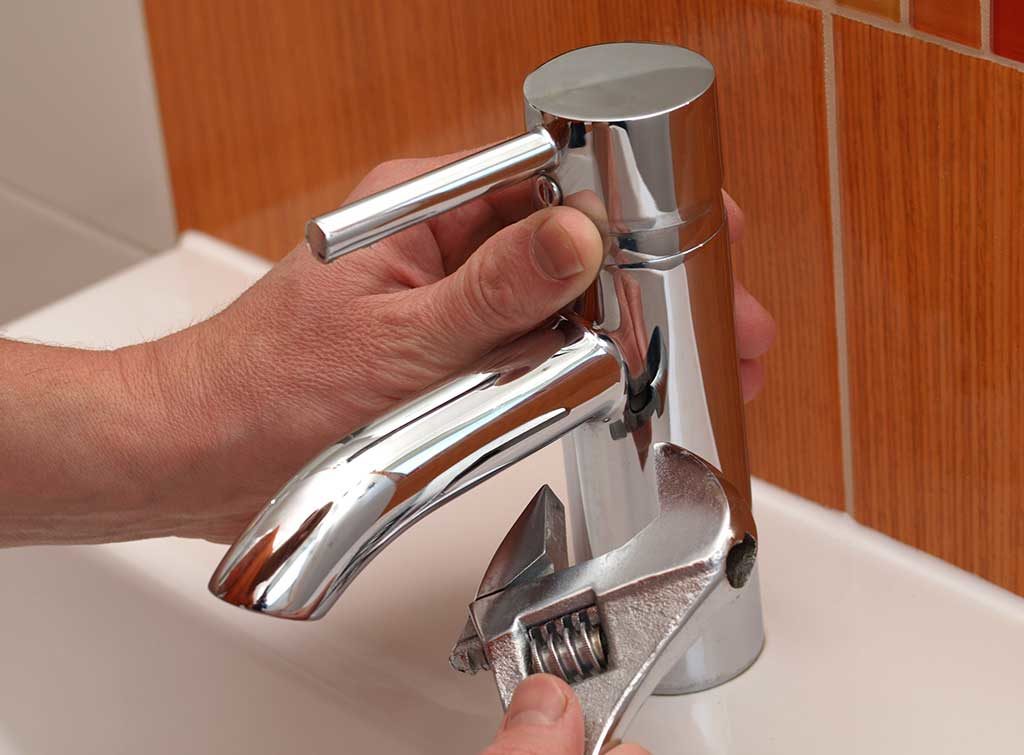
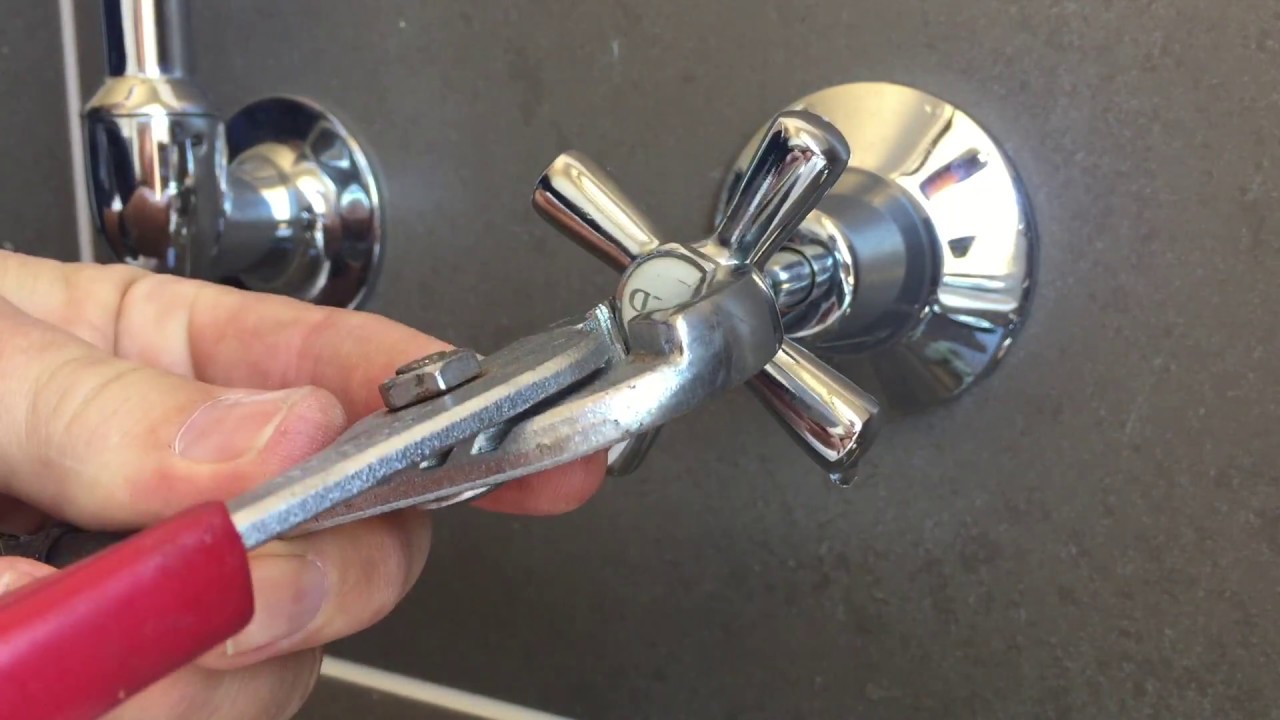
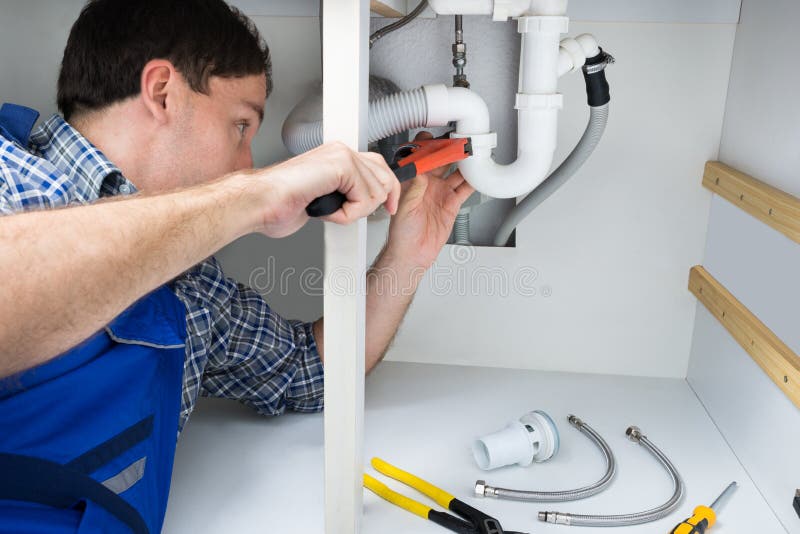
The first step in repairing a bathroom sink tap is to identify the source of the leak. In most cases, the problem can be traced back to a worn out or faulty washer. To replace the washer, you'll need to turn off the water supply to the tap. This can usually be done by turning the shut-off valves located under the sink in a clockwise direction. Once the water supply is turned off, you can use a wrench to unscrew the tap handle and remove it. Then, use pliers to remove the old washer and replace it with a new one. Make sure to choose a washer that is the same size and shape as the old one. Once the new washer is in place, reattach the tap handle and turn the water supply back on. Test the tap to ensure the leak has been fixed.How to Repair a Bathroom Sink Tap


How to Repair a Bathroom Sink Tap


If you're feeling handy, you can also try fixing your leaky bathroom sink tap using a DIY method. One popular method is to use a mixture of vinegar and baking soda to clean the tap and remove any mineral deposits that may be causing the leak. Simply mix equal parts vinegar and baking soda and pour the mixture over the tap. Let it sit for a few minutes before rinsing it off with water. You can also try using a rubber band or tape to hold the tap handle in place. Sometimes, a loose handle can cause a leak, so securing it tightly can help stop the drip. However, keep in mind that these DIY methods may not be a permanent solution and you may still need to replace the washer to fully fix the leak.DIY Bathroom Sink Tap Fix


DIY Bathroom Sink Tap Fix


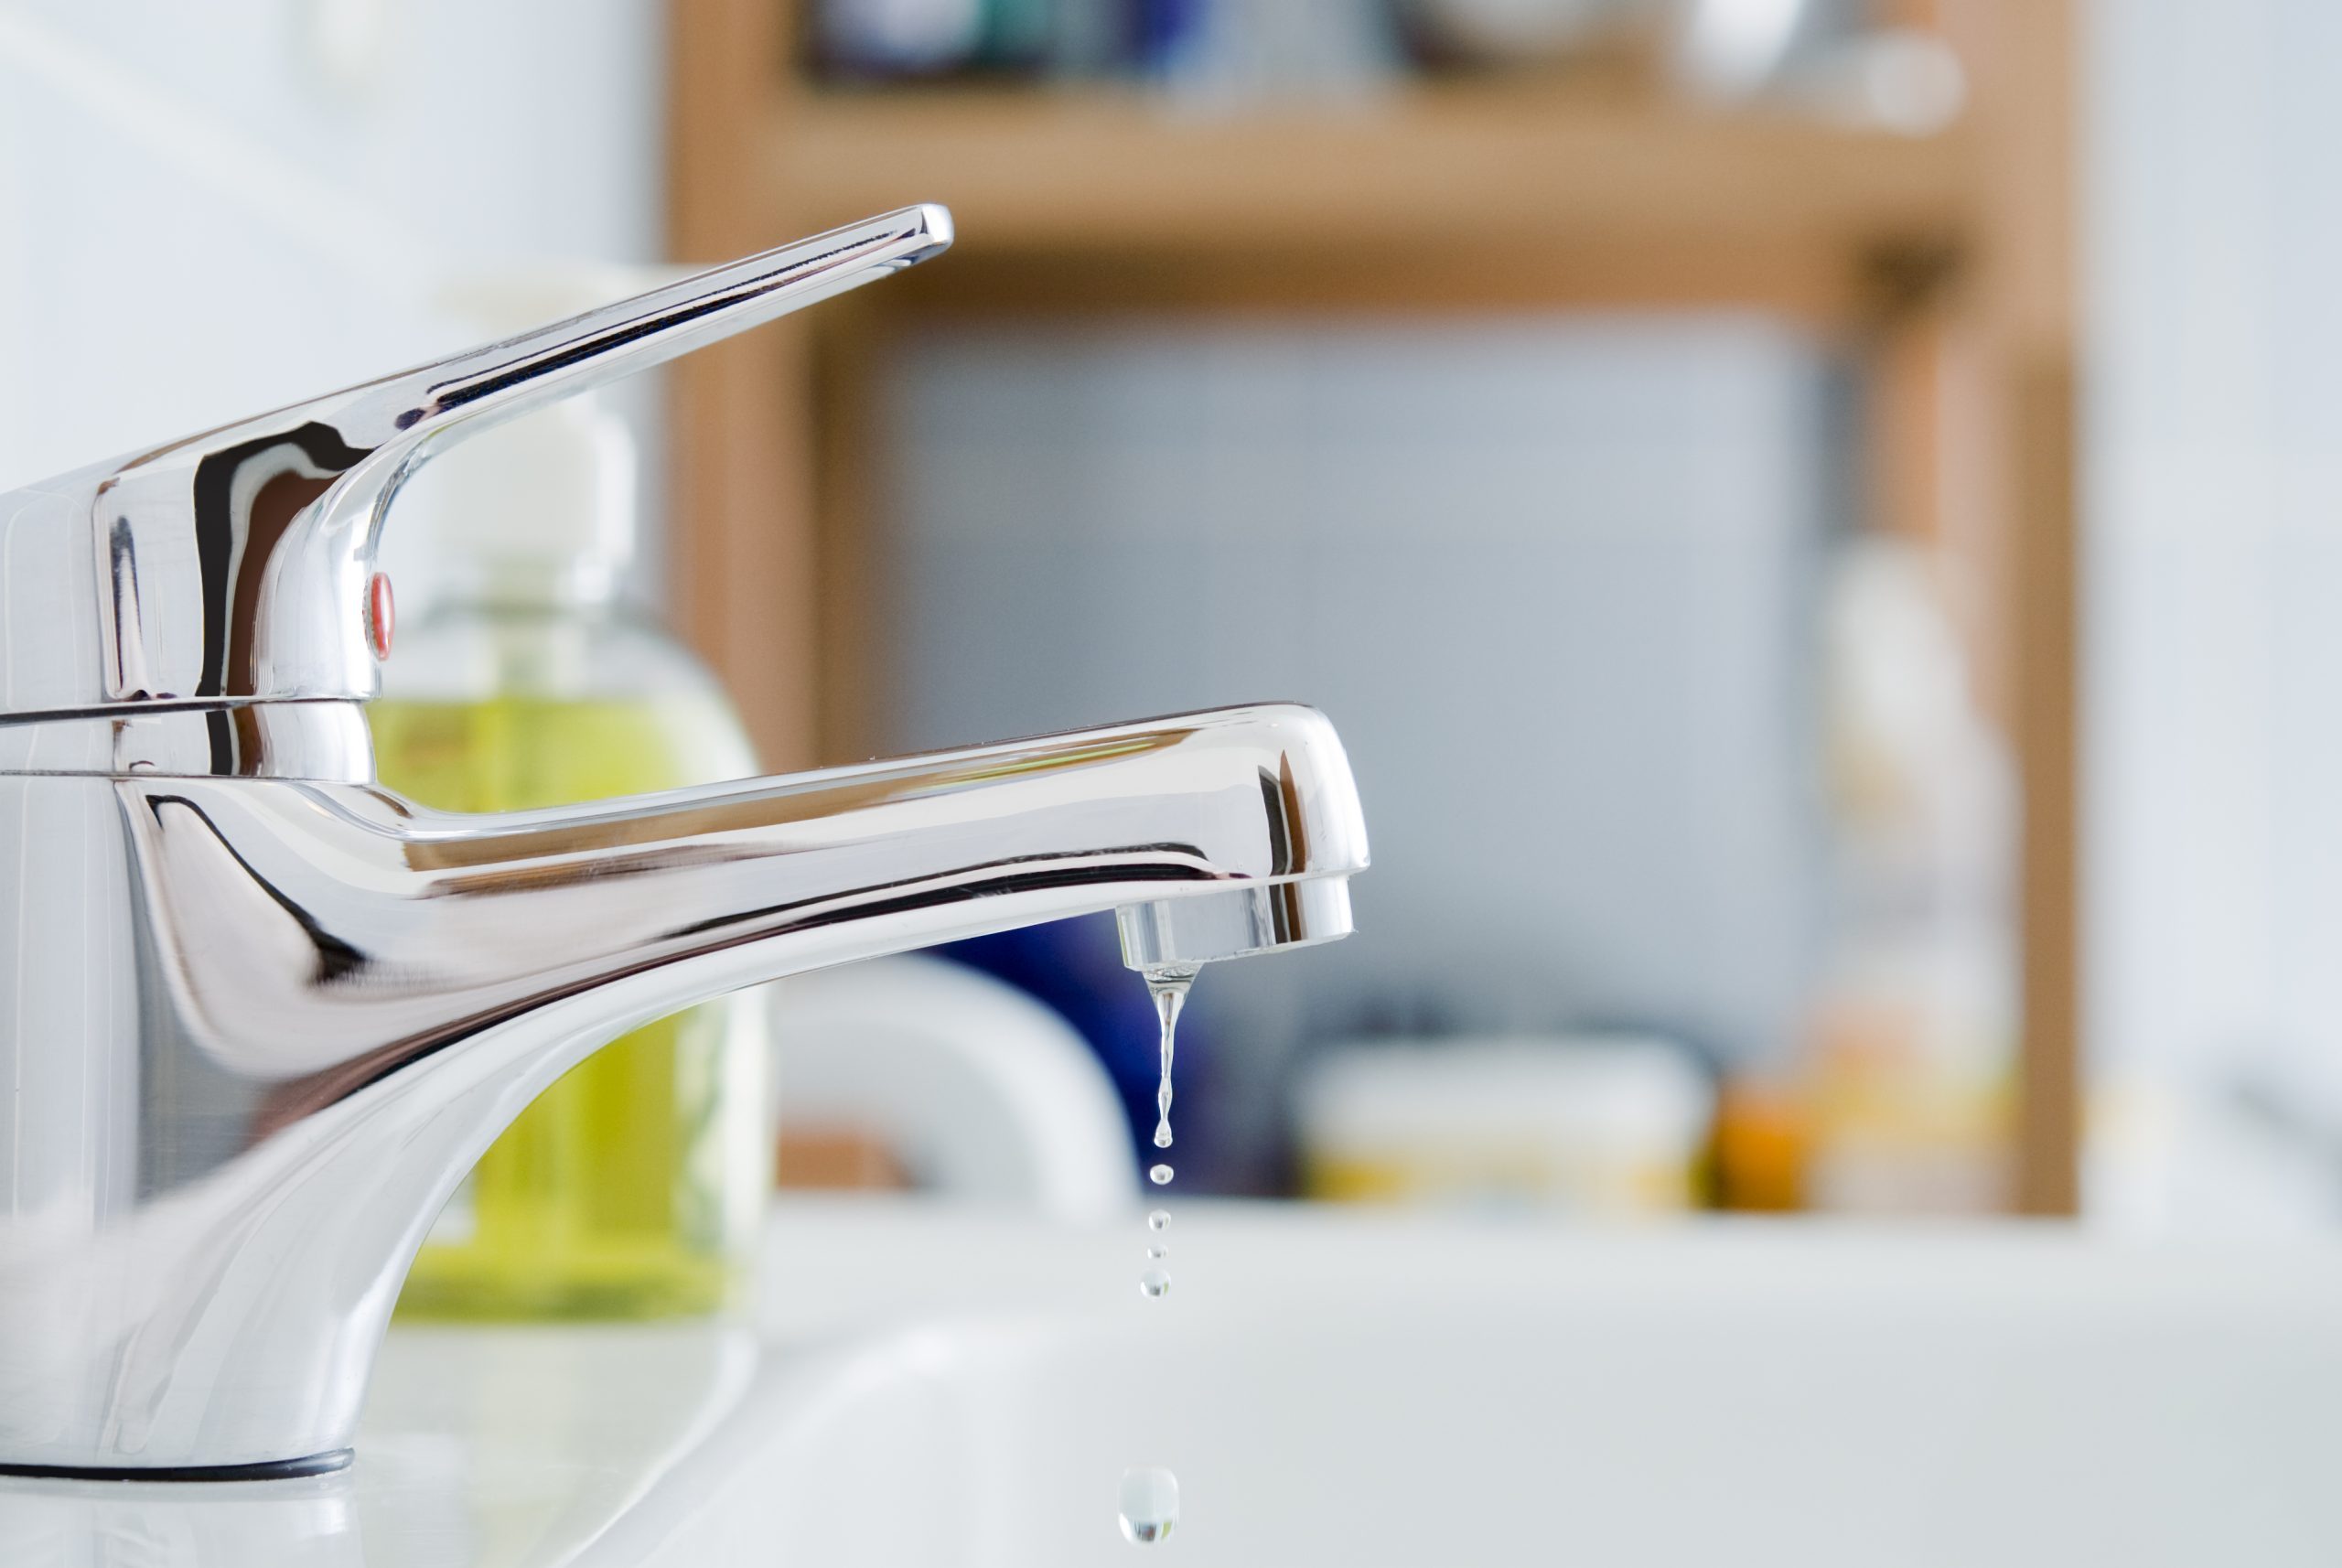
A dripping tap is not only annoying, but it can also waste a significant amount of water over time. If your bathroom sink tap is constantly dripping, it's important to fix it as soon as possible. Follow the steps outlined in the previous headings to fix the issue and stop the drip. If the problem persists after replacing the washer, it may be a sign of a more serious issue such as a corroded or damaged valve. In this case, it may be best to call a professional plumber to assess the problem and make any necessary repairs.Fixing a Dripping Bathroom Sink Tap
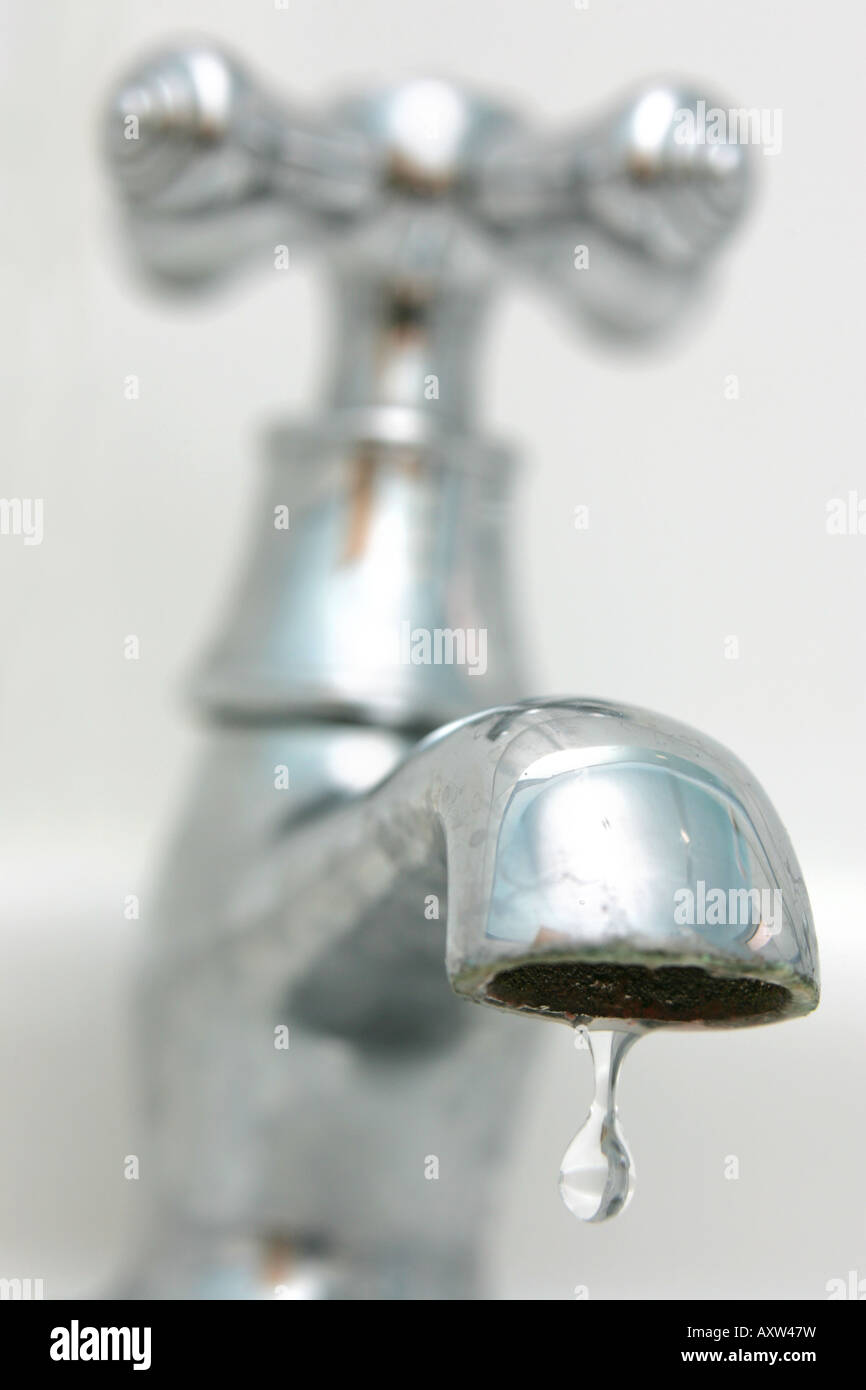
Fixing a Dripping Bathroom Sink Tap


If you don't have the time or resources to fix your bathroom sink tap right away, there are a few quick fixes you can try to temporarily stop the leak. One option is to use a waterproof tape or sealant to cover the area where the leak is coming from. This can help stop the water from escaping and give you some time to properly fix the issue. Another quick fix is to place a bowl or bucket under the tap to catch the dripping water. This can help prevent any water damage to your sink or countertop while you work on fixing the tap.Quick Bathroom Sink Tap Repair


Quick Bathroom Sink Tap Repair


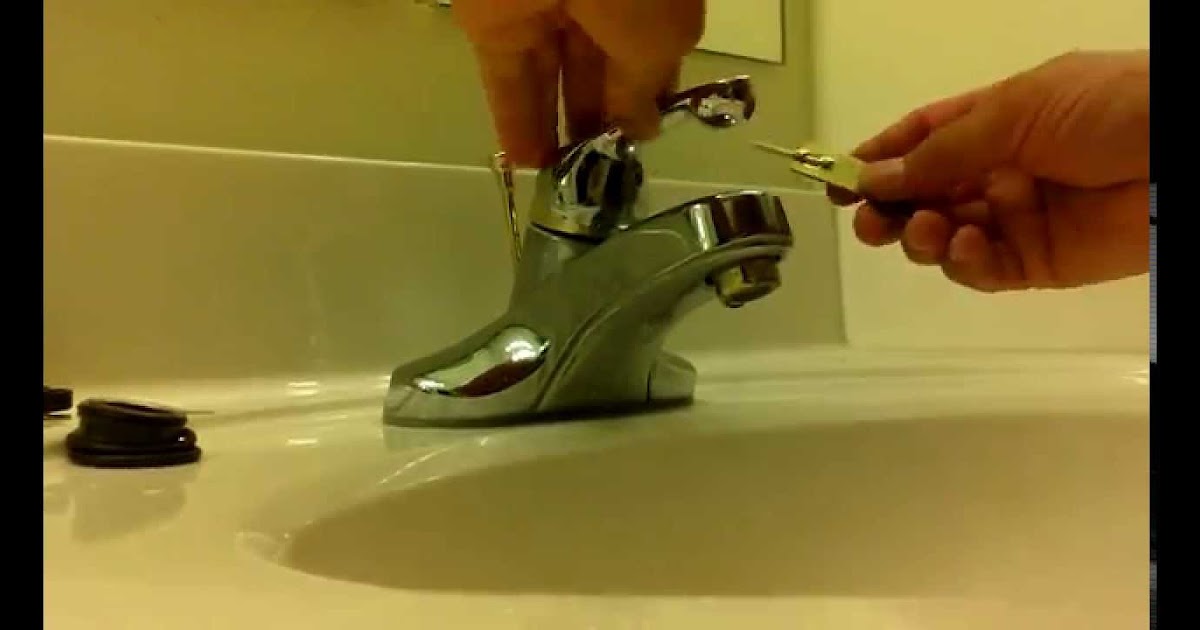
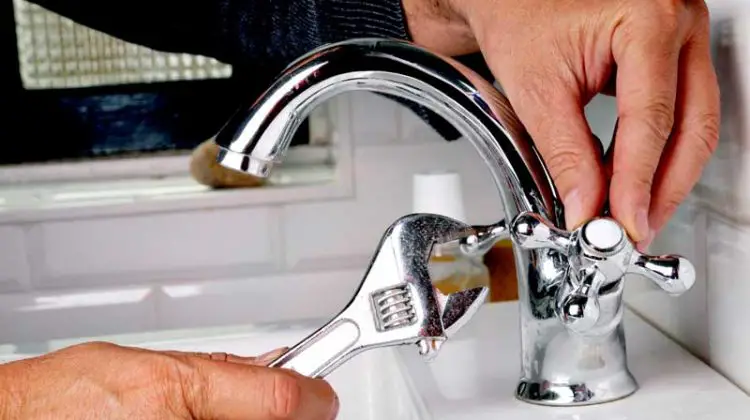
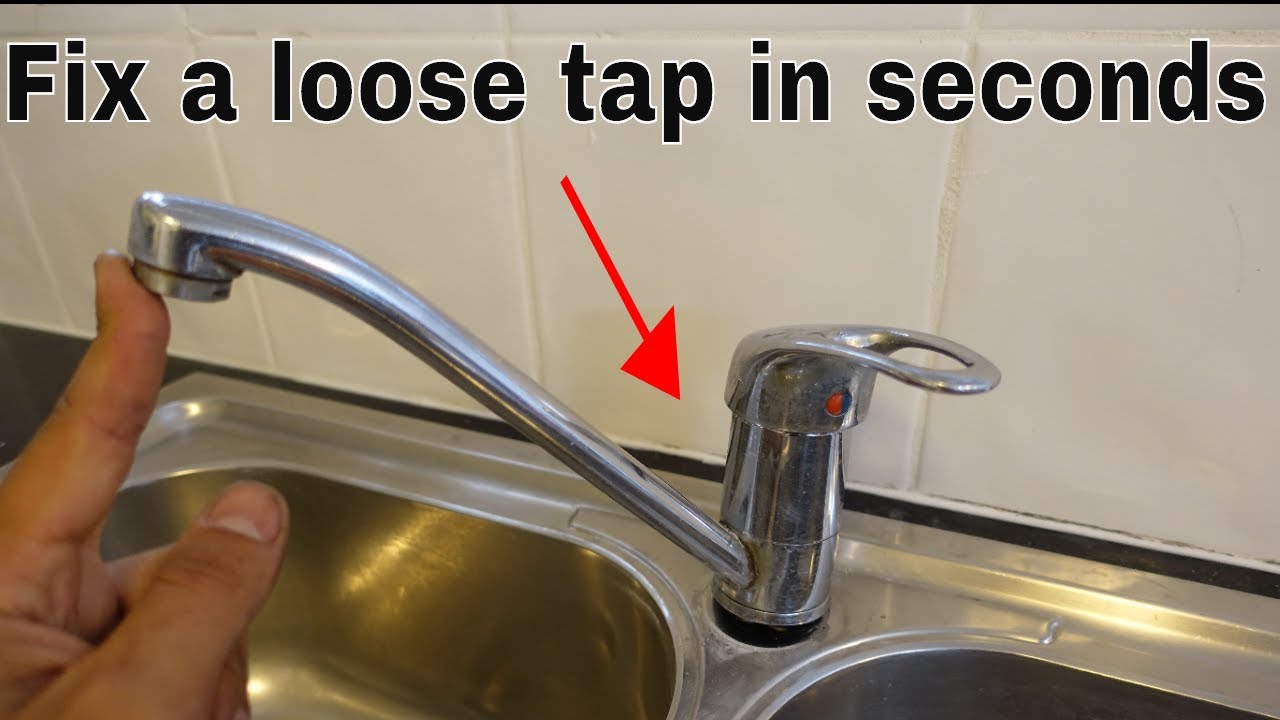
A loose bathroom sink tap can be a frustrating problem to deal with, but it's also a relatively easy fix. In most cases, a loose tap is caused by a worn out or damaged O-ring or cartridge. These parts can easily be replaced by following the steps outlined in the previous headings. If the tap continues to feel loose even after replacing these parts, you may need to tighten the screws or bolts that hold the tap in place. Use a wrench to tighten them, but be careful not to overtighten as this can cause damage to the tap.Fixing a Loose Bathroom Sink Tap


Fixing a Loose Bathroom Sink Tap


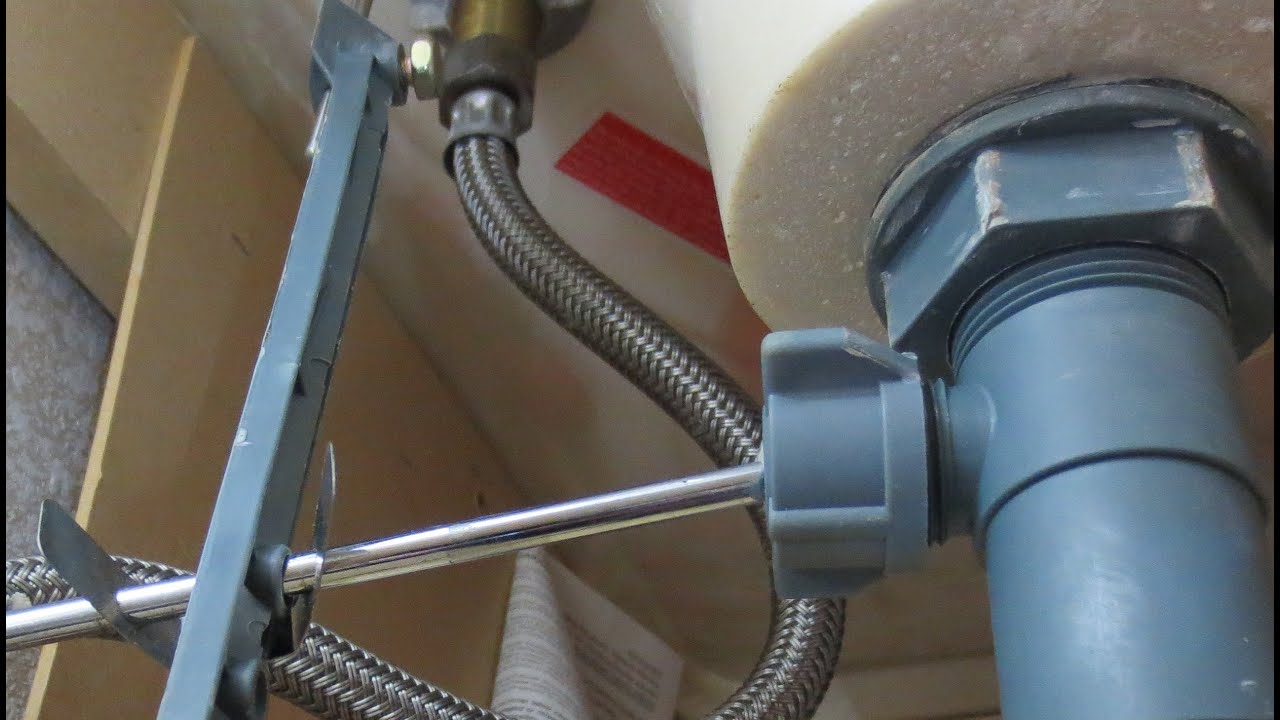
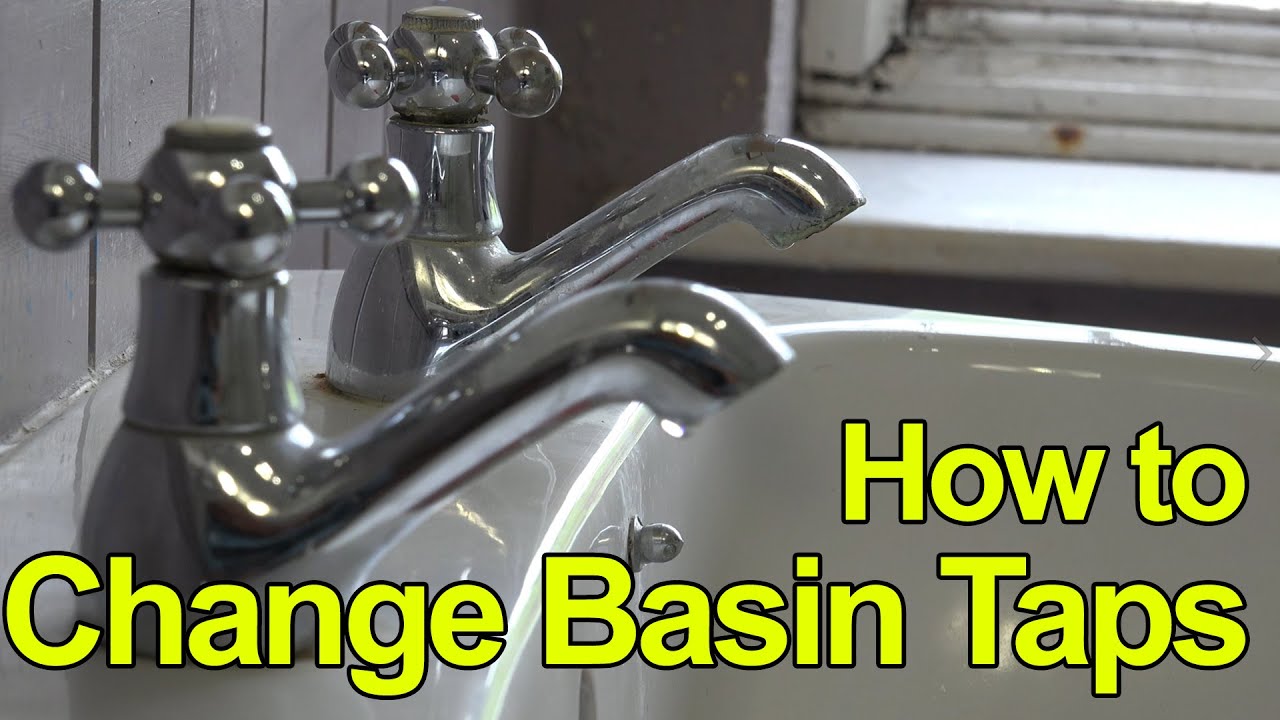
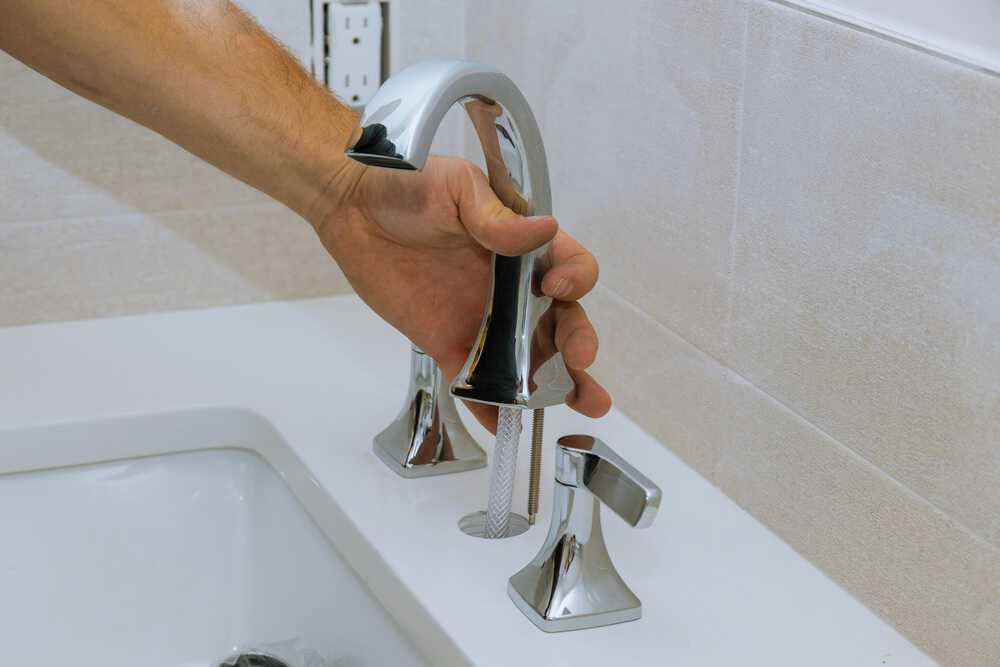
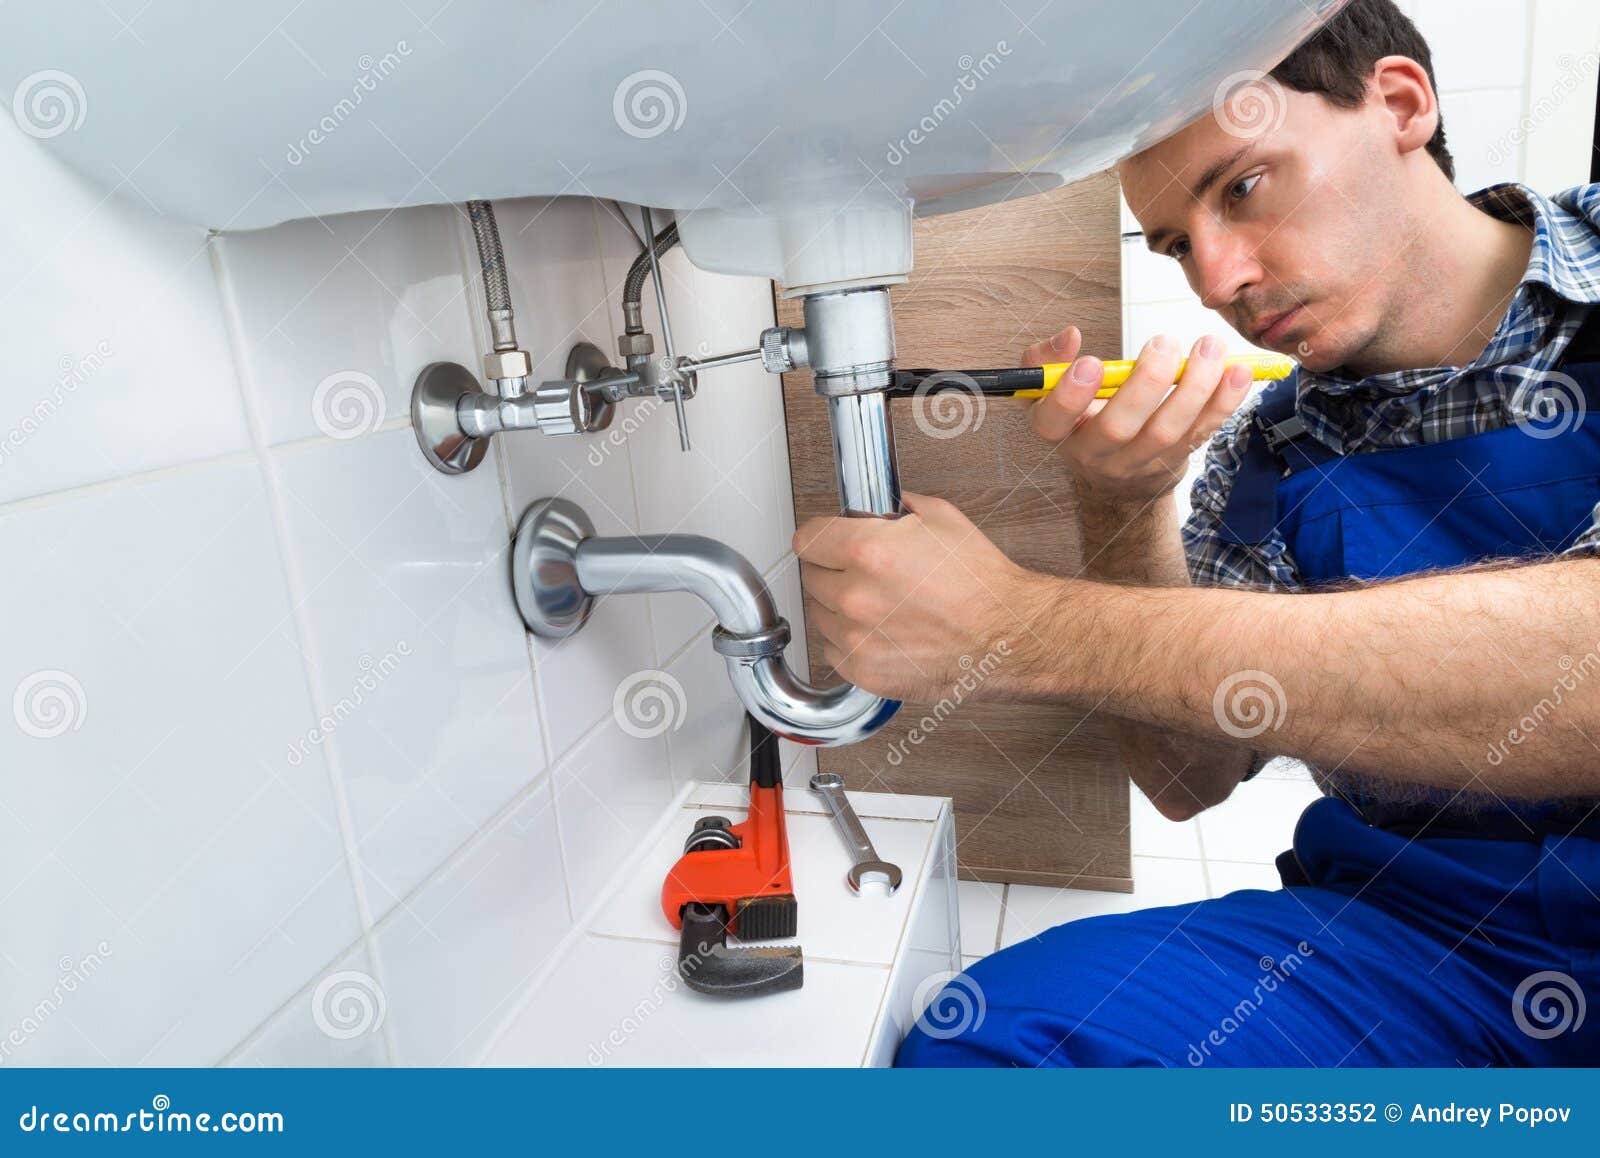
If your bathroom sink tap is beyond repair, it may be time to replace it with a new one. This can be a bit more challenging than simply fixing a leak, but it's still a manageable DIY task. Before you begin, make sure to turn off the water supply to the tap. Then, use a wrench to unscrew the tap from the sink. You may also need to disconnect the water supply lines using pliers. Once the old tap is removed, you can install the new one by following the manufacturer's instructions. Remember to turn the water supply back on once the new tap is in place.Replacing a Bathroom Sink Tap


Replacing a Bathroom Sink Tap


If your bathroom sink tap is stuck and won't turn on or off, it could be due to a buildup of mineral deposits or corrosion. To fix this issue, you can try using a mixture of vinegar and water to clean the tap and remove any buildup. Let the mixture sit for a few minutes before rinsing it off with water. If the tap is still stuck, you may need to use a wrench to loosen it. Be careful not to use too much force as this can cause damage to the tap. If the tap is still stuck, it may be a sign of a more serious issue and you may need to call a professional plumber for assistance.Fixing a Stuck Bathroom Sink Tap


Fixing a Stuck Bathroom Sink Tap


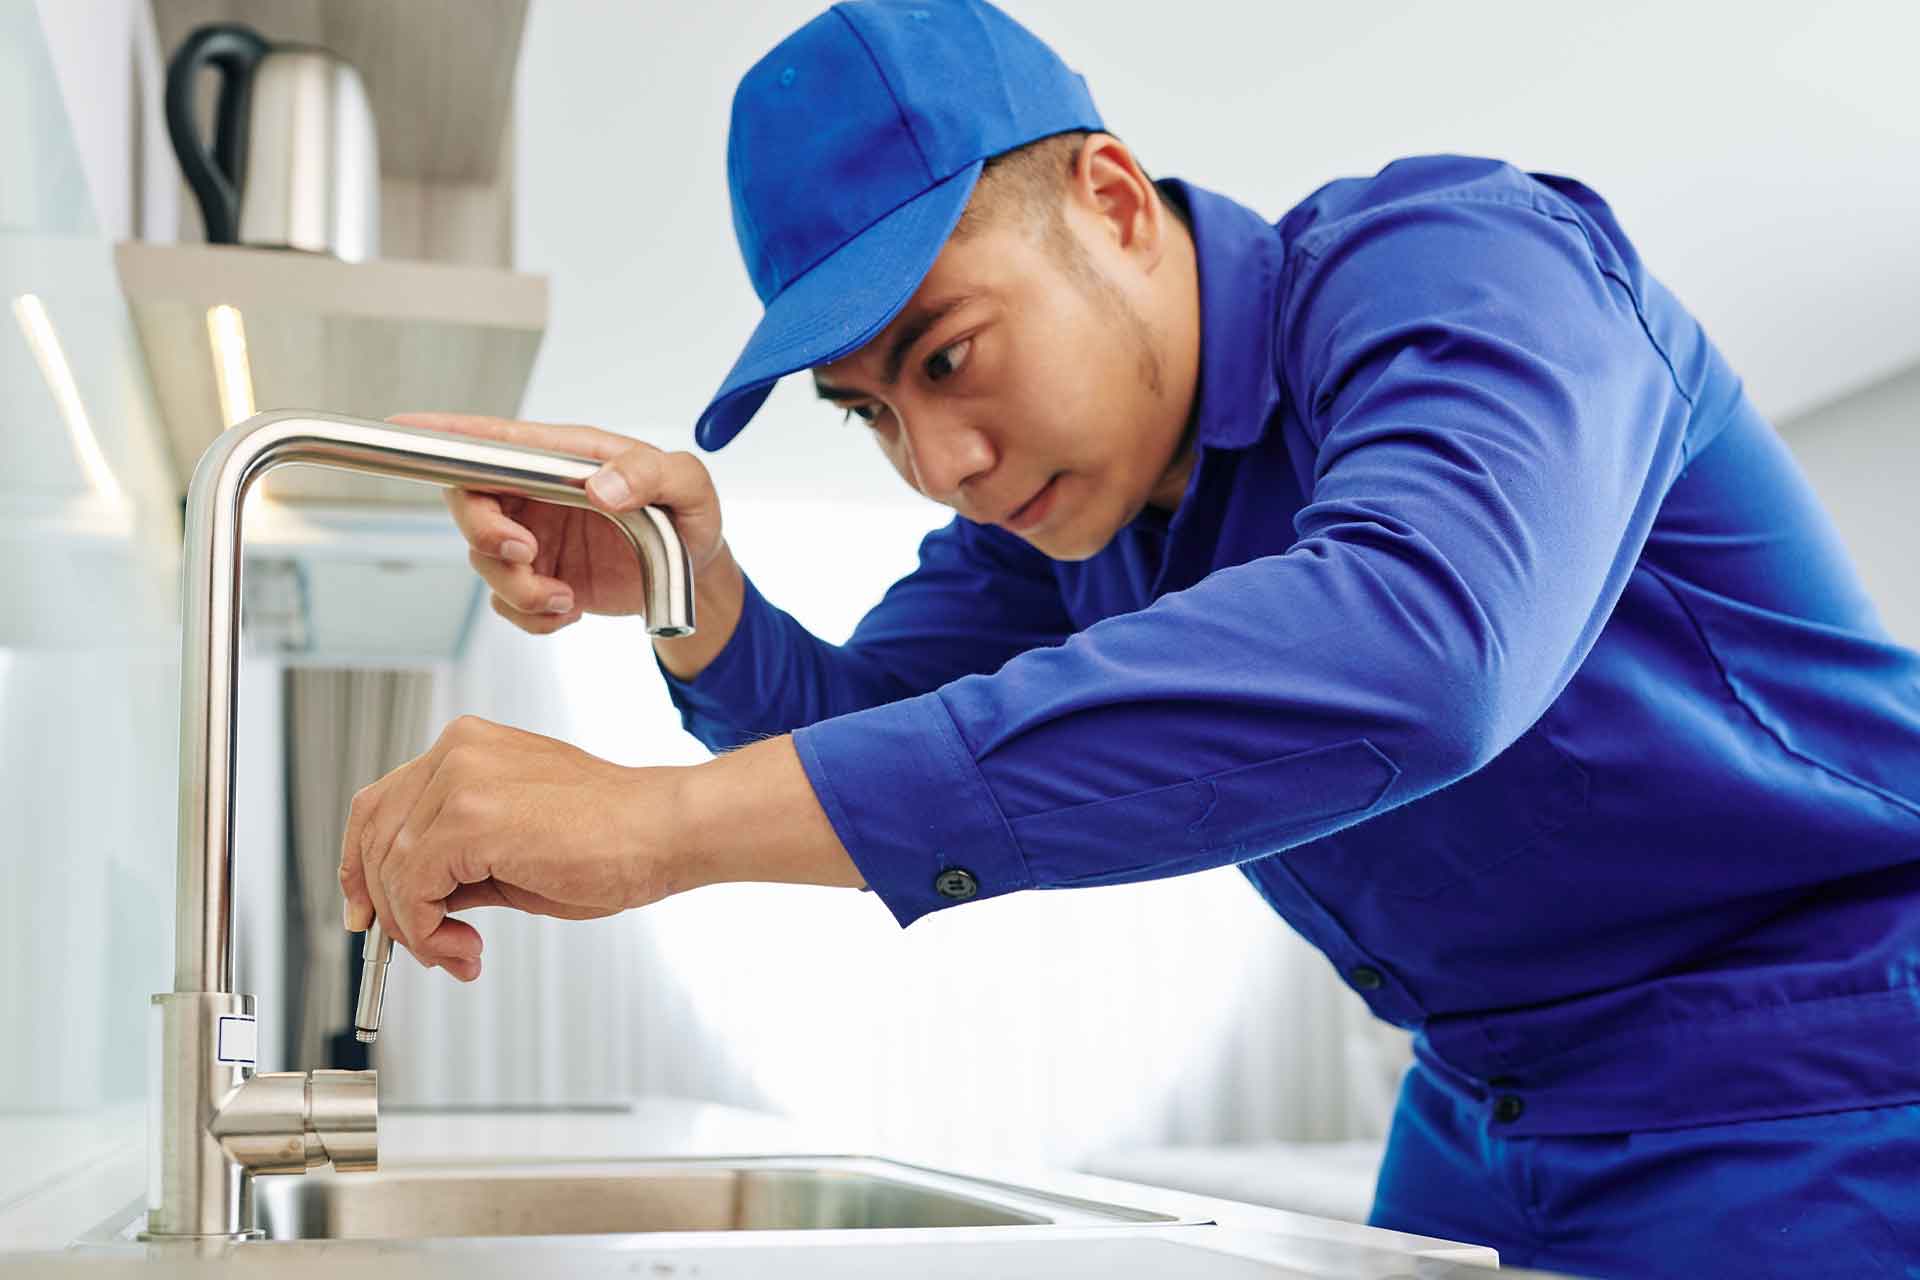
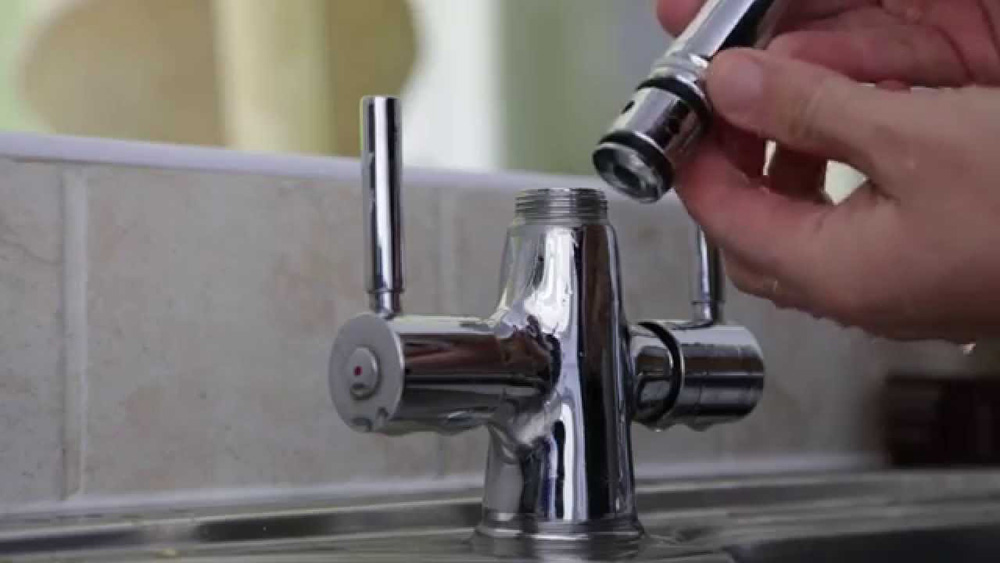
There are a few other common problems that you may encounter with your bathroom sink tap, such as low water pressure, strange noises, or a constantly running tap. These issues can often be resolved by cleaning or replacing certain parts of the tap, such as the aerator or cartridge. If you're unsure of how to fix these problems, it's always best to consult a professional plumber for advice and assistance.Common Bathroom Sink Tap Problems and Solutions


Common Bathroom Sink Tap Problems and Solutions


To summarize, here is a step-by-step guide to fixing a leaky or faulty bathroom sink tap:Step-by-Step Guide to Fixing a Bathroom Sink Tap


Step-by-Step Guide to Fixing a Bathroom Sink Tap


Fixing a Bathroom Sink Tap: A Simple Guide

The Importance of a Functional Bathroom Sink Tap
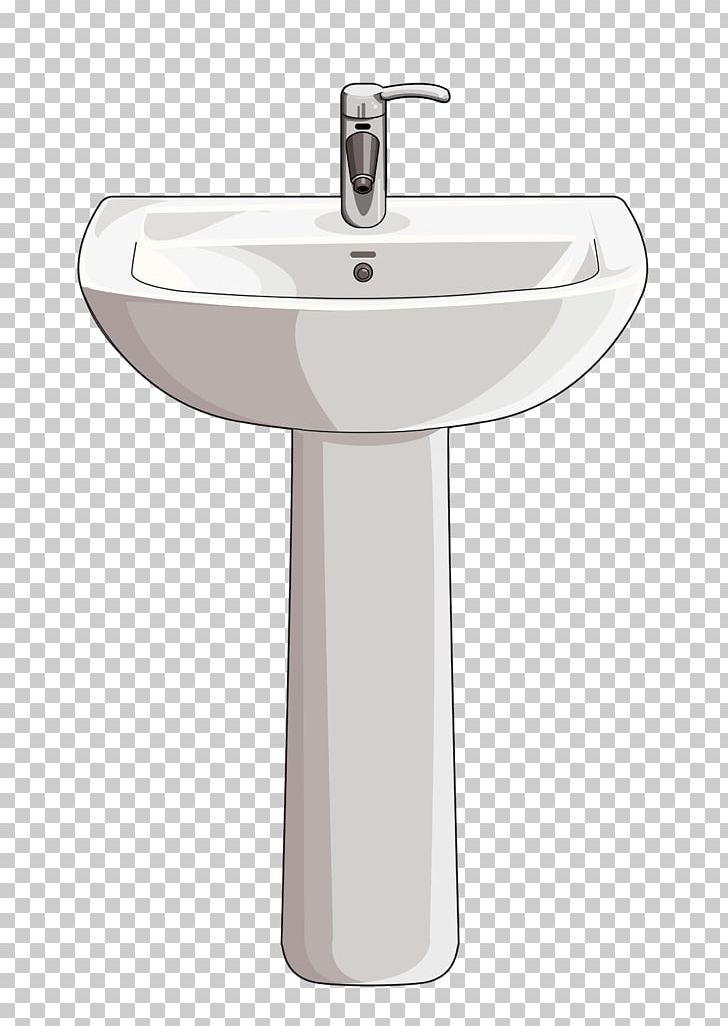
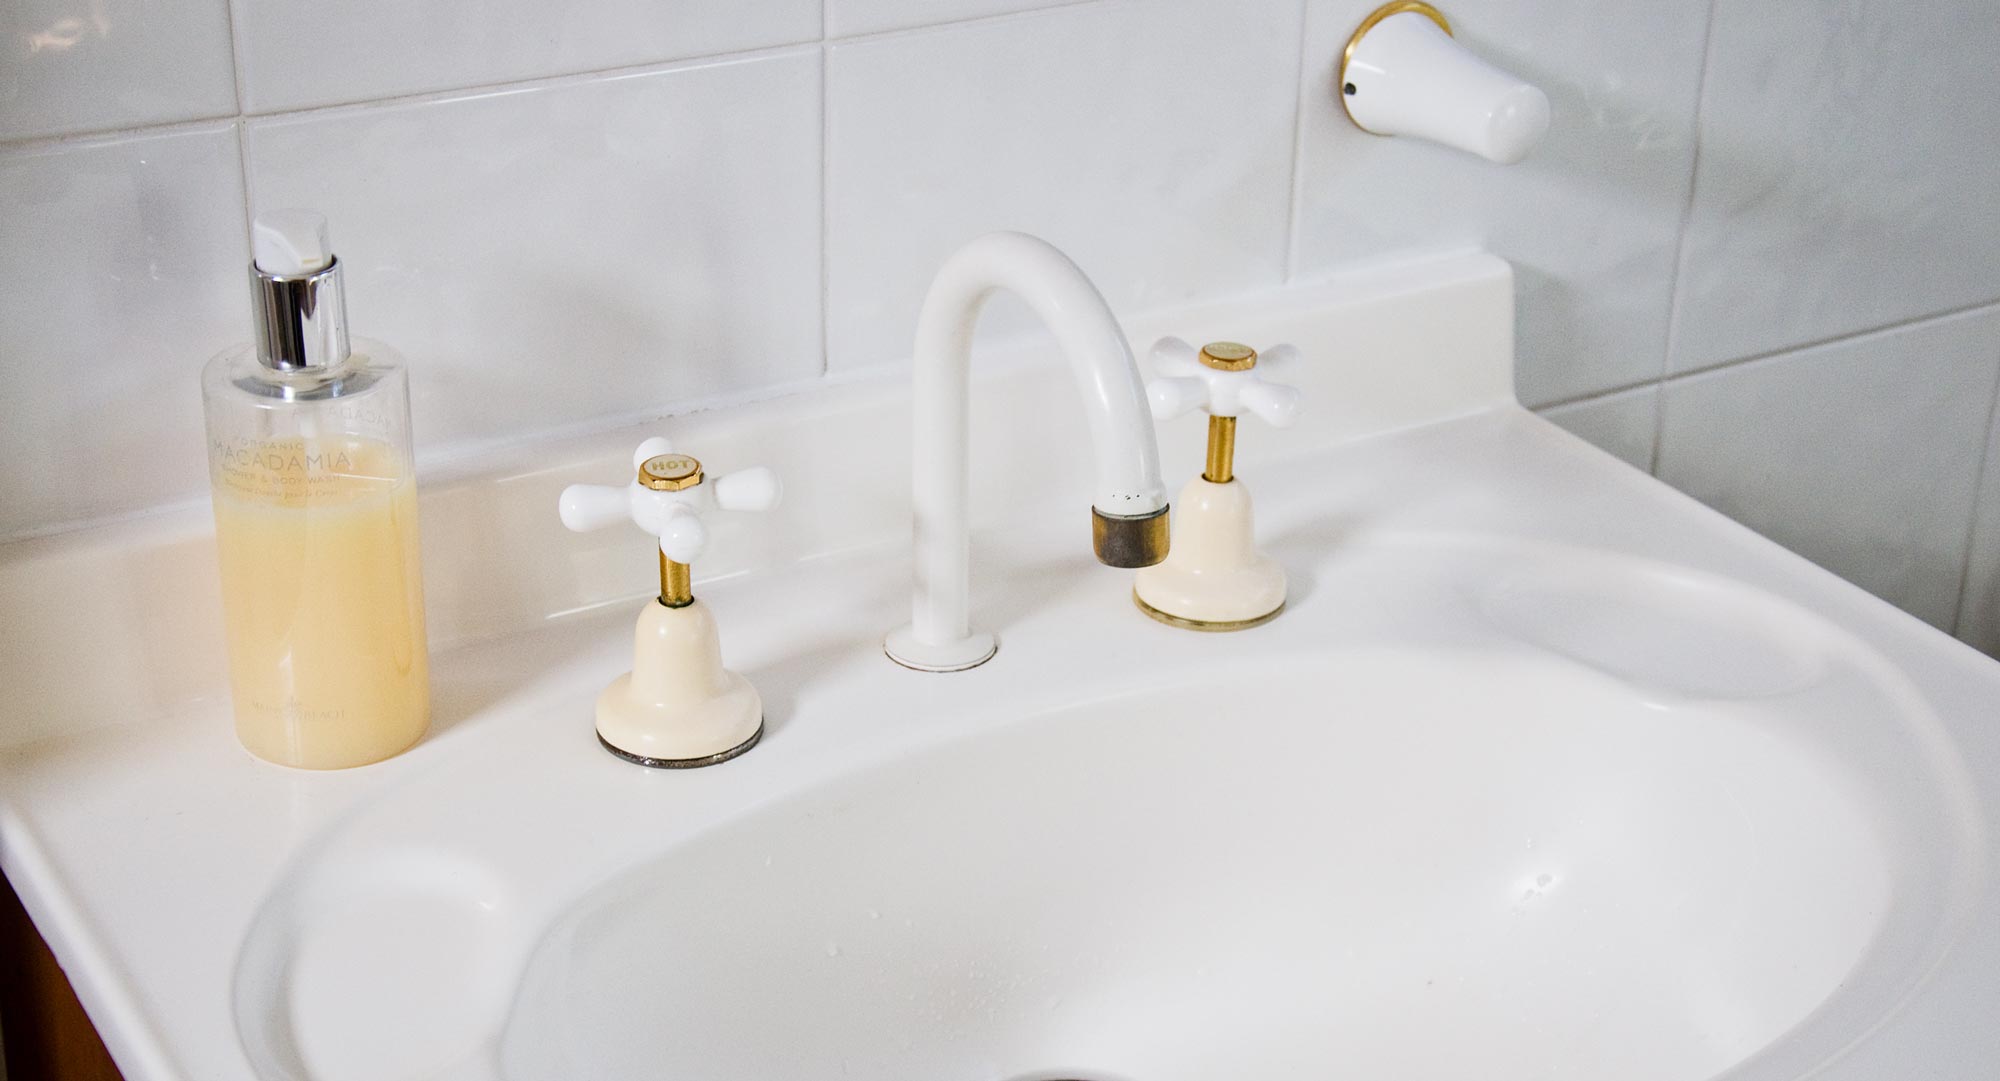
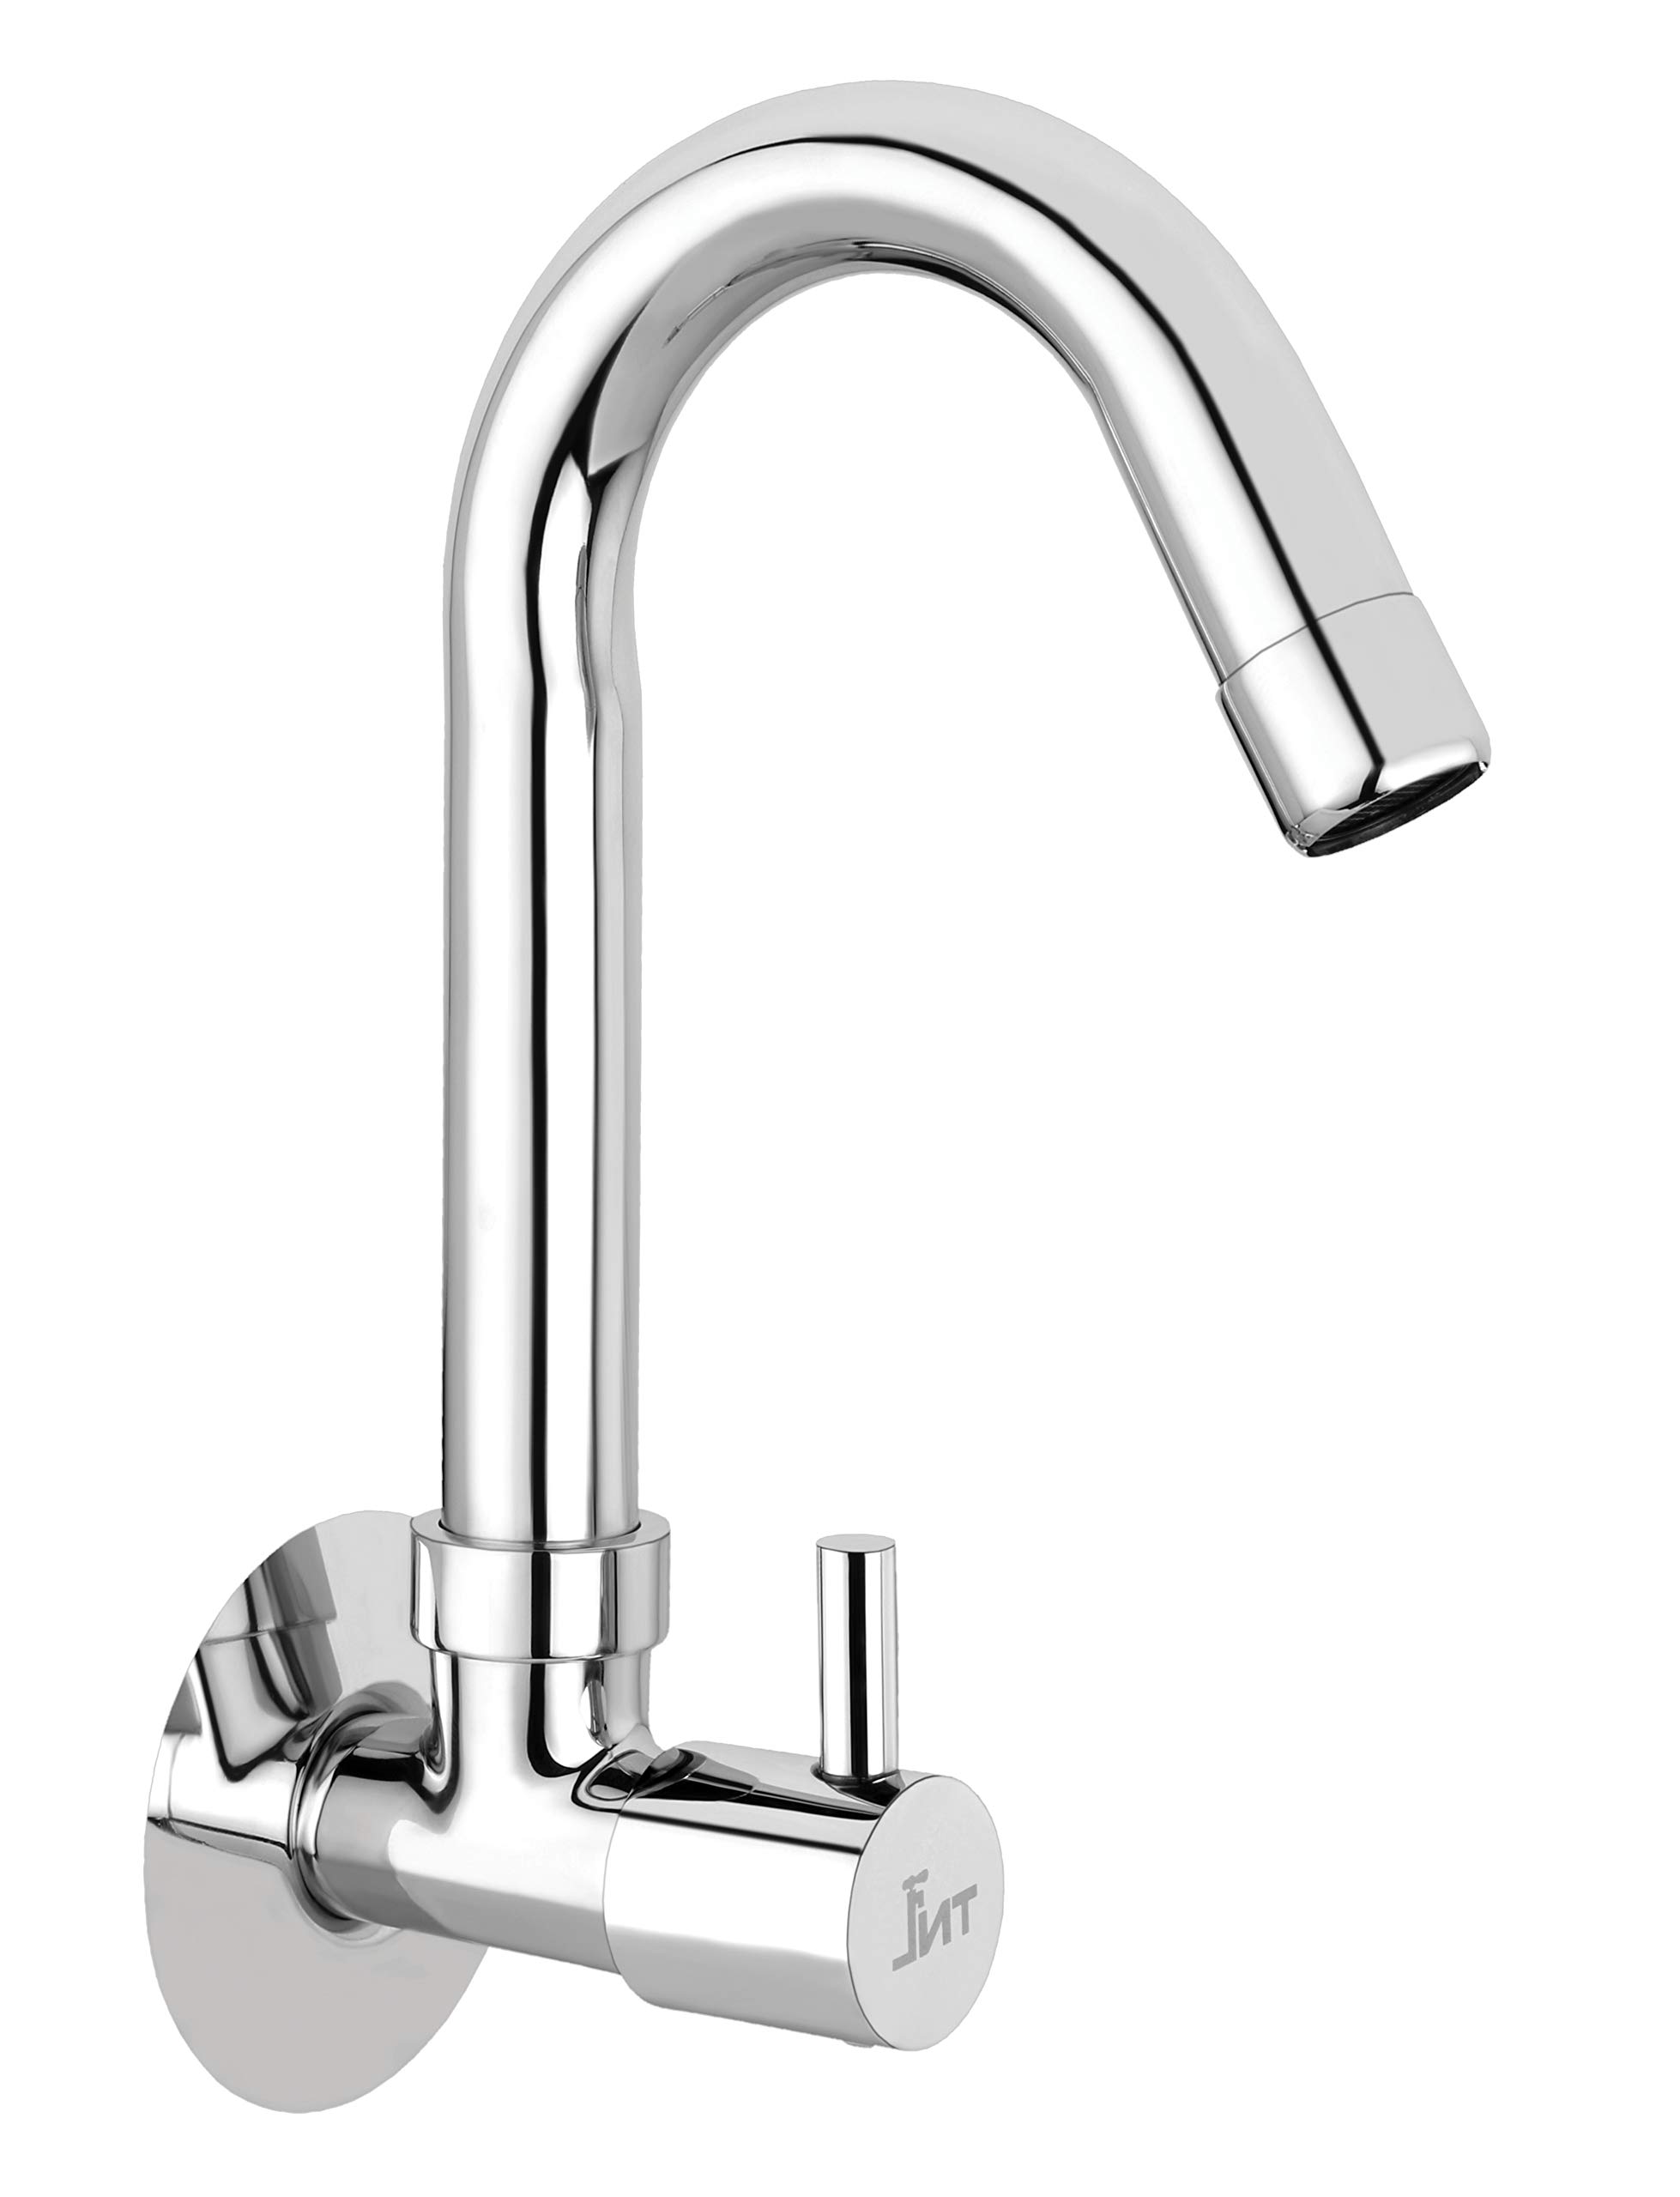
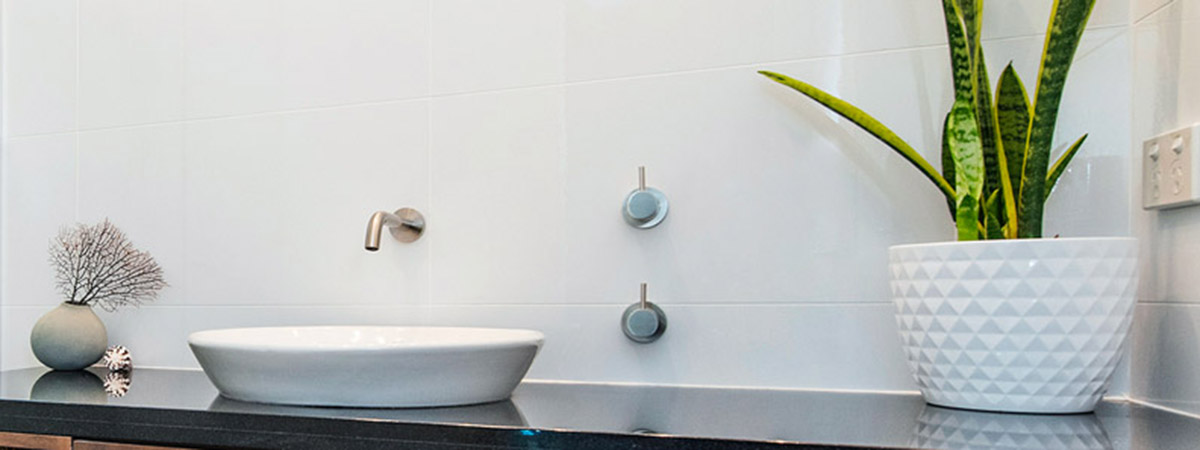
 A bathroom sink tap is an essential part of any house design. It is used multiple times a day for various tasks such as washing hands, brushing teeth, and cleaning the sink. A faulty tap can disrupt the flow of daily routines and cause inconvenience. Not only that, but a leaky tap can also waste a significant amount of water, leading to higher water bills. Therefore, it is crucial to fix a bathroom sink tap as soon as you notice any issues.
Identifying the Problem
 The first step in fixing a bathroom sink tap is to identify the root cause of the problem. The most common issues with bathroom sink taps are leaks, low water pressure, and dripping water. Leaky taps are usually caused by worn-out washers or O-rings, while low water pressure can be due to clogged aerators. Dripping water can also be caused by a faulty cartridge or valve. By identifying the problem, you can determine the necessary steps to fix it.
Tools and Materials Needed
 To fix a bathroom sink tap, you will need a few tools and materials. These include an adjustable wrench, a screwdriver, replacement washers or O-rings, plumber's tape, and a cartridge or valve (if needed). Make sure to have all the necessary tools and materials before starting the repair process.
Step-by-Step Guide
 1. Start by turning off the water supply to the sink tap. You can usually find the shut-off valve under the sink or near the water meter.
2. Once the water supply is turned off, close the sink drain to prevent any small parts from falling into it.
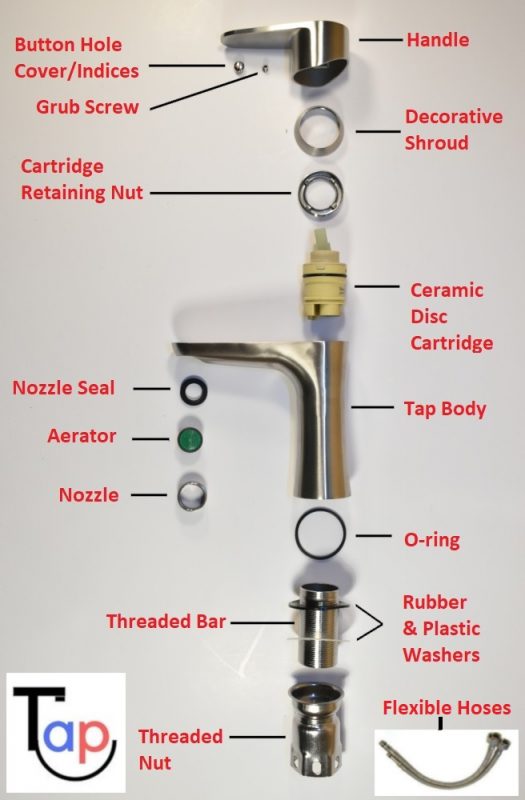
3. Use the adjustable wrench to remove the tap handle. You may need to remove a decorative cap or cover to access the handle screw.
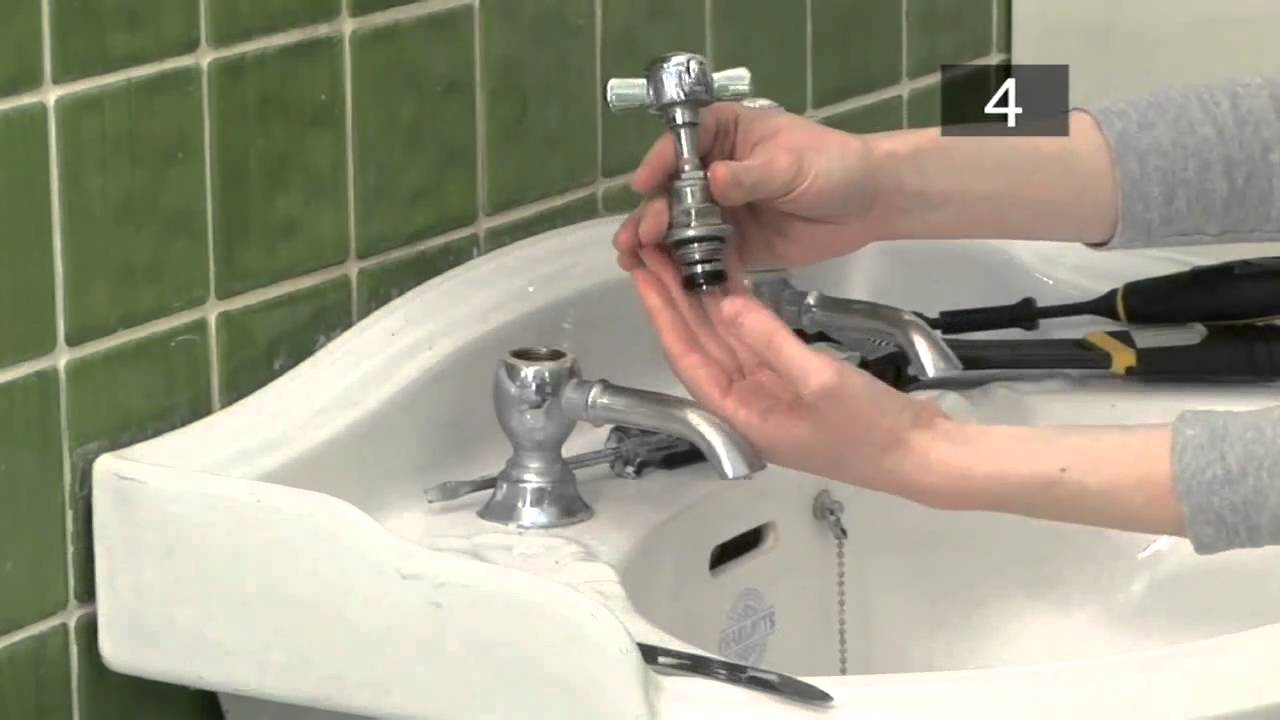
4. Once the handle is removed, use the screwdriver to take out the tap's valve or cartridge.
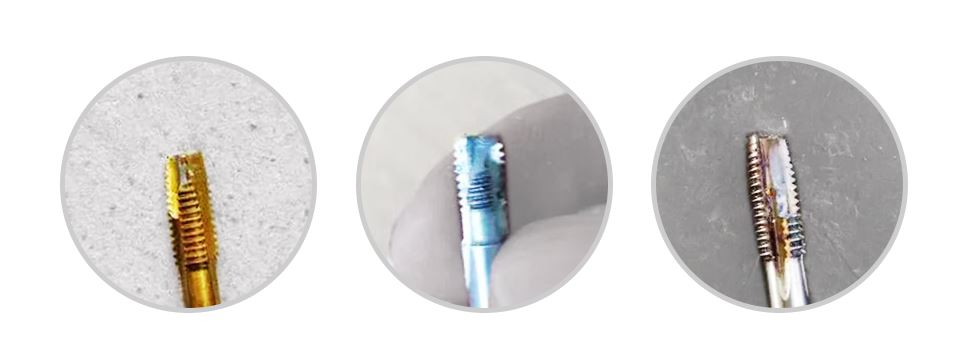
5. Inspect the valve or cartridge for any damages. If there are any cracks or breaks, replace it with a new one.
6. If the issue is a leaky tap, check the washers or O-rings for wear and tear. Replace them with new ones if necessary.
7. Apply plumber's tape to the threaded areas of the tap to prevent leaks.
8. Reassemble the tap and turn on the water supply. Test the tap to make sure it is functioning correctly.
1. Start by turning off the water supply to the sink tap. You can usually find the shut-off valve under the sink or near the water meter.
2. Once the water supply is turned off, close the sink drain to prevent any small parts from falling into it.
3. Use the adjustable wrench to remove the tap handle. You may need to remove a decorative cap or cover to access the handle screw.
4. Once the handle is removed, use the screwdriver to take out the tap's valve or cartridge.
5. Inspect the valve or cartridge for any damages. If there are any cracks or breaks, replace it with a new one.
6. If the issue is a leaky tap, check the washers or O-rings for wear and tear. Replace them with new ones if necessary.
7. Apply plumber's tape to the threaded areas of the tap to prevent leaks.
8. Reassemble the tap and turn on the water supply. Test the tap to make sure it is functioning correctly.
Final Thoughts
 Fixing a bathroom sink tap may seem like a daunting task, but by following these simple steps, you can save time and money by avoiding a plumber's visit. Remember to regularly check and maintain your taps to prevent any major issues. A functional bathroom sink tap not only adds to the aesthetic of your house design but also makes daily tasks more efficient. So, don't ignore any tap issues and fix them promptly.