Are you tired of looking at your plain and unattractive kitchen sink when it's not in use? Why not spruce it up with a DIY kitchen sink cover? This simple and budget-friendly project can add both style and functionality to your kitchen. And the best part? You can easily make it yourself! Here's how: First, measure the length and width of your sink, and add an extra 1-2 inches on each side. This will be the size of your cover. Next, choose a material that is sturdy and water-resistant, such as wood or acrylic. You can find these materials at your local hardware store. Once you have your material, cut it to the desired size using a saw or a utility knife. You can also have the store cut it for you if you don't have the tools at home. Sand down the edges to make them smooth. Now comes the fun part – decorating your cover! You can paint it with your favorite color or design, or use contact paper to create a pattern. You can also add built-in storage, such as hooks for dish towels or a holder for soap and sponges, to make your cover even more functional. Finally, place your cover over the sink and make sure it fits properly. You can add rubber bumpers to the bottom of the cover to prevent it from sliding around. And there you have it – a beautiful and functional DIY kitchen sink cover!1. How to Make a DIY Kitchen Sink Cover


1. How to Make a DIY Kitchen Sink Cover


If you're looking for more inspiration for your kitchen sink cover, here are a few easy and creative ideas: Cutting board cover: Instead of using a separate cutting board, why not make your cover double as one? Use a durable material like bamboo or butcher block and add a food-safe sealant to protect it from water and stains. Tile mosaic cover: If you want to add a pop of color and texture to your kitchen, try using small tiles to create a mosaic design for your cover. You can use different colors and patterns to make it unique. Fabric cover: For a softer and more cozy look, you can use fabric to cover your sink. Choose a water-resistant and machine-washable material, and add a layer of batting or foam underneath for a cushioned feel. Removable cover: If you don't want a permanent cover, you can create a removable one by making a frame with wood or PVC pipes and attaching fabric or acrylic to it. This way, you can easily take it off and wash it when needed.2. Easy DIY Kitchen Sink Cover Ideas

2. Easy DIY Kitchen Sink Cover Ideas


For a step-by-step tutorial on how to make a DIY kitchen sink cover, follow these simple instructions: Step 1: Measure your sink and add 1-2 inches on each side. Step 2: Choose a sturdy and water-resistant material, such as wood or acrylic, and cut it to the desired size. Step 3: Sand down the edges to make them smooth. Step 4: Decorate your cover with paint, contact paper, or other materials of your choice. Step 5: Place the cover over the sink and make sure it fits properly. Step 6: Add rubber bumpers to the bottom of the cover to prevent it from sliding. Congratulations, you now have a beautiful and functional DIY kitchen sink cover!3. DIY Kitchen Sink Cover Tutorial


3. DIY Kitchen Sink Cover Tutorial

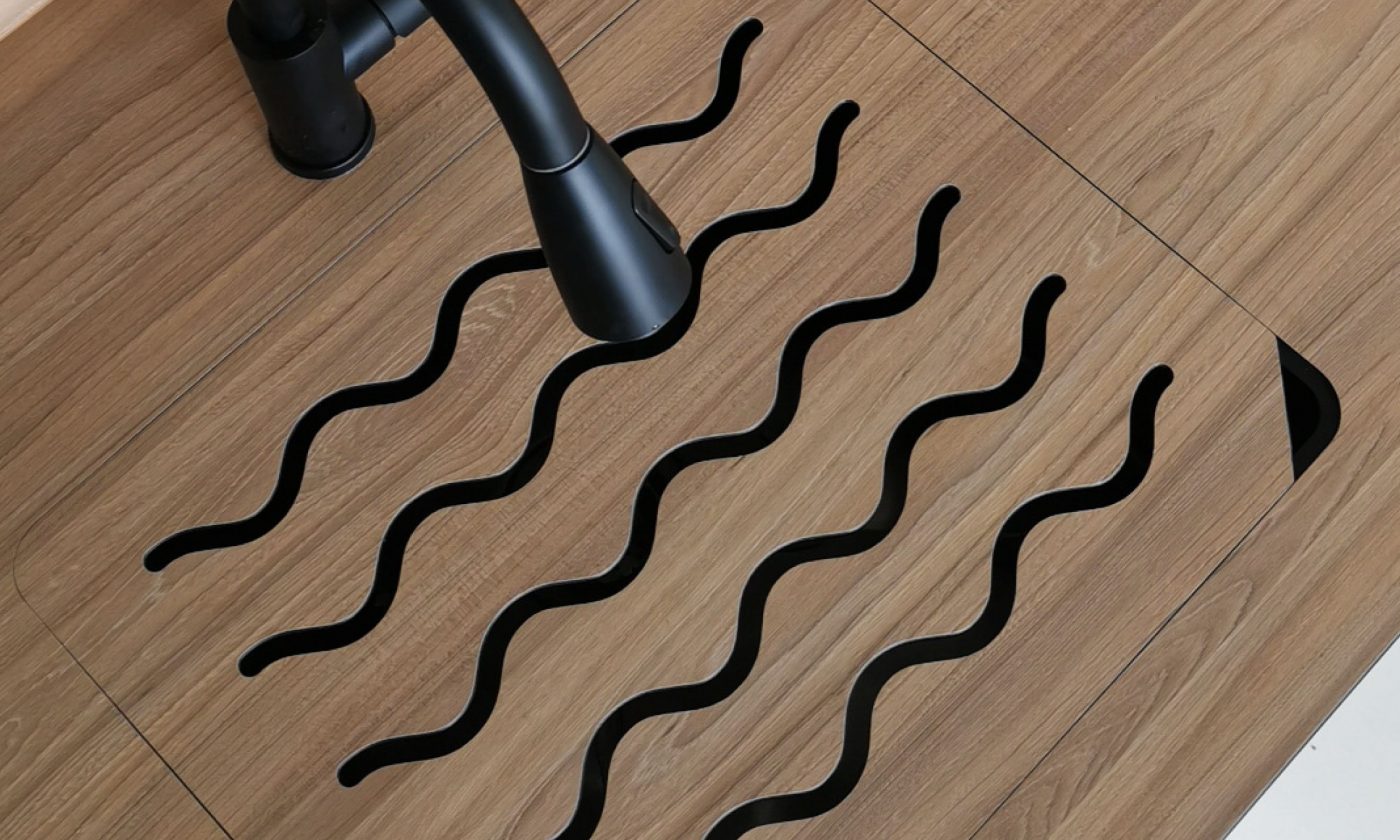
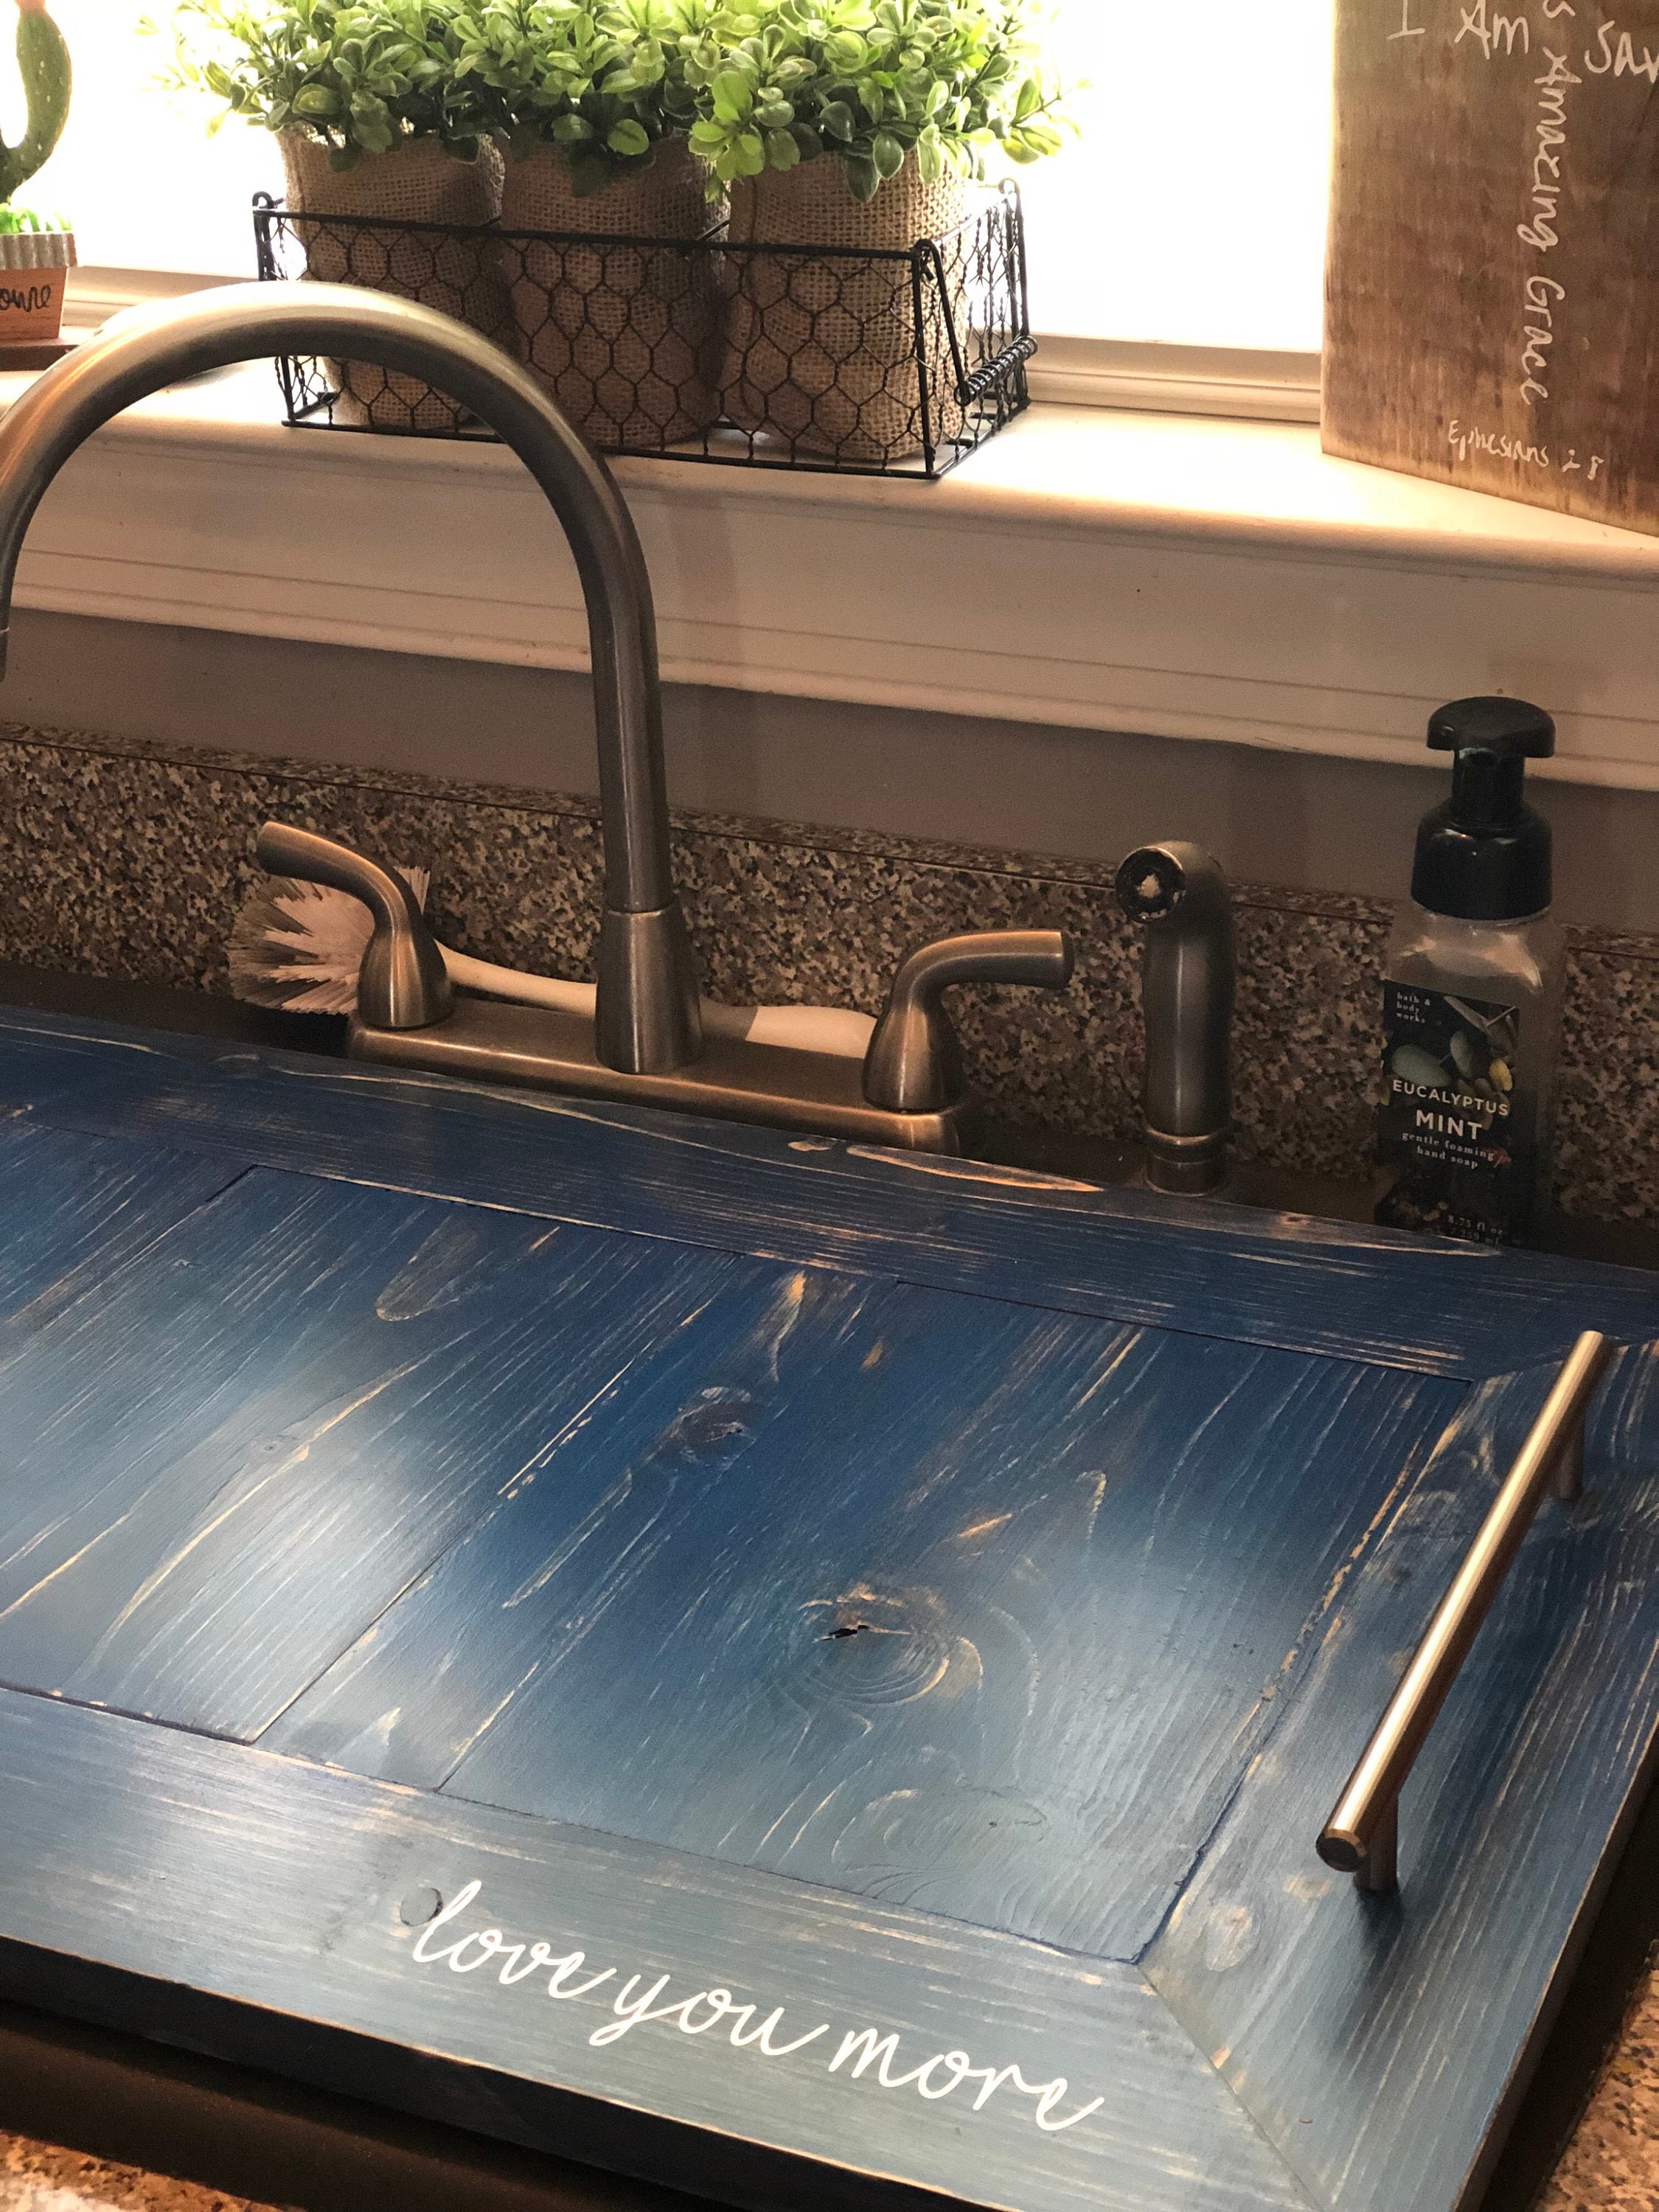
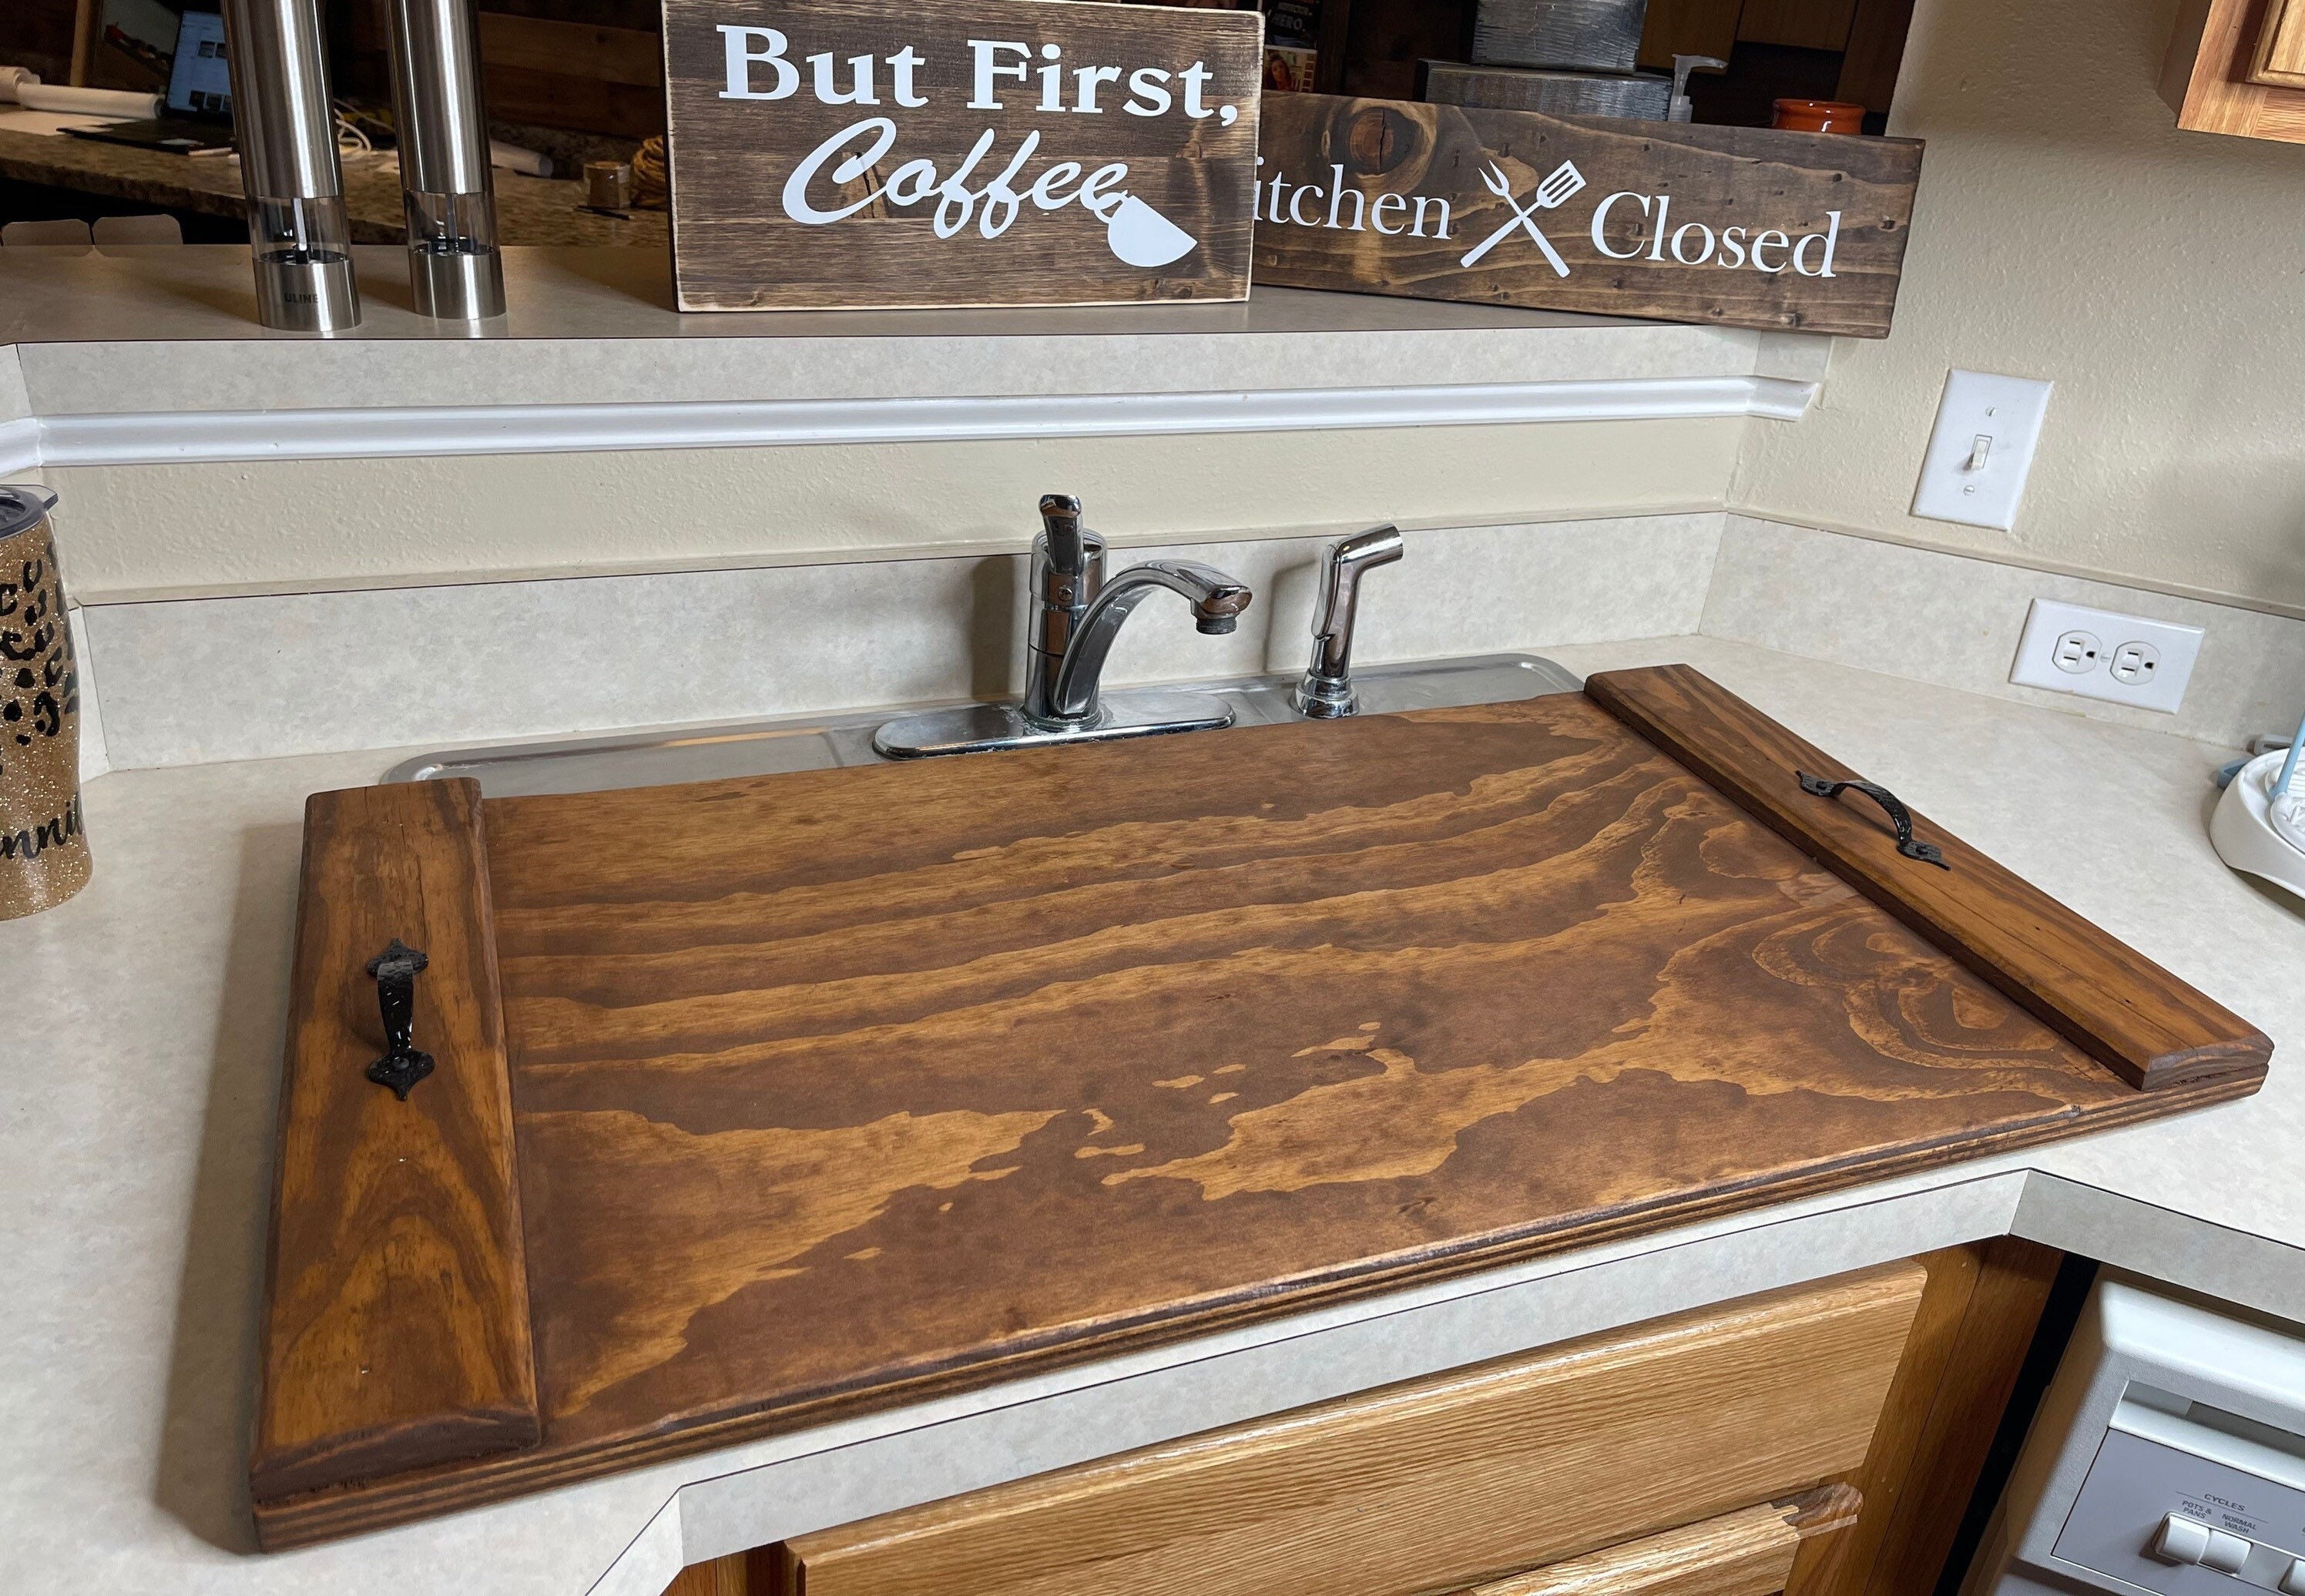
If you want to take your DIY kitchen sink cover to the next level, here are some creative design ideas to inspire you: Farmhouse style: Use reclaimed wood and add a distressed finish for a rustic and charming farmhouse look. Marble effect: Create a luxurious and elegant look by using marble contact paper to cover your sink. Hanging herb garden: If you have a green thumb, add a hanging herb garden to your cover for easy access to fresh herbs while you cook. Faux concrete: Give your kitchen an industrial and modern vibe by using concrete contact paper to cover your sink.4. Creative DIY Kitchen Sink Cover Designs


4. Creative DIY Kitchen Sink Cover Designs
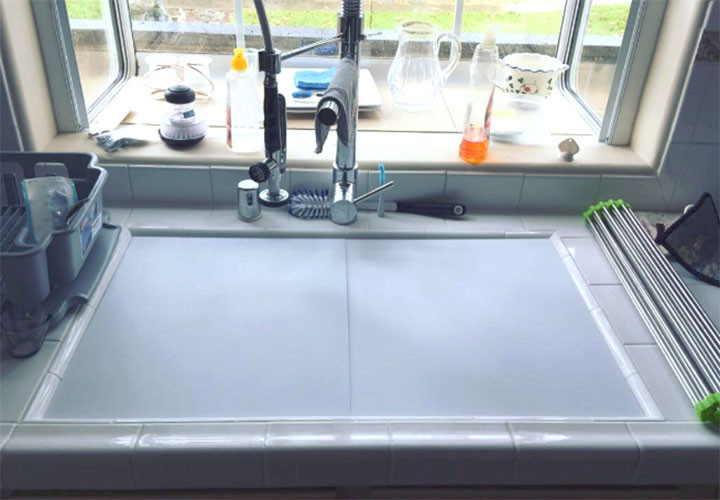
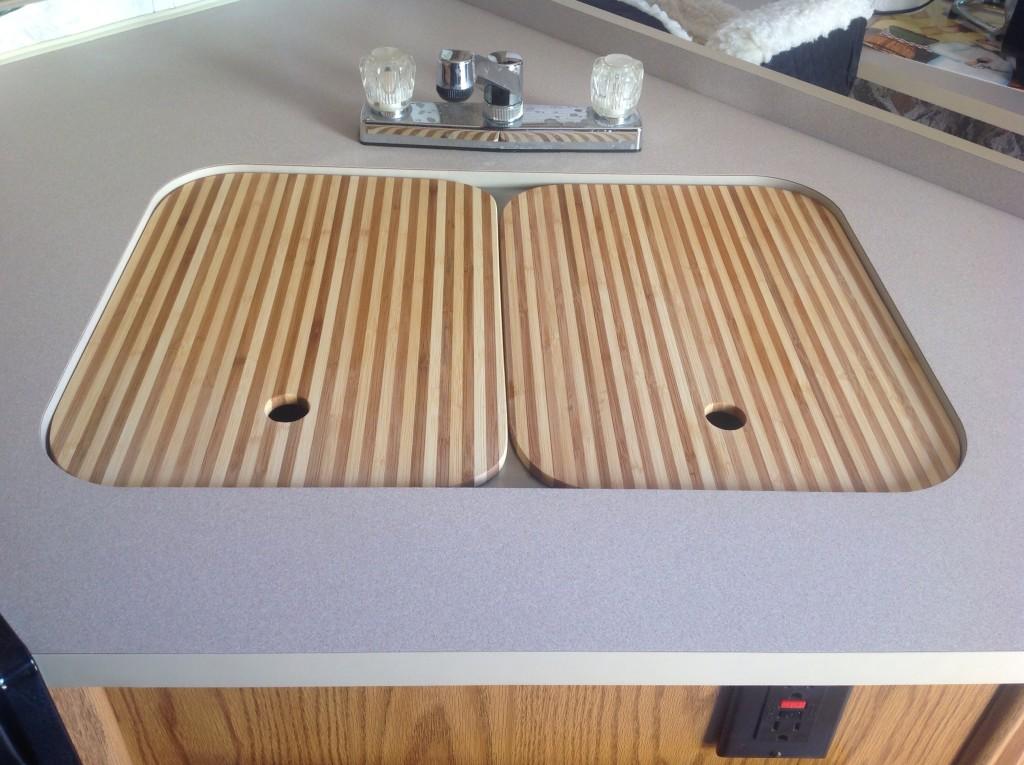
If you have a small kitchen and want to maximize your counter space, a DIY kitchen sink cover can be a game-changer. Here are some tips for making a cover that is perfect for small spaces: Compact size: Measure your sink carefully and make sure your cover is just the right size to fit over it without taking up too much space on the counter. Foldable design: You can create a cover that folds in half or thirds so that you can easily store it when not in use. Multi-functional: Choose a cover that can serve as a cutting board, a dish rack, or a place to store your kitchen essentials. This way, you can save even more space on your counter.5. DIY Kitchen Sink Cover for Small Spaces

5. DIY Kitchen Sink Cover for Small Spaces


Don't want to spend a lot of money on a kitchen sink cover? No problem! Here are some budget-friendly ideas to try: Cover with fabric: Use an old tablecloth, curtain, or bedsheet to cover your sink. You can find these items at a thrift store or use ones you already have at home. Repurpose an old cutting board: If you have an old cutting board that you no longer use, you can repurpose it by sanding it down and using it as a cover for your sink. Paint a wooden tray: Buy a wooden tray from a dollar store and paint it to match your kitchen's color scheme. It can serve as a functional and decorative cover for your sink.6. Budget-Friendly DIY Kitchen Sink Cover


6. Budget-Friendly DIY Kitchen Sink Cover

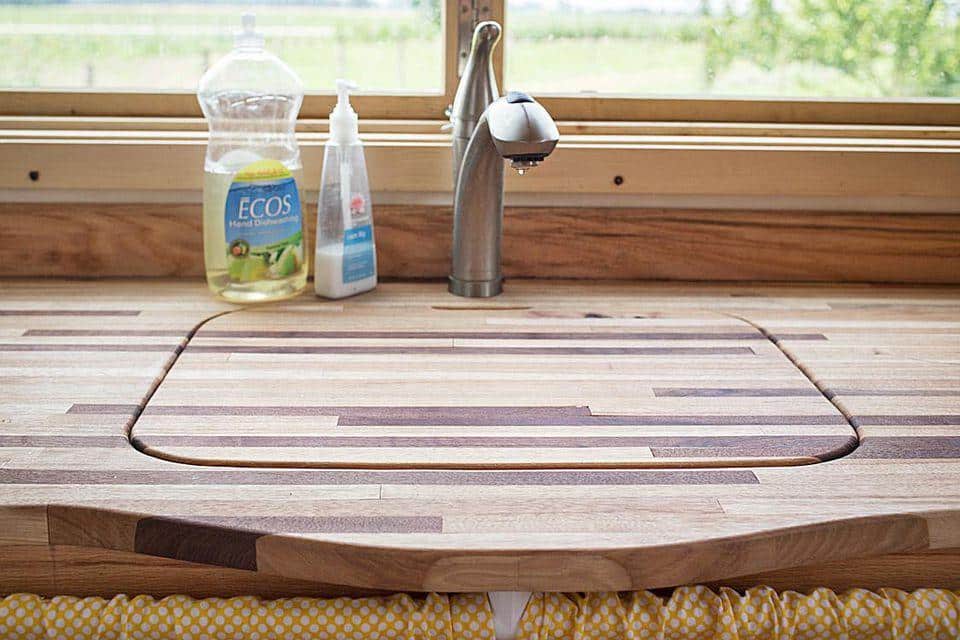
As mentioned earlier, having a built-in cutting board on your kitchen sink cover can be a great space-saving and functional addition. Here's how you can make one: Step 1: Cut your cover material to the desired size. Step 2: Measure and mark where you want your cutting board to be on the cover. Step 3: Use a jigsaw or a utility knife to cut a hole for the cutting board. Step 4: Sand down the edges to make them smooth. Step 5: Cut a piece of wood or bamboo to fit the hole and sand it down. Step 6: Attach the cutting board to the cover using strong adhesive or screws. Step 7: Add a food-safe sealant to the cutting board to protect it from water and stains. Congratulations, you now have a DIY kitchen sink cover with a built-in cutting board!7. DIY Kitchen Sink Cover with Built-In Cutting Board


7. DIY Kitchen Sink Cover with Built-In Cutting Board
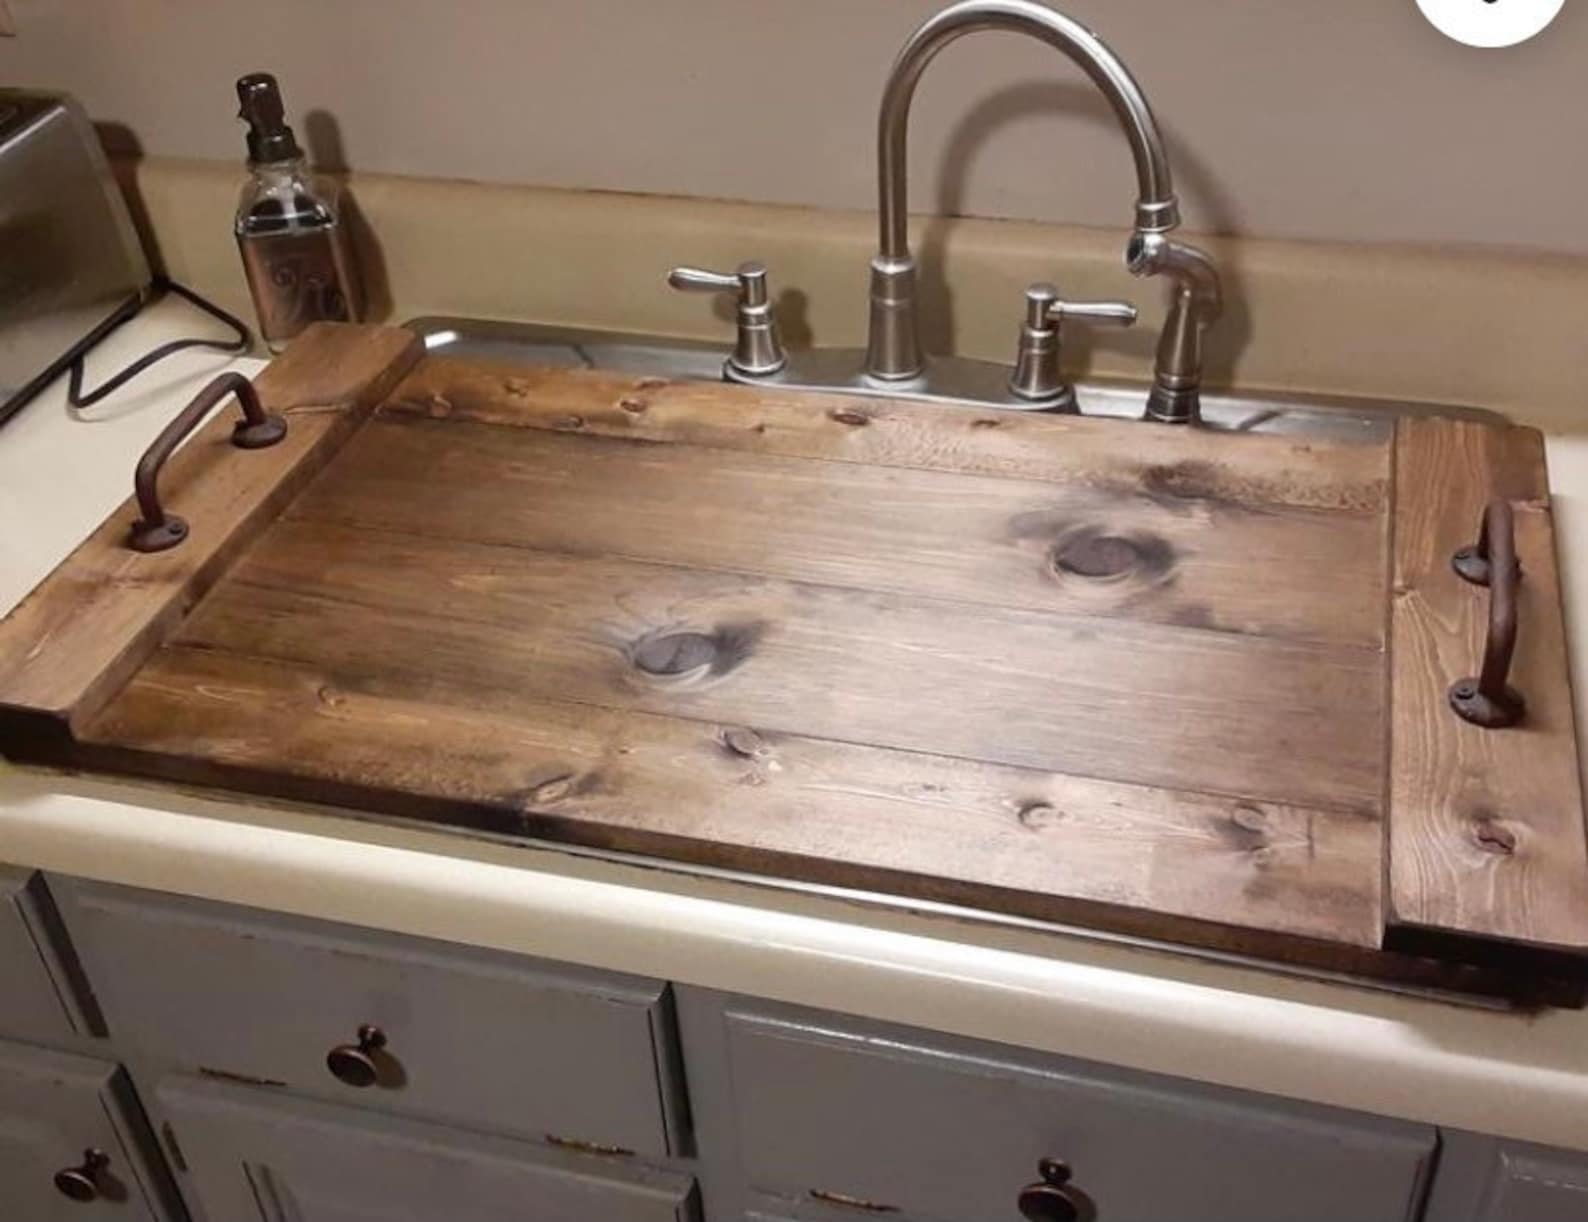
If you love the cozy and natural feel of a rustic kitchen, here's how you can make a DIY kitchen sink cover to match: Material: Use reclaimed wood or driftwood to create a one-of-a-kind cover for your sink. Decorate with natural elements: Add some dried flowers, twigs, or pinecones to your cover for a touch of nature. Distressed finish: Use sandpaper or a hammer to create a distressed finish on your cover for a more rustic look.8. Rustic DIY Kitchen Sink Cover

8. Rustic DIY Kitchen Sink Cover


If you love the cozy and charming style of farmhouse decor, here's how you can make a DIY kitchen sink cover to match: Material: Use reclaimed wood, galvanized metal, or burlap to create a cover with a farmhouse feel. Add a farmhouse design: You can stencil or paint a farmhouse design, such as a rooster or a cow, on your cover to add some character. Include a wire basket: Attach a wire basket to your cover to hold your dish soap, sponges, and other kitchen essentials.9. DIY Kitchen Sink Cover for Farmhouse Style

9. DIY Kitchen Sink Cover for Farmhouse Style


If you don't have any sewing skills, don't worry – you can still make a beautiful DIY kitchen sink cover without using a needle and thread. Here's how: Material: Use fabric with a self-adhesive backing or use iron-on hem tape to create a no-sew cover. Make a template: Use paper or cardboard to create a template of your sink's shape, and use it to cut your fabric to the right size. Add embellishments: You can use fabric glue to add decorative elements, such as ribbons or buttons, to your cover. With these ideas and tips, you can easily create a beautiful and functional DIY kitchen sink cover that fits your style and budget. Have fun and get creative with this project!10. No-Sew DIY Kitchen Sink Cover

10. No-Sew DIY Kitchen Sink Cover

Creating a Multi-Functional Kitchen Space with a DIY Sink Cover

The Importance of a Functional Kitchen
 In modern homes, the kitchen is more than just a space for cooking and preparing meals. It has become a central hub for socializing, entertaining, and even working. With this shift in functionality, homeowners are looking for ways to optimize their kitchen space and make it more efficient. One way to achieve this is by using a DIY sink cover.
The Benefits of a Sink Cover
 A sink cover is a simple yet effective addition to any kitchen. Not only does it provide protection for your sink, but it also creates additional countertop space when not in use. This is especially useful for smaller kitchens where counter space is limited. With a sink cover, you can easily transform your sink into a cutting board, a serving tray, or even a workspace for your laptop.
DIY vs. Store-Bought Sink Covers
 While there are many store-bought sink covers available, making your own allows for customization and cost savings. You can choose the materials, size, and design that best suits your kitchen's style and needs. Plus, a DIY sink cover can be a fun and creative project that adds a personal touch to your kitchen.
Materials and Steps to Make a DIY Sink Cover
 To create a DIY sink cover, you will need a piece of wood or acrylic board, a saw, sandpaper, and some basic tools. First, measure the dimensions of your sink and cut the board accordingly. Then, sand the edges to ensure a smooth finish. You can also paint or stain the board to match your kitchen decor. Finally, add some sealant to protect the wood from water damage. Voila! Your custom-made sink cover is ready for use.
Featured keywords:
DIY sink cover, kitchen space, efficient, countertop space, cutting board, serving tray, workspace, store-bought, customization, cost savings, materials, steps
Main keywords:
kitchen, DIY, sink cover, functional, multi-functional, space, efficiency, protection, countertop, style, customization, cost-effective.
To create a DIY sink cover, you will need a piece of wood or acrylic board, a saw, sandpaper, and some basic tools. First, measure the dimensions of your sink and cut the board accordingly. Then, sand the edges to ensure a smooth finish. You can also paint or stain the board to match your kitchen decor. Finally, add some sealant to protect the wood from water damage. Voila! Your custom-made sink cover is ready for use.
Featured keywords:
DIY sink cover, kitchen space, efficient, countertop space, cutting board, serving tray, workspace, store-bought, customization, cost savings, materials, steps
Main keywords:
kitchen, DIY, sink cover, functional, multi-functional, space, efficiency, protection, countertop, style, customization, cost-effective.