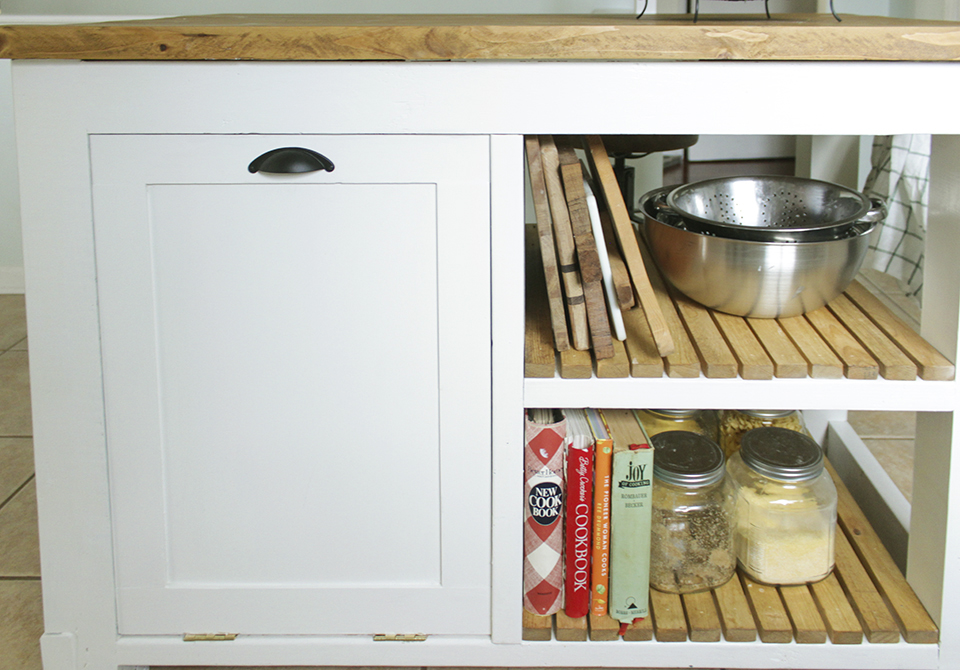
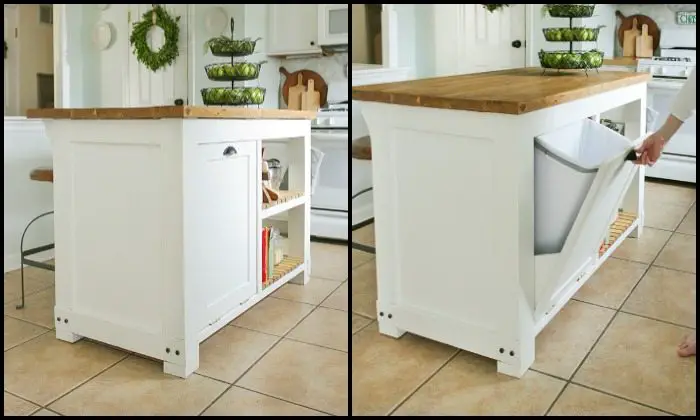
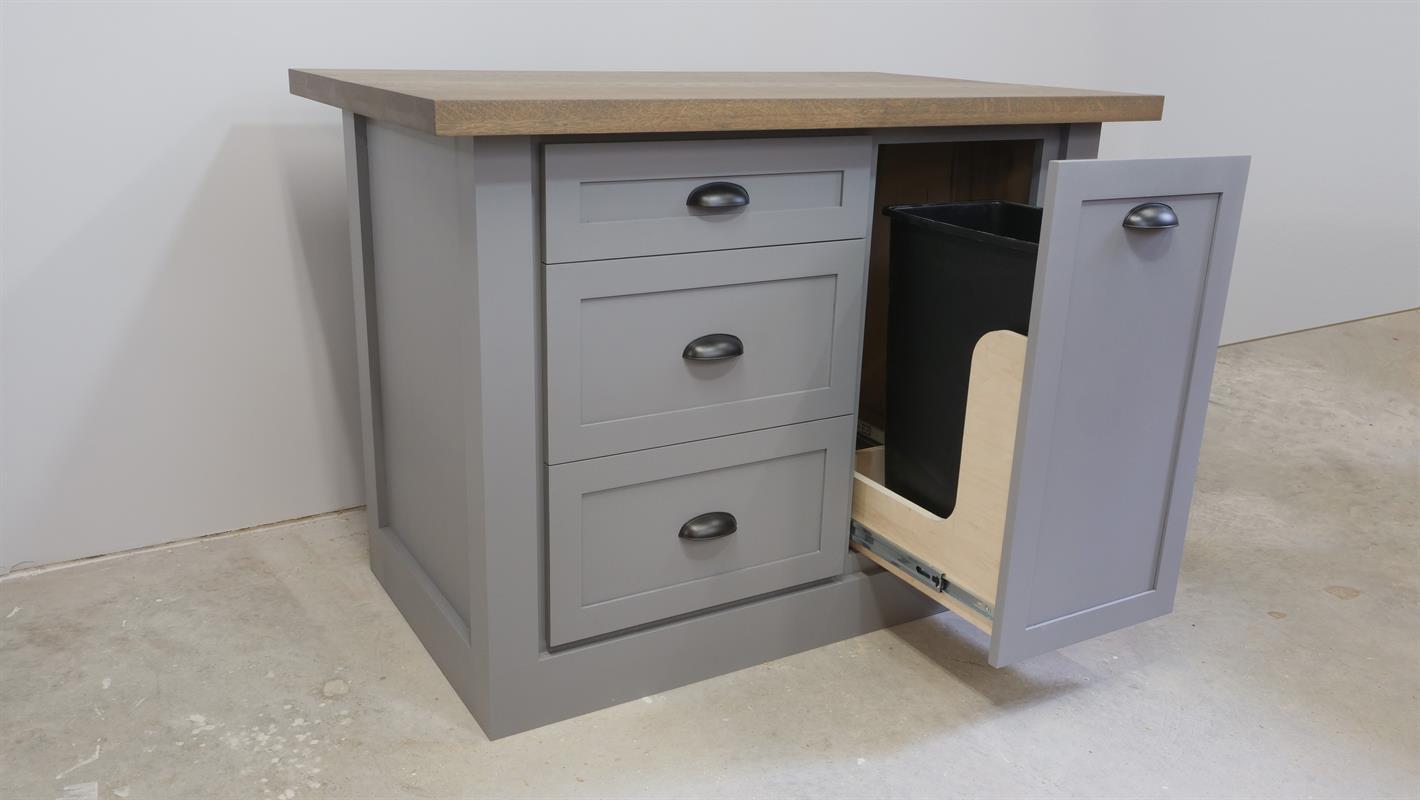
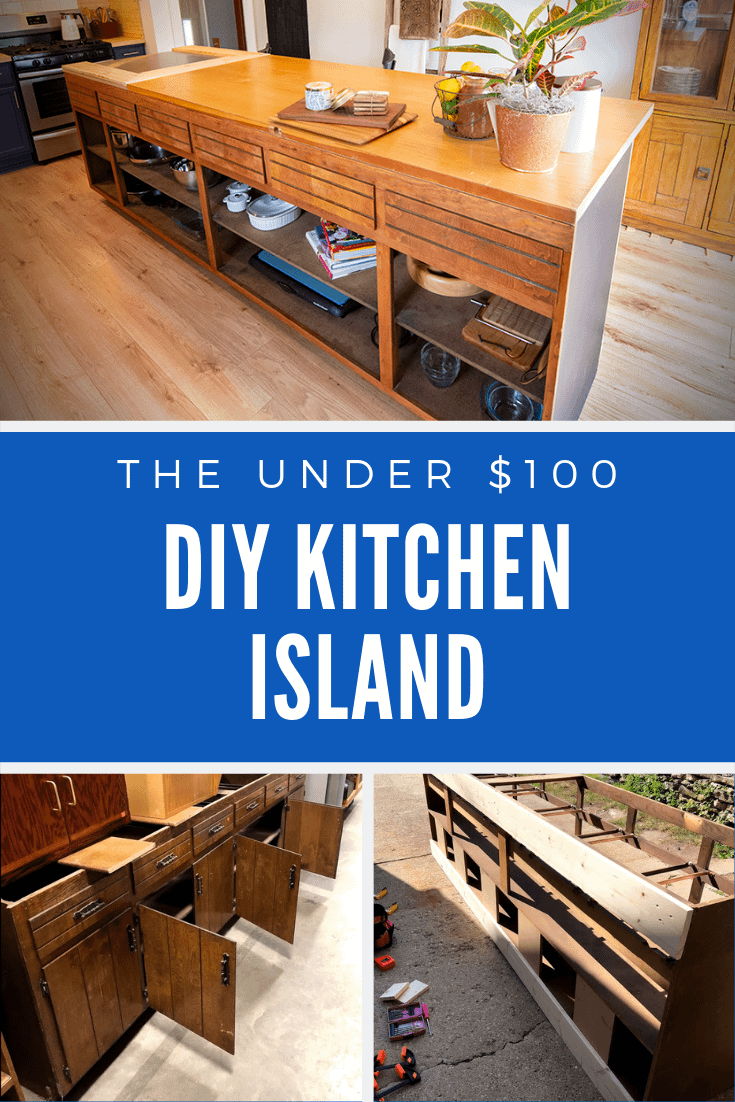
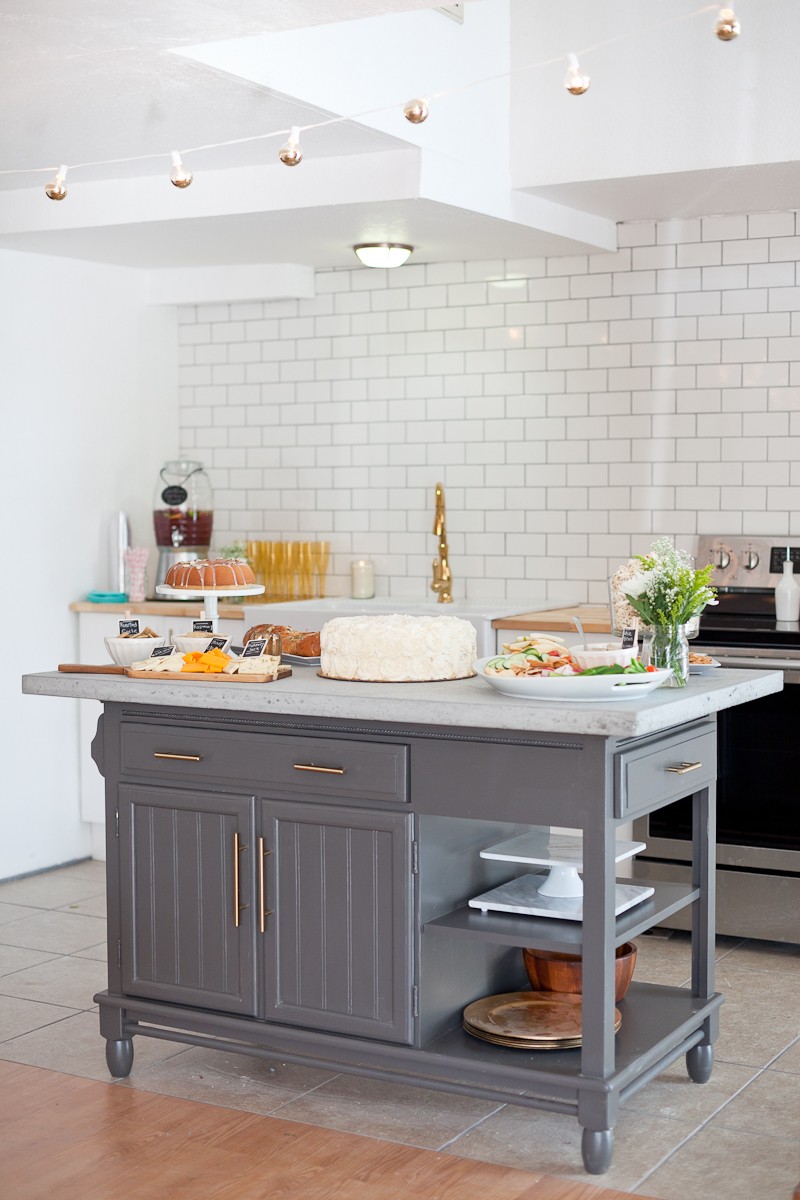
Are you tired of constantly having to take out the trash from your kitchen? With this DIY kitchen island, you can easily hide your trash and recycling bins, keeping your kitchen looking clean and organized. Plus, it's a great way to repurpose old cabinets or drawers. To start, measure the space where you want to place your kitchen island. Then, gather your materials which may include old cabinets or drawers, a saw, screws, a drill, and paint or stain. To create the frame of your kitchen island, use the saw to cut the cabinets or drawers to the desired size. Then, attach them together using screws and a drill. Make sure to leave space for the trash and recycling bins in the center. Next, line the inside of the frame with a trash bag, and add the bins. You can also add a lid to the bins for a cleaner look. To finish, paint or stain the kitchen island to match your kitchen's style and add any additional features such as shelves or hooks for extra storage.DIY Kitchen Island with Trash Storage
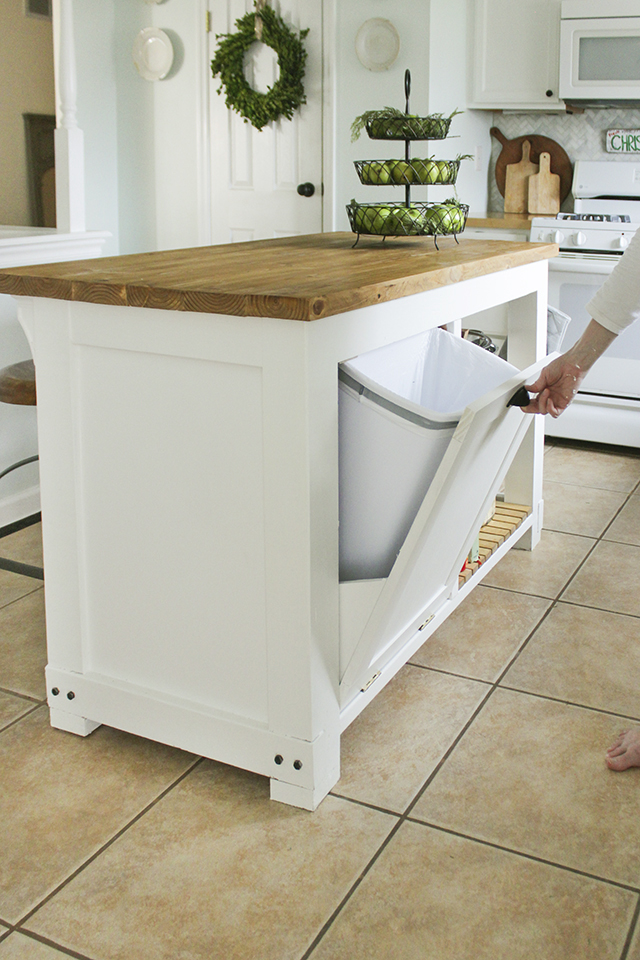


DIY Kitchen Island with Trash Storage


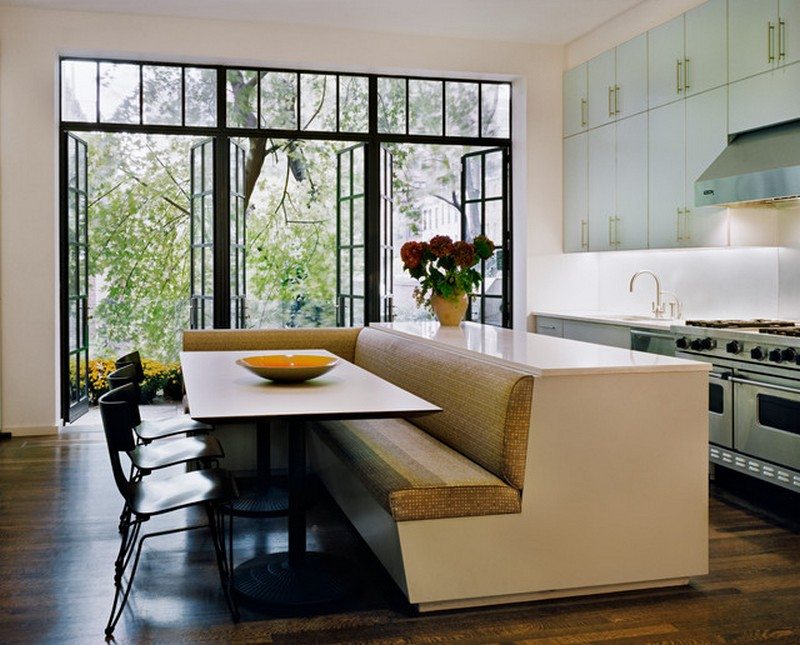
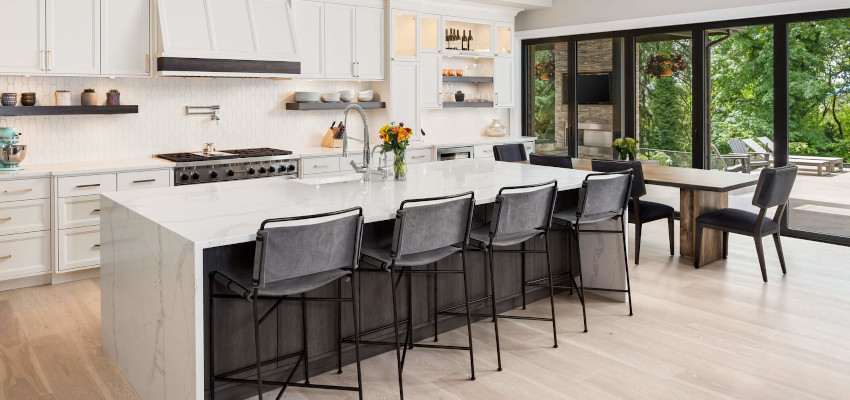
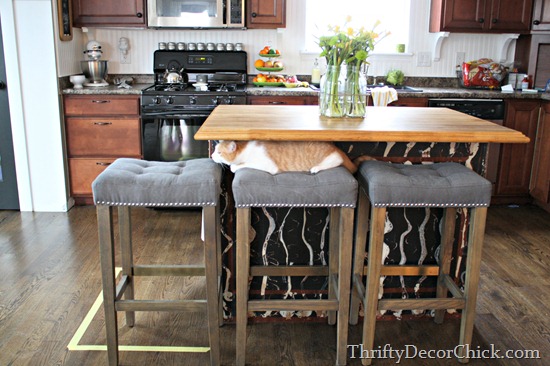
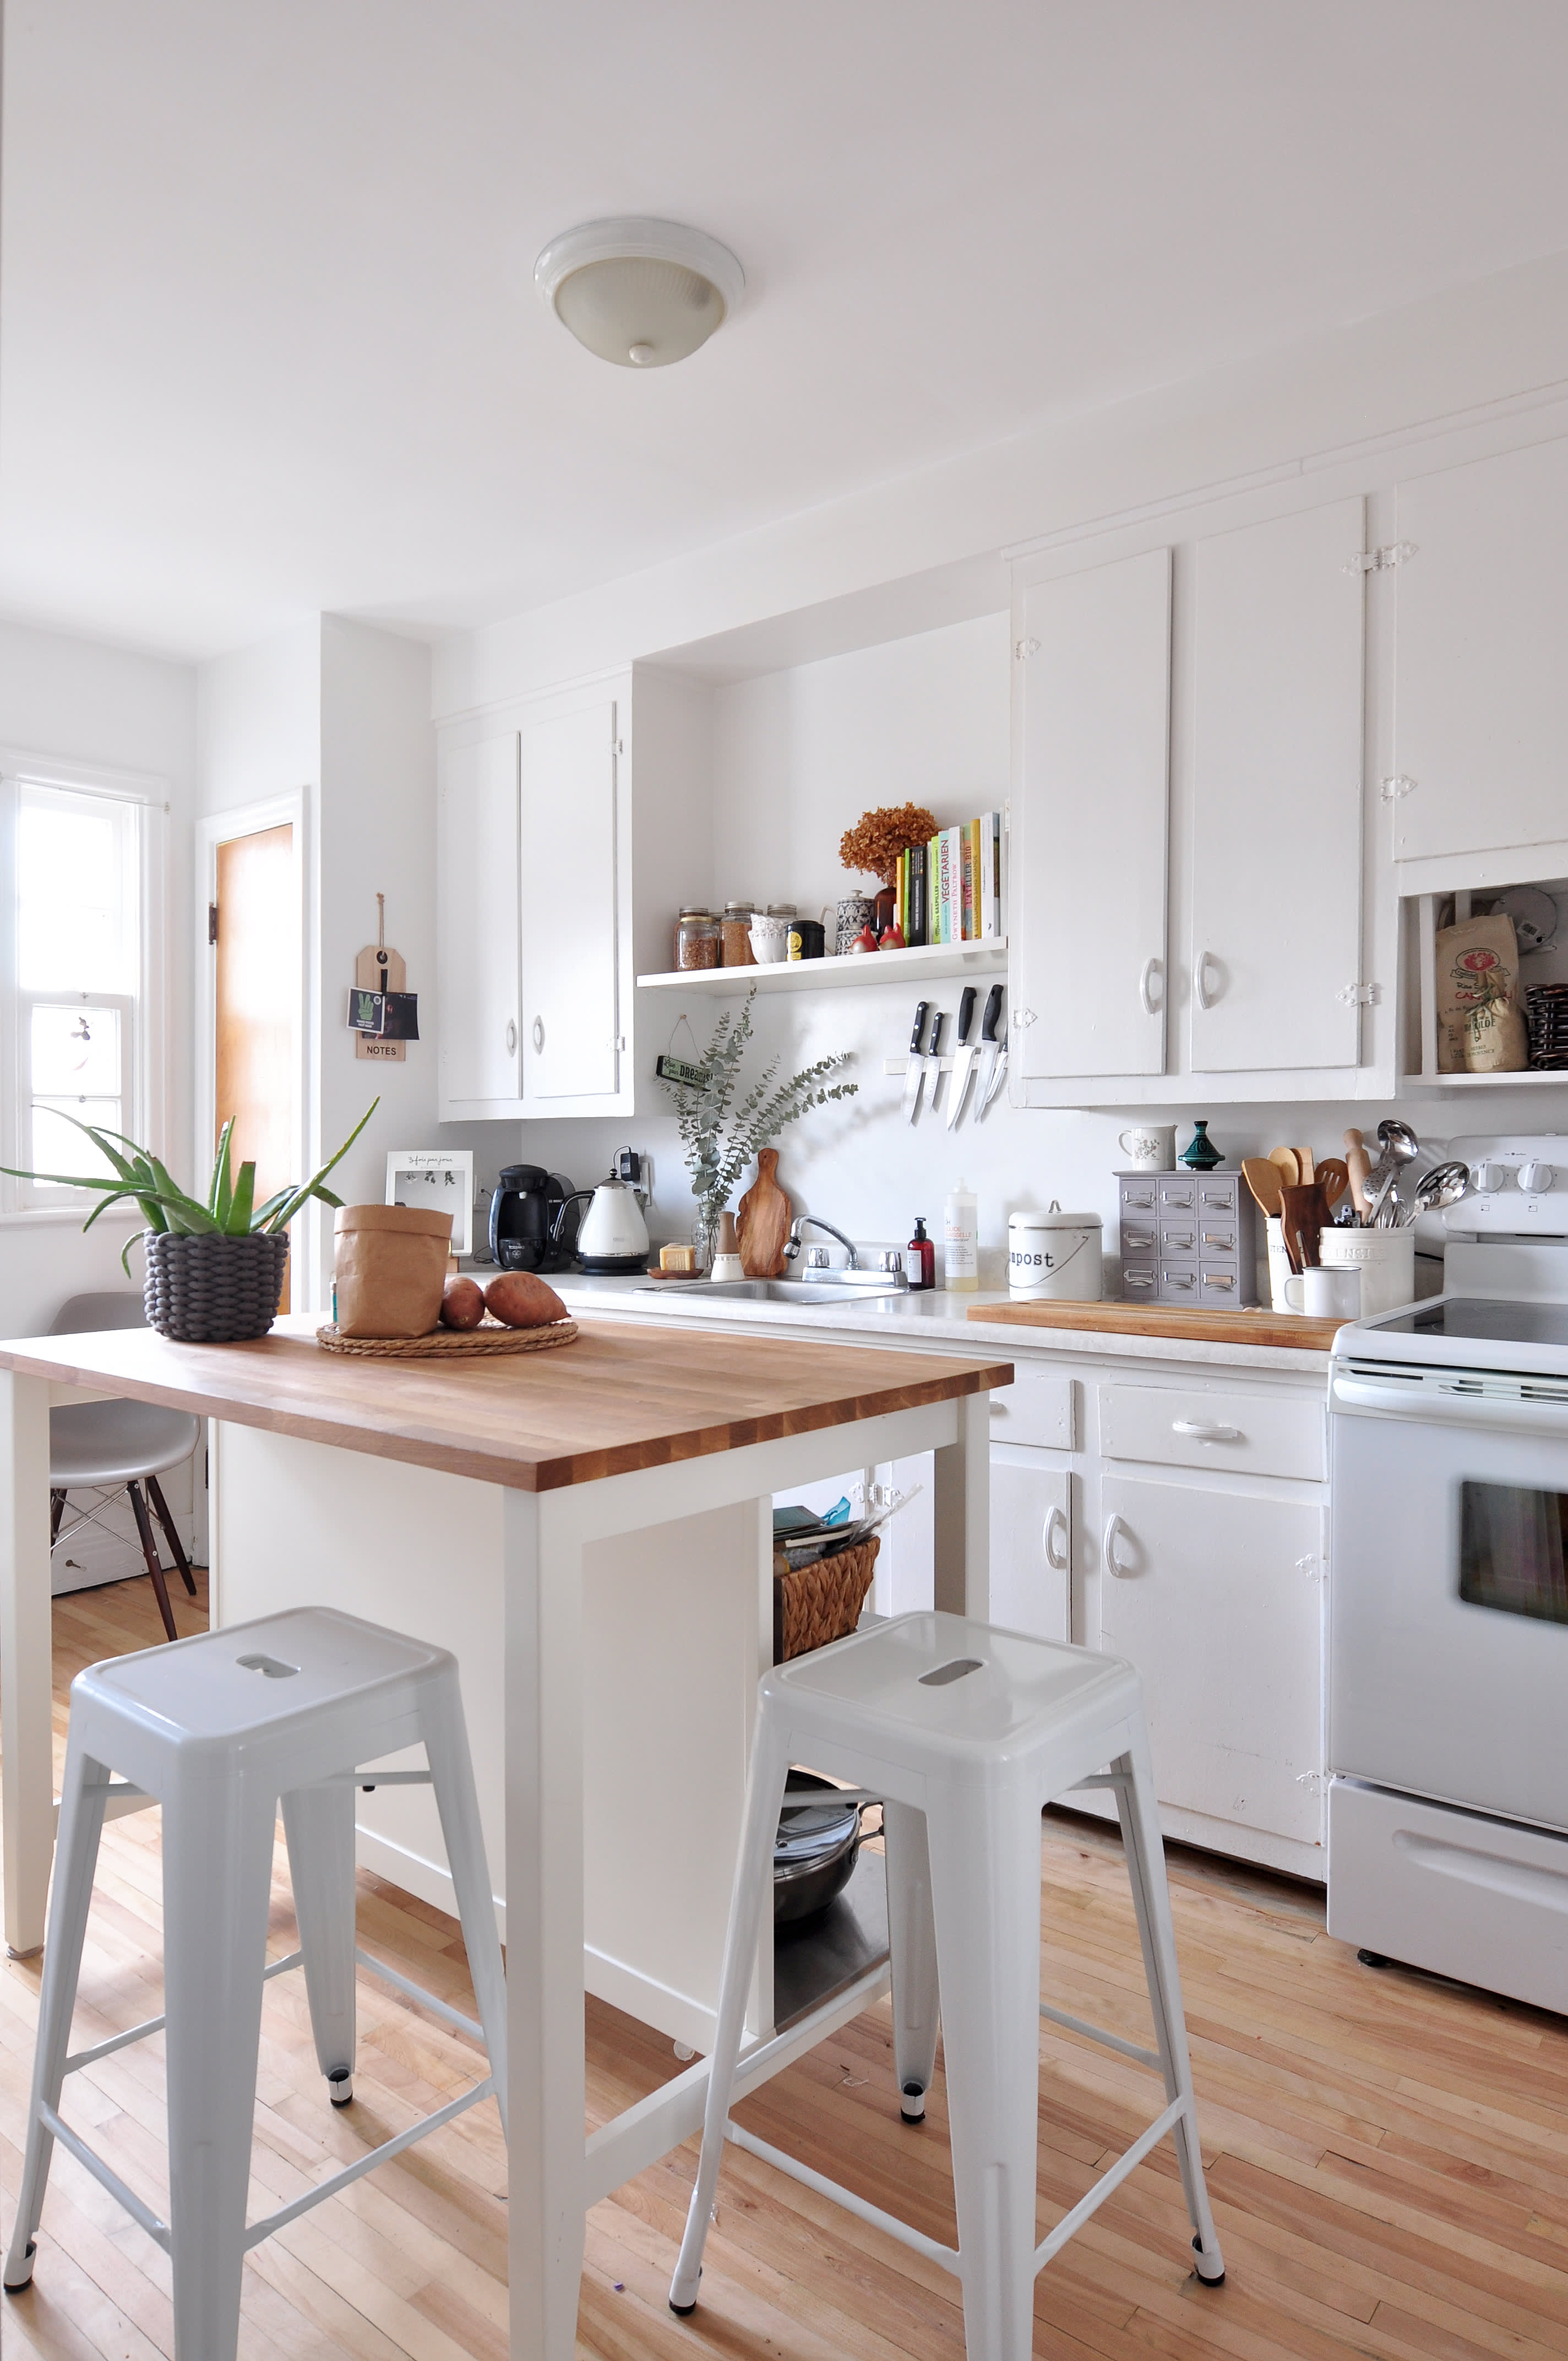
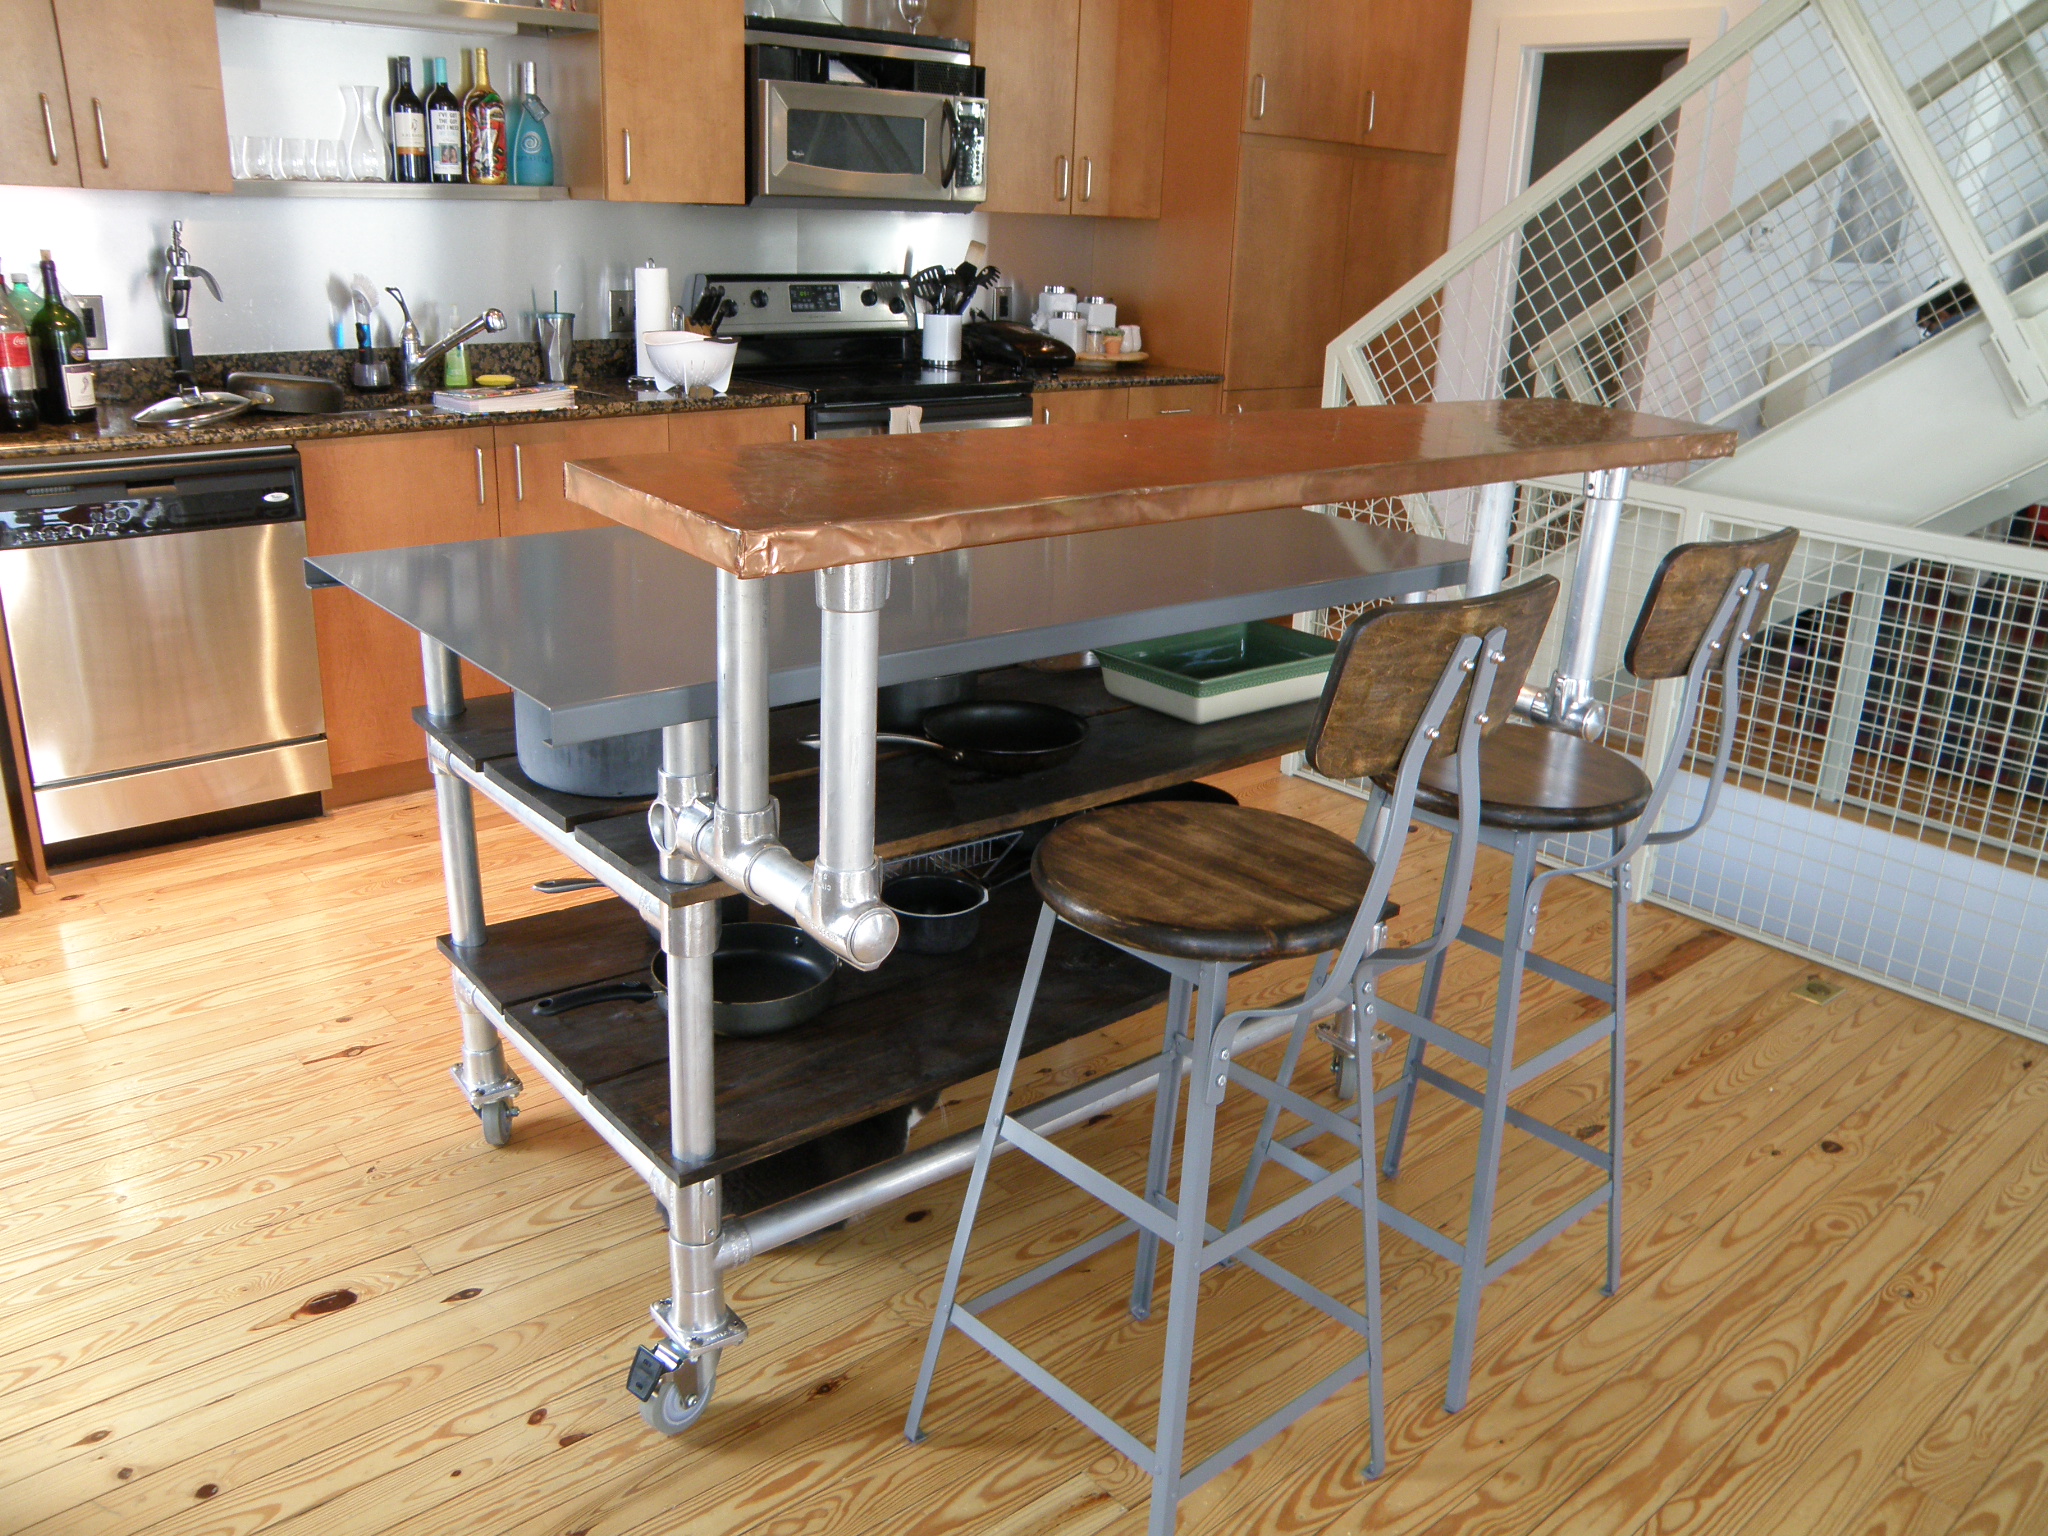
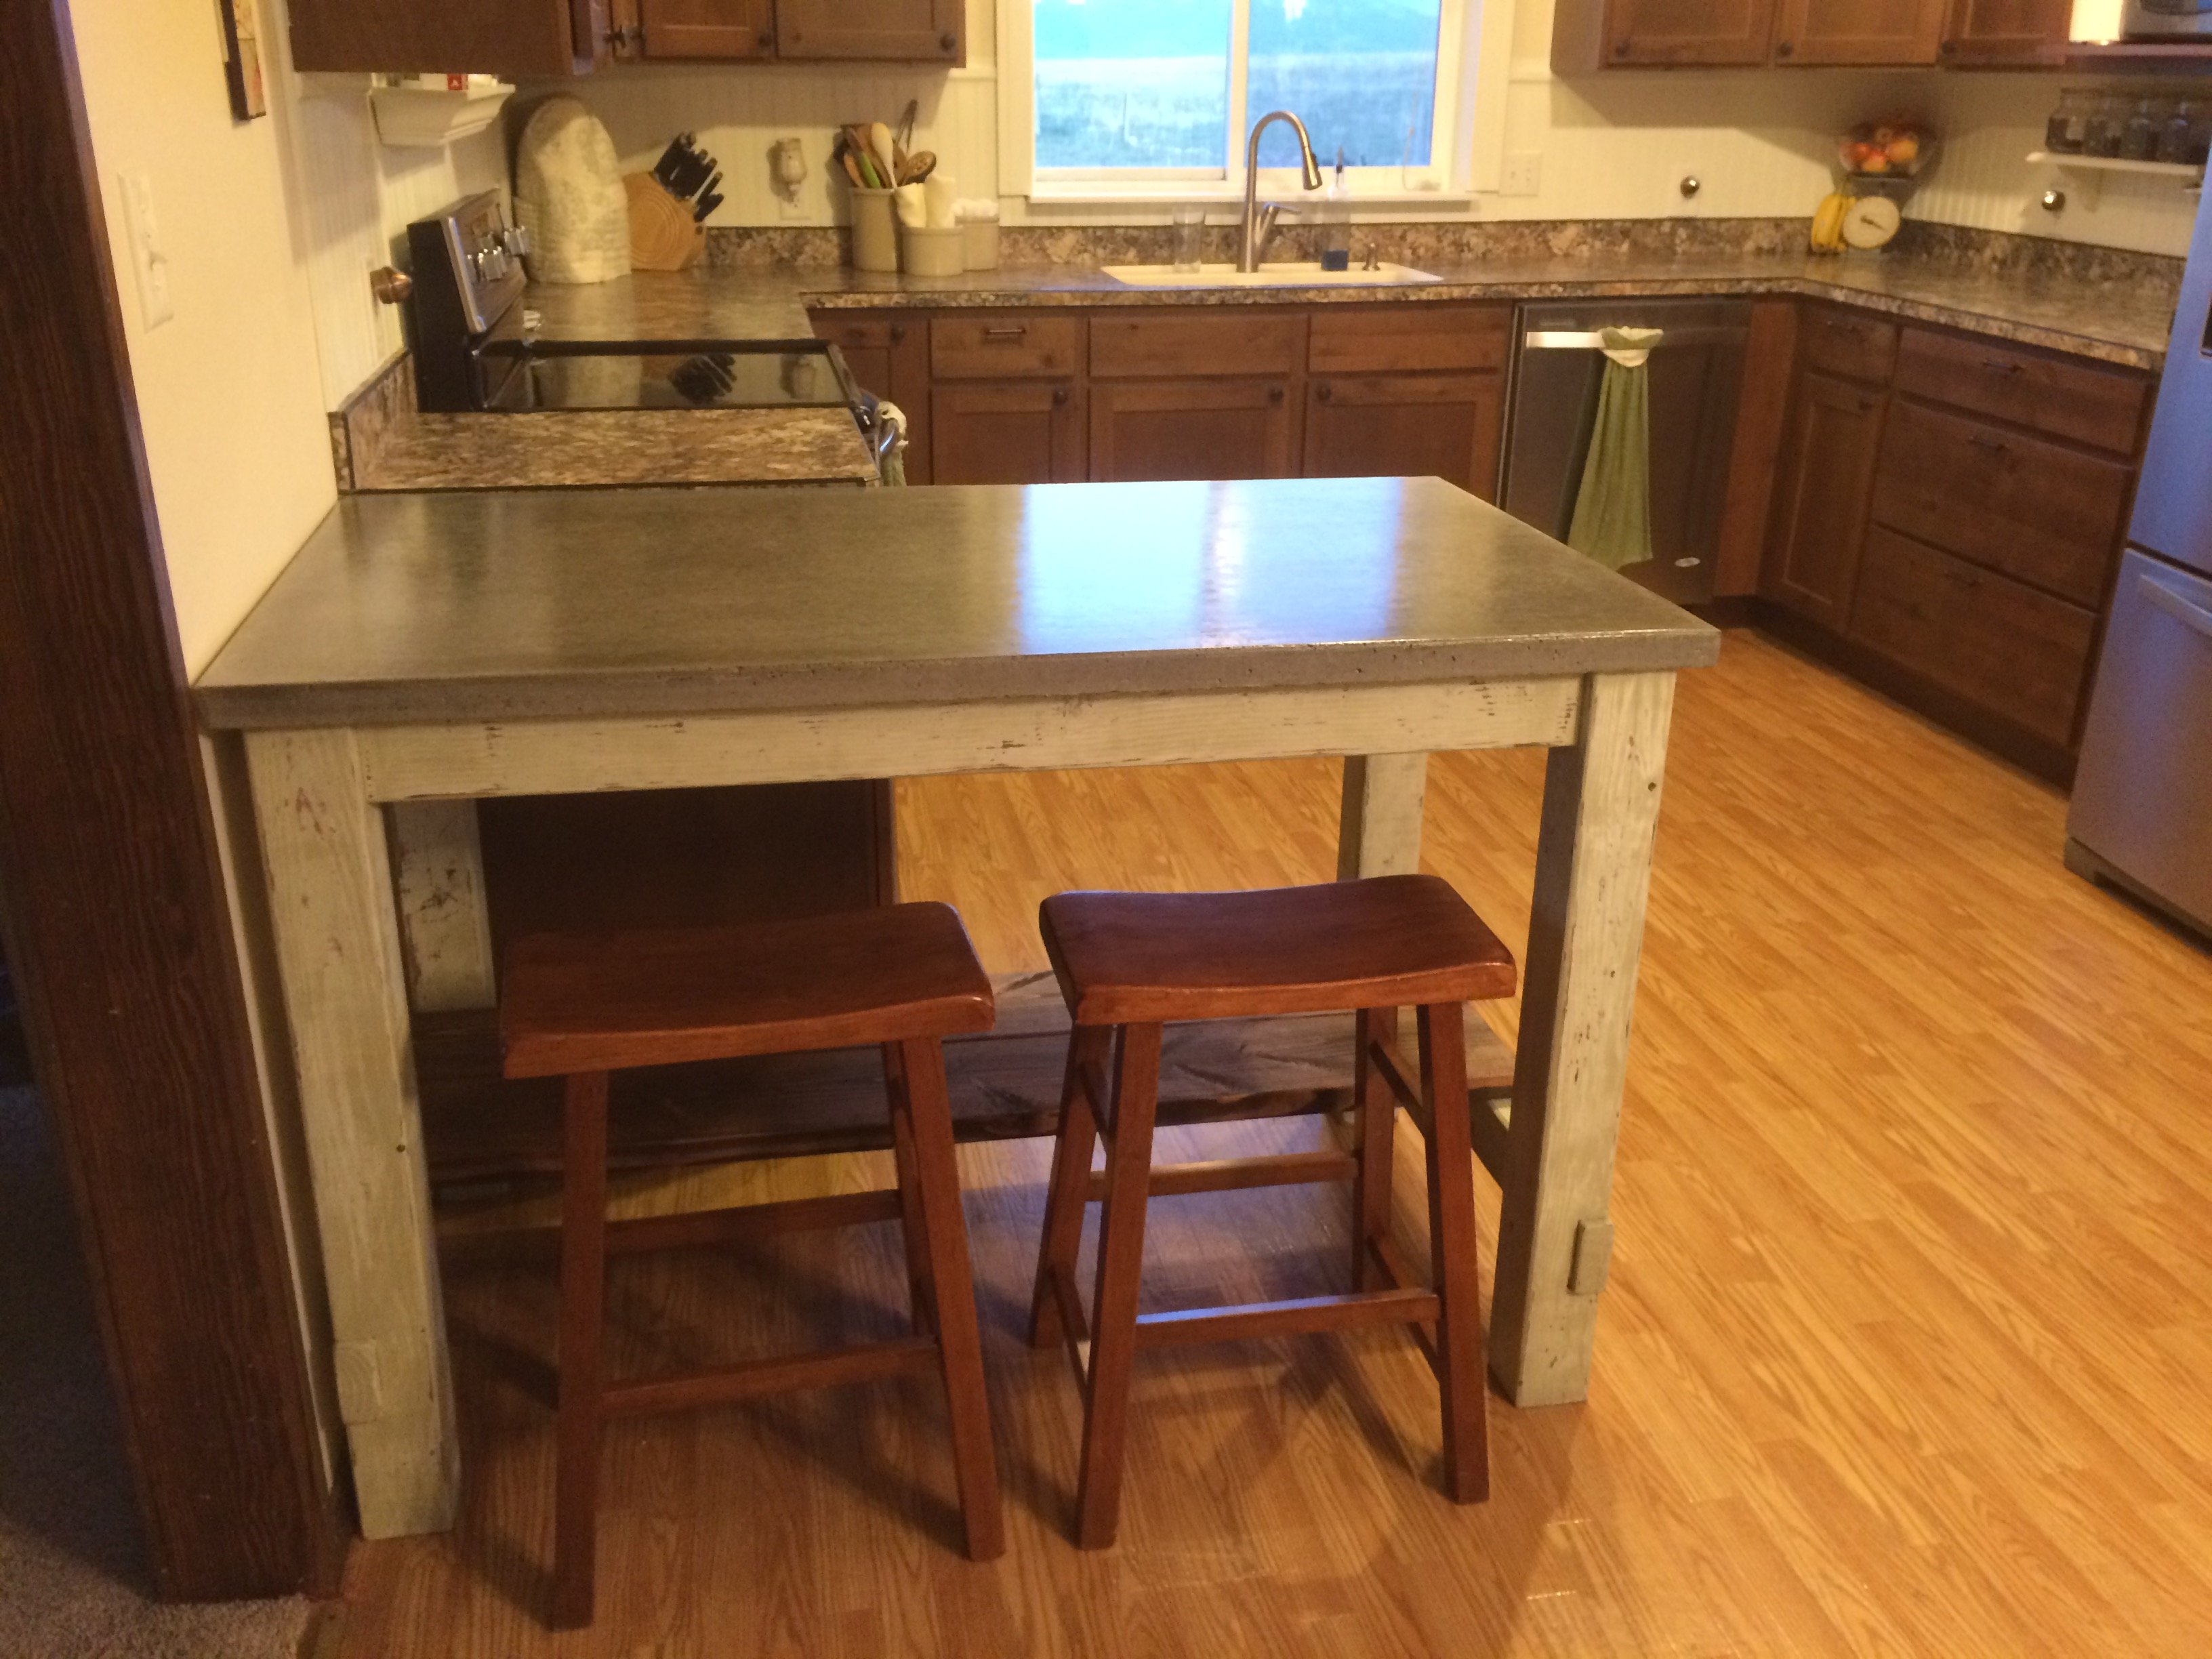
If you have a small kitchen but still want to have a place to sit and eat, a DIY kitchen island with seating is the perfect solution. Not only does it provide extra counter space, but it also adds a cozy dining area to your kitchen. To make this kitchen island, you will need a sturdy base such as an old dresser or bookshelf, a piece of countertop, screws, and a drill. Measure and cut the countertop to fit the base, leaving enough overhang for seating. Then, attach the countertop to the base using screws and a drill. For the seating, you can use stools or even add a small bench to one side of the island. To add extra storage, you can also attach shelves or baskets underneath the countertop. Paint or stain the island to match your kitchen's style and enjoy your new multi-functional space.DIY Kitchen Island with Seating
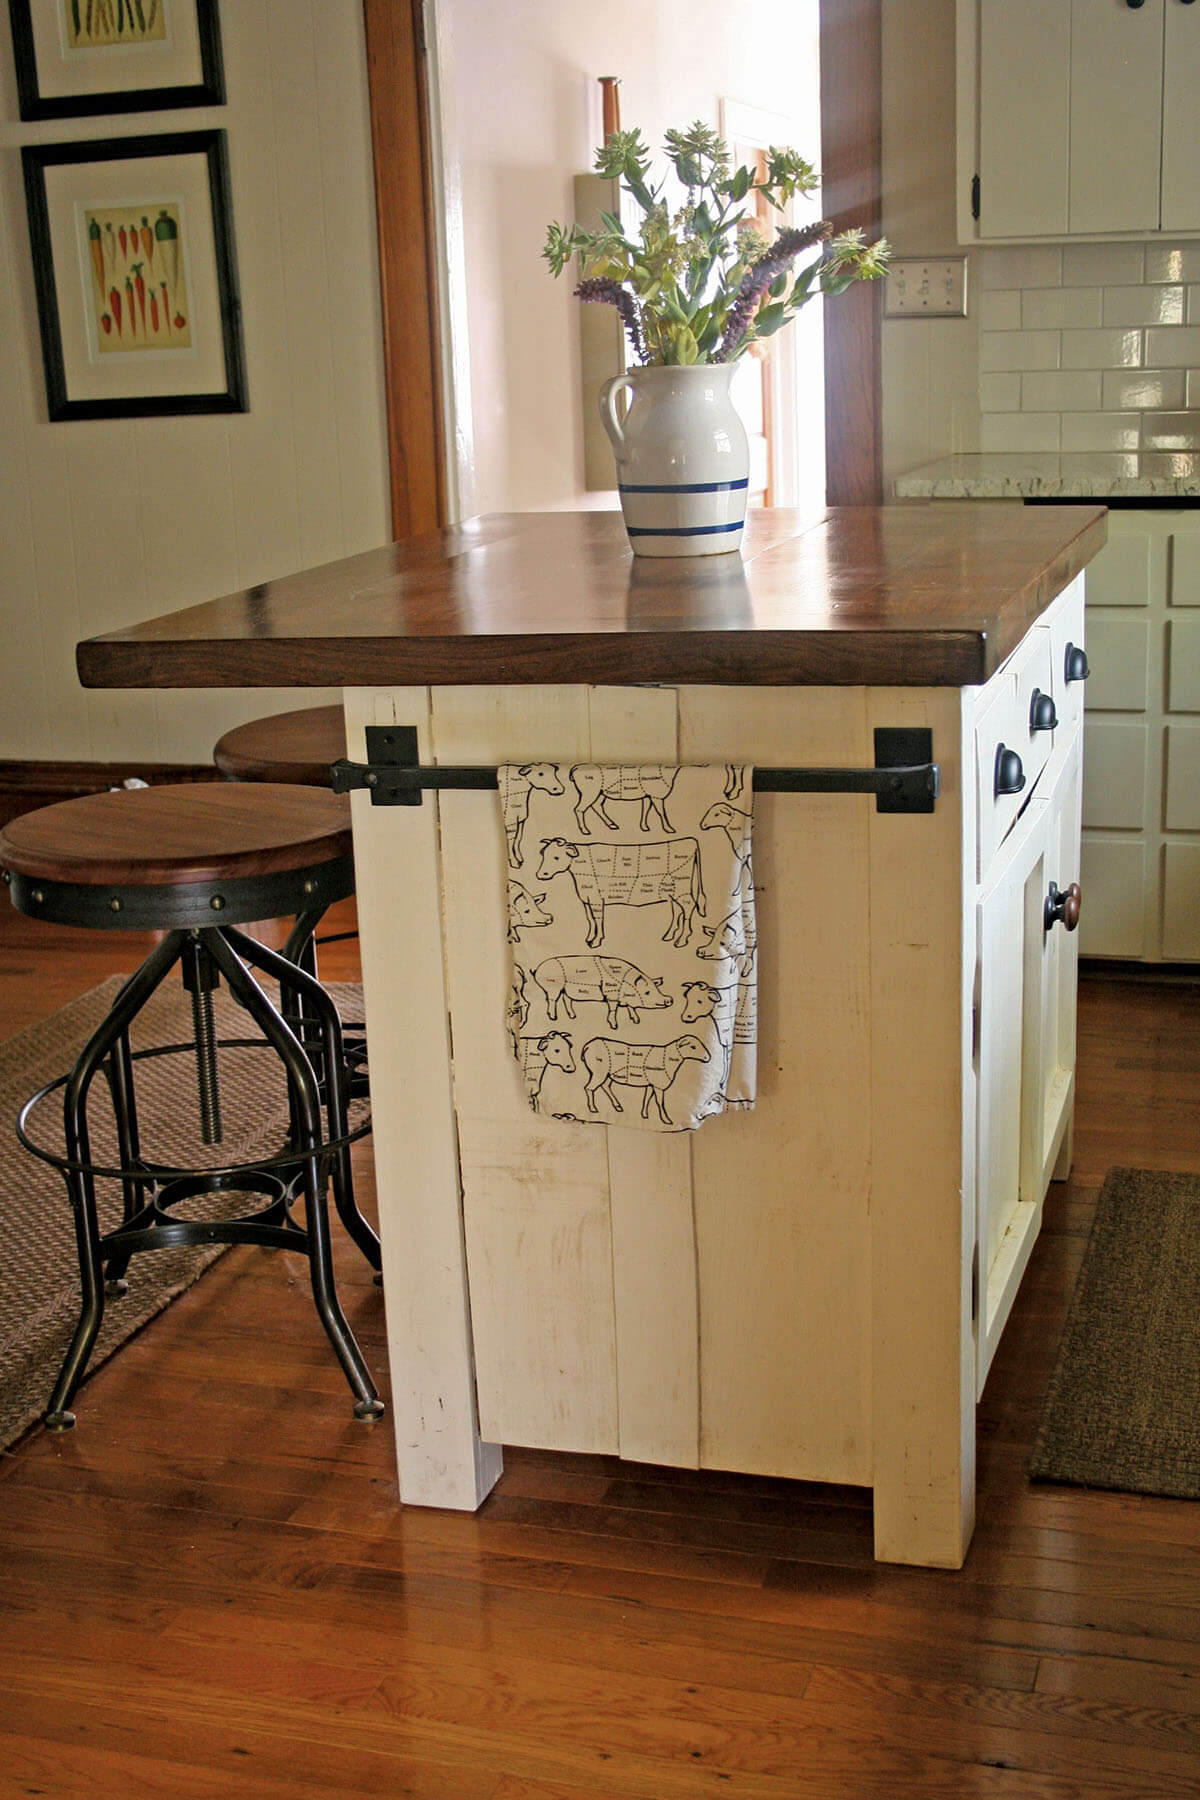

DIY Kitchen Island with Seating


/farmhouse-style-kitchen-island-7d12569a-85b15b41747441bb8ac9429cbac8bb6b.jpg)
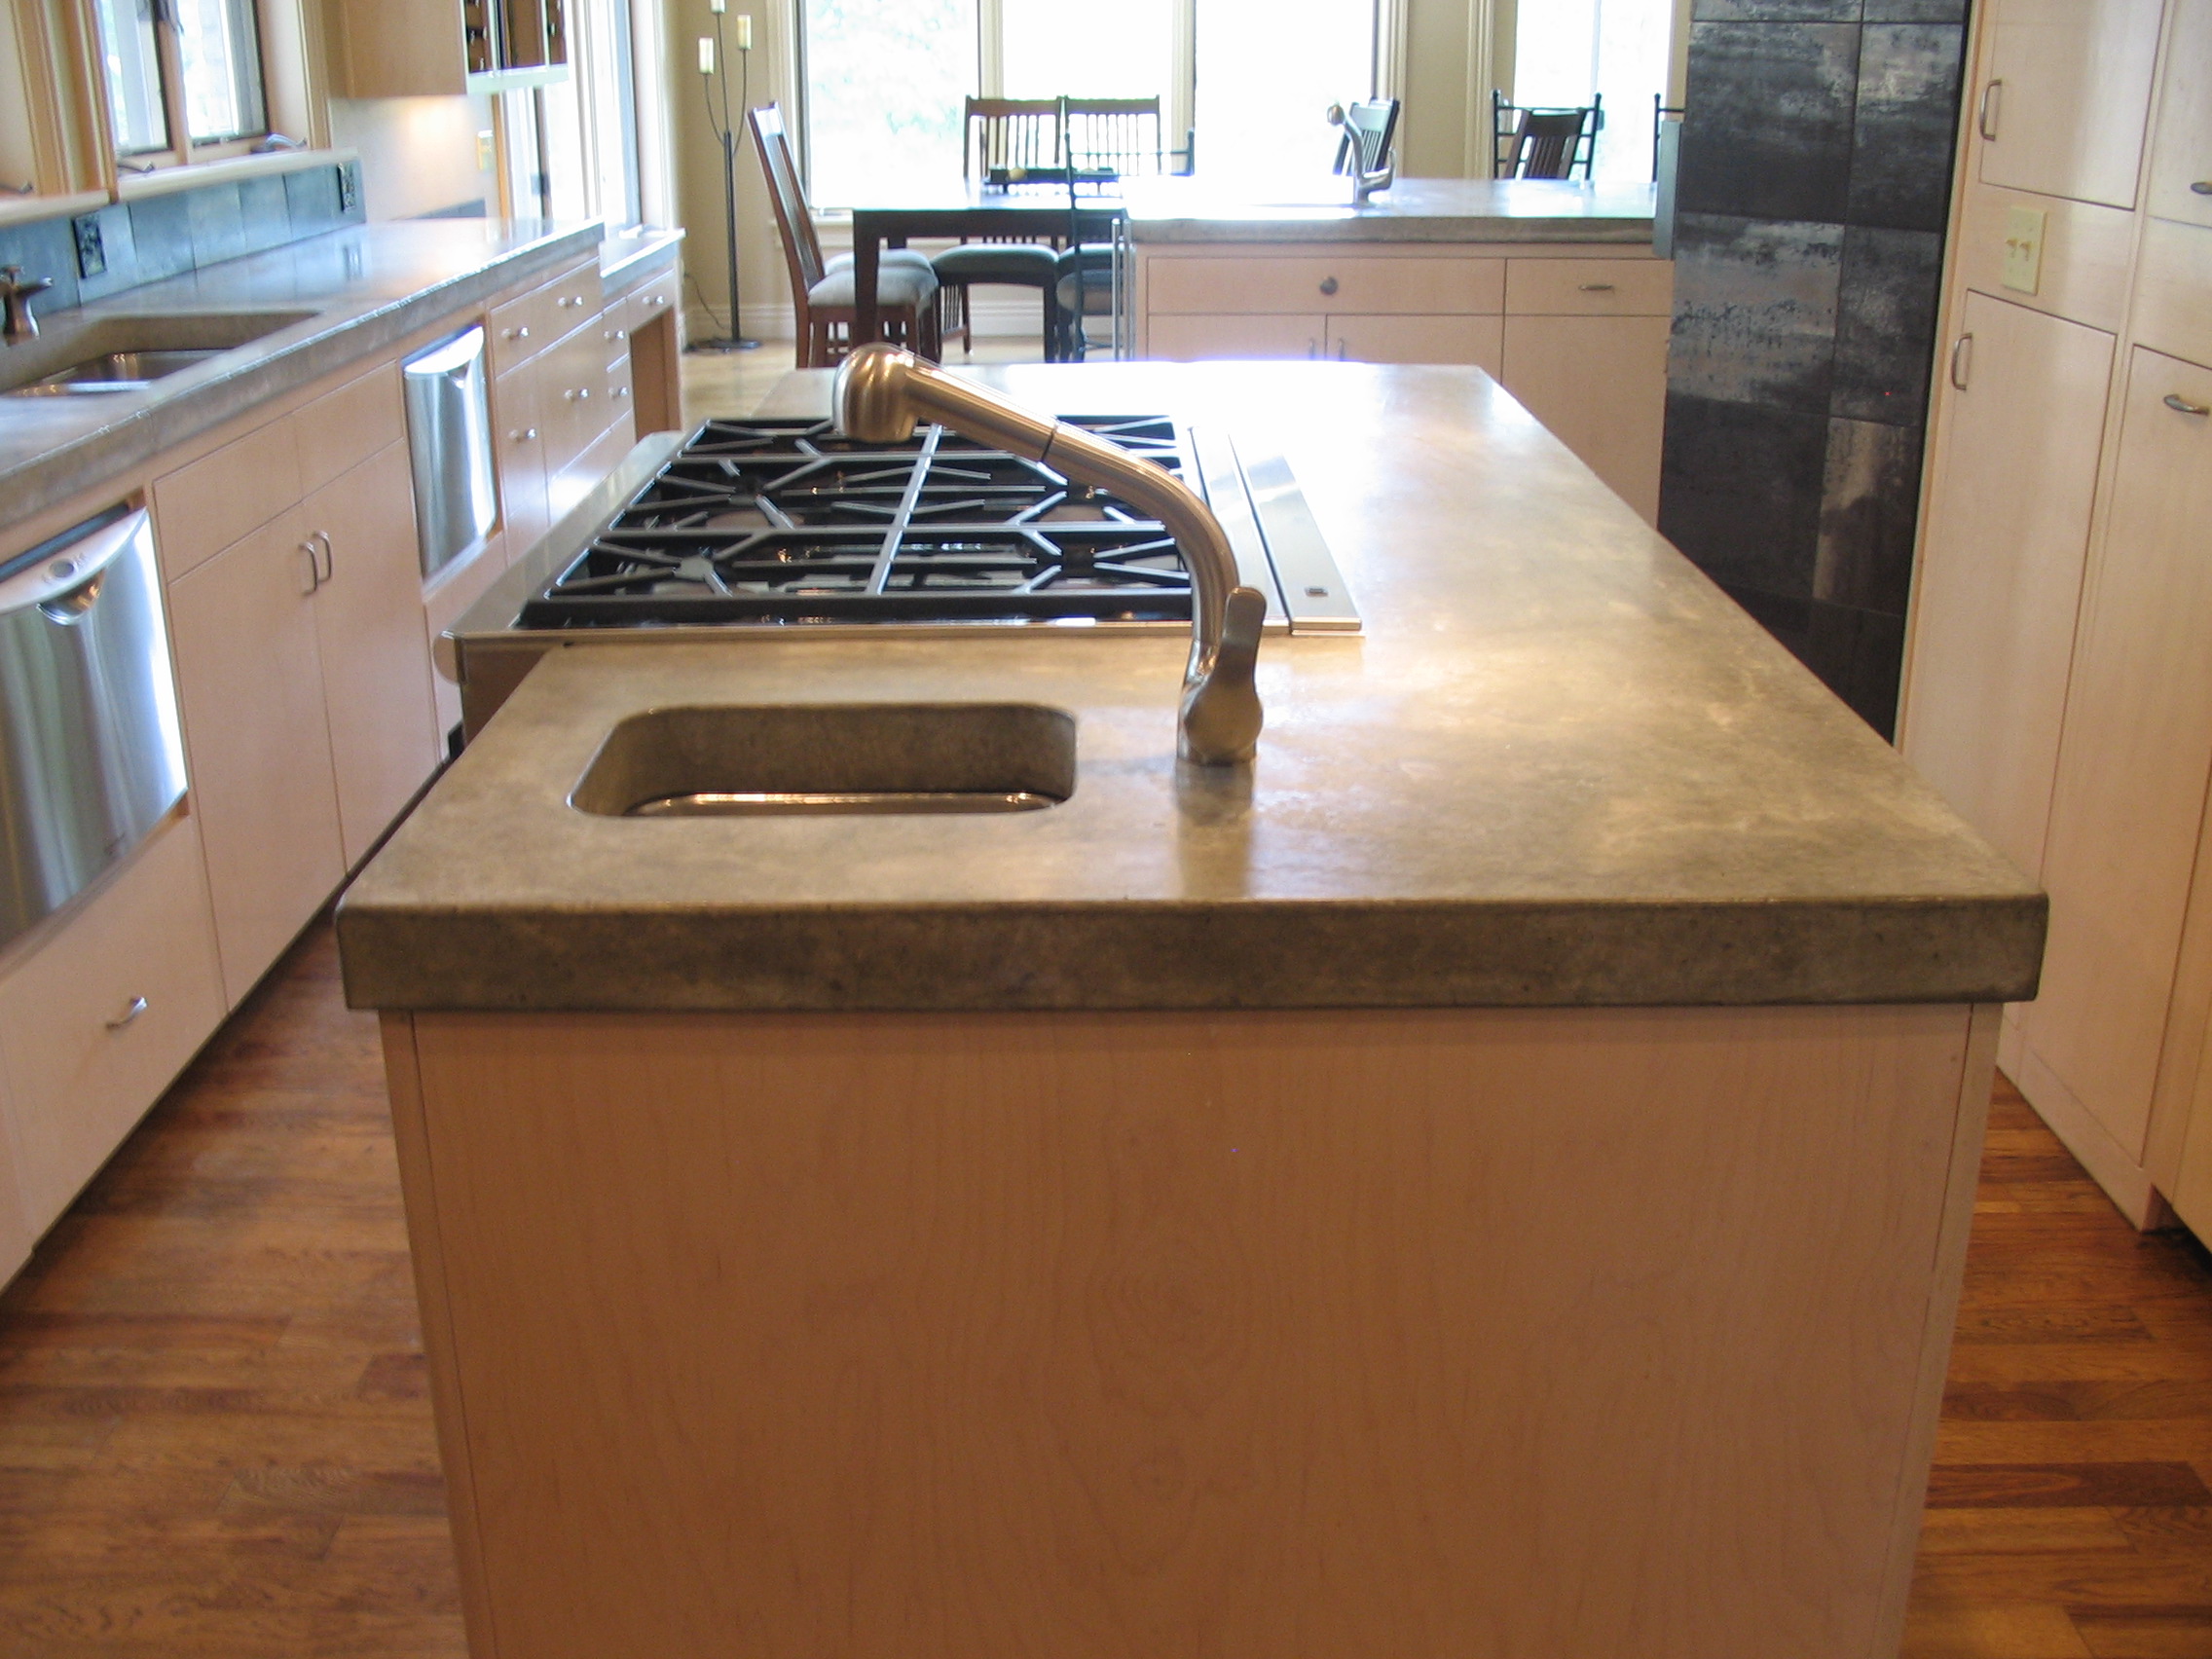
Having a sink in your kitchen island can make meal prep and cleanup a lot easier. With this DIY kitchen island, you can add a sink to your kitchen without the hassle and cost of a major renovation. You will need a base for your island, a sink, a faucet, plumbing supplies, and a countertop. First, measure and cut a hole in the countertop for the sink. Then, attach the sink and faucet according to the manufacturer's instructions. Next, attach the base to the countertop using screws and a drill. Make sure to leave enough space for the sink and plumbing underneath. Lastly, connect the plumbing to the sink and test for leaks. Now you have a functional and stylish kitchen island with a sink.DIY Kitchen Island with Sink

DIY Kitchen Island with Sink


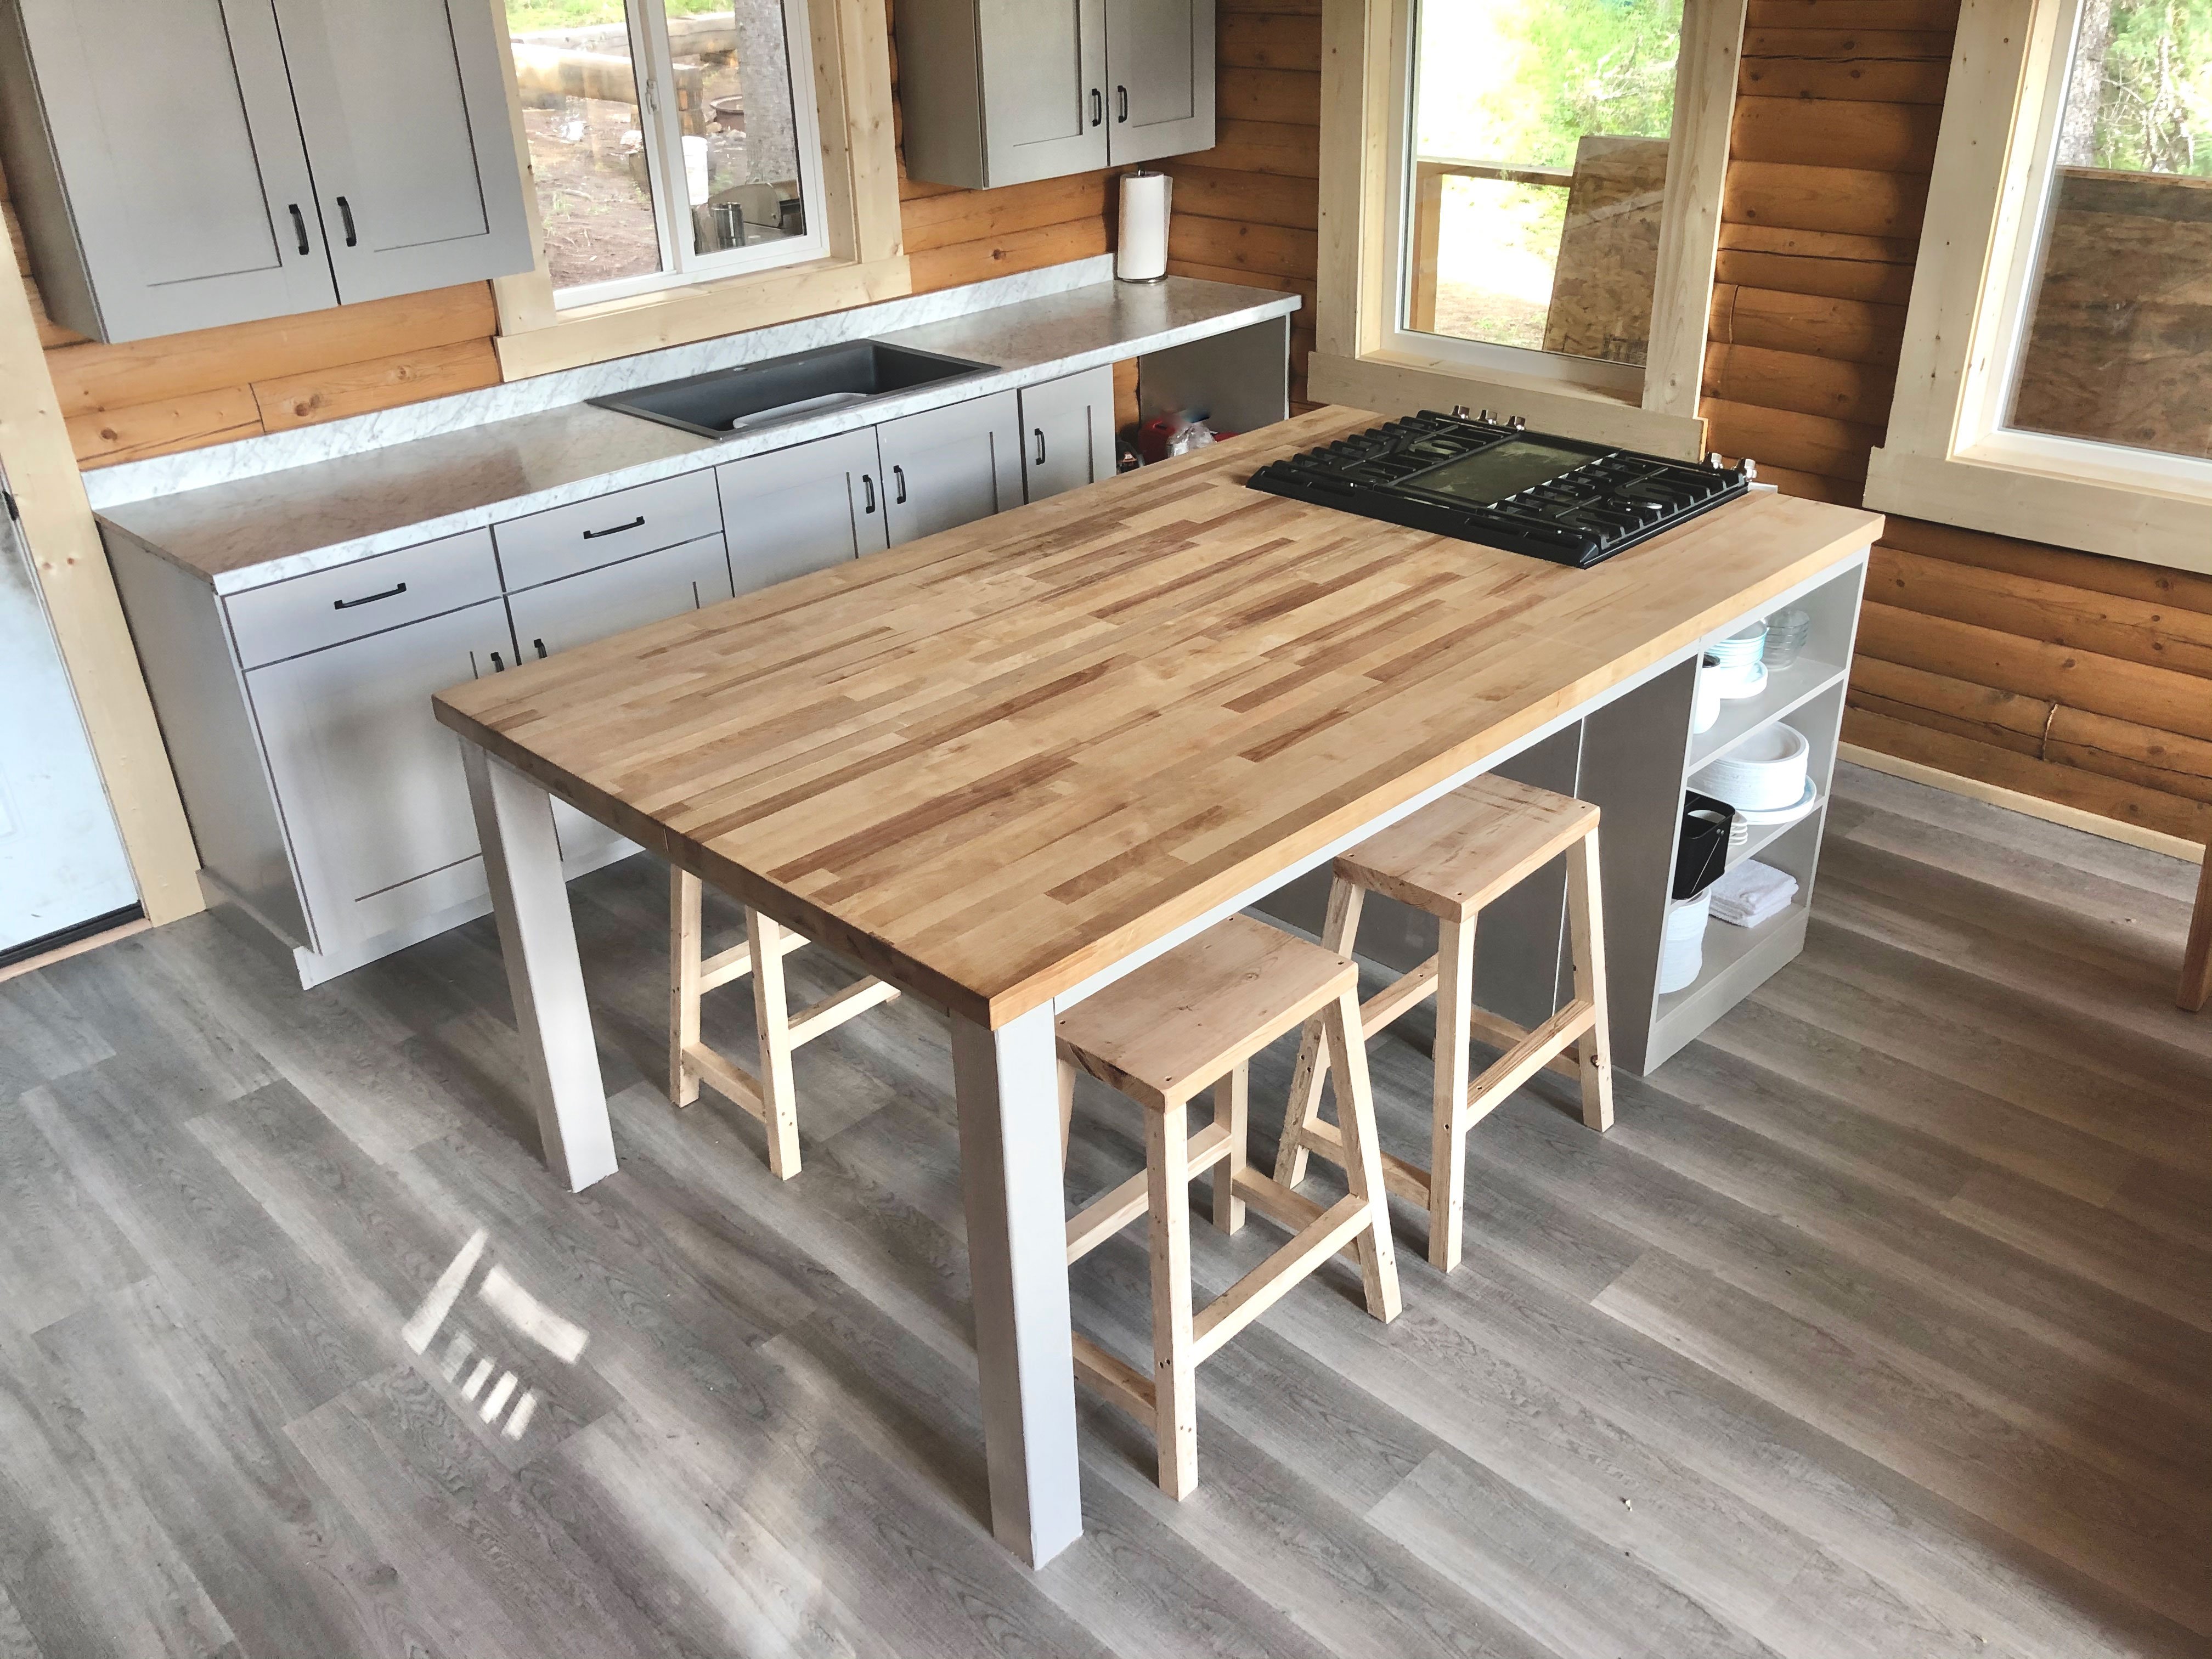
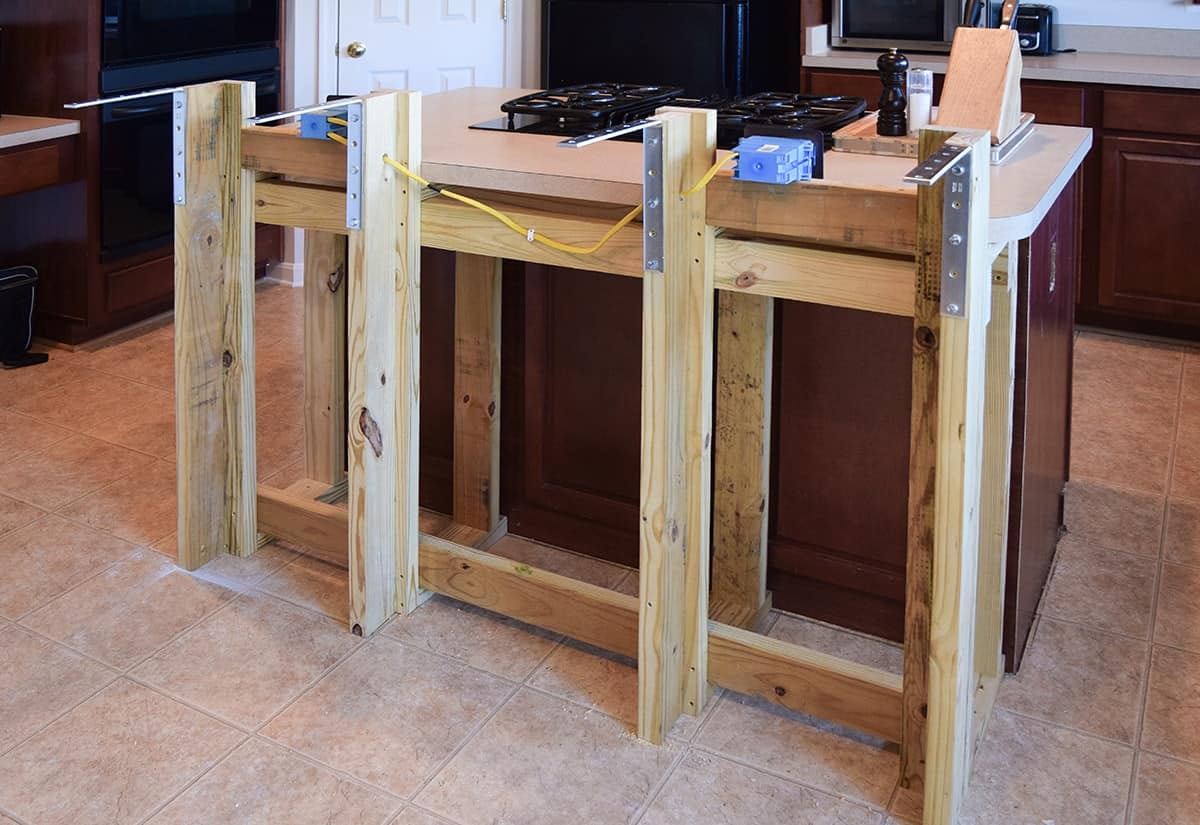
Adding a stove to your kitchen island is a great way to create a designated cooking area and make your kitchen more efficient. This DIY kitchen island with a stove is perfect for those who love to entertain and cook at the same time. You will need a base for your island, a stove, a range hood, and a countertop. To start, measure and cut a hole in the countertop for the stove. Then, attach the stove and range hood according to the manufacturer's instructions. Next, attach the base to the countertop using screws and a drill. Make sure to leave enough space for the stove and ventilation underneath. Lastly, connect the range hood to the ventilation and test for proper functioning. Now you have a stylish and functional kitchen island with a stove.DIY Kitchen Island with Stove


DIY Kitchen Island with Stove


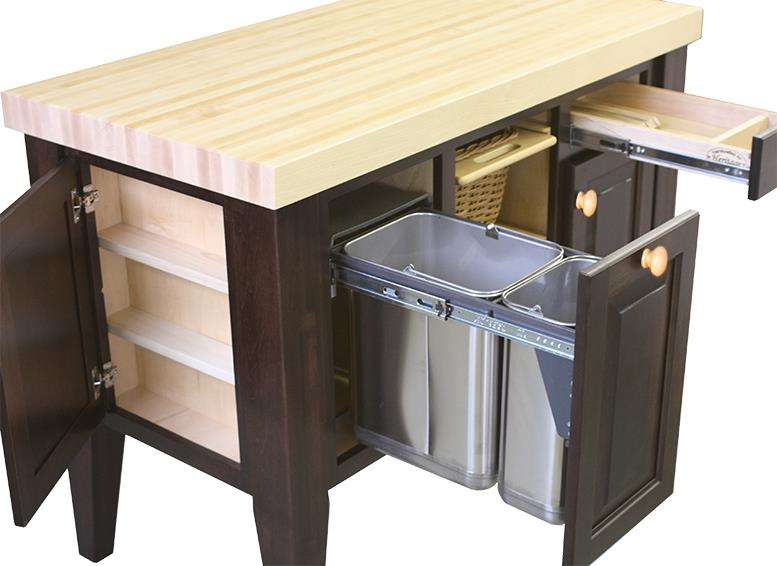
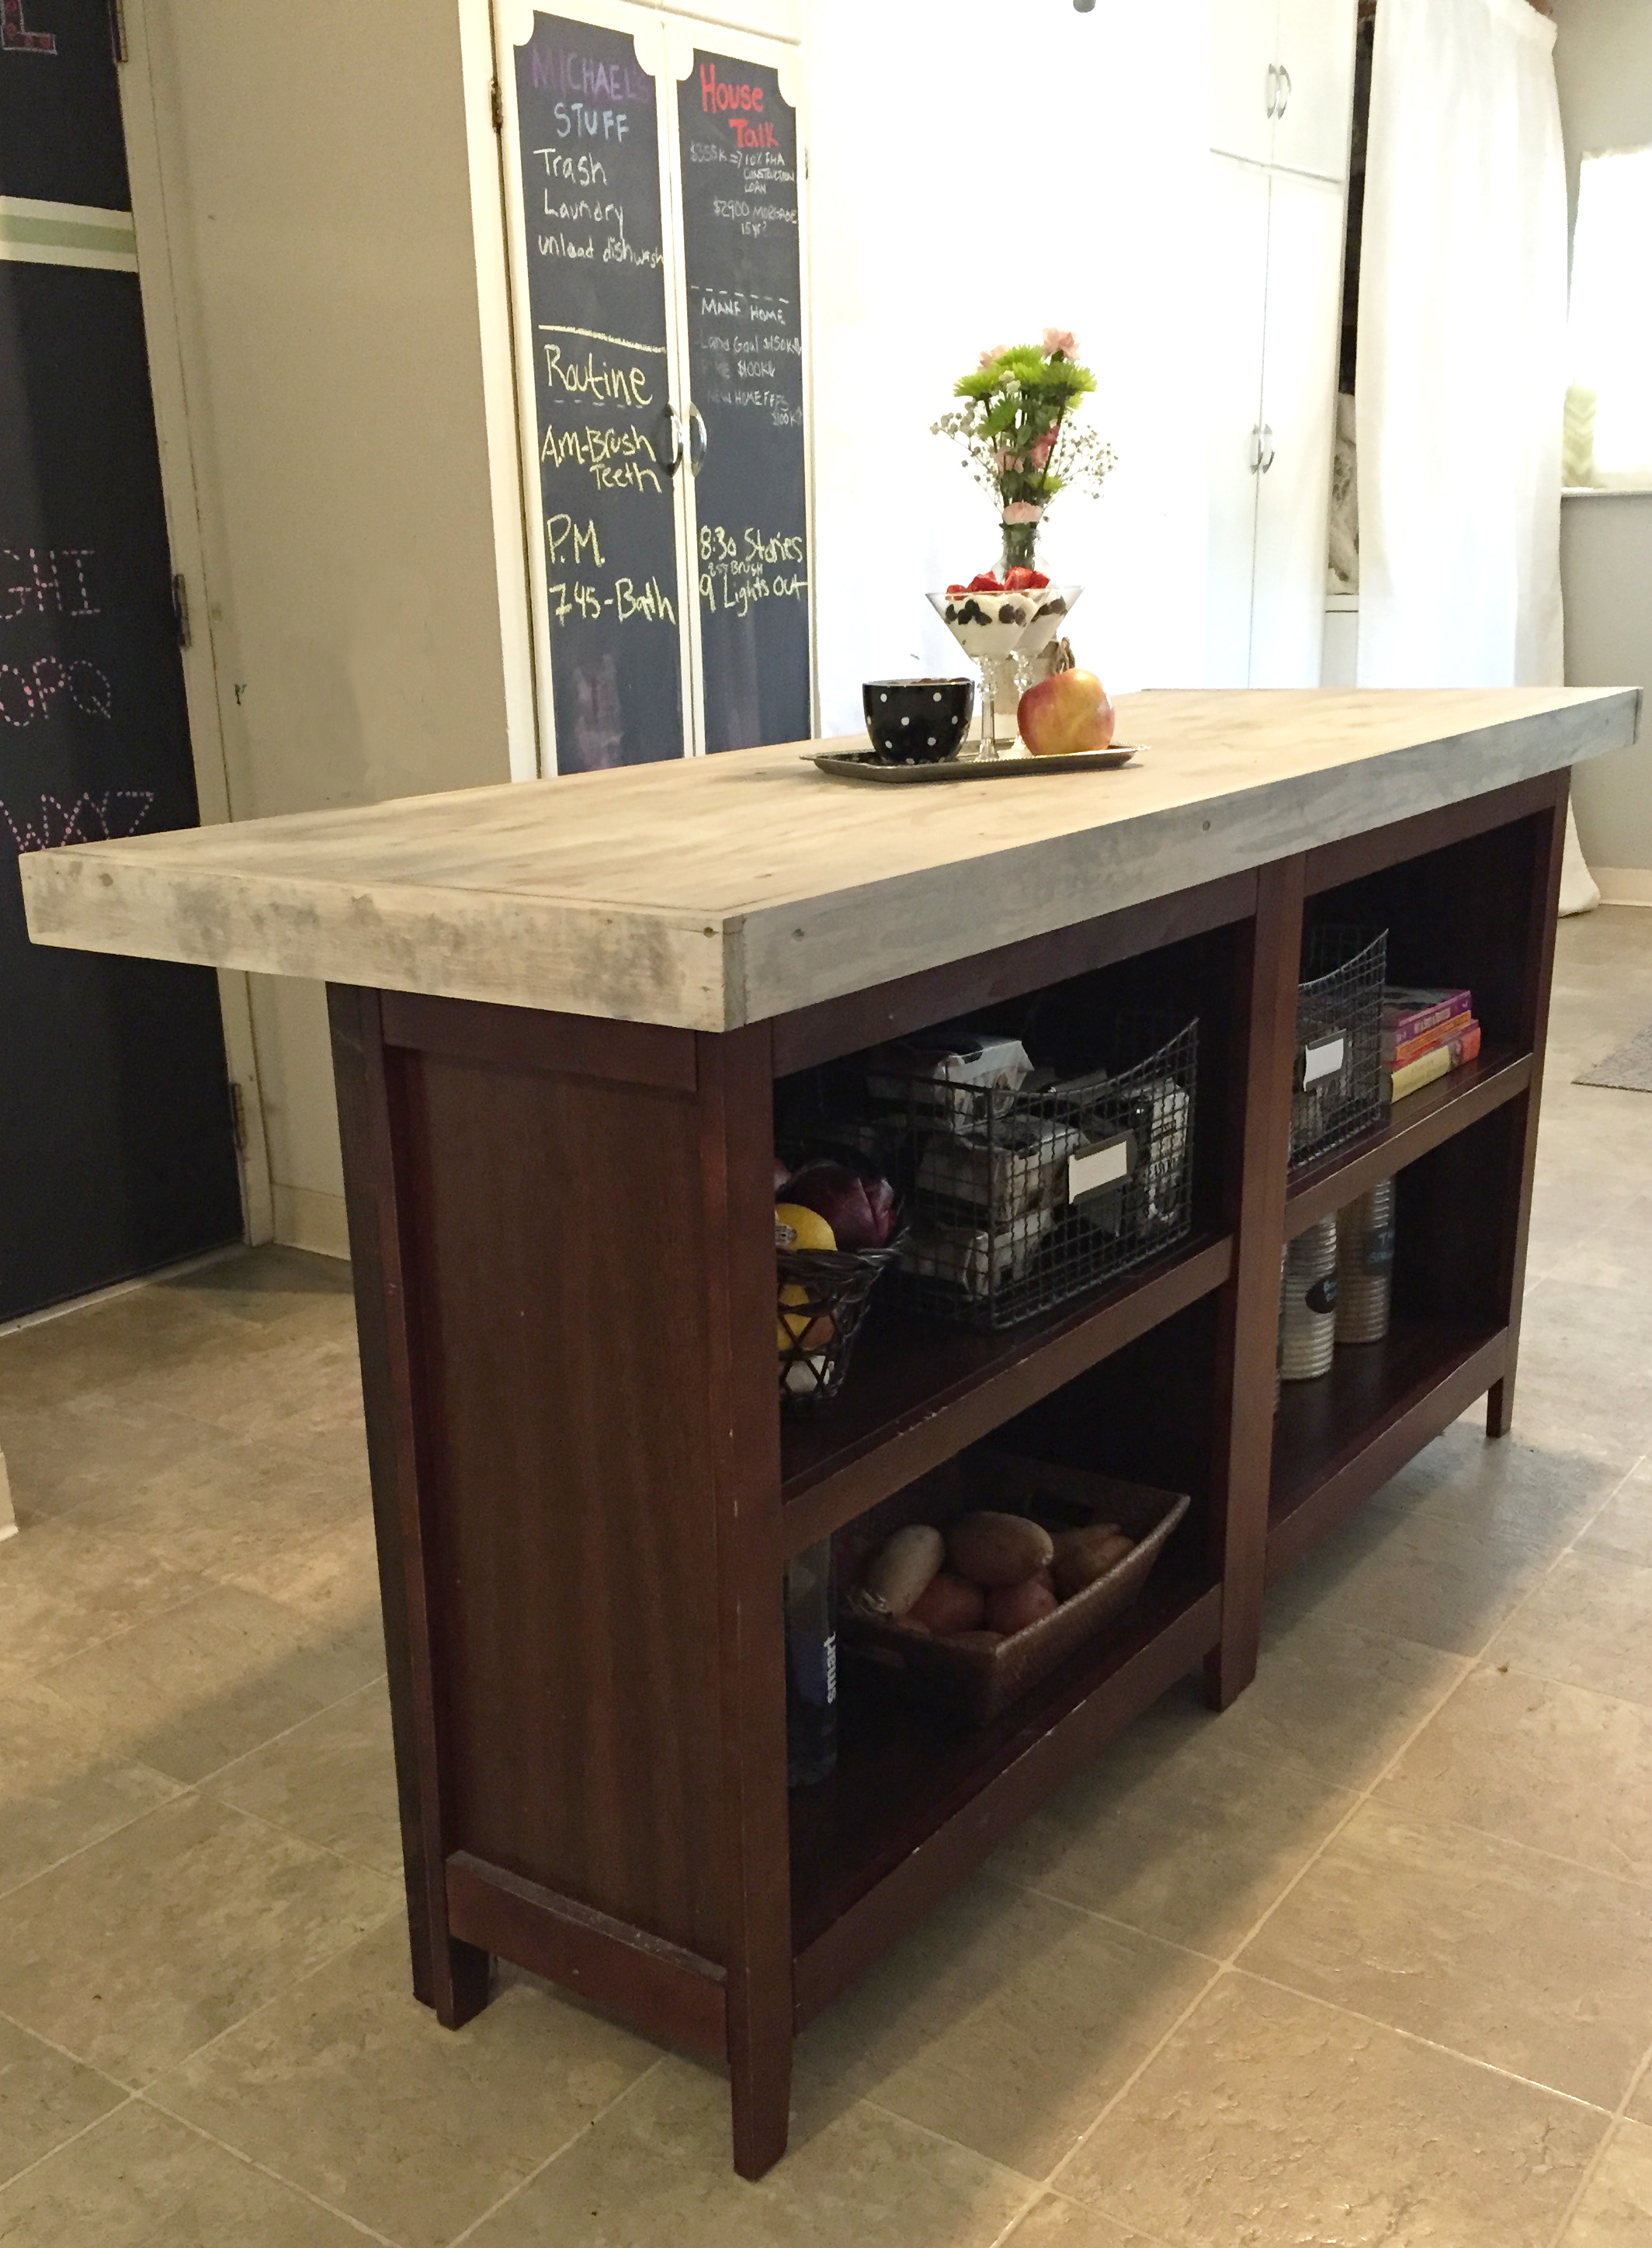
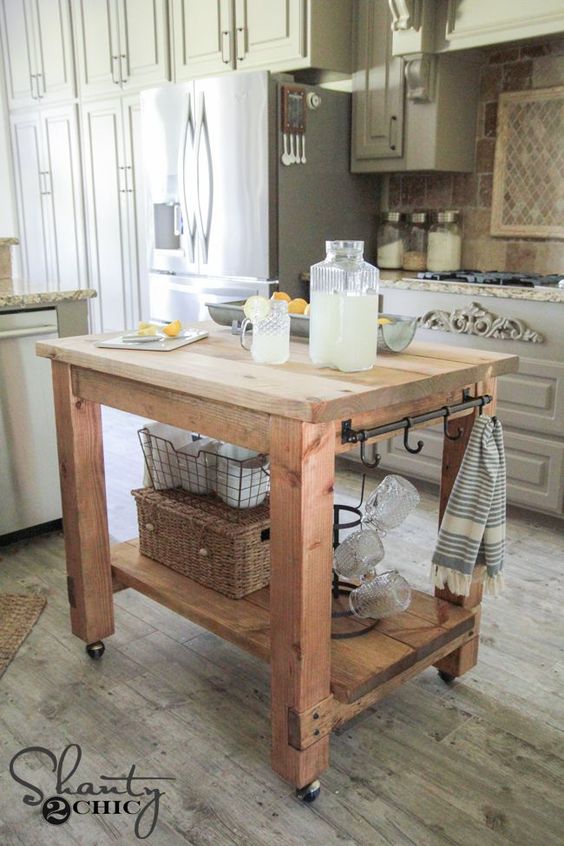
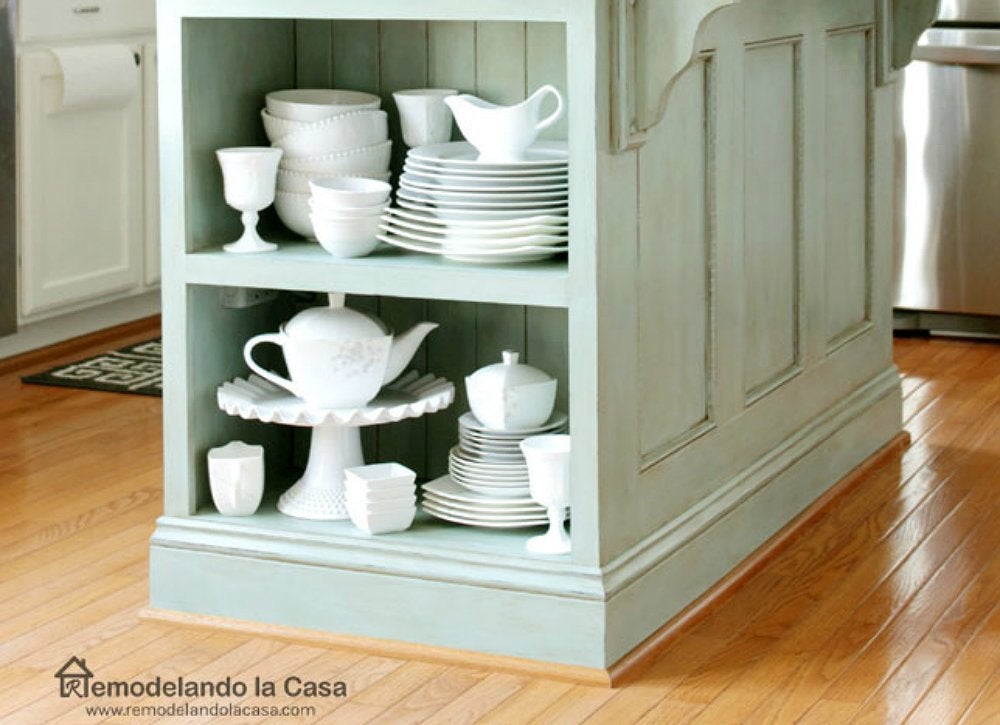
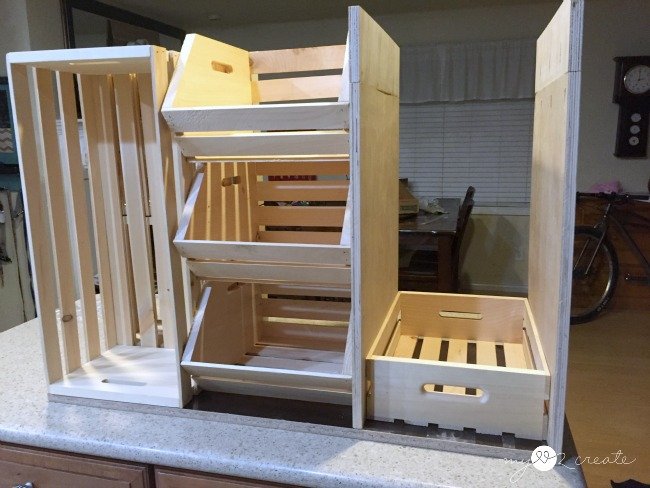
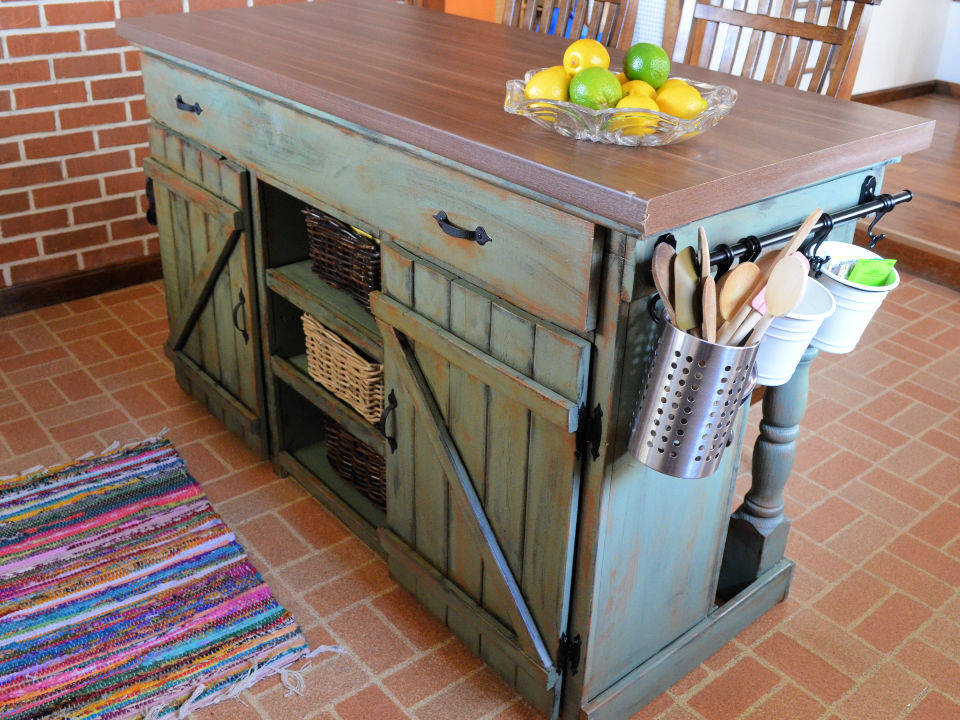
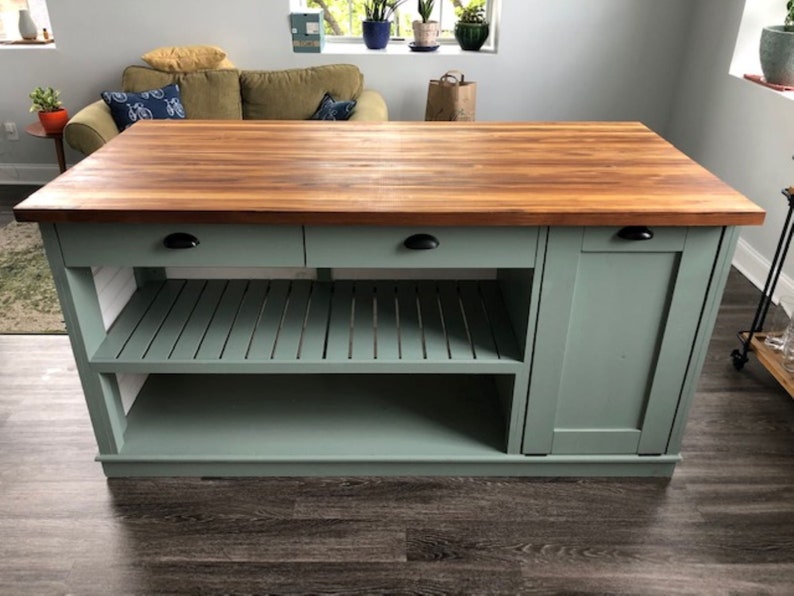
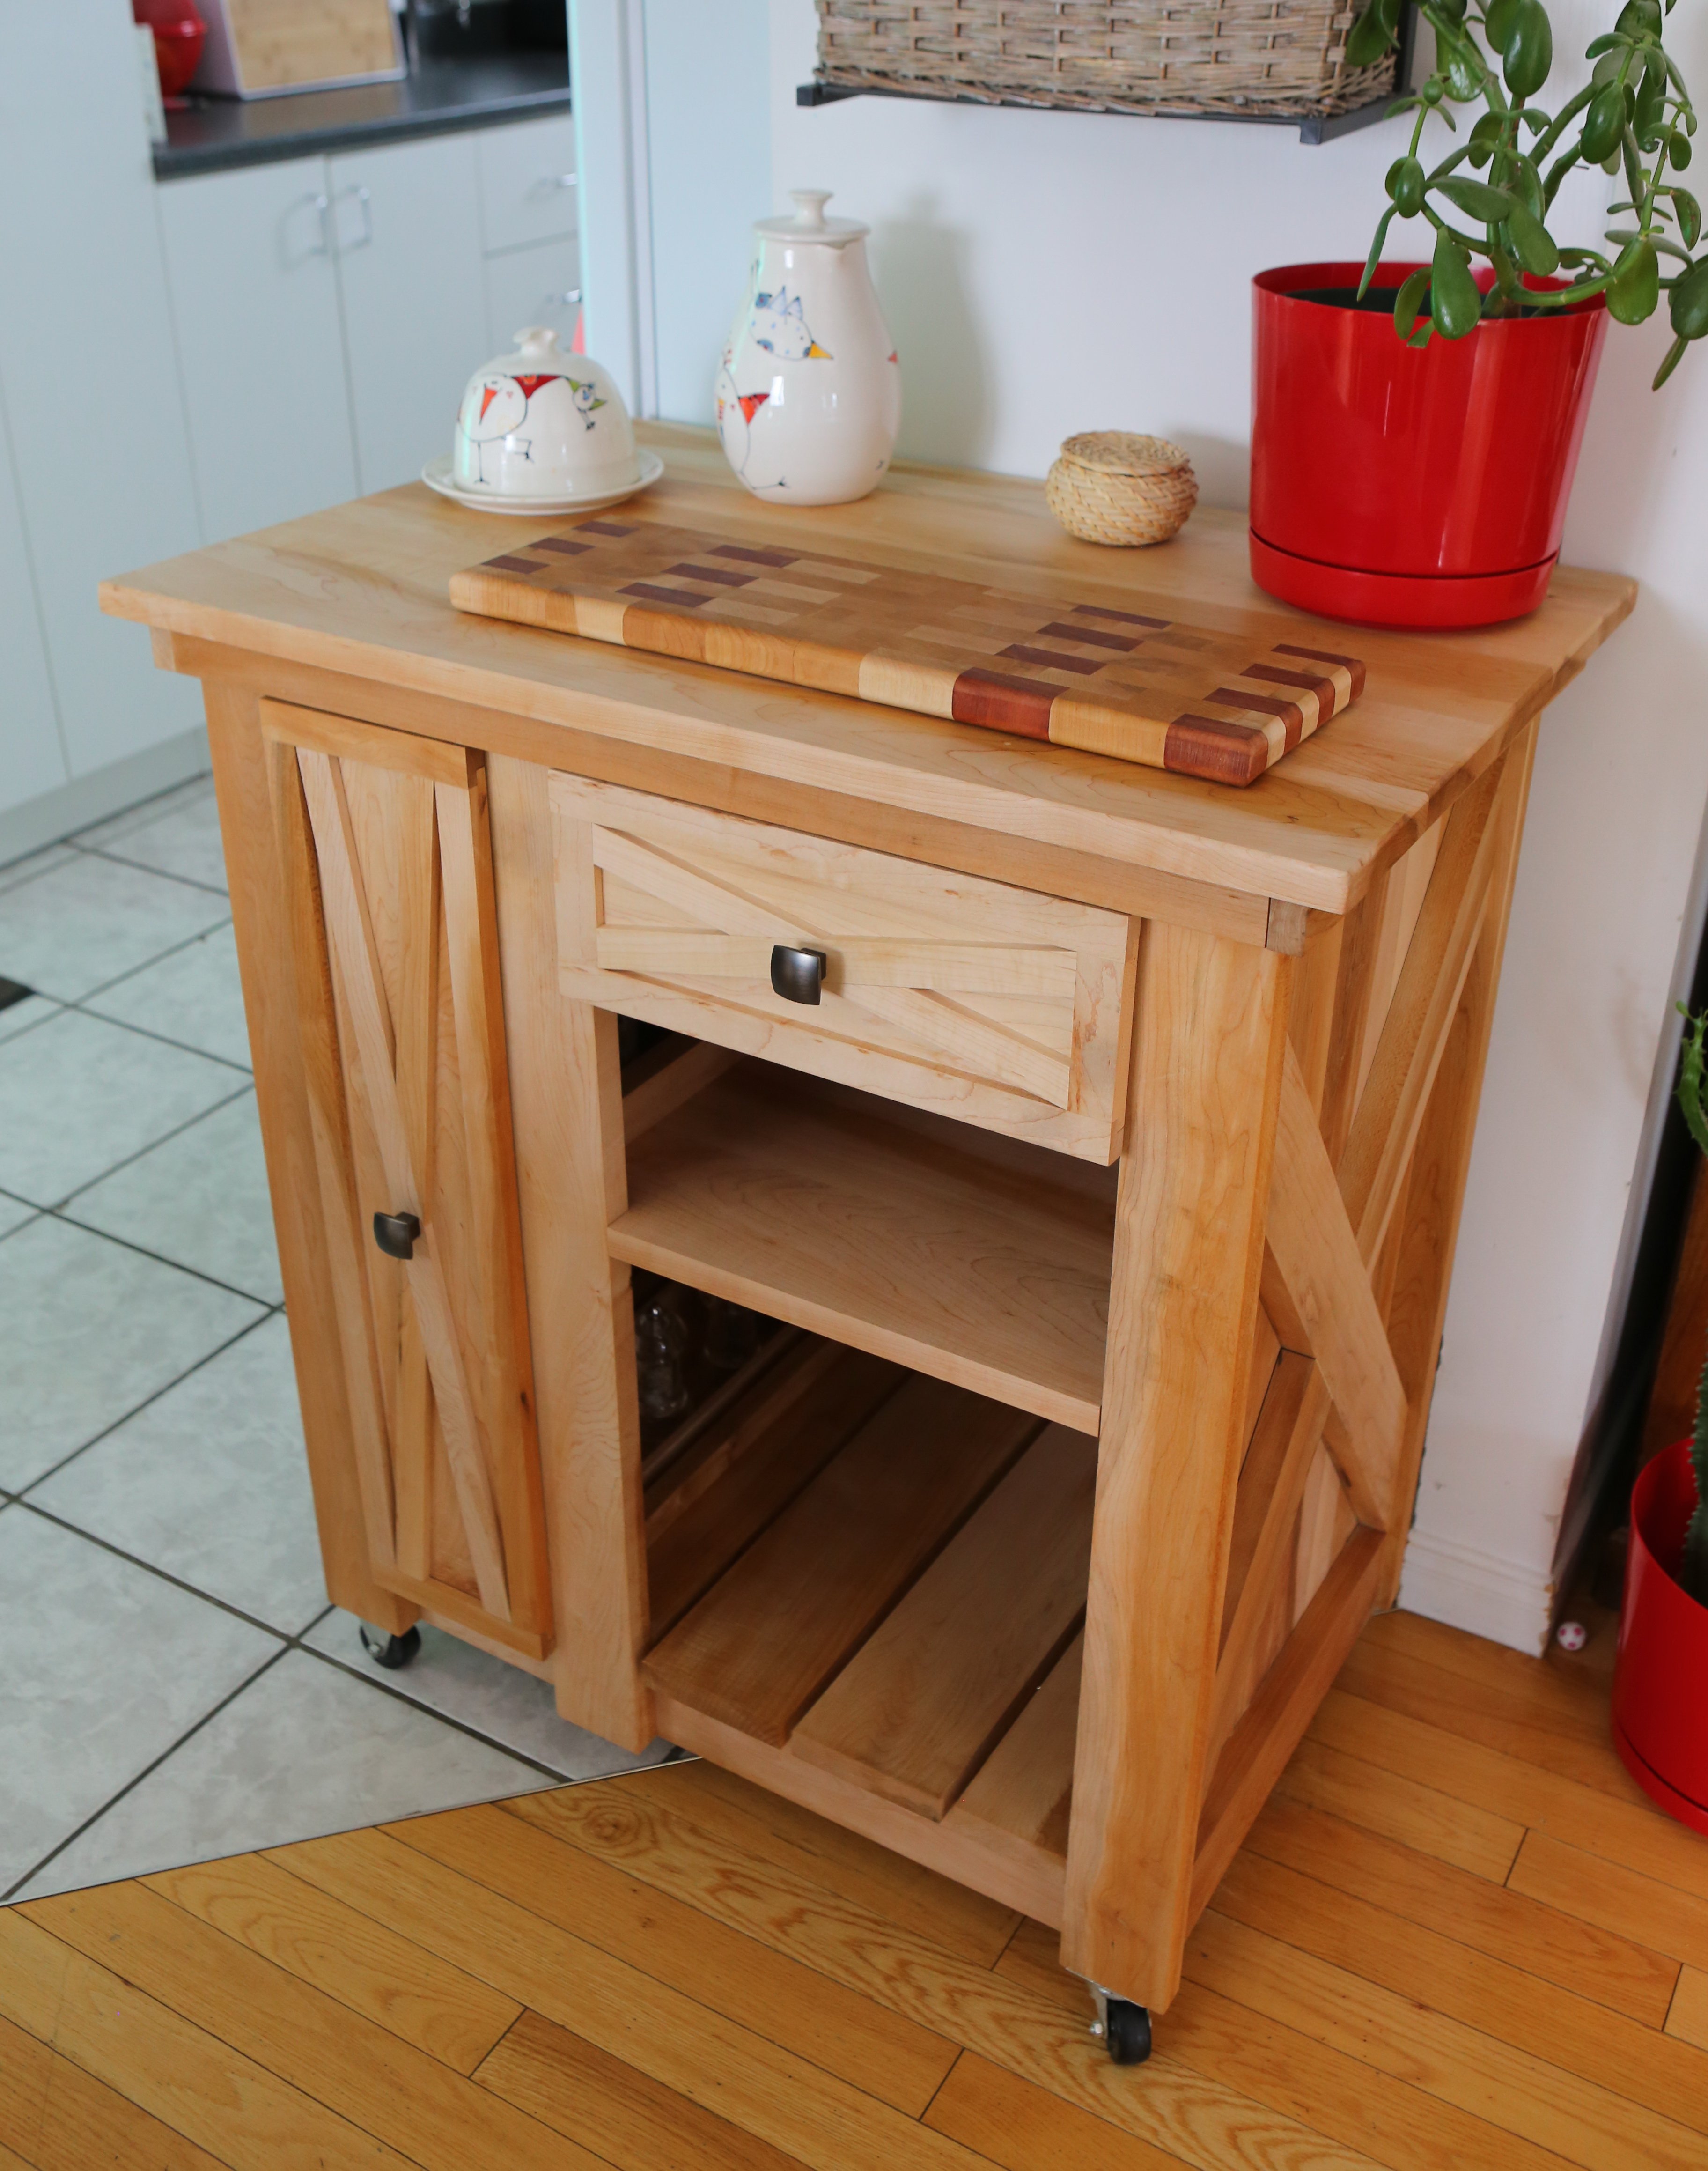
One of the main purposes of a kitchen island is to provide extra storage. With this DIY kitchen island with storage, you can customize the amount and type of storage to fit your specific needs. Start by choosing a base for your island such as a bookshelf, dresser, or old cabinet. Then, measure and cut a countertop to fit the base. Attach the countertop to the base using screws and a drill. Next, add shelves or drawers inside the base for storage. You can also add hooks or baskets to the sides of the island for additional storage options. Paint or stain the island to match your kitchen's style and enjoy the added storage space.DIY Kitchen Island with Storage

DIY Kitchen Island with Storage

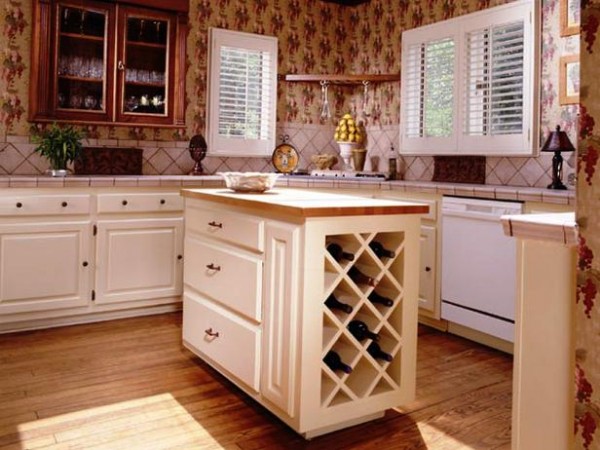
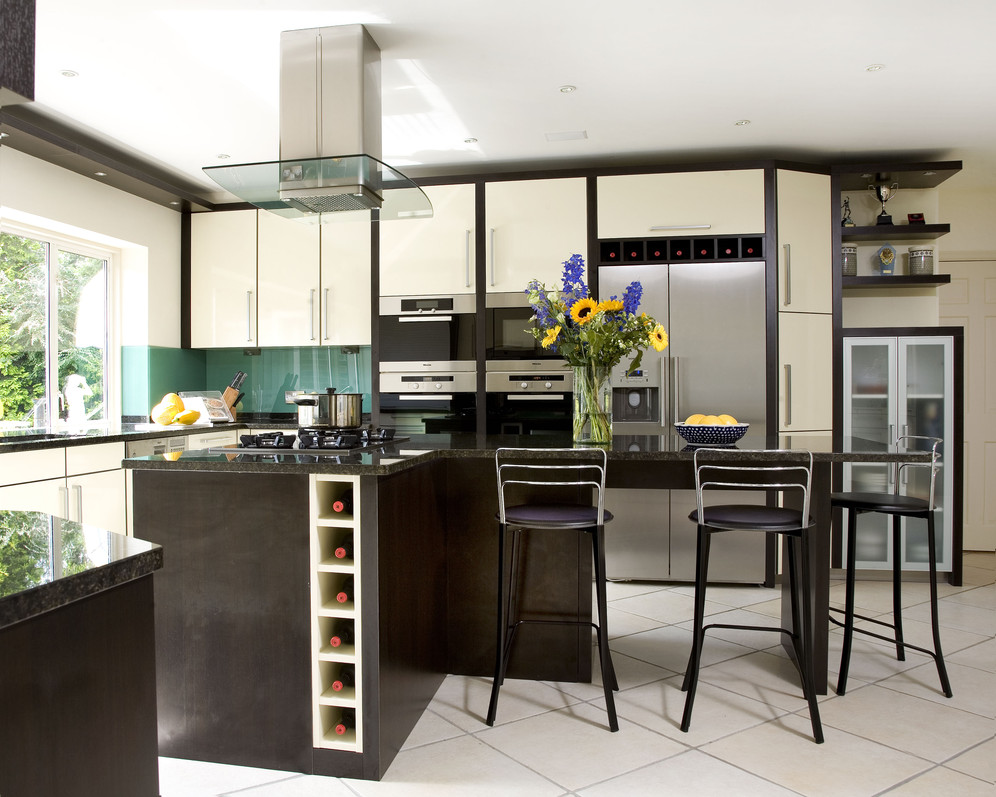
If you're a wine lover, why not incorporate a wine rack into your kitchen island? This DIY kitchen island with a wine rack is a great way to display and store your favorite bottles while also adding a unique element to your kitchen. First, choose a base for your island and measure and cut a countertop to fit. Then, using a drill and screws, attach the countertop to the base. Next, add a wine rack to one side of the island. You can also add shelves or drawers for extra storage. For added design, you can paint or stain the island and add wine glass holders underneath the countertop. Now you have a functional and stylish kitchen island with a built-in wine rack.DIY Kitchen Island with Wine Rack

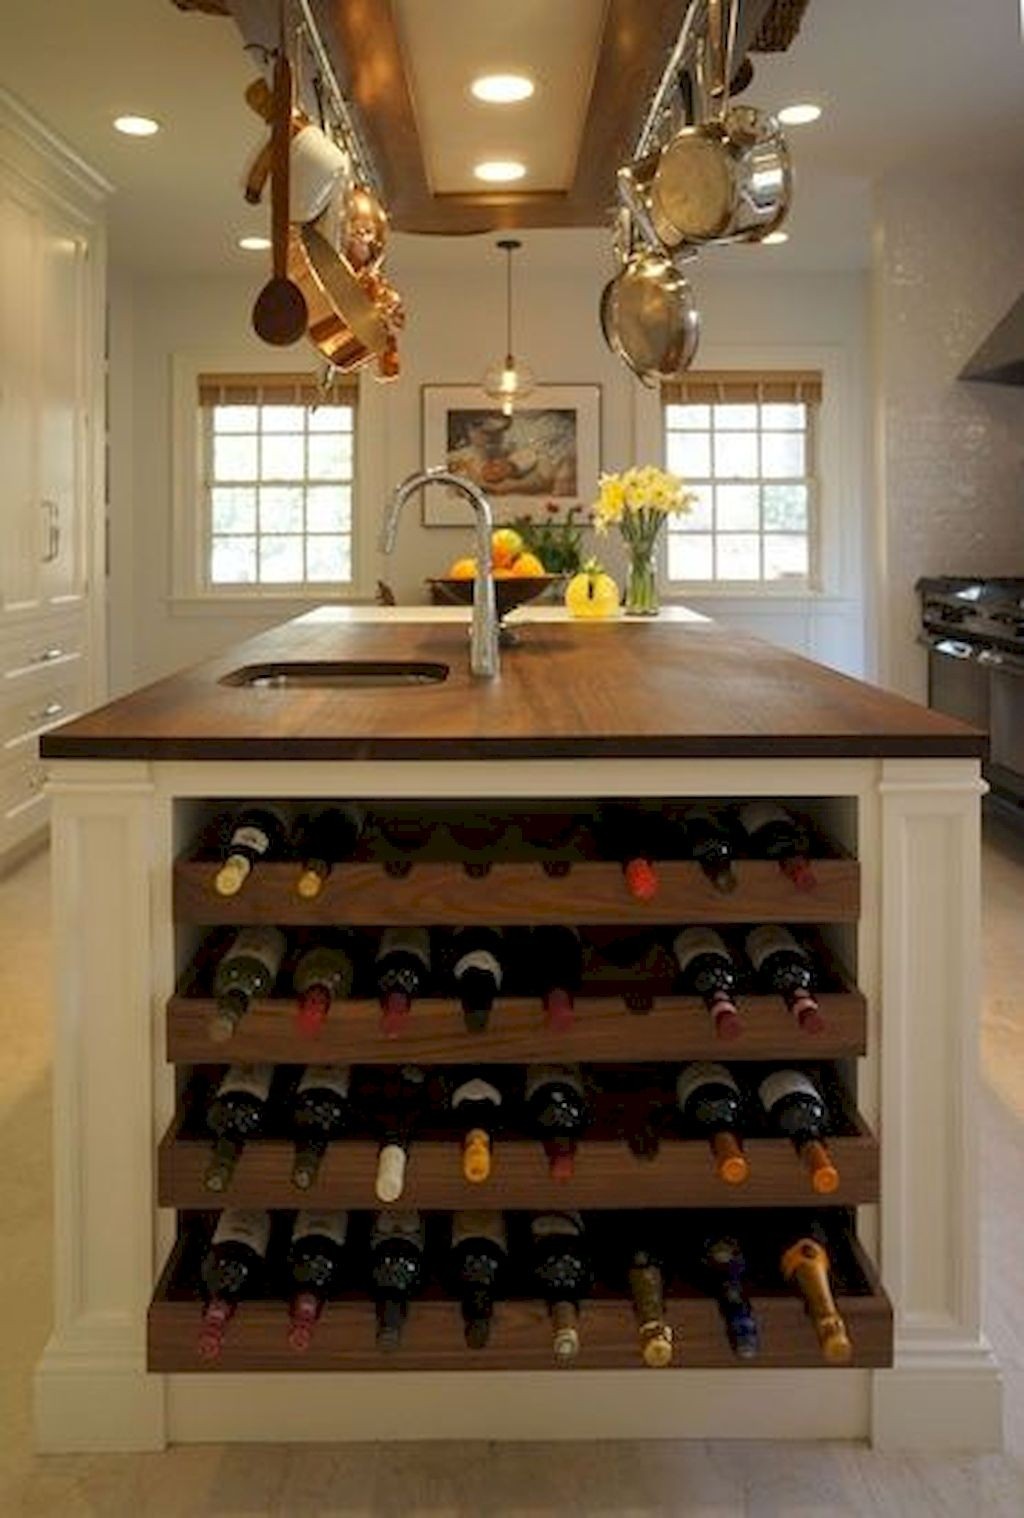

DIY Kitchen Island with Wine Rack


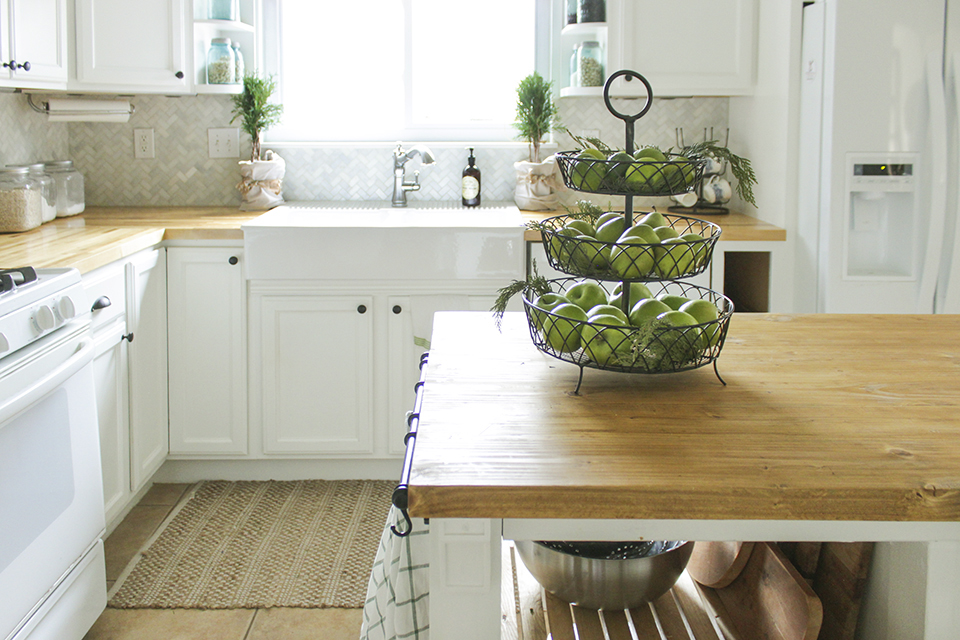
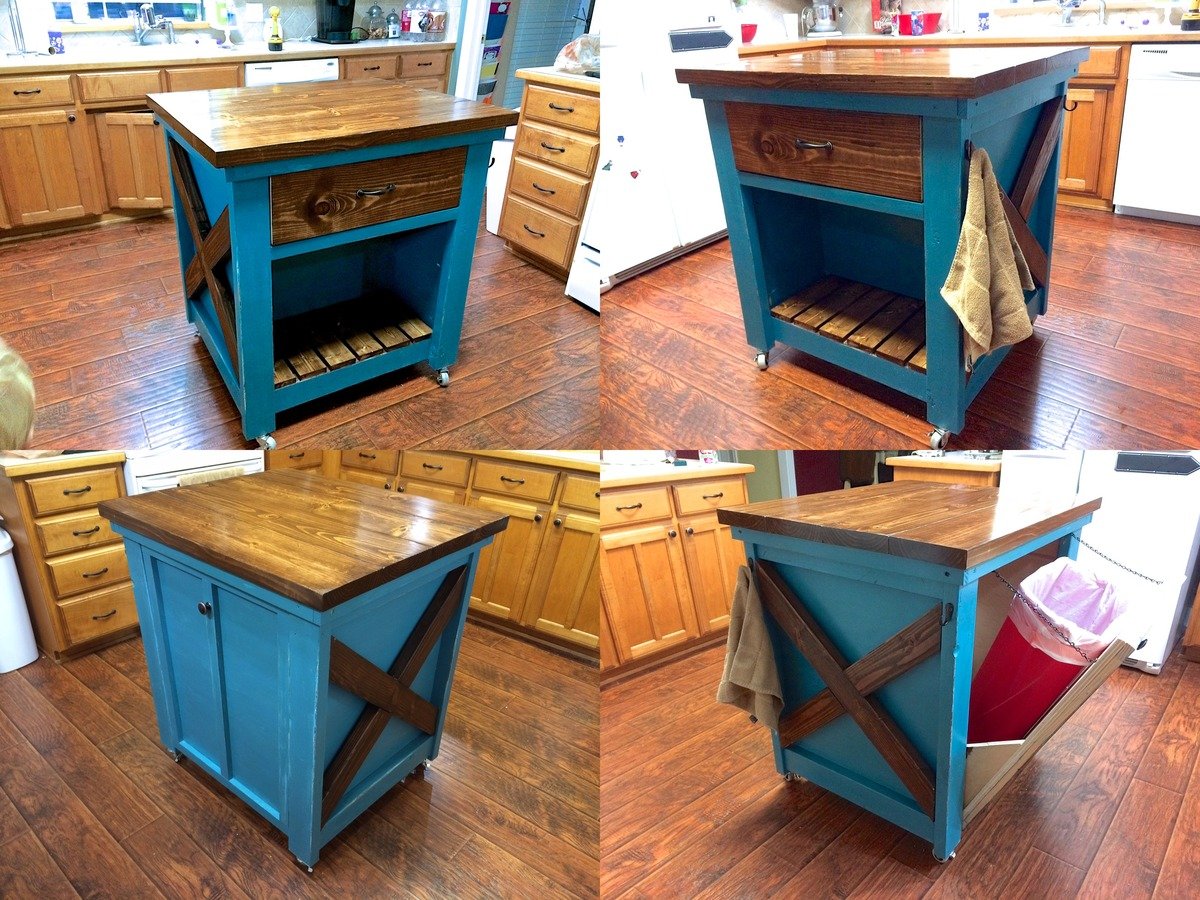
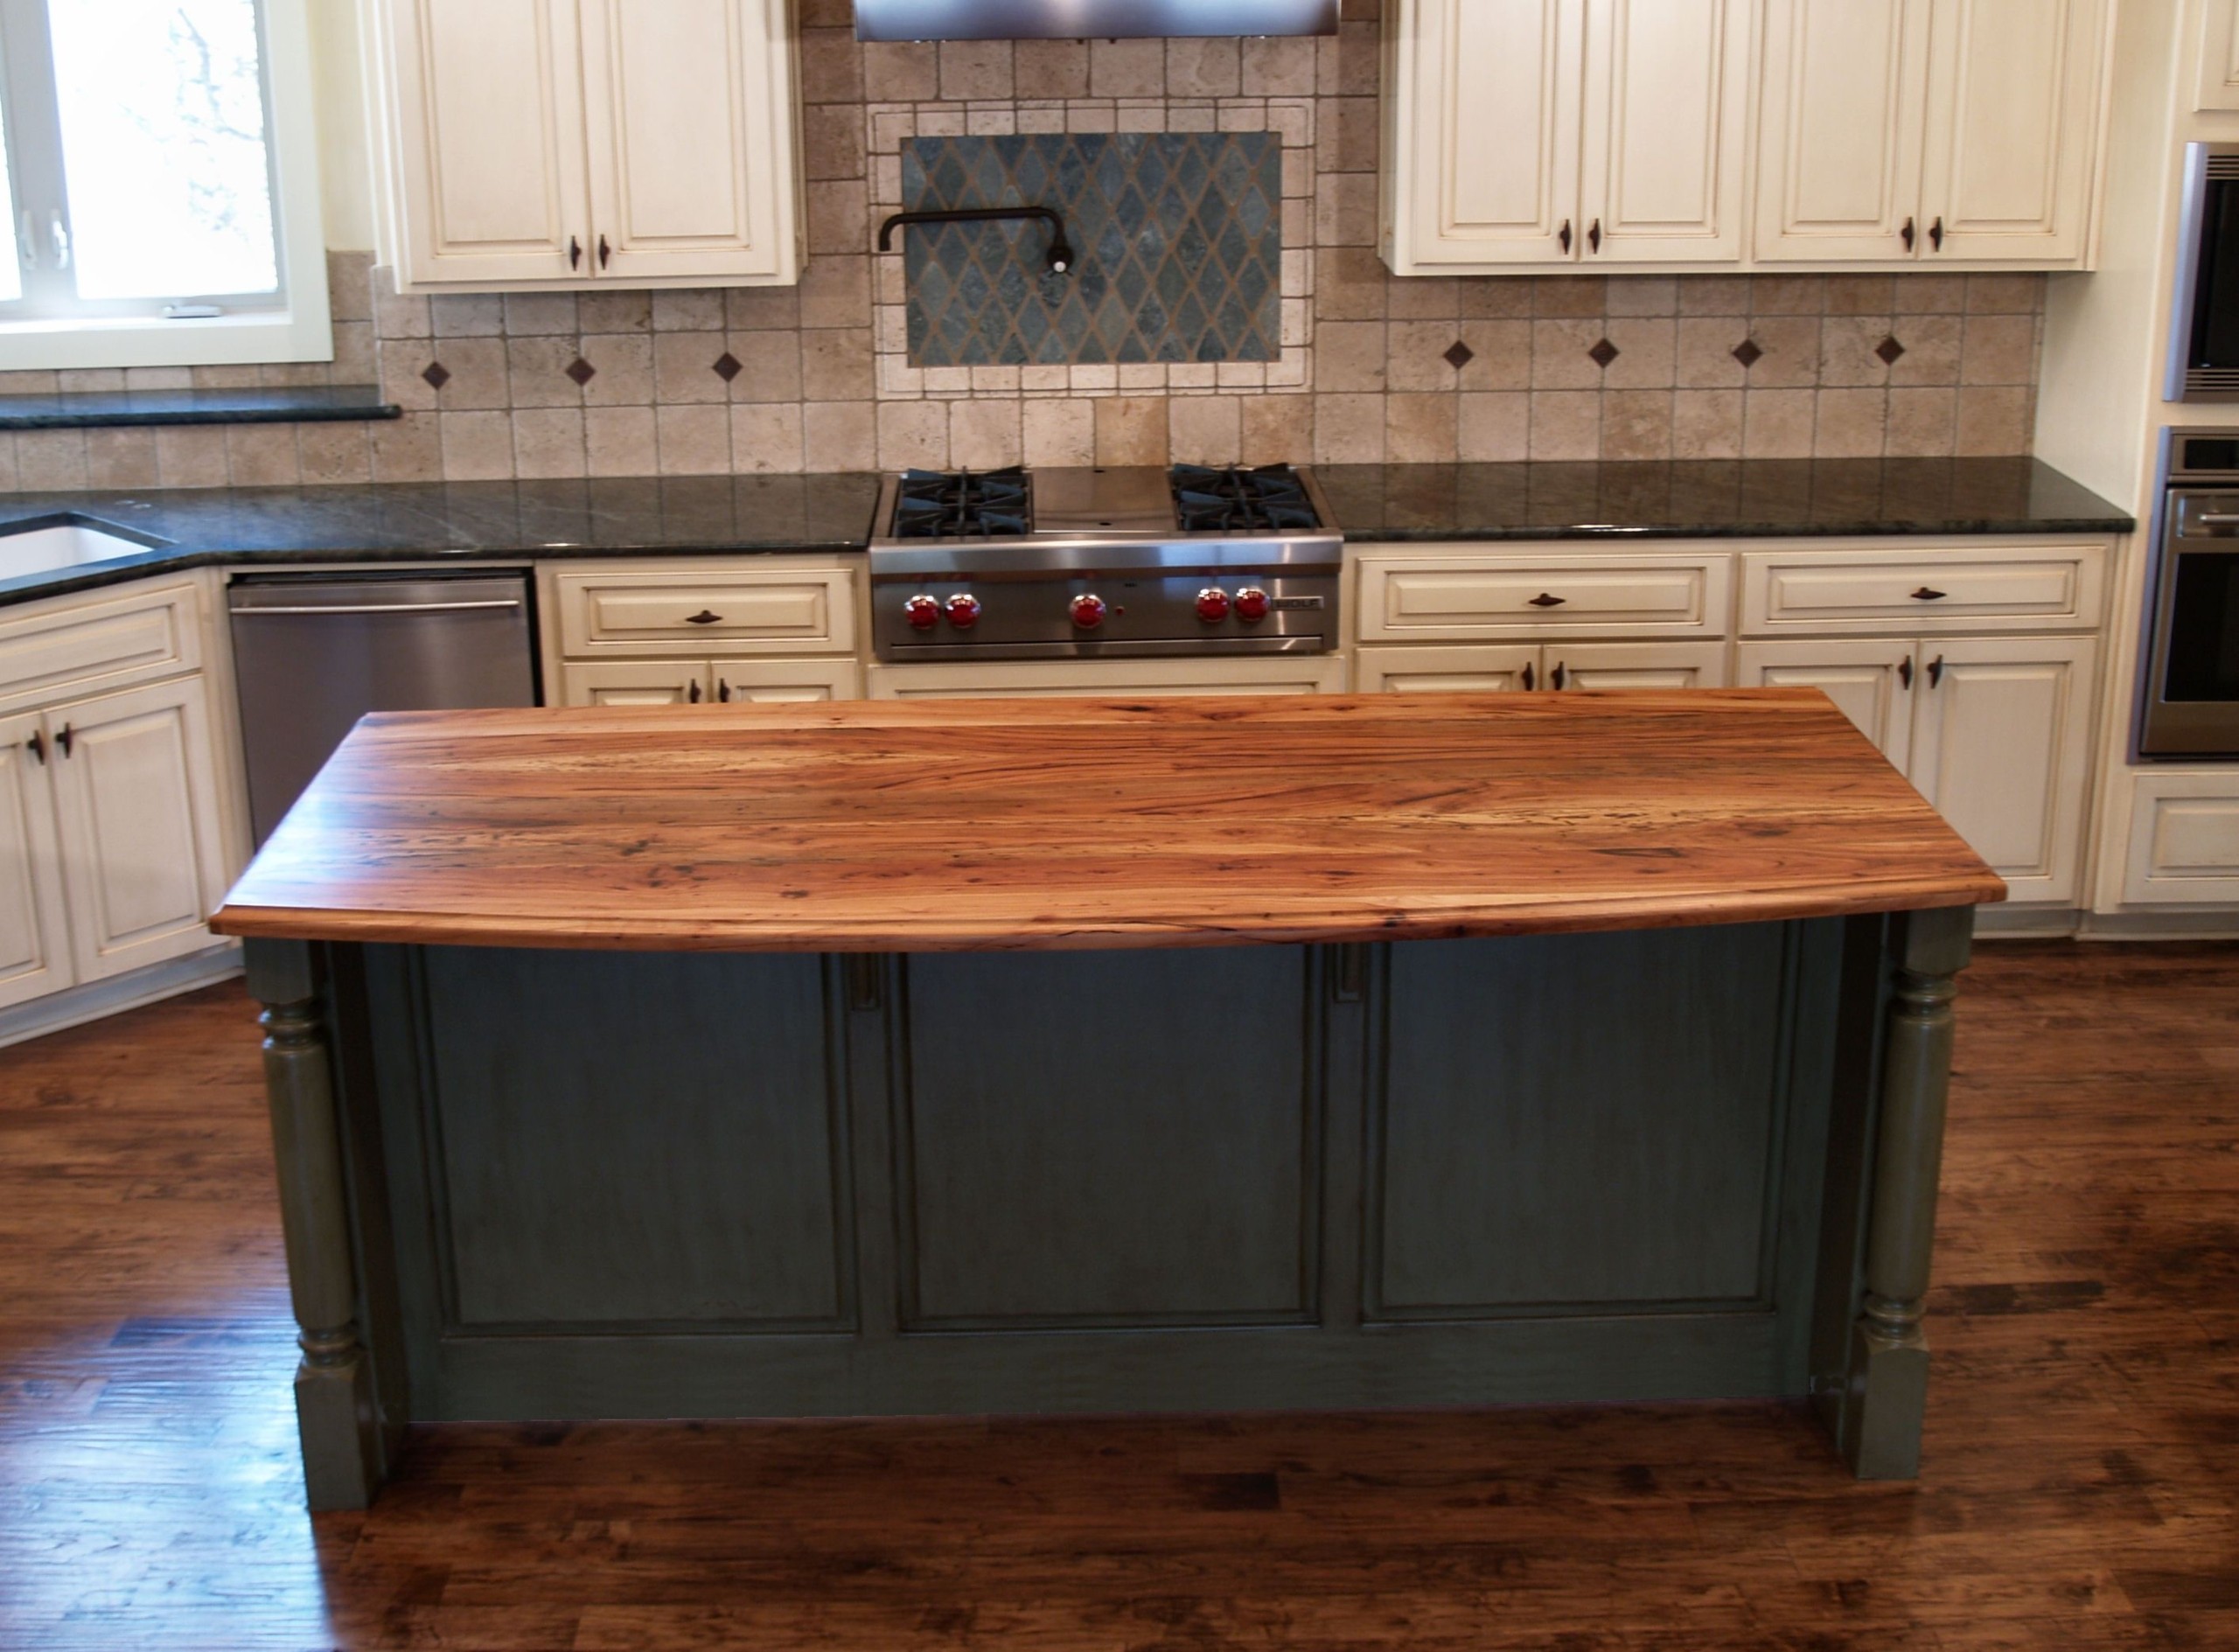
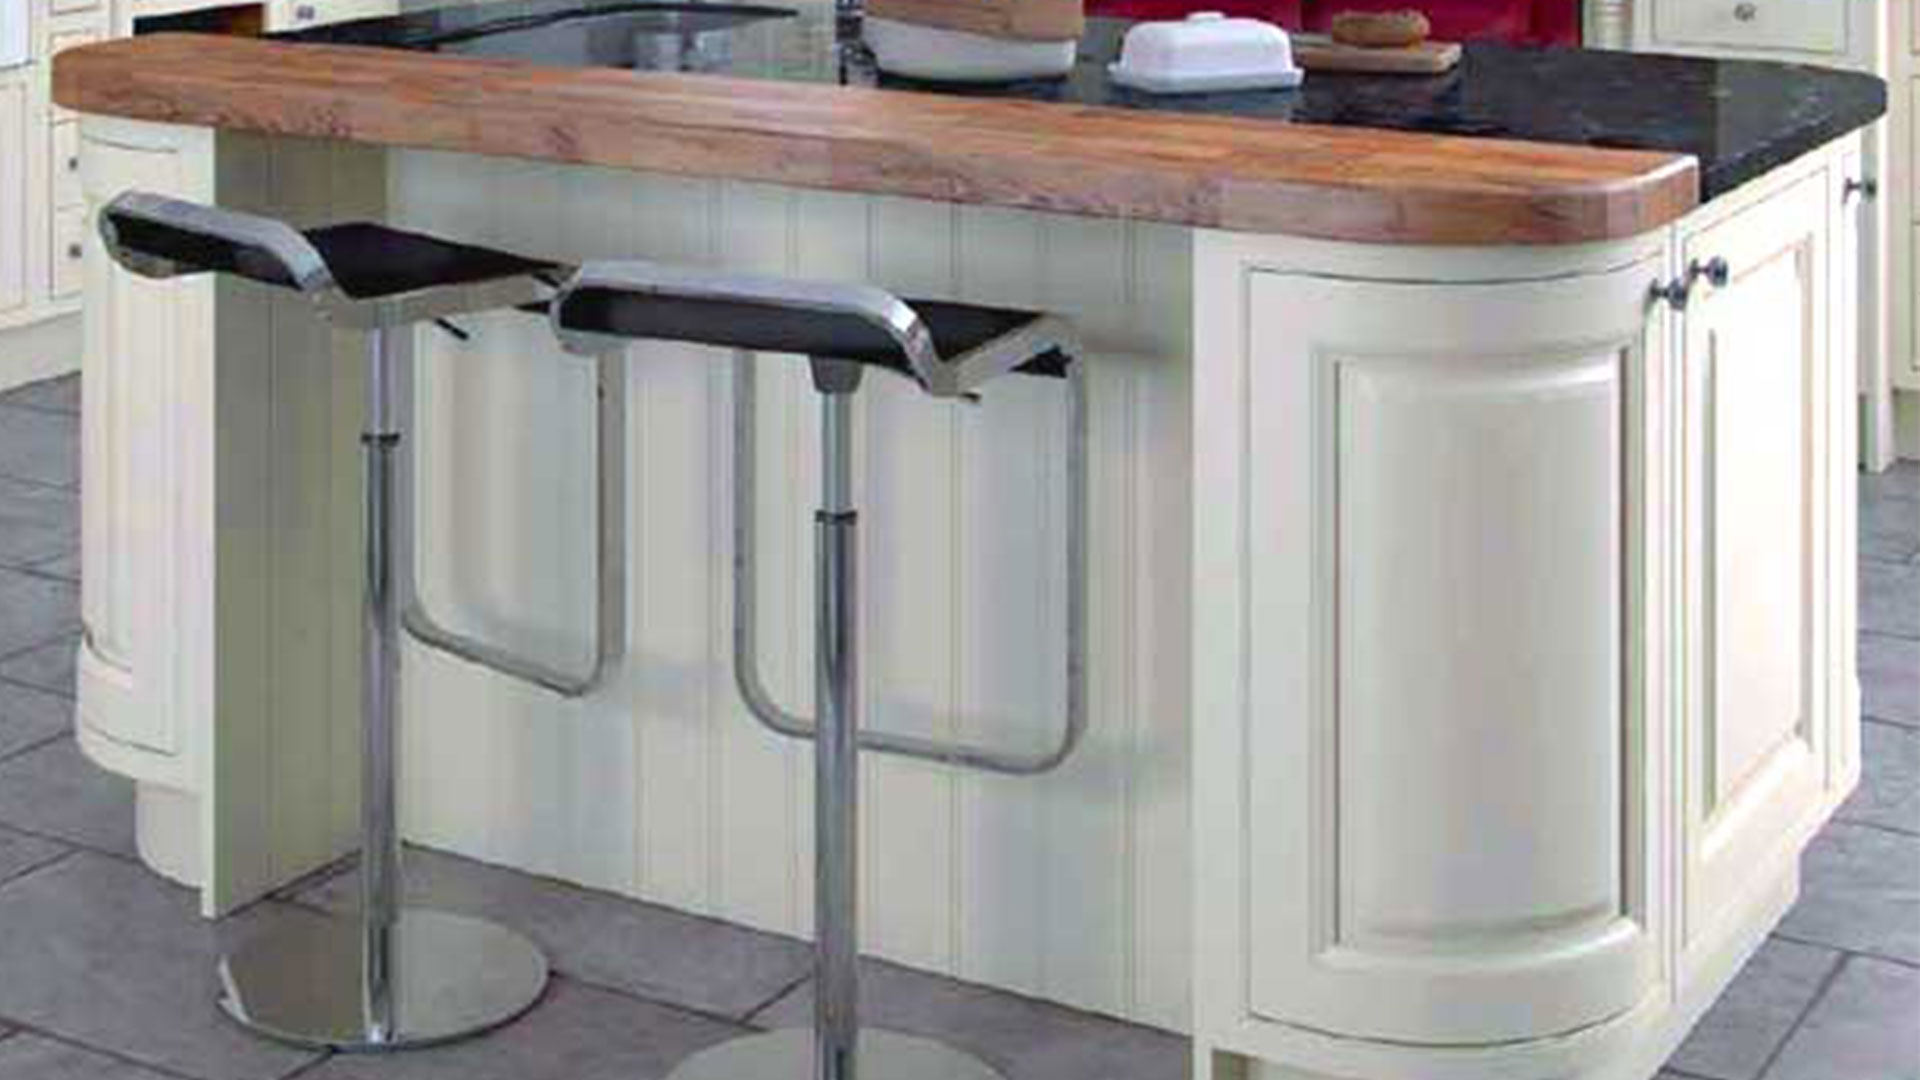
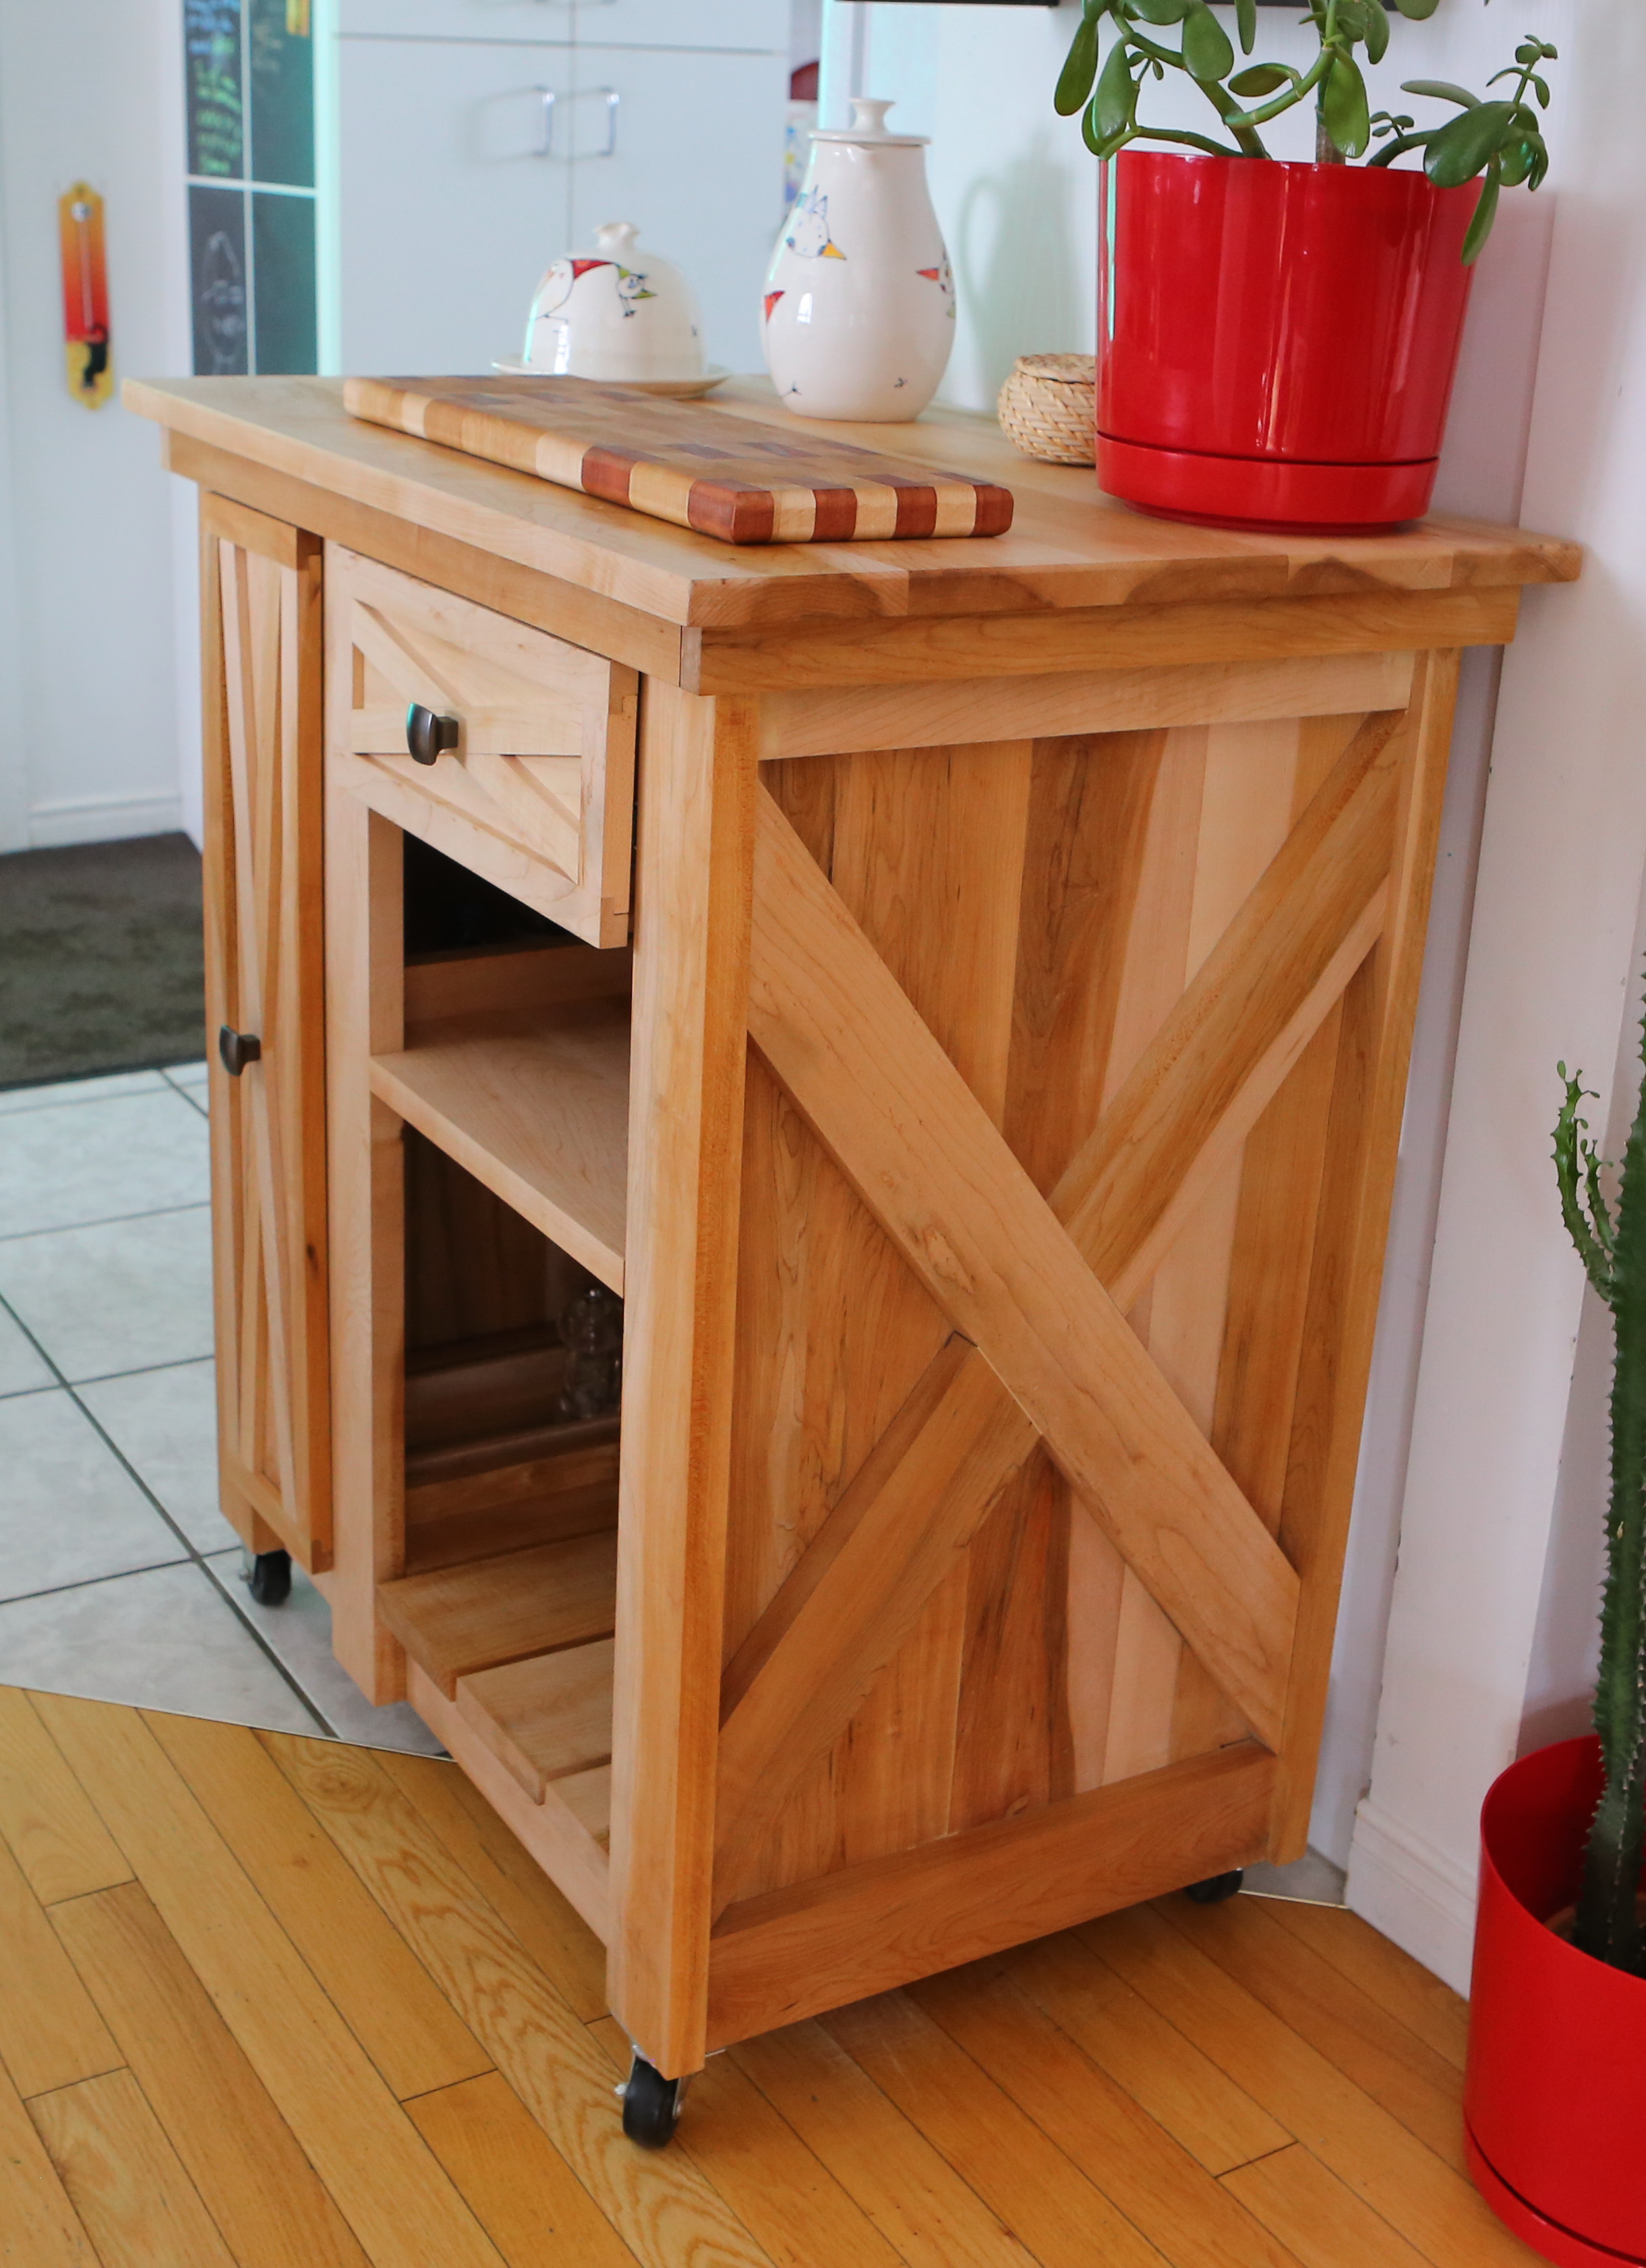
A butcher block countertop adds a rustic and warm touch to any kitchen. With this DIY kitchen island with butcher block, you can easily create a focal point in your kitchen that is also functional for meal prep. Start by choosing a sturdy base for your island and attaching the butcher block countertop using screws and a drill. Then, add shelves or drawers for storage underneath the countertop. To maintain the butcher block, make sure to regularly oil it to prevent drying and cracking. You can also add a clear coat of polyurethane for added protection. Now you have a beautiful and functional kitchen island with a butcher block countertop.DIY Kitchen Island with Butcher Block


DIY Kitchen Island with Butcher Block


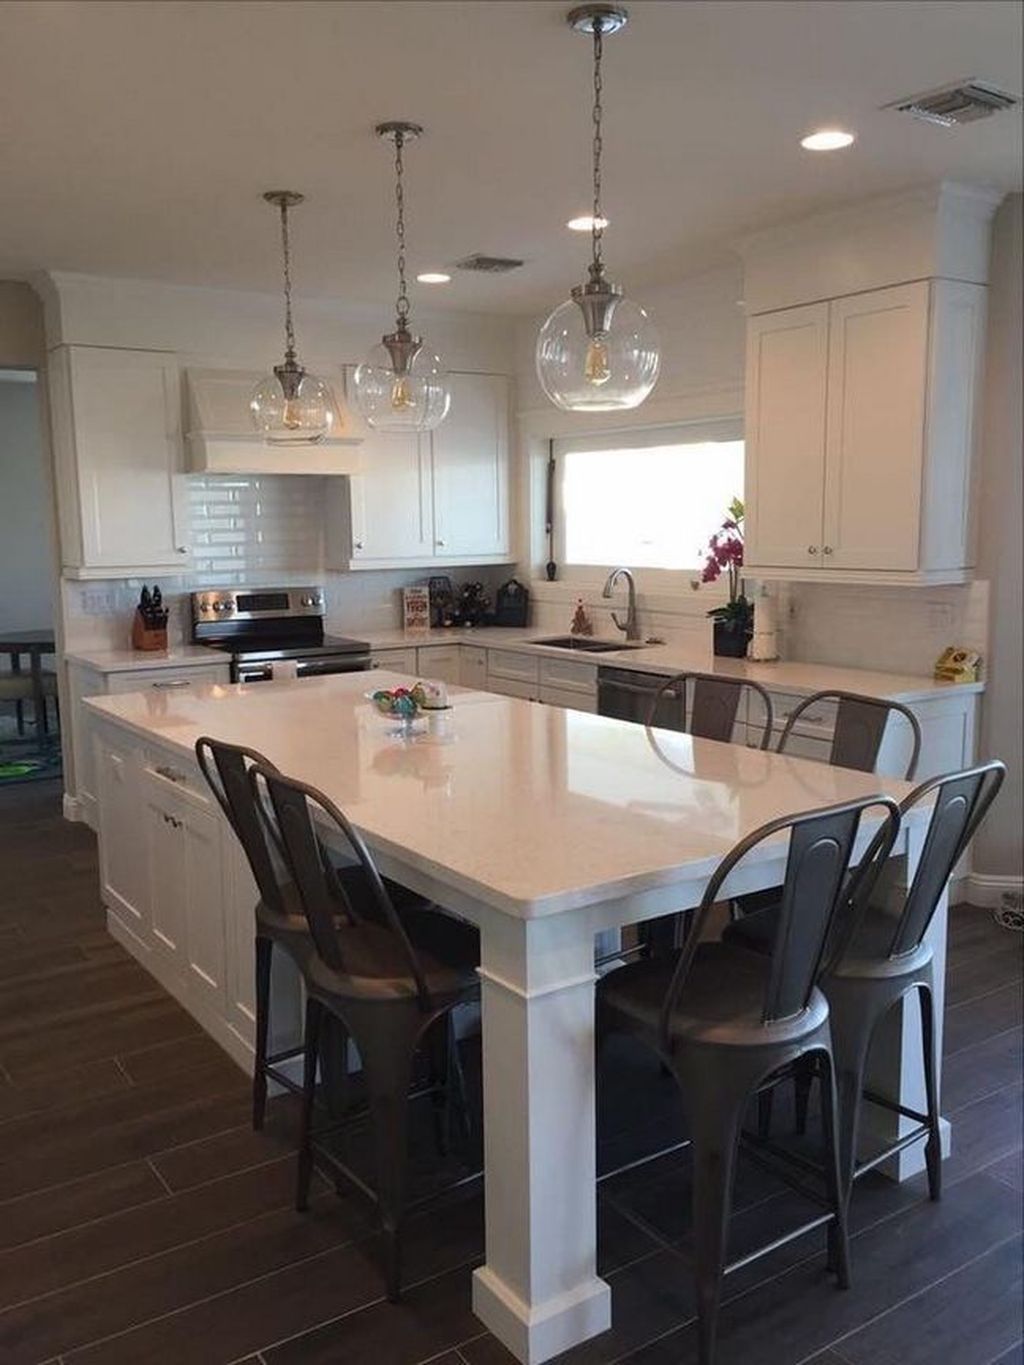
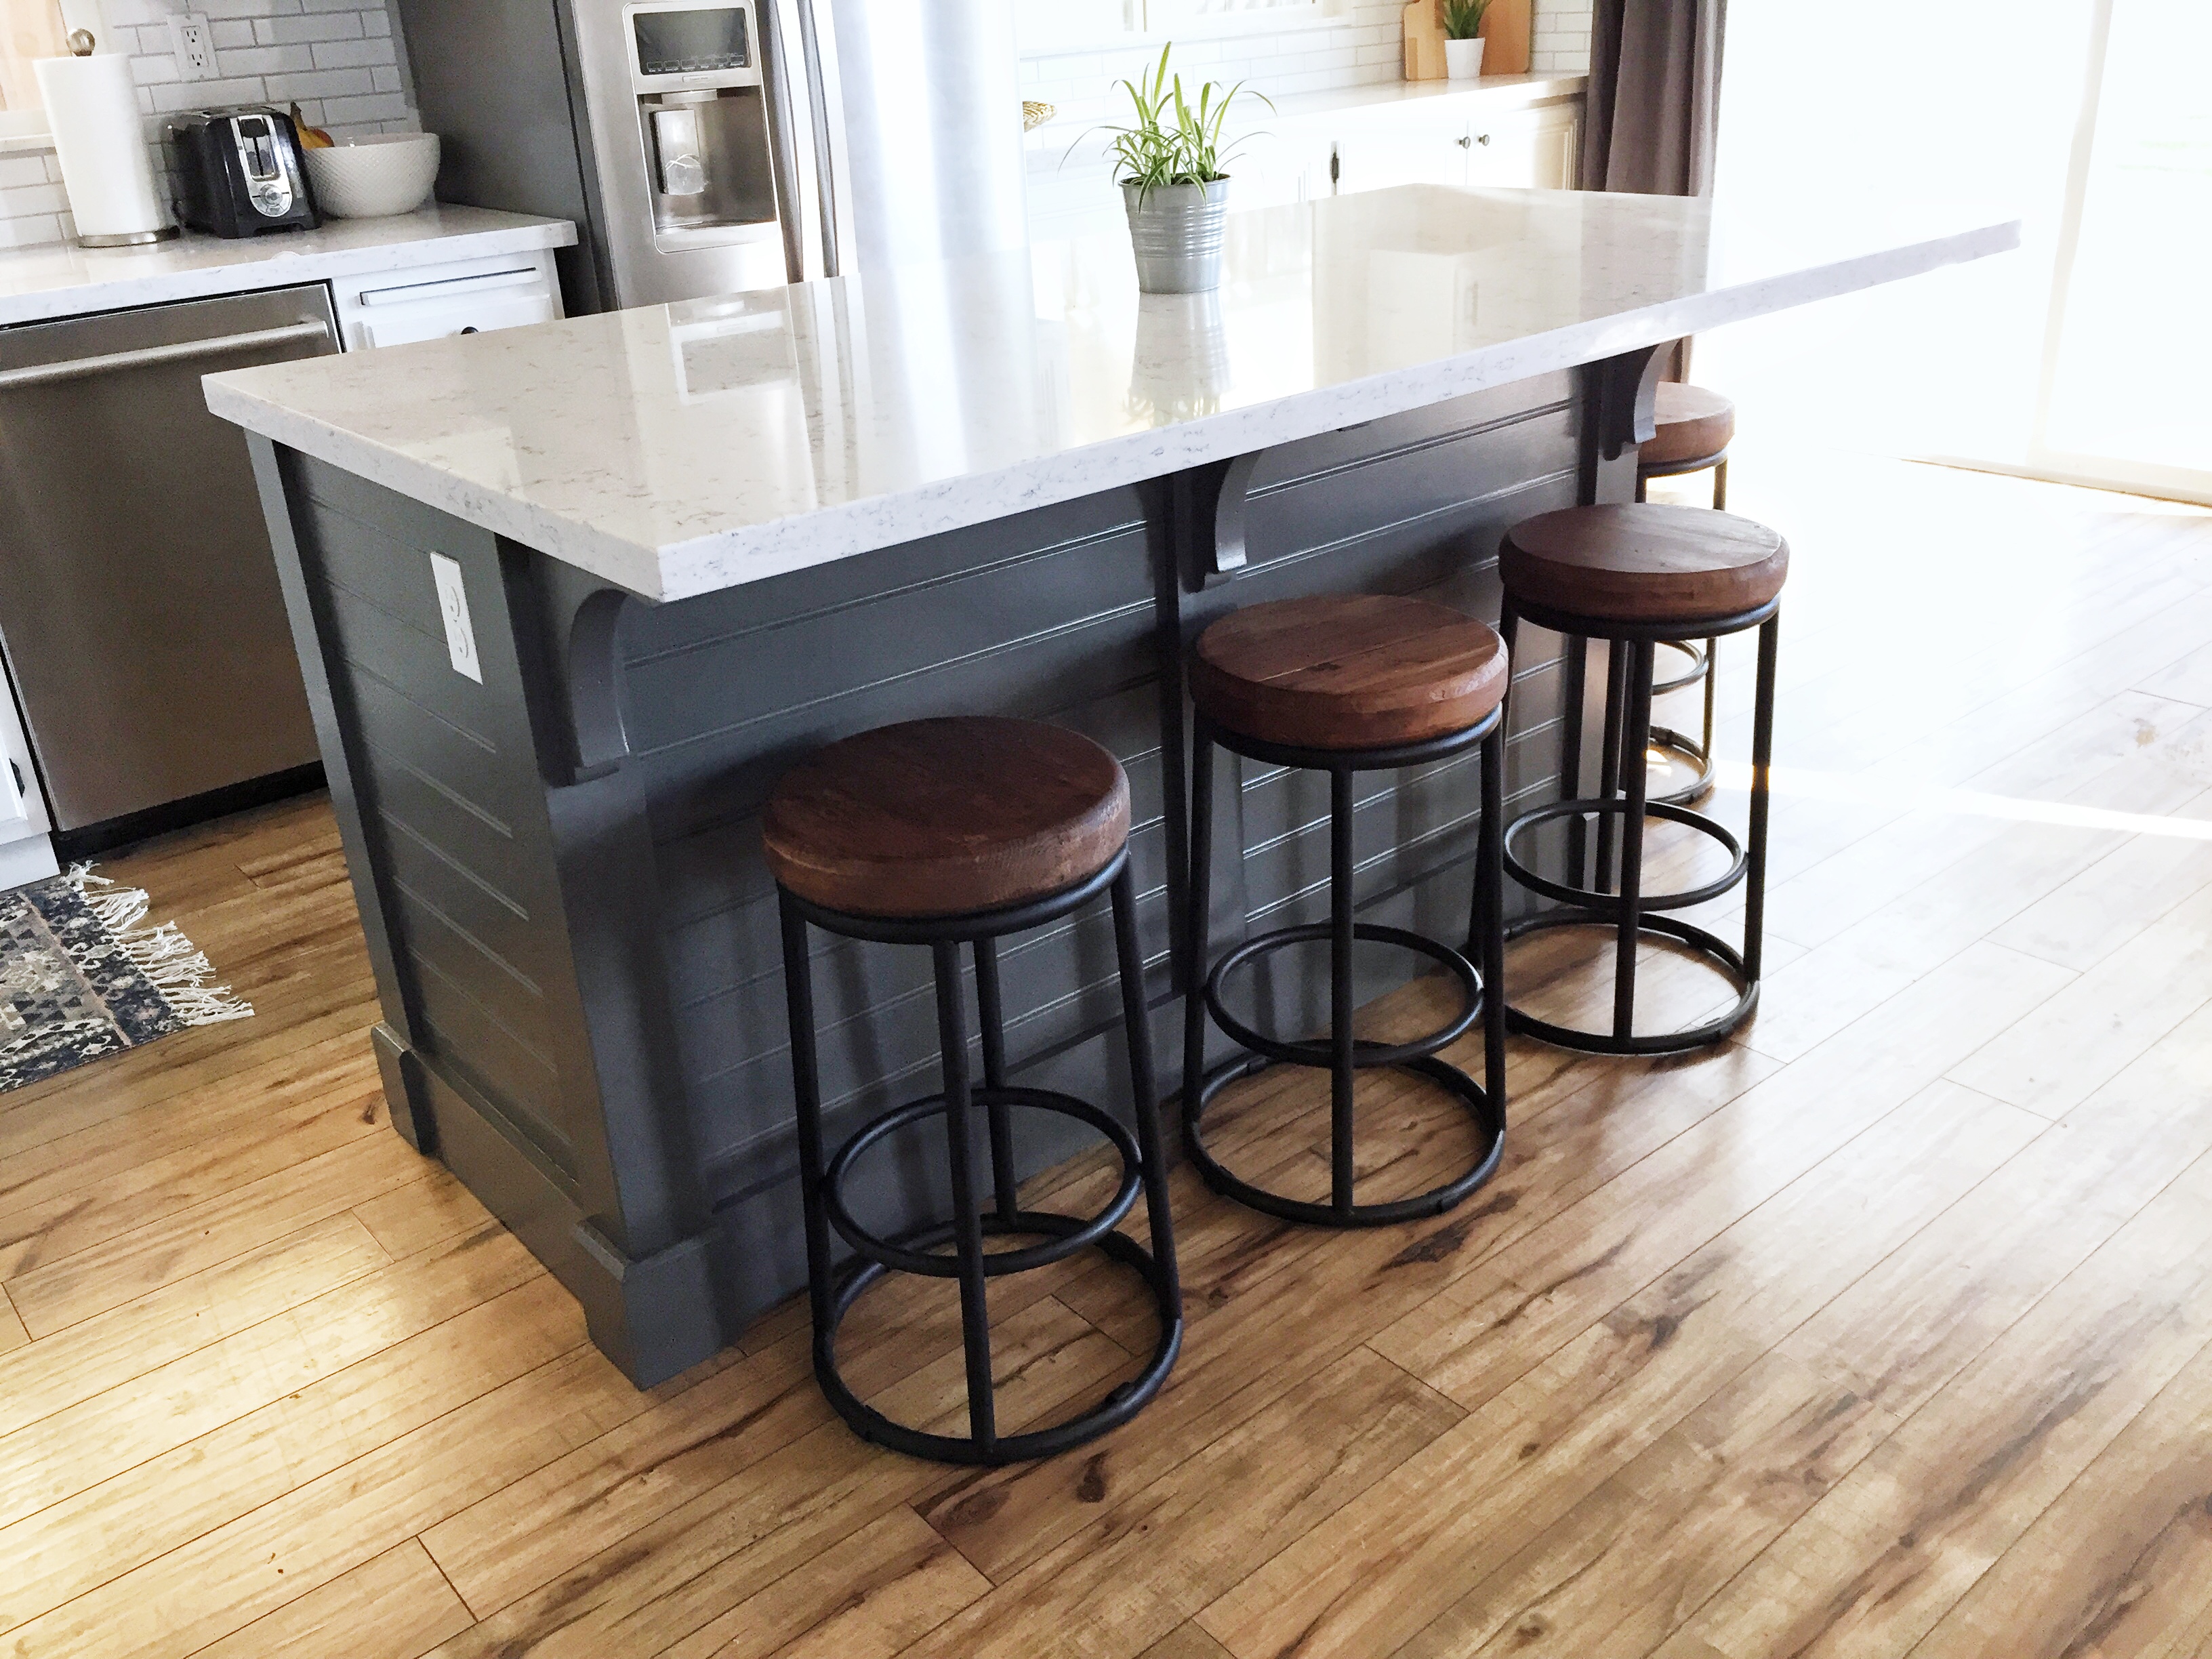
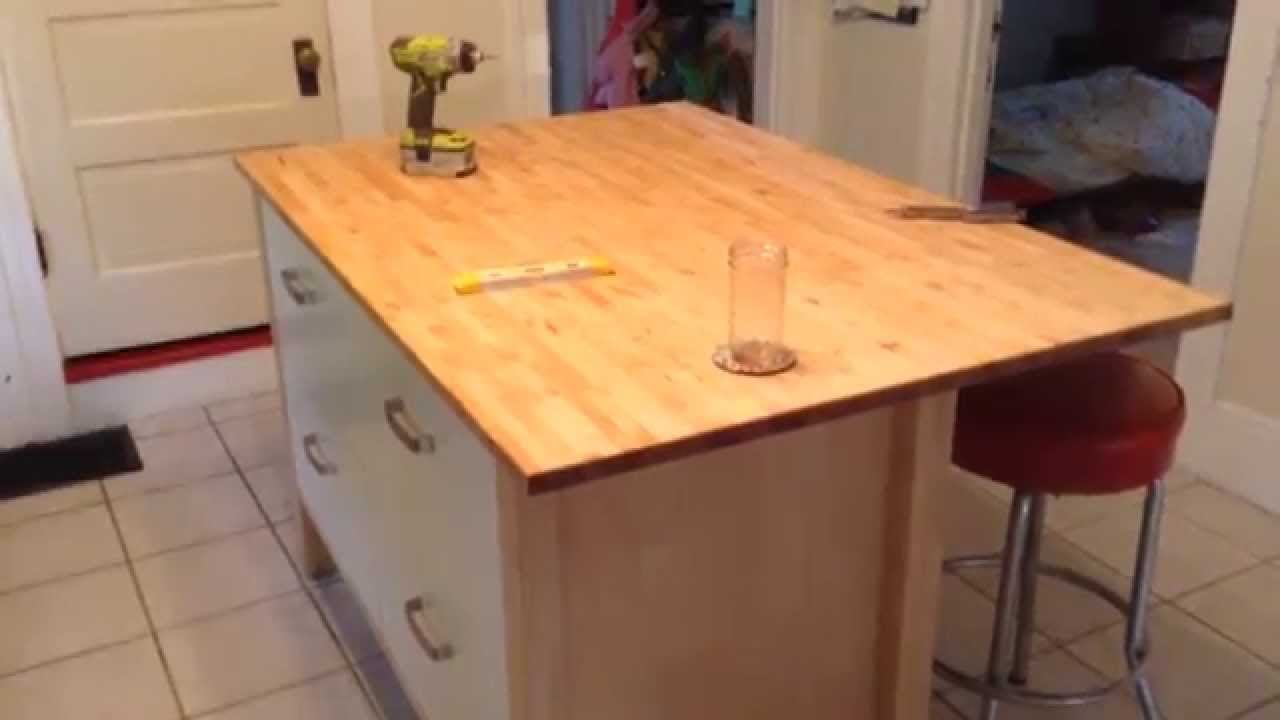
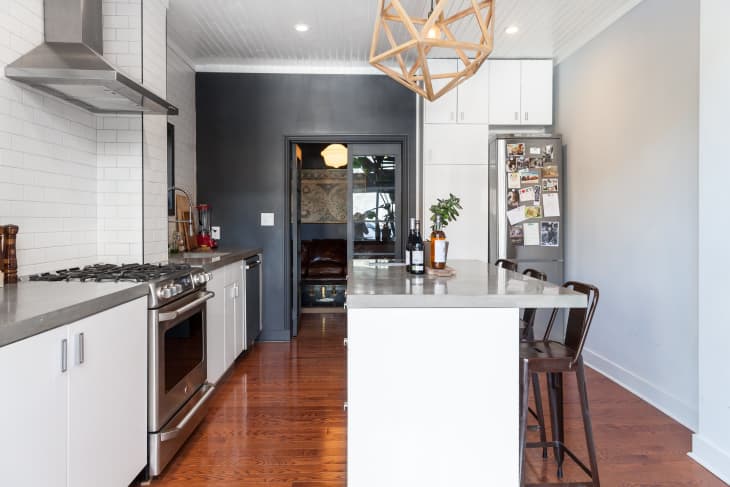
A breakfast bar is a great addition to a kitchen island for quick meals or a place to sit and chat while cooking. With this DIY kitchen island with a breakfast bar, you can easily add this feature to your kitchen. To start, choose a base for your island and attach a countertop using screws and a drill. Then, add a piece of wood to one side of the island to create the breakfast bar. You can also attach stools or chairs to the island for seating. If you want to add extra storage, you can also attach shelves or drawers underneath the countertop. Paint or stain the island to match your kitchen's style and enjoy your new breakfast bar.DIY Kitchen Island with Breakfast Bar

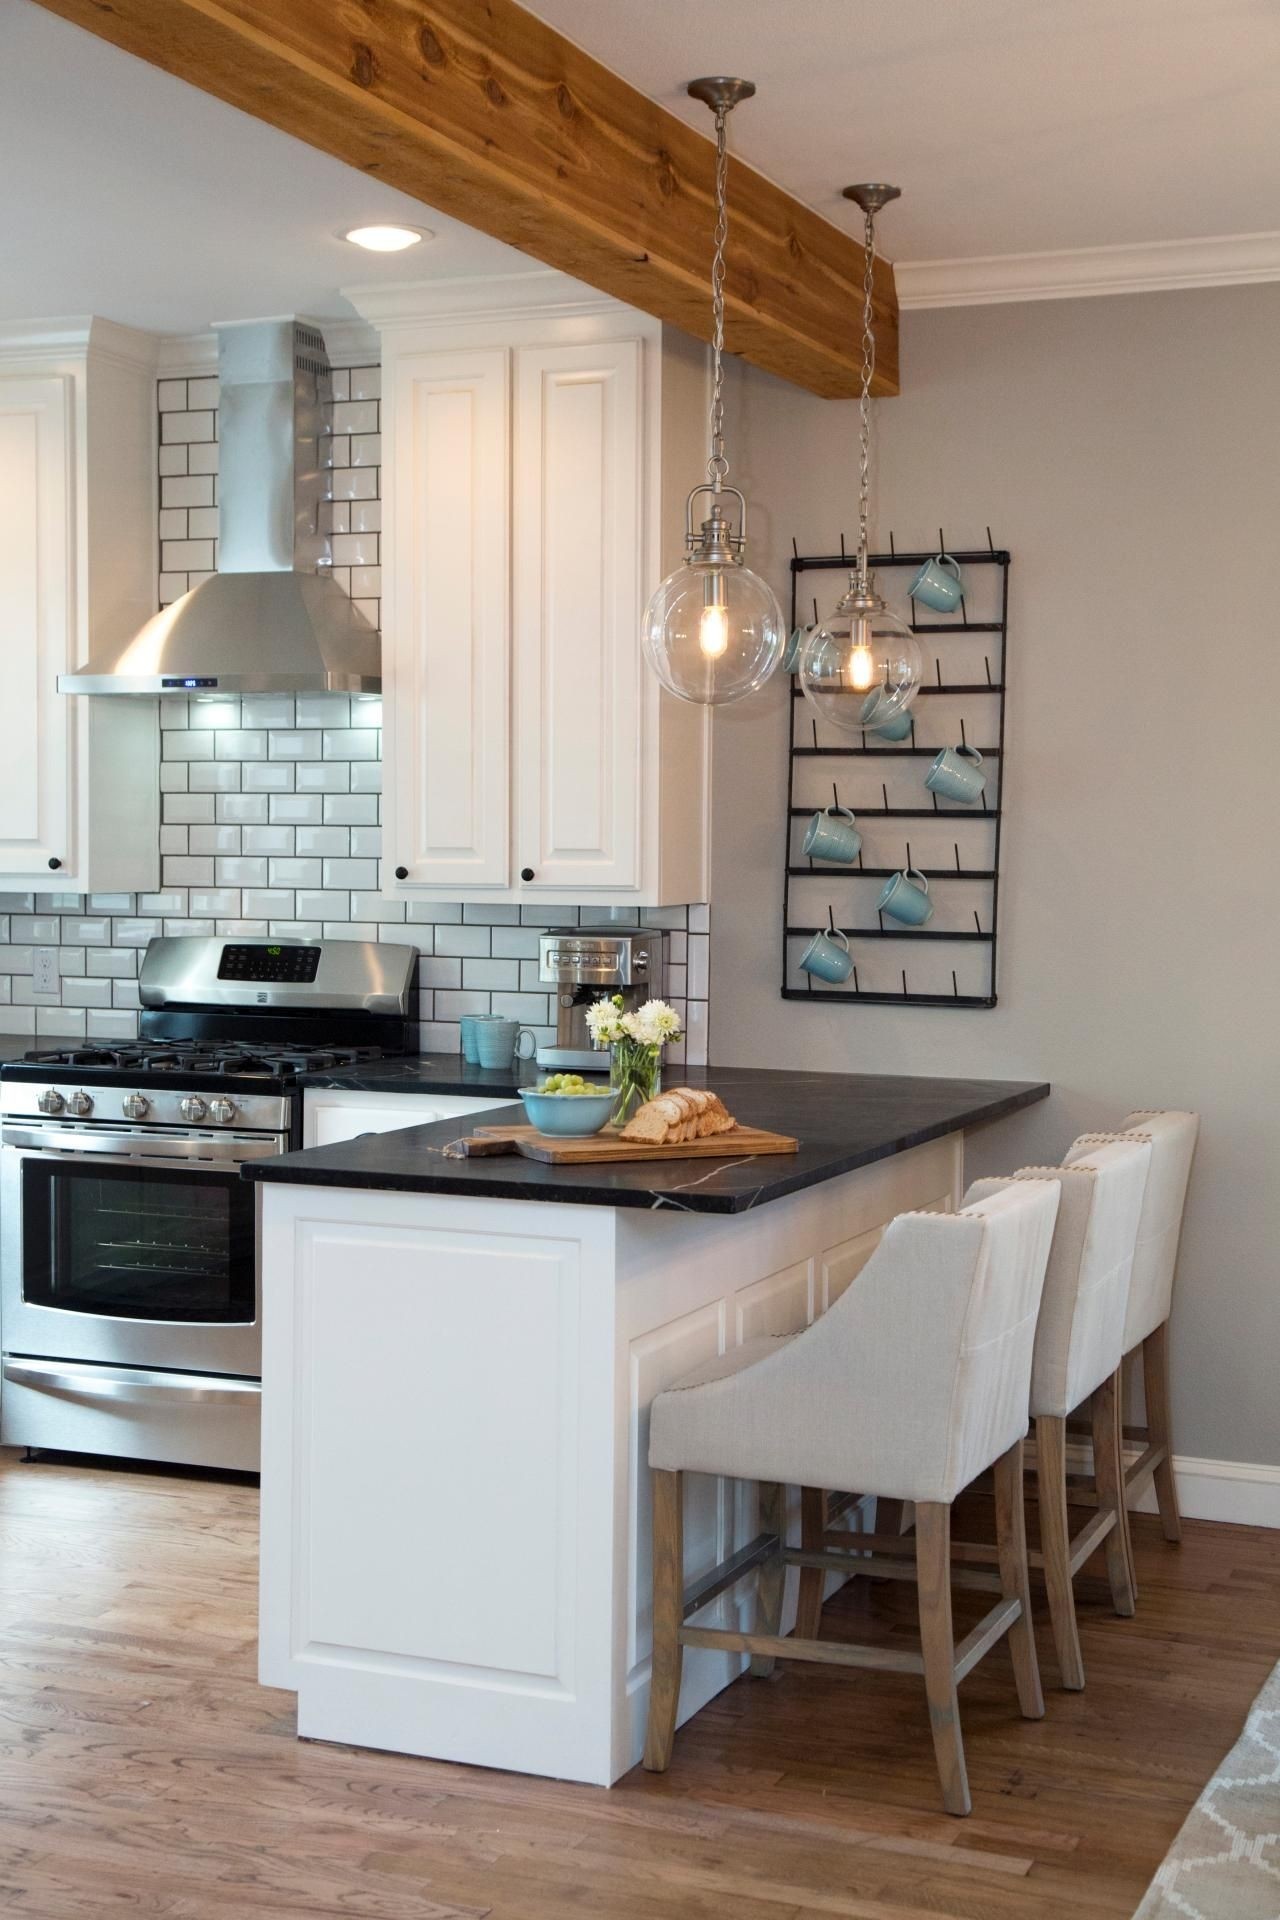
DIY Kitchen Island with Breakfast Bar


A concrete countertop adds a modern and industrial touch to any kitchen. With this DIY kitchen island with a concrete countertop, you can create a unique and durable island that will last for years. Start by choosing a base for your island and attaching the concrete countertop using screws and a drill. You can also add reinforcement bars to the concrete for added strength. Then, let the concrete cure for at least 24 hours before using the island. For a sleek look, sand and seal the concrete with a clear coat. You can also add a pop of color by painting the base or adding decorative tiles to the sides of the island. Now you have a one-of-a-kind kitchen island with a concrete countertop.DIY Kitchen Island with Concrete Countertop
DIY Kitchen Island with Concrete Countertop


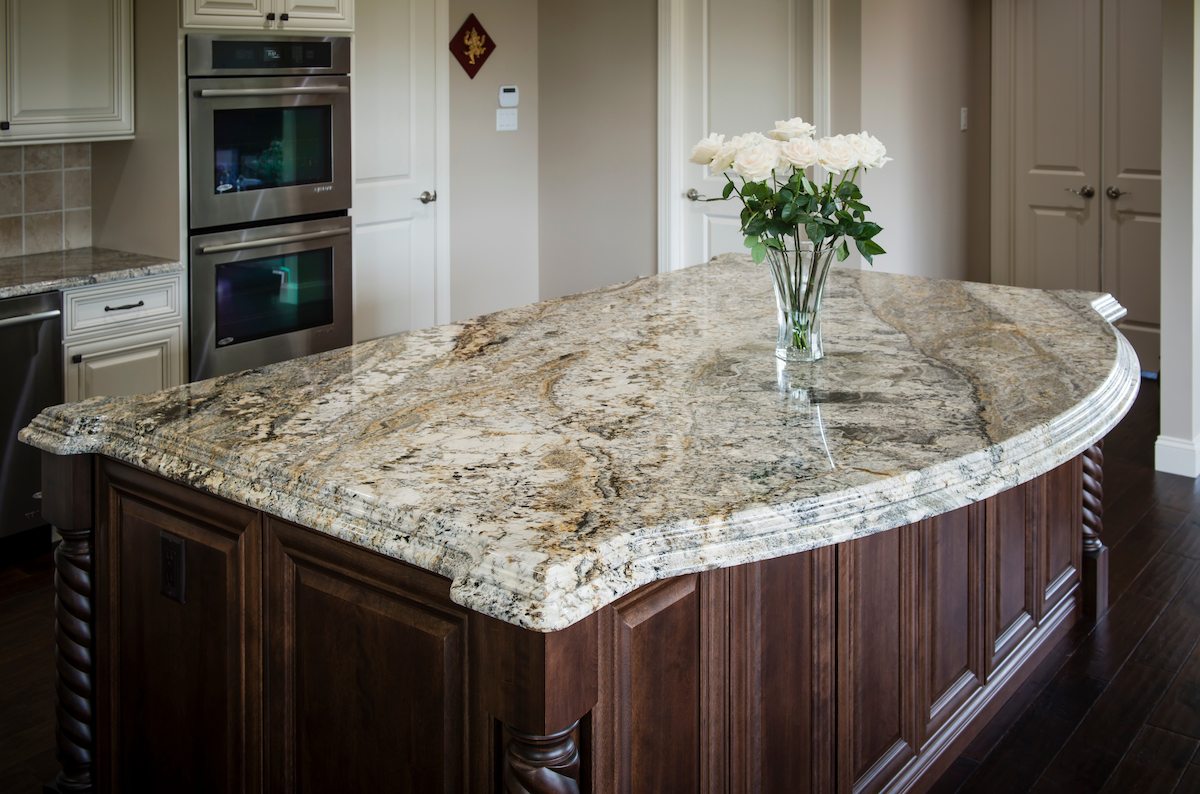
A granite countertop adds a touch of luxury to any kitchen. With this DIY kitchen island with a granite countertop, you can create a high-end look without breaking the bank. To start, choose a base for your island and attach the granite countertop using screws and a drill. Then, add shelves or drawers for storage underneath the countertop. Granite countertops require regular sealing to prevent stains and scratches, so make sure to follow the manufacturer's instructions. You can also add decorative trim or paint the base to match your kitchen's style. Now you have a beautiful and functional kitchen island with a granite countertop.DIY Kitchen Island with Granite Countertop
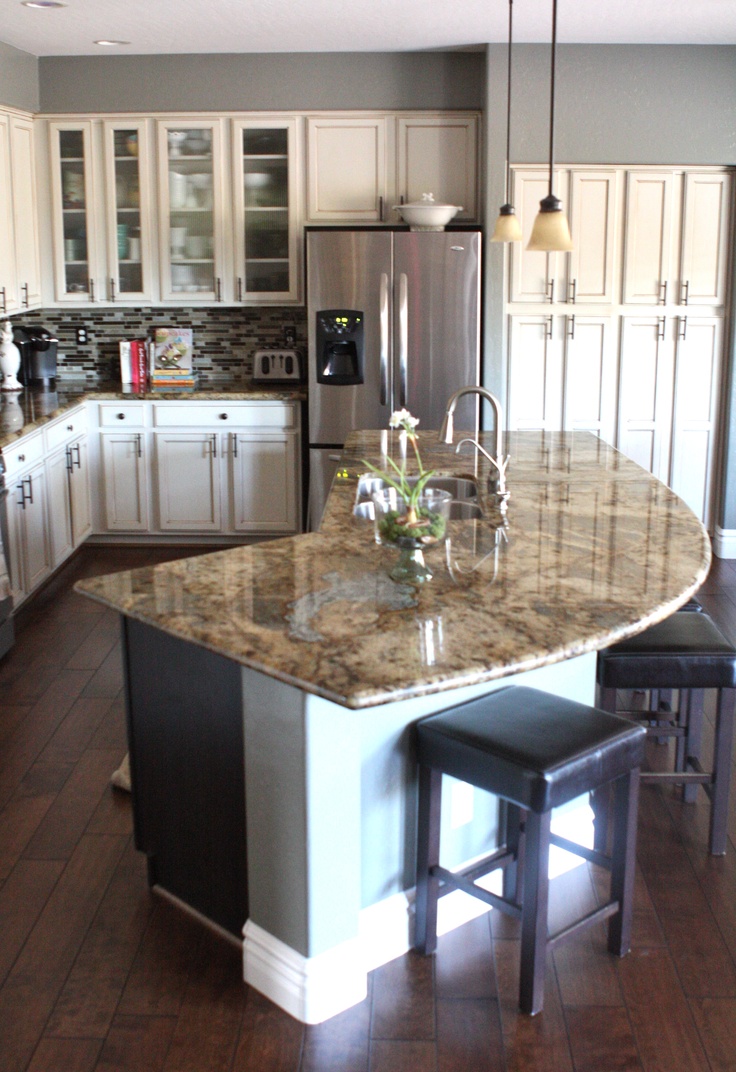


DIY Kitchen Island with Granite Countertop


The Benefits of DIY Kitchen Aid Tables for Your Home

Innovative Design for Your Kitchen
 When it comes to kitchen design, functionality and style are key factors to consider. That's why many homeowners are turning to
DIY kitchen aid tables
as a solution for their kitchen needs. These tables are versatile, space-saving, and can be customized to fit any kitchen layout. By incorporating a
kitchen aid table
into your home, you can create a more efficient and organized space that reflects your personal style.
When it comes to kitchen design, functionality and style are key factors to consider. That's why many homeowners are turning to
DIY kitchen aid tables
as a solution for their kitchen needs. These tables are versatile, space-saving, and can be customized to fit any kitchen layout. By incorporating a
kitchen aid table
into your home, you can create a more efficient and organized space that reflects your personal style.
Maximizing Small Spaces
 One of the biggest challenges in kitchen design is making the most out of limited space. This is where
DIY kitchen aid tables
come in handy. These tables can be designed to fit into small or awkward spaces, such as corners or narrow areas, making them an ideal solution for compact kitchens. With the right measurements and materials, you can create a
kitchen aid table
that not only provides extra counter space but also doubles as a storage unit for your kitchen essentials.
One of the biggest challenges in kitchen design is making the most out of limited space. This is where
DIY kitchen aid tables
come in handy. These tables can be designed to fit into small or awkward spaces, such as corners or narrow areas, making them an ideal solution for compact kitchens. With the right measurements and materials, you can create a
kitchen aid table
that not only provides extra counter space but also doubles as a storage unit for your kitchen essentials.
Customized to Your Needs
 Another advantage of
DIY kitchen aid tables
is the ability to customize them to fit your specific needs. Whether you need extra counter space, storage, or a combination of both, you can design your
kitchen aid table
to suit your lifestyle and preferences. You can also choose from a variety of materials, such as wood, metal, or a combination of both, to match the existing aesthetic of your kitchen.
Another advantage of
DIY kitchen aid tables
is the ability to customize them to fit your specific needs. Whether you need extra counter space, storage, or a combination of both, you can design your
kitchen aid table
to suit your lifestyle and preferences. You can also choose from a variety of materials, such as wood, metal, or a combination of both, to match the existing aesthetic of your kitchen.
Affordable and Budget-Friendly
 Kitchen renovations can be expensive, but incorporating a
DIY kitchen aid table
into your design can be a cost-effective solution. By creating your own table, you can save money on labor costs and also have the freedom to choose affordable materials that fit your budget. Plus, with the added functionality and efficiency, a
kitchen aid table
can be a worthwhile investment for your home.
Kitchen renovations can be expensive, but incorporating a
DIY kitchen aid table
into your design can be a cost-effective solution. By creating your own table, you can save money on labor costs and also have the freedom to choose affordable materials that fit your budget. Plus, with the added functionality and efficiency, a
kitchen aid table
can be a worthwhile investment for your home.
Conclusion
 In conclusion,
DIY kitchen aid tables
offer a range of benefits for homeowners looking to enhance their kitchen design. From their innovative design to their customization options and budget-friendly nature, these tables are a practical and stylish addition to any home. So why not try your hand at creating your own
kitchen aid table
and elevate your kitchen space today?
In conclusion,
DIY kitchen aid tables
offer a range of benefits for homeowners looking to enhance their kitchen design. From their innovative design to their customization options and budget-friendly nature, these tables are a practical and stylish addition to any home. So why not try your hand at creating your own
kitchen aid table
and elevate your kitchen space today?