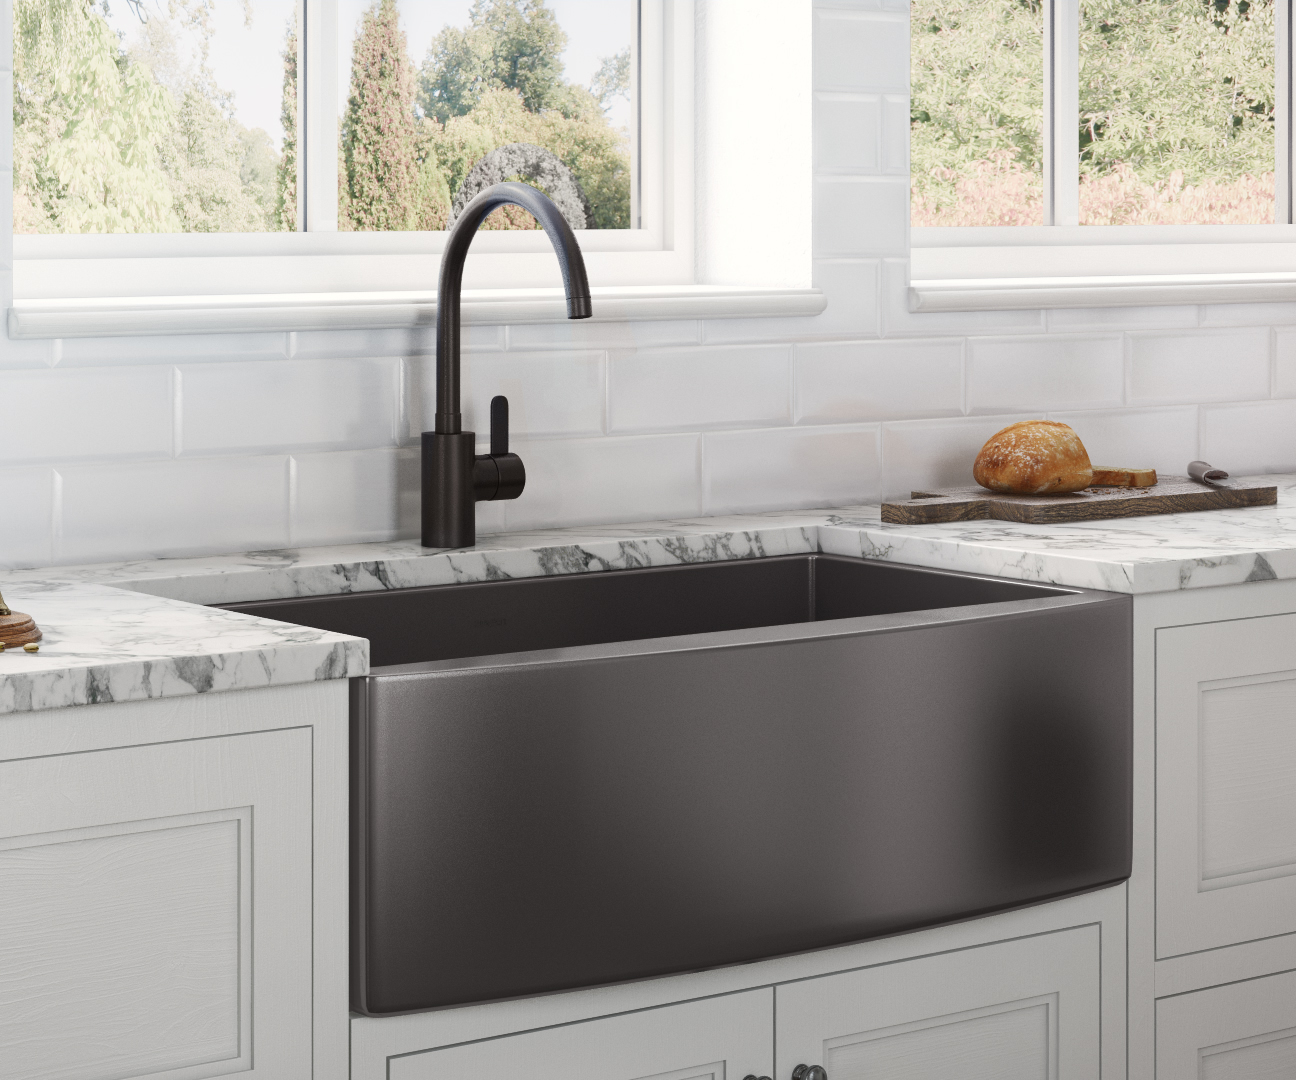
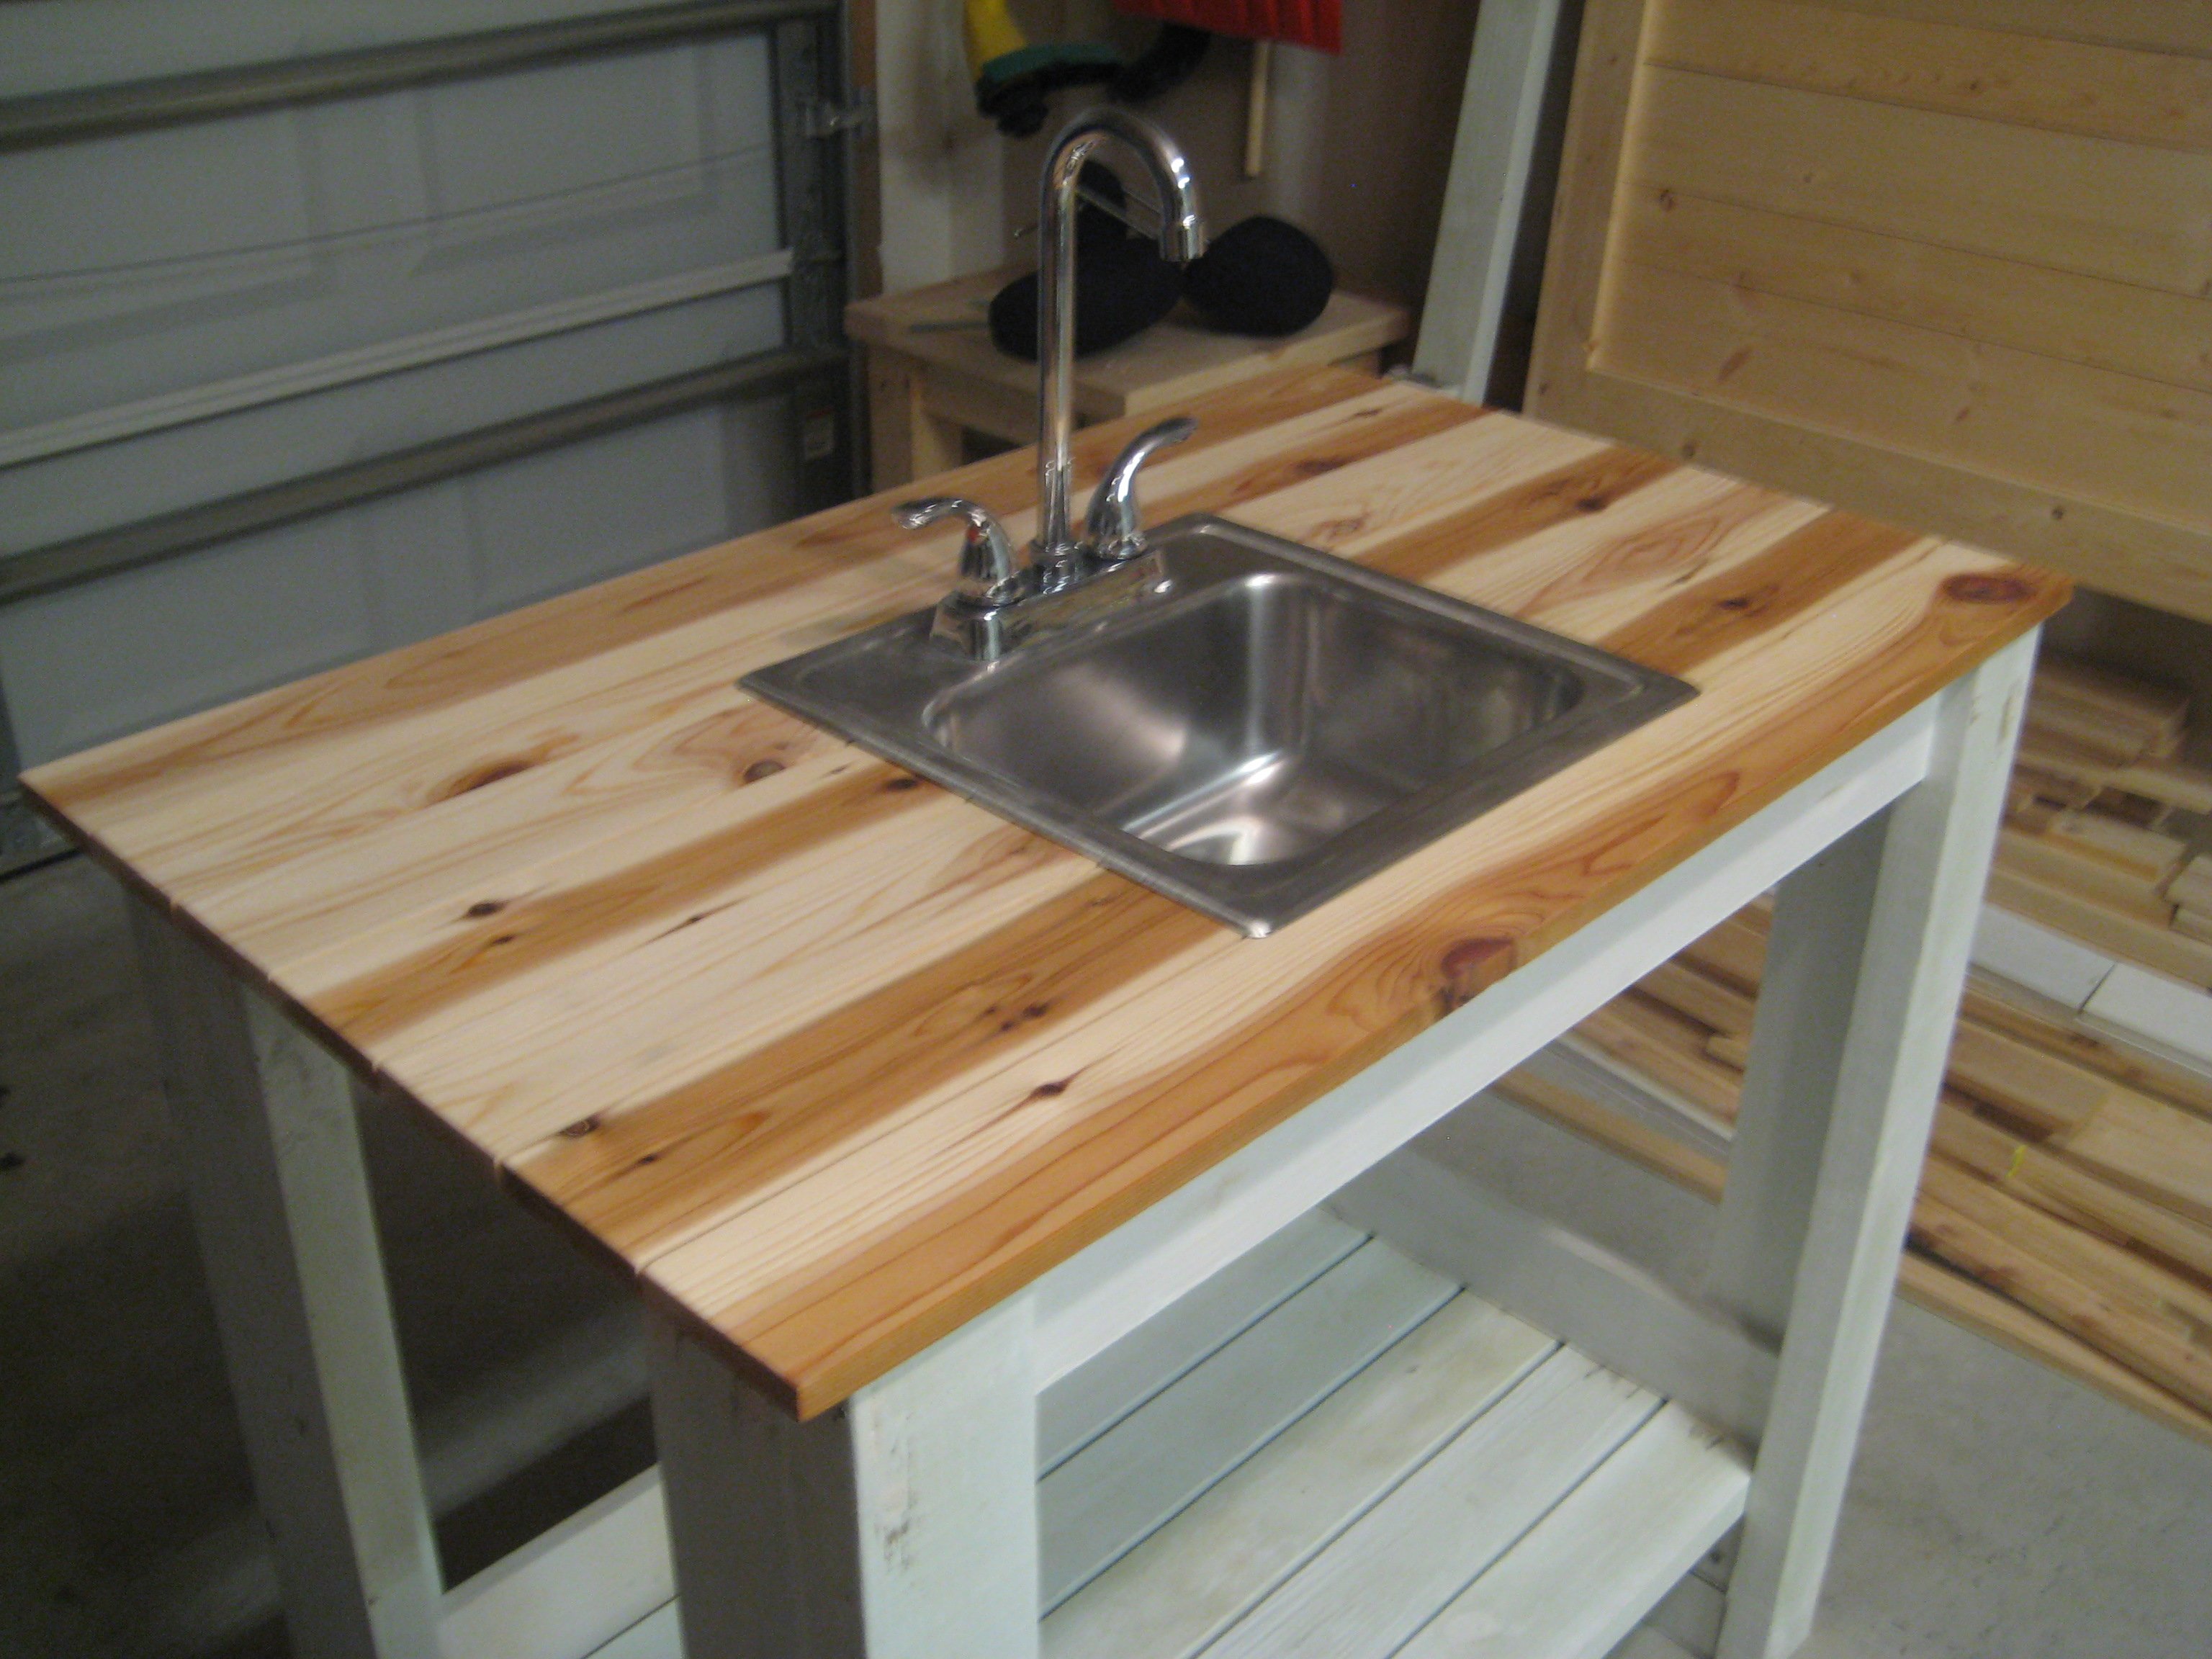
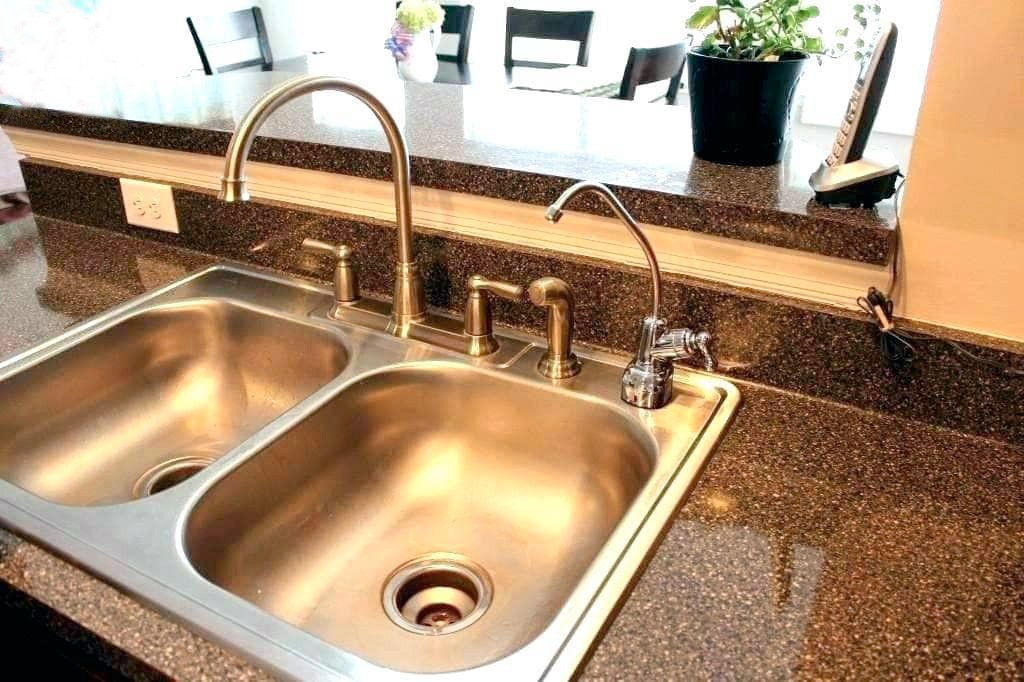
If you're looking to give your kitchen a sleek and modern touch, a black kitchen sink is the perfect choice. Not only does it add a touch of sophistication to your space, but it is also a practical and durable option for everyday use. The best part? You can easily install it yourself without having to hire a professional. Here's how. Step 1: Measure and Prepare Before you start the installation process, make sure to measure the space where you want to install the sink. This will ensure that you choose the right size and style of sink that fits perfectly in your kitchen. Once you have your sink, prepare the area by removing the old sink and cleaning the surrounding countertop. Step 2: Install the Faucet and Drains Next, install the faucet and drains according to the manufacturer's instructions. Make sure to use a good quality sealant to prevent any leaks. This is also a good time to install any additional features such as a soap dispenser or a sprayer. Step 3: Place the Sink Once the faucet and drains are in place, carefully place the sink into the opening in the countertop. Make sure it is level and secure before moving on to the next step. Step 4: Secure the Sink Using clips or brackets provided, secure the sink to the countertop. This will prevent it from shifting or moving once it is in use. Make sure to tighten the clips or brackets securely. Step 5: Connect the Water Supply Finally, connect the water supply to the faucet and turn on the water to test for any leaks. If everything looks good, your black kitchen sink is now ready to use!1. How to Install a Black Kitchen Sink Yourself


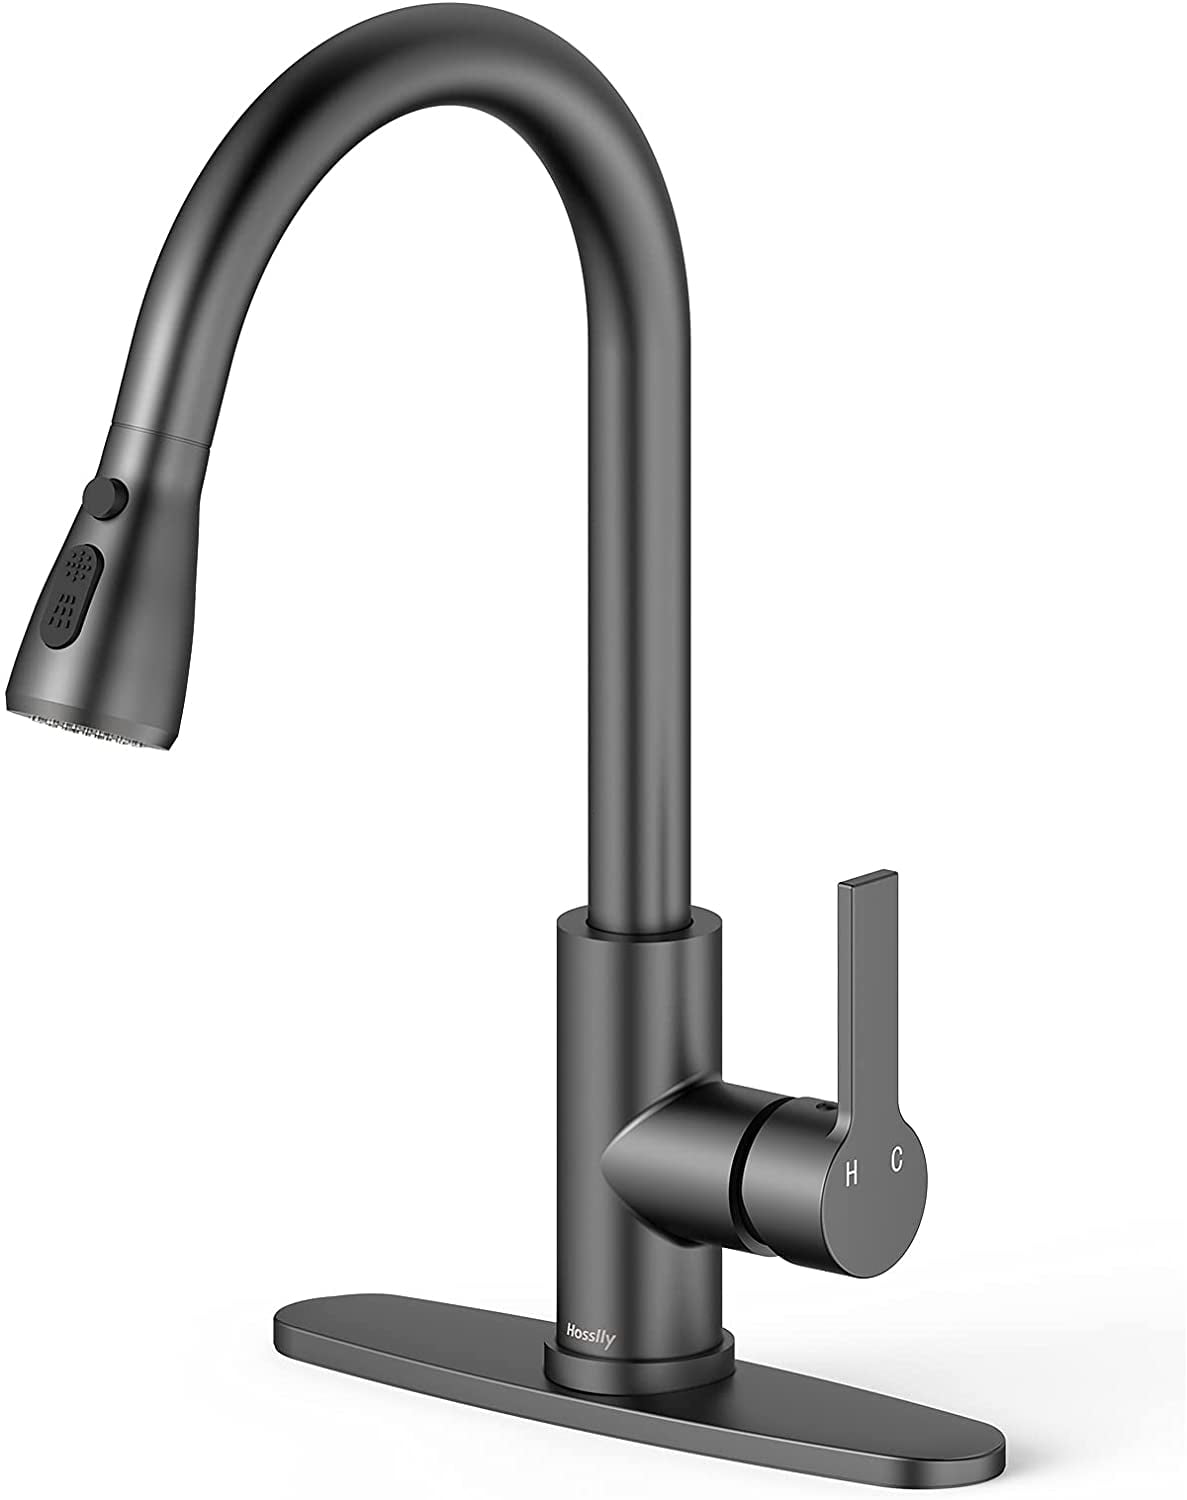
1. How to Install a Black Kitchen Sink Yourself


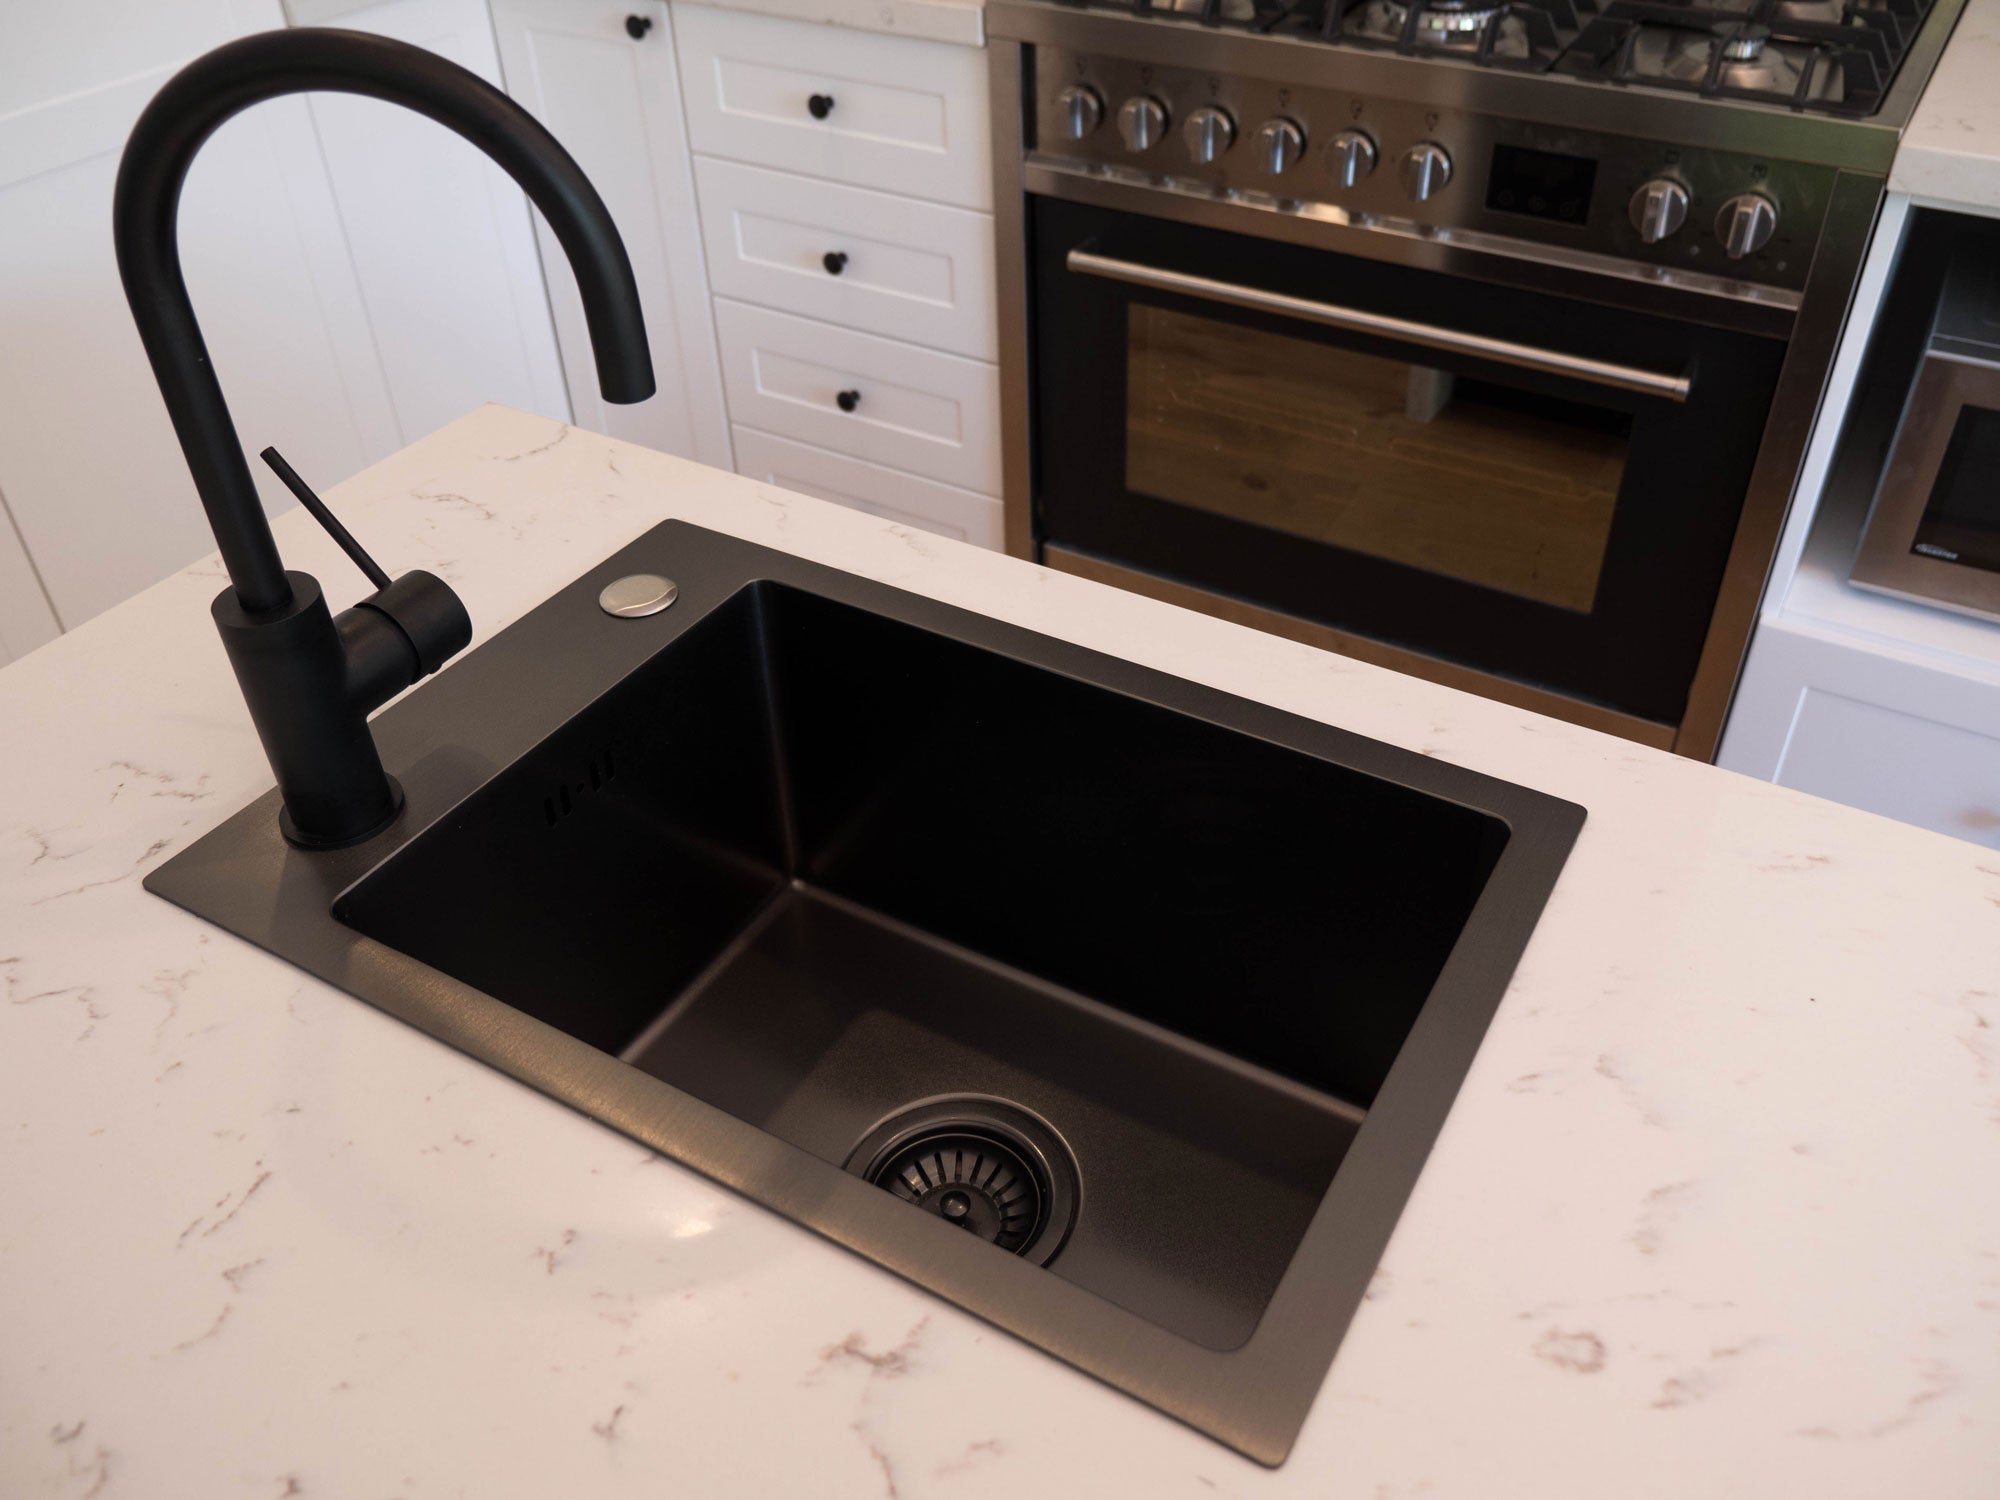

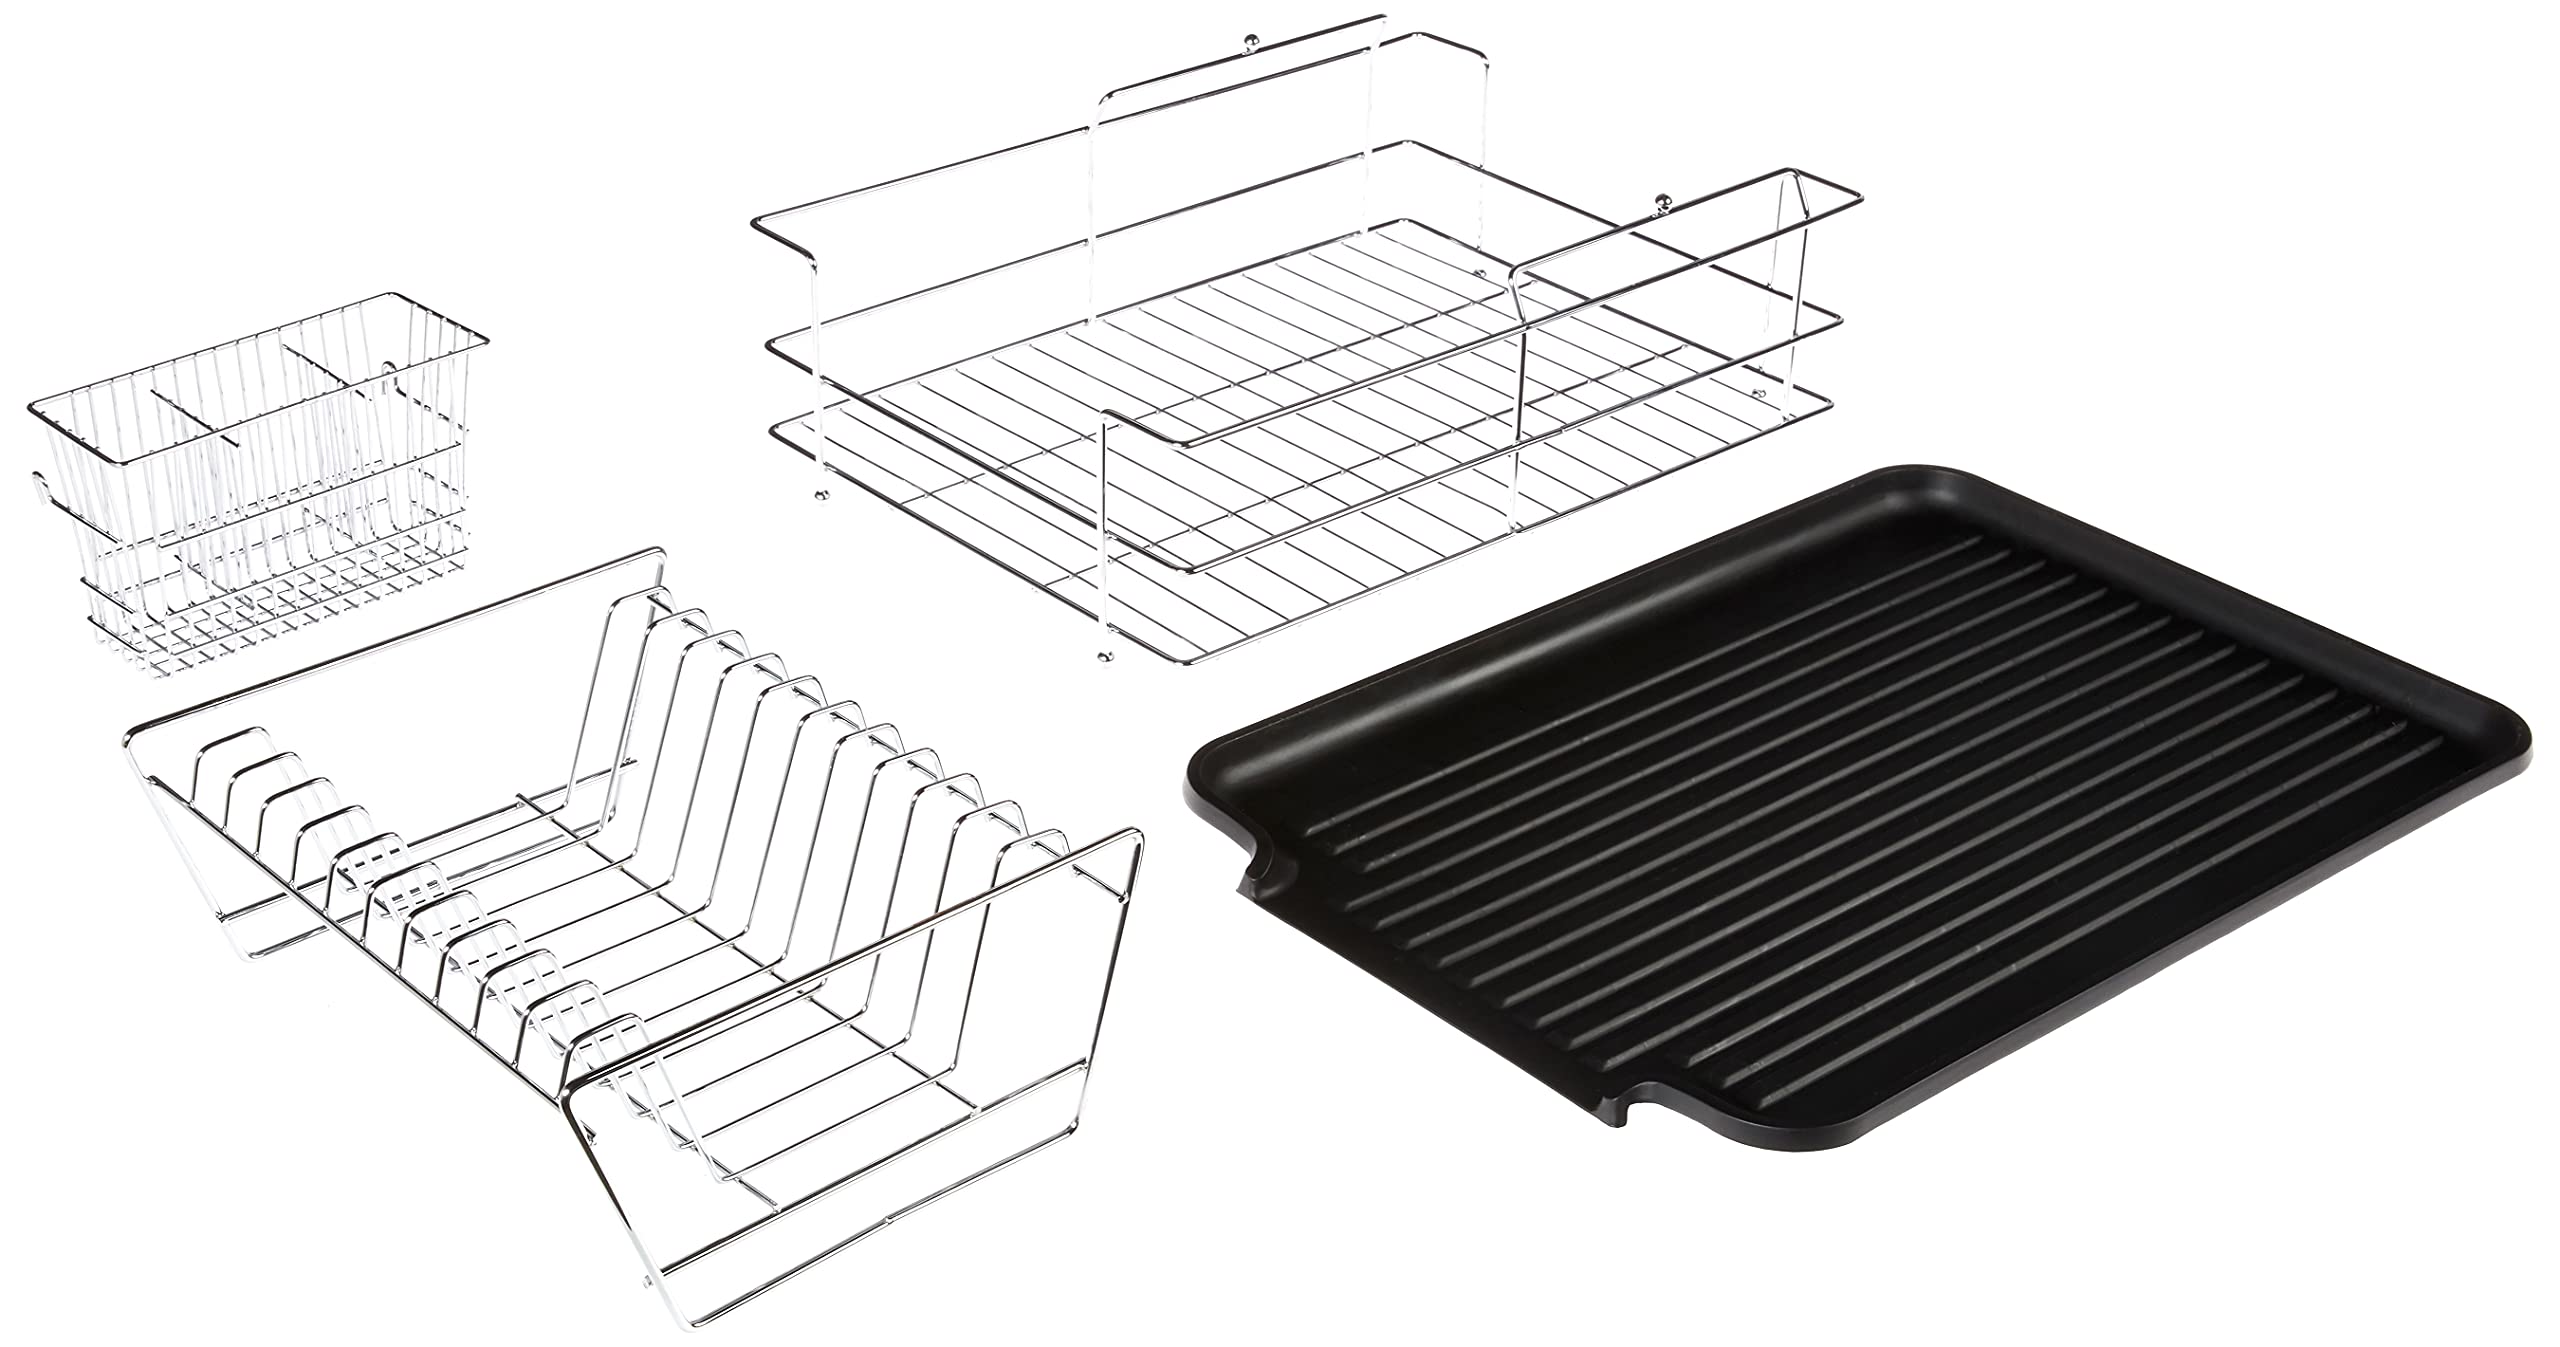
If you already have a black kitchen sink but want to give it a new look, there are plenty of DIY makeover ideas that you can try. Here are a few suggestions to get you started. 1. Paint it One of the easiest and most cost-effective ways to give your black kitchen sink a new look is by painting it. Use a high-quality, waterproof paint specifically designed for sinks and follow the instructions carefully. You can choose a different color to completely transform the look of your sink or simply refresh it with a fresh coat of black paint. 2. Add a Backsplash Another way to spruce up your black kitchen sink is by adding a backsplash. You can use tiles, peel-and-stick backsplash, or even wallpaper to add a pop of color or pattern to your sink area. Not only does it make your sink look more stylish, but it also protects your walls from water damage. 3. Change the Faucet A new faucet can make a big difference in the overall look of your black kitchen sink. Consider switching to a different finish, such as chrome or brushed nickel, to add some contrast to the black sink. You can also choose a different style, such as a gooseneck or pull-down faucet, for a more modern look. 4. Install Under-Cabinet Lighting Add some drama to your black kitchen sink by installing under-cabinet lighting. This will not only make your sink area look more stylish but also provide better visibility while doing dishes. You can choose from various options such as LED strip lights or puck lights for a customizable effect. 5. Change the Accessories Sometimes, all it takes to give your black kitchen sink a new look is by changing the accessories. Swap out your old soap dispenser for a sleeker, modern one, or replace your dish rack with a new one in a different color or material. These small changes can make a big impact on the overall appearance of your sink area.2. DIY Black Kitchen Sink Makeover Ideas


2. DIY Black Kitchen Sink Makeover Ideas

/light-blue-modern-kitchen-CWYoBOsD4ZBBskUnZQSE-l-97a7f42f4c16473a83cd8bc8a78b673a.jpg)


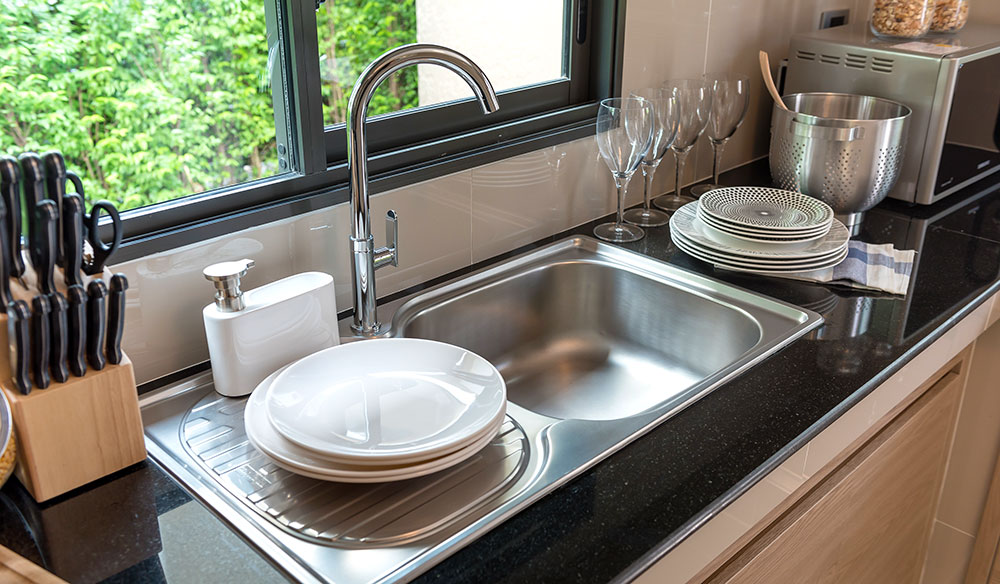
Keeping your black kitchen sink clean and shiny is essential to maintain its elegance and functionality. Instead of relying on harsh chemicals, you can make your own DIY cleaner using natural ingredients that are safe for your sink and the environment. Ingredients: - Baking soda - Lemon juice - Vinegar Instructions: 1. Sprinkle baking soda all over the sink, focusing on any stubborn stains or areas with buildup. 2. Squeeze lemon juice over the baking soda and let it sit for a few minutes. 3. Use a scrub brush or sponge to gently scrub the sink, paying extra attention to the stained areas. 4. Rinse the sink thoroughly with water. 5. Pour some vinegar over the sink and let it sit for a few minutes. 6. Rinse the sink again with water and dry with a clean cloth. This DIY cleaner is not only effective in removing stains and grime, but it also leaves your black kitchen sink smelling fresh and clean.3. The Best DIY Black Kitchen Sink Cleaner


3. The Best DIY Black Kitchen Sink Cleaner

Like any other part of your kitchen, your black kitchen sink is susceptible to wear and tear over time. Fortunately, there are some DIY repair tips that can help you fix common issues without having to replace the entire sink. 1. Removing Scratches If your black kitchen sink has minor scratches, you can use a soft scrub pad and a mixture of baking soda and water to buff them out. For deeper scratches, you can use a scratch repair kit specifically designed for sinks. 2. Fixing Chips If your sink has a chip, you can fill it in with epoxy resin or a porcelain repair kit. Make sure to follow the instructions carefully and allow the repair to dry completely before using the sink again. 3. Repairing Leaks If you notice a leak in your sink, it's important to fix it as soon as possible to prevent water damage. You can use a waterproof sealant or plumber's putty to seal any gaps or cracks in the sink or the faucet. 4. Dealing with Stains To remove stubborn stains from your black kitchen sink, you can use a mixture of equal parts water and white vinegar. Let it sit for a few minutes before scrubbing the stain with a soft brush or sponge. Rinse with water and dry with a cloth.4. DIY Black Kitchen Sink Repair Tips

4. DIY Black Kitchen Sink Repair Tips


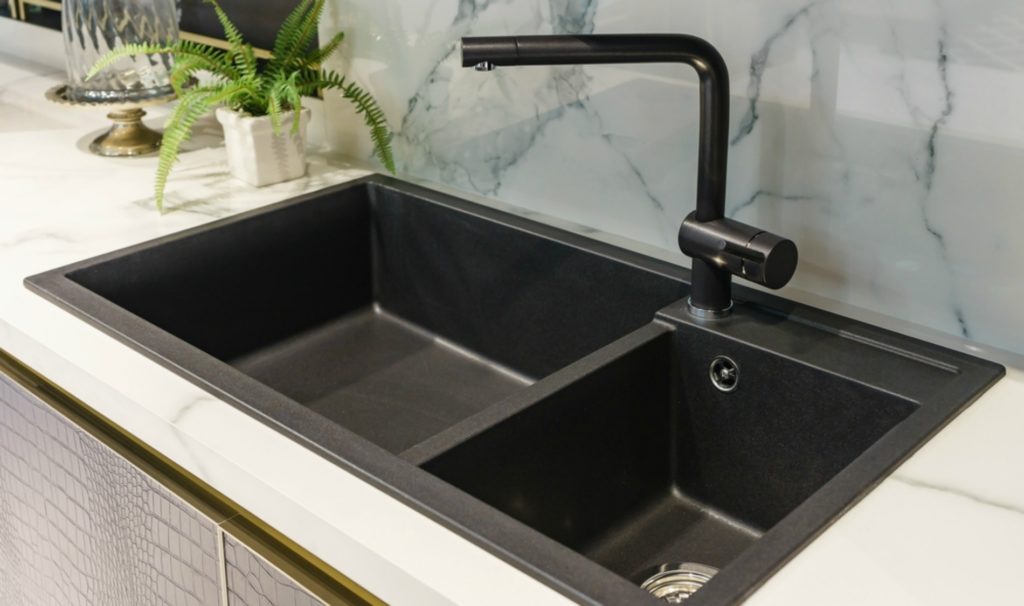
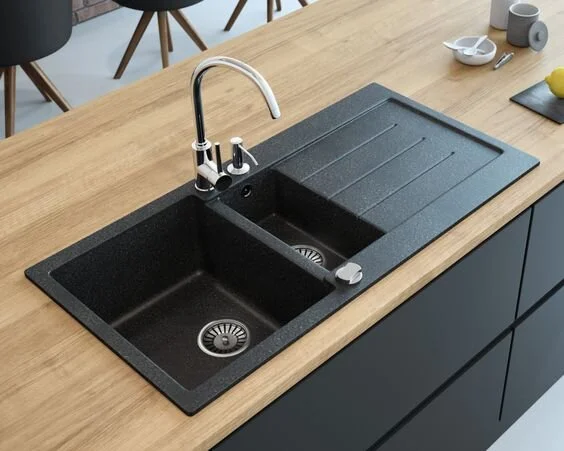
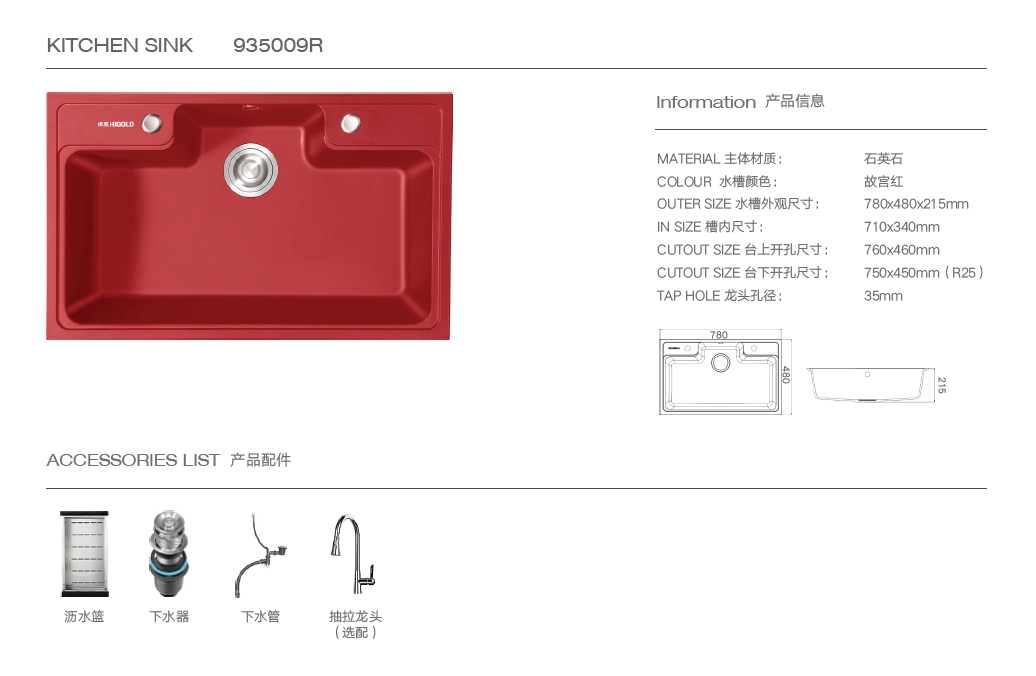
When it comes to choosing a black kitchen sink, there are a few things to consider to ensure you make the right decision. 1. Material Black kitchen sinks are available in a variety of materials, including stainless steel, granite, composite, and porcelain. Each material has its own set of pros and cons, so make sure to do your research and choose one that fits your needs and budget. 2. Style Black kitchen sinks come in different styles, such as undermount, top mount, and farmhouse. Consider the overall design of your kitchen and choose a style that complements it. 3. Size Making sure the sink fits in your kitchen is crucial. Measure the space available and choose a sink that fits comfortably. Also, consider the depth of the sink to make sure it can accommodate your largest pots and pans. 4. Maintenance Some materials, such as stainless steel, require more maintenance to keep them looking clean and shiny. Consider the amount of time and effort you are willing to put into maintaining your sink before making a decision.5. How to Choose the Right DIY Black Kitchen Sink


5. How to Choose the Right DIY Black Kitchen Sink

Installing a black kitchen sink also means dealing with the plumbing. While it may seem intimidating, with the right tools and instructions, you can easily handle the plumbing yourself. 1. Shut Off the Water Before starting any plumbing work, make sure to turn off the water supply to your kitchen. This will prevent any water from flowing while you work. 2. Disconnect the Old Sink If you are replacing an old sink, disconnect the plumbing and remove the sink from the countertop. This will make it easier to install the new sink. 3. Install the New Faucet If you are using a new faucet, follow the manufacturer's instructions to install it on the sink before installing the sink itself. 4. Connect the Drain and Water Supply Using the appropriate fittings and connectors, connect the drain and water supply to the sink. Make sure to tighten them securely to prevent any leaks. 5. Test for Leaks Once everything is connected, turn on the water supply and check for any leaks. If you notice any, make the necessary adjustments or use sealant to fix them.6. DIY Black Kitchen Sink Plumbing Guide


6. DIY Black Kitchen Sink Plumbing Guide

/how-to-install-a-sink-drain-2718789-hero-24e898006ed94c9593a2a268b57989a3.jpg)


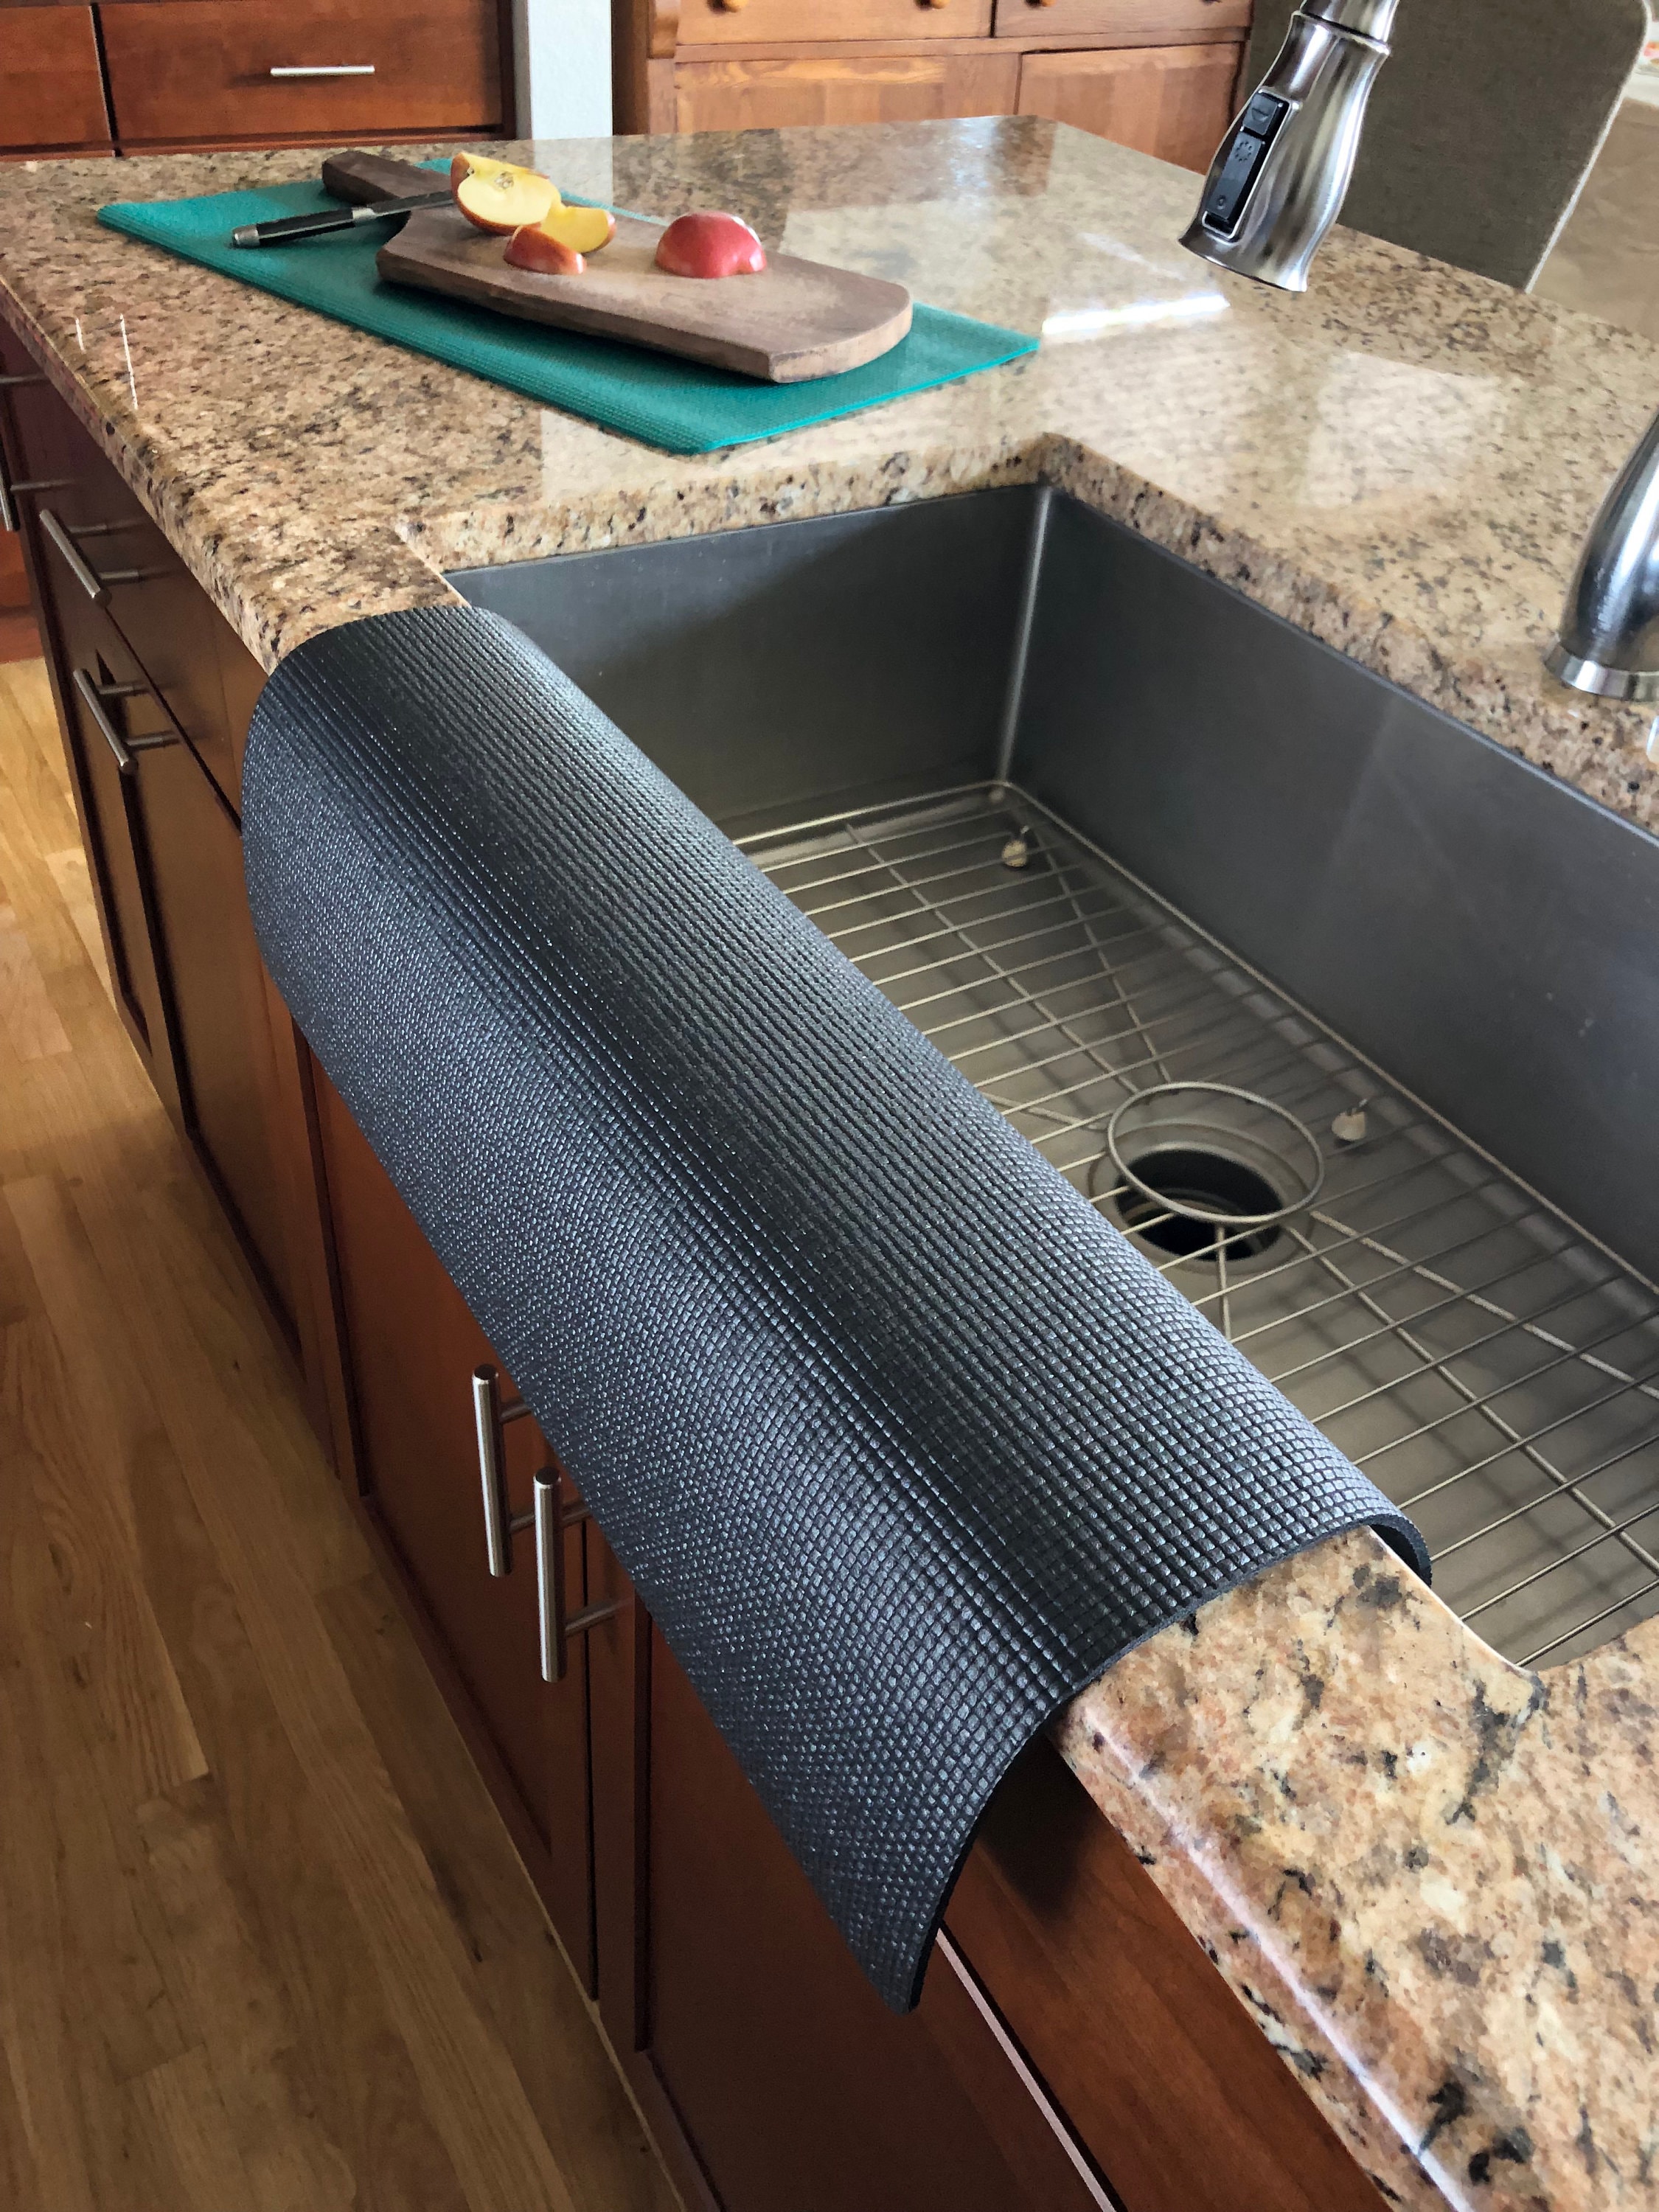
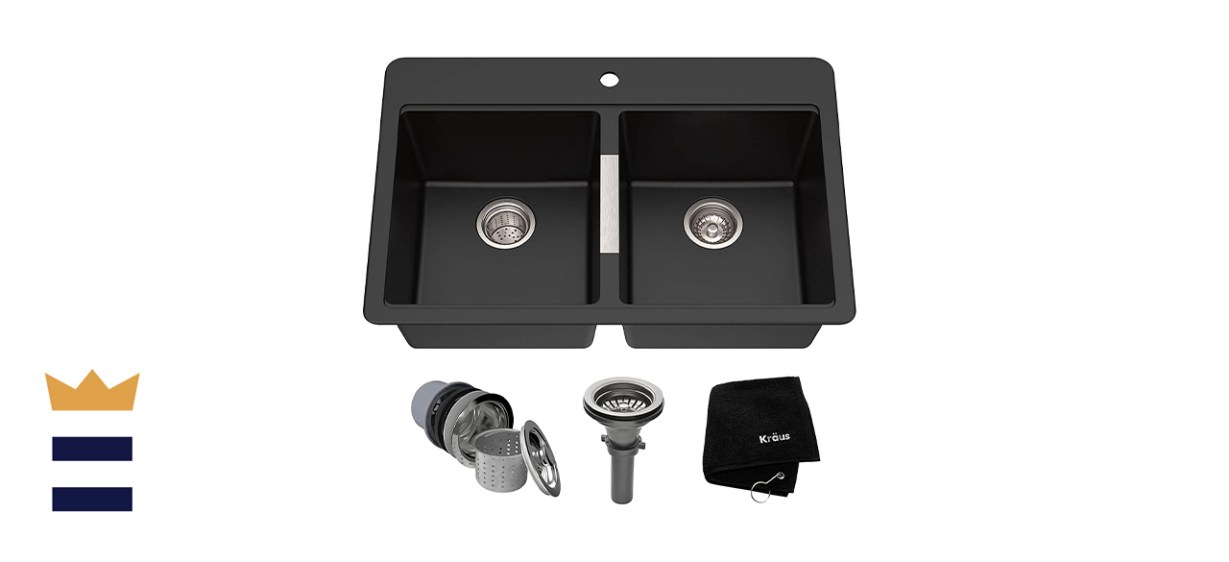
If you're on a budget but still want to add a black kitchen sink to your space, there are plenty of affordable options available. 1. Composite Sinks Composite sinks, made from a mixture of materials such as quartz and acrylic, are a cost-effective option for a black kitchen sink. They are also durable and easy to maintain. 2. Porcelain Sinks Porcelain sinks, while typically more expensive than other materials, can be found at affordable prices. They are also resistant to scratches and stains. 3. Top Mount Sinks Top mount sinks, also known as drop-in sinks, are more affordable than undermount sinks and can still provide the sleek, modern look of a black kitchen sink. 4. Secondhand Sinks You can also find great deals on secondhand black kitchen sinks that are still in good condition. Just make sure to thoroughly clean and sanitize the sink before installing it in your kitchen.7. Affordable DIY Black Kitchen Sink Options

7. Affordable DIY Black Kitchen Sink Options


While installing a black kitchen sink yourself can save you money, there are some common mistakes that you should avoid to ensure a successful and hassle-free installation. 1. Not Measuring Properly Measuring the space and the sink correctly is crucial to ensure a proper fit. Always double-check your measurements before purchasing a sink to avoid any issues. 2. Not Using the Right Tools Make sure to use the right tools for the job. This will not only make the installation process easier but also prevent any damage to the sink or the countertop. 3. Not Following Manufacturer's Instructions It's important to follow the manufacturer's instructions carefully when installing a black kitchen sink. This will ensure that the sink is installed properly and functions as it should. 4. Rushing the Installation Take your time when installing the sink and make sure to check for any leaks or issues before using it. Rushing through the process can result in costly mistakes.8. DIY Black Kitchen Sink Installation Mistakes to Avoid

8. DIY Black Kitchen Sink Installation Mistakes to Avoid


If you want to change the color of your black kitchen sink without replacing it, you can easily paint it yourself. Here's how to do it. Materials: - Sandpaper - Primer - Spray Paint Instructions: 1. Clean and Sand Start by cleaning your sink thoroughly and sanding it to create a rough surface for the paint to adhere to. 2. Prime Apply a coat of primer specifically designed for sinks and let it dry completely. 3. Paint Using spray paint, apply thin and even coats of paint to your sink, letting each coat dry before applying the next one. This will prevent drips and an uneven finish. 4. Seal Once the paint is completely dry, seal the sink with a clear sealant to protect the paint and give it a glossy finish.9. How to Paint a Black Kitchen Sink

9. How to Paint a Black Kitchen Sink


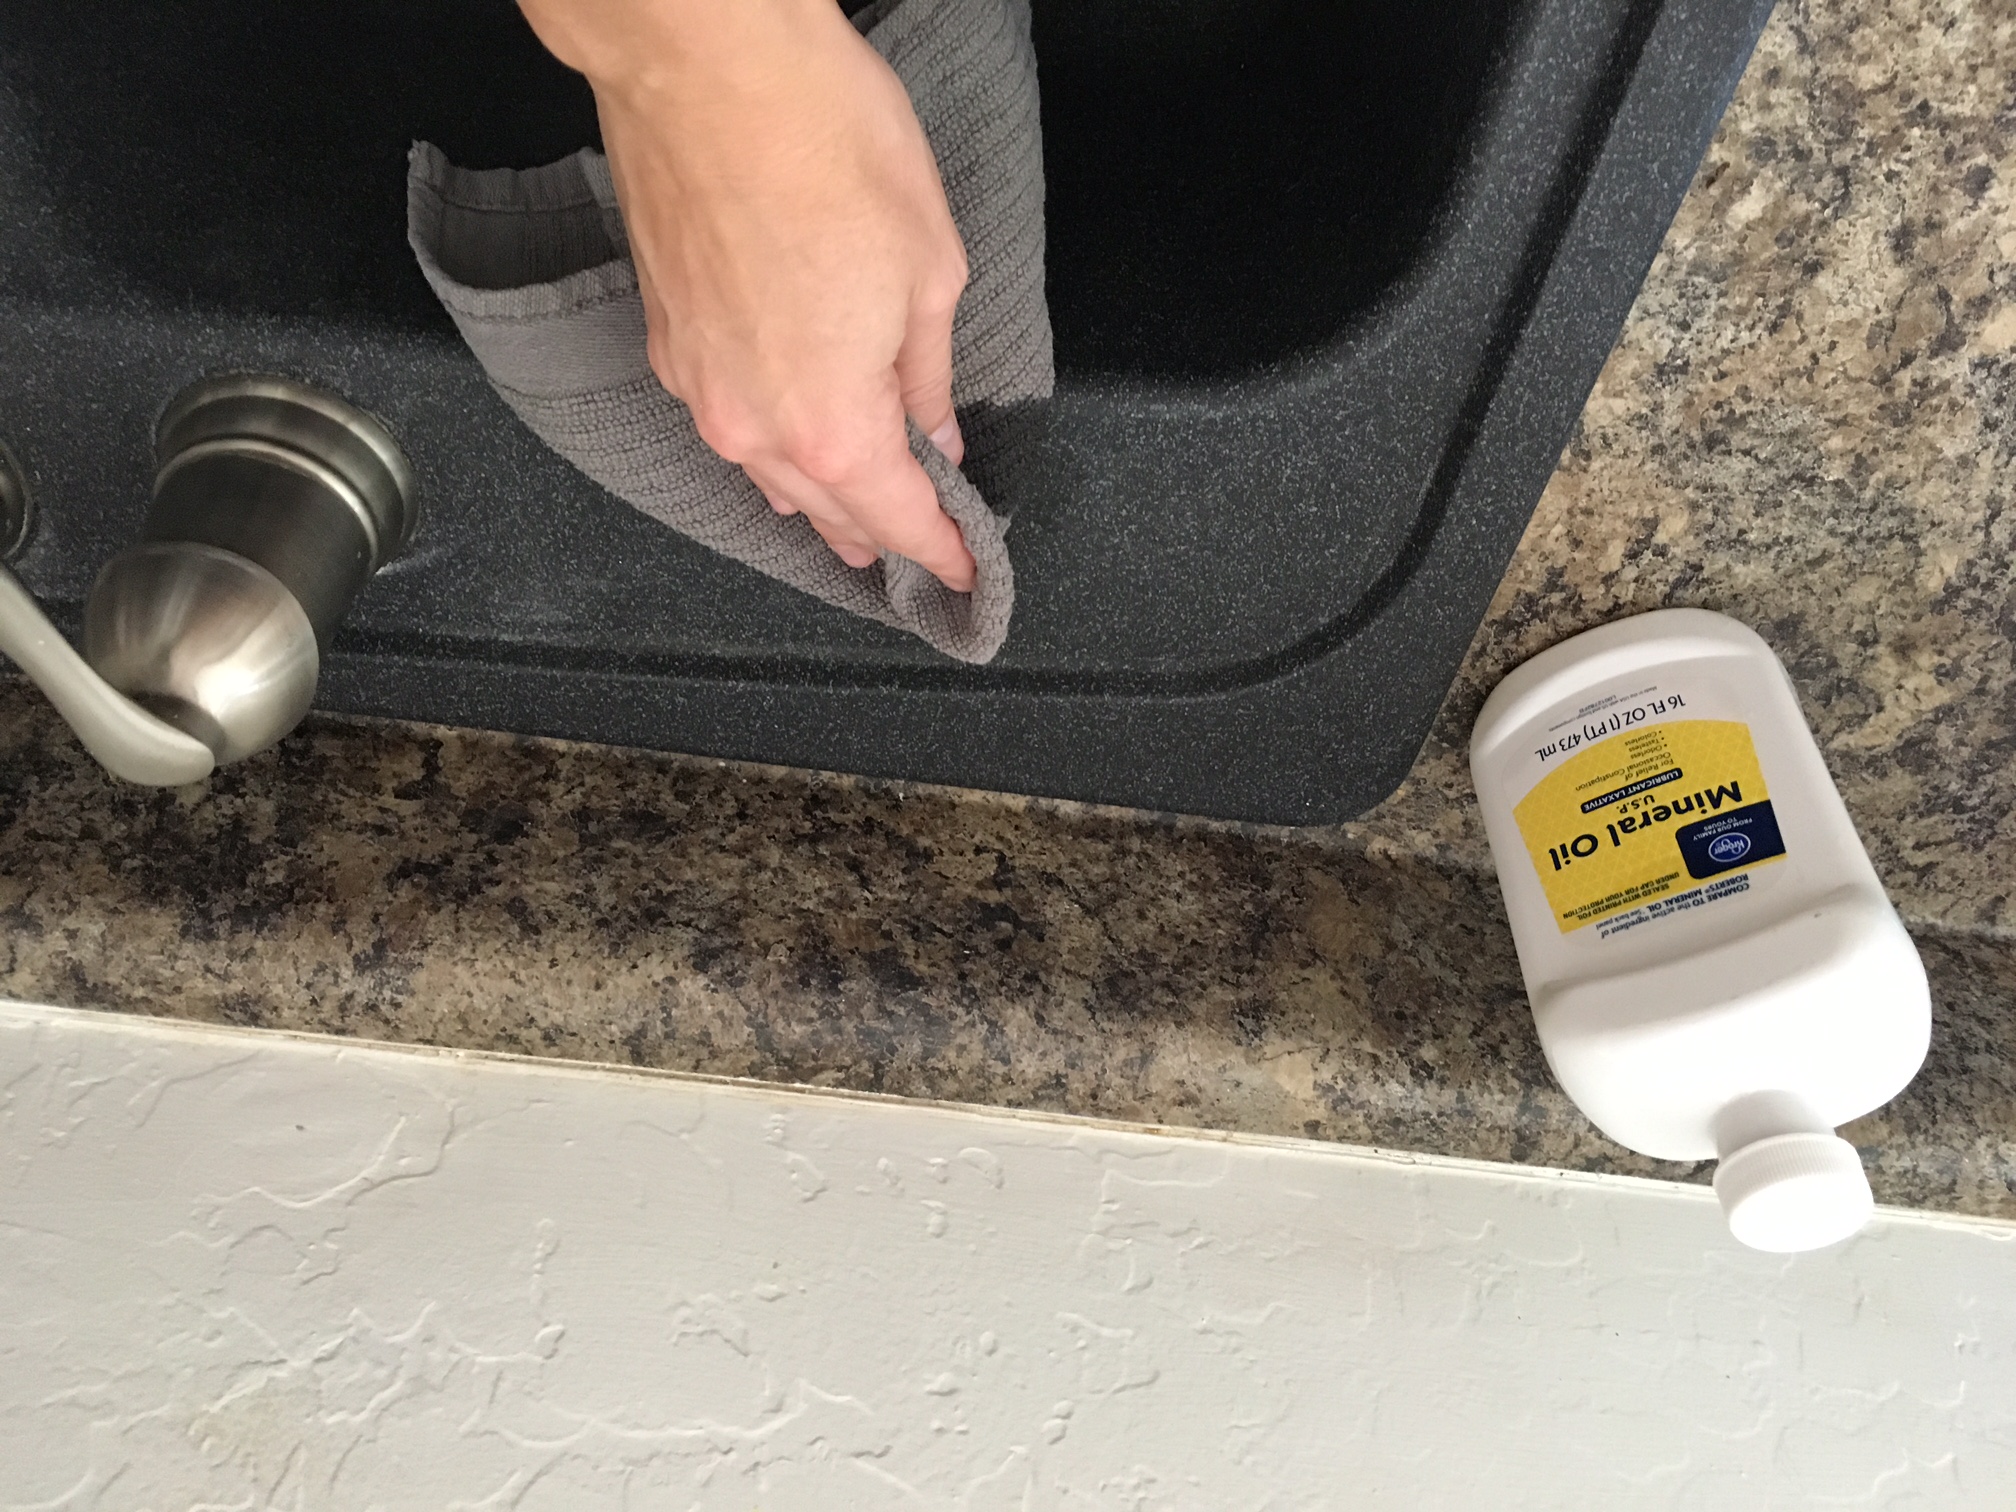
To keep your black kitchen sink looking its best, here are some simple maintenance tips to follow. 1. Clean Regularly Make sure to clean your sink regularly, using a mild soap and water. Avoid using abrasive cleaners that can damage the sink's surface. 2. Rinse Thoroughly After each use, make sure to rinse the sink thoroughly with water to prevent any buildup or stains. 3. Use a Cutting Board10. DIY Black Kitchen Sink Maintenance Tips


10. DIY Black Kitchen Sink Maintenance Tips


The Beauty of a DIY Black Kitchen Sink

Upgrade Your Kitchen with a Stylish and Affordable DIY Project
 Are you looking to give your kitchen a modern and sleek update without breaking the bank? Look no further than a
DIY black kitchen sink
. This trendy and budget-friendly project will not only add a touch of sophistication to your kitchen, but it will also enhance its functionality.
Are you looking to give your kitchen a modern and sleek update without breaking the bank? Look no further than a
DIY black kitchen sink
. This trendy and budget-friendly project will not only add a touch of sophistication to your kitchen, but it will also enhance its functionality.
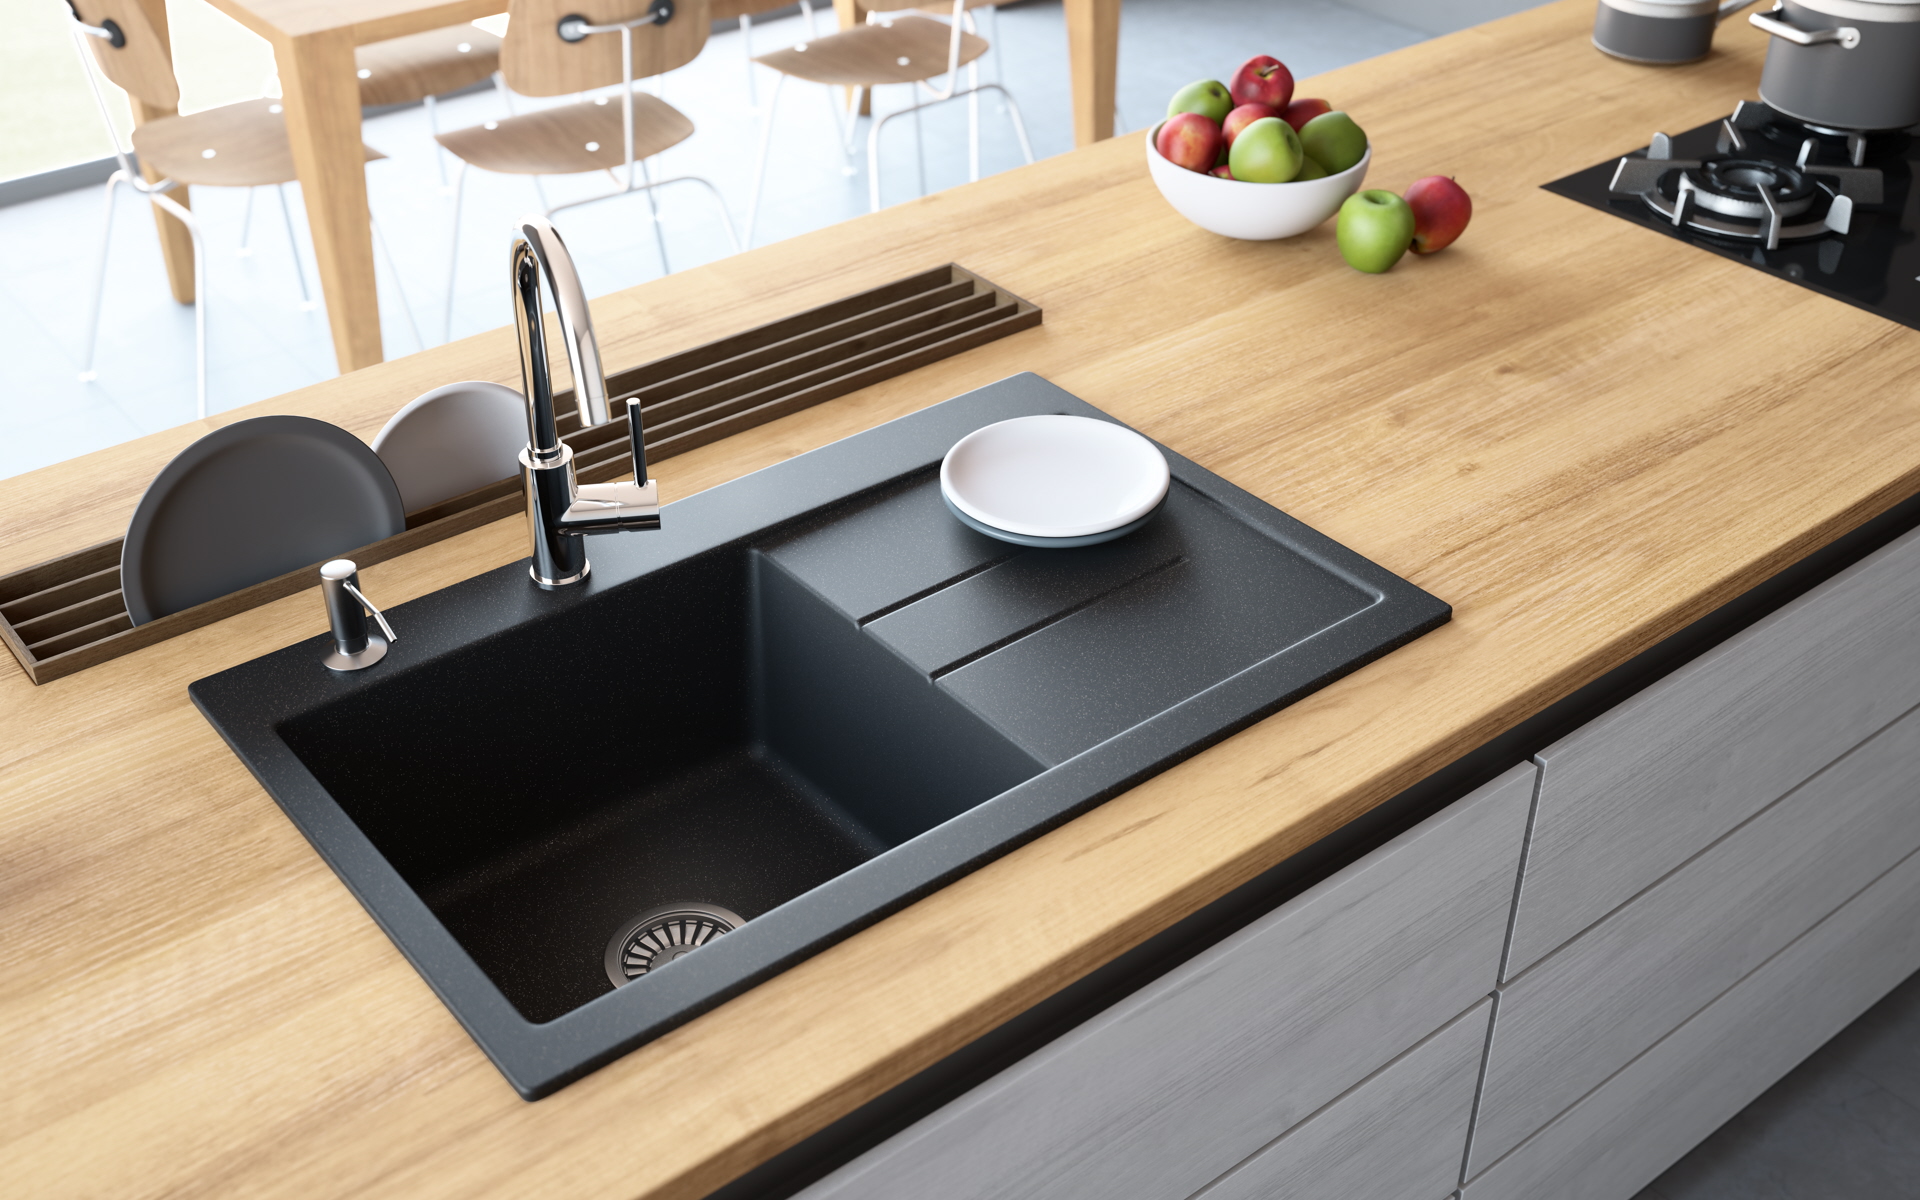
Why Choose a Black Kitchen Sink?
 A black kitchen sink is a bold and stylish choice that can instantly elevate the look of your kitchen. It adds a touch of elegance and drama, making a statement without being too overbearing. It also offers a versatile and timeless design that can complement any kitchen style, from traditional to contemporary. But the best part? A
DIY black kitchen sink
is much more affordable than buying a new one.
A black kitchen sink is a bold and stylish choice that can instantly elevate the look of your kitchen. It adds a touch of elegance and drama, making a statement without being too overbearing. It also offers a versatile and timeless design that can complement any kitchen style, from traditional to contemporary. But the best part? A
DIY black kitchen sink
is much more affordable than buying a new one.
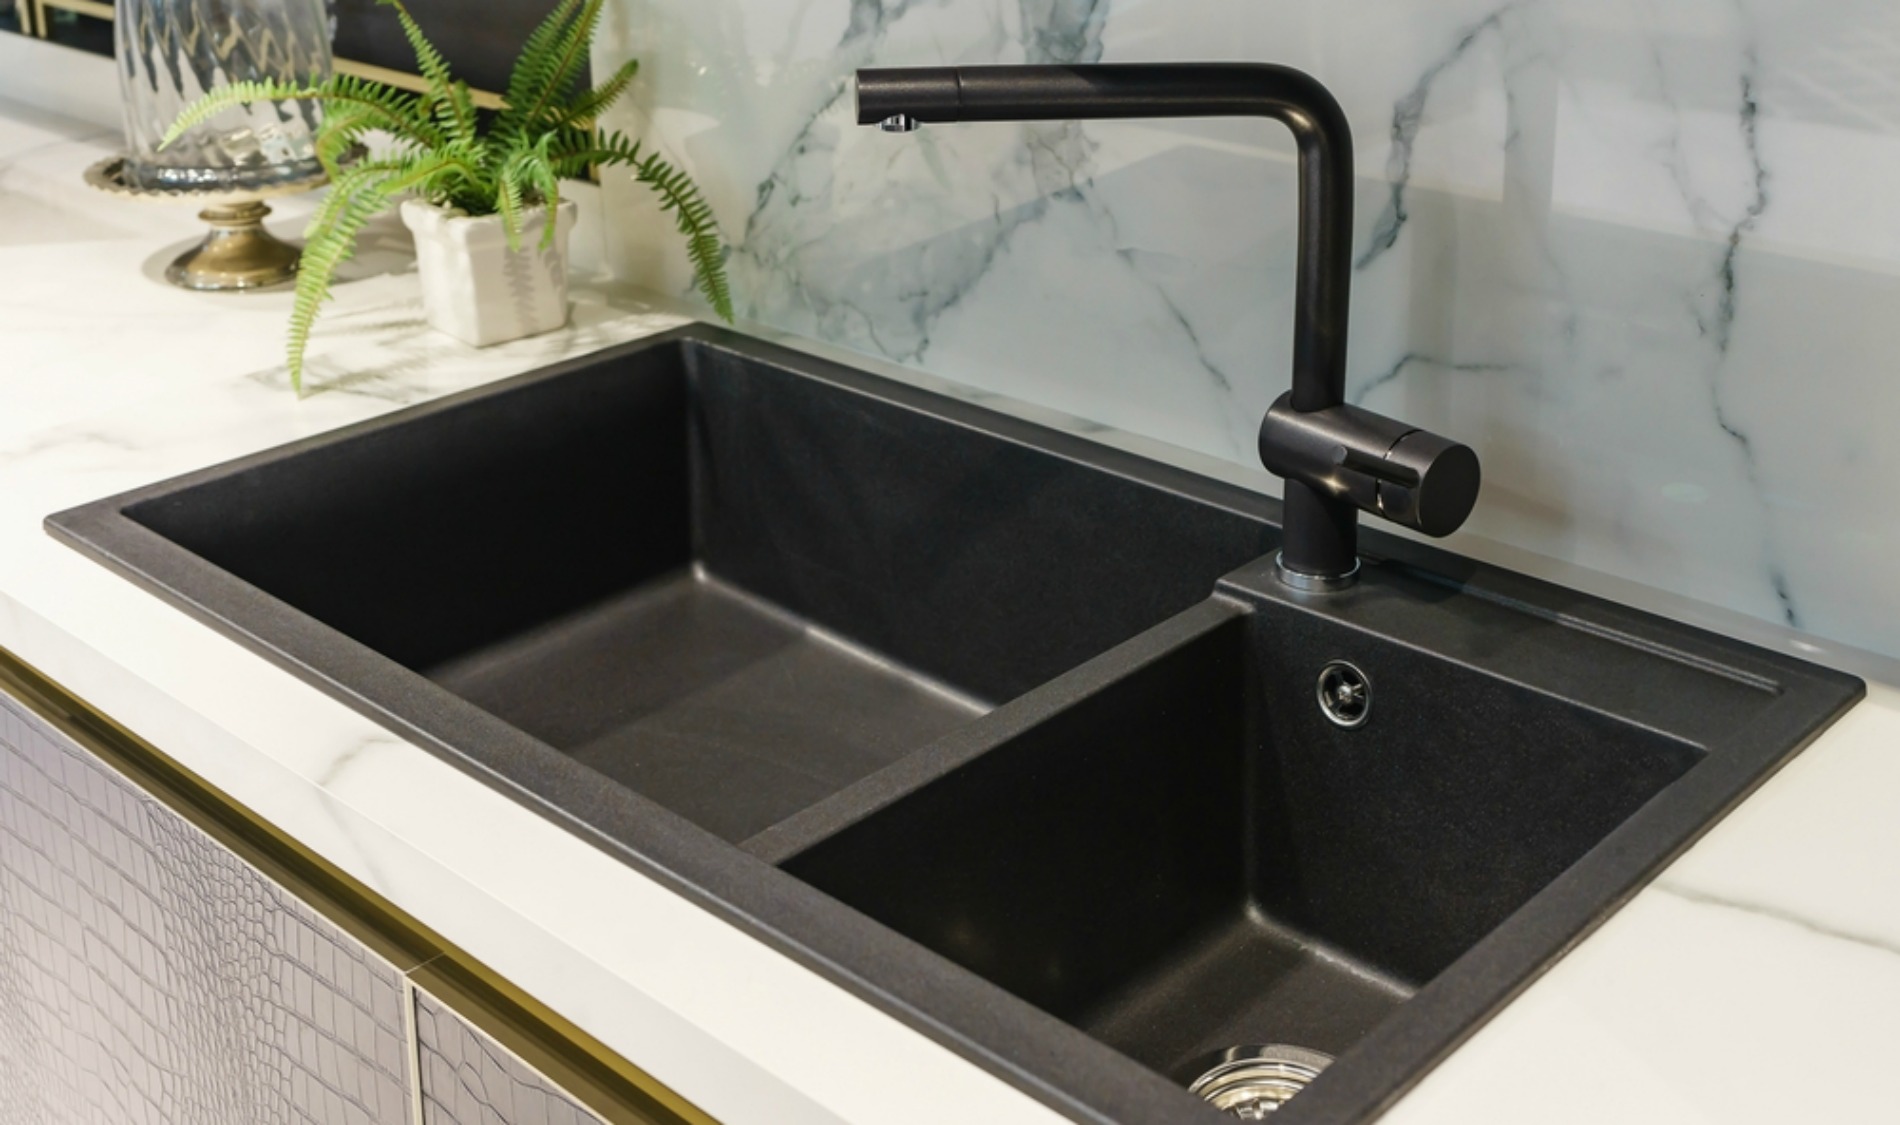
Benefits of a DIY Black Kitchen Sink
 Aside from its aesthetic appeal, a DIY black kitchen sink also offers practical benefits. Black is a forgiving color that can hide scratches, stains, and water spots, making it a great option for busy kitchens. It also pairs well with a wide range of countertop materials, such as granite, marble, and quartz, giving you the freedom to choose the perfect combination for your kitchen.
How to Create Your Own DIY Black Kitchen Sink
 Creating your own
DIY black kitchen sink
is a simple and straightforward process. First, you will need to choose the right material for your sink, such as acrylic, stainless steel, or porcelain. Then, you can either paint your existing sink with a high-quality black sink paint or purchase a black sink insert to place over your current sink. Whichever method you choose, make sure to follow the manufacturer's instructions carefully for the best results.
Creating your own
DIY black kitchen sink
is a simple and straightforward process. First, you will need to choose the right material for your sink, such as acrylic, stainless steel, or porcelain. Then, you can either paint your existing sink with a high-quality black sink paint or purchase a black sink insert to place over your current sink. Whichever method you choose, make sure to follow the manufacturer's instructions carefully for the best results.
Final Thoughts
 A
DIY black kitchen sink
is an affordable and stylish way to add a touch of sophistication to your kitchen. With its timeless design and practical benefits, it's a project that is worth considering for your next kitchen upgrade. So why wait? Get started on your DIY black kitchen sink today and see the transformation it brings to your kitchen.
A
DIY black kitchen sink
is an affordable and stylish way to add a touch of sophistication to your kitchen. With its timeless design and practical benefits, it's a project that is worth considering for your next kitchen upgrade. So why wait? Get started on your DIY black kitchen sink today and see the transformation it brings to your kitchen.