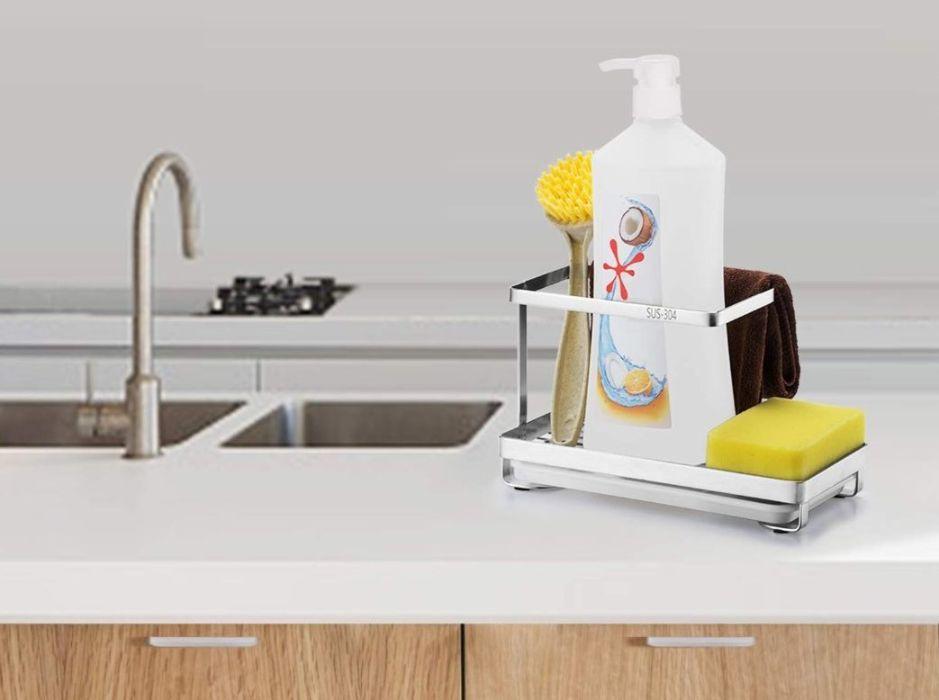
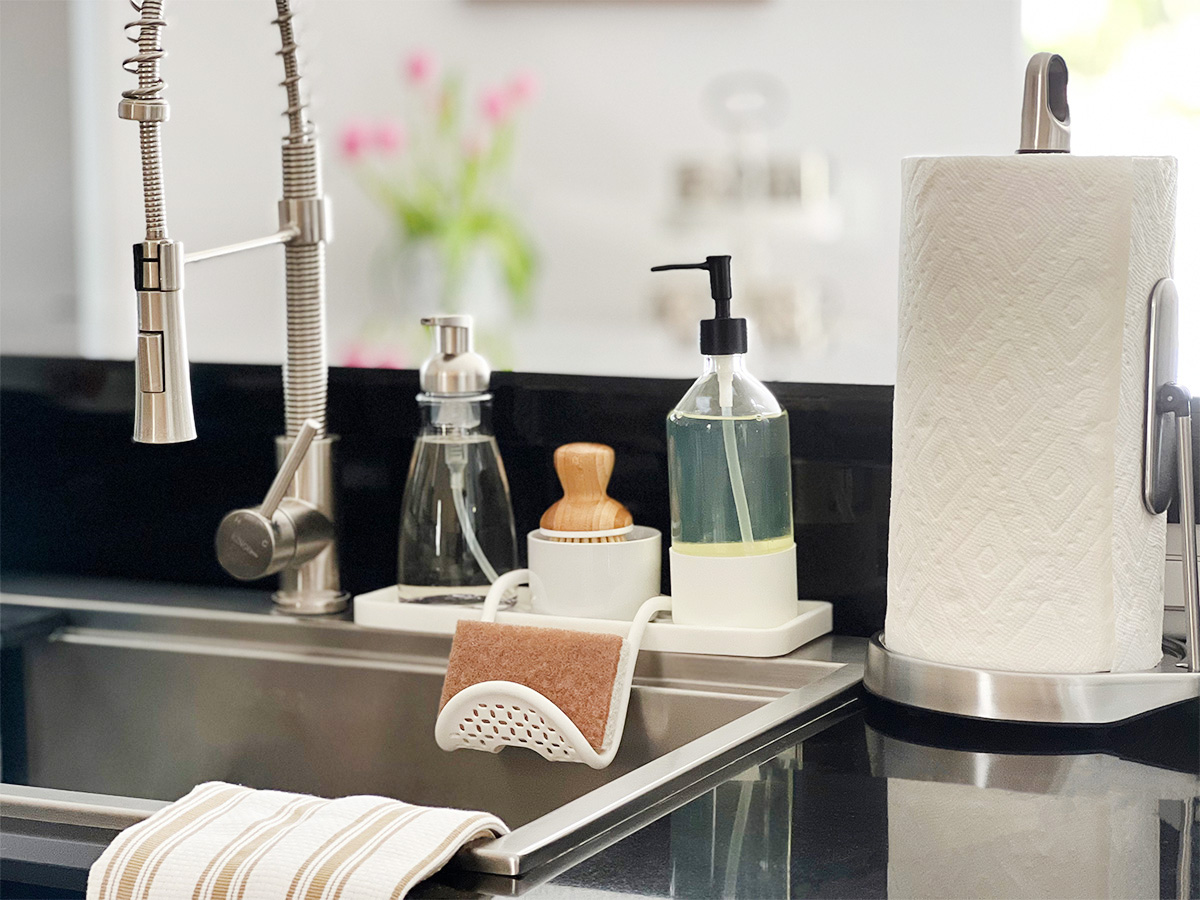
If you're tired of constantly searching for your kitchen sponge or having it take up valuable counter space, it's time to get creative with some DIY organization. And what better material to use than a milk jug? Not only is it easily accessible and inexpensive, but it's also a great way to repurpose something that would otherwise end up in the trash. With just a few simple steps, you can transform a milk jug into a functional and stylish sponge caddy for your kitchen sink.DIY Kitchen Sink Sponge Caddy from a Milk Jug


DIY Kitchen Sink Sponge Caddy from a Milk Jug


The first step in creating your own DIY sponge caddy is to gather your materials. Here's what you'll need:How to Make a Sponge Holder from a Milk Jug


How to Make a Sponge Holder from a Milk Jug


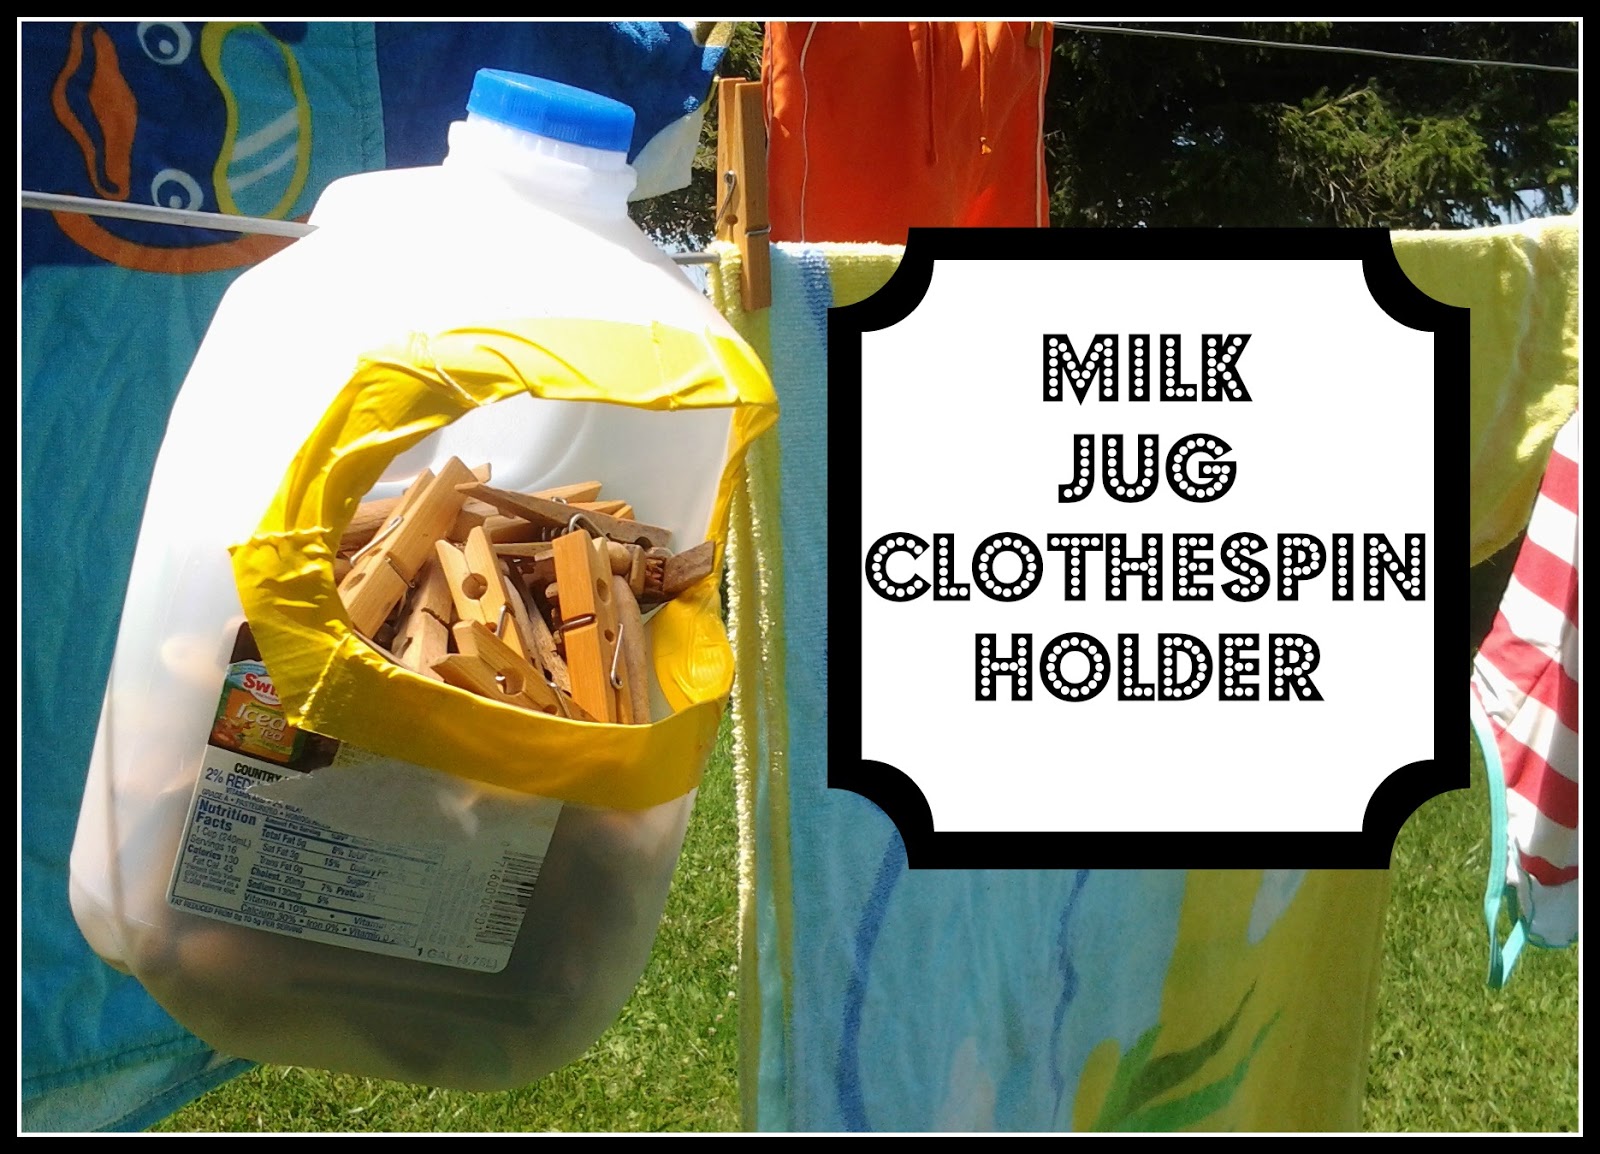


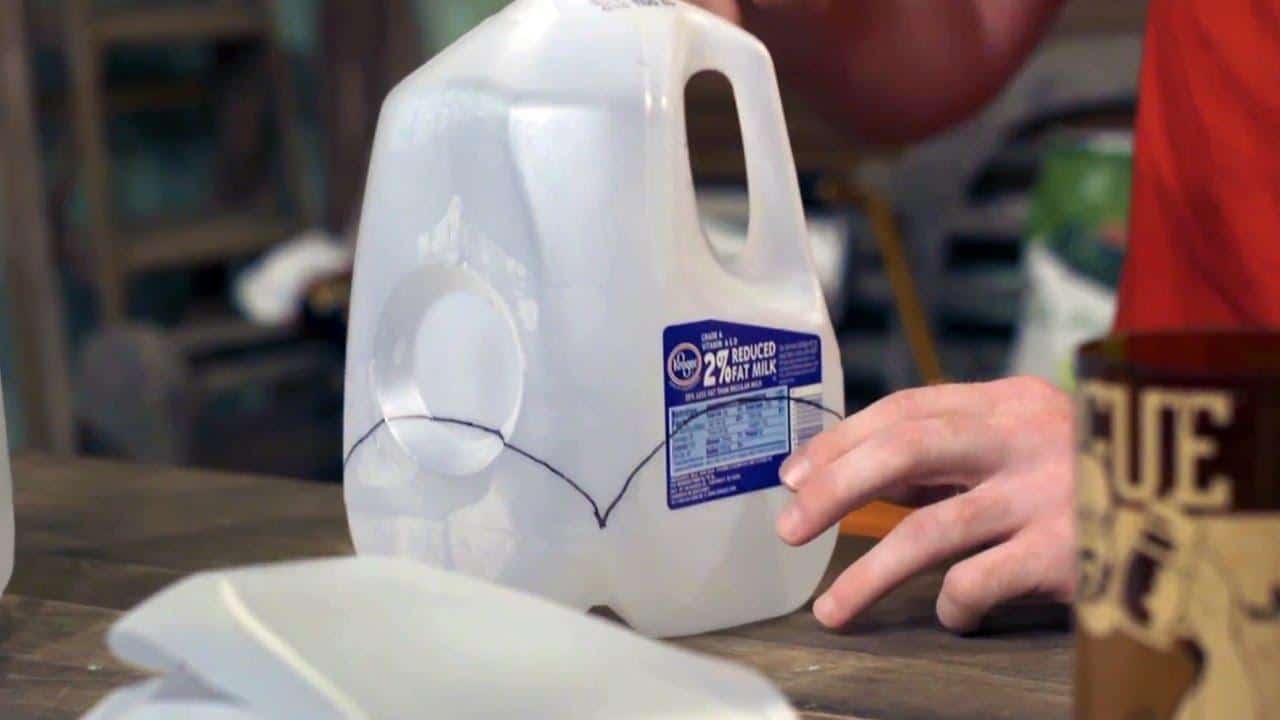
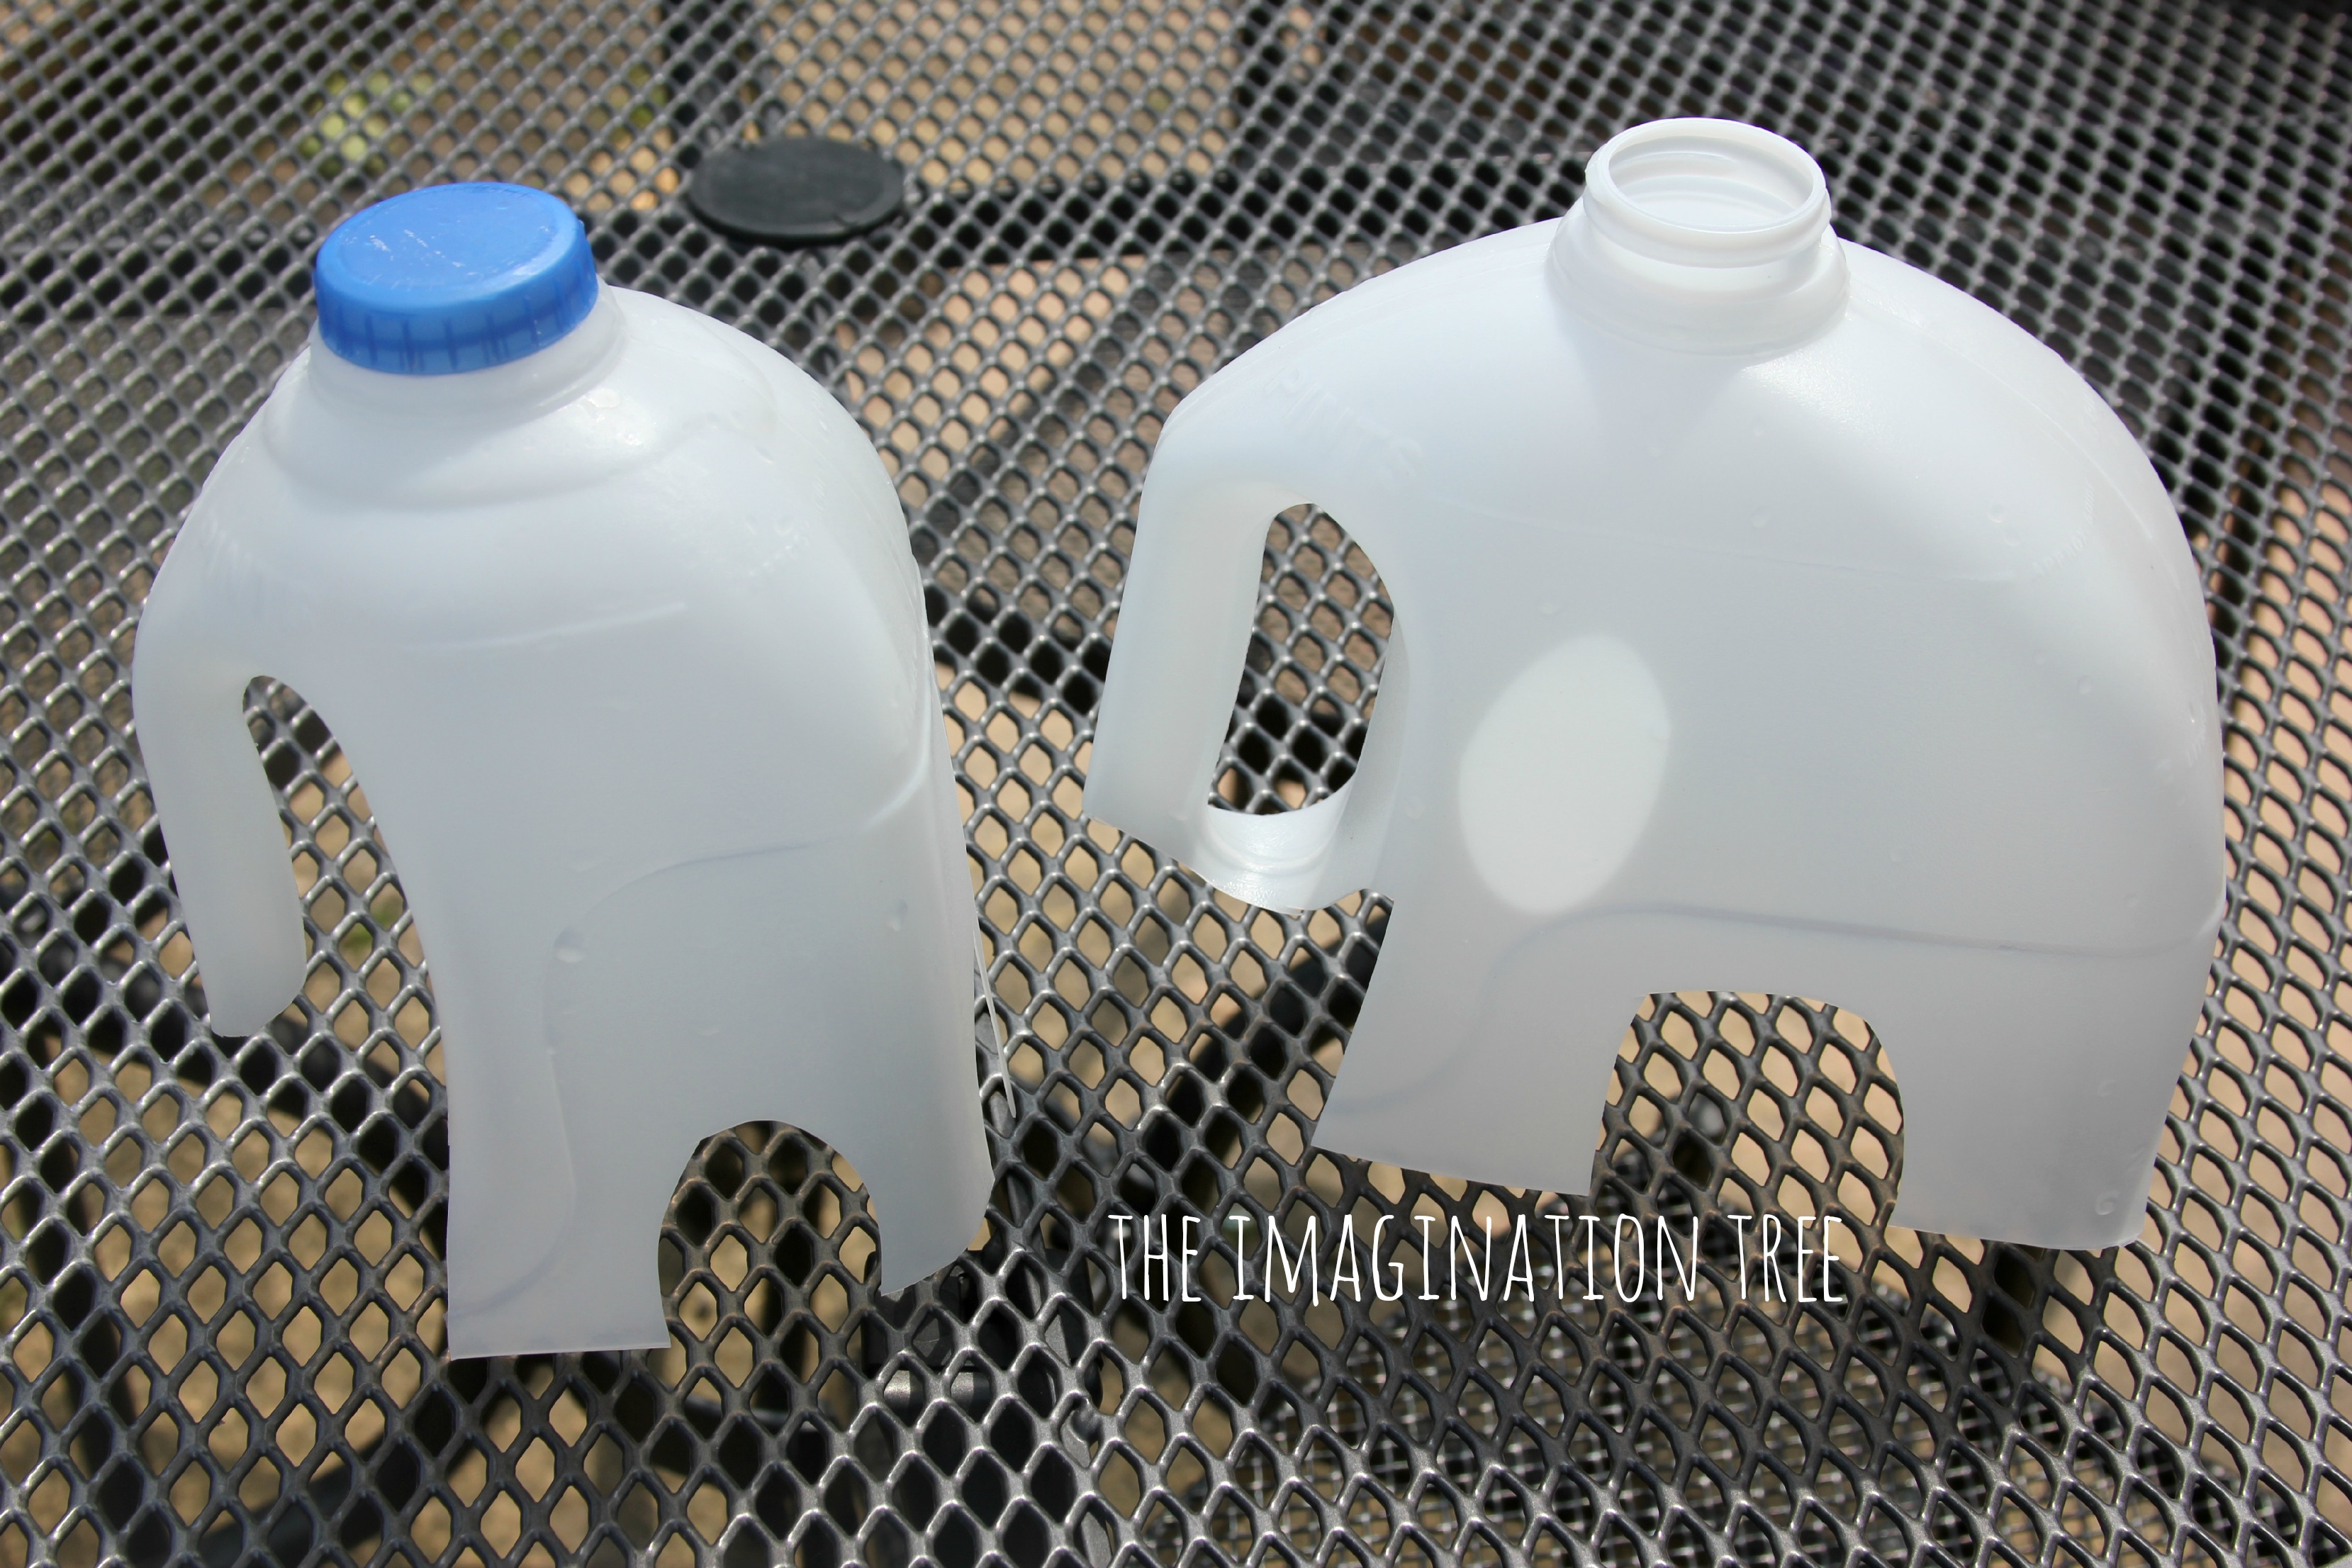
Step 1: Begin by thoroughly cleaning and drying your milk jug. Make sure all labels and residue are removed. Step 2: Use a marker to draw a line around the middle of the jug, leaving about an inch at the bottom. Step 3: Use your scissors to cut along the marked line. This will create the opening for your sponge caddy. Step 4: Next, use your exacto knife or box cutter to cut out a small rectangle on either side of the opening. This will serve as a holder for your sponge. Step 5: If desired, use decorative duct tape to cover the edges of the opening and the cut out rectangles. This will give your sponge caddy a more polished look. Step 6: Fill your new sponge caddy with your favorite sponges and place it by your kitchen sink for easy access.Upcycled Milk Jug Sponge Caddy Tutorial


Upcycled Milk Jug Sponge Caddy Tutorial


Not only is this DIY project simple and affordable, but it's also a great way to keep your kitchen sink area organized and clutter-free. No more searching for your sponge or having it take up valuable space on your counter. Plus, by upcycling a milk jug, you're doing your part for the environment by reducing waste.Easy DIY Sponge Caddy for Your Kitchen Sink


Easy DIY Sponge Caddy for Your Kitchen Sink


If you don't have a milk jug on hand, you can also use a plastic jug from items like laundry detergent or juice. Simply follow the same steps as above, adjusting the size of your sponge caddy based on the size of the jug.Homemade Sponge Holder from a Plastic Jug


Homemade Sponge Holder from a Plastic Jug


In addition to being a great way to store your kitchen sponge, this DIY project can also be used for other organization purposes. Use it to hold dish brushes, bottle brushes, or even store your dish soap and hand soap pumps. The possibilities are endless!DIY Kitchen Organization: Milk Jug Sponge Caddy


DIY Kitchen Organization: Milk Jug Sponge Caddy


To help you visualize the process, here's a step-by-step guide: Step 1: Clean and dry your milk jug. Step 2: Mark a line around the middle of the jug, leaving about an inch at the bottom. Step 3: Cut along the marked line with scissors. Step 4: Use an exacto knife or box cutter to cut out small rectangles on either side of the opening. Step 5: Optional - cover the edges with decorative duct tape. Step 6: Fill with sponges or other kitchen tools and place by your sink.Step-by-Step Guide to Making a Sponge Caddy from a Milk Jug


Step-by-Step Guide to Making a Sponge Caddy from a Milk Jug


.jpg)


In addition to using a milk jug as a sponge caddy, there are many other ways to repurpose this household item. Use it as a watering can for your plants, a scoop for pet food, or even cut it up to make funnels or scoops for various projects. Get creative and see what other uses you can come up with!Creative Ways to Repurpose a Milk Jug: Kitchen Sponge Caddy


Creative Ways to Repurpose a Milk Jug: Kitchen Sponge Caddy


In addition to being functional, this DIY project can also add some style to your kitchen sink area. Use decorative duct tape to match your kitchen's color scheme or add stickers or labels to personalize your sponge caddy. You could even get the kids involved and let them decorate their own sponge caddy for their bathroom sink.DIY Kitchen Sink Organization: Milk Jug Sponge Holder


DIY Kitchen Sink Organization: Milk Jug Sponge Holder


By using a recycled milk jug for this DIY project, you're not only reducing waste, but you're also saving money by not having to buy a sponge caddy from the store. Plus, this project is so simple and easy to do, you can create multiple sponge caddies for various sinks in your home. In conclusion, a milk jug can be repurposed into a functional and stylish sponge caddy for your kitchen sink with just a few simple steps. Not only will it help keep your kitchen organized, but it's also a great way to reduce waste and get creative with upcycling materials. So next time you finish a gallon of milk, don't toss the jug - turn it into a handy sponge caddy instead!How to Make a Sponge Caddy from a Recycled Milk Jug


How to Make a Sponge Caddy from a Recycled Milk Jug


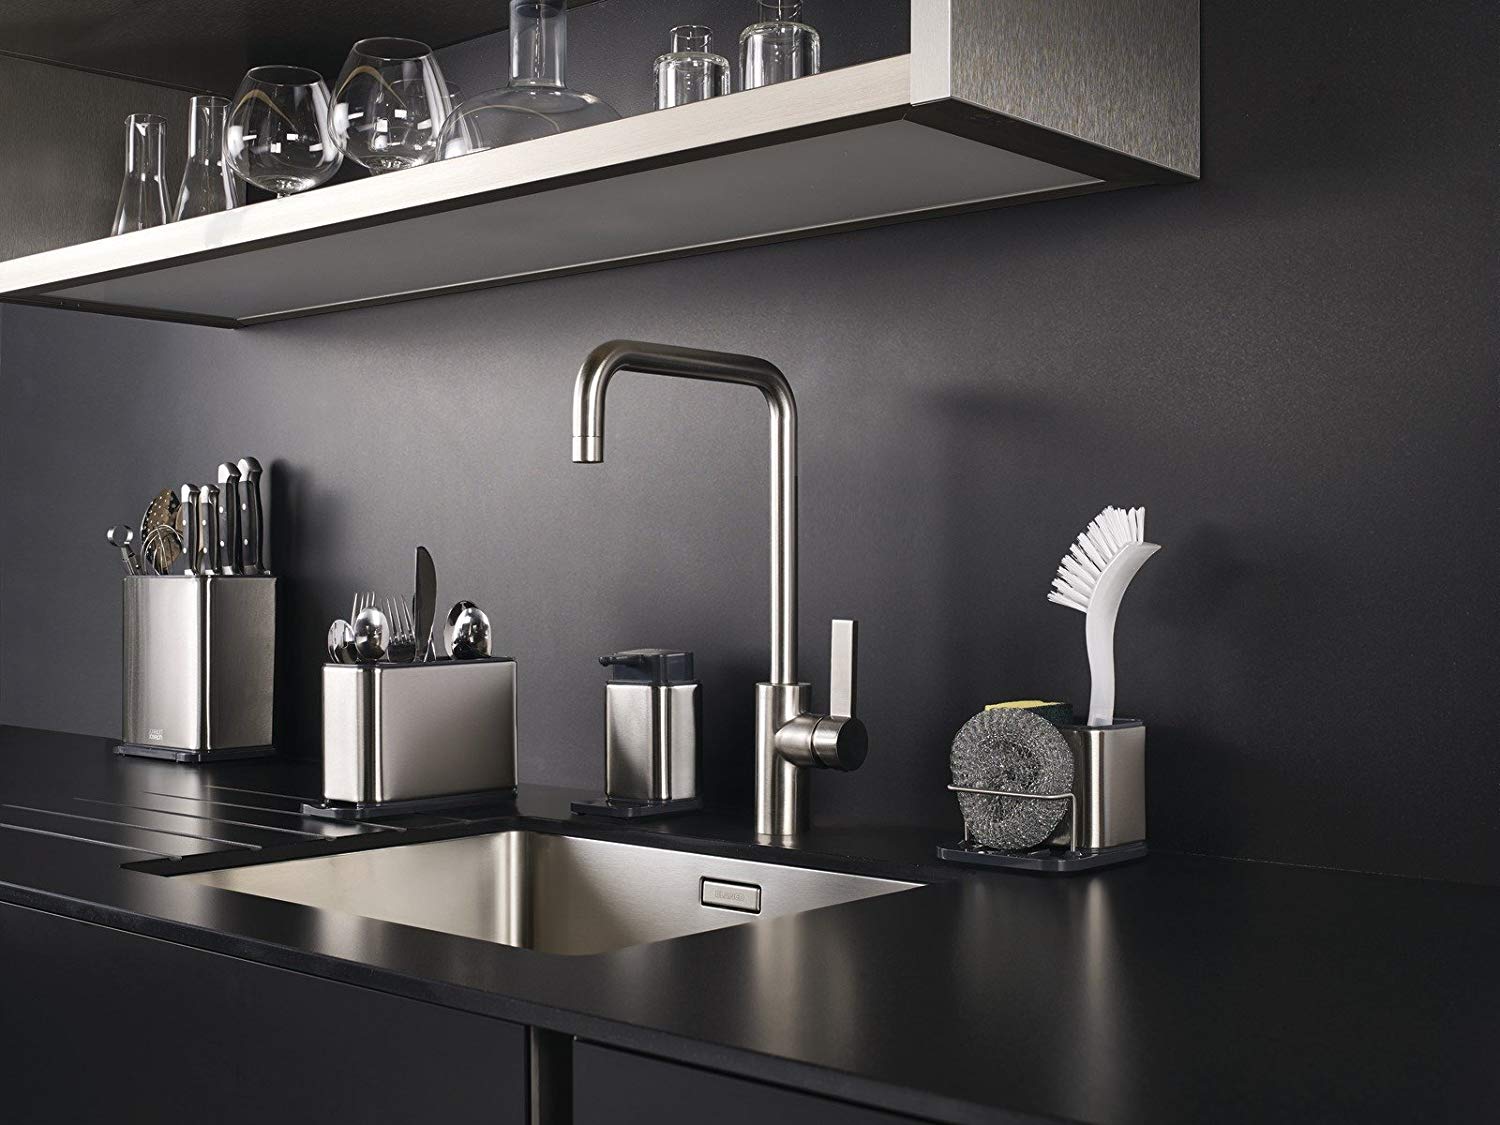
The Importance of Organization in House Design

Streamline Your Kitchen with a DIY Sponge Caddy
 When it comes to house design, organization is key. A cluttered and disorganized space can lead to frustration and inefficiency, especially in high-traffic areas like the kitchen. That's why finding creative solutions to keep your kitchen neat and tidy is essential. One area that often becomes a mess is the area around the kitchen sink, specifically the sponge and dish soap. But fear not, with just a few simple steps you can create a DIY sponge caddy from a milk jug that will not only keep your kitchen organized but also add a touch of charm to your décor.
Kitchen sink sponge caddy
from milk jug
is an easy and budget-friendly project that can be completed in just a few minutes. Not only is it a great way to repurpose a plastic milk jug, but it also eliminates the need for a separate sponge holder and dish soap dispenser, saving valuable counter space. Plus, it's a great way to customize your kitchen and add a personal touch.
To begin, thoroughly clean and dry a plastic milk jug. Then, using a pair of scissors, carefully cut off the top of the jug, leaving about an inch of the handle intact. Next, use a hole punch to create holes along the bottom of the jug, allowing any excess water to drain out. You can also use a hot glue gun to attach a small piece of mesh or sponge to the bottom of the jug to help catch any water.
Kitchen sink sponge caddy
from milk jug
can be decorated in a variety of ways depending on your personal style. You can use acrylic paint, stickers, or even decoupage to add a pop of color and design to the jug. You can also use permanent markers to write labels such as "sponge" or "dish soap" if you prefer a more minimalistic look.
Once your caddy is decorated to your liking, fill it with your sponge and dish soap. The handle of the jug makes it easy to hang on the side of your sink, keeping your sponge and dish soap easily accessible and out of the way. Not only is it functional, but it also adds a touch of charm to your kitchen décor.
In conclusion, a well-organized kitchen is essential for a smooth and efficient cooking experience. By creating a DIY sponge caddy from a milk jug, you can save space, add a personal touch to your kitchen, and keep your sink area neat and tidy. So why not give it a try and see the difference it makes in your kitchen!
When it comes to house design, organization is key. A cluttered and disorganized space can lead to frustration and inefficiency, especially in high-traffic areas like the kitchen. That's why finding creative solutions to keep your kitchen neat and tidy is essential. One area that often becomes a mess is the area around the kitchen sink, specifically the sponge and dish soap. But fear not, with just a few simple steps you can create a DIY sponge caddy from a milk jug that will not only keep your kitchen organized but also add a touch of charm to your décor.
Kitchen sink sponge caddy
from milk jug
is an easy and budget-friendly project that can be completed in just a few minutes. Not only is it a great way to repurpose a plastic milk jug, but it also eliminates the need for a separate sponge holder and dish soap dispenser, saving valuable counter space. Plus, it's a great way to customize your kitchen and add a personal touch.
To begin, thoroughly clean and dry a plastic milk jug. Then, using a pair of scissors, carefully cut off the top of the jug, leaving about an inch of the handle intact. Next, use a hole punch to create holes along the bottom of the jug, allowing any excess water to drain out. You can also use a hot glue gun to attach a small piece of mesh or sponge to the bottom of the jug to help catch any water.
Kitchen sink sponge caddy
from milk jug
can be decorated in a variety of ways depending on your personal style. You can use acrylic paint, stickers, or even decoupage to add a pop of color and design to the jug. You can also use permanent markers to write labels such as "sponge" or "dish soap" if you prefer a more minimalistic look.
Once your caddy is decorated to your liking, fill it with your sponge and dish soap. The handle of the jug makes it easy to hang on the side of your sink, keeping your sponge and dish soap easily accessible and out of the way. Not only is it functional, but it also adds a touch of charm to your kitchen décor.
In conclusion, a well-organized kitchen is essential for a smooth and efficient cooking experience. By creating a DIY sponge caddy from a milk jug, you can save space, add a personal touch to your kitchen, and keep your sink area neat and tidy. So why not give it a try and see the difference it makes in your kitchen!
/Layerwhiteonwhite-34dd8cef8c89451887d51af215f76e60.jpg)