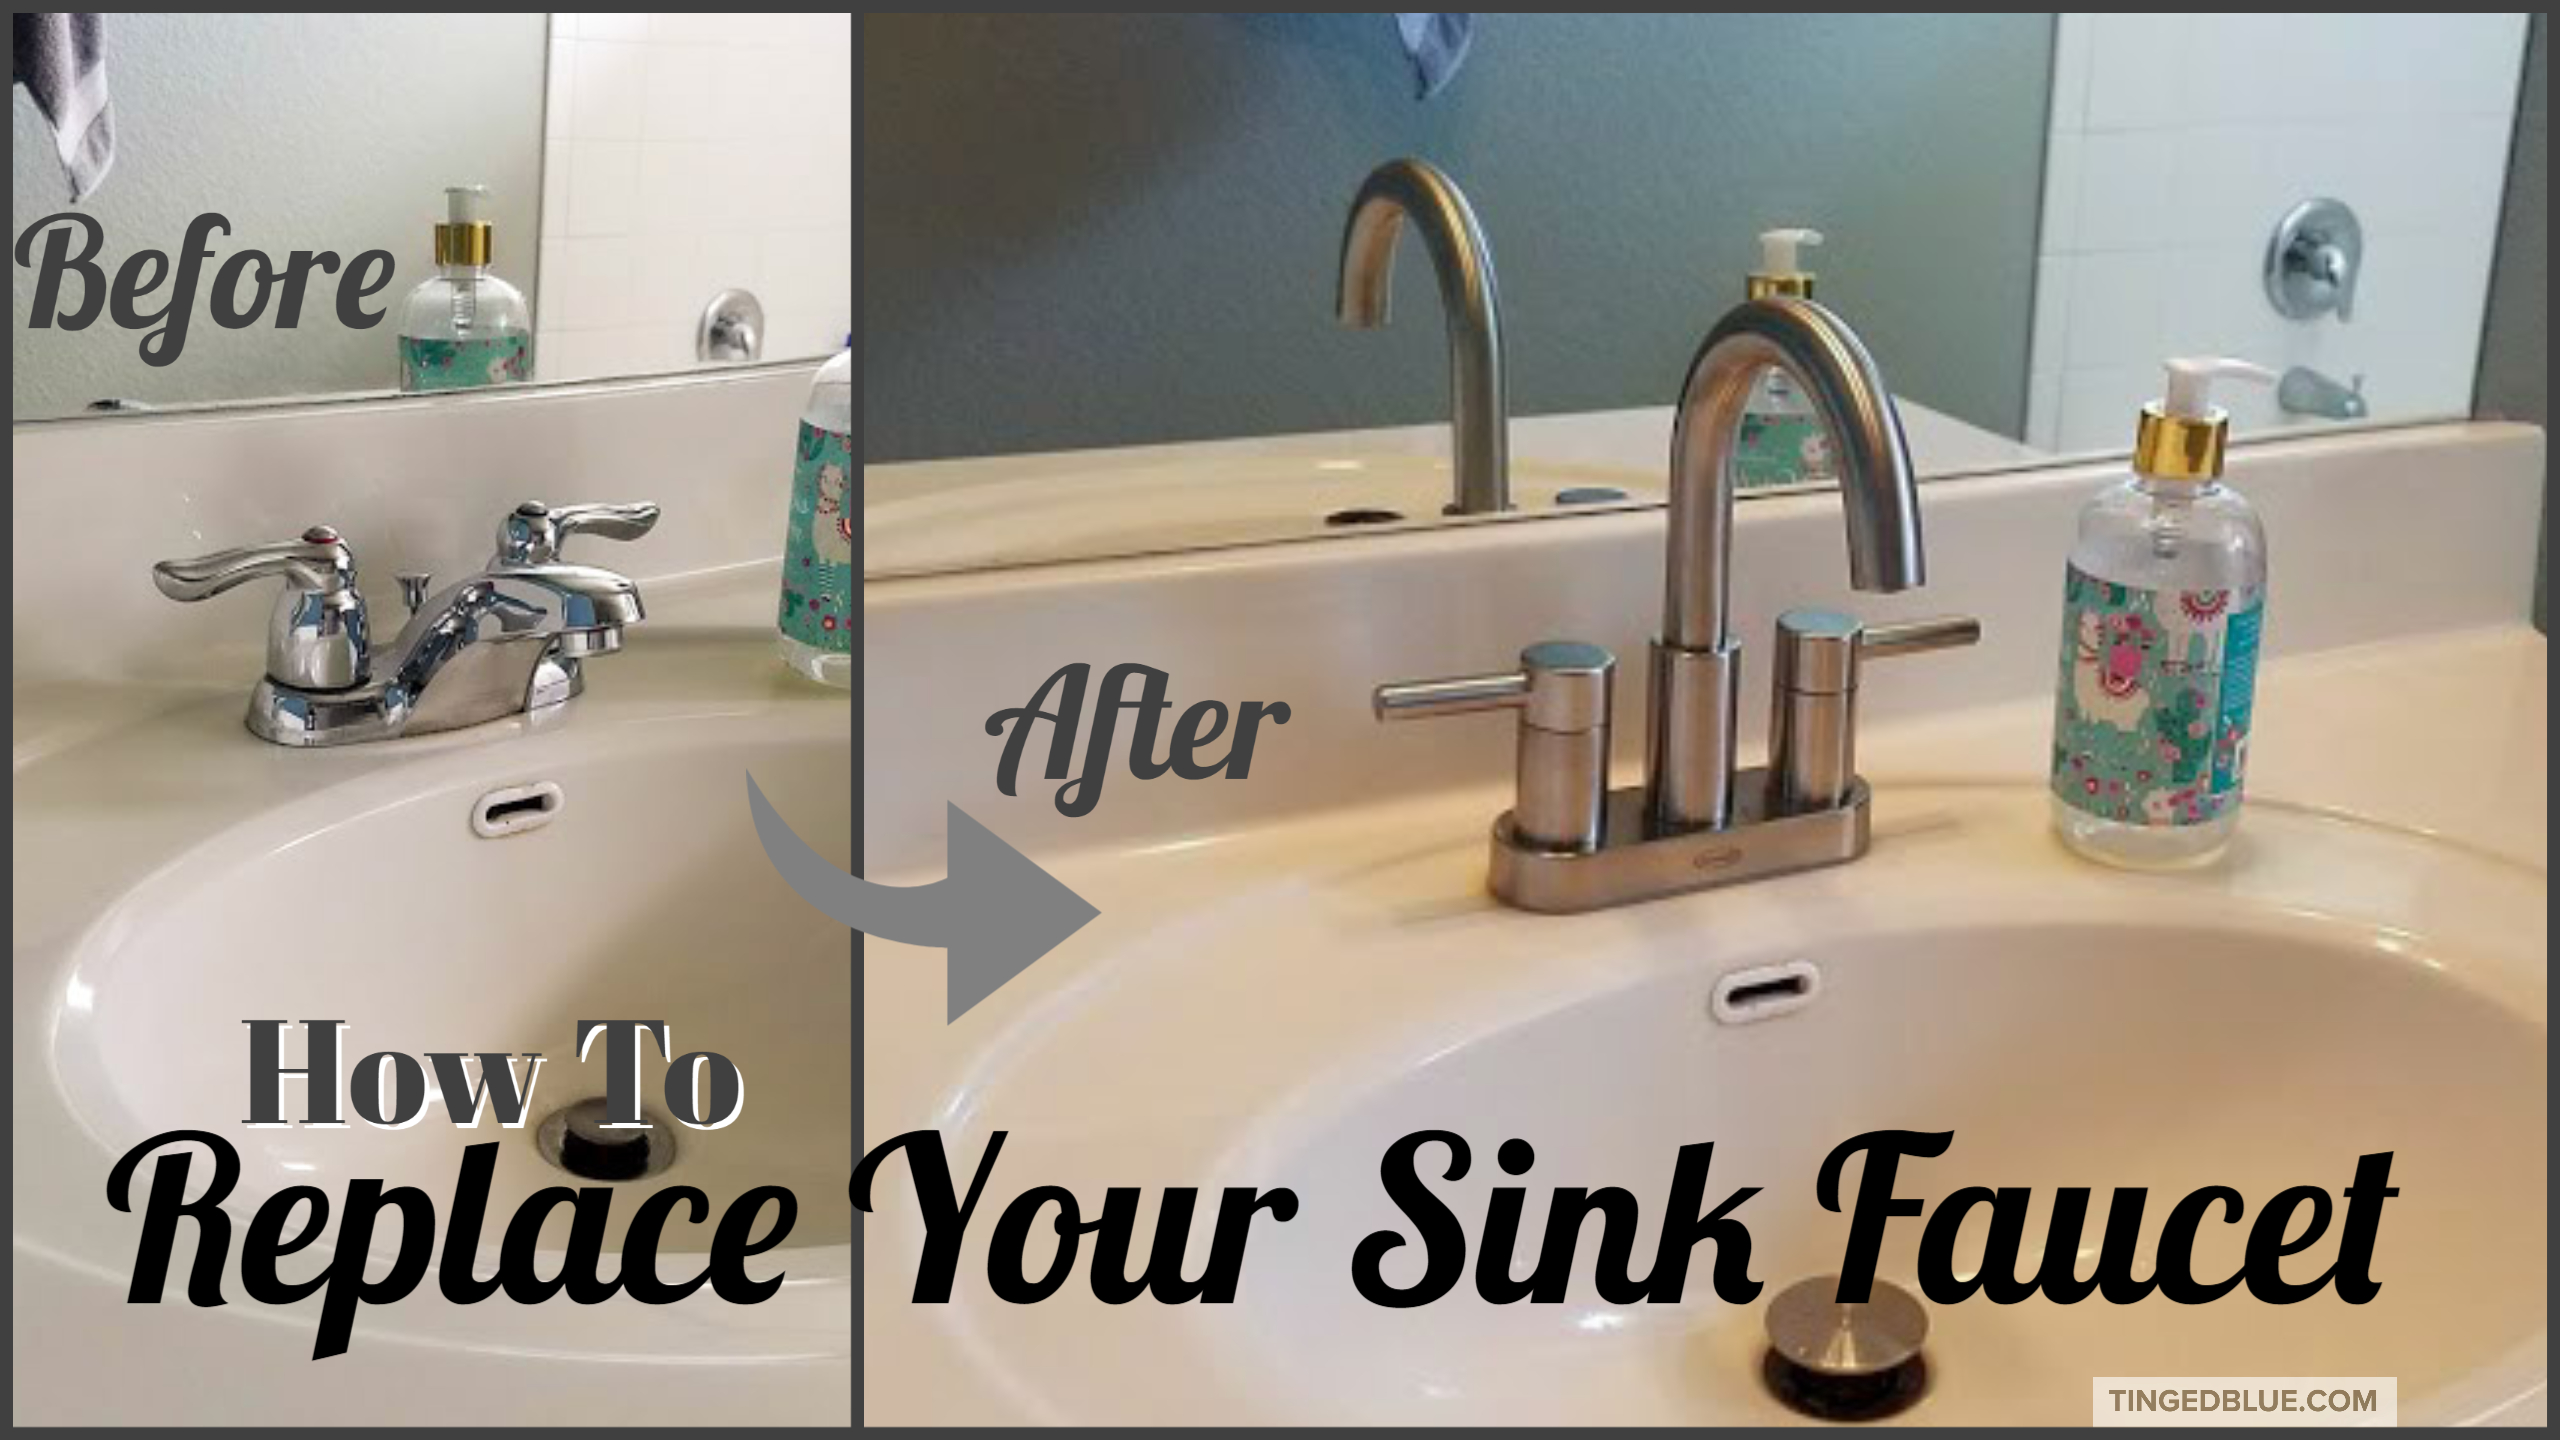
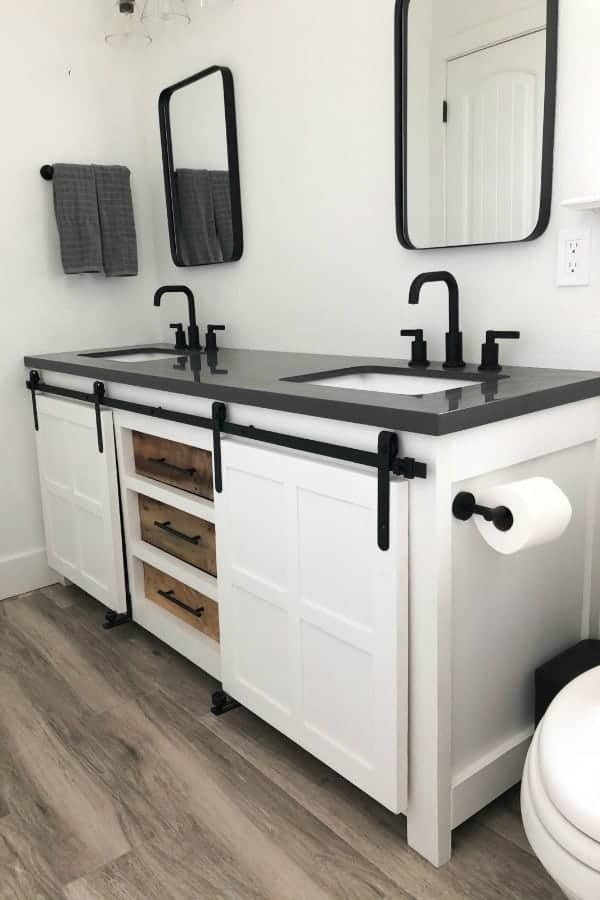
Replacing a bathroom sink faucet may seem like a daunting task, but with the right tools and a little bit of know-how, it can be an easy and satisfying DIY project. Not only can you save money by doing it yourself, but you can also customize your bathroom with a new faucet that fits your style and needs. Follow this comprehensive guide to learn how to replace your bathroom sink faucet like a pro.DIY Bathroom Sink Faucet Replacement Guide


DIY Bathroom Sink Faucet Replacement Guide


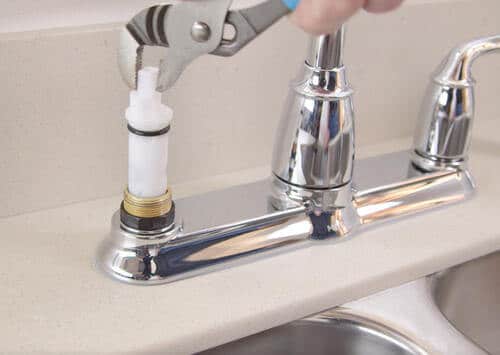
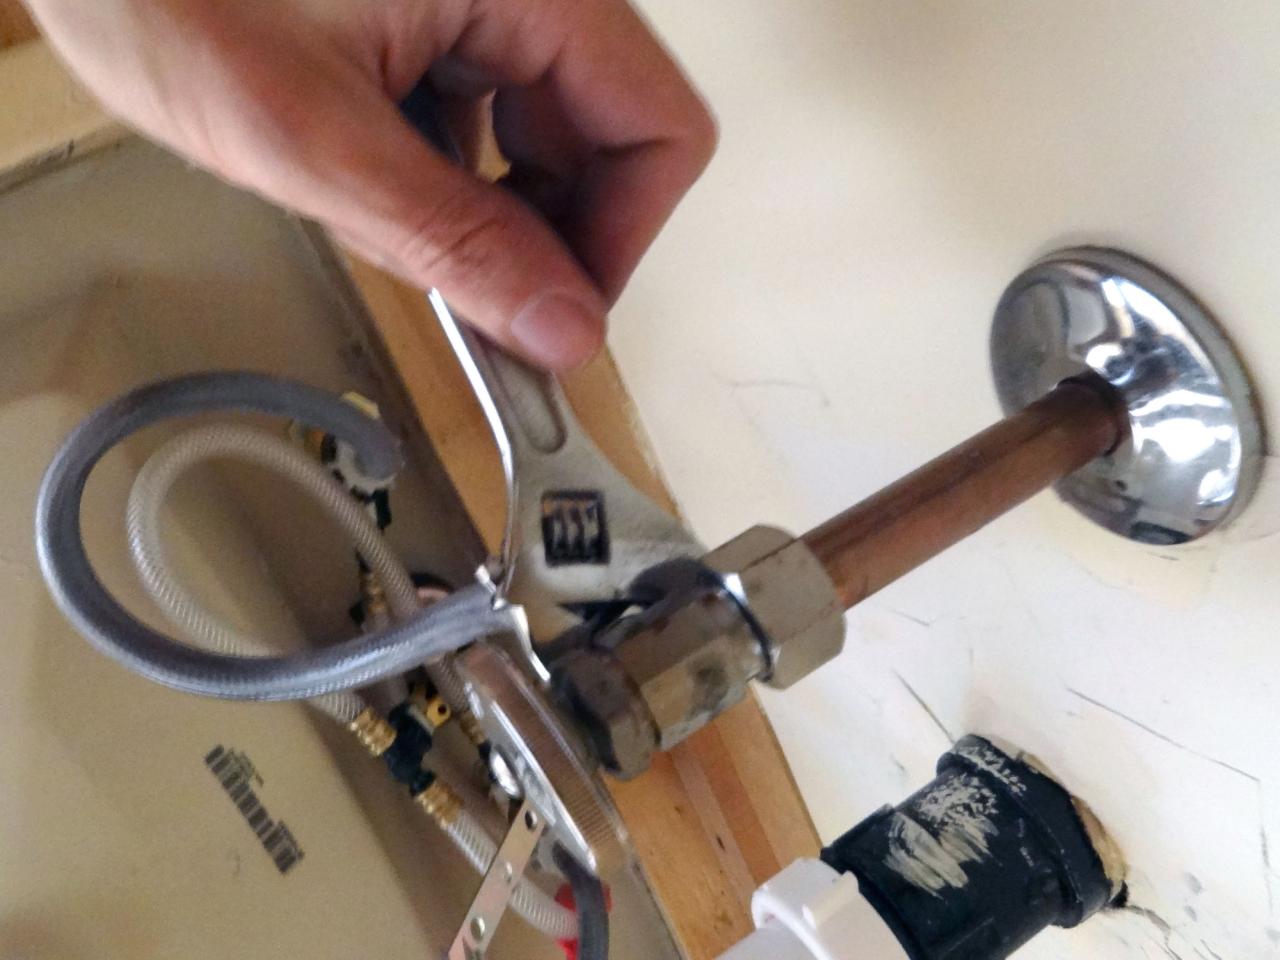
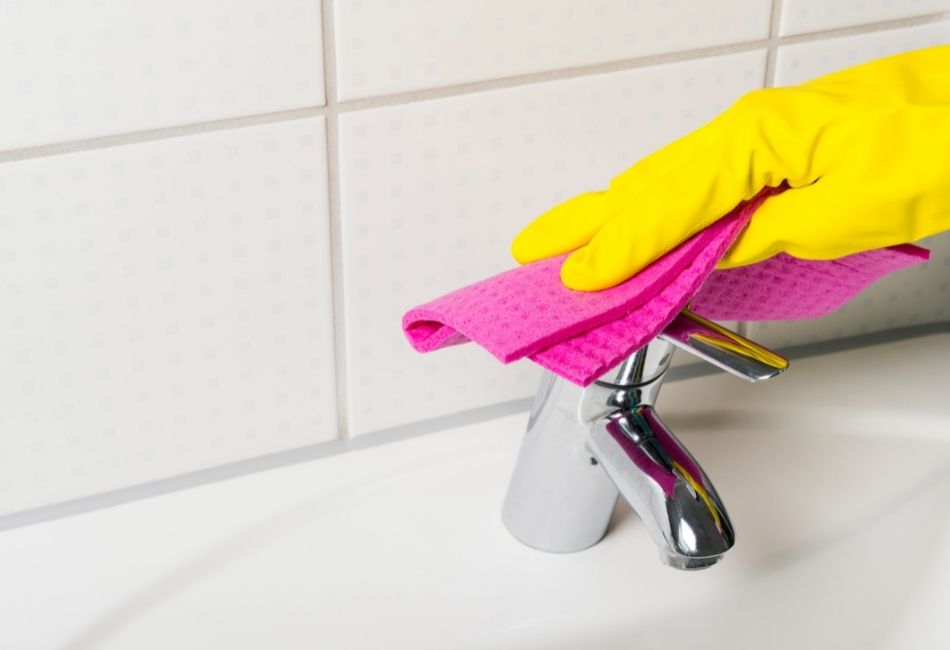
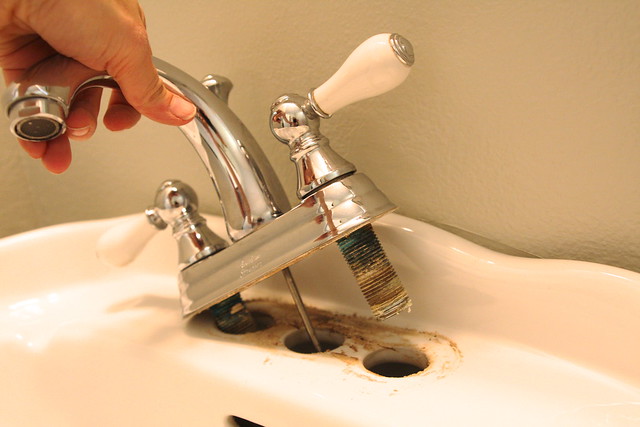
Before you begin, make sure to turn off the water supply to your bathroom sink. This can usually be done by turning off the water valves located under the sink. Next, use a wrench to disconnect the water supply lines from the faucet. You may want to place a bucket or towel underneath to catch any remaining water. Once the water supply is turned off, you can begin removing the old faucet. Start by removing the mounting nuts that hold the faucet in place, usually located underneath the sink. Then, gently lift the faucet off the sink and remove any remaining pieces. Now it’s time to prepare your new faucet. Make sure to read the manufacturer’s instructions carefully to ensure proper installation. You may need to assemble the faucet before mounting it on the sink. It’s also a good idea to clean the sink area and any excess putty or debris from the old faucet before installing the new one.How to Replace a Bathroom Sink Faucet Yourself


How to Replace a Bathroom Sink Faucet Yourself


1. Assemble your new faucet according to the manufacturer’s instructions. 2. Clean the sink area and remove any debris or putty from the old faucet. 3. Place the new faucet on the sink, making sure it is properly aligned. 4. Secure the faucet with mounting nuts underneath the sink. 5. Connect the water supply lines to the new faucet. 6. Turn the water supply back on and test the new faucet for any leaks. 7. If there are no leaks, you’re all set! If there are leaks, try tightening the connections or adding Teflon tape to the threads.Step-by-Step DIY Bathroom Sink Faucet Replacement


Step-by-Step DIY Bathroom Sink Faucet Replacement


Replacing a bathroom sink faucet can be a simple task if you keep these tips in mind: Measure Twice, Cut Once: Before purchasing a new faucet, make sure to measure your sink to ensure a proper fit. Use Teflon Tape: Teflon tape can be used on the threads of the water supply lines to prevent leaks. Don’t Over-Tighten: Be careful not to over-tighten the mounting nuts or water supply connections, as this can cause damage to the faucet or sink. Choose the Right Style: Consider the style and finish of your new faucet and make sure it fits with your bathroom’s overall aesthetic.DIY Bathroom Sink Faucet Replacement Tips and Tricks


DIY Bathroom Sink Faucet Replacement Tips and Tricks

If you’re a visual learner, there are many helpful tutorials and videos available online to guide you through the faucet replacement process. Make sure to follow the steps carefully and don’t be afraid to pause or rewind if needed.Easy DIY Bathroom Sink Faucet Replacement Tutorial


Easy DIY Bathroom Sink Faucet Replacement Tutorial

When replacing a bathroom sink faucet, it’s important to know the basics of how your plumbing system works. If you encounter any issues or complications, it’s always best to call a professional plumber for assistance. You should also be aware of any local plumbing codes and regulations before beginning your project.DIY Bathroom Sink Faucet Replacement: What You Need to Know


DIY Bathroom Sink Faucet Replacement: What You Need to Know
If you’re new to DIY projects, replacing a bathroom sink faucet is a great place to start. It’s a relatively simple task that can be completed in just a few hours and doesn’t require any specialized skills or tools. With a little bit of patience and attention to detail, you can successfully replace your faucet and feel proud of your accomplishment.DIY Bathroom Sink Faucet Replacement: A Beginner's Guide


DIY Bathroom Sink Faucet Replacement: A Beginner's Guide


While replacing a bathroom sink faucet is a straightforward process, there are some common mistakes that can be easily avoided: Not Turning Off the Water Supply: Always remember to turn off the water supply before beginning any plumbing project. Forgetting to Read the Instructions: Make sure to read the manufacturer’s instructions carefully before installing your new faucet. Skipping Cleaning: It’s important to clean the sink area and remove any debris from the old faucet before installing the new one.DIY Bathroom Sink Faucet Replacement: Common Mistakes to Avoid
DIY Bathroom Sink Faucet Replacement: Common Mistakes to Avoid
To successfully replace your bathroom sink faucet, you will need the following tools and materials: Tools: Adjustable wrench, basin wrench, pliers, screwdriver, bucket or towel. Materials: New faucet, Teflon tape, plumber’s putty, bowl or bucket for catching water.DIY Bathroom Sink Faucet Replacement: Tools and Materials You'll Need


DIY Bathroom Sink Faucet Replacement: Tools and Materials You'll Need


For a more comprehensive guide, check out this step-by-step video tutorial on how to replace a bathroom sink faucet: Now that you have the knowledge and tools to replace your bathroom sink faucet, it’s time to get started! Follow these steps and you’ll have a new faucet installed in no time. Remember to take your time and don’t be afraid to ask for help if needed. Happy DIY-ing!DIY Bathroom Sink Faucet Replacement: Step-by-Step Video Tutorial


DIY Bathroom Sink Faucet Replacement: Step-by-Step Video Tutorial


The Importance of a Functional Bathroom Sink Faucet

Ensuring a Smooth and Convenient Daily Routine
 A bathroom sink faucet may seem like a small and insignificant part of a house, but it plays a crucial role in our daily lives. It is the main source of water for washing our hands, brushing our teeth, and even for our morning and nightly routines. A malfunctioning or outdated faucet can not only be frustrating, but it can also disrupt our daily routines and make simple tasks more difficult. This is why it is important to have a functional and efficient bathroom sink faucet, and in some cases, a replacement may be necessary.
Replacing a bathroom sink faucet may seem like a daunting task, but with some DIY skills and the right tools, it can be a relatively simple and cost-effective project. Not only will it improve the functionality of your sink, but it can also enhance the overall look of your bathroom. In this article, we will discuss the step-by-step process of replacing a bathroom sink faucet, so you can confidently take on this project and create a more functional and aesthetically pleasing bathroom.
A bathroom sink faucet may seem like a small and insignificant part of a house, but it plays a crucial role in our daily lives. It is the main source of water for washing our hands, brushing our teeth, and even for our morning and nightly routines. A malfunctioning or outdated faucet can not only be frustrating, but it can also disrupt our daily routines and make simple tasks more difficult. This is why it is important to have a functional and efficient bathroom sink faucet, and in some cases, a replacement may be necessary.
Replacing a bathroom sink faucet may seem like a daunting task, but with some DIY skills and the right tools, it can be a relatively simple and cost-effective project. Not only will it improve the functionality of your sink, but it can also enhance the overall look of your bathroom. In this article, we will discuss the step-by-step process of replacing a bathroom sink faucet, so you can confidently take on this project and create a more functional and aesthetically pleasing bathroom.
The Step-by-Step Process of DIY Bathroom Sink Faucet Replacement
 First and foremost, it is important to gather all the necessary tools and materials before starting the project. This includes a new
faucet,
wrenches,
plumbing tape,
screwdriver, and
plumber's putty. Once you have all the tools, make sure to turn off the water supply to your sink to avoid any potential flooding. Next, remove the old faucet by loosening the nuts and disconnecting the water supply lines. Be sure to clean the area and remove any old putty or debris.
Next, install the new faucet according to the manufacturer's instructions. Apply plumber's putty around the base of the faucet and insert it into the sink's mounting holes. Secure it in place with the mounting nuts and attach the water supply lines. Finally, turn on the water supply and test the new faucet to ensure there are no leaks or issues. If everything is working properly, you can now enjoy your newly replaced bathroom sink faucet.
First and foremost, it is important to gather all the necessary tools and materials before starting the project. This includes a new
faucet,
wrenches,
plumbing tape,
screwdriver, and
plumber's putty. Once you have all the tools, make sure to turn off the water supply to your sink to avoid any potential flooding. Next, remove the old faucet by loosening the nuts and disconnecting the water supply lines. Be sure to clean the area and remove any old putty or debris.
Next, install the new faucet according to the manufacturer's instructions. Apply plumber's putty around the base of the faucet and insert it into the sink's mounting holes. Secure it in place with the mounting nuts and attach the water supply lines. Finally, turn on the water supply and test the new faucet to ensure there are no leaks or issues. If everything is working properly, you can now enjoy your newly replaced bathroom sink faucet.
Benefits of DIY Bathroom Sink Faucet Replacement
 Not only does replacing a bathroom sink faucet improve the functionality and aesthetics of your bathroom, but it also has other benefits. By doing it yourself, you can save money on hiring a professional plumber. It also gives you the opportunity to choose a faucet that fits your personal style and needs, rather than settling for what was previously installed. Additionally, it can increase the value of your home and make it more appealing to potential buyers.
In conclusion, a bathroom sink faucet may not seem like a significant aspect of house design, but it is essential for our daily routines. By replacing an old or malfunctioning faucet with a new one, you can improve the functionality and appearance of your bathroom. With the right tools and some basic DIY skills, you can easily take on this project and enjoy the benefits of a fully functional and stylish bathroom sink faucet.
Not only does replacing a bathroom sink faucet improve the functionality and aesthetics of your bathroom, but it also has other benefits. By doing it yourself, you can save money on hiring a professional plumber. It also gives you the opportunity to choose a faucet that fits your personal style and needs, rather than settling for what was previously installed. Additionally, it can increase the value of your home and make it more appealing to potential buyers.
In conclusion, a bathroom sink faucet may not seem like a significant aspect of house design, but it is essential for our daily routines. By replacing an old or malfunctioning faucet with a new one, you can improve the functionality and appearance of your bathroom. With the right tools and some basic DIY skills, you can easily take on this project and enjoy the benefits of a fully functional and stylish bathroom sink faucet.