Caulking around a bathroom sink faucet is an important step in keeping your bathroom clean and preventing water damage. It may seem like a daunting task, but with the right materials and technique, you can easily achieve a professional-looking caulk job. Here's a step-by-step guide on how to caulk around a bathroom sink faucet.How to Caulk Around a Bathroom Sink Faucet


How to Caulk Around a Bathroom Sink Faucet
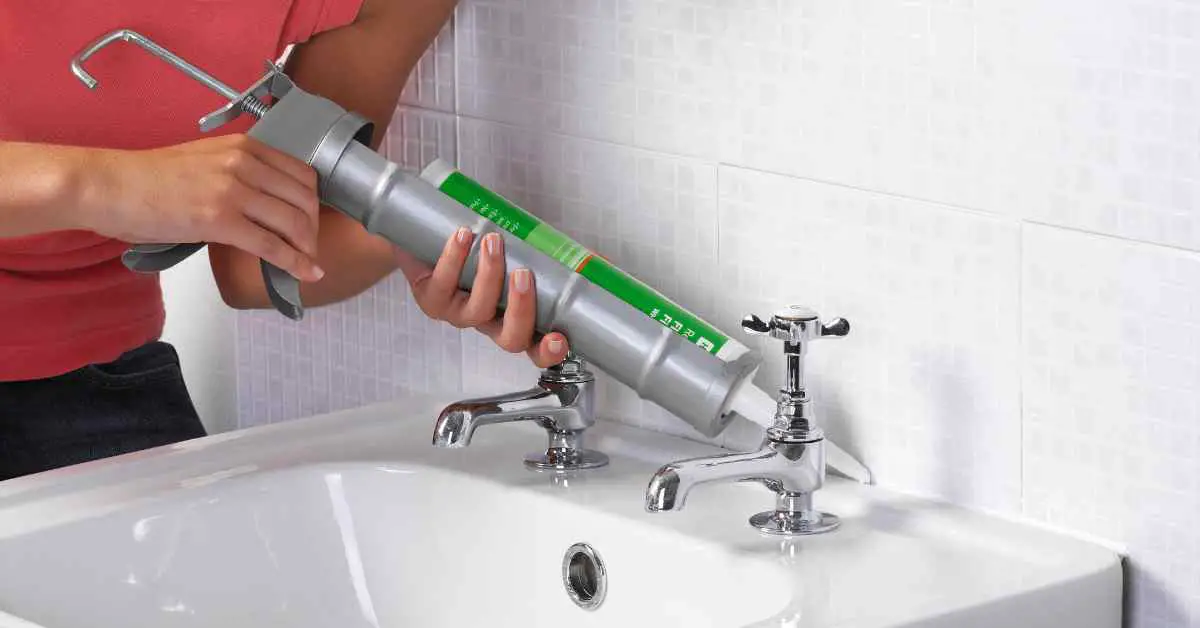


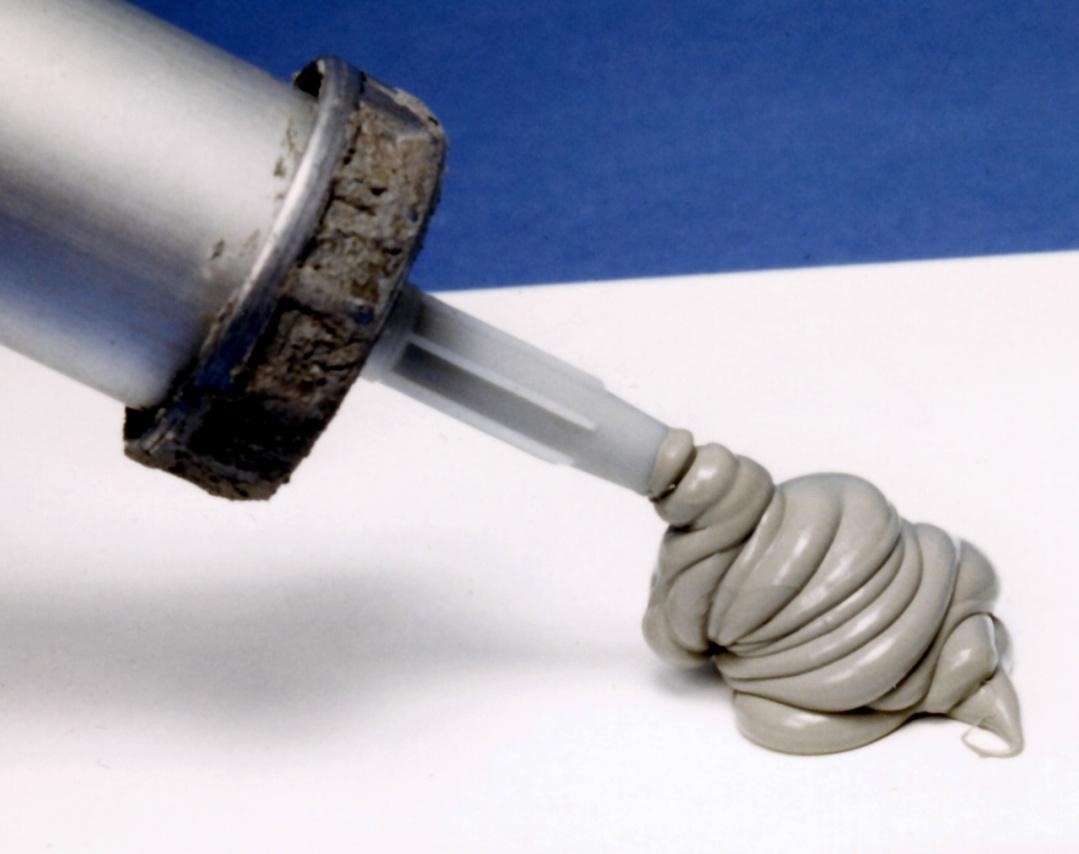
Before we dive into the process, it's important to choose the right caulk for your bathroom sink faucet. The best caulk for this job is a silicone-based caulk, as it is waterproof and flexible. Look for a caulk that is specifically labeled for use in bathrooms and kitchens.Best Caulk for Bathroom Sink Faucet


Best Caulk for Bathroom Sink Faucet


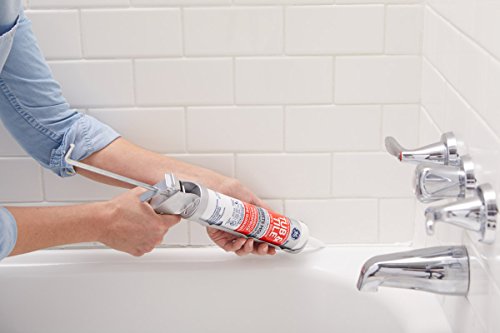


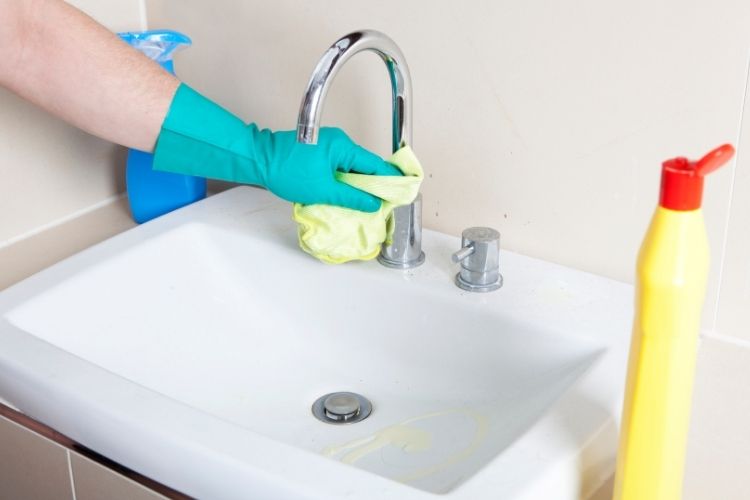
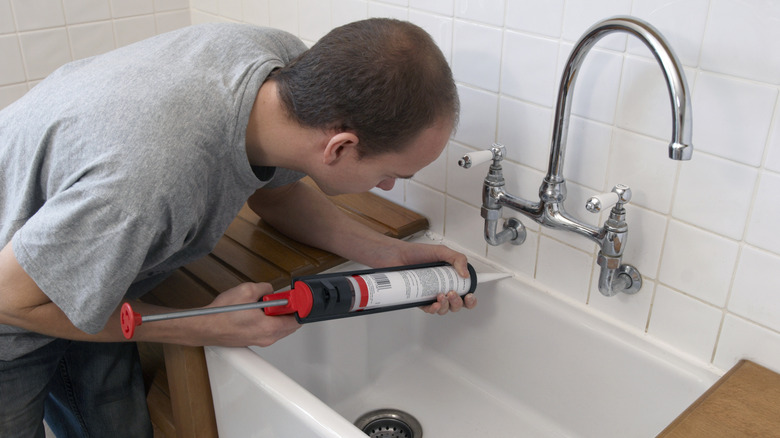
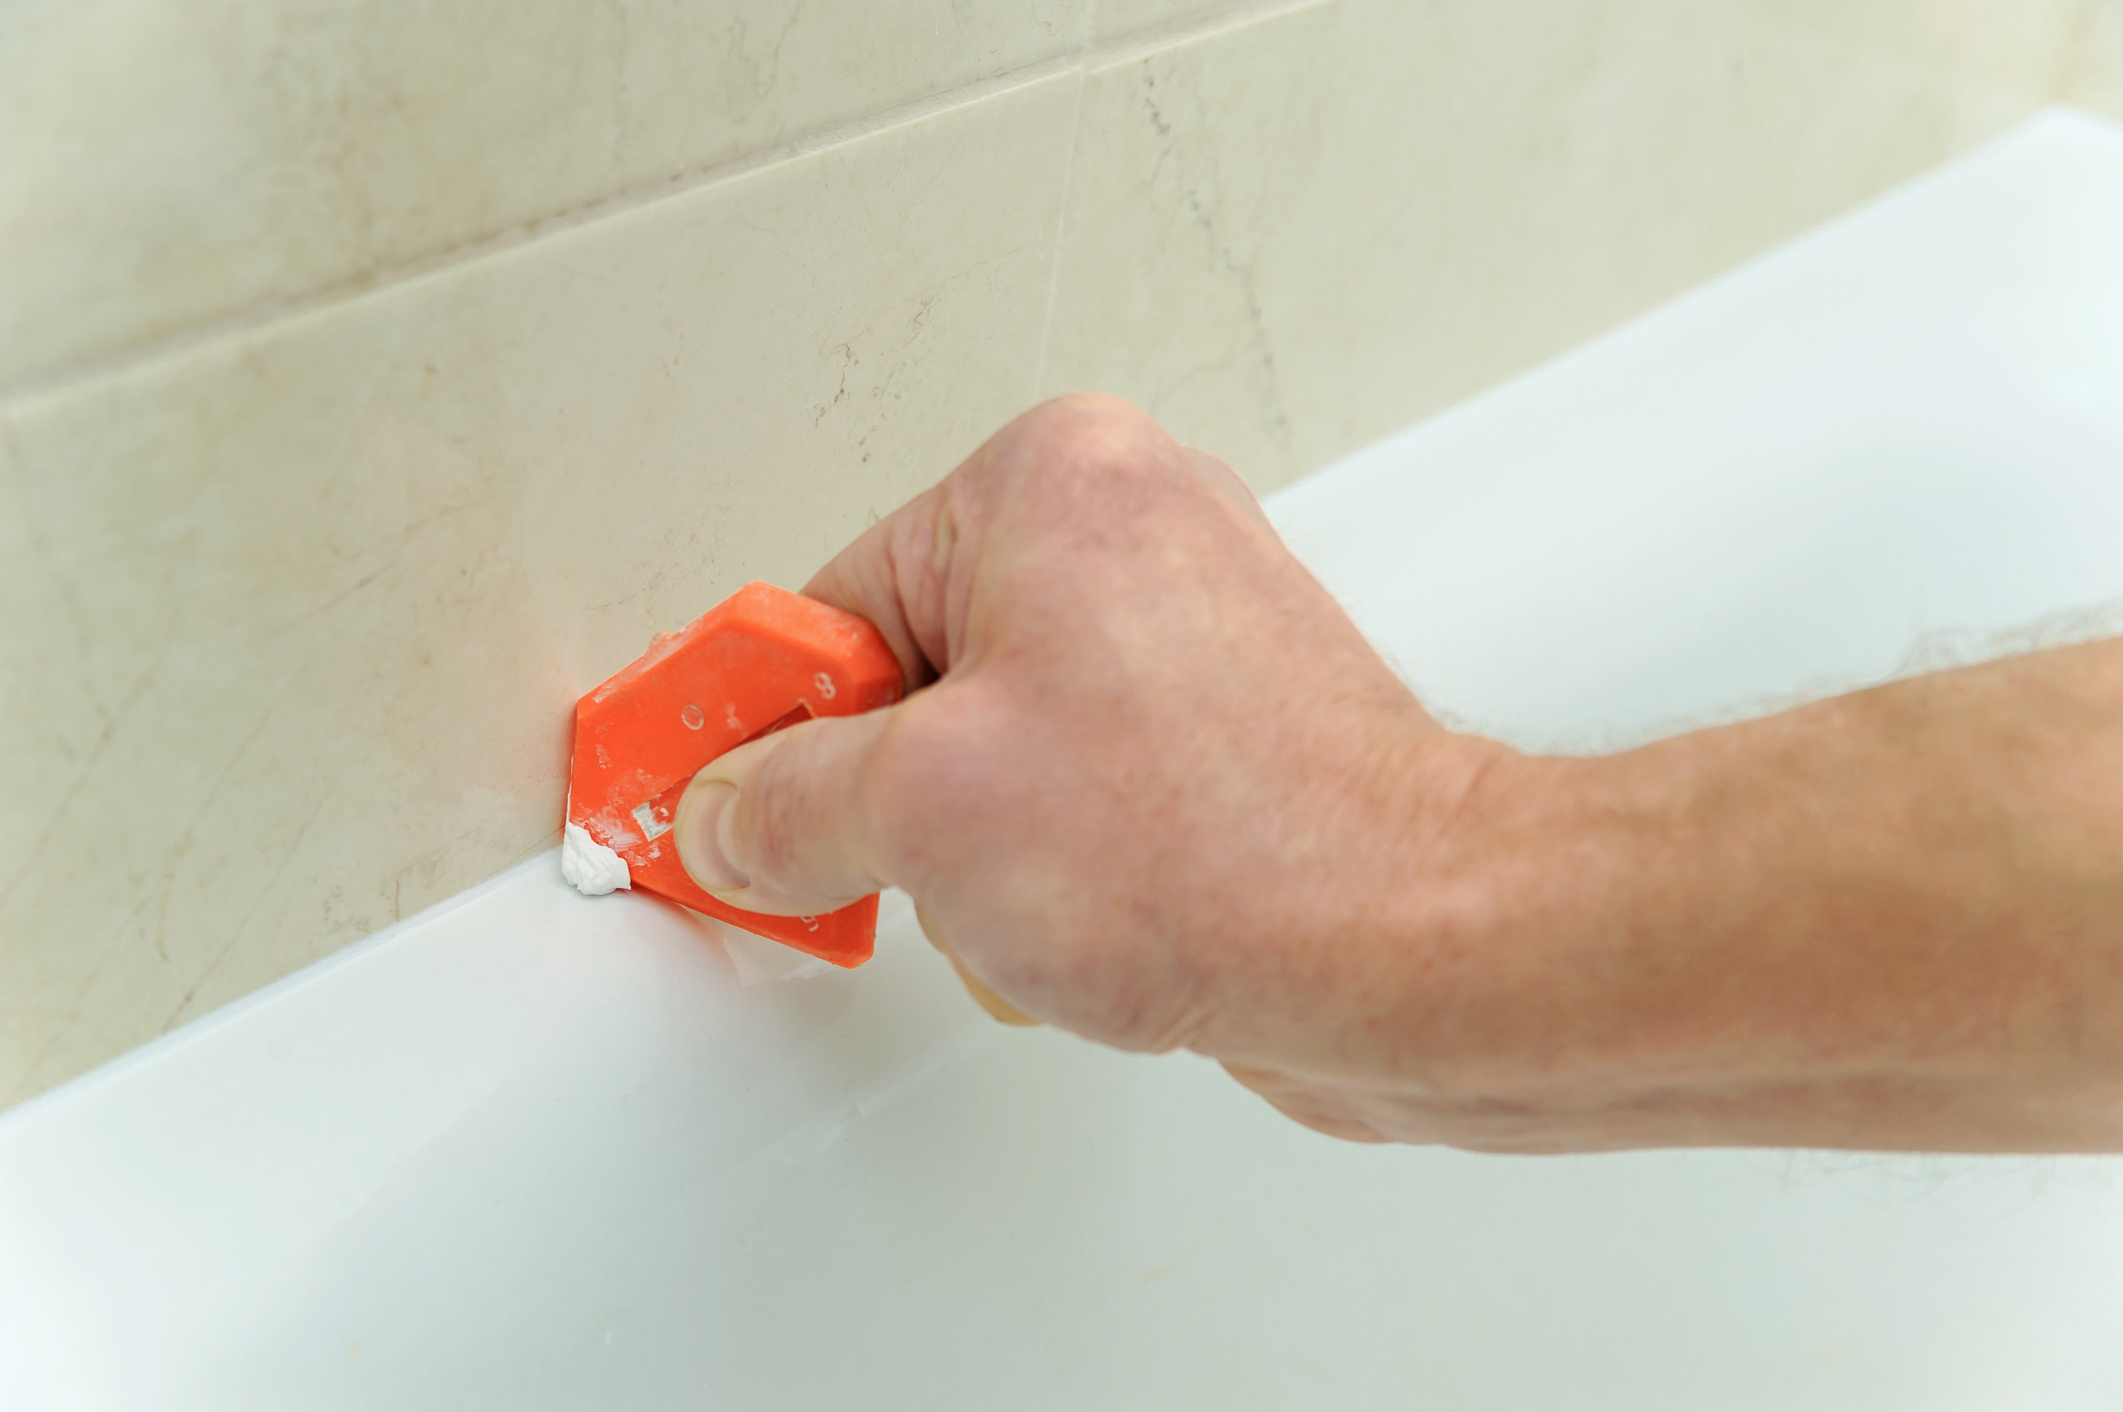
Step 1: Clean the area around the faucet. Use a mild cleaner and a scrub brush to remove any dirt, grime, or old caulk. Make sure to dry the area thoroughly before proceeding. Step 2: Prepare the caulk. Cut the tip of the caulk tube at a 45-degree angle to create a small opening. Use a caulk gun to apply steady pressure and gradually release the caulk as you move along the edge of the faucet. Step 3: Apply the caulk. Start at one end of the faucet and slowly move along the edge, applying a thin and even line of caulk. Use your finger or a caulk smoothing tool to smooth out the caulk and remove any excess. Repeat this step on all sides of the faucet. Step 4: Let it dry. Allow the caulk to dry for at least 24 hours before using the sink. This will ensure that the caulk has fully cured and will provide a watertight seal.Step-by-Step Guide for Caulking Around a Bathroom Sink Faucet


Step-by-Step Guide for Caulking Around a Bathroom Sink Faucet
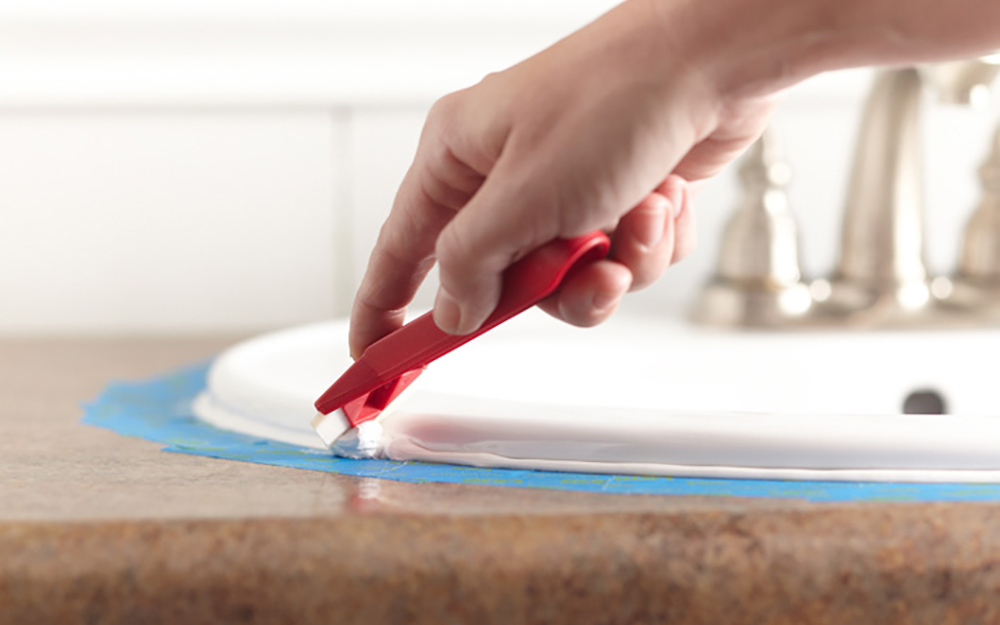


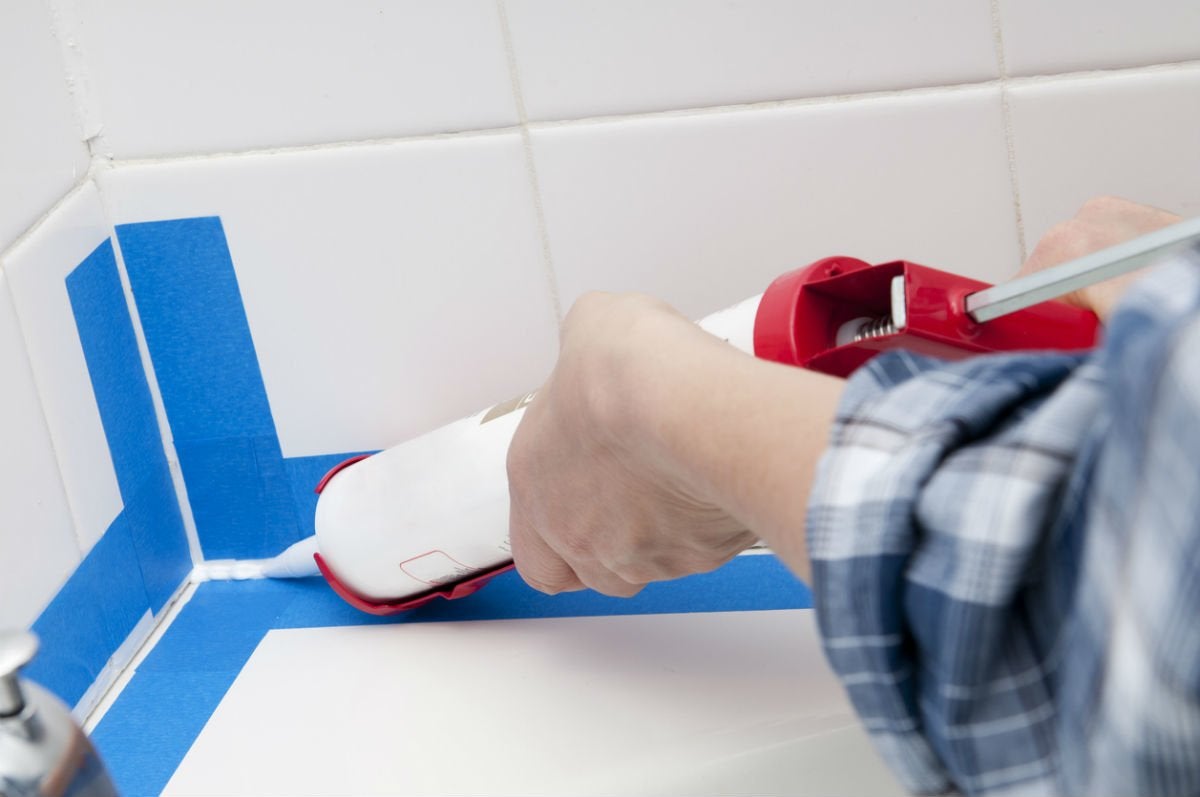
• Use masking tape to create clean, straight lines while caulking. Place the tape along the edge of the faucet and remove it immediately after smoothing the caulk. • Wet your finger or smoothing tool with water before smoothing the caulk. This will help prevent the caulk from sticking to your finger and create a smoother finish. • Use a damp cloth to wipe away any excess caulk before it dries. This will make the clean-up process much easier.Tips for a Professional-Looking Caulk Job Around a Bathroom Sink Faucet


Tips for a Professional-Looking Caulk Job Around a Bathroom Sink Faucet


Caulking around a bathroom sink faucet is more than just a cosmetic touch. It plays a vital role in preventing water damage and mold growth. Without proper caulk, water can seep behind the faucet and cause damage to the walls and cabinets. It can also create a breeding ground for mold and mildew. Proper caulking will ensure that water stays where it should - in the sink.Importance of Properly Caulking Around a Bathroom Sink Faucet


Importance of Properly Caulking Around a Bathroom Sink Faucet


• Not cleaning the area properly before applying caulk. Any dirt or grime left behind can prevent the caulk from adhering properly. • Using the wrong type of caulk. As mentioned before, it's important to use a silicone-based caulk that is specifically labeled for use in bathrooms and kitchens. • Applying too much caulk. This can create a messy and uneven caulk line, as well as waste product.Common Mistakes to Avoid When Caulking Around a Bathroom Sink Faucet


Common Mistakes to Avoid When Caulking Around a Bathroom Sink Faucet


When choosing caulk for your bathroom sink faucet, it's important to consider the following factors: • Waterproof: Look for a caulk that is specifically labeled as waterproof or for use in bathrooms and kitchens. • Durability: Choose a caulk that is flexible and can withstand movement and temperature changes without cracking or shrinking. • Mold and mildew resistance: Look for a caulk that has mold and mildew inhibitors to prevent growth in damp areas like bathrooms.Choosing the Right Caulk for Your Bathroom Sink Faucet


Choosing the Right Caulk for Your Bathroom Sink Faucet

It's recommended to re-caulk around your bathroom sink faucet every 1-2 years. Over time, caulk can become discolored or cracked, and it's important to maintain a watertight seal to prevent any potential damage.How Often Should You Re-Caulk Around Your Bathroom Sink Faucet?


How Often Should You Re-Caulk Around Your Bathroom Sink Faucet?


• Silicone-based caulk • Caulk gun • Scrub brush • Mild cleaner • Masking tape • Caulk smoothing tool • Damp clothTools and Materials Needed for Caulking Around a Bathroom Sink Faucet


Tools and Materials Needed for Caulking Around a Bathroom Sink Faucet

If you don't have access to a caulk gun, you can also use caulk strips or caulk tape to seal around your bathroom sink faucet. These pre-cut strips can be easily applied and smoothed with your finger for a clean finish. Now that you know the importance of properly caulking around your bathroom sink faucet and how to do it, you can easily tackle this task and maintain a clean and functional bathroom. Remember to choose the right caulk, prepare the area properly, and take your time to achieve a professional-looking caulk job. Your bathroom will thank you for it.Alternative Methods for Caulking Around a Bathroom Sink Faucet


Alternative Methods for Caulking Around a Bathroom Sink Faucet


Why Caulking Around Your Bathroom Sink Faucet is Essential for a Polished House Design

What is Caulking and Why is it Important?
 Caulk is a waterproofing material used to seal gaps and joints in various surfaces, including sinks, tubs, and showers. It is usually made of silicone or acrylic and provides a clean and professional finish to your bathroom design. Caulk not only prevents water from seeping into cracks and causing damage, but it also adds a neat and polished look to your bathroom sink faucet.
The Benefits of Caulking Around Your Bathroom Sink Faucet
 Caulking around your bathroom sink faucet has several benefits for both the functionality and design of your bathroom. Firstly, it prevents water from seeping into the gaps between your sink and countertop, which can lead to mold and mildew growth. This not only damages your bathroom but can also be harmful to your health. Additionally, caulk helps to keep your sink and countertop securely in place, preventing any movement or shifting.
Moreover, caulk acts as a barrier against dirt and grime, making it easier to clean and maintain your bathroom sink. It also adds a clean and polished finish to your bathroom design, enhancing the overall aesthetic of your space. Whether you have a modern or traditional bathroom design, caulking around your sink faucet can elevate the look and feel of your space.
Caulking around your bathroom sink faucet has several benefits for both the functionality and design of your bathroom. Firstly, it prevents water from seeping into the gaps between your sink and countertop, which can lead to mold and mildew growth. This not only damages your bathroom but can also be harmful to your health. Additionally, caulk helps to keep your sink and countertop securely in place, preventing any movement or shifting.
Moreover, caulk acts as a barrier against dirt and grime, making it easier to clean and maintain your bathroom sink. It also adds a clean and polished finish to your bathroom design, enhancing the overall aesthetic of your space. Whether you have a modern or traditional bathroom design, caulking around your sink faucet can elevate the look and feel of your space.
How to Caulk Around Your Bathroom Sink Faucet
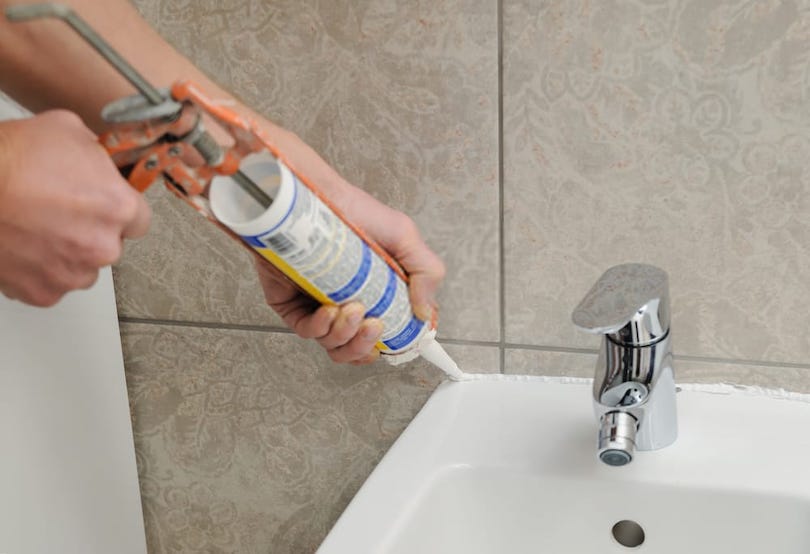
 Caulking around your bathroom sink faucet is a simple and affordable DIY project that can be done in a few easy steps. Firstly, ensure that the area around your faucet is clean and dry before beginning. Next, apply masking tape on either side of the gap between your sink and countertop to create a clean and straight line. Then, using a caulk gun, apply a thin and even layer of caulk along the gap. You can use a wet finger or a caulk smoothing tool to smooth out the caulk and create a clean finish. Lastly, remove the masking tape and let the caulk dry for at least 24 hours before using your sink.
Conclusion
 In conclusion, caulking around your bathroom sink faucet is an essential step in creating a polished and functional bathroom design. It not only prevents water damage and mold growth but also adds a clean and professional finish to your space. With just a few simple steps, you can easily caulk around your bathroom sink faucet and elevate the overall look and feel of your bathroom. Don't neglect this small but crucial detail in your house design and enjoy the benefits of a well-sealed and polished sink faucet.