Are you tired of constantly having to manually open and close the kitchen sink faucet to regulate the water flow? Or are you worried about the potential for cross-contamination from dirty hands turning the faucet on and off? Installing an autovent at your kitchen sink can solve these problems and make your everyday tasks in the kitchen much easier. Here's everything you need to know about installing an autovent at your kitchen sink.Autovent Installation at Kitchen Sink


Autovent Installation at Kitchen Sink

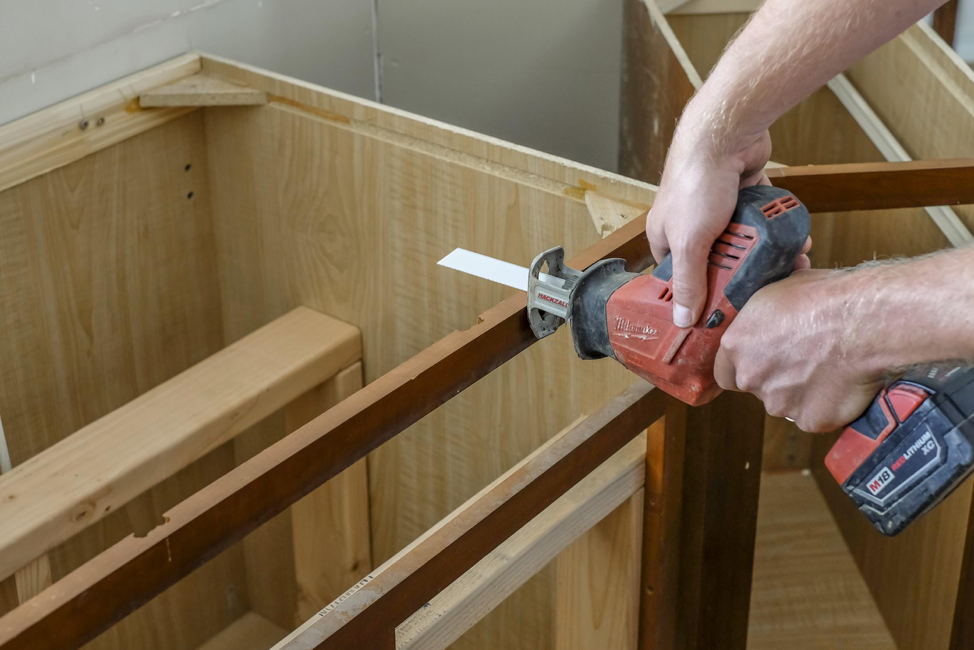

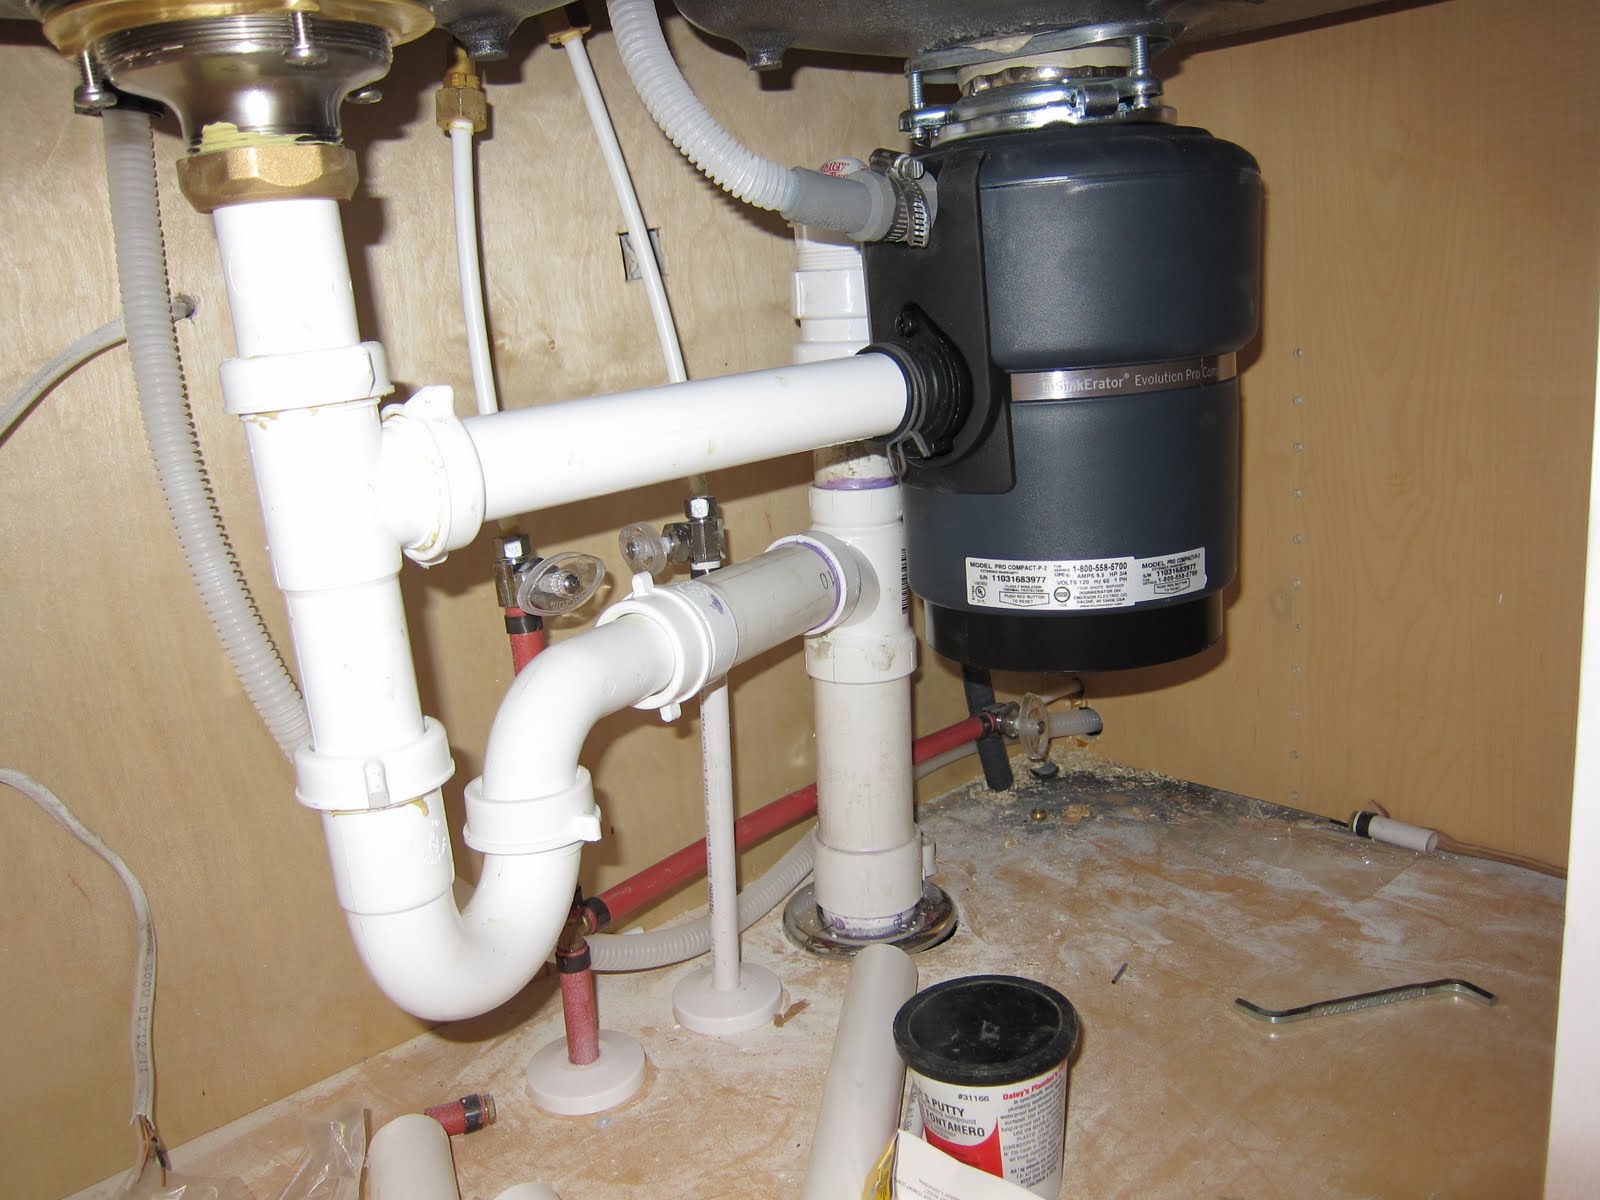
The first step to installing an autovent at your kitchen sink is to gather all the necessary tools and materials. You will need an autovent kit, a drill, a wrench, and plumber's tape. Before you begin, make sure to shut off the main water supply to avoid any accidents. Next, remove the aerator from the end of your faucet and set it aside. Then, using the drill, create a small hole in the center of the faucet head where the aerator was located. Make sure the hole is just large enough to fit the autovent. Take the autovent kit and remove the protective cap from the bottom of the valve. Apply a few layers of plumber's tape to the threads of the valve to ensure a tight seal. Insert the valve into the hole you drilled on the faucet head and use a wrench to tighten it securely. Now, you can reattach the aerator to the end of the faucet. Turn on the water supply and test the autovent by turning the faucet on and off. You should notice a smooth and consistent flow of water, with no need to manually control it.How to Install an Autovent at Your Kitchen Sink


How to Install an Autovent at Your Kitchen Sink
:no_upscale()/cdn.vox-cdn.com/uploads/chorus_asset/file/19495086/drain_0.jpg)


If you're a visual learner, here's a step-by-step guide to help you install an autovent at your kitchen sink: Step 1: Gather all necessary tools and materials. Step 2: Shut off the main water supply. Step 3: Remove the aerator from the end of the faucet. Step 4: Use a drill to create a small hole in the center of the faucet head. Step 5: Remove the protective cap from the autovent valve. Step 6: Apply plumber's tape to the threads of the valve. Step 7: Insert the valve into the hole on the faucet head and tighten with a wrench. Step 8: Reattach the aerator to the faucet. Step 9: Turn on the water supply and test the autovent.Step-by-Step Guide for Installing an Autovent at Your Kitchen Sink


Step-by-Step Guide for Installing an Autovent at Your Kitchen Sink


.jpg)


Here are a few additional tips to keep in mind when installing an autovent at your kitchen sink: Tip 1: Make sure to use a drill bit that is designed for the material your faucet head is made of. This will prevent any damage to your faucet and ensure a proper fit for the autovent. Tip 2: When applying plumber's tape, make sure to wrap it in the direction of the threads to ensure a tight seal. Tip 3: If the autovent is not working properly, check to make sure the valve is inserted correctly and tightly secured with a wrench.Autovent Installation Tips for Your Kitchen Sink


Autovent Installation Tips for Your Kitchen Sink


/how-to-install-a-sink-drain-2718789-hero-24e898006ed94c9593a2a268b57989a3.jpg)
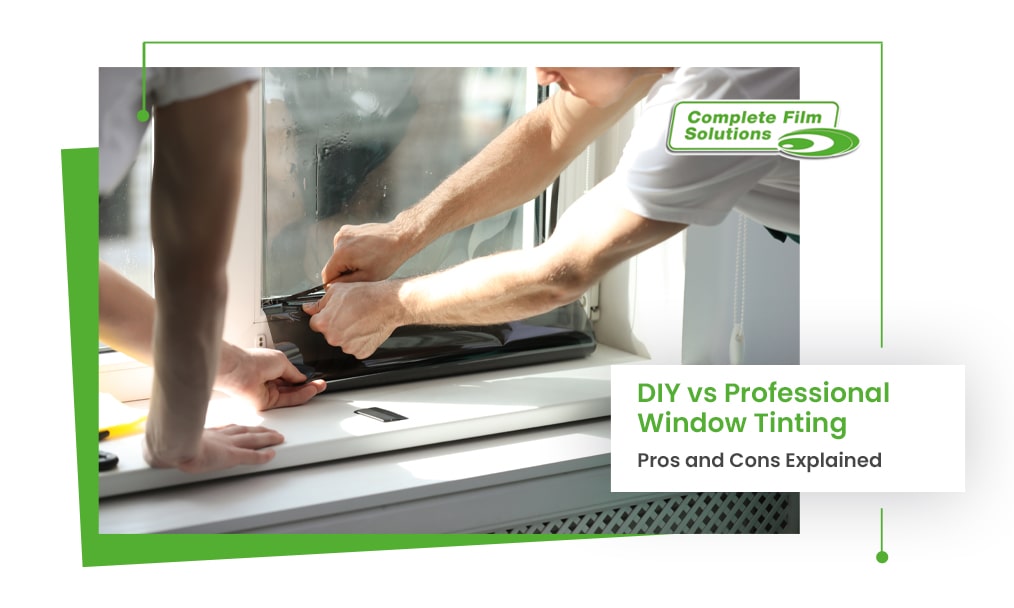
Installing an autovent at your kitchen sink is a relatively simple task that can easily be done yourself. However, if you are not comfortable with DIY projects or do not have the necessary tools, it is always best to hire a professional plumber to ensure the job is done correctly.DIY Autovent Installation at Your Kitchen Sink


DIY Autovent Installation at Your Kitchen Sink


:no_upscale()/cdn.vox-cdn.com/uploads/chorus_asset/file/19495086/drain_0.jpg)
Autovents are a great addition to any kitchen sink, providing convenience and eliminating the risk of cross-contamination. However, it is important to note that not all autovents are compatible with every faucet. Make sure to check the specifications of the autovent before purchasing to ensure it will work with your specific faucet model.Autovent Installation: What You Need to Know for Your Kitchen Sink


Autovent Installation: What You Need to Know for Your Kitchen Sink


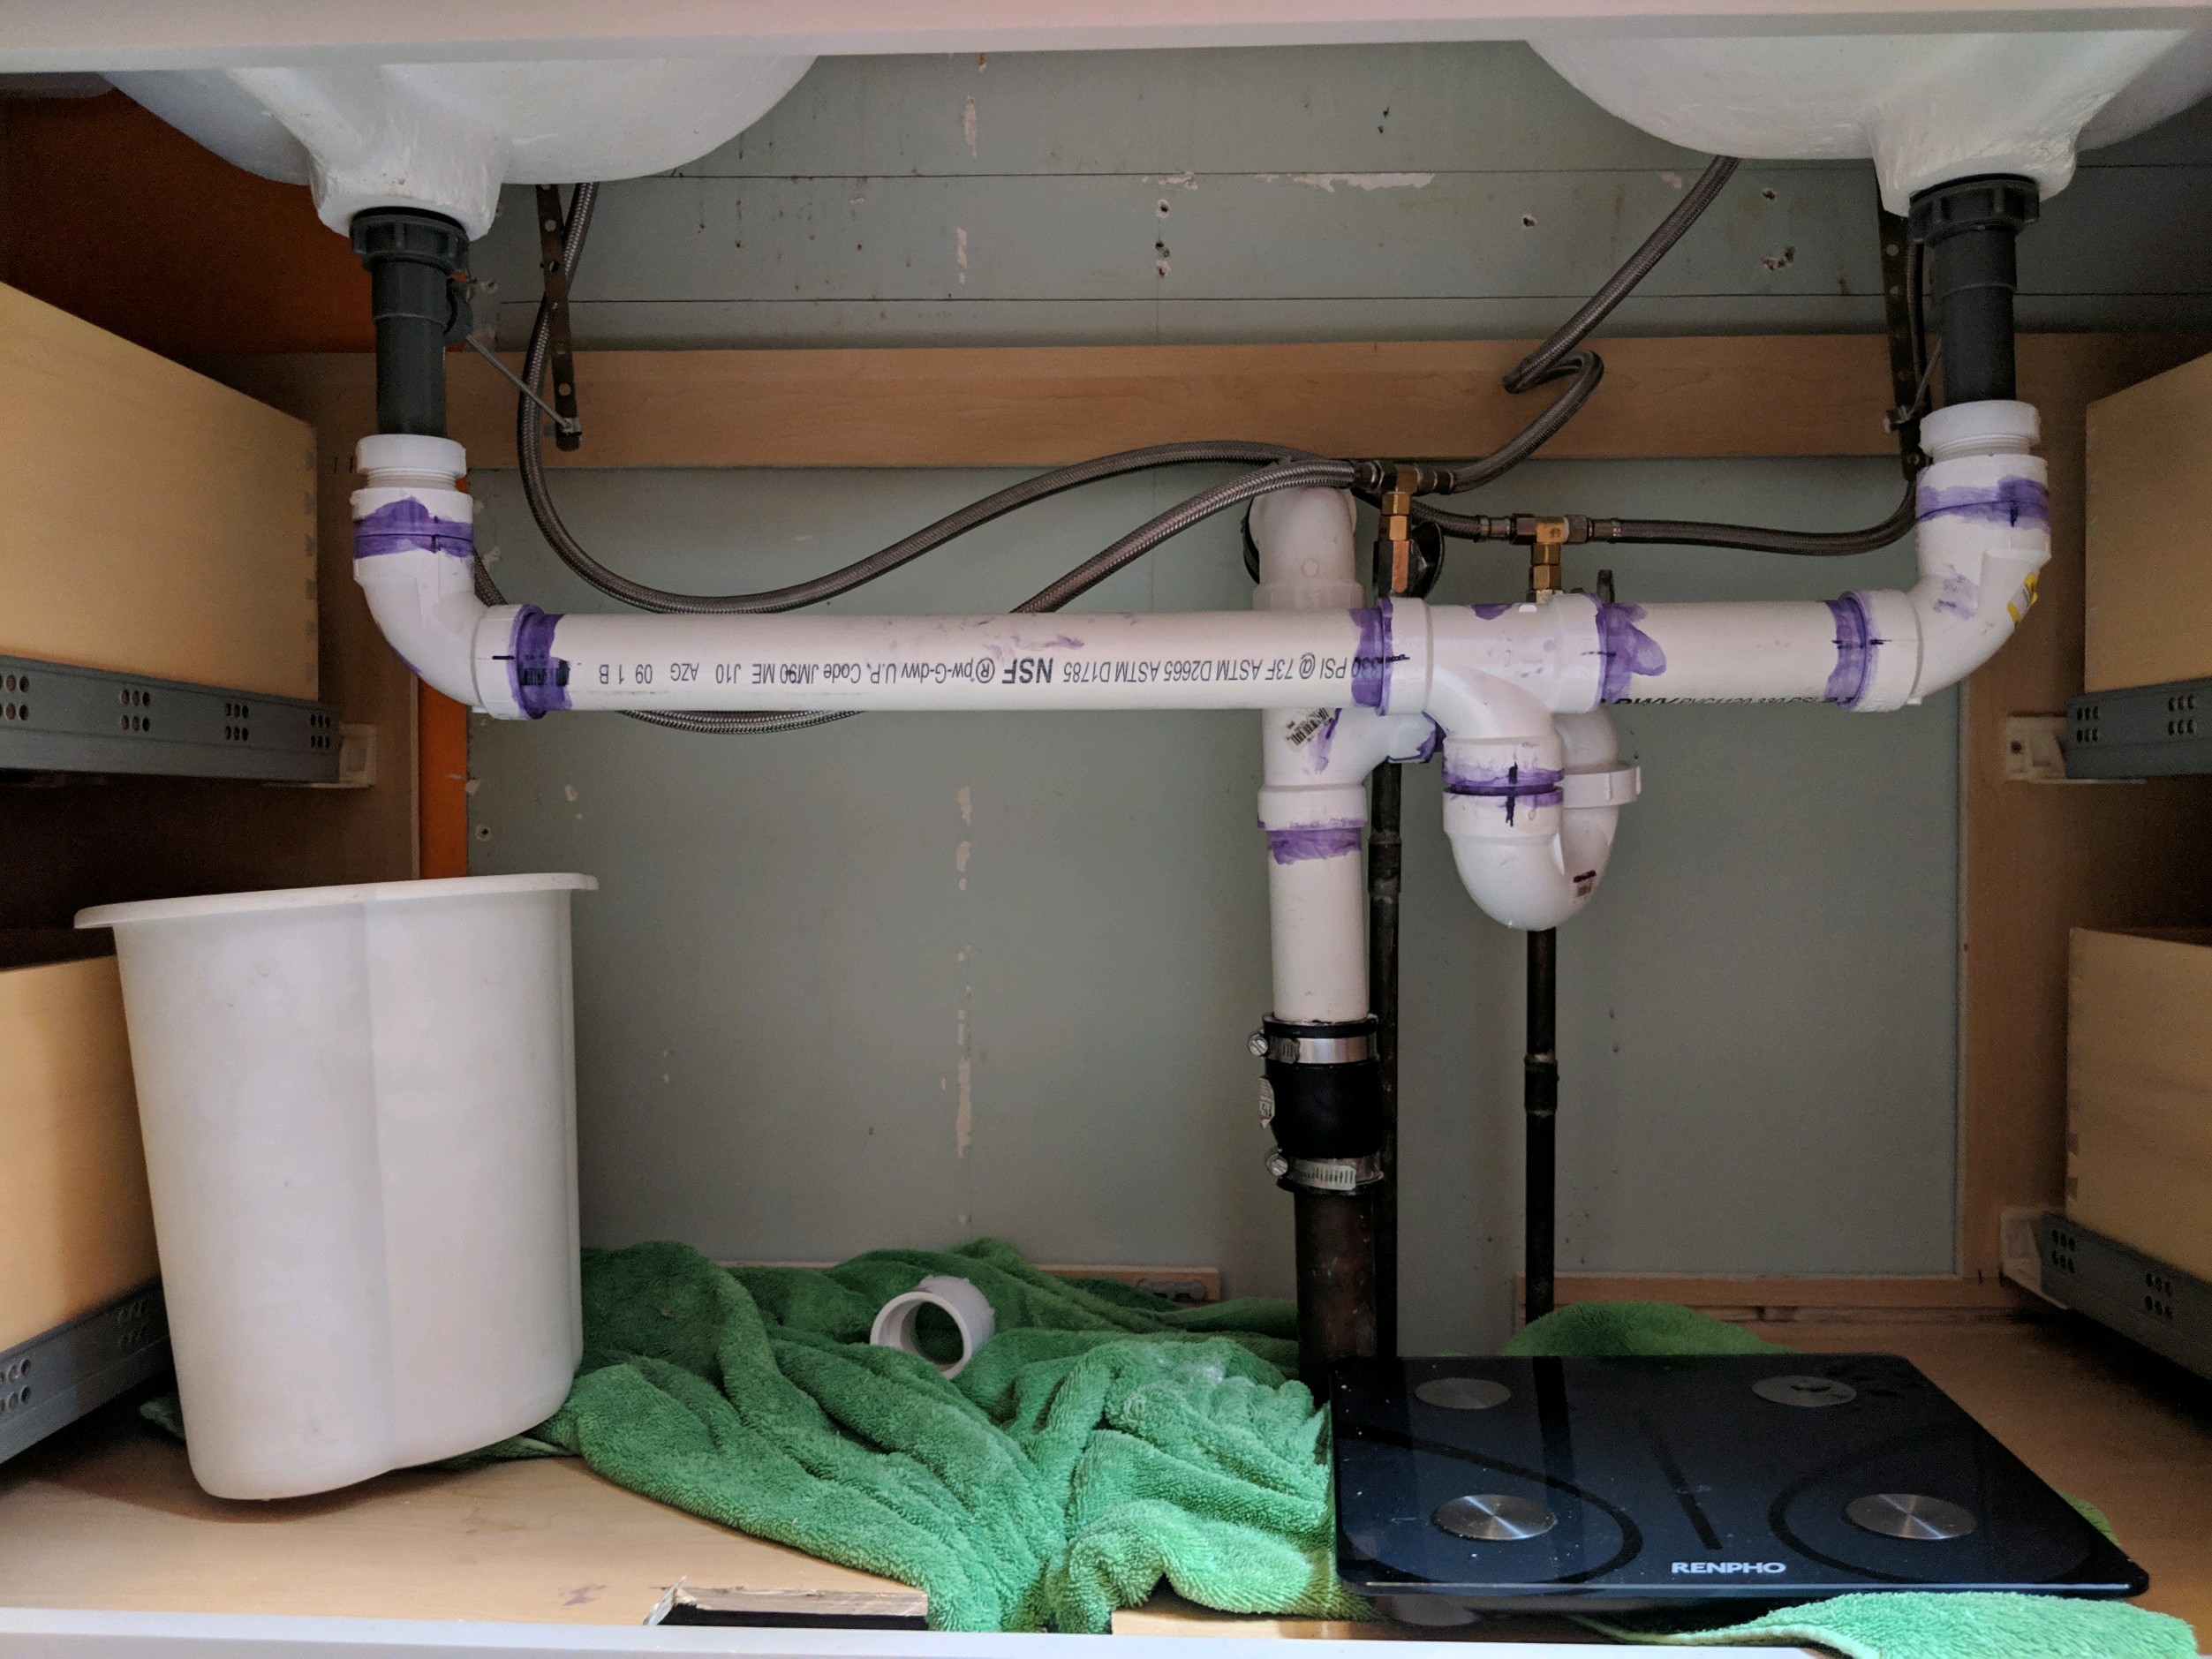
One common mistake when installing an autovent at your kitchen sink is not drilling the hole in the faucet head correctly. If the hole is too large, the autovent will not fit securely and may cause leaks. It is also important to make sure the valve is inserted tightly and securely with a wrench to prevent any issues with water flow.Installing an Autovent at Your Kitchen Sink: Common Mistakes to Avoid

Installing an Autovent at Your Kitchen Sink: Common Mistakes to Avoid


To recap, here are the tools and materials you will need to install an autovent at your kitchen sink: Tools: Drill, wrench Materials: Autovent kit, plumber's tapeAutovent Installation: Tools and Materials You'll Need for Your Kitchen Sink


Autovent Installation: Tools and Materials You'll Need for Your Kitchen Sink


:no_upscale()/cdn.vox-cdn.com/uploads/chorus_asset/file/19495086/drain_0.jpg)
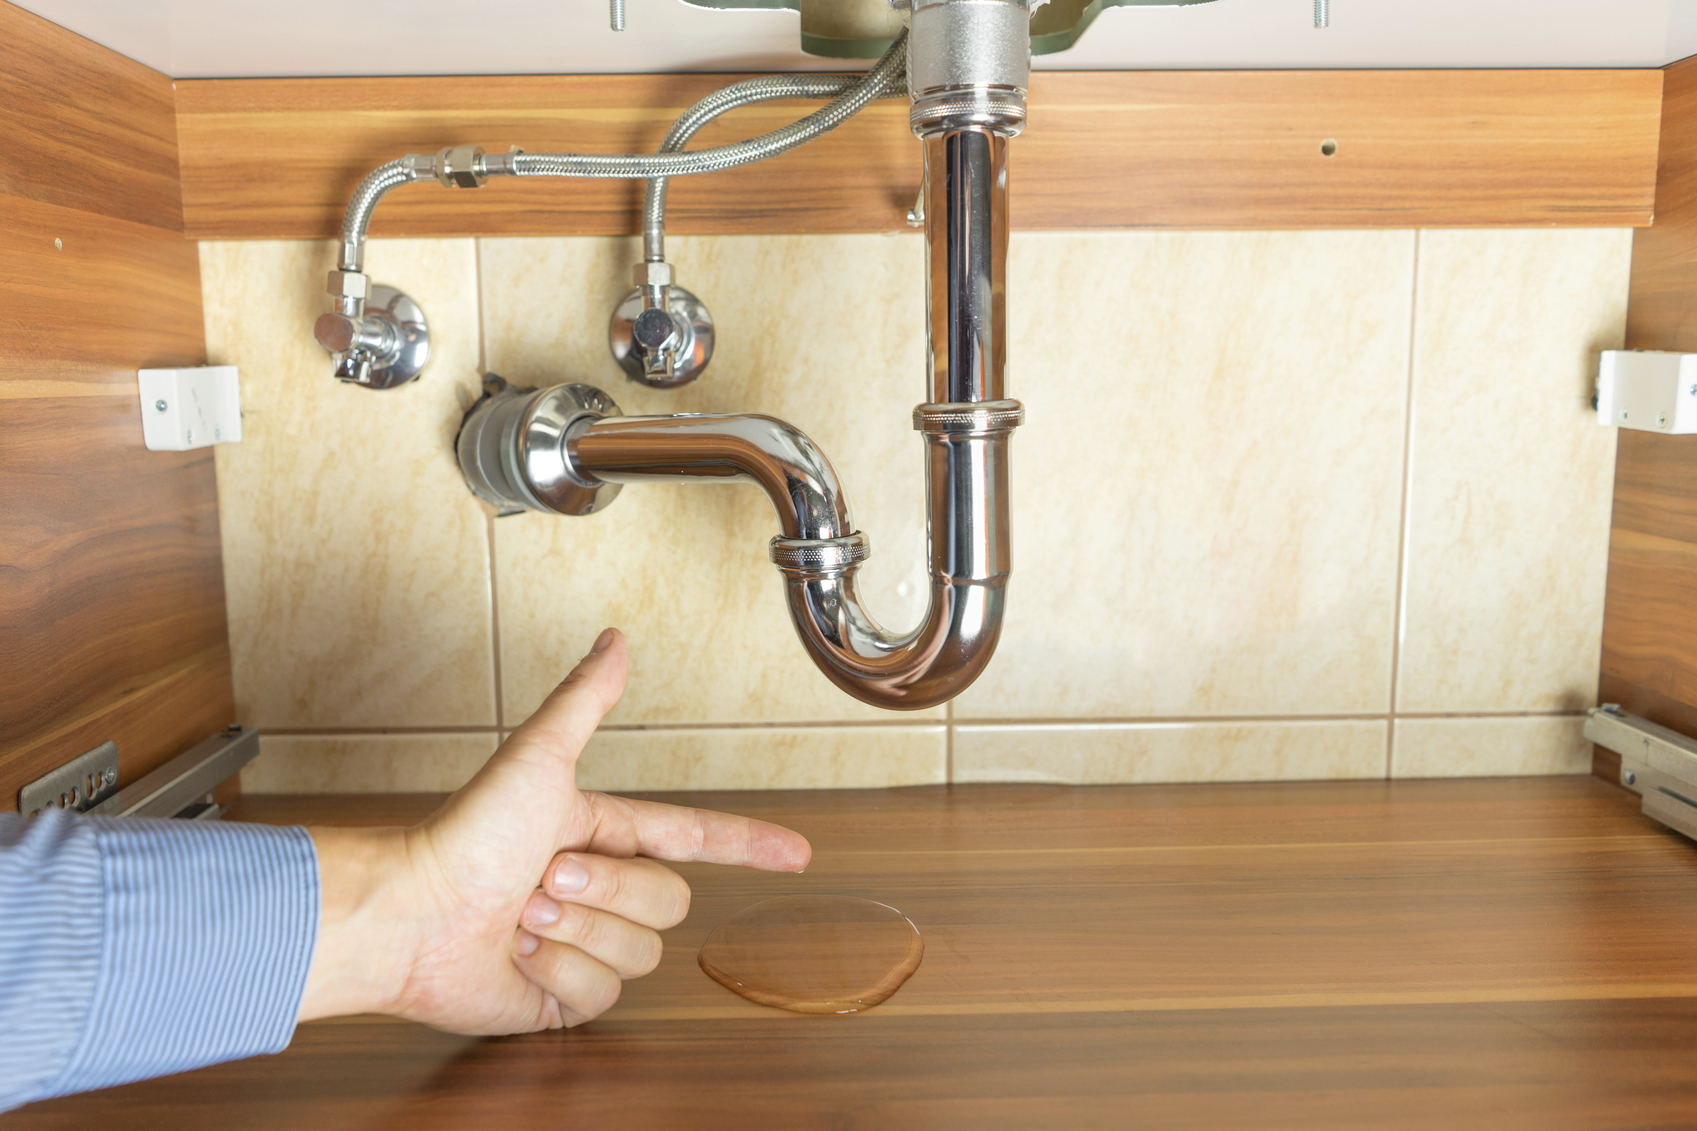
If you encounter any problems with your autovent after installation, here are a few troubleshooting tips: Issue: Water flow is inconsistent or too weak. Solution: Check to make sure the valve is inserted correctly and tightly secured with a wrench. If the problem persists, the autovent may not be compatible with your faucet model. Issue: Water is leaking from the autovent. Solution: Make sure the valve is inserted securely and that the hole in the faucet head is the correct size. If the leak continues, the autovent may need to be replaced.How to Troubleshoot Common Issues with Autovent Installation at Your Kitchen Sink


How to Troubleshoot Common Issues with Autovent Installation at Your Kitchen Sink


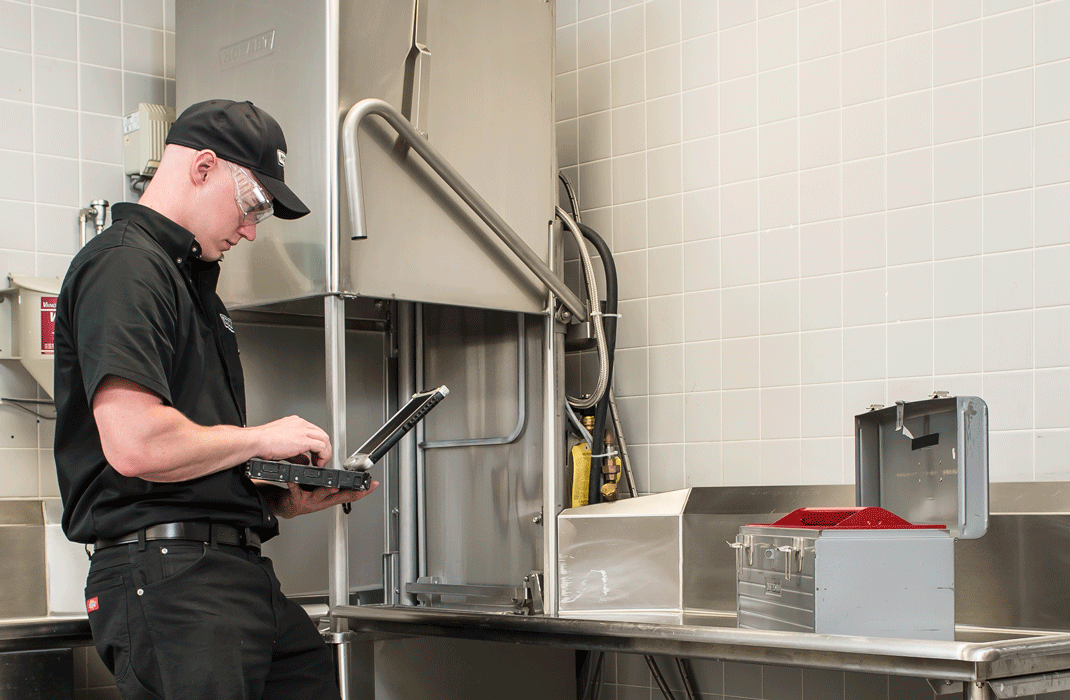


As mentioned earlier, installing an autovent at your kitchen sink can easily be done as a DIY project. However, if you are not comfortable with DIY projects or do not have the necessary tools, it is always best to hire a professional plumber. They have the expertise and experience to ensure the job is done correctly and without any issues. Now that you know all the steps and tips for installing an autovent at your kitchen sink, you can enjoy the convenience and peace of mind it provides. Say goodbye to manually controlling your faucet and hello to a hands-free, hygienic solution for your kitchen sink. Happy installing!Autovent Installation: Professional vs. DIY for Your Kitchen Sink

Autovent Installation: Professional vs. DIY for Your Kitchen Sink


Why You Should Consider Installing an Autovent at Your Kitchen Sink
The Importance of Proper Ventilation in Your Kitchen
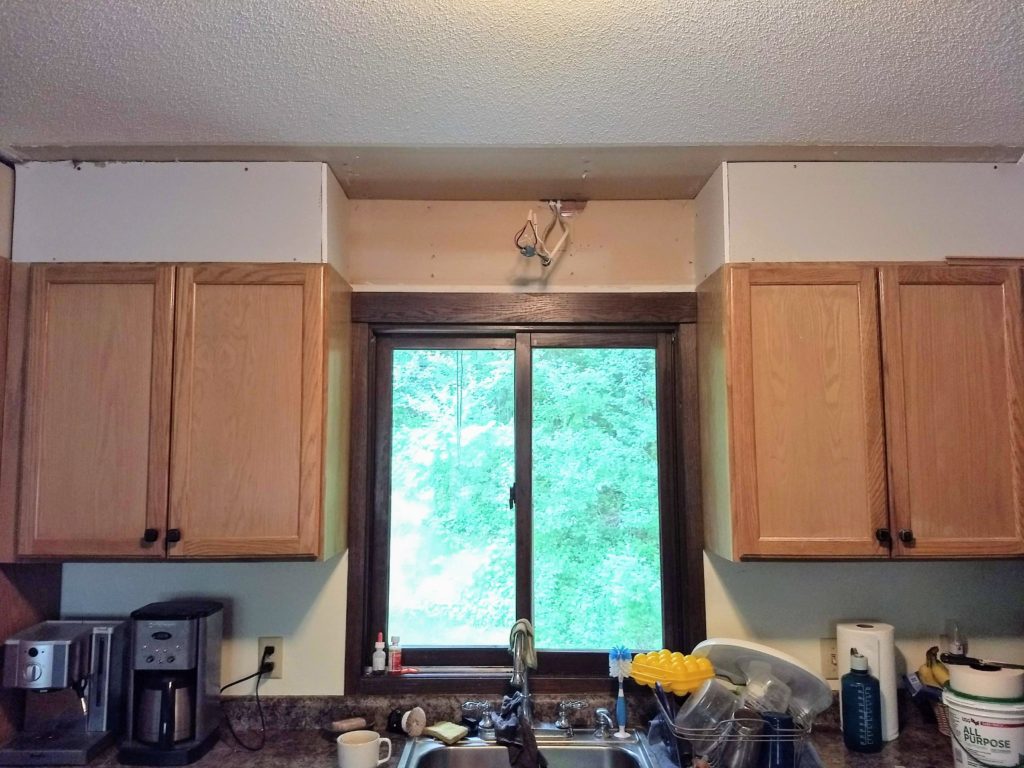
 When it comes to designing your dream house, it's important to pay attention to even the smallest details. One aspect that is often overlooked is proper ventilation in the kitchen. Many homeowners focus on the aesthetics and functionality of their kitchen, but fail to realize the importance of good air flow.
Proper ventilation not only improves the air quality in your kitchen, but also plays a crucial role in preventing mold, mildew, and other harmful pollutants from building up.
This is where an
autovent
comes in.
When it comes to designing your dream house, it's important to pay attention to even the smallest details. One aspect that is often overlooked is proper ventilation in the kitchen. Many homeowners focus on the aesthetics and functionality of their kitchen, but fail to realize the importance of good air flow.
Proper ventilation not only improves the air quality in your kitchen, but also plays a crucial role in preventing mold, mildew, and other harmful pollutants from building up.
This is where an
autovent
comes in.
What is an Autovent?
 An
autovent
is a ventilation system that
automatically opens and closes based on the humidity levels in your kitchen
. This means that it will open when the humidity levels are high and close when they are low. This helps to
keep your kitchen well-ventilated at all times
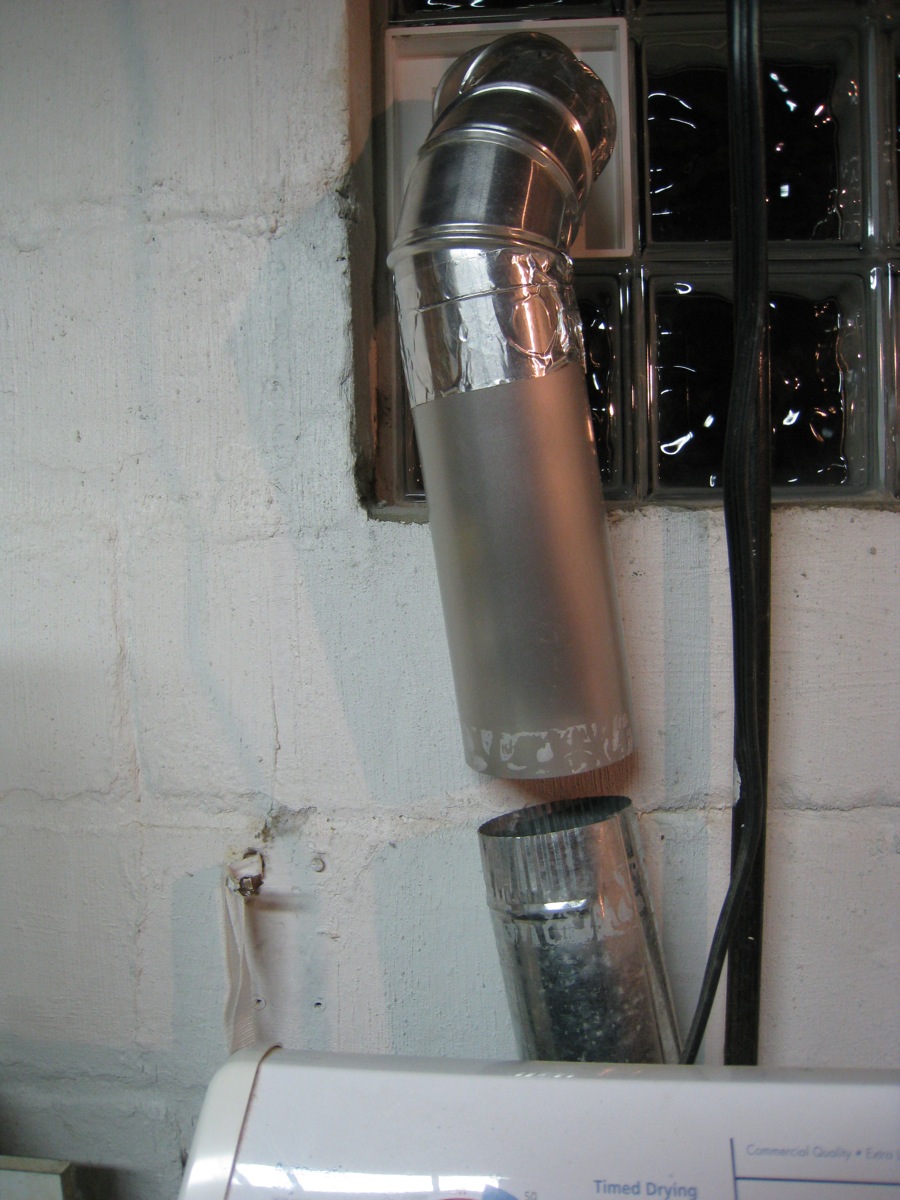
, without you having to manually adjust it. It is typically installed in the ceiling or wall above your kitchen sink, making it an ideal solution for kitchens with limited space.
An
autovent
is a ventilation system that
automatically opens and closes based on the humidity levels in your kitchen
. This means that it will open when the humidity levels are high and close when they are low. This helps to
keep your kitchen well-ventilated at all times
, without you having to manually adjust it. It is typically installed in the ceiling or wall above your kitchen sink, making it an ideal solution for kitchens with limited space.
The Benefits of Installing an Autovent at Your Kitchen Sink
 Aside from the convenience of not having to manually adjust your ventilation system, there are numerous benefits to installing an
autovent
at your kitchen sink.
First and foremost, it helps to eliminate unwanted odors and moisture
from your kitchen. This is especially important if you do a lot of cooking that involves boiling or steaming, as these activities can create excess moisture in the air. An
autovent
will help to keep your kitchen smelling fresh and prevent any potential mold or mildew growth.
Additionally, an
autovent
can also
improve the energy efficiency of your kitchen
. By automatically opening and closing based on humidity levels, it helps to regulate the temperature in your kitchen. This means that your air conditioning or heating unit won't have to work as hard to maintain a comfortable temperature, ultimately saving you money on your energy bills.
Aside from the convenience of not having to manually adjust your ventilation system, there are numerous benefits to installing an
autovent
at your kitchen sink.
First and foremost, it helps to eliminate unwanted odors and moisture
from your kitchen. This is especially important if you do a lot of cooking that involves boiling or steaming, as these activities can create excess moisture in the air. An
autovent
will help to keep your kitchen smelling fresh and prevent any potential mold or mildew growth.
Additionally, an
autovent
can also
improve the energy efficiency of your kitchen
. By automatically opening and closing based on humidity levels, it helps to regulate the temperature in your kitchen. This means that your air conditioning or heating unit won't have to work as hard to maintain a comfortable temperature, ultimately saving you money on your energy bills.
In Conclusion
 While it may seem like a small detail,
proper ventilation is essential in any kitchen
. Installing an
autovent
at your kitchen sink can not only improve the air quality in your kitchen, but also help to prevent potential issues such as mold and mildew. It is a convenient and energy-efficient solution that every homeowner should consider when designing their dream house. So if you're in the process of building or renovating your kitchen, make sure to
include an autovent in your design plans
.
While it may seem like a small detail,
proper ventilation is essential in any kitchen
. Installing an
autovent
at your kitchen sink can not only improve the air quality in your kitchen, but also help to prevent potential issues such as mold and mildew. It is a convenient and energy-efficient solution that every homeowner should consider when designing their dream house. So if you're in the process of building or renovating your kitchen, make sure to
include an autovent in your design plans
.


