Installing a new kitchen sink can be a daunting task, but with the right instructions, it can be a simple and straightforward process. In this article, we will provide you with the top 10 Blanco kitchen sink installation instructions to help you achieve a professional and seamless installation. From step-by-step guides to video tutorials and troubleshooting tips, we have got you covered. So let's get started!Blanco Kitchen Sink Installation Instructions

Blanco Kitchen Sink Installation Instructions


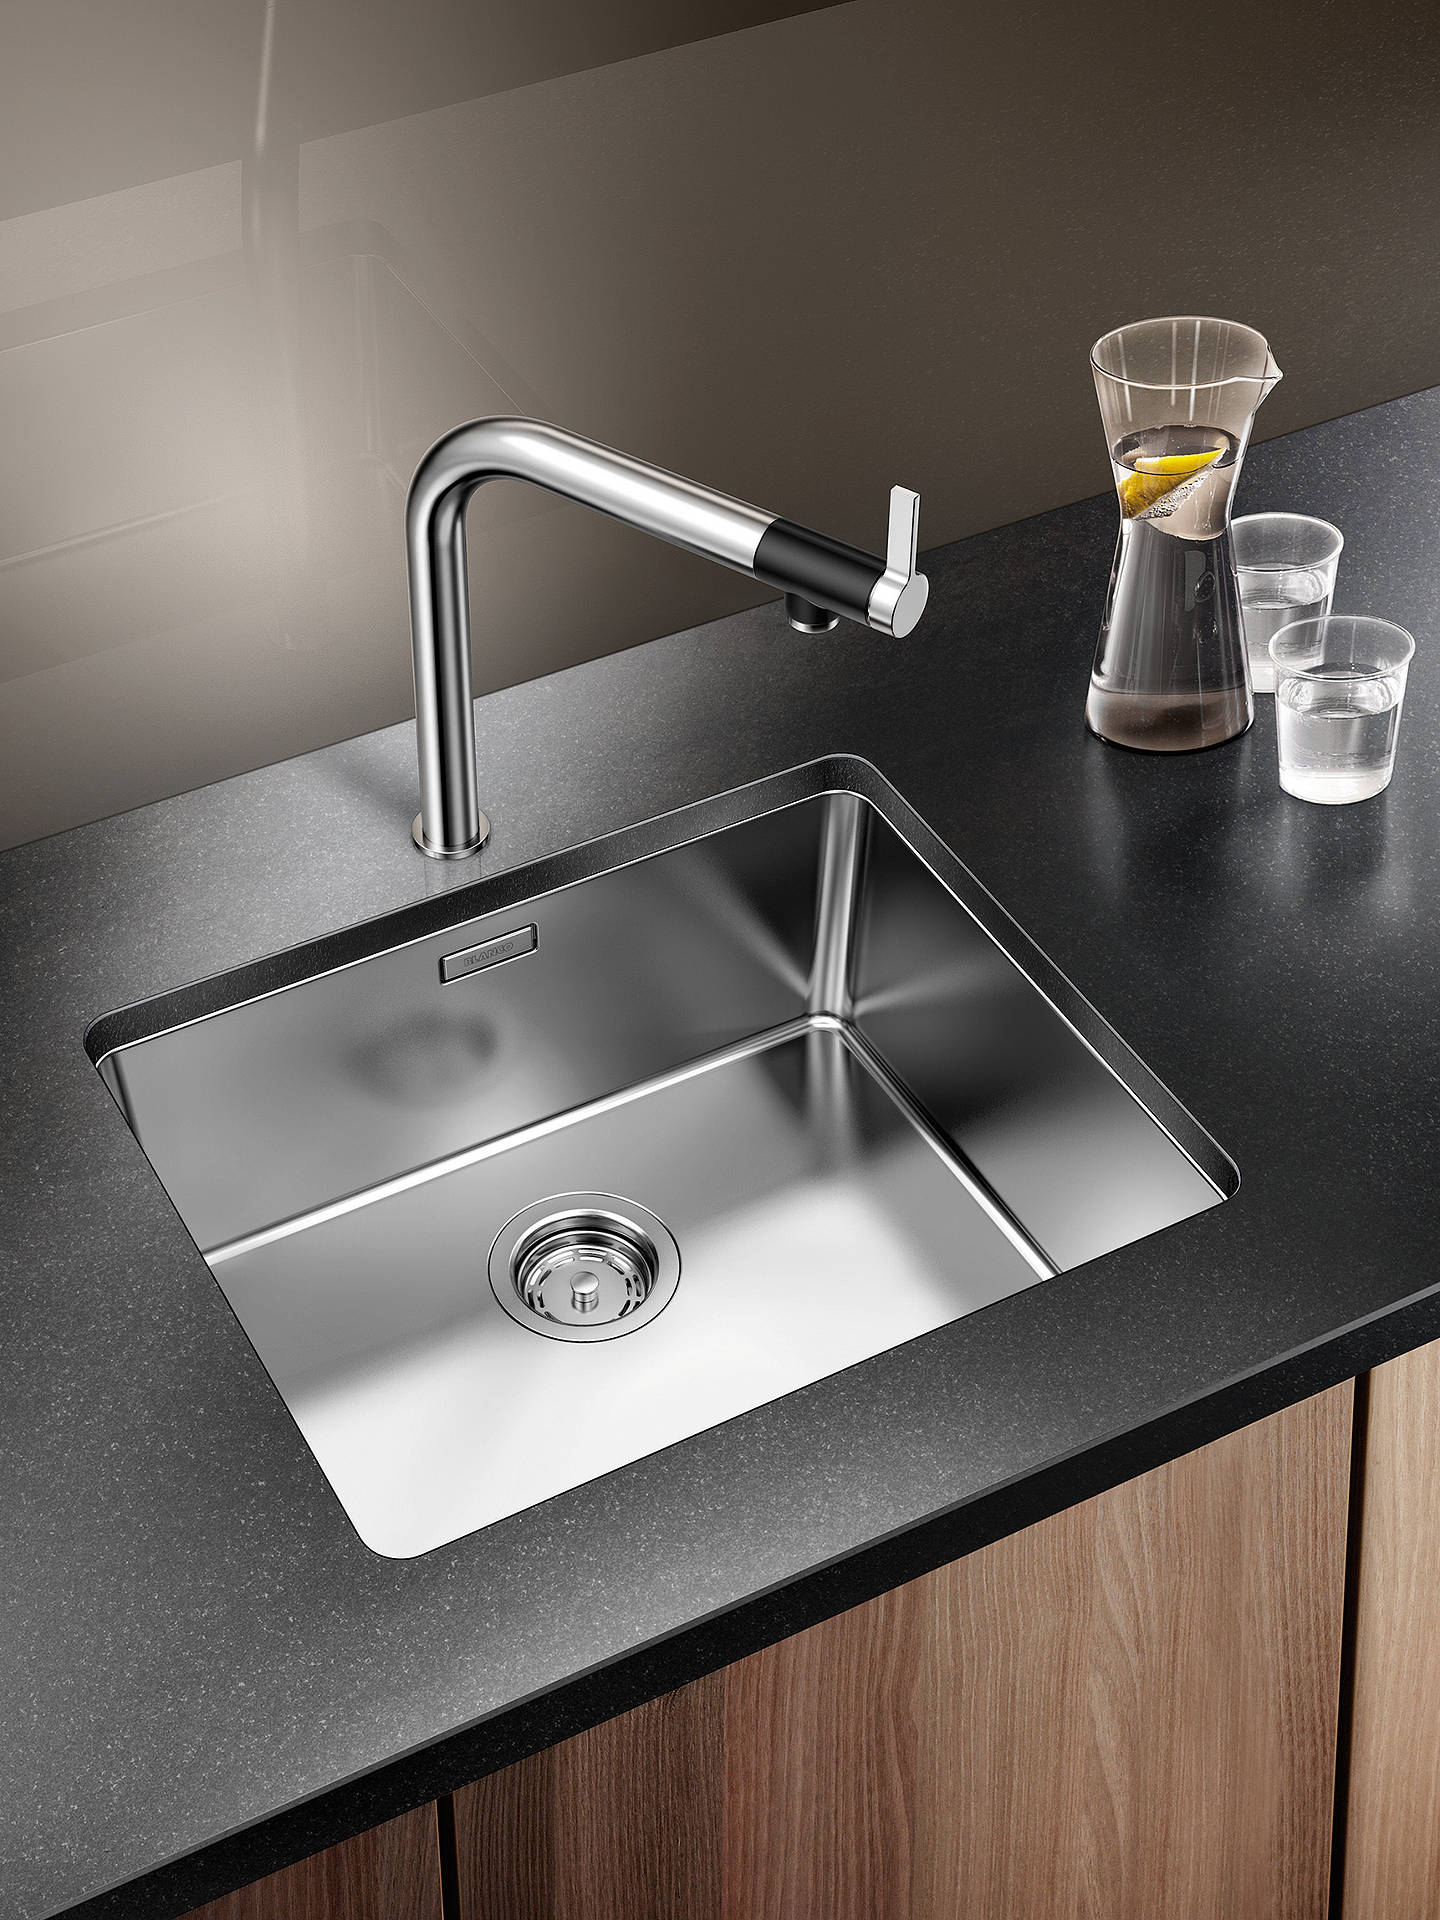
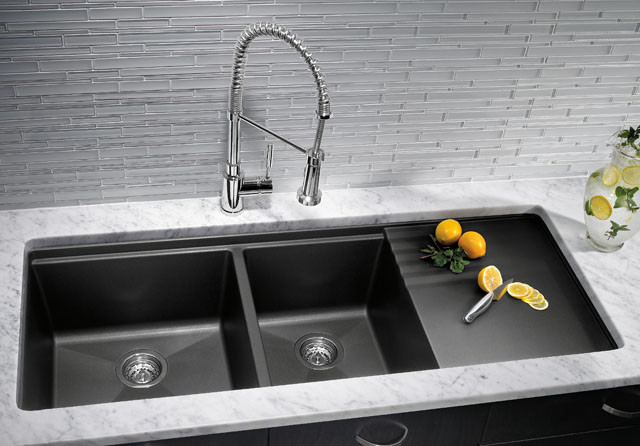
If you are wondering how to install a Blanco kitchen sink, you have come to the right place. The first step is to gather all the necessary tools and materials, including a level, silicone caulk, a drill, and a screwdriver. Then, carefully read through the manufacturer's instructions and make sure to follow them correctly. Next, you will need to measure and mark the position of your sink on the countertop and cut out the hole using a jigsaw. Once the hole is cut, you can proceed with the actual installation process.How to Install a Blanco Kitchen Sink


How to Install a Blanco Kitchen Sink


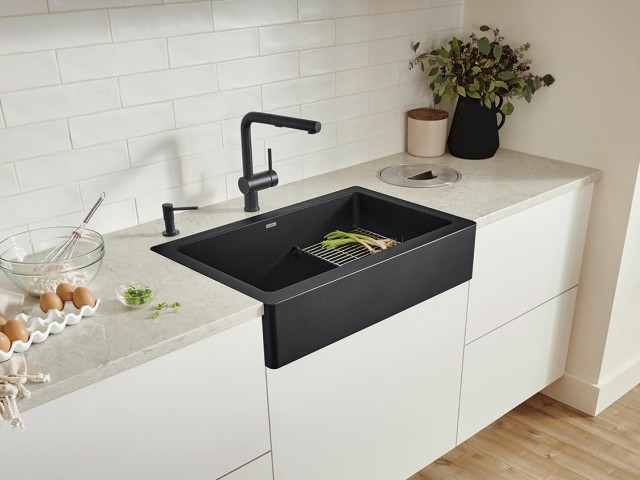
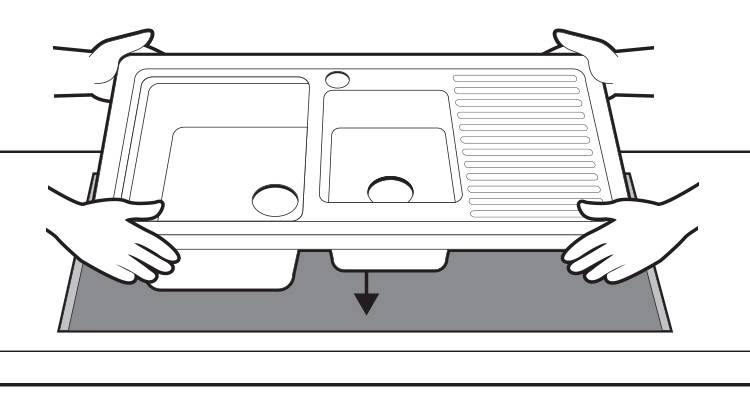
To ensure a smooth and successful installation, it is essential to follow a step-by-step guide. Here is a simple guide to help you install your Blanco kitchen sink: Step 1: Prepare the countertop by cleaning and removing any debris or old caulk. Step 2: Apply a thin bead of silicone caulk around the edge of the sink cutout. Step 3: Carefully lower the sink into the cutout and press down firmly to create a seal with the caulk. Step 4: Secure the sink in place by tightening the mounting clips underneath. Step 5: Connect the water supply lines and drain pipes to the sink. Step 6: Test the sink by running water and checking for any leaks. Step 7: Apply a final bead of silicone caulk around the edge of the sink to create a waterproof seal.Step-by-Step Guide for Installing a Blanco Kitchen Sink


Step-by-Step Guide for Installing a Blanco Kitchen Sink


If you are a visual learner, watching a video tutorial can be extremely helpful. Luckily, Blanco has a comprehensive installation video tutorial on their website that guides you through the entire process. This video also includes helpful tips and tricks to ensure a successful installation. So if you are feeling unsure about any step, be sure to check out their video tutorial before proceeding.Blanco Kitchen Sink Installation Video Tutorial

Blanco Kitchen Sink Installation Video Tutorial

The installation manual is a crucial document that provides detailed instructions and diagrams on how to install your Blanco kitchen sink correctly. It also includes important information on the care and maintenance of your sink. Be sure to read through the manual before starting the installation process to ensure you have all the necessary tools and knowledge.Blanco Kitchen Sink Installation Manual

Blanco Kitchen Sink Installation Manual


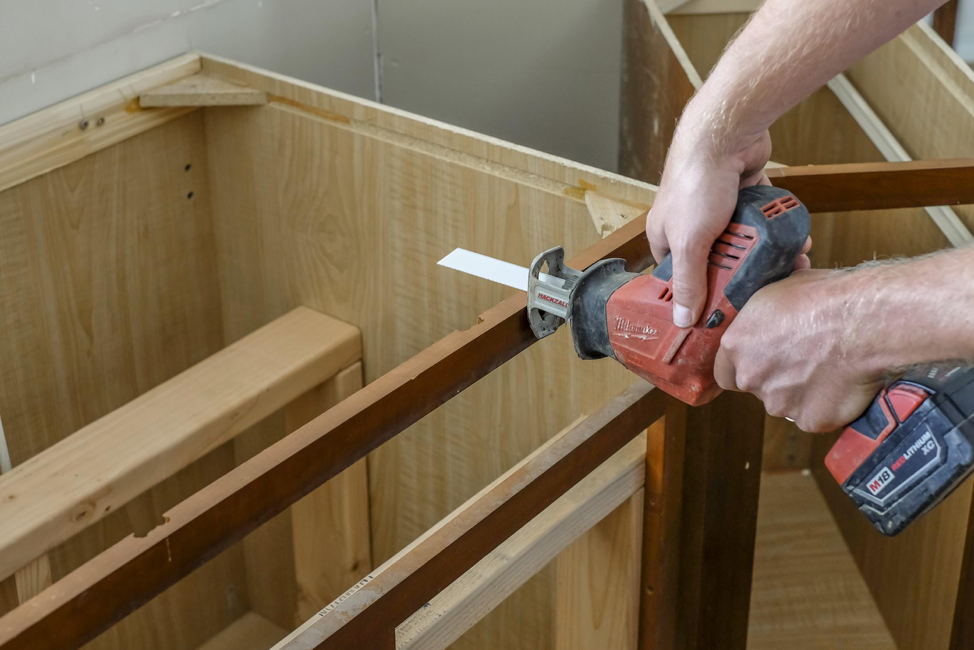
Installing a Blanco kitchen sink on your own can save you money and give you a sense of accomplishment. However, it is essential to remember that this is a task that requires precision and patience. To help you achieve a successful DIY installation, we have compiled a detailed guide with all the necessary steps and tips.DIY Blanco Kitchen Sink Installation Guide


DIY Blanco Kitchen Sink Installation Guide

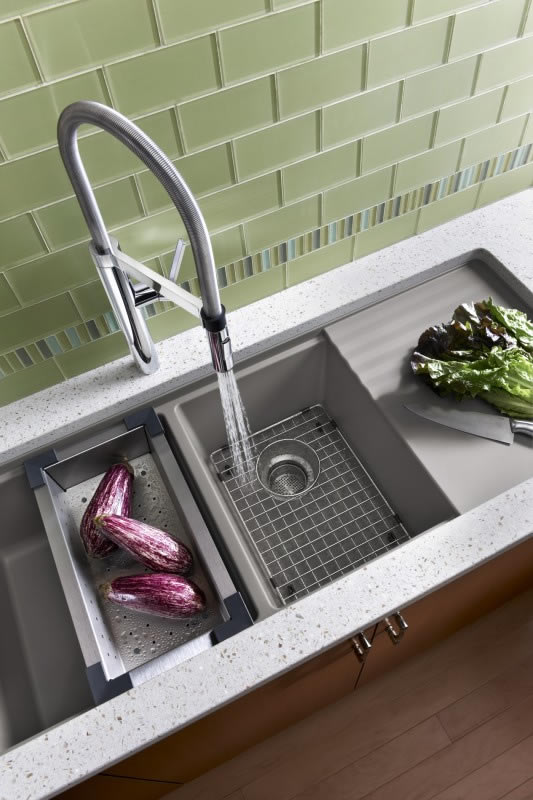
Here are some helpful tips and tricks to keep in mind when installing your Blanco kitchen sink: Tip 1: Always read the instructions and follow them carefully. Tip 2: Use a level to ensure your sink is installed evenly. Tip 3: Apply a thin and even layer of silicone caulk to create a watertight seal. Tip 4: Use a drill with the correct size bit to avoid damaging the sink. Tip 5: Double-check all connections to ensure there are no leaks.Blanco Kitchen Sink Installation Tips and Tricks

Blanco Kitchen Sink Installation Tips and Tricks

As with any DIY project, there are common mistakes that can occur during the installation process. Here are some mistakes to avoid when installing your Blanco kitchen sink: Mistake 1: Not following the manufacturer's instructions. Mistake 2: Cutting the countertop hole too large or too small. Mistake 3: Applying too much or too little silicone caulk. Mistake 4: Not using a level to ensure an even installation. Mistake 5: Forgetting to test for leaks before completing the installation.Common Mistakes to Avoid When Installing a Blanco Kitchen Sink


Common Mistakes to Avoid When Installing a Blanco Kitchen Sink


If you encounter any issues during the installation process, don't panic. Blanco has a dedicated troubleshooting section on their website that addresses common installation problems and provides solutions. If you are still unsure, you can also contact their customer service for further assistance.Blanco Kitchen Sink Installation Troubleshooting
Blanco Kitchen Sink Installation Troubleshooting

If the DIY route is not for you, or if you want to ensure a professional and seamless installation, you can always hire a professional. Most home improvement stores offer installation services for a fee. This can save you time and the hassle of installing the sink yourself, and you can rest assured that it will be done correctly. In conclusion, installing a Blanco kitchen sink can be a straightforward and manageable task if you follow the right instructions and take your time. With the help of our top 10 Blanco kitchen sink installation instructions, you can achieve a professional and flawless installation that will last for years to come.Professional Installation Services for Blanco Kitchen Sinks
Professional Installation Services for Blanco Kitchen Sinks


Why Choosing the Right Kitchen Sink Matters: A Guide to Blanco Kitchen Sink Installation

The Importance of a Kitchen Sink in House Design
 When it comes to designing your dream home, the kitchen is often considered the heart of the house. It is where we cook, gather, and create memories with our loved ones. As such, every detail in the kitchen must be carefully planned and chosen, including the kitchen sink.
Having the right kitchen sink is crucial for both functionality and aesthetic purposes.
This is where Blanco kitchen sinks come in – offering a wide range of options to suit every homeowner's needs and preferences.
When it comes to designing your dream home, the kitchen is often considered the heart of the house. It is where we cook, gather, and create memories with our loved ones. As such, every detail in the kitchen must be carefully planned and chosen, including the kitchen sink.
Having the right kitchen sink is crucial for both functionality and aesthetic purposes.
This is where Blanco kitchen sinks come in – offering a wide range of options to suit every homeowner's needs and preferences.
Why Choose Blanco Kitchen Sinks?
 Blanco is a renowned brand in the kitchen sink market, known for its high-quality and stylish designs. With over 90 years of experience, they have perfected the art of crafting durable and beautiful sinks that can withstand the test of time.
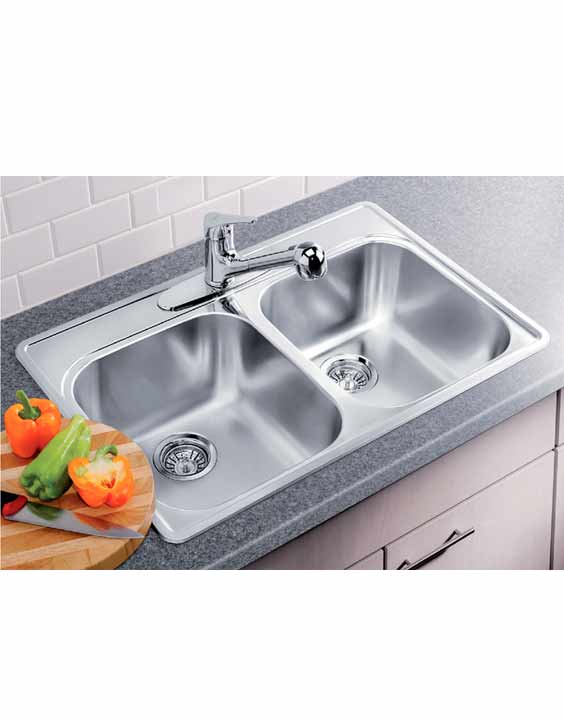
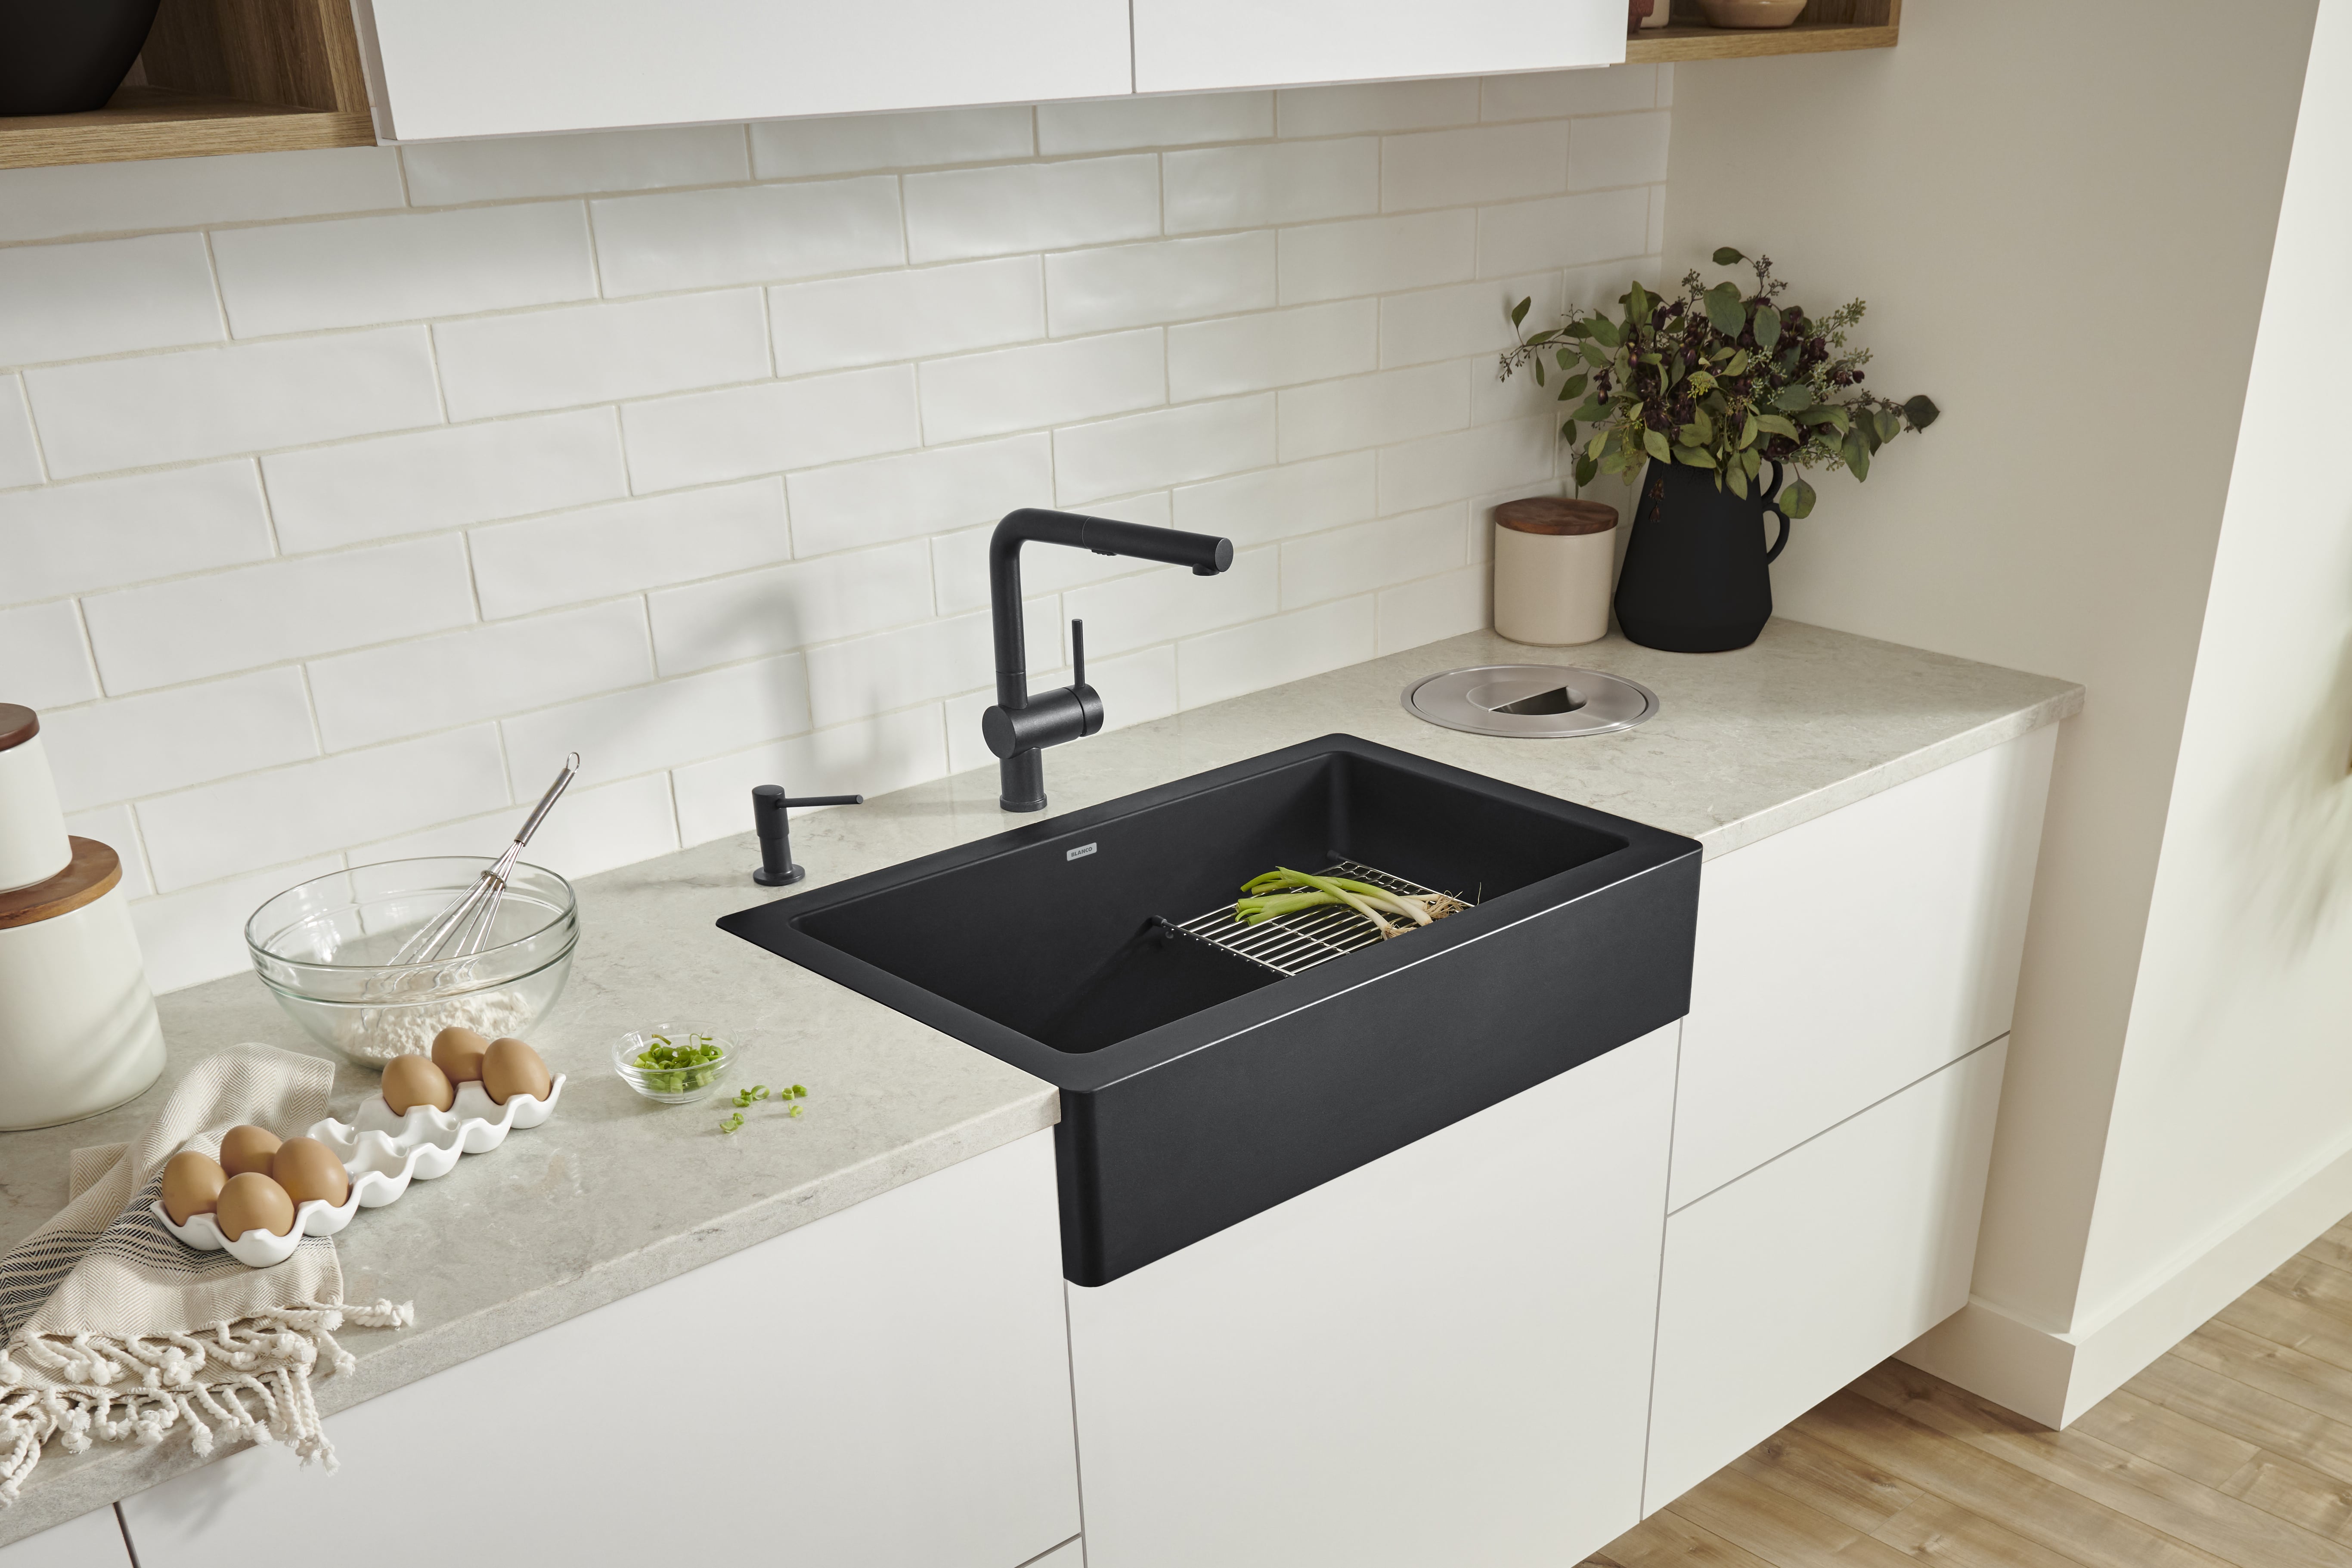
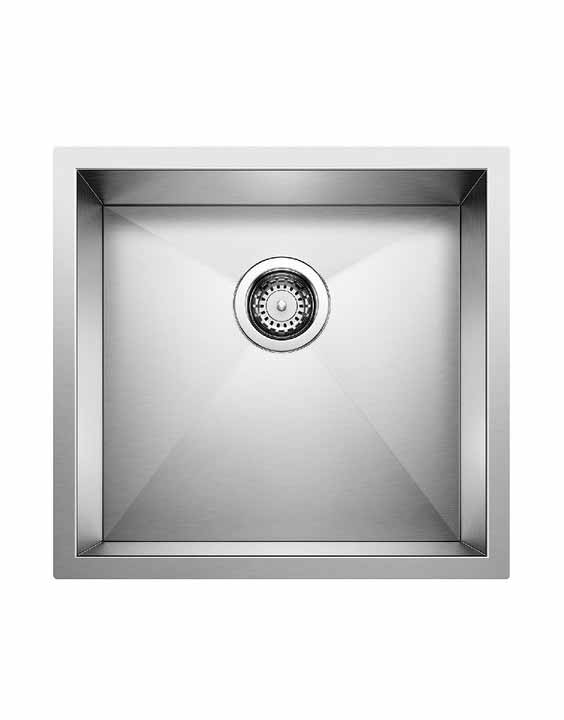
Their sinks are made from premium materials such as stainless steel, granite composite, and fireclay, ensuring long-lasting durability and resistance to stains, scratches, and heat.
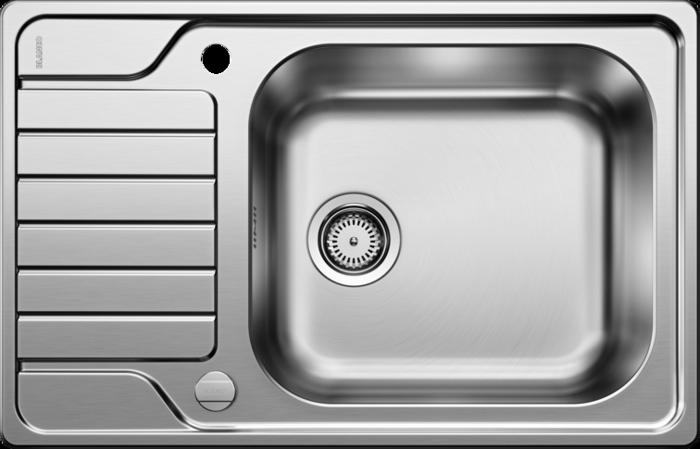
Moreover, Blanco offers a wide range of sizes, styles, and configurations to fit any kitchen design and layout.
Blanco is a renowned brand in the kitchen sink market, known for its high-quality and stylish designs. With over 90 years of experience, they have perfected the art of crafting durable and beautiful sinks that can withstand the test of time.
Their sinks are made from premium materials such as stainless steel, granite composite, and fireclay, ensuring long-lasting durability and resistance to stains, scratches, and heat.
Moreover, Blanco offers a wide range of sizes, styles, and configurations to fit any kitchen design and layout.
The Importance of Proper Installation
 Once you have chosen the perfect Blanco kitchen sink for your home, the next step is installation.
Proper installation is essential to ensure the sink's functionality and to prevent any potential issues in the future.
It is recommended to have a professional plumber install your sink to ensure it is done correctly and efficiently. However, if you are a DIY enthusiast, Blanco provides detailed and easy-to-follow installation instructions for their sinks, making the process manageable even for beginners.
Once you have chosen the perfect Blanco kitchen sink for your home, the next step is installation.
Proper installation is essential to ensure the sink's functionality and to prevent any potential issues in the future.
It is recommended to have a professional plumber install your sink to ensure it is done correctly and efficiently. However, if you are a DIY enthusiast, Blanco provides detailed and easy-to-follow installation instructions for their sinks, making the process manageable even for beginners.
Step-by-Step Guide to Installing a Blanco Kitchen Sink
 Before starting the installation process, make sure you have all the necessary tools and materials. These may include a wrench, plumber's putty, silicone sealant, and a screwdriver.
Follow the instructions provided by Blanco carefully, making sure to measure and cut the necessary holes for the sink and faucet.
Once the sink is in place, secure it with clips and apply a thin layer of silicone sealant around the edges. This will help prevent any water leaks and ensure a tight seal.
Before starting the installation process, make sure you have all the necessary tools and materials. These may include a wrench, plumber's putty, silicone sealant, and a screwdriver.
Follow the instructions provided by Blanco carefully, making sure to measure and cut the necessary holes for the sink and faucet.
Once the sink is in place, secure it with clips and apply a thin layer of silicone sealant around the edges. This will help prevent any water leaks and ensure a tight seal.
Enjoy Your New Blanco Kitchen Sink
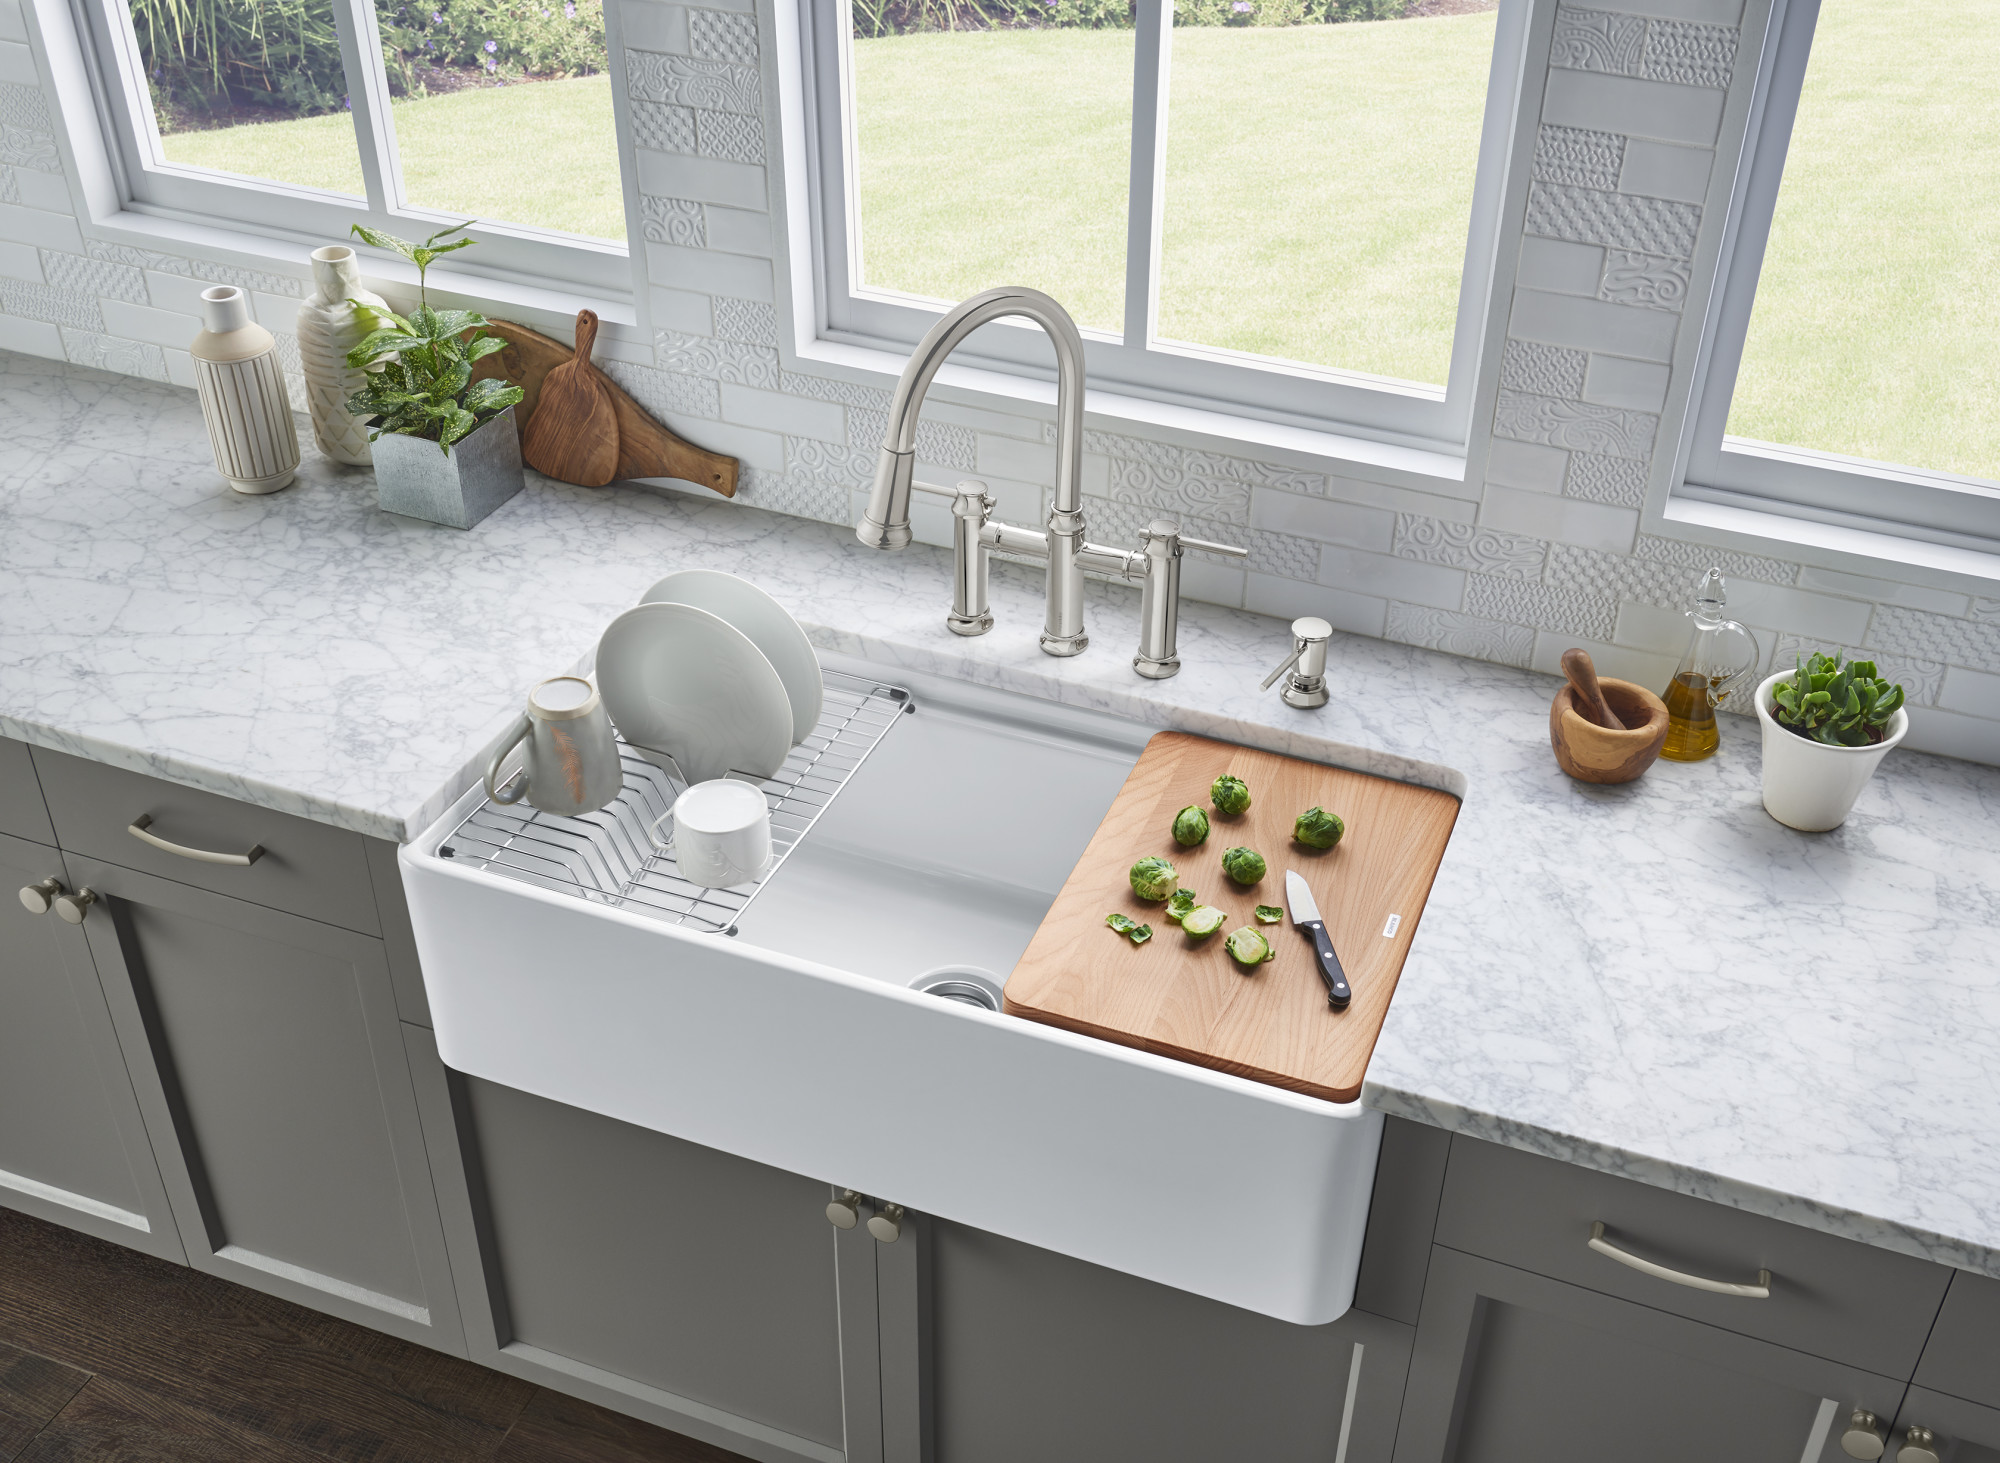
 With proper installation, you can now enjoy your new Blanco kitchen sink. Not only does it add functionality to your kitchen, but it also enhances the overall design and aesthetics.
Regular maintenance and proper care will also help prolong the life of your sink.
Blanco recommends using their cleaning products or mild soap and water to keep your sink looking pristine.
In conclusion, choosing and installing the right kitchen sink is crucial for any house design.
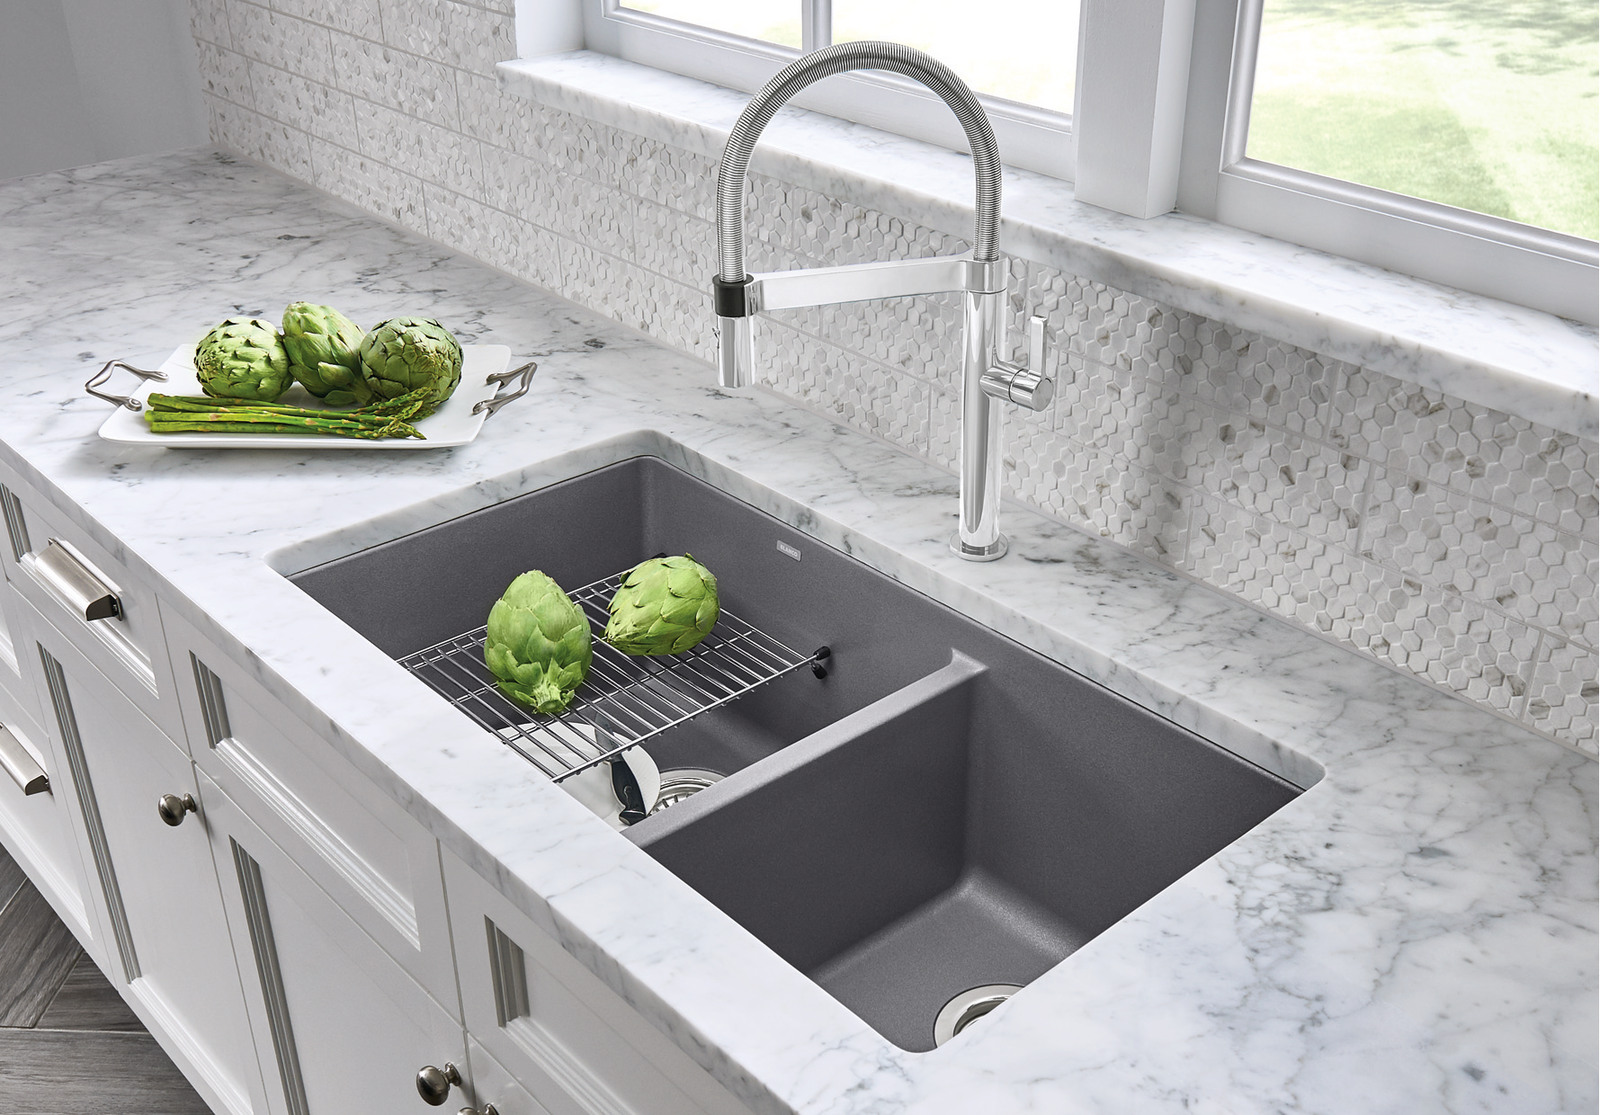
Blanco offers a wide range of high-quality and stylish kitchen sinks that cater to every homeowner's needs and preferences.
With proper installation and maintenance, your Blanco kitchen sink will not only serve its purpose but also elevate the overall look and feel of your kitchen.
With proper installation, you can now enjoy your new Blanco kitchen sink. Not only does it add functionality to your kitchen, but it also enhances the overall design and aesthetics.
Regular maintenance and proper care will also help prolong the life of your sink.
Blanco recommends using their cleaning products or mild soap and water to keep your sink looking pristine.
In conclusion, choosing and installing the right kitchen sink is crucial for any house design.
Blanco offers a wide range of high-quality and stylish kitchen sinks that cater to every homeowner's needs and preferences.
With proper installation and maintenance, your Blanco kitchen sink will not only serve its purpose but also elevate the overall look and feel of your kitchen.