Caulking is an essential part of keeping your kitchen sink in good condition. It seals the gaps between the sink and countertop, preventing water from seeping in and causing damage. However, over time, the caulk can become discolored and turn black, which not only looks unsightly but can also be a breeding ground for mold and bacteria. If you're dealing with blackened caulking around your kitchen sink, here are some steps you can take to remove it and restore the appearance of your sink.How to Remove Blackening Caulking Around a Kitchen Sink


How to Remove Blackening Caulking Around a Kitchen Sink


If the blackened caulking is still intact and not cracked, you can try cleaning it before resorting to removing it completely. Start by mixing equal parts of white vinegar and water in a spray bottle. Spray the solution on the affected area and let it sit for about 10 minutes. Then, using an old toothbrush, scrub the caulk gently. The vinegar will help to loosen and dissolve any dirt, mold, or grime that may be causing the discoloration. Rinse the area with warm water and dry it with a clean cloth.How to Clean Blackened Caulking in a Kitchen Sink


How to Clean Blackened Caulking in a Kitchen Sink


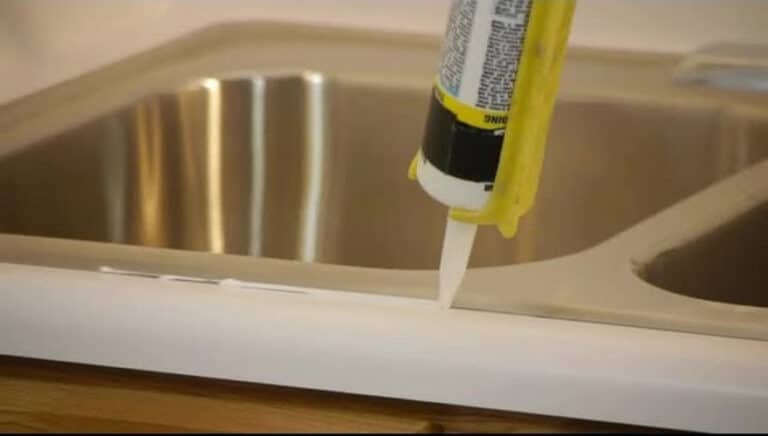
If cleaning the caulking does not remove the discoloration, it may be time to remove it and replace it with new caulk. There are various products available specifically for removing caulk, such as caulking softeners, caulk removers, and caulk scrapers. These products can be found at your local hardware store or home improvement center. Follow the instructions on the product carefully to ensure safe and effective removal of the blackened caulking.Best Products for Removing Blackened Caulking in a Kitchen Sink


Best Products for Removing Blackened Caulking in a Kitchen Sink
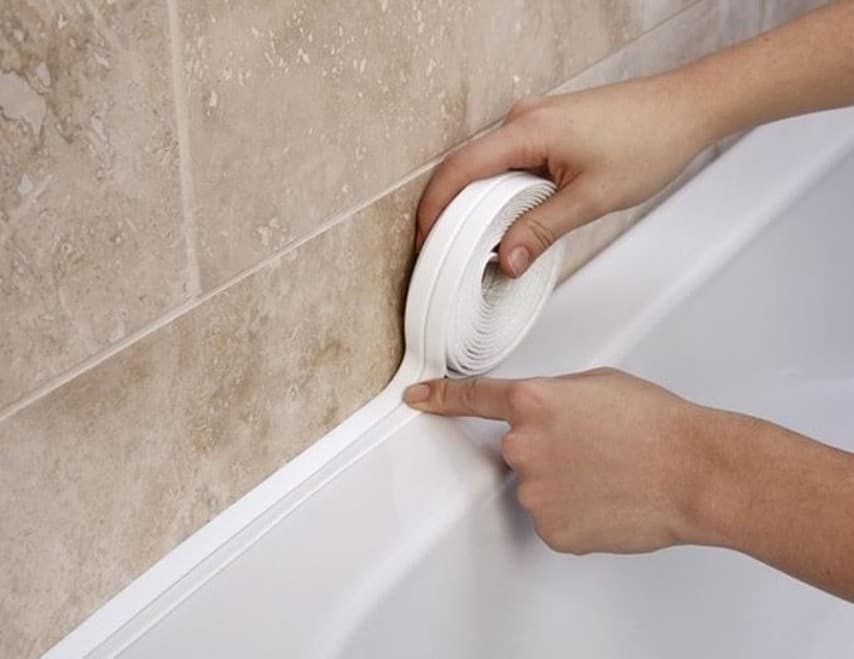


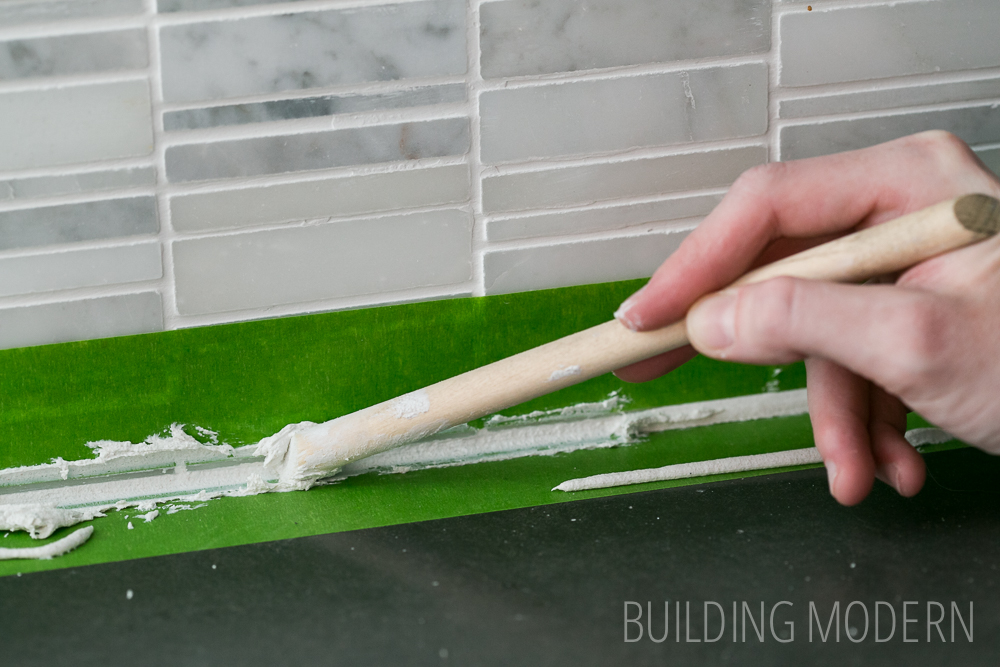
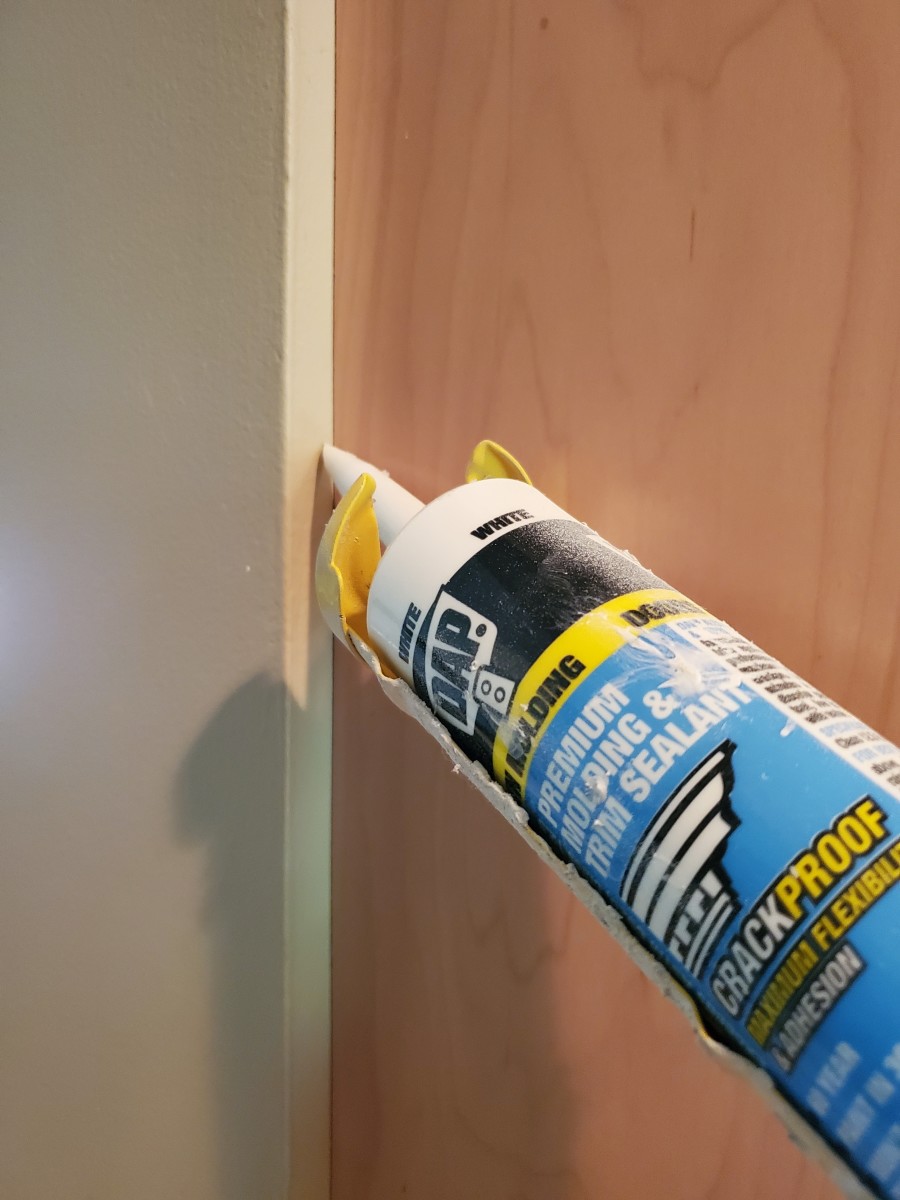
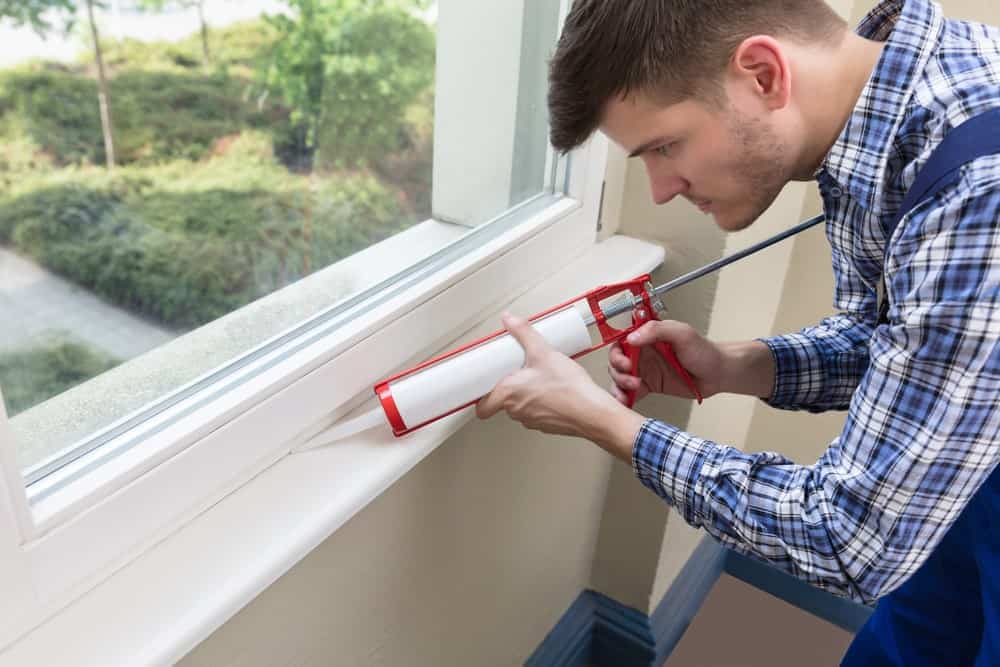
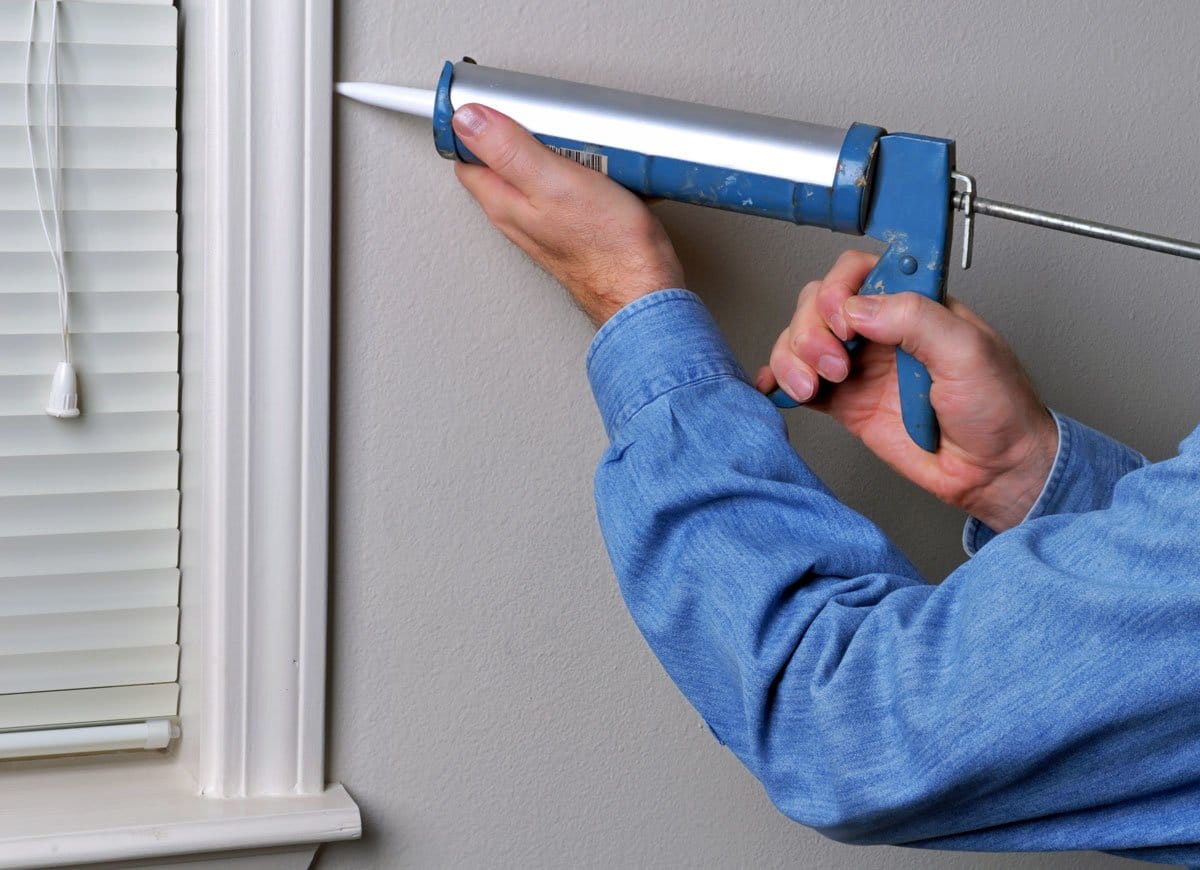
If you prefer a more hands-on approach, you can also remove and replace the caulking yourself. Start by using a caulk softener to soften the old caulk, making it easier to remove. Then, using a caulk scraper or a utility knife, carefully scrape off the old caulk. Make sure to remove all traces of the old caulk before applying the new one. After cleaning the area, dry it thoroughly and apply a new bead of caulk, smoothing it out with your finger or a caulk finishing tool. Allow the caulk to dry completely before using the sink again.DIY Tips for Replacing Blackened Caulking in a Kitchen Sink


DIY Tips for Replacing Blackened Caulking in a Kitchen Sink


Prevention is always better than cure, and the same applies to blackened caulking in your kitchen sink. To prevent the caulking from turning black, make sure to regularly clean and dry the sink and surrounding areas. Keep an eye out for any gaps or cracks in the caulk and replace it immediately if you notice any signs of damage. Also, make sure to properly ventilate your kitchen to prevent excess moisture, which can lead to mold and mildew growth.How to Prevent Blackening Caulking in a Kitchen Sink


How to Prevent Blackening Caulking in a Kitchen Sink


Understanding the cause of blackened caulking can help you prevent it from happening in the future. One of the main causes is exposure to moisture, which can lead to mold and mildew growth. Another common cause is using improper cleaning products, such as harsh chemicals that can damage the caulk. Also, if the caulk was not properly applied, it can result in gaps and cracks where water can seep in and cause discoloration.Common Causes of Blackened Caulking in a Kitchen Sink

Common Causes of Blackened Caulking in a Kitchen Sink


If you're not confident in your DIY skills or don't have the time to tackle the project yourself, you can always hire a professional to replace the blackened caulking in your kitchen sink. They have the experience and tools to remove the old caulk and apply new caulk efficiently and effectively. This option may be more expensive, but it will ensure that your kitchen sink is properly sealed and free from blackened caulking.Professional Services for Replacing Blackened Caulking in a Kitchen Sink


Professional Services for Replacing Blackened Caulking in a Kitchen Sink


Proper maintenance is key to preventing blackened caulking in your kitchen sink. Regularly cleaning and drying the sink and surrounding areas will help prevent moisture buildup, which can lead to mold and mildew growth. Also, avoid using harsh chemicals that can damage the caulk. Instead, opt for natural cleaning solutions, such as vinegar and water. Inspect the caulk regularly for any signs of damage and replace it as needed.How to Maintain Caulking to Prevent Blackening in a Kitchen Sink


How to Maintain Caulking to Prevent Blackening in a Kitchen Sink
:max_bytes(150000):strip_icc()/182836729-56a49f253df78cf772834e2d.jpg)


If you prefer to use eco-friendly solutions, there are natural alternatives to harsh chemicals for removing blackened caulking in your kitchen sink. As mentioned earlier, white vinegar is a great option for cleaning the caulk. You can also mix baking soda with water to create a paste and use it to scrub the caulk. This solution is gentle yet effective in removing dirt and grime.Eco-Friendly Solutions for Removing Blackened Caulking in a Kitchen Sink


Eco-Friendly Solutions for Removing Blackened Caulking in a Kitchen Sink


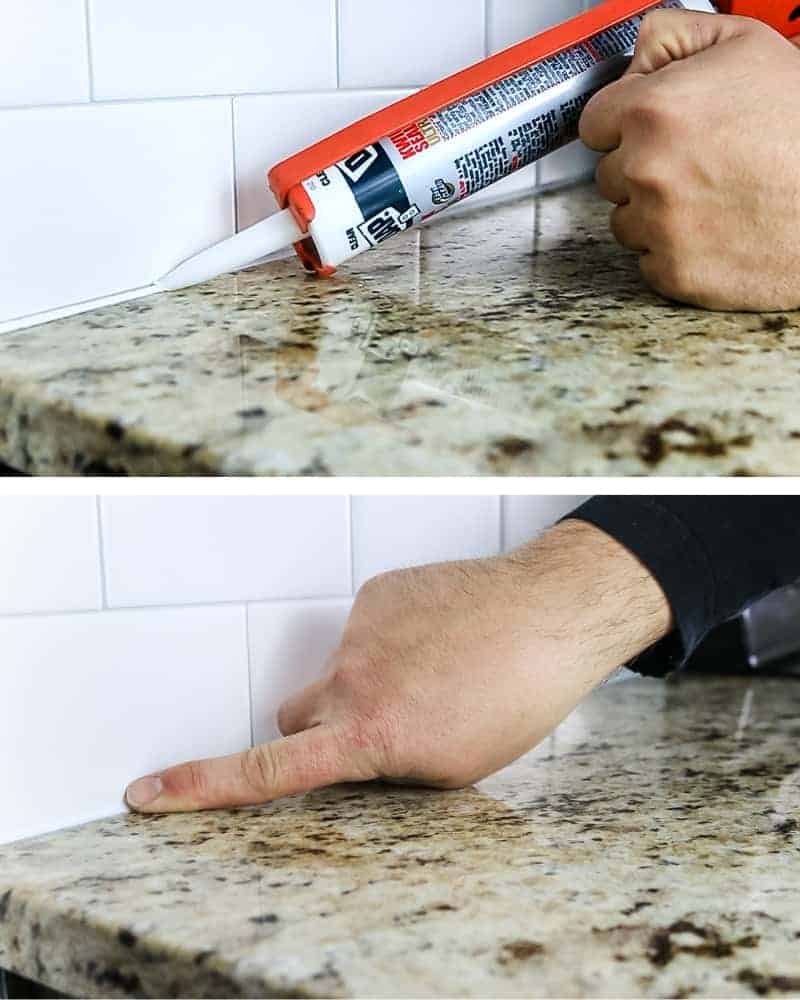
To prevent blackening caulking in the future, it's essential to properly apply and maintain the caulk. Start by thoroughly cleaning and drying the area before applying the caulk. Use a good quality caulk and apply an even bead along the gap between the sink and countertop. Use a damp finger or a caulk finishing tool to smooth out the caulk and remove any excess. Allow the caulk to dry completely before using the sink.How to Properly Apply Caulking to Avoid Blackening in a Kitchen Sink

How to Properly Apply Caulking to Avoid Blackening in a Kitchen Sink


Why Blackening Caulking Around Kitchen Sink is Important for a Polished House Design

When it comes to designing a house, every detail counts. From the color of the walls to the type of flooring, each element plays a significant role in creating a cohesive and polished look. One often overlooked aspect of house design is the caulking around the kitchen sink. While it may seem like a small detail, blackening caulking can make a big difference in the overall aesthetic of your kitchen. In this article, we will discuss the importance of blackening caulking around the kitchen sink and how it can enhance the design of your house.
The Function of Caulking

Before we dive into the importance of blackening caulking, it's essential to understand its function. Caulking is a sealant used to fill gaps and joints between different materials, such as the kitchen sink and the countertop. It prevents water and moisture from seeping through and causing damage to the surrounding area. Without proper caulking, water can leak into the cabinets or walls, leading to mold growth and structural issues. Therefore, caulking not only serves an aesthetic purpose but also plays a vital role in protecting your house.
Enhancing the Aesthetic Appeal

Now that we understand the function of caulking, let's focus on the design aspect. When it comes to kitchen design, the details matter. The color of your walls, cabinets, and countertops all work together to create a cohesive look. However, if the caulking around your kitchen sink is old and discolored, it can throw off the entire aesthetic. By blackening the caulking, you can create a clean and seamless look that ties everything together. It also adds a touch of sophistication and modernity to your kitchen.
Blackening caulking is particularly effective in kitchens with white or light-colored sinks and countertops. The contrast between the dark caulking and the light colors creates a stunning visual impact. It also adds depth and dimension to the overall design, making the kitchen feel more spacious and luxurious.
Easy and Affordable Update

Aside from the aesthetic benefits, blackening caulking is also a practical and budget-friendly update. Over time, caulking can become discolored and cracked, making it less effective in preventing water damage. Instead of completely replacing the caulking, which can be time-consuming and expensive, blackening it is a quick and affordable solution. With a few simple steps and some common household items , you can transform the look of your kitchen and protect your house from potential water damage.
Conclusion

In conclusion, blackening caulking around the kitchen sink is an essential step in creating a polished and cohesive house design. Not only does it serve a practical purpose in preventing water damage, but it also adds a touch of sophistication and ties the design elements of your kitchen together. With its budget-friendly and straightforward process, there's no reason not to give your kitchen a quick and easy update by blackening the caulking.