When it comes to maintaining a clean and functional bathroom, a properly sealed sink is crucial. Not only does it prevent water damage and mold growth, but it also adds a polished look to the space. However, with so many options and techniques available, it can be overwhelming to know the best way to seal a bathroom sink. That's why we've compiled a list of the top 10 methods for sealing a bathroom sink. From easy steps to expert tips, we've got you covered. So let's dive in and find the perfect solution for your sink sealing needs.Sealing a Bathroom Sink: 10 Best Ways


Sealing a Bathroom Sink: 10 Best Ways


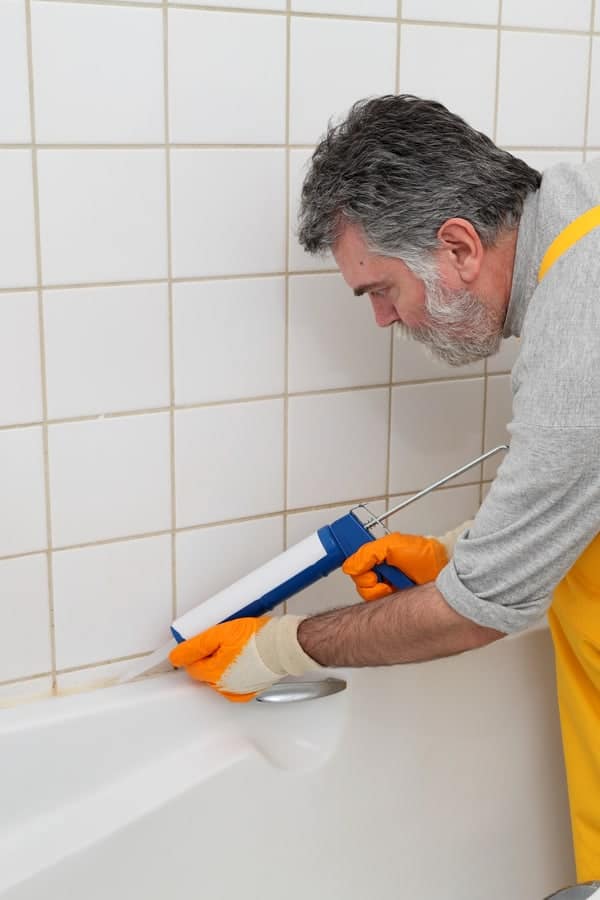
If you're new to sealing bathroom sinks, it can seem like a daunting task. But fear not, as we break down the process into 10 simple steps that anyone can follow. Step 1: Gather your materials. You'll need a caulking gun, silicone caulk, a putty knife, and a clean cloth. Step 2: Clean the area around the sink thoroughly. Use a mild cleaner and a cloth to remove any dirt, grime, or old caulk. Step 3: Prepare the caulk. Cut the tip of the caulk tube at a 45-degree angle and insert it into the caulking gun. Step 4: Apply the caulk. Starting at one end of the sink, slowly and evenly run a bead of caulk along the seam between the sink and the countertop. Use the putty knife to smooth out the caulk and remove any excess. Step 5: Repeat on all sides of the sink. Make sure to keep the application consistent and smooth. Use a damp cloth to wipe away any excess caulk. Step 6: Let the caulk dry for at least 24 hours before using the sink. Step 7: Check for any gaps or missed spots. If necessary, touch up with more caulk and smooth out with the putty knife. Step 8: Clean up any leftover materials and dispose of them properly. Step 9: Let the caulk cure for another 24 hours before exposing it to water. Step 10: Enjoy your newly sealed bathroom sink!How to Seal a Bathroom Sink: 10 Easy Steps


How to Seal a Bathroom Sink: 10 Easy Steps

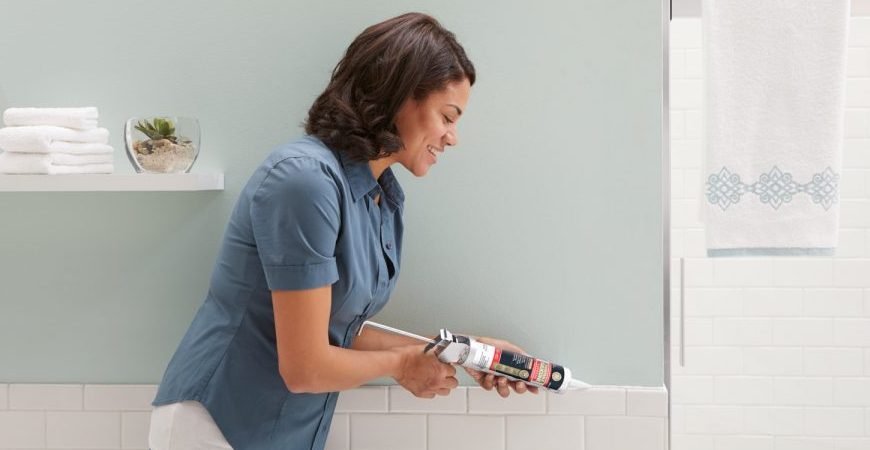


Now that you know the basic steps for sealing a bathroom sink, here are our top 10 tips to ensure a successful and long-lasting seal. 1. Choose the right caulk: Make sure to use a silicone caulk specifically made for bathroom use. It should be waterproof and mold-resistant. 2. Clean the area thoroughly: Properly preparing the surface is crucial for a good seal. Use a mild cleaner and make sure to remove all dirt and old caulk. 3. Use a caulking gun: This will make the application more precise and easier to control. 4. Don't cut the tip too large: A small hole will give you more control over the amount of caulk being dispensed. 5. Use a putty knife: This will help you smooth out the caulk and remove any excess, resulting in a neater finish. 6. Don't rush: Take your time and make sure to apply the caulk evenly and smoothly. 7. Let it dry and cure: Give the caulk enough time to dry and cure before using the sink or exposing it to water. 8. Check for gaps: After the first 24 hours, check for any gaps or missed spots and touch up as needed. 9. Don't use the sink right away: It's important to give the caulk enough time to fully cure before using the sink. 10. Regular maintenance: Keep an eye on the caulk and regularly clean and replace it if necessary to maintain a strong seal.Top 10 Tips for Sealing a Bathroom Sink


Top 10 Tips for Sealing a Bathroom Sink


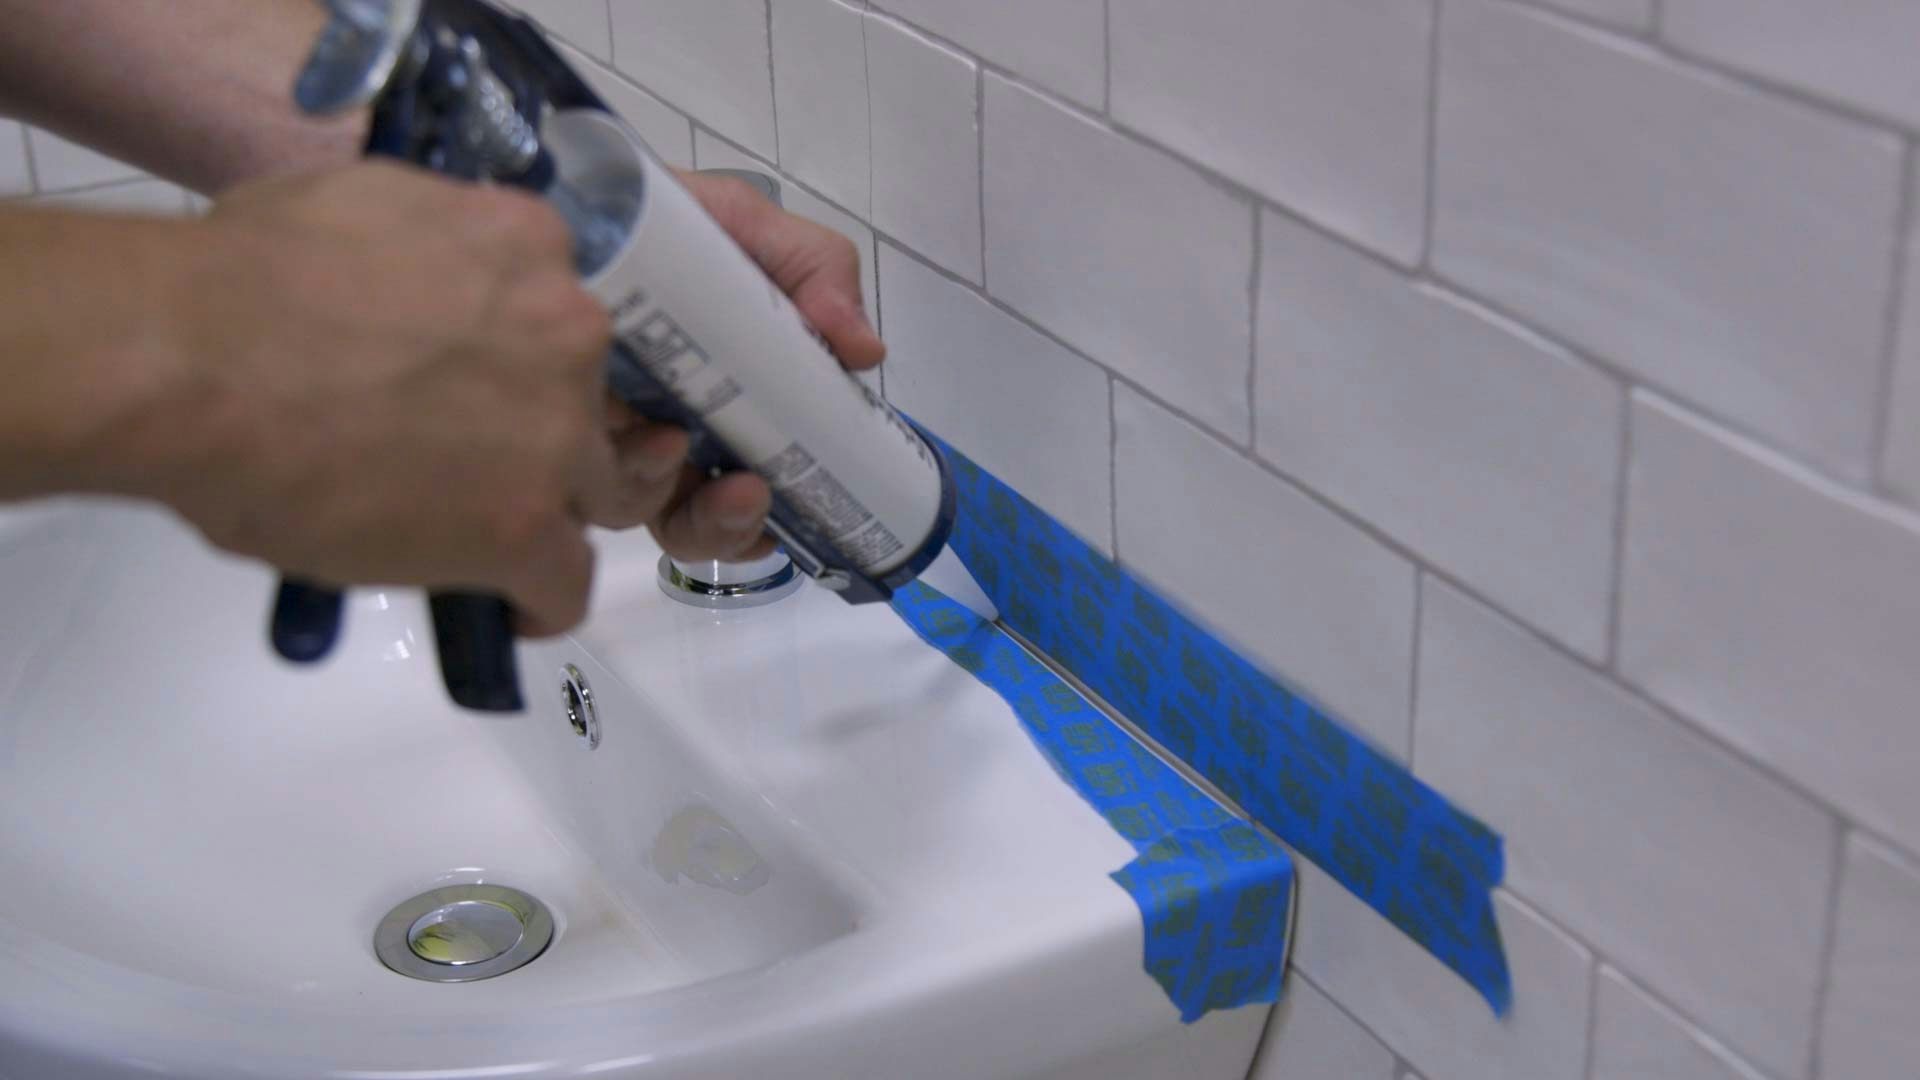
If you want to take your sink sealing game to the next level, our ultimate guide has everything you need to know. From choosing the right caulk to troubleshooting common issues, we've got you covered. Follow these steps for a professional-looking seal every time. Step 1: Choose the right caulk. As mentioned before, make sure to use a silicone caulk specifically made for bathrooms. Step 2: Prepare the surface. Remove any old caulk and clean the area thoroughly. Step 3: Use painter's tape to mask off the area around the sink. This will give you a clean and straight line for the caulk. Step 4: Cut the tip of the caulk tube at a 45-degree angle and insert it into the caulking gun. Step 5: Apply the caulk along the seam, making sure to press it into any gaps or crevices. Step 6: Use a damp cloth to smooth out the caulk and remove any excess. Step 7: Remove the painter's tape while the caulk is still wet. This will prevent the tape from pulling up any of the caulk. Step 8: Let the caulk dry for at least 24 hours before using the sink. Step 9: Check for any gaps or missed spots. Touch up as needed and smooth out with a damp cloth. Step 10: Let the caulk cure for an additional 24 hours before exposing it to water. Step 11: Regularly check and maintain the caulk to ensure a strong and long-lasting seal.Sealing a Bathroom Sink: The Ultimate Guide


Sealing a Bathroom Sink: The Ultimate Guide


Sealing a bathroom sink may seem like a simple task, but there are some common mistakes that can lead to a less-than-perfect seal. Here are 10 mistakes to avoid to ensure a successful and professional-looking seal. 1. Using the wrong type of caulk: Make sure to use a silicone caulk specifically for bathrooms. 2. Not properly cleaning the area: A dirty or greasy surface will prevent the caulk from adhering properly. 3. Cutting the tip of the caulk tube too large: This can result in an uneven and messy application. 4. Not using a caulking gun: Applying the caulk from the tube can result in an imprecise and uneven seal. 5. Rushing the application: Take your time and apply the caulk evenly and smoothly. 6. Not letting the caulk dry and cure: It's important to give the caulk enough time to fully dry and cure before using the sink or exposing it to water. 7. Not checking for gaps or missed spots: It's easy to miss a spot or leave a gap, resulting in a weak seal. 8. Using the sink too soon: Give the caulk enough time to cure before using the sink to prevent damage to the seal. 9. Not regularly maintaining the caulk: Over time, the caulk can become damaged or discolored, so it's important to regularly check and replace it if needed. 10. Not following the manufacturer's instructions: Always read and follow the instructions on the caulk tube for the best results.10 Common Mistakes to Avoid When Sealing a Bathroom Sink


10 Common Mistakes to Avoid When Sealing a Bathroom Sink


If you're a visual learner, this step-by-step tutorial is for you. Follow along as we demonstrate the process of sealing a bathroom sink with clear and easy-to-follow instructions. Step 1: Gather your materials. Step 2: Clean the area around the sink. Step 3: Prepare the caulk. Step 4: Apply the caulk along the seam between the sink and the countertop. Step 5: Use a putty knife to smooth out the caulk and remove any excess. Step 6: Repeat on all sides of the sink. Step 7: Let the caulk dry for 24 hours. Step 8: Check for any missed spots or gaps and touch up as needed. Step 9: Let the caulk cure for an additional 24 hours. Step 10: Regularly maintain the caulk to ensure a strong and long-lasting seal.Sealing a Bathroom Sink: A Step-by-Step Tutorial


Sealing a Bathroom Sink: A Step-by-Step Tutorial


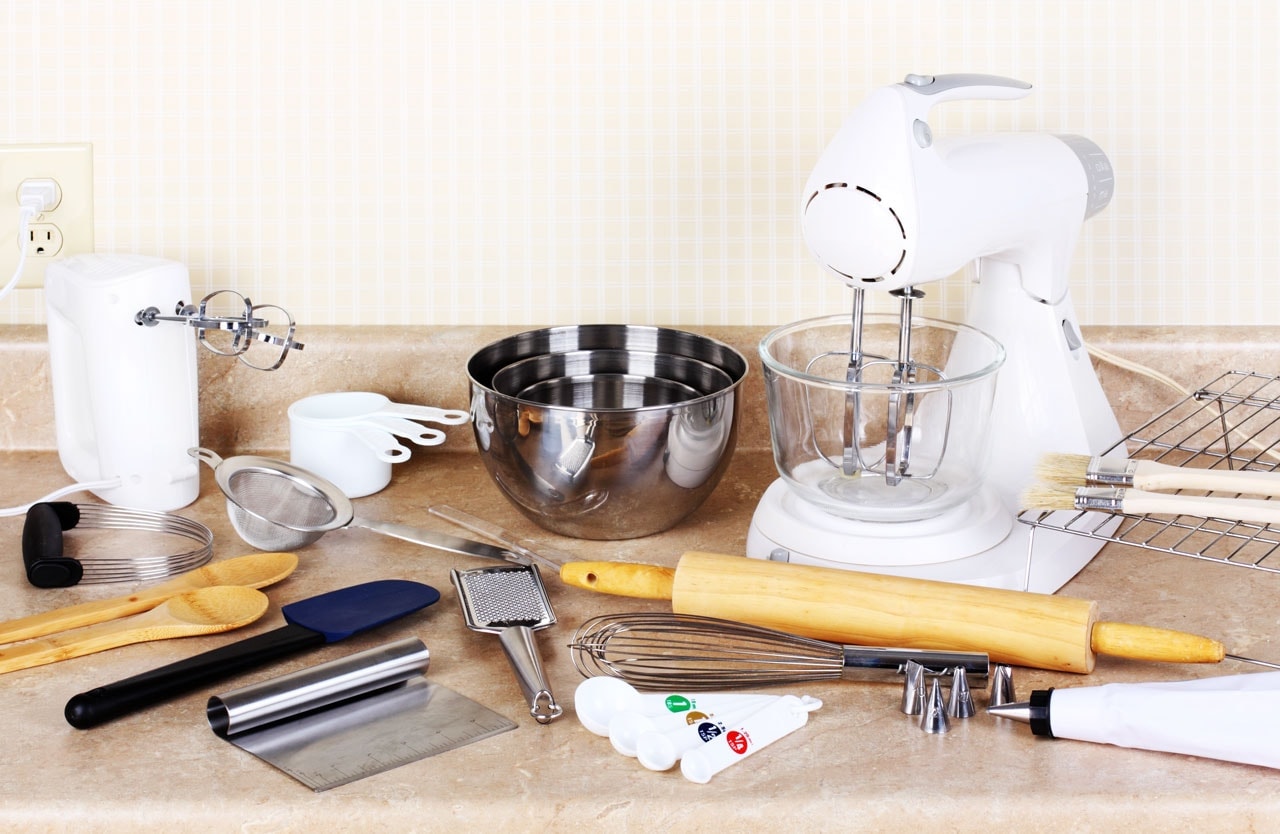
To properly seal a bathroom sink, having the right tools is crucial. Here are 10 essential tools that will make the sealing process easier and more effective. 1. Caulking gun: This will help you control the application of the caulk and make it more precise. 2. Silicone caulk: Make sure to use a silicone caulk specifically for bathrooms. 3. Putty knife: This tool will help you smooth out the caulk and remove any excess. 4. Painter's tape: This will give you a clean and straight line for the caulk and prevent any messes. 5. Mild cleaner: Use a mild cleaner to thoroughly clean the area before applying the caulk. 6. Clean cloth: Use a clean cloth to wipe away any excess caulk and keep the area tidy. 7. Damp cloth: This will help you smooth out the caulk and remove any excess. 8. Scissors: Use scissors to cut the tip of the caulk tube at a 45-degree angle. 9. Bucket of water: Keep a bucket of water nearby to dip your fingers or the putty knife in to help smooth out the caulk. 10. Gloves: Protect your hands from the caulk by wearing gloves during the application process.10 Essential Tools for Sealing a Bathroom Sink


10 Essential Tools for Sealing a Bathroom Sink

For an even better seal and professional-looking finish, here are some expert tips and tricks to keep in mind. 1. Use a hairdryer: After applying the caulk, use a hairdryer on low heat to help the caulk set and dry faster. 2. Use a caulk smoothing tool: This tool is designed specifically for smoothing out caulk and will give you a neater finish. 3. Use a caulk remover: If you make a mistake or need to remove old caulk, use a caulk remover to make the process easier. 4. Choose the right color: If you want a seamless and invisible seal, choose a caulk color that matches your sink or countertop. 5. Practice makes perfect: If you're new to sealing sinks, it may take a few tries to perfect your technique. Don't get discouraged and keep practicing.Sealing a Bathroom Sink: Expert Tips and Tricks
Sealing a Bathroom Sink: Expert Tips and Tricks


While a simple silicone caulk is usually all you need to seal a bathroom sink, there are some products that can make the process even easier and give you a better seal. Here are 10 of the best products for sealing a bathroom sink. 1. GE Silicone II Kitchen and Bath Caulk: This caulk is specifically formulated for use in kitchens and bathrooms and is waterproof and mold-resistant. 2. Dap 18152 Alex Plus Acrylic Latex Caulk: This caulk is easy to use and provides a strong and flexible seal. 3. Red Devil 0405 Bathroom/Kitchen Acrylic Caulk: This caulk is mold-resistant and comes in a variety of colors to match your sink and countertop. 4. Homax Caulk Finisher: This tool is designed to help you smooth out caulk for a professional-looking finish. 5. Dap 08641 Clear Silicone Sealant: This clear silicone caulk is perfect for a seamless and invisible seal. 6. Caulk Remover Tool: This tool makes removing old caulk a breeze and helps you achieve a clean surface for a new seal. 7. Goo Gone Caulk Remover: This product is specifically made to remove caulk and is safe to use on most surfaces.10 Best Products for Sealing a Bathroom Sink

10 Best Products for Sealing a Bathroom Sink


The Importance of Properly Sealing Your Bathroom Sink

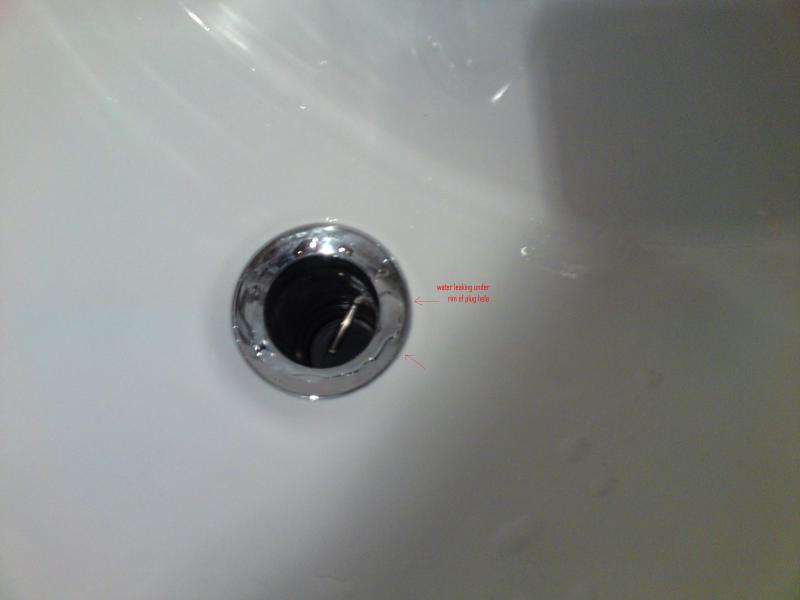
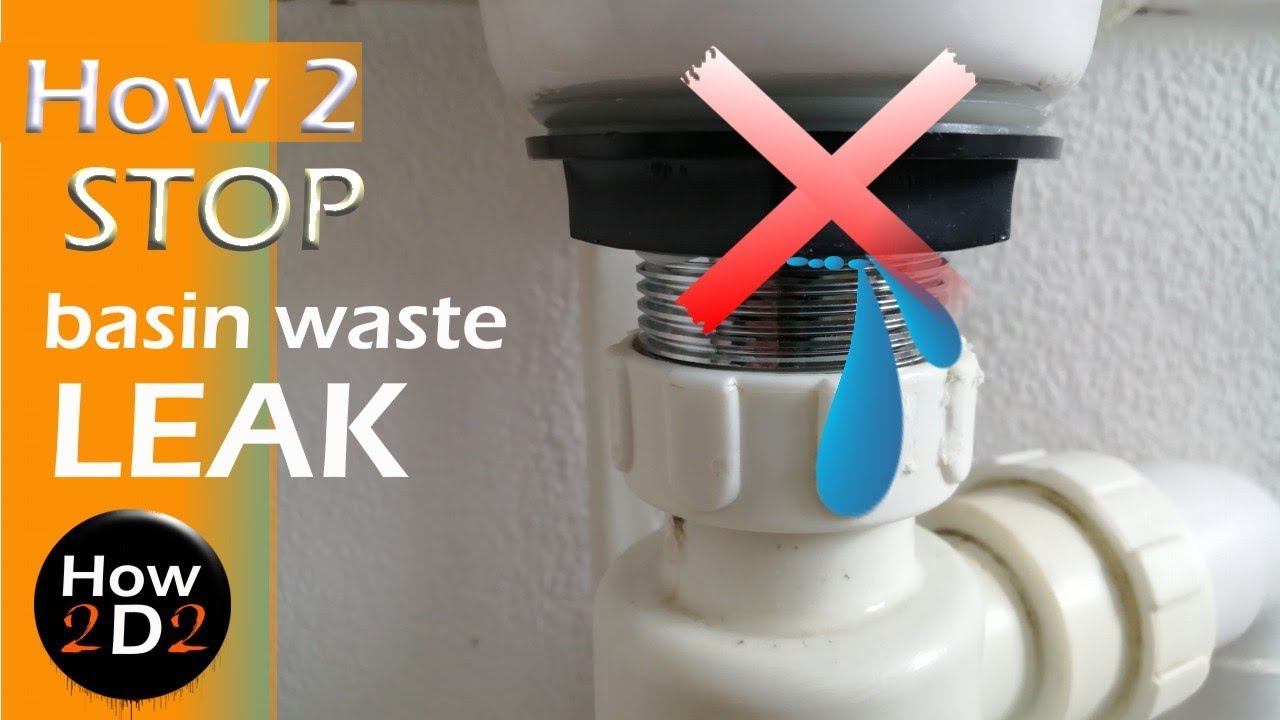
Preventing Water Damage and Mold Growth
 Properly sealing your bathroom sink is an essential step in maintaining the overall integrity of your bathroom. Not only does it help prevent water damage, but it also ensures that no mold or mildew can grow in and around your sink. With the constant exposure to water, the sink area is prone to moisture buildup, which can eventually lead to costly repairs and health hazards. Therefore, it is crucial to seal your bathroom sink correctly to avoid these problems.
Types of Sink Sealants
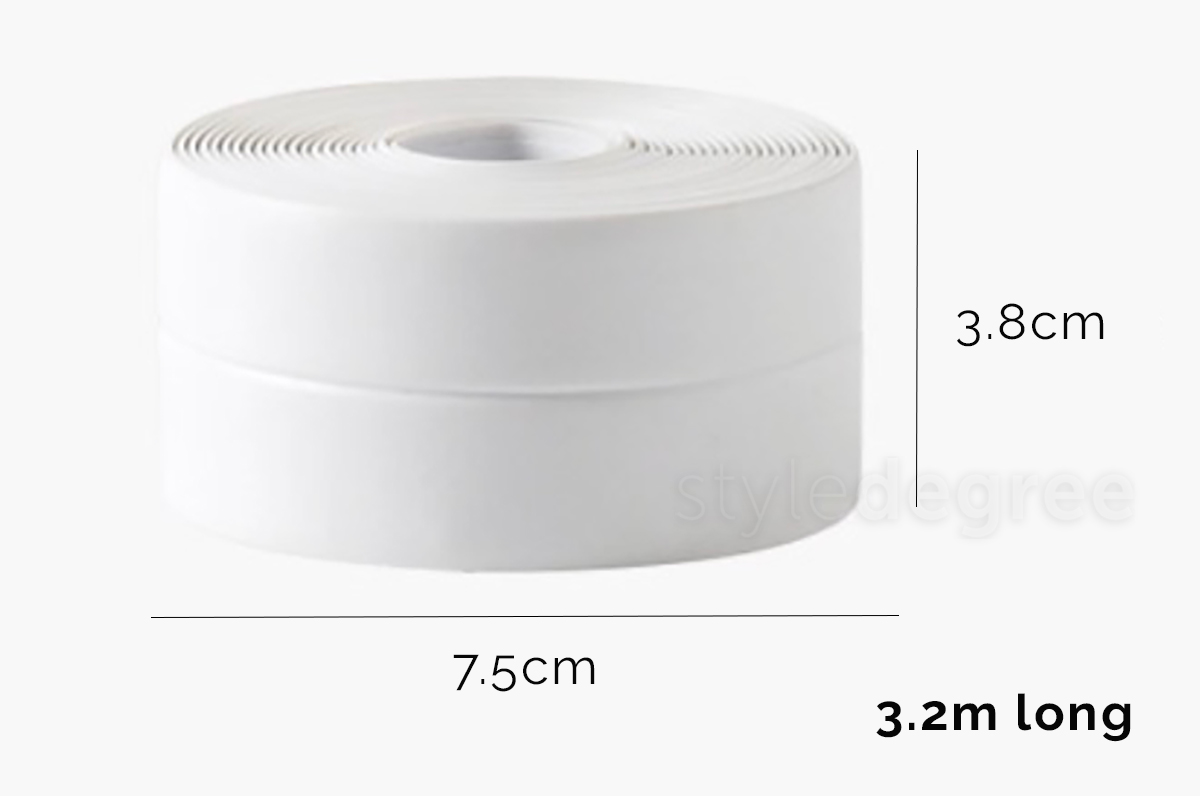
 When it comes to sealing your bathroom sink, there are several options available in the market. The most commonly used ones are silicone caulk, plumber's putty, and grout.
Silicone caulk
is a popular choice as it is waterproof and flexible, making it ideal for sealing around the edges of your sink.
Plumber's putty
is another suitable option, especially for sealing the drain and faucet. It is easy to work with and can be molded to fit any gaps or crevices.
Grout
, on the other hand, is a cement-based sealant that is best used for sealing the space between tiles and the sink.
When it comes to sealing your bathroom sink, there are several options available in the market. The most commonly used ones are silicone caulk, plumber's putty, and grout.
Silicone caulk
is a popular choice as it is waterproof and flexible, making it ideal for sealing around the edges of your sink.
Plumber's putty
is another suitable option, especially for sealing the drain and faucet. It is easy to work with and can be molded to fit any gaps or crevices.
Grout
, on the other hand, is a cement-based sealant that is best used for sealing the space between tiles and the sink.
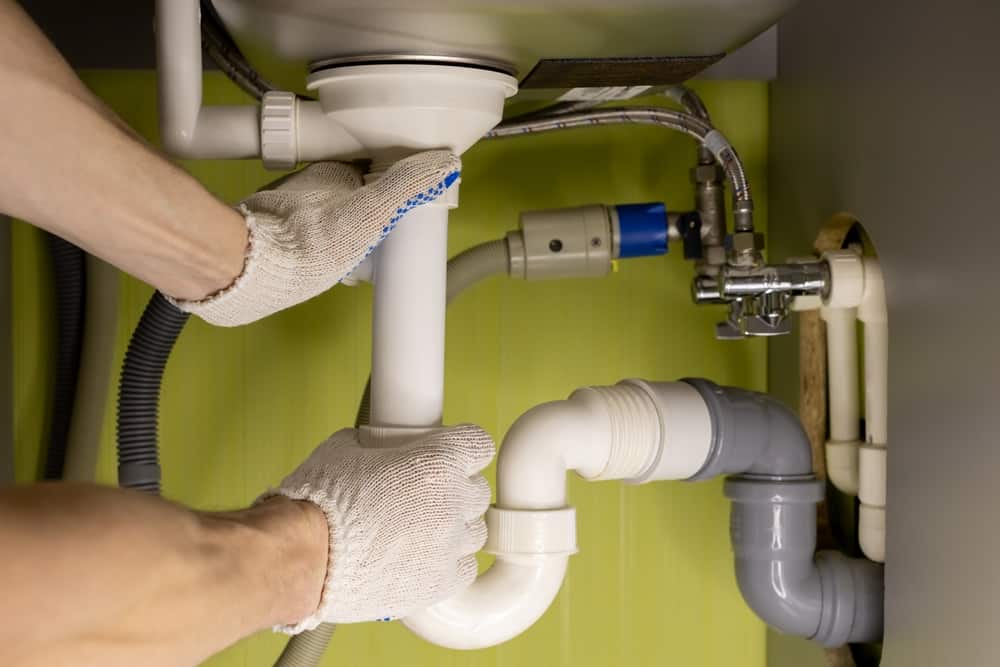
The Process of Sealing Your Bathroom Sink
 Before you start sealing your sink, it is essential to prepare the area properly. Start by cleaning the sink and the surrounding area thoroughly. Use a mild detergent and water to remove any dirt, grime, or old sealant residue. Once the area is clean and dry, you can begin the sealing process.
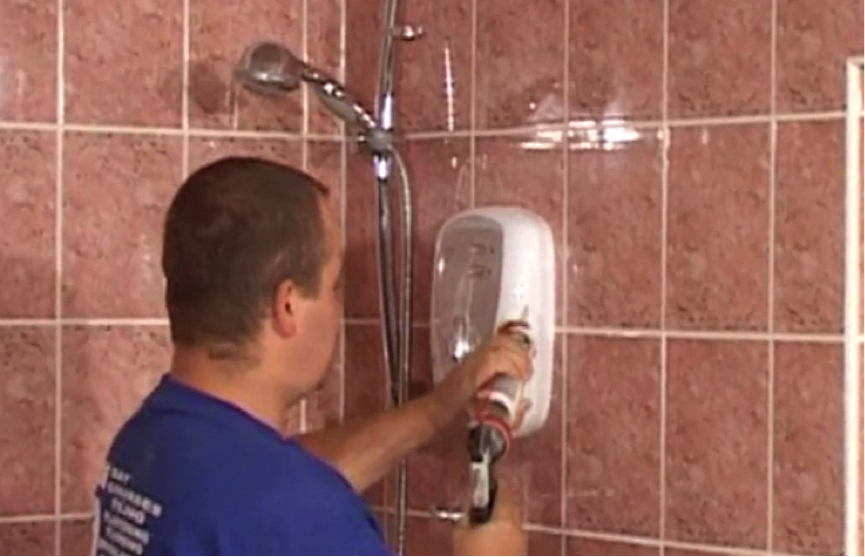
For silicone caulk
, cut the tip of the caulk tube at a 45-degree angle and apply a continuous bead of caulk around the edges of your sink. Use a caulk smoothing tool or your finger to smooth out the caulk and remove any excess.
For plumber's putty
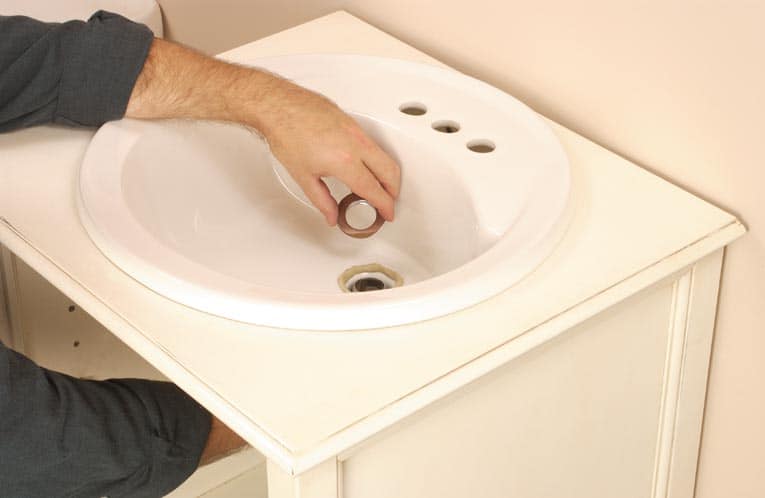
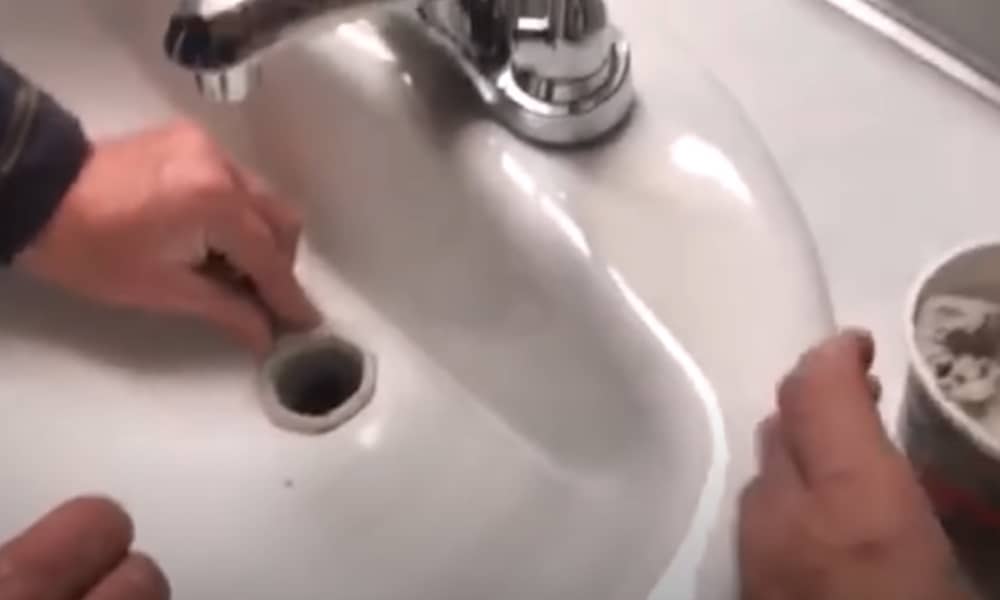
, roll a small amount of putty into a thin rope and place it around the drain opening. Press the sink into place, and any excess putty will squeeze out, which you can remove with a damp cloth.
For grout
, mix the grout according to the package instructions and apply it to the gaps between the tiles and the sink using a grout float. Wipe away any excess grout with a damp sponge.
Before you start sealing your sink, it is essential to prepare the area properly. Start by cleaning the sink and the surrounding area thoroughly. Use a mild detergent and water to remove any dirt, grime, or old sealant residue. Once the area is clean and dry, you can begin the sealing process.
For silicone caulk
, cut the tip of the caulk tube at a 45-degree angle and apply a continuous bead of caulk around the edges of your sink. Use a caulk smoothing tool or your finger to smooth out the caulk and remove any excess.
For plumber's putty
, roll a small amount of putty into a thin rope and place it around the drain opening. Press the sink into place, and any excess putty will squeeze out, which you can remove with a damp cloth.
For grout
, mix the grout according to the package instructions and apply it to the gaps between the tiles and the sink using a grout float. Wipe away any excess grout with a damp sponge.
Regular Maintenance is Key
 Properly sealing your bathroom sink is not a one-time job. It is essential to regularly check and maintain the sealant to ensure its effectiveness. Over time, the sealant can become brittle or crack, which can allow water to seep in and cause damage. Make sure to inspect the sealant every few months and reapply if necessary.
In conclusion, properly sealing your bathroom sink is crucial in maintaining the structural integrity of your bathroom and preventing any water damage or mold growth. With the variety of sealant options available and the simple sealing process, there is no excuse not to seal your bathroom sink. Regular maintenance and upkeep will help prolong the life of the sealant and ensure your sink stays in top condition for years to come.
Properly sealing your bathroom sink is not a one-time job. It is essential to regularly check and maintain the sealant to ensure its effectiveness. Over time, the sealant can become brittle or crack, which can allow water to seep in and cause damage. Make sure to inspect the sealant every few months and reapply if necessary.
In conclusion, properly sealing your bathroom sink is crucial in maintaining the structural integrity of your bathroom and preventing any water damage or mold growth. With the variety of sealant options available and the simple sealing process, there is no excuse not to seal your bathroom sink. Regular maintenance and upkeep will help prolong the life of the sealant and ensure your sink stays in top condition for years to come.