Are you tired of dealing with leaks or water damage around your kitchen sink? The solution may be as simple as properly applying silicone sealant. This versatile material can create a waterproof barrier between your sink and countertop, preventing any water from seeping through and causing damage. In this guide, we will walk you through the best way to put silicone around your kitchen sink and ensure a long-lasting, professional-looking seal.1. How to Apply Silicone Sealant Around a Kitchen Sink


1. How to Apply Silicone Sealant Around a Kitchen Sink


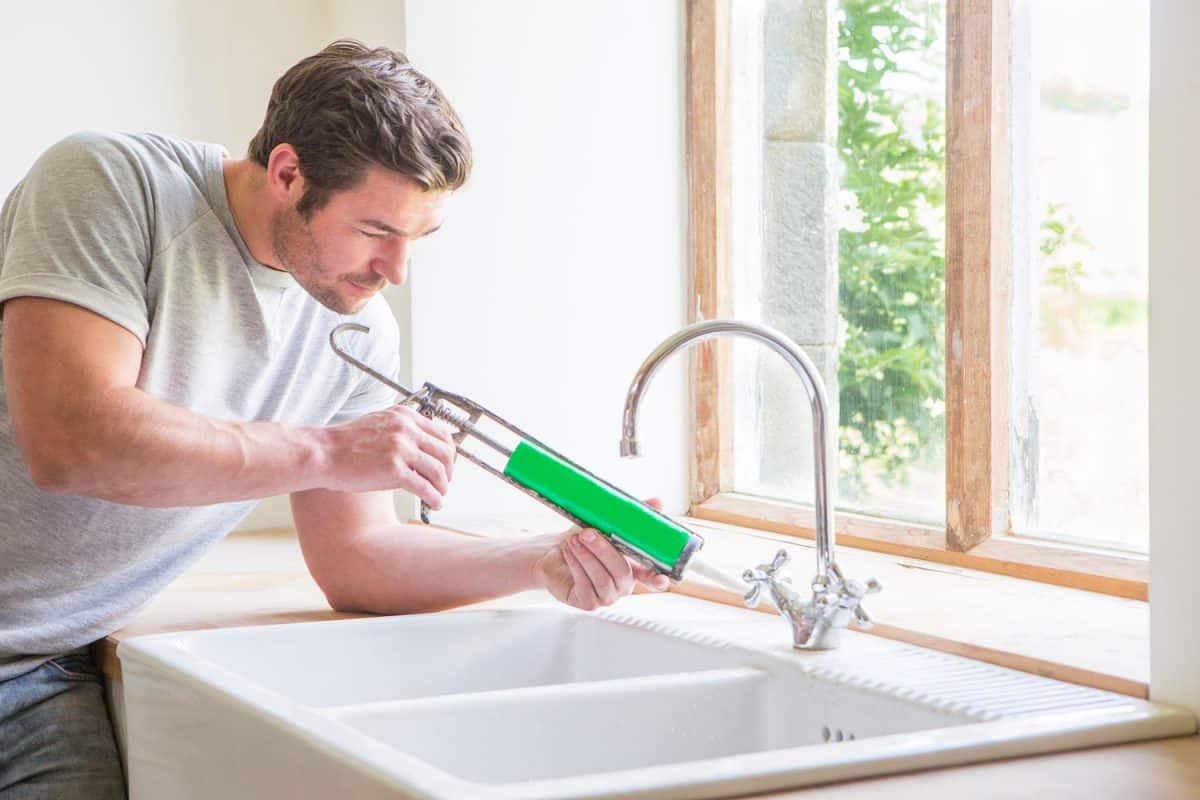
Caulking a kitchen sink may seem like a daunting task, but with the right technique, it can be a quick and easy project. First, make sure to thoroughly clean and dry the area around your sink. Then, using a caulk gun, apply a thin, continuous line of silicone along the edge of the sink, making sure to fill any gaps or cracks. Use a damp finger or a caulk smoothing tool to smooth out the silicone and remove any excess. Let the caulk dry completely before using your sink.2. The Best Way to Caulk a Kitchen Sink


2. The Best Way to Caulk a Kitchen Sink


Here are a few tips to keep in mind when applying silicone caulk around your kitchen sink:3. Tips for Applying Silicone Caulk Around a Kitchen Sink


3. Tips for Applying Silicone Caulk Around a Kitchen Sink


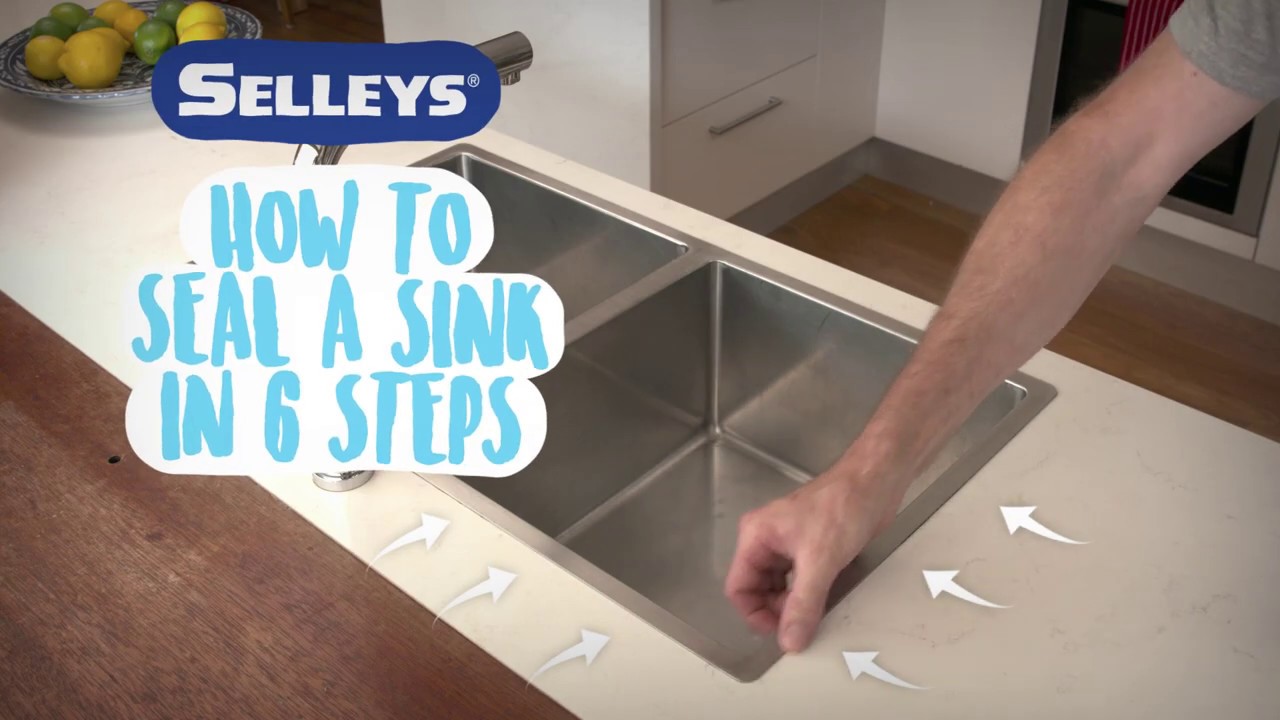
If you're new to applying silicone sealant, here is a step-by-step guide to help you get the job done right:4. Step-by-Step Guide for Sealing a Kitchen Sink with Silicone


4. Step-by-Step Guide for Sealing a Kitchen Sink with Silicone


When it comes to sealing a kitchen sink with silicone, the key is to work carefully and patiently. Rushing through the process can result in a messy and uneven seal. Take your time and make sure to follow the steps outlined above for the best results. Remember to smooth out the silicone as you go to ensure a clean and professional-looking finish.5. The Right Way to Apply Silicone Around a Kitchen Sink


5. The Right Way to Apply Silicone Around a Kitchen Sink


Here are a few tricks to help you achieve a perfect silicone seal around your kitchen sink:6. Tricks for Getting a Perfect Silicone Seal Around Your Kitchen Sink


6. Tricks for Getting a Perfect Silicone Seal Around Your Kitchen Sink


Here are some dos and don'ts to keep in mind when sealing a kitchen sink with silicone:7. The Dos and Don'ts of Sealing a Kitchen Sink with Silicone


7. The Dos and Don'ts of Sealing a Kitchen Sink with Silicone


If you want to achieve a professional-looking silicone seal around your kitchen sink, the key is to take your time and work carefully. Make sure to clean and dry the area thoroughly, use the right type of silicone, and work in small sections. Keep a damp cloth handy to wipe away any excess silicone and use a caulk smoothing tool for a clean and precise finish. With a little patience and attention to detail, you can achieve a perfect seal that will last for years to come.8. How to Get a Professional-Looking Silicone Seal Around Your Kitchen Sink

8. How to Get a Professional-Looking Silicone Seal Around Your Kitchen Sink


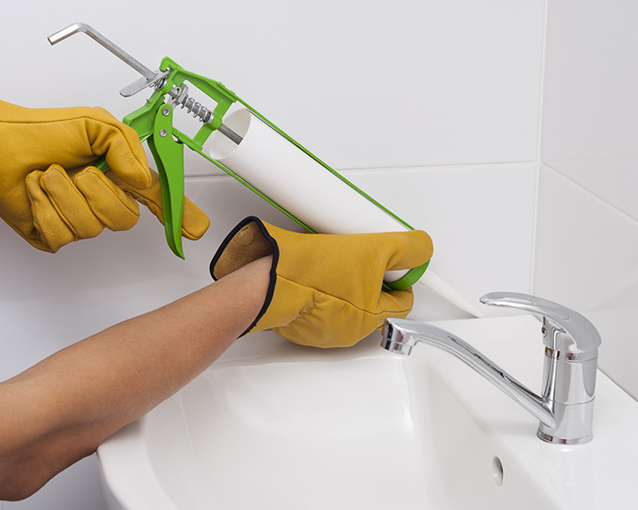
Having the right tools can make all the difference when it comes to applying silicone sealant around your kitchen sink. Here are a few essential tools to have on hand:9. The Best Tools for Applying Silicone Around a Kitchen Sink


9. The Best Tools for Applying Silicone Around a Kitchen Sink


Here are some common mistakes to avoid when sealing a kitchen sink with silicone:10. Common Mistakes to Avoid When Sealing a Kitchen Sink with Silicone


10. Common Mistakes to Avoid When Sealing a Kitchen Sink with Silicone


The Importance of Properly Sealing Your Kitchen Sink with Silicone

Why is Silicone the Best Choice for Sealing Your Kitchen Sink?
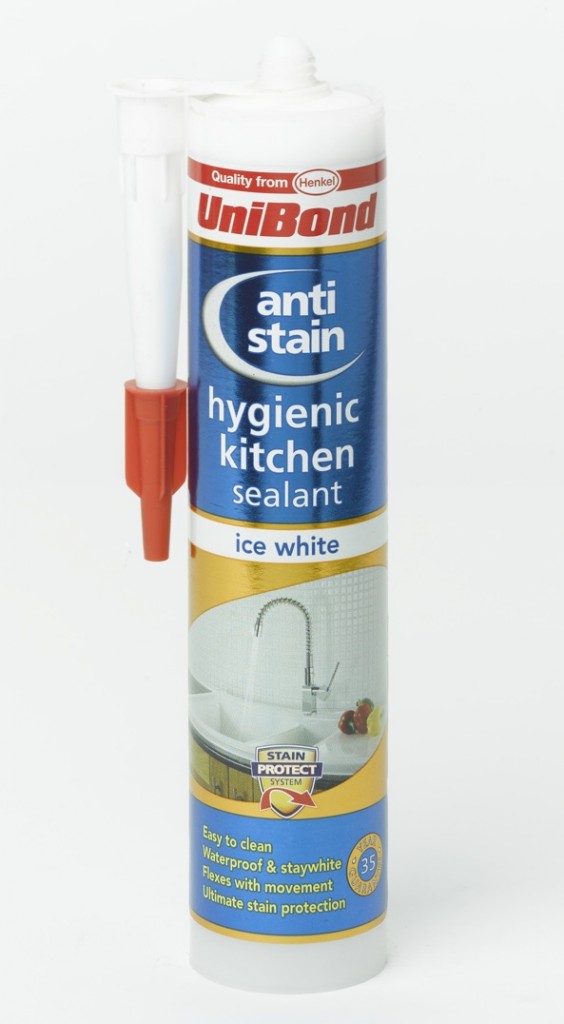
 When it comes to sealing your kitchen sink, silicone is the go-to choice for many homeowners and professionals. This versatile material is not only easy to work with, but it also provides a lasting and watertight seal that can withstand the high traffic and heavy use of a kitchen sink.
Silicone
is a durable and flexible material that can expand and contract with temperature changes, making it perfect for use around sinks where water and heat are constantly present.
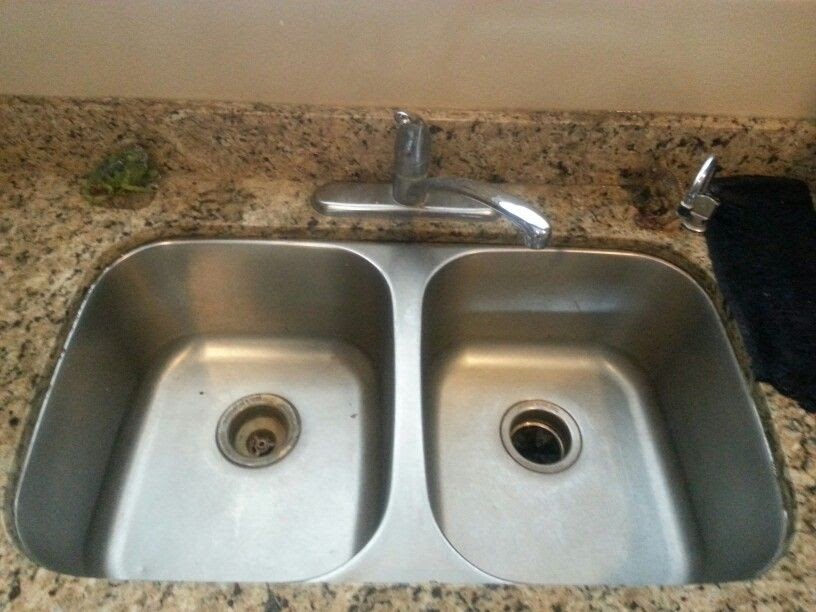
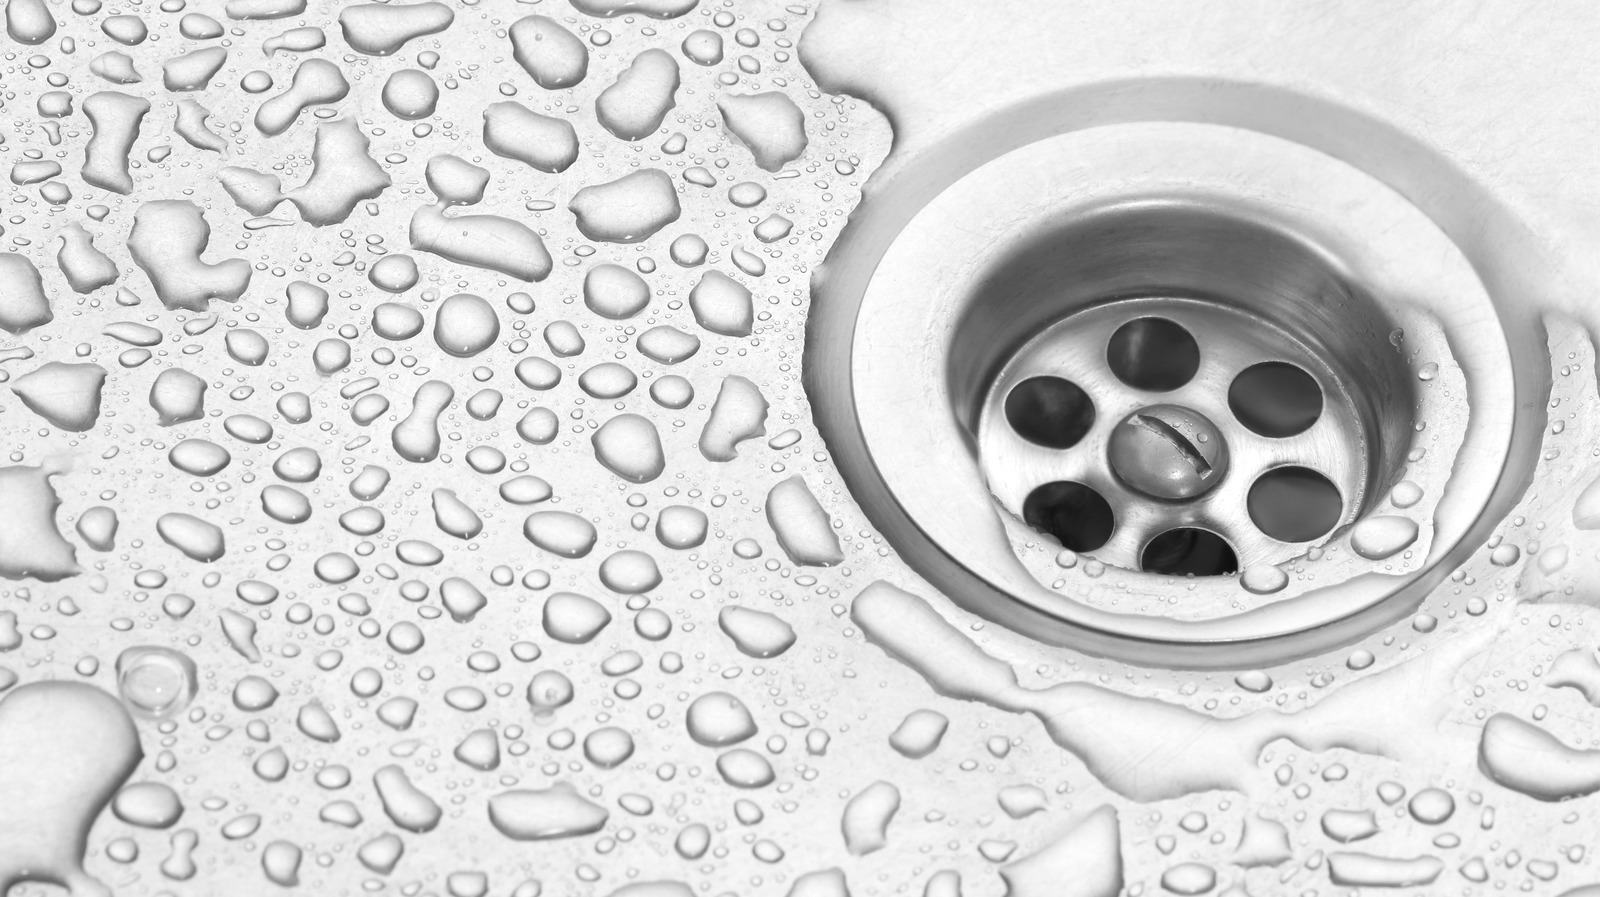
Kitchen sink
areas are prone to moisture and spills, which can lead to mold and mildew growth if not properly sealed. Silicone is also resistant to common household cleaners and chemicals, ensuring that your seal will not deteriorate over time.
When it comes to sealing your kitchen sink, silicone is the go-to choice for many homeowners and professionals. This versatile material is not only easy to work with, but it also provides a lasting and watertight seal that can withstand the high traffic and heavy use of a kitchen sink.
Silicone
is a durable and flexible material that can expand and contract with temperature changes, making it perfect for use around sinks where water and heat are constantly present.
Kitchen sink
areas are prone to moisture and spills, which can lead to mold and mildew growth if not properly sealed. Silicone is also resistant to common household cleaners and chemicals, ensuring that your seal will not deteriorate over time.
Step-by-Step Guide to Applying Silicone to Your Kitchen Sink
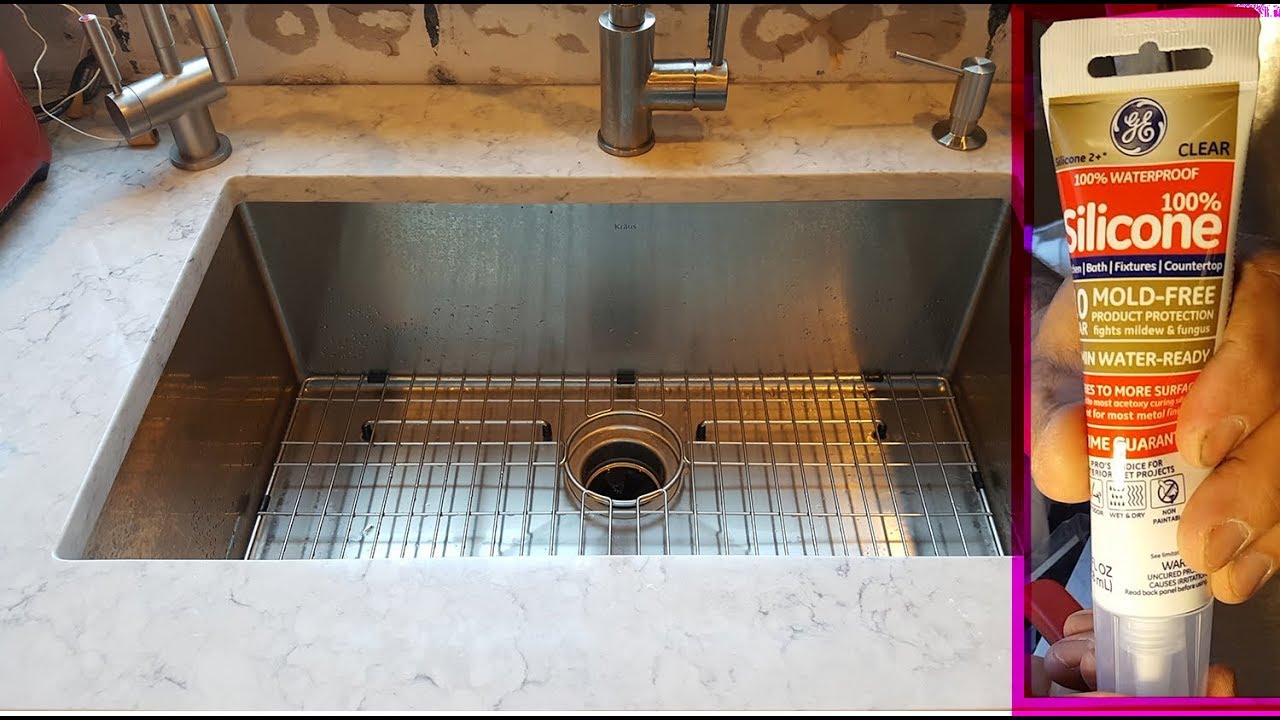
 Now that you understand why silicone is the best choice for sealing your kitchen sink, let's walk through the steps on how to properly apply it. Before you begin, make sure you have the following materials ready:
silicone caulking gun, silicone sealant, utility knife, and a damp cloth.
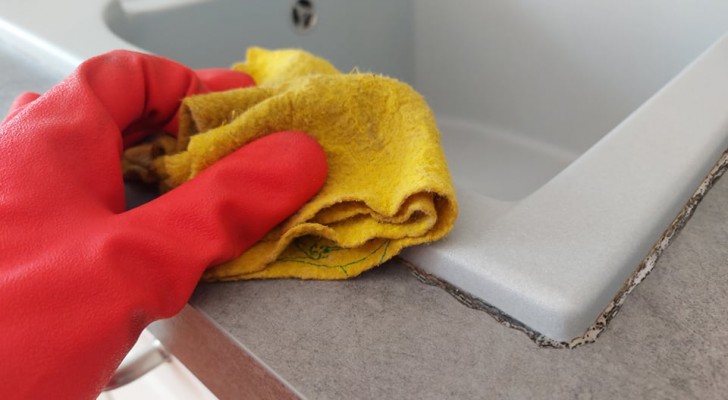
1. Clean and dry the area: Before applying the silicone, make sure the area around your sink is clean and dry. Use a mild cleaner and a damp cloth to remove any dirt, grime, or residue.
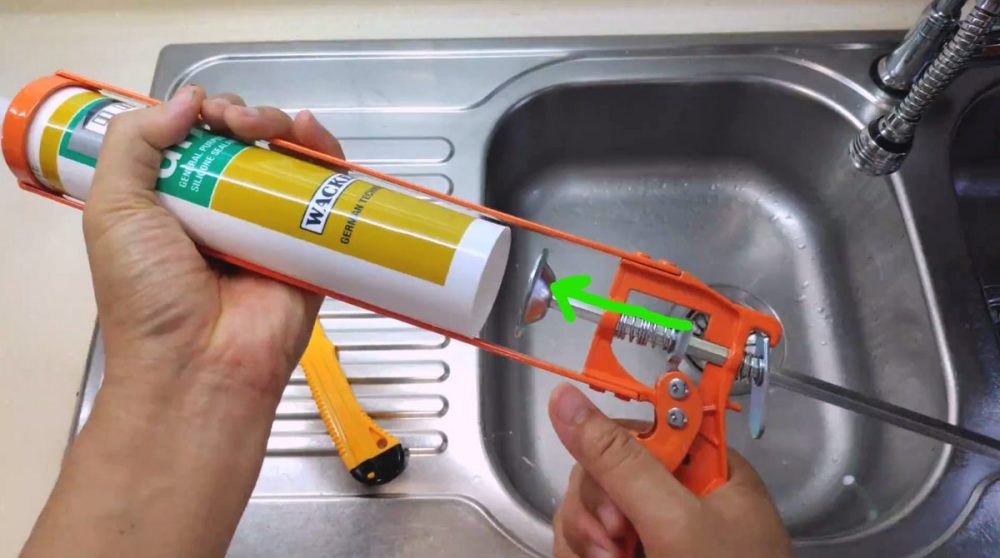
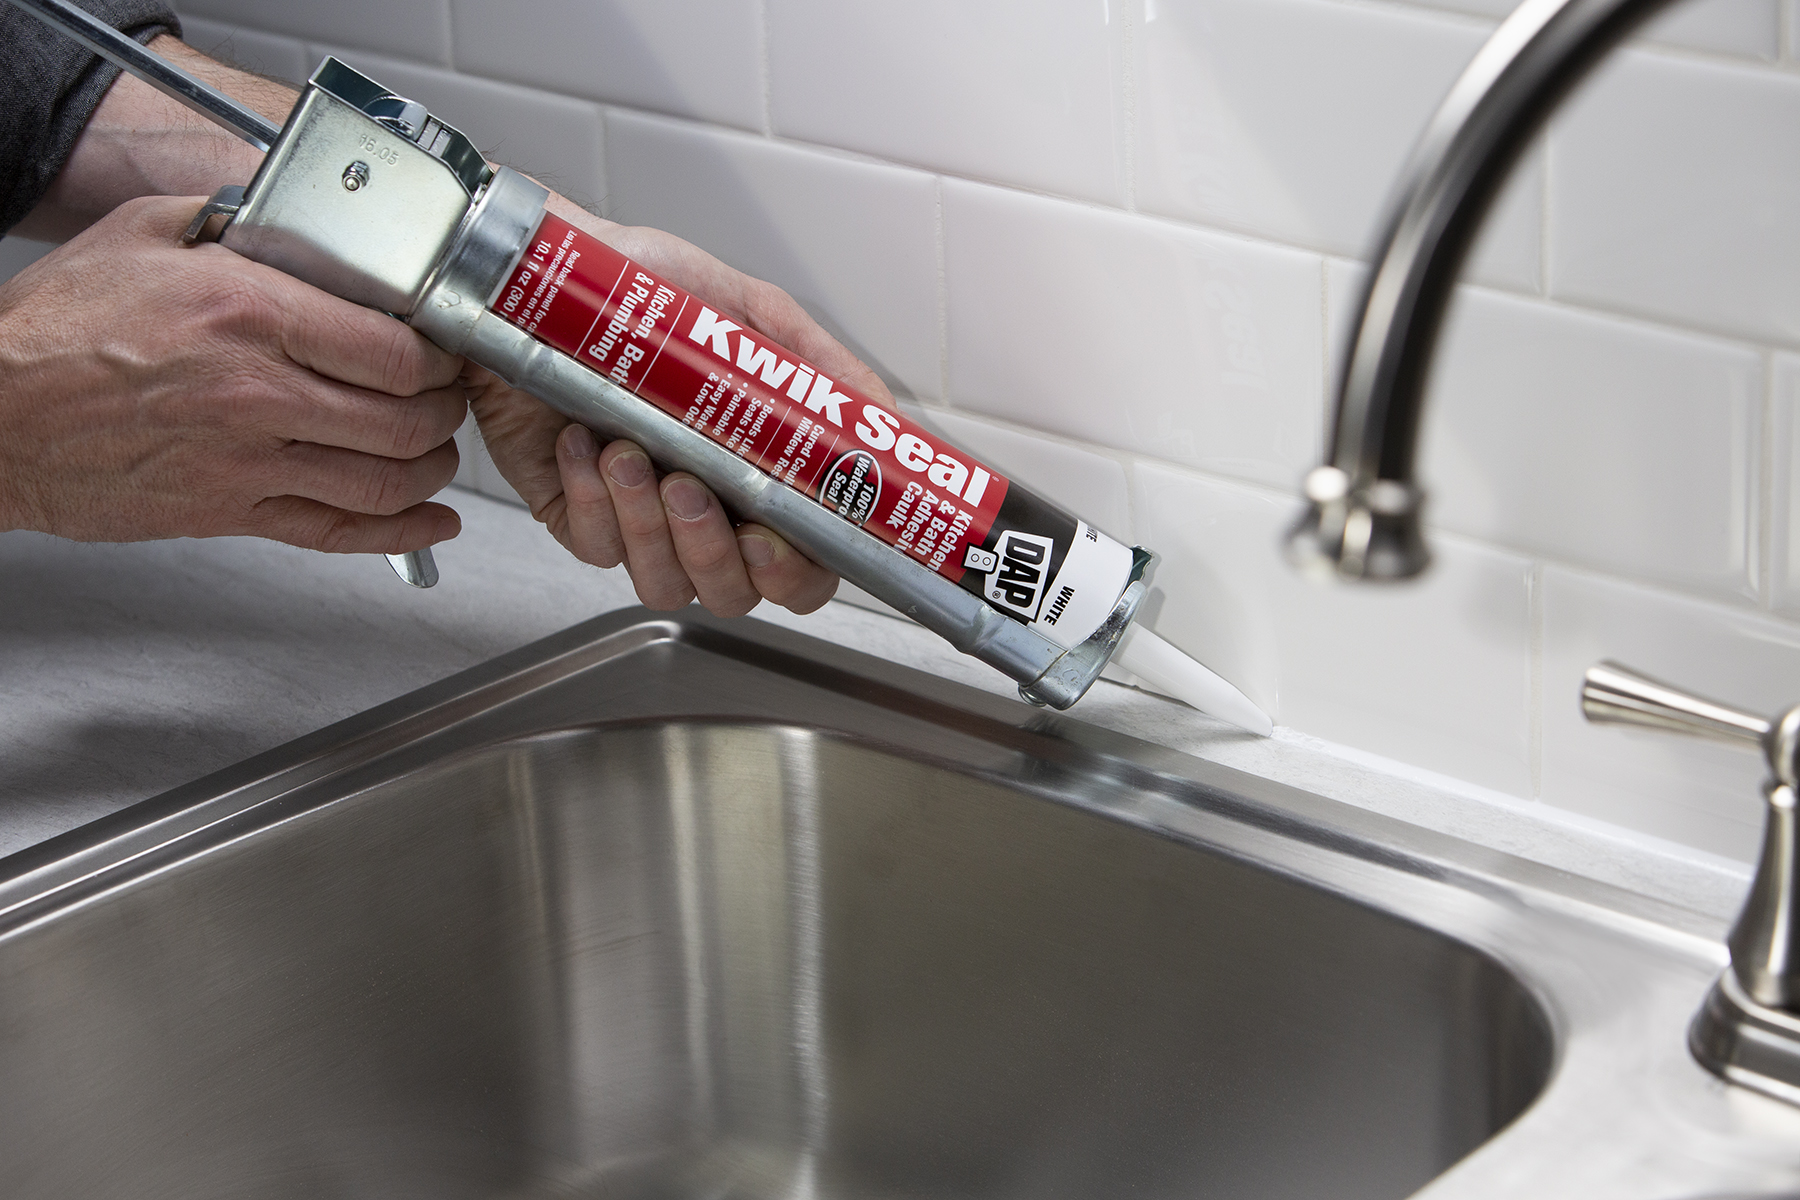
2. Prep the silicone: Cut the tip of the silicone tube at a 45-degree angle using a utility knife. This will create a small opening for the silicone to come out of.
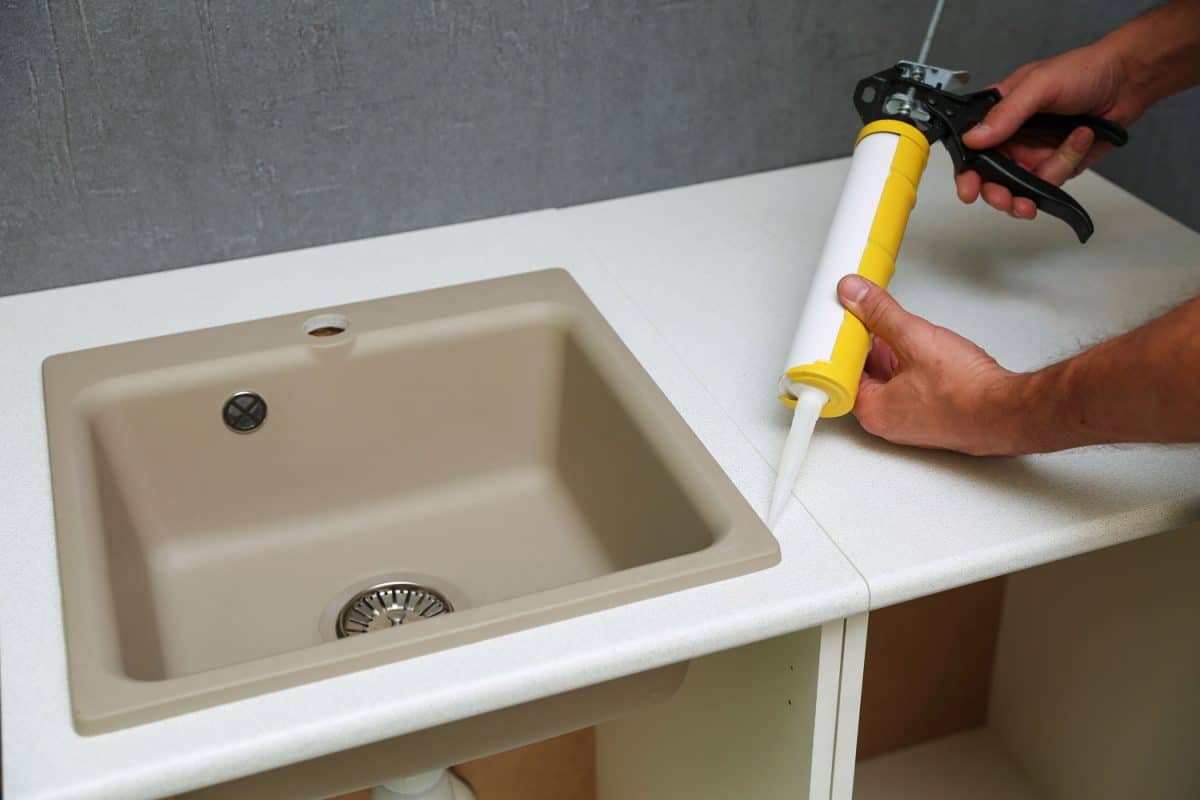
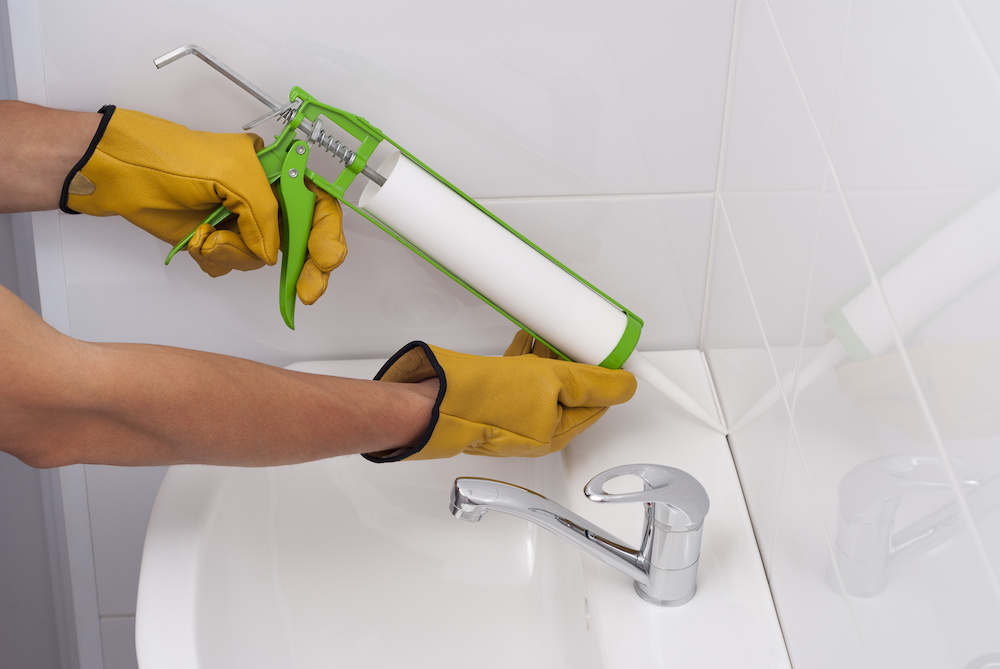
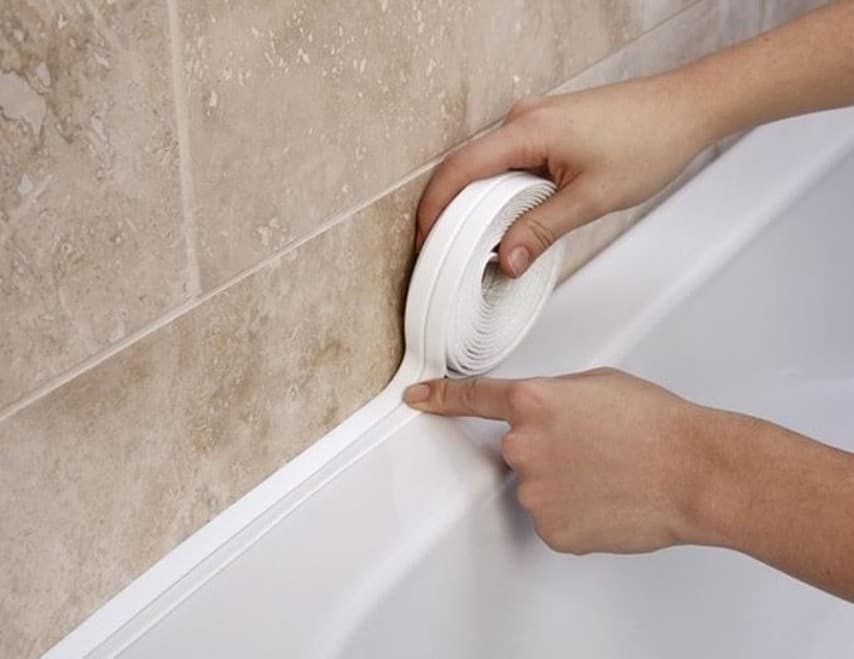
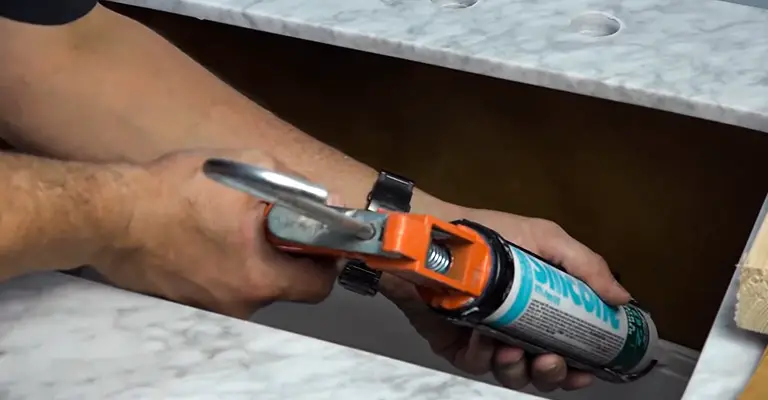
3. Apply the silicone: Load the tube into the caulking gun and start at one end of the sink. Hold the gun at a 45-degree angle and apply a thin and even line of silicone along the edge of the sink.
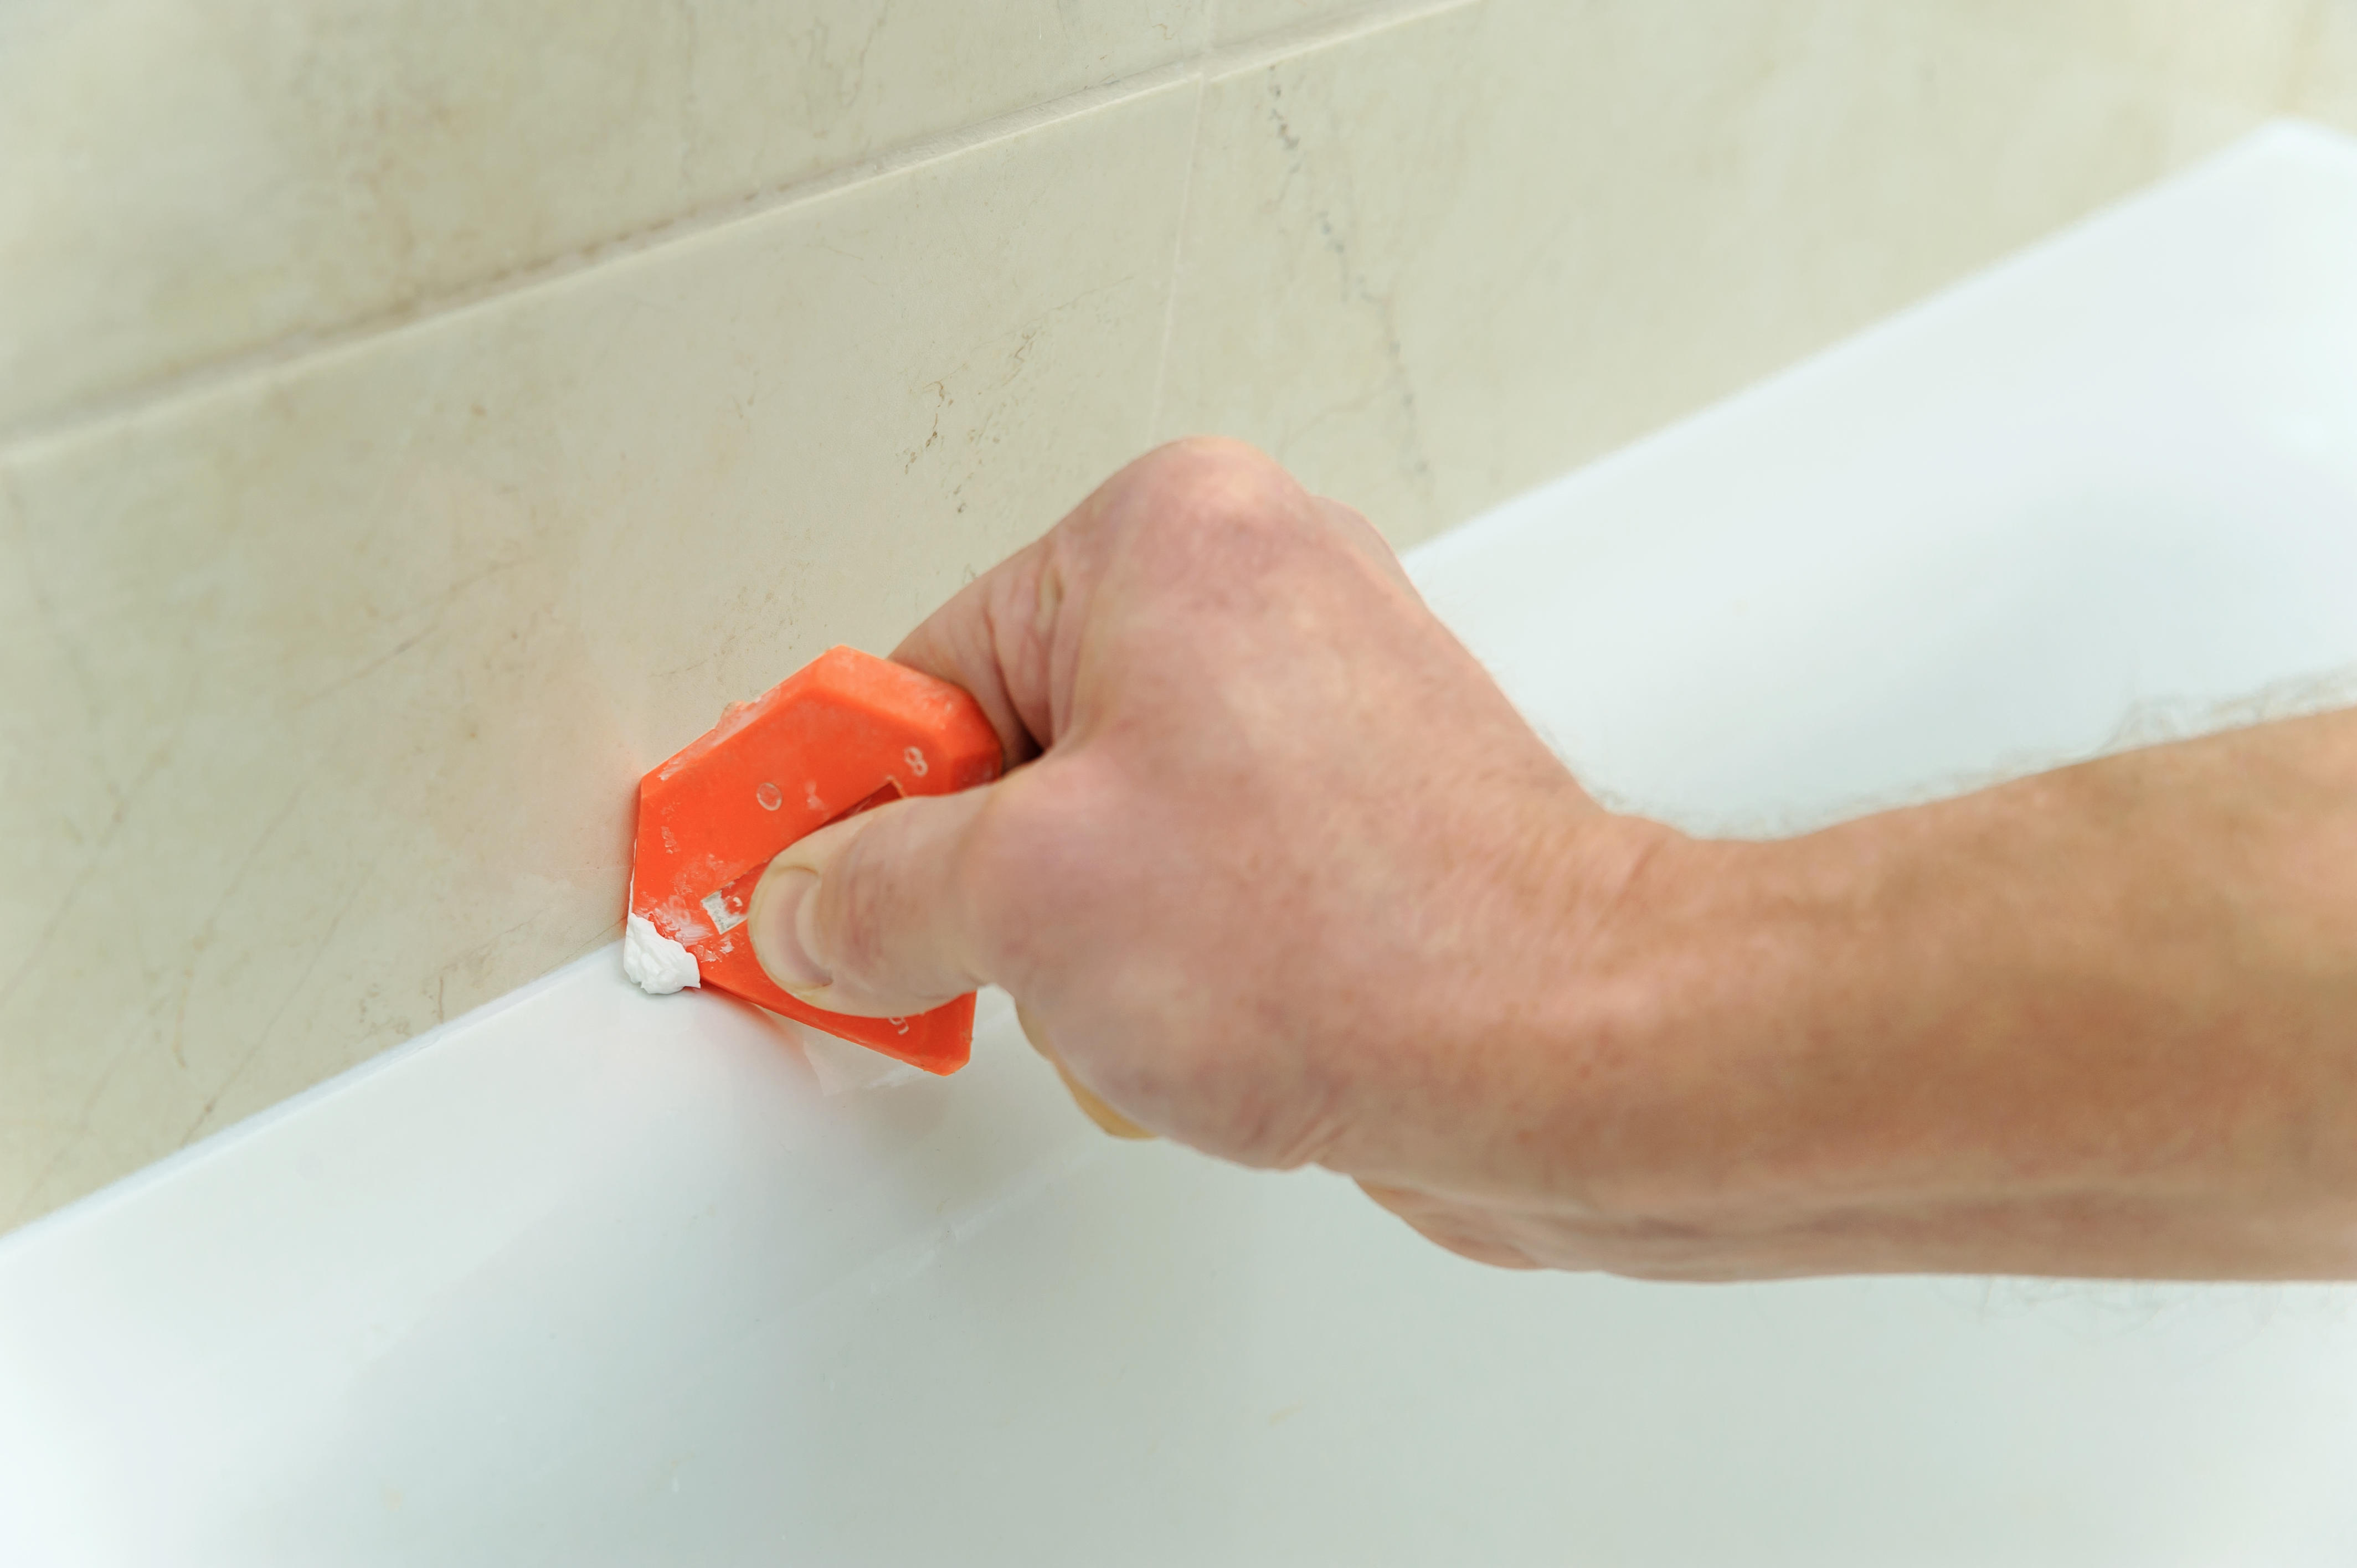
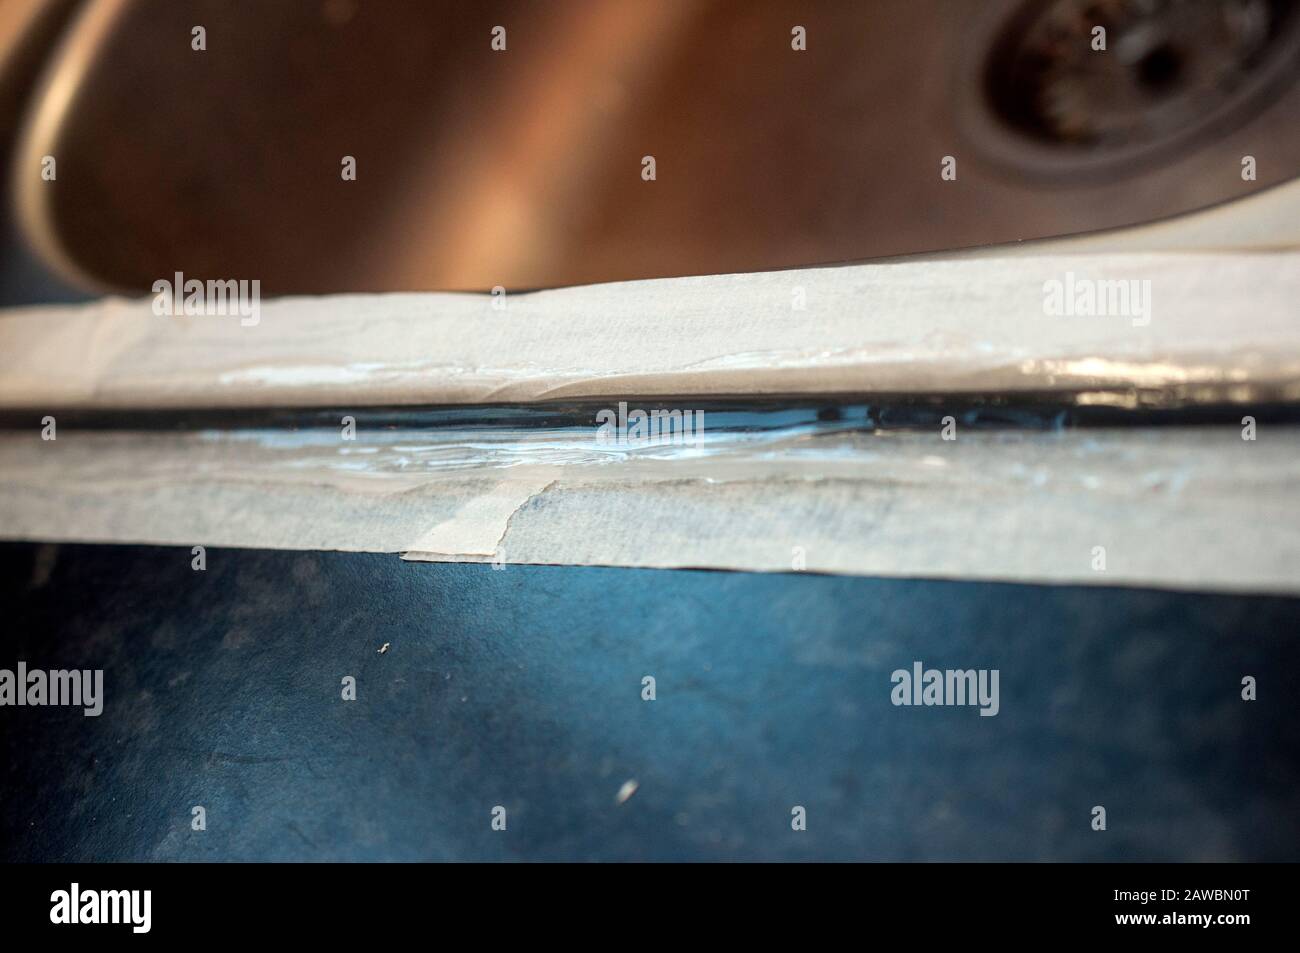
4. Smooth out the silicone: Use a damp cloth or your finger to smooth out the silicone and remove any excess. This will create a clean and uniform seal.
5. Let it dry: Let the silicone dry for at least 24 hours before using your sink again. This will ensure that the seal is fully cured and will provide the best results.
Now that you understand why silicone is the best choice for sealing your kitchen sink, let's walk through the steps on how to properly apply it. Before you begin, make sure you have the following materials ready:
silicone caulking gun, silicone sealant, utility knife, and a damp cloth.
1. Clean and dry the area: Before applying the silicone, make sure the area around your sink is clean and dry. Use a mild cleaner and a damp cloth to remove any dirt, grime, or residue.
2. Prep the silicone: Cut the tip of the silicone tube at a 45-degree angle using a utility knife. This will create a small opening for the silicone to come out of.
3. Apply the silicone: Load the tube into the caulking gun and start at one end of the sink. Hold the gun at a 45-degree angle and apply a thin and even line of silicone along the edge of the sink.
4. Smooth out the silicone: Use a damp cloth or your finger to smooth out the silicone and remove any excess. This will create a clean and uniform seal.
5. Let it dry: Let the silicone dry for at least 24 hours before using your sink again. This will ensure that the seal is fully cured and will provide the best results.
Expert Tips for a Perfectly Sealed Kitchen Sink
 To achieve the best results when sealing your kitchen sink with silicone, keep these tips in mind:
- Use a high-quality silicone sealant that is specifically designed for use in kitchens and bathrooms.
- Make sure the area is clean and dry before applying the silicone.
- Do not apply too much silicone, as this can lead to a messy and uneven seal.
- Use a damp cloth to smooth out the silicone and remove any excess for a professional finish.
- Allow the silicone to dry completely before using your sink to ensure a watertight seal.
In conclusion, properly sealing your kitchen sink with silicone is crucial for maintaining the cleanliness and functionality of your kitchen. By following these simple steps and expert tips, you can achieve a professional and long-lasting seal that will keep your kitchen sink protected for years to come. So, next time you are tackling a home renovation project, be sure to use silicone for a flawless and leak-free seal.
To achieve the best results when sealing your kitchen sink with silicone, keep these tips in mind:
- Use a high-quality silicone sealant that is specifically designed for use in kitchens and bathrooms.
- Make sure the area is clean and dry before applying the silicone.
- Do not apply too much silicone, as this can lead to a messy and uneven seal.
- Use a damp cloth to smooth out the silicone and remove any excess for a professional finish.
- Allow the silicone to dry completely before using your sink to ensure a watertight seal.
In conclusion, properly sealing your kitchen sink with silicone is crucial for maintaining the cleanliness and functionality of your kitchen. By following these simple steps and expert tips, you can achieve a professional and long-lasting seal that will keep your kitchen sink protected for years to come. So, next time you are tackling a home renovation project, be sure to use silicone for a flawless and leak-free seal.


/how-to-install-a-sink-drain-2718789-hero-24e898006ed94c9593a2a268b57989a3.jpg)