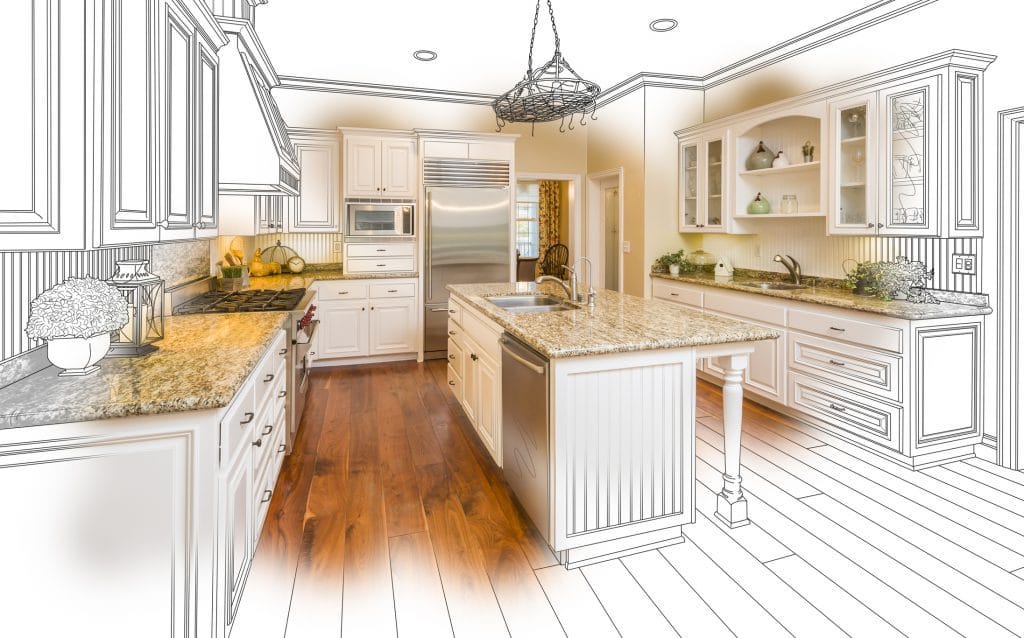
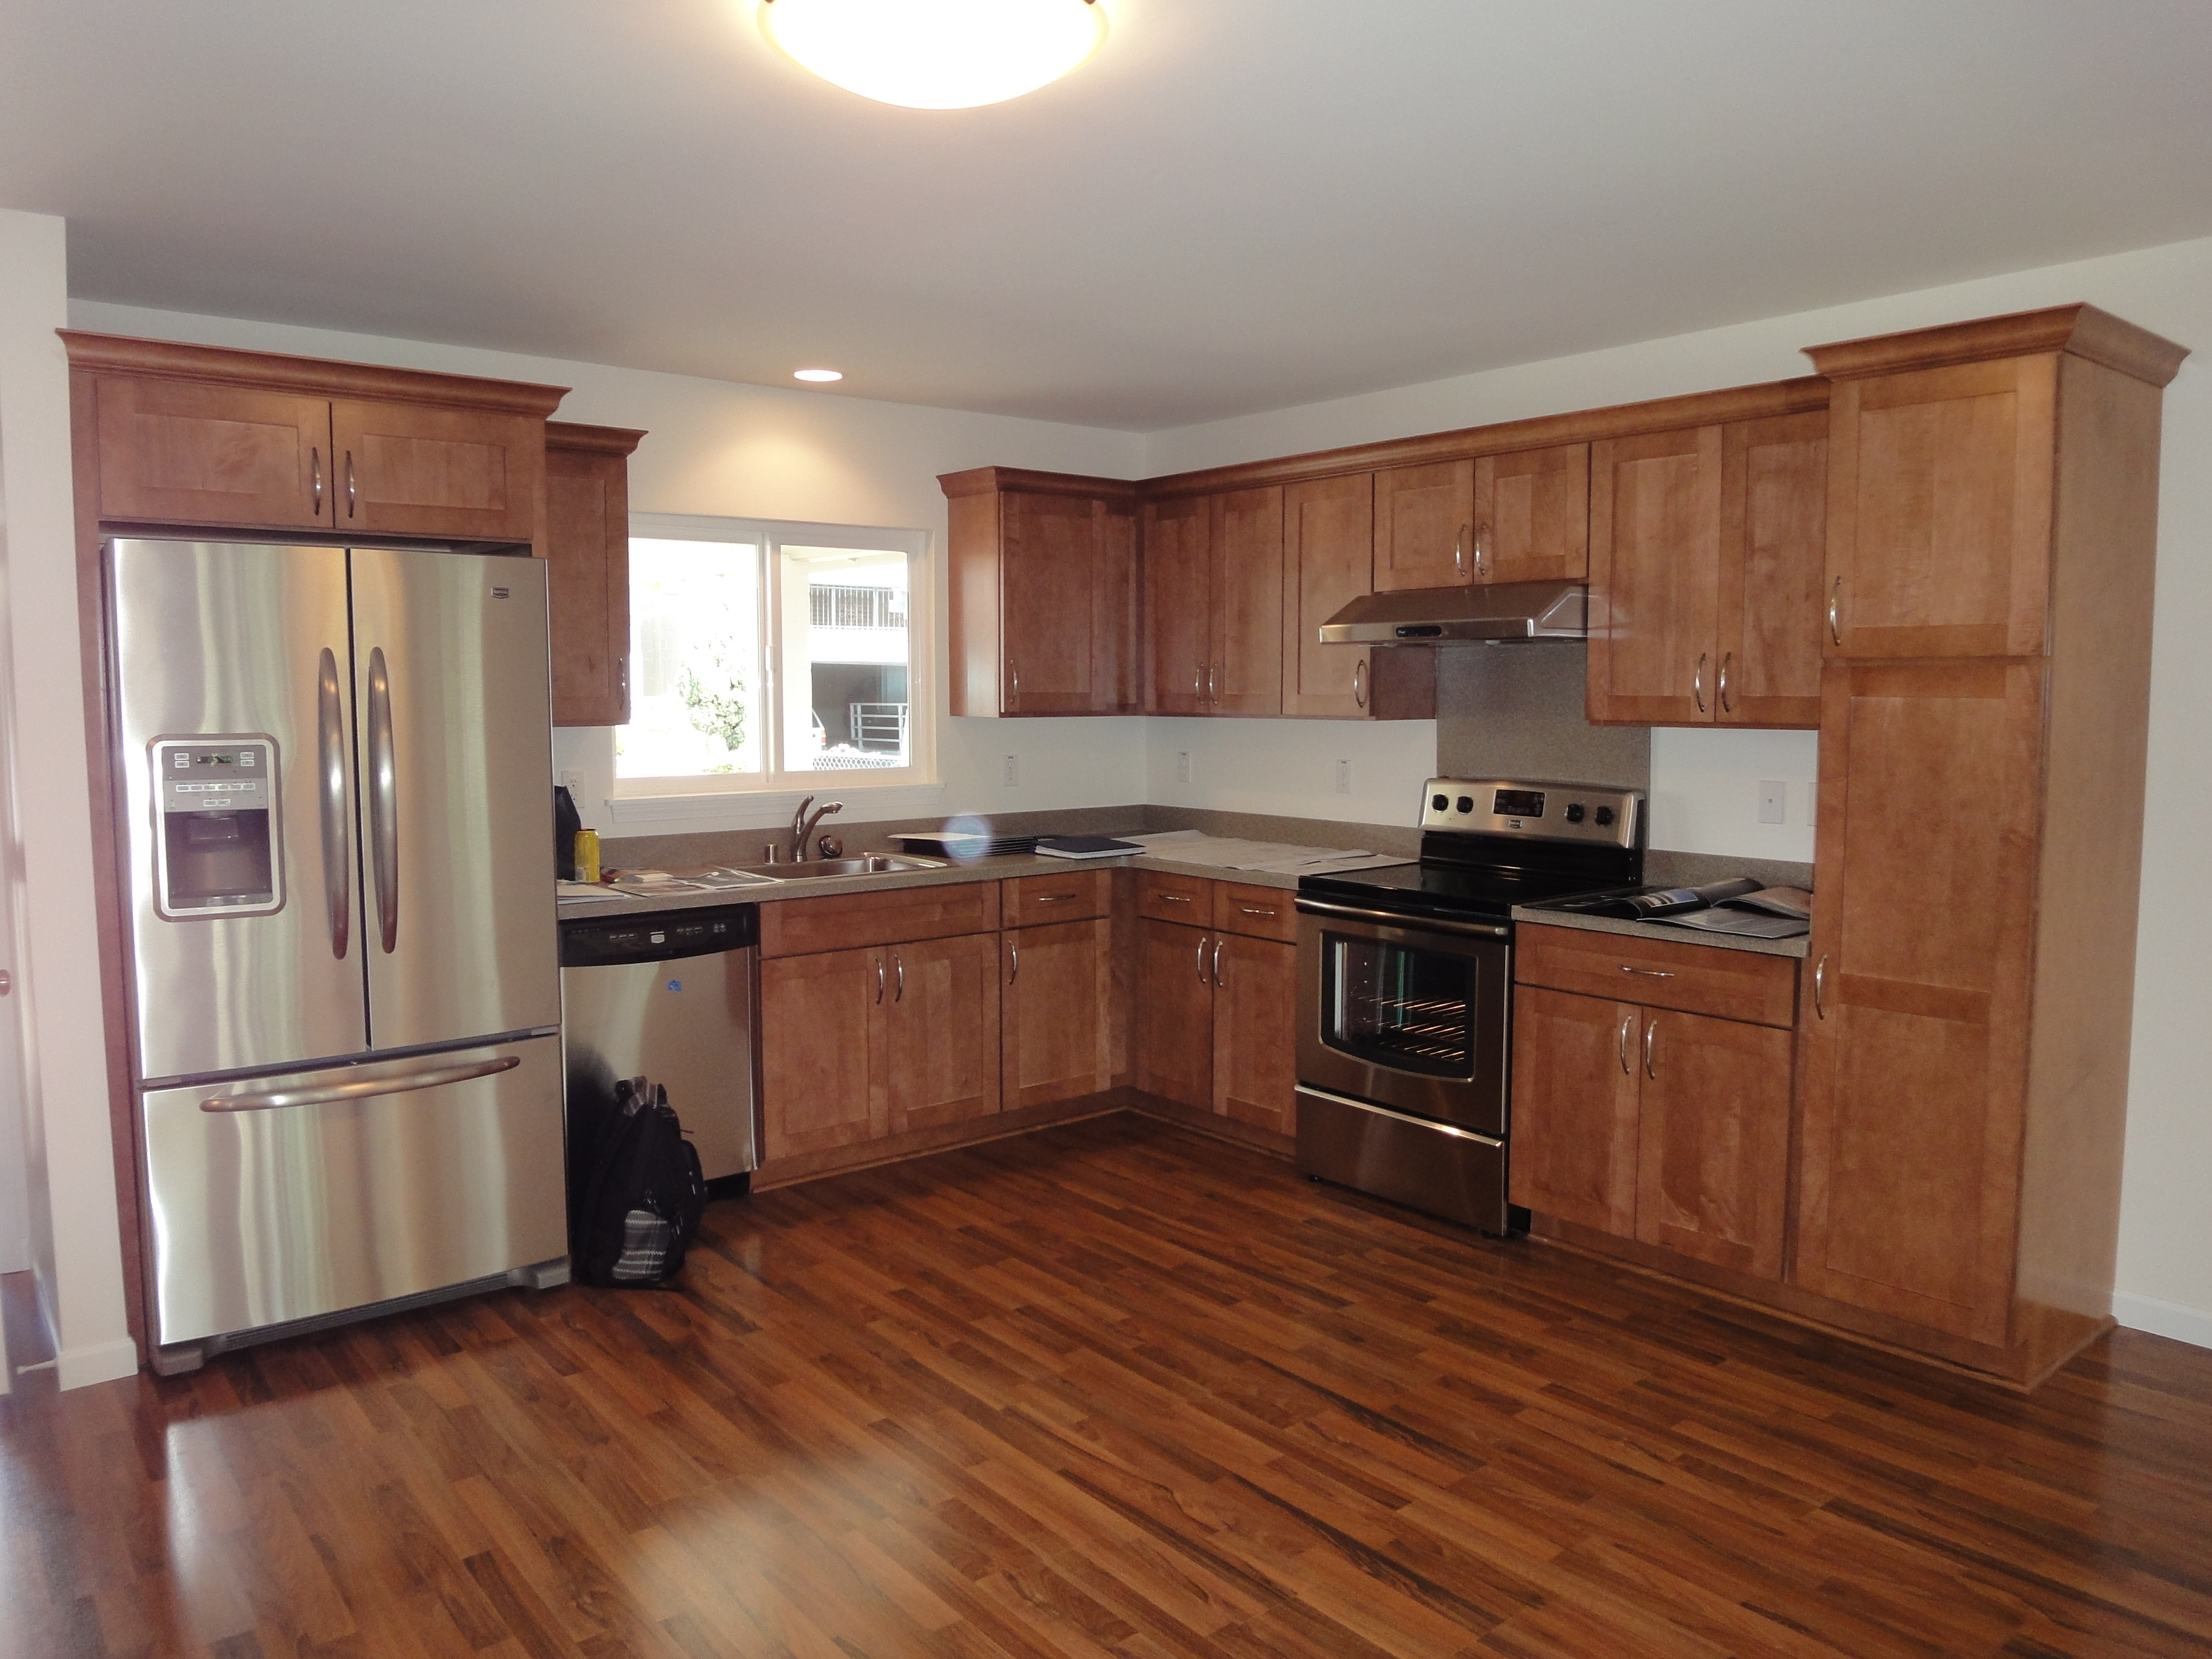
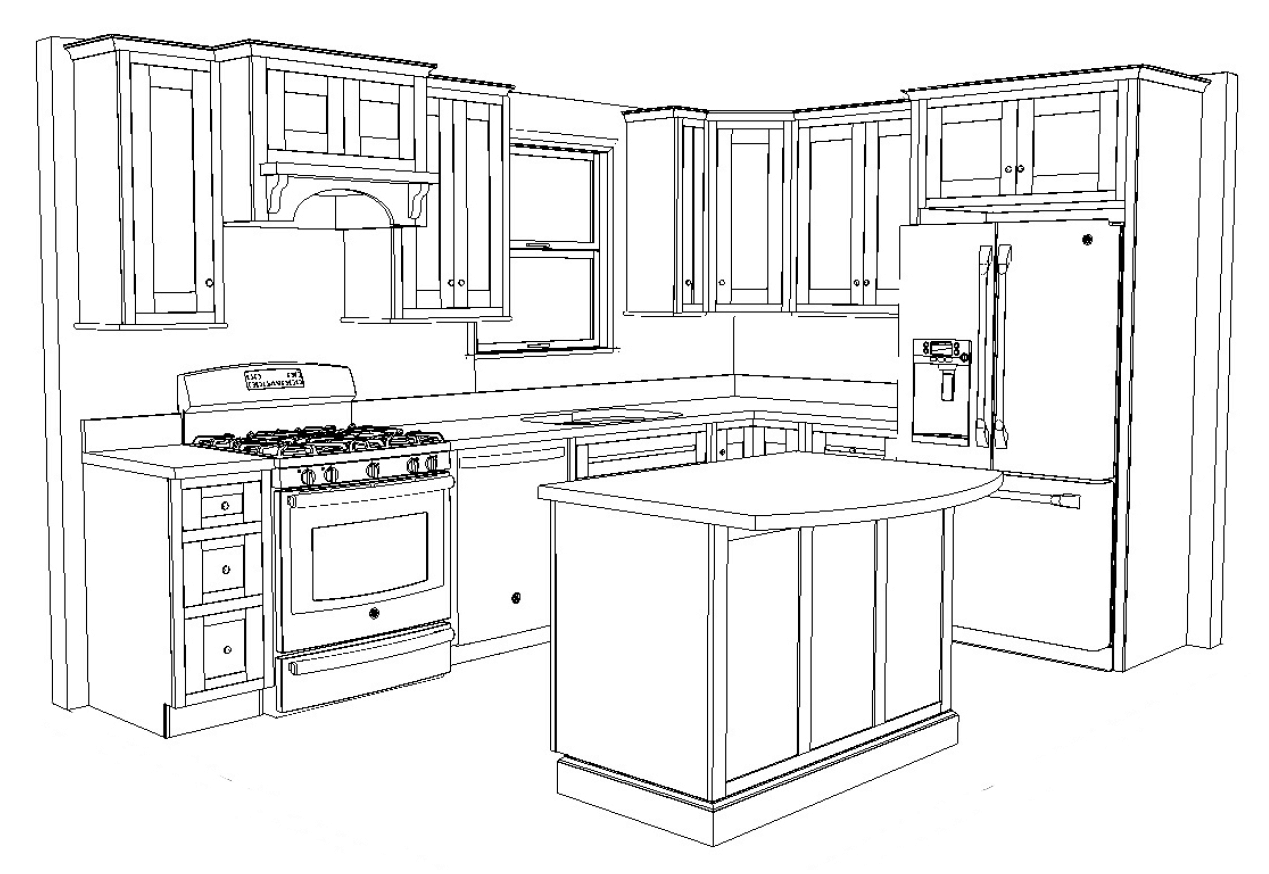
The first step in installing recessed lighting in your kitchen is to determine the layout of your space. This will help you determine how many lights you will need and where they should be placed. Take into consideration the size and shape of your kitchen, as well as any existing lighting fixtures or furniture that may affect the placement of your recessed lights.1. Determine the layout of your kitchen


1. Determine the layout of your kitchen


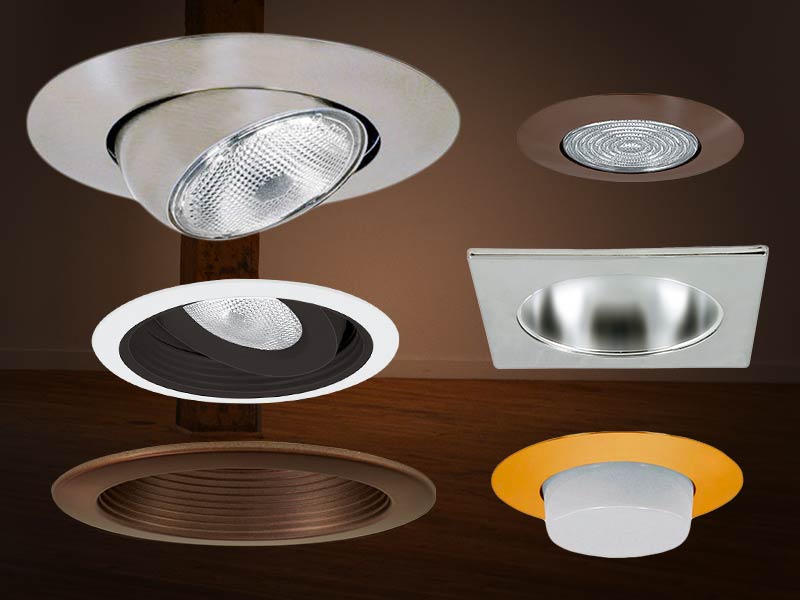
There are several types of recessed lighting available, including standard line voltage, low voltage, and LED lights. Each type has its own unique features and benefits, so it's important to choose the one that best fits your needs and budget. Consider factors such as energy efficiency, brightness, and color temperature when making your decision.2. Choose the type of recessed lighting

2. Choose the type of recessed lighting


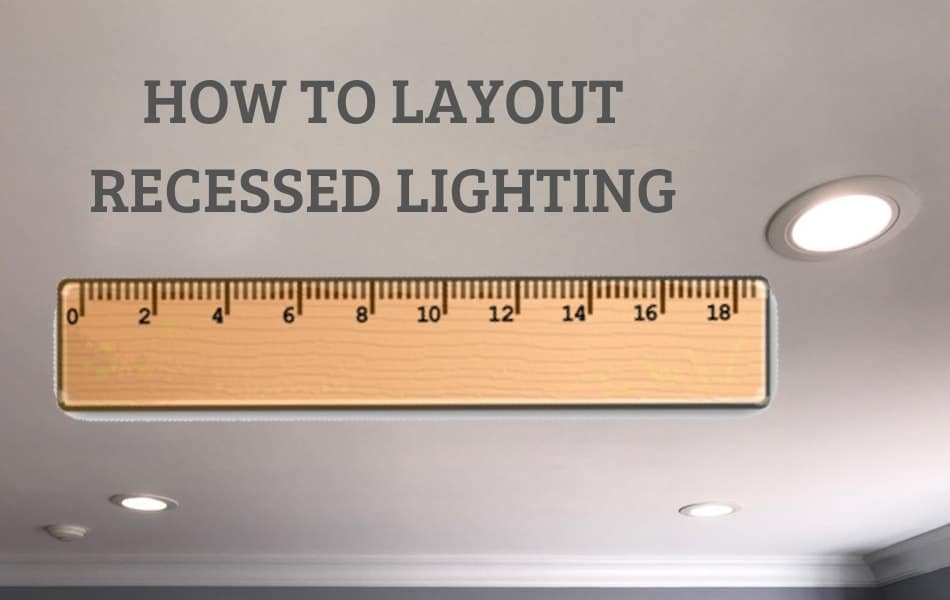
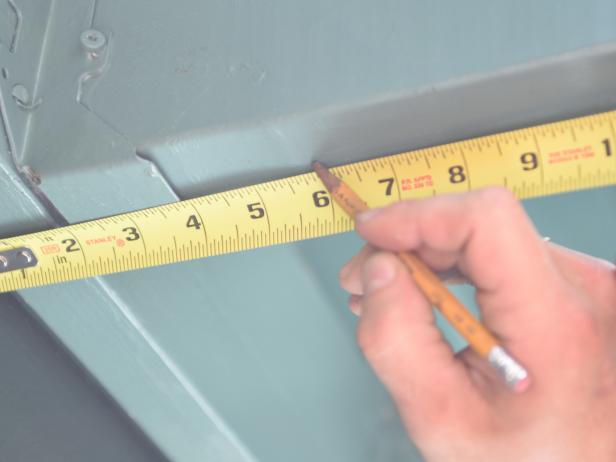
Using a measuring tape and a pencil, mark the exact placement of each recessed light on your ceiling. The standard distance between lights is between 4-6 feet, but this can vary depending on the size of your kitchen. Make sure to measure and mark each light carefully to ensure an evenly spaced and symmetrical layout.3. Measure and mark the placement of the lights


3. Measure and mark the placement of the lights


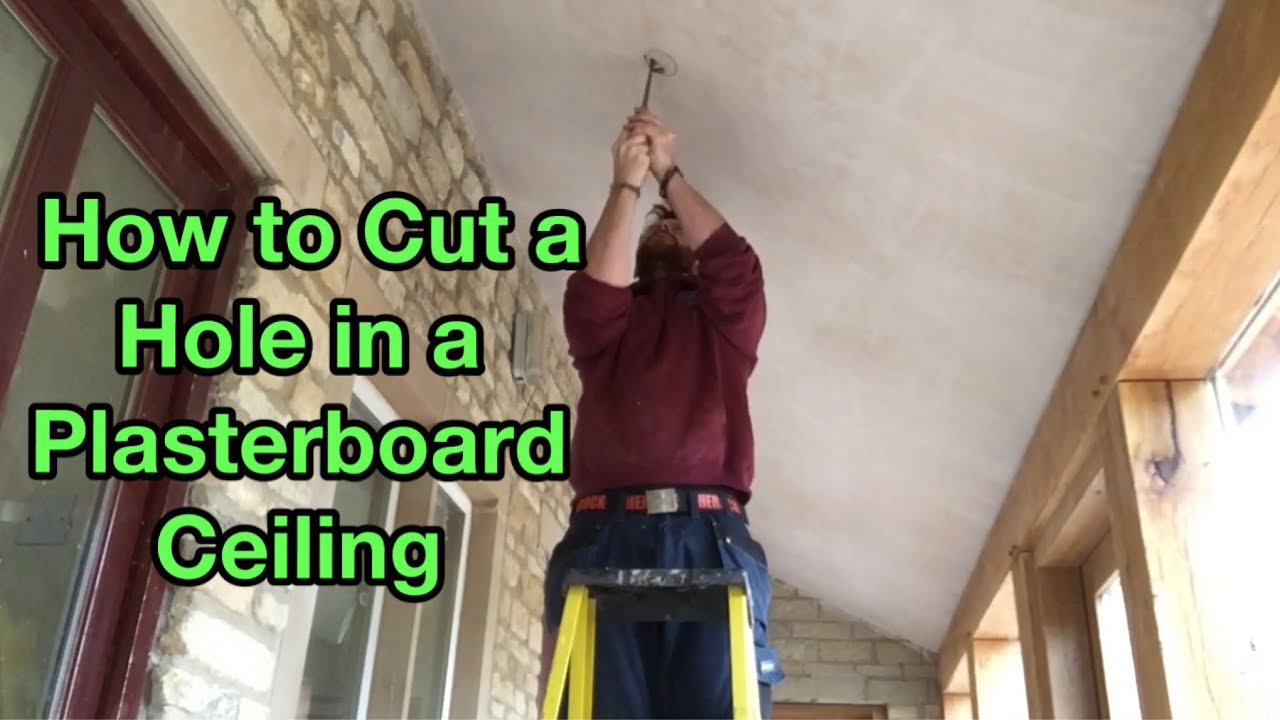
Using a drywall saw or hole saw, carefully cut out the marked areas on your ceiling. Be sure to follow the manufacturer's instructions for the specific size and shape of the holes needed for your chosen recessed lights. Take caution when cutting around electrical wiring or other fixtures in your ceiling.4. Cut holes for the lights


4. Cut holes for the lights
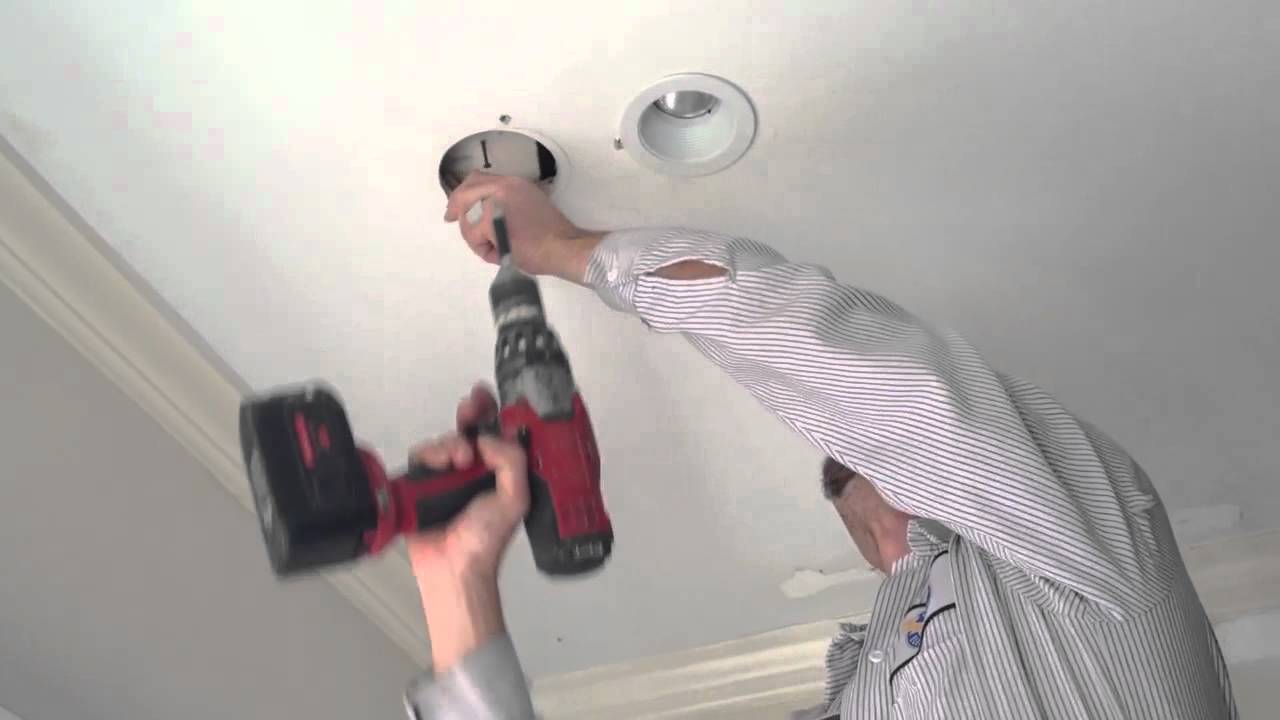


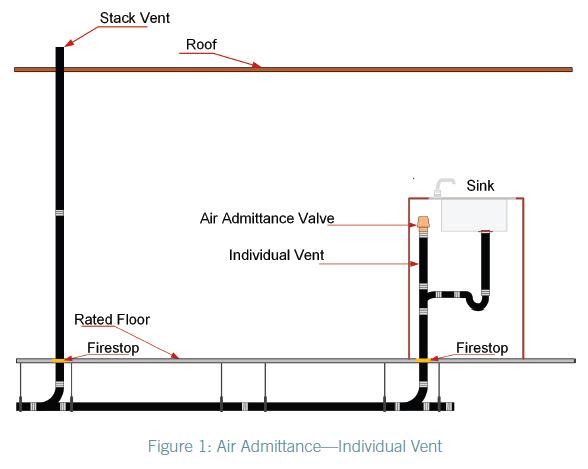
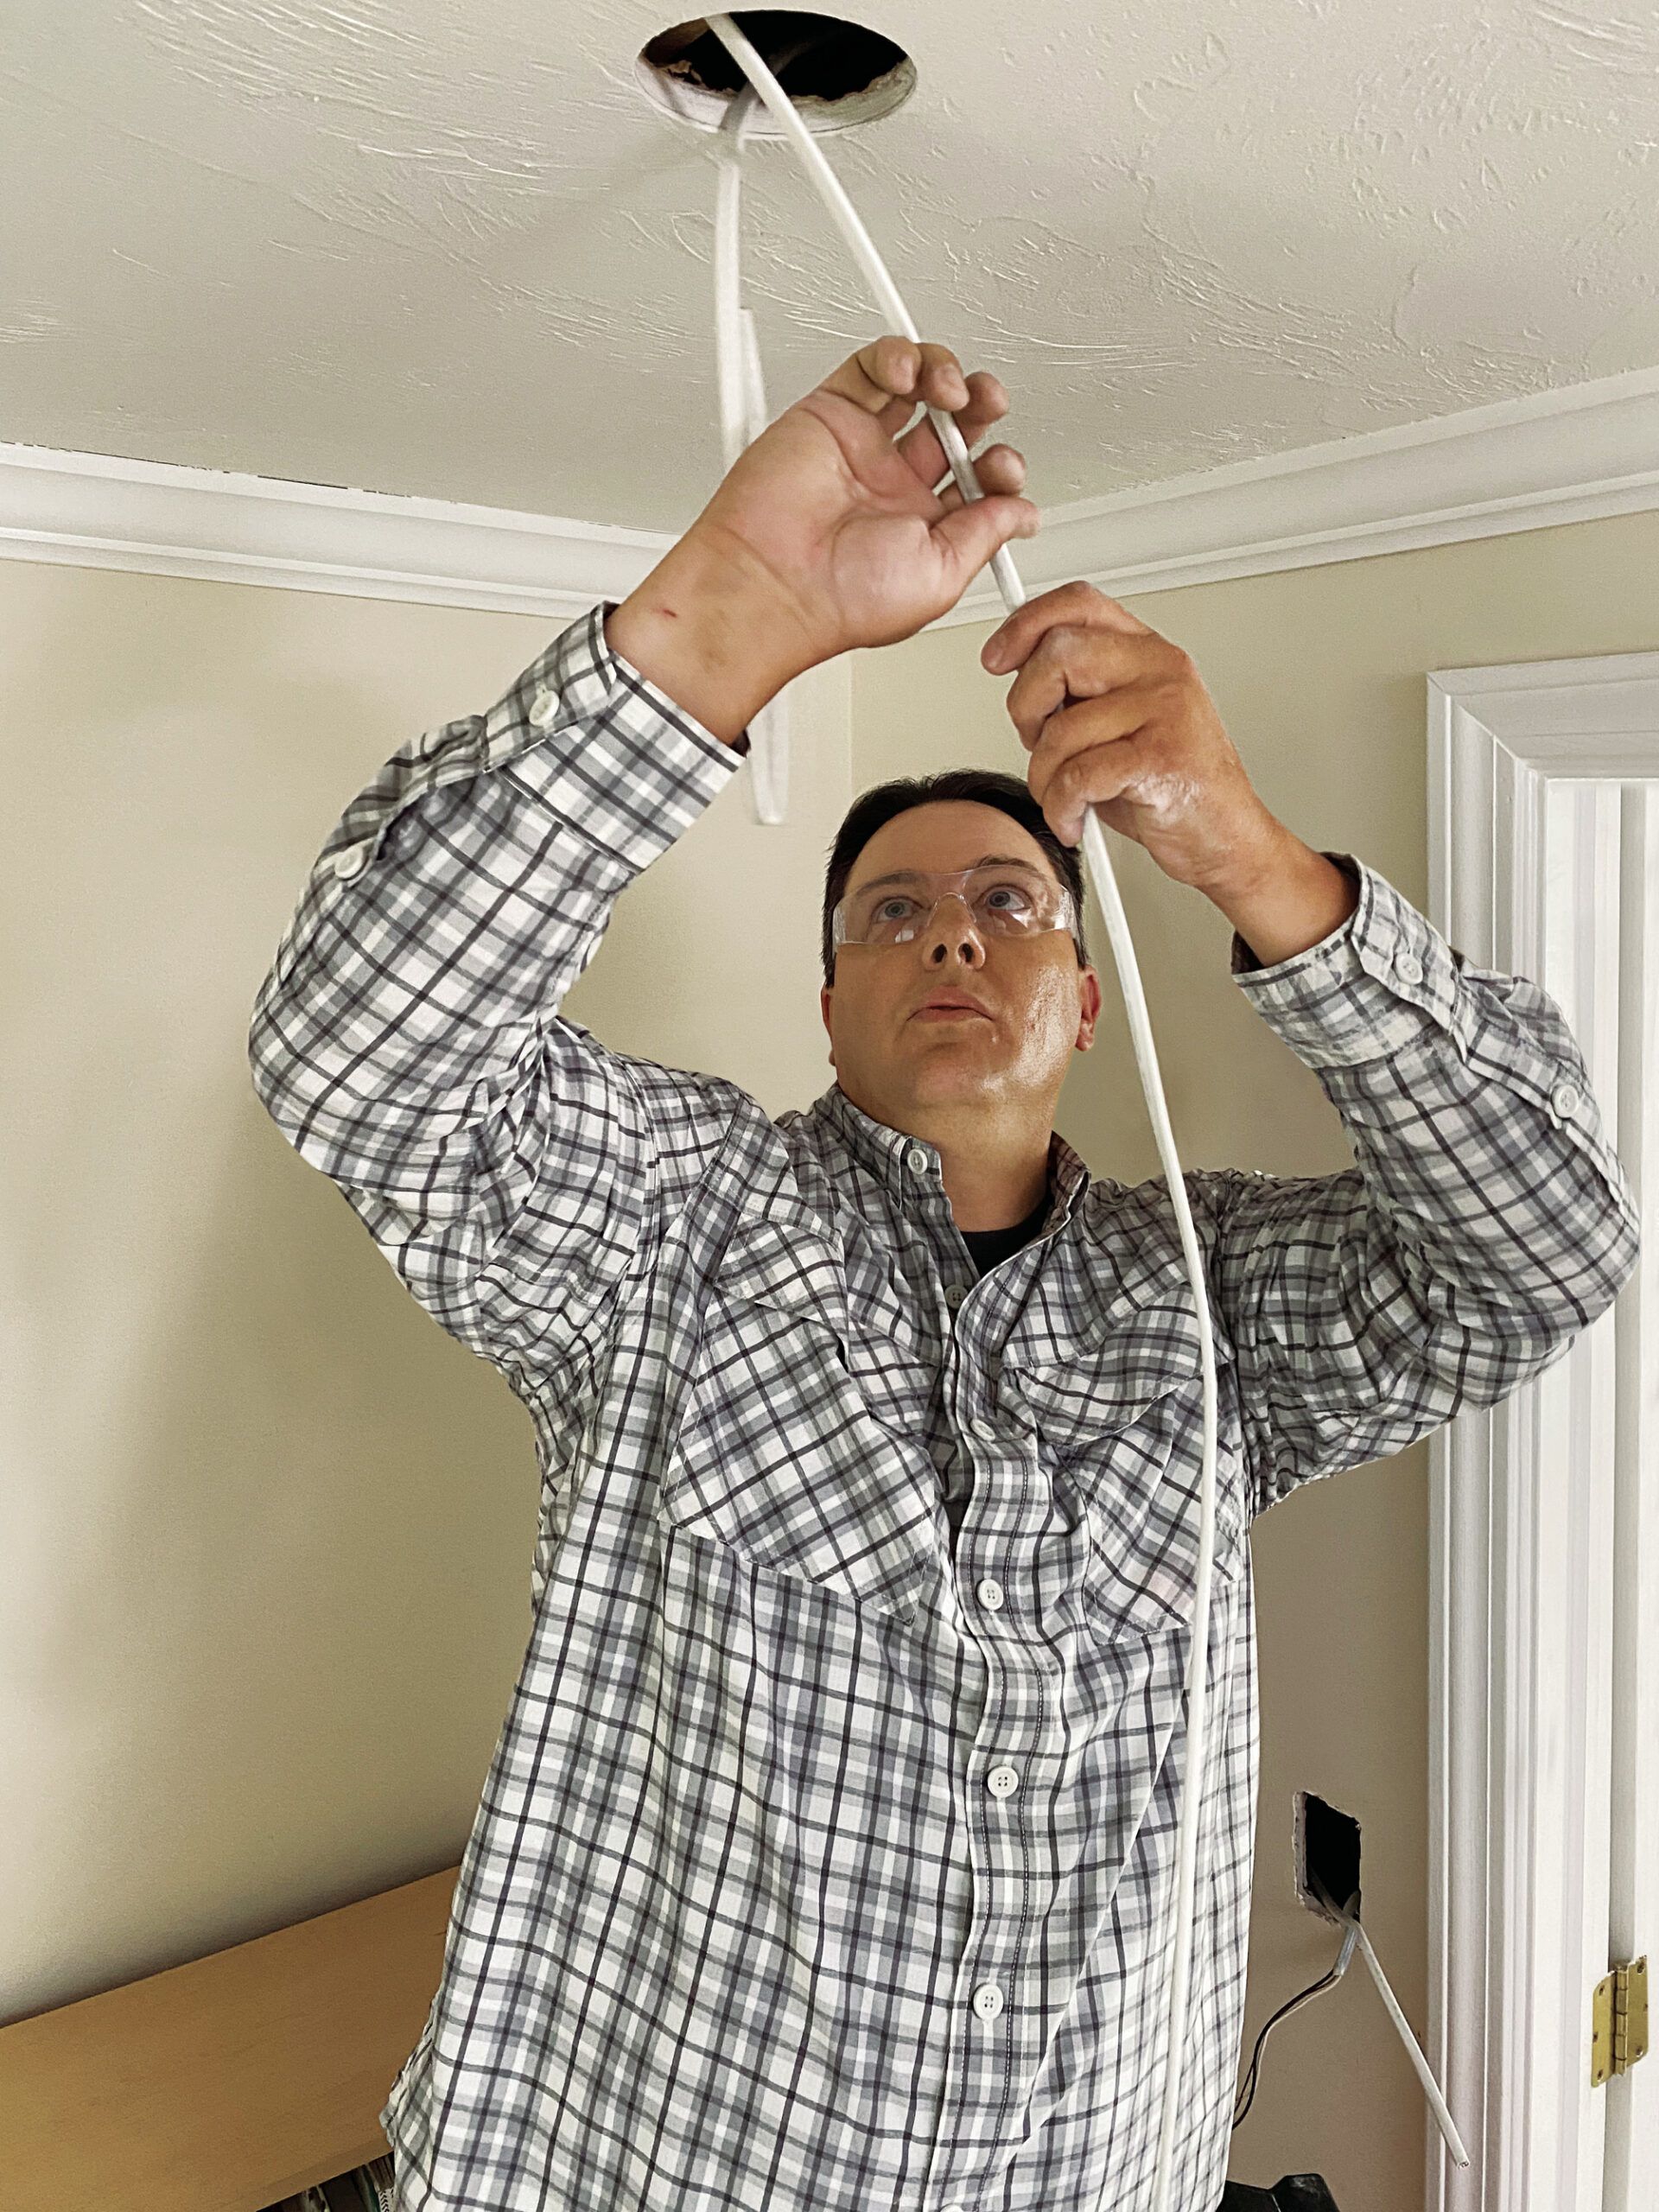
If you are not familiar with electrical work, it is recommended to hire a licensed electrician for this step. The wiring process will involve running wires from your existing light fixtures or power source to the newly cut holes in your ceiling. This will provide the necessary electricity for your recessed lights to function.5. Run wiring for the lights

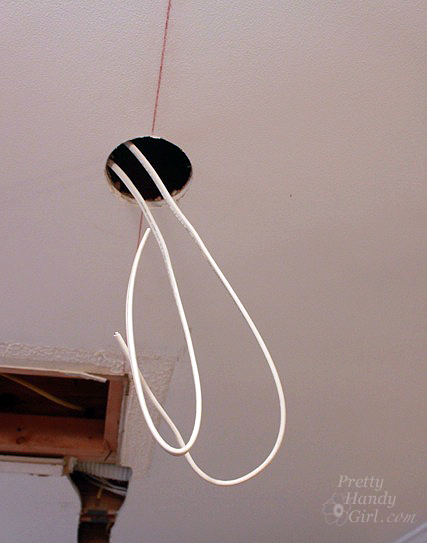

5. Run wiring for the lights


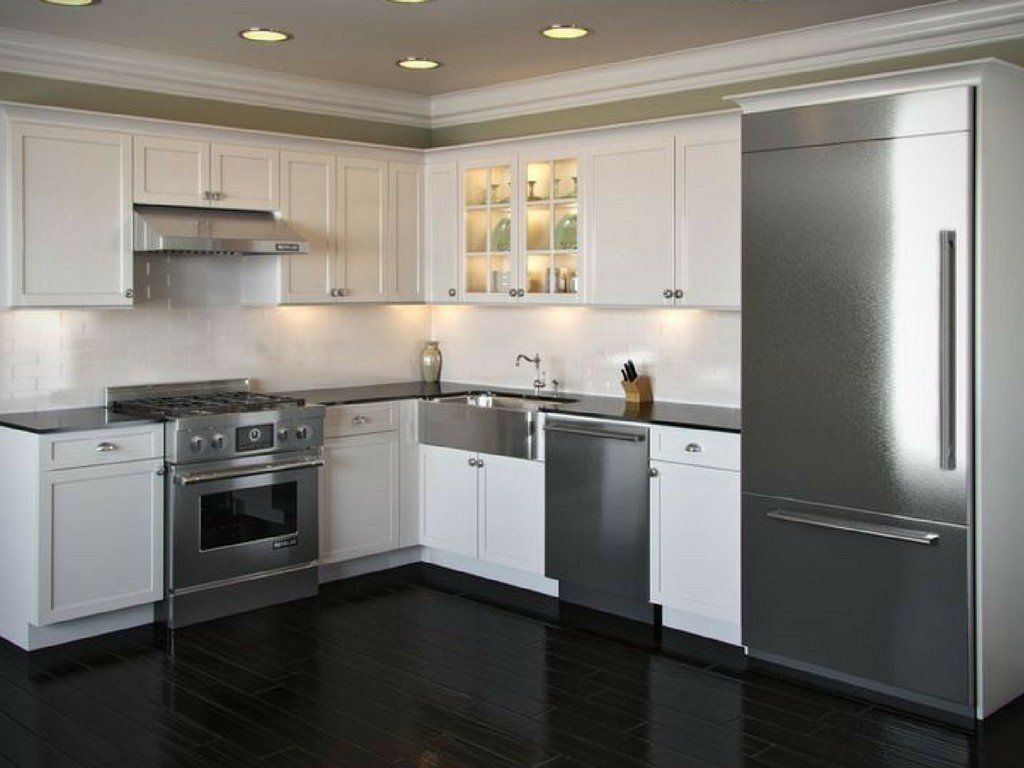
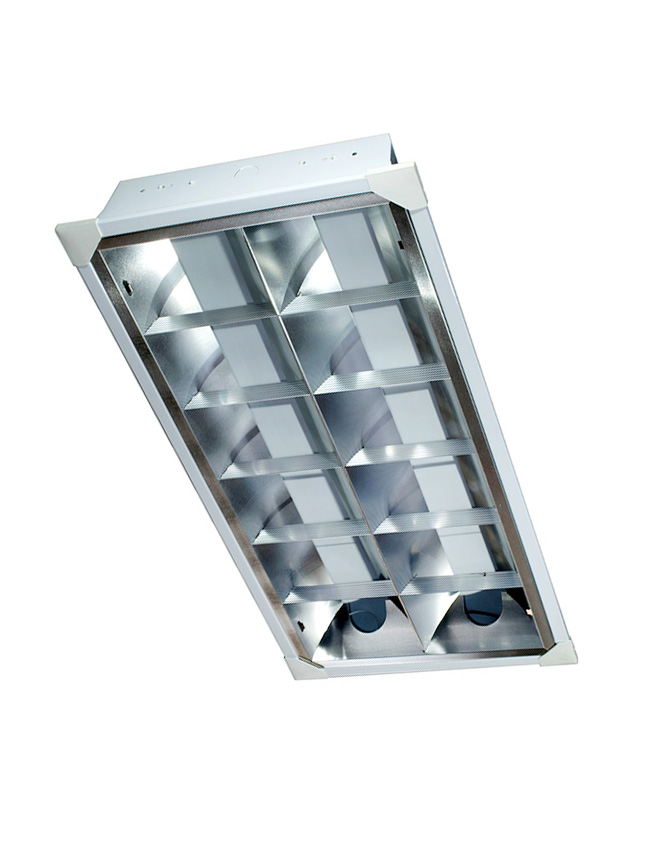
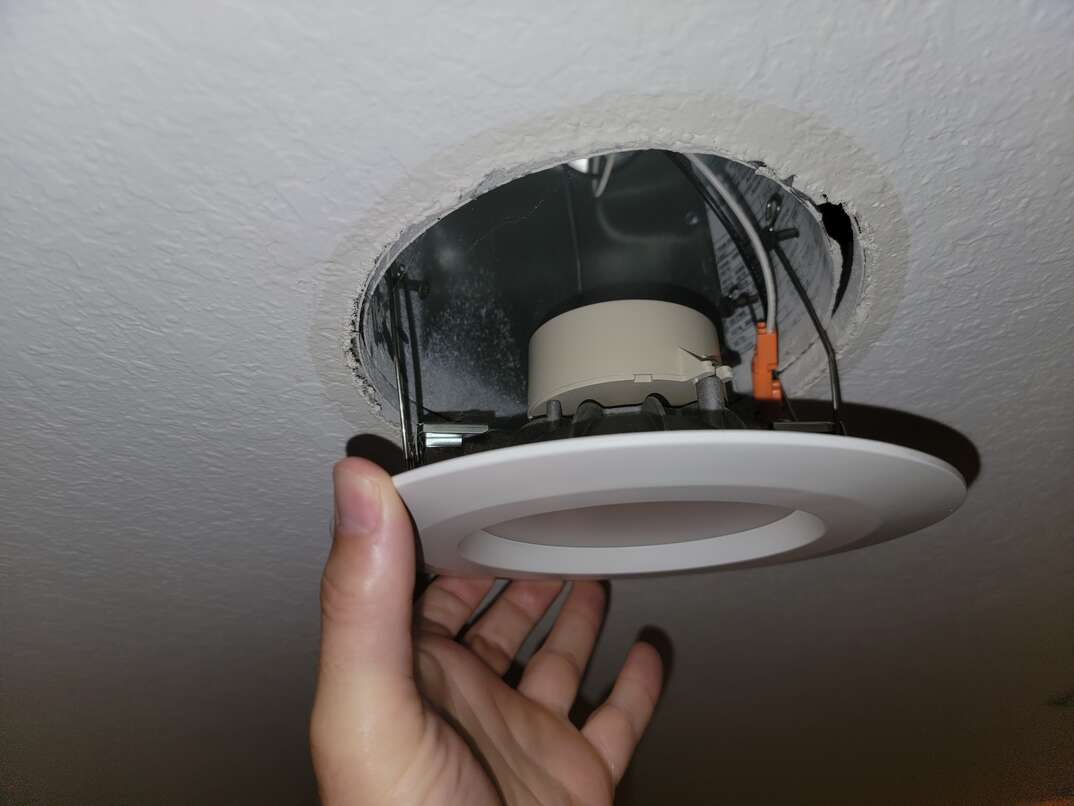
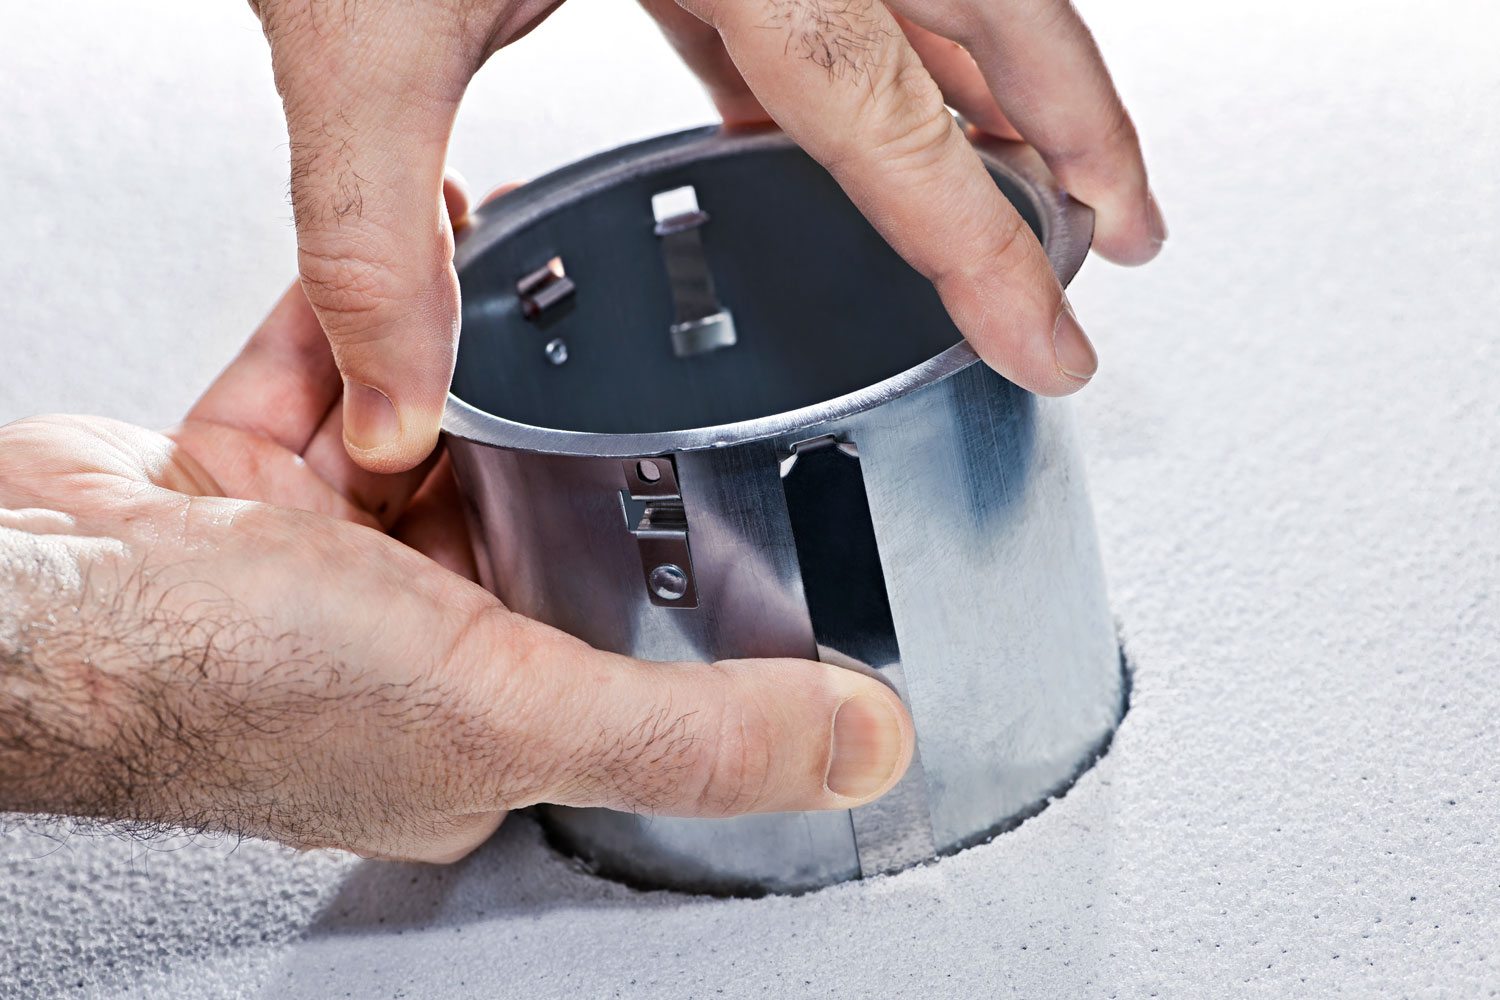
Each recessed light will come with its own housing, which is the part that sits inside the ceiling and holds the bulb. Follow the manufacturer's instructions for your specific type of housing to securely install it into the hole in your ceiling. Make sure the housing is flush with the ceiling and securely fastened.6. Install the recessed light housing

6. Install the recessed light housing
:max_bytes(150000):strip_icc()/184968332-56a5a6433df78cf7728941c8.jpg)


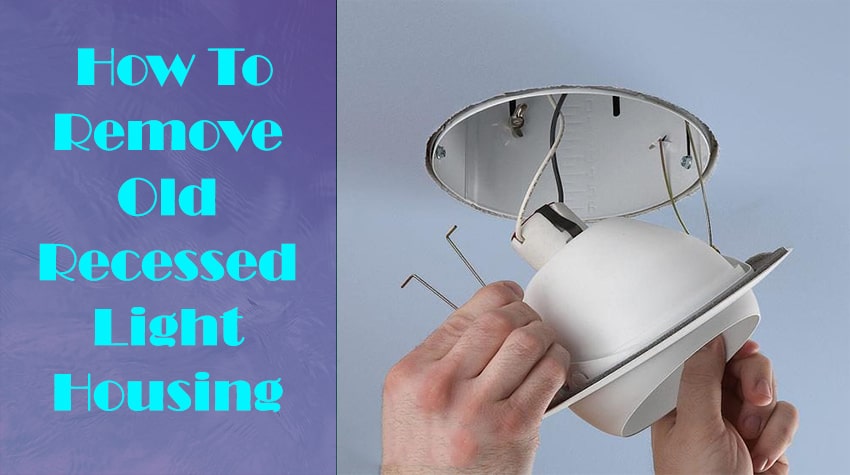
Once the housing is in place, you will need to connect the wiring from your power source to the housing. This will involve connecting the black, white, and ground wires together using wire nuts. Again, if you are not comfortable with electrical work, it is recommended to hire a professional for this step.7. Connect the wiring to the housing


7. Connect the wiring to the housing


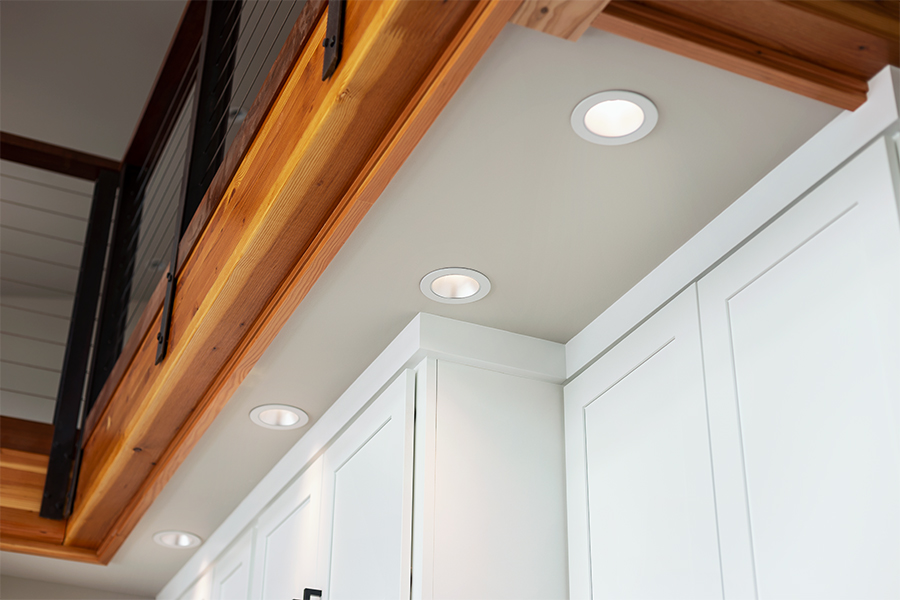
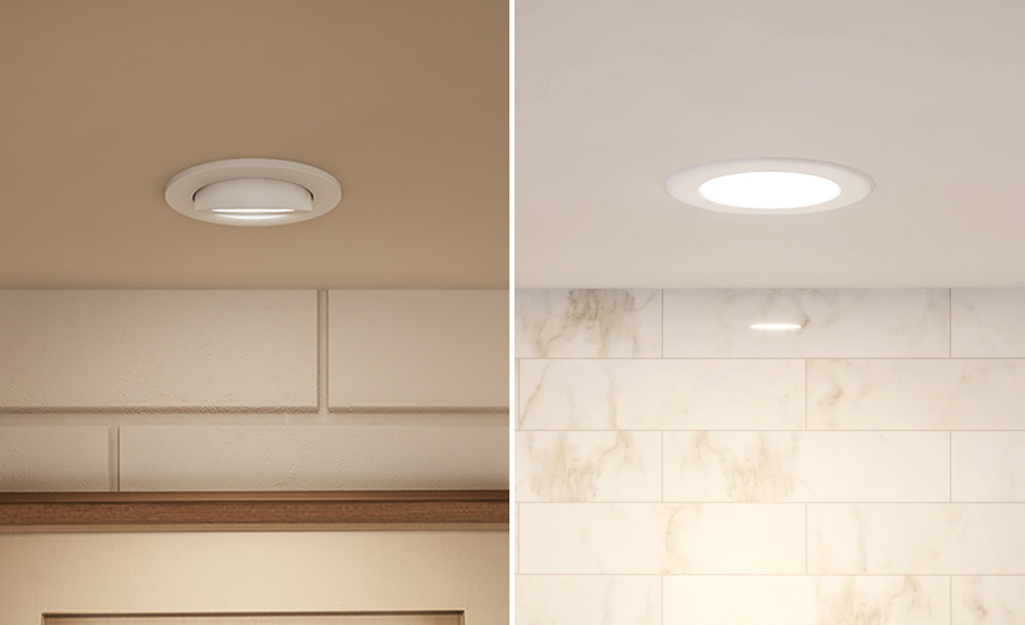
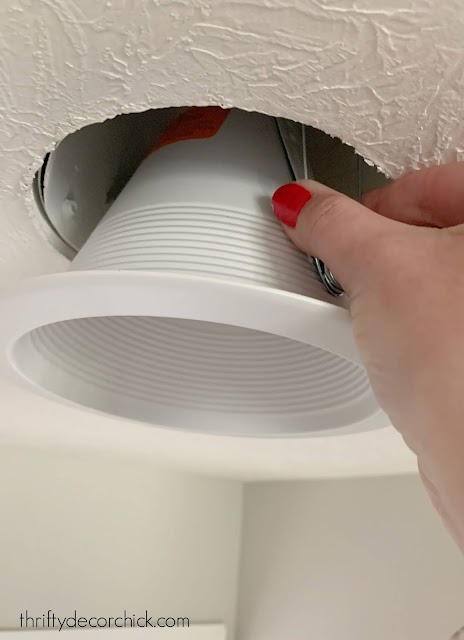
The trim is the visible part of the recessed light that sits on the surface of your ceiling. It helps to give the light a finished look and can also affect the direction and intensity of the light. Simply follow the manufacturer's instructions to attach the trim to the housing. Then, insert the appropriate bulb into the housing.8. Install the trim and bulb


8. Install the trim and bulb


Once all of your recessed lights are installed, turn on the power and test each light. Make any necessary adjustments to the trim or bulb to achieve the desired lighting effect. This is also a good time to make sure all of the lights are evenly spaced and aligned.9. Test the lights and make any necessary adjustments


9. Test the lights and make any necessary adjustments


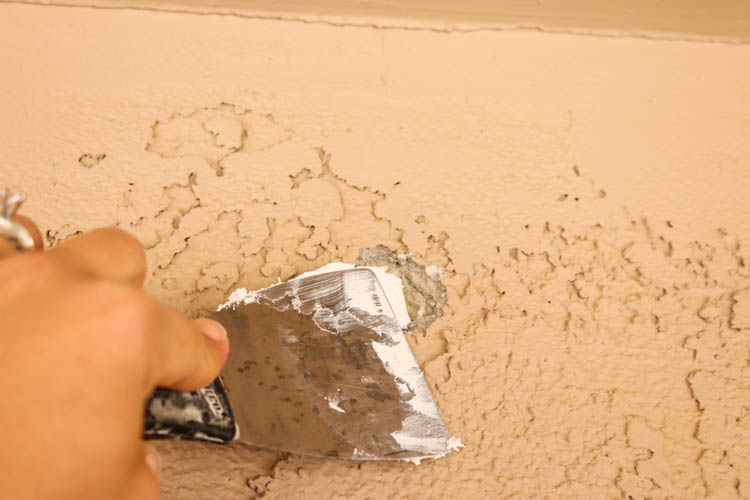
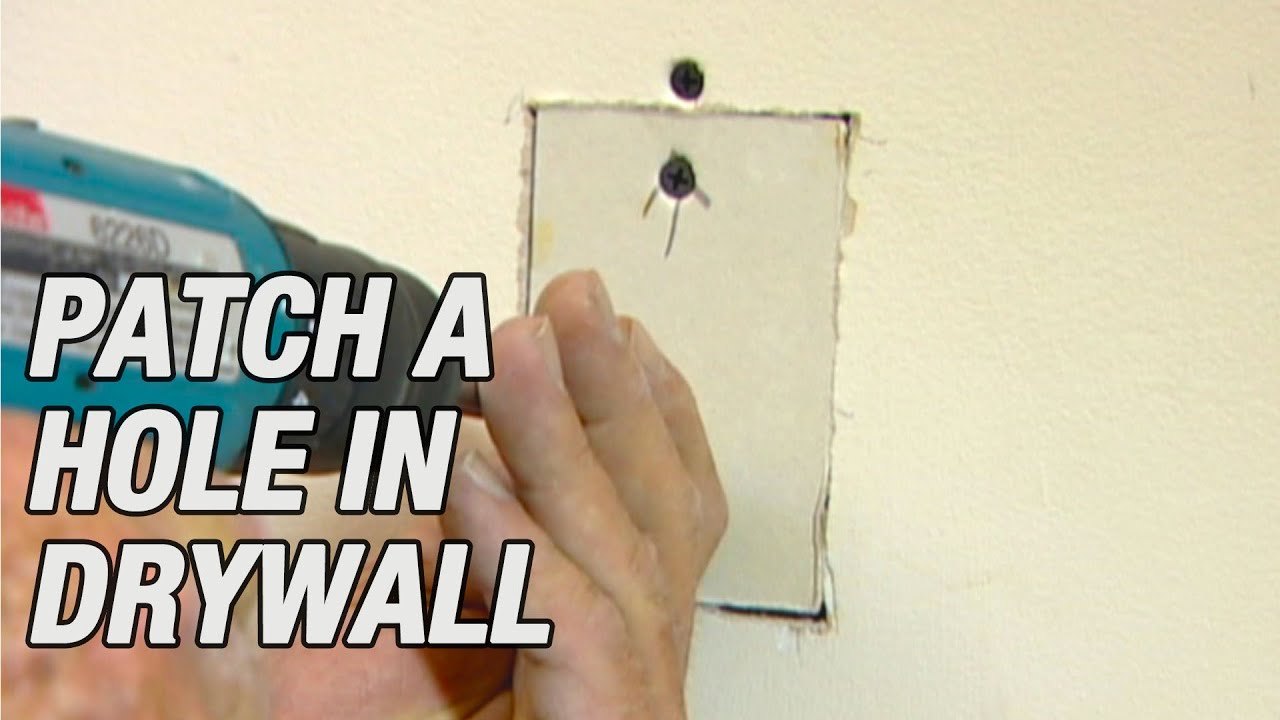
If any holes or gaps were created during the installation process, patch them with drywall or spackling compound. Sand down any rough edges and touch up with paint, if necessary. Finally, clean up any mess and enjoy your newly installed recessed lighting in your kitchen!10. Patch any holes and finish the installation


10. Patch any holes and finish the installation


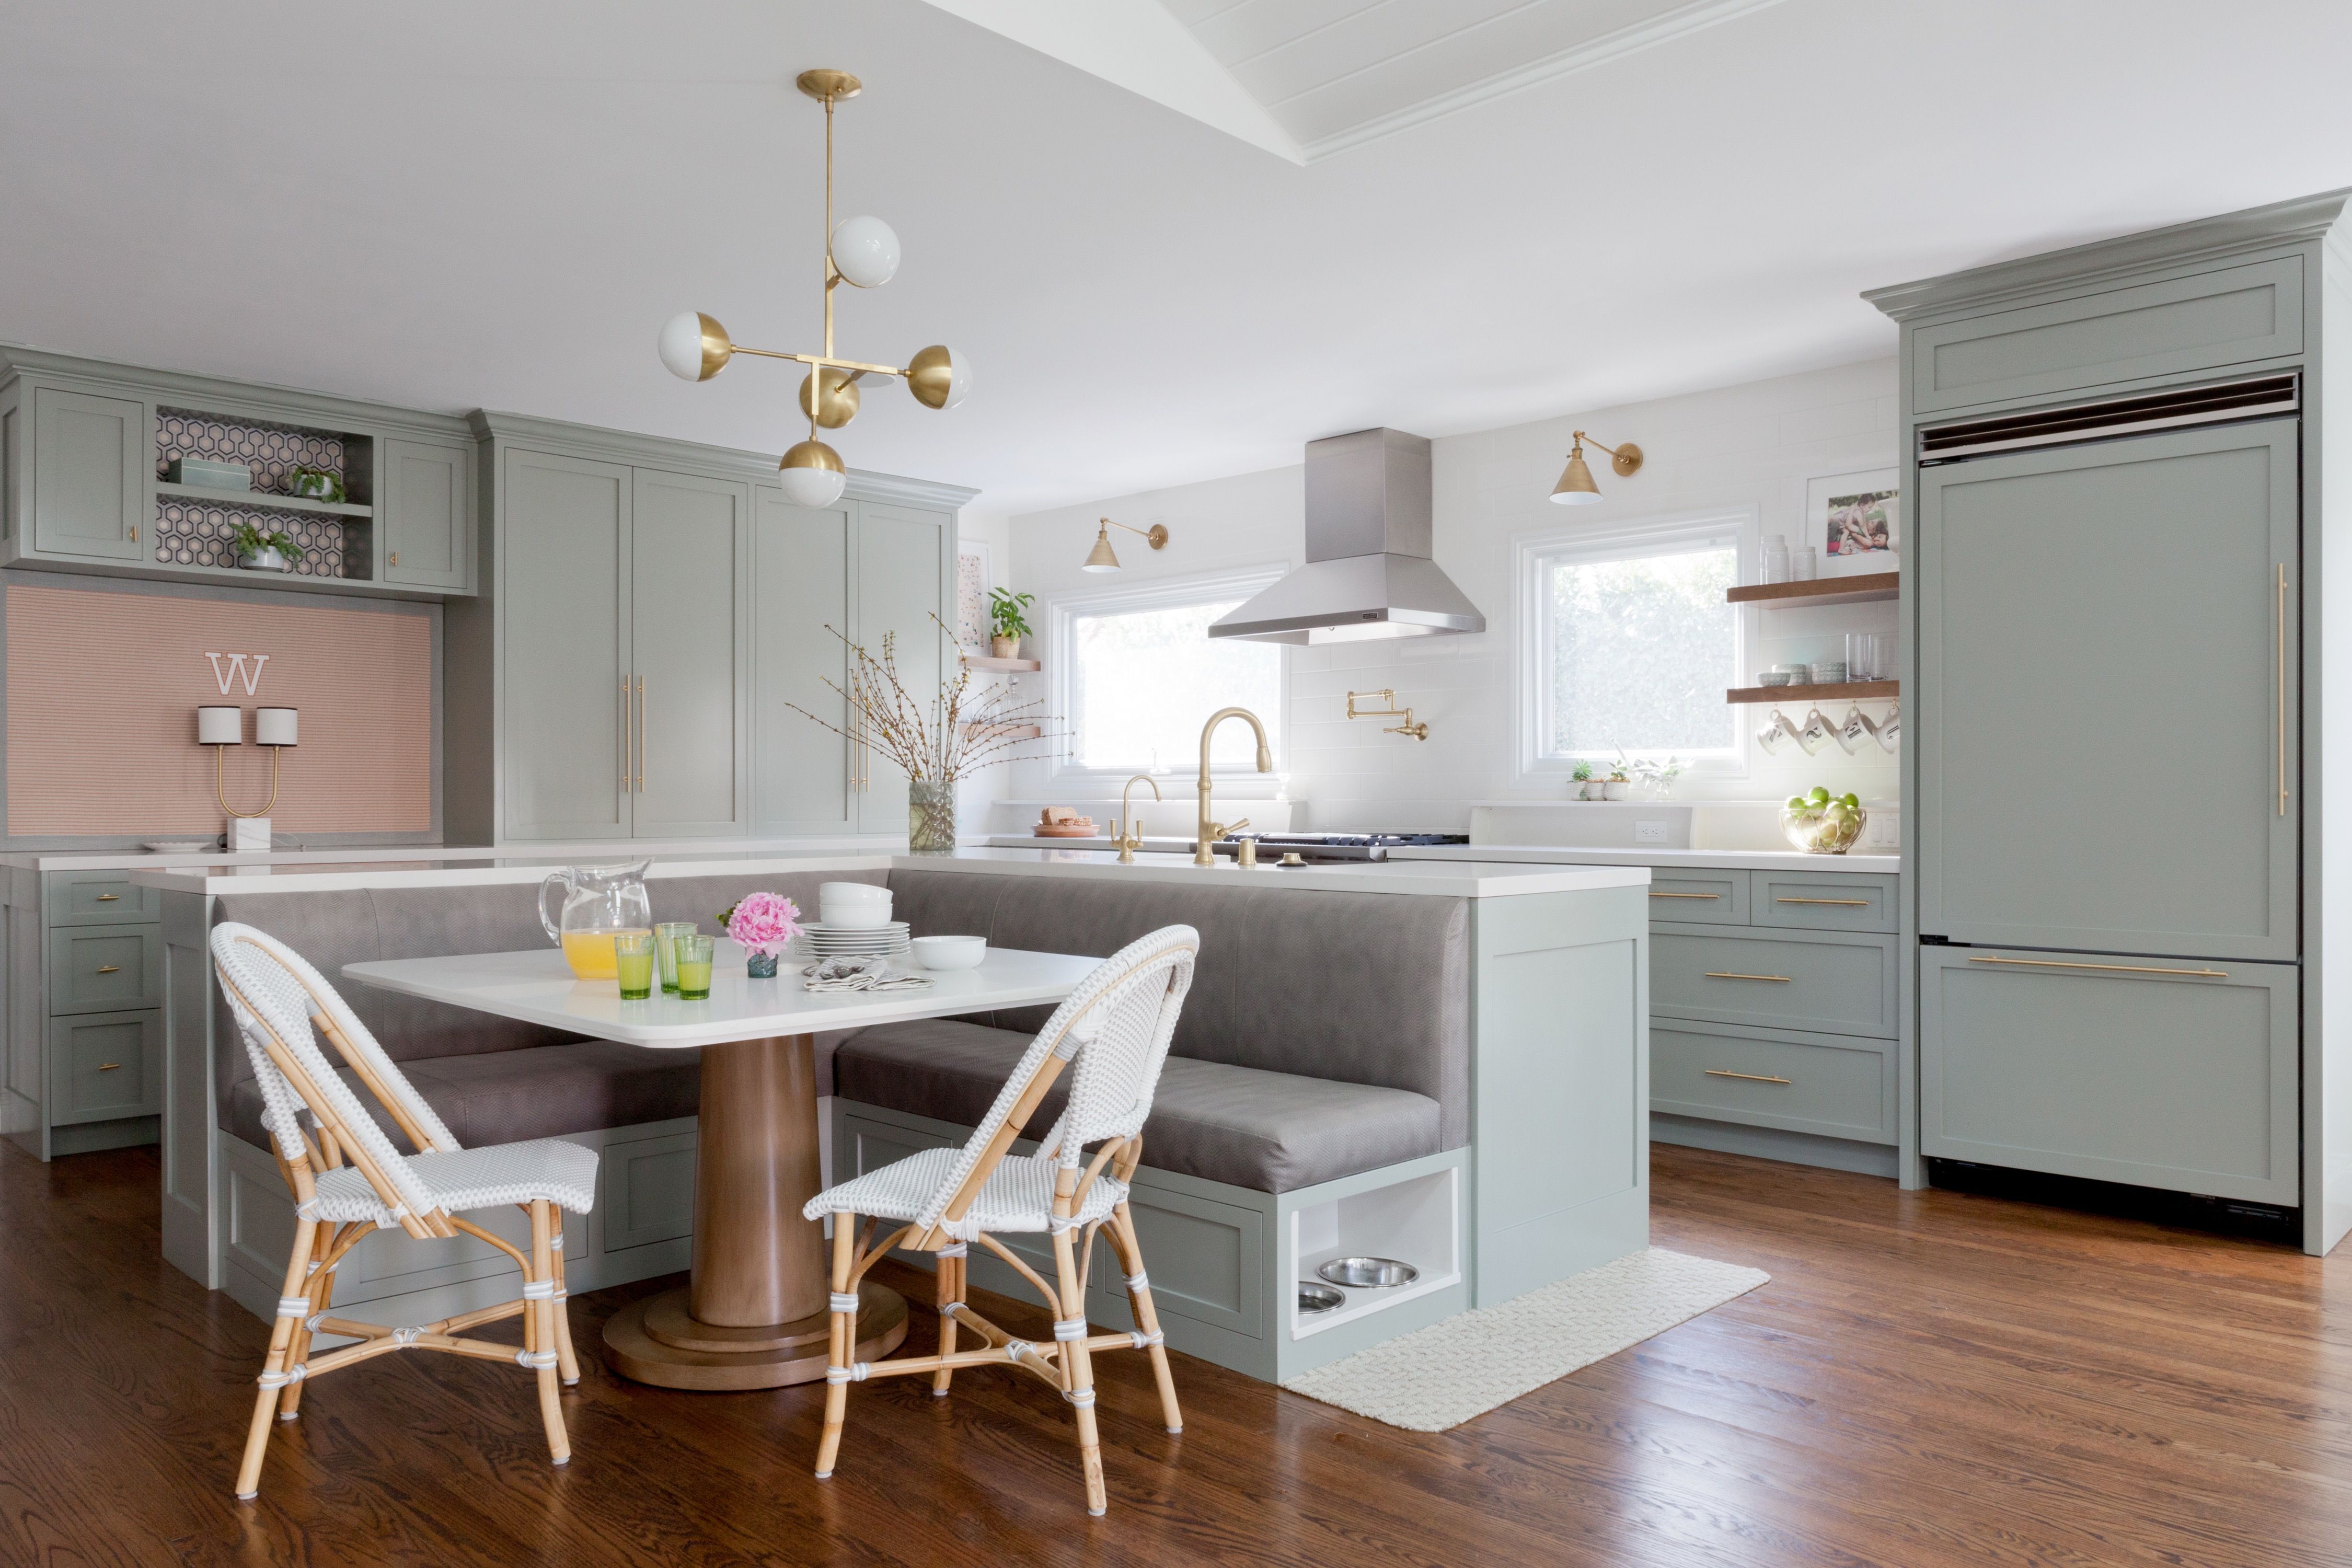
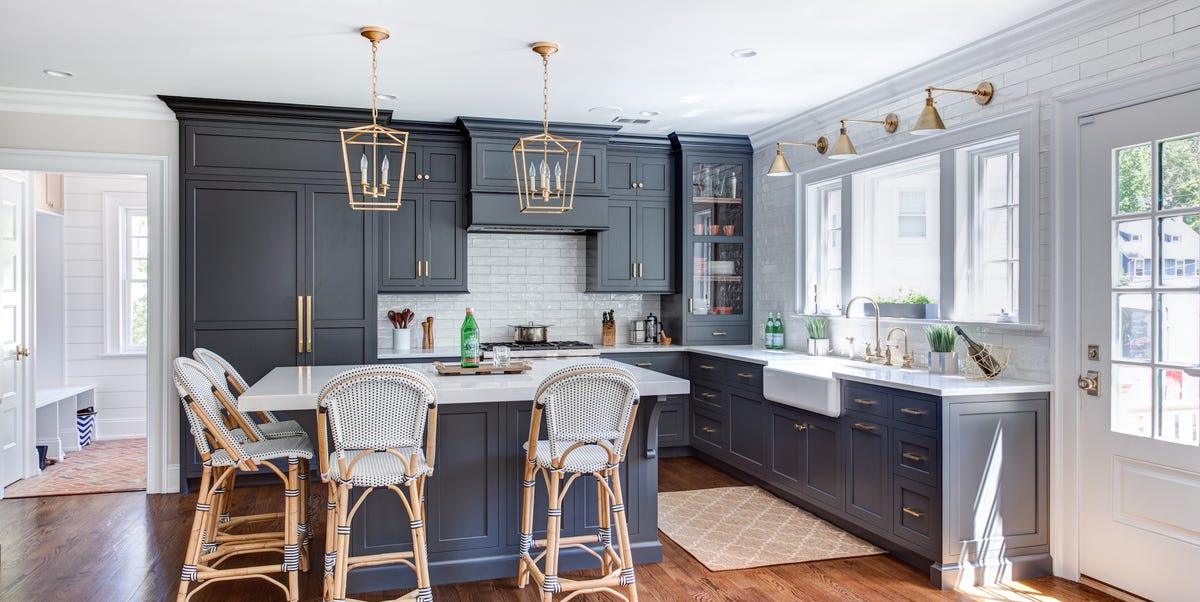
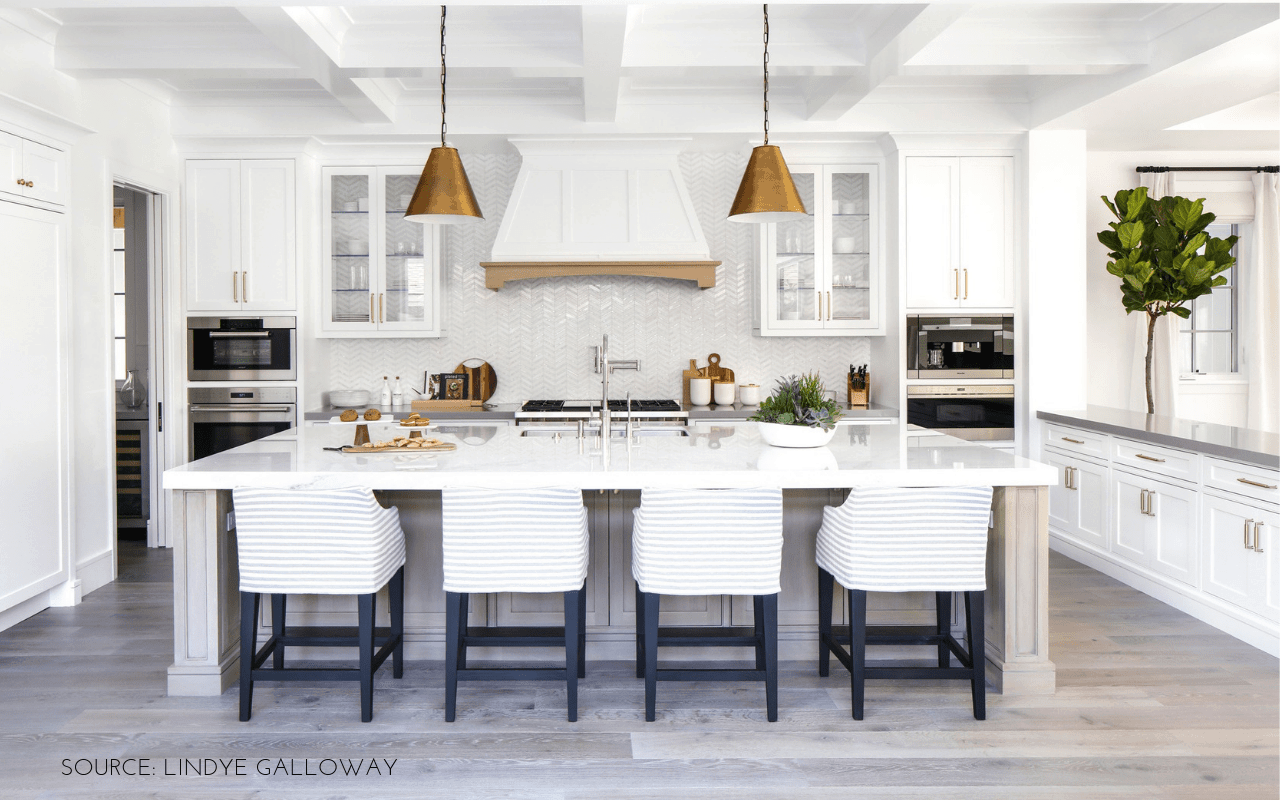
The Importance of Proper Lighting in Kitchen Design
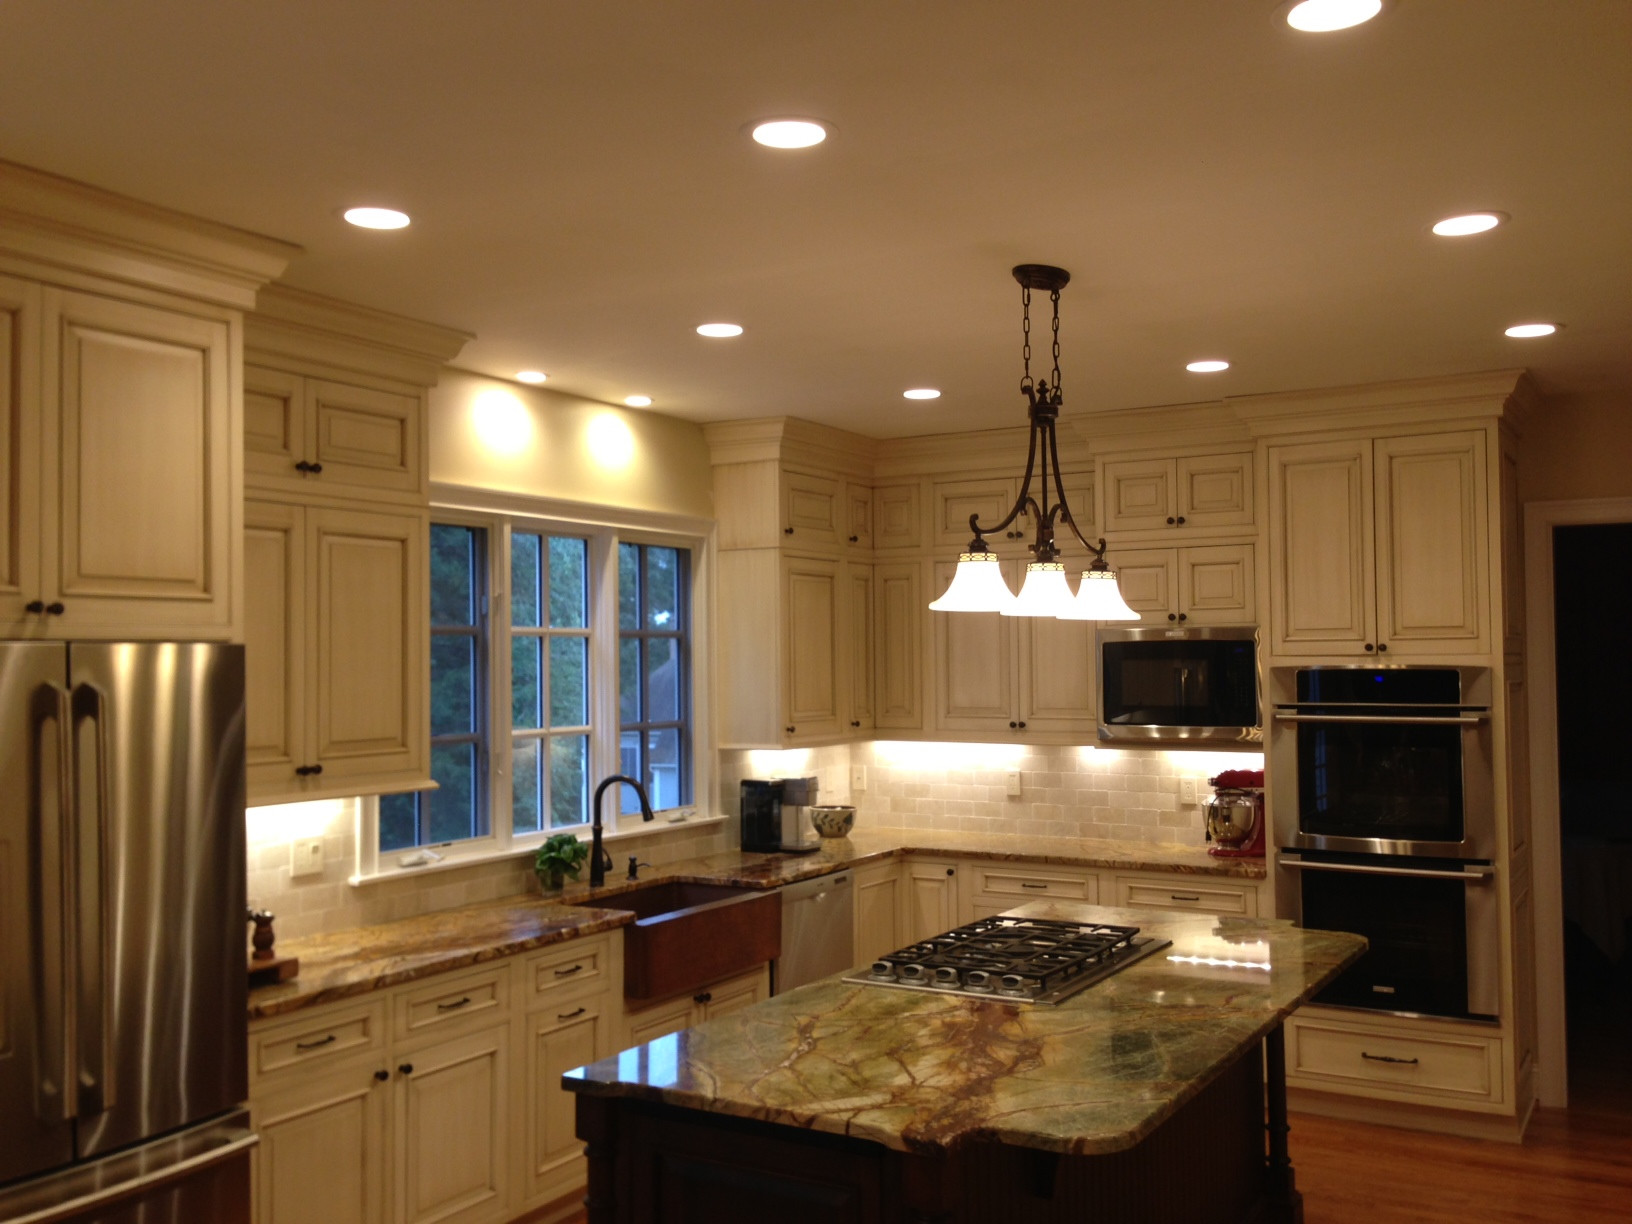
Why Recessed Lighting is the Best Choice
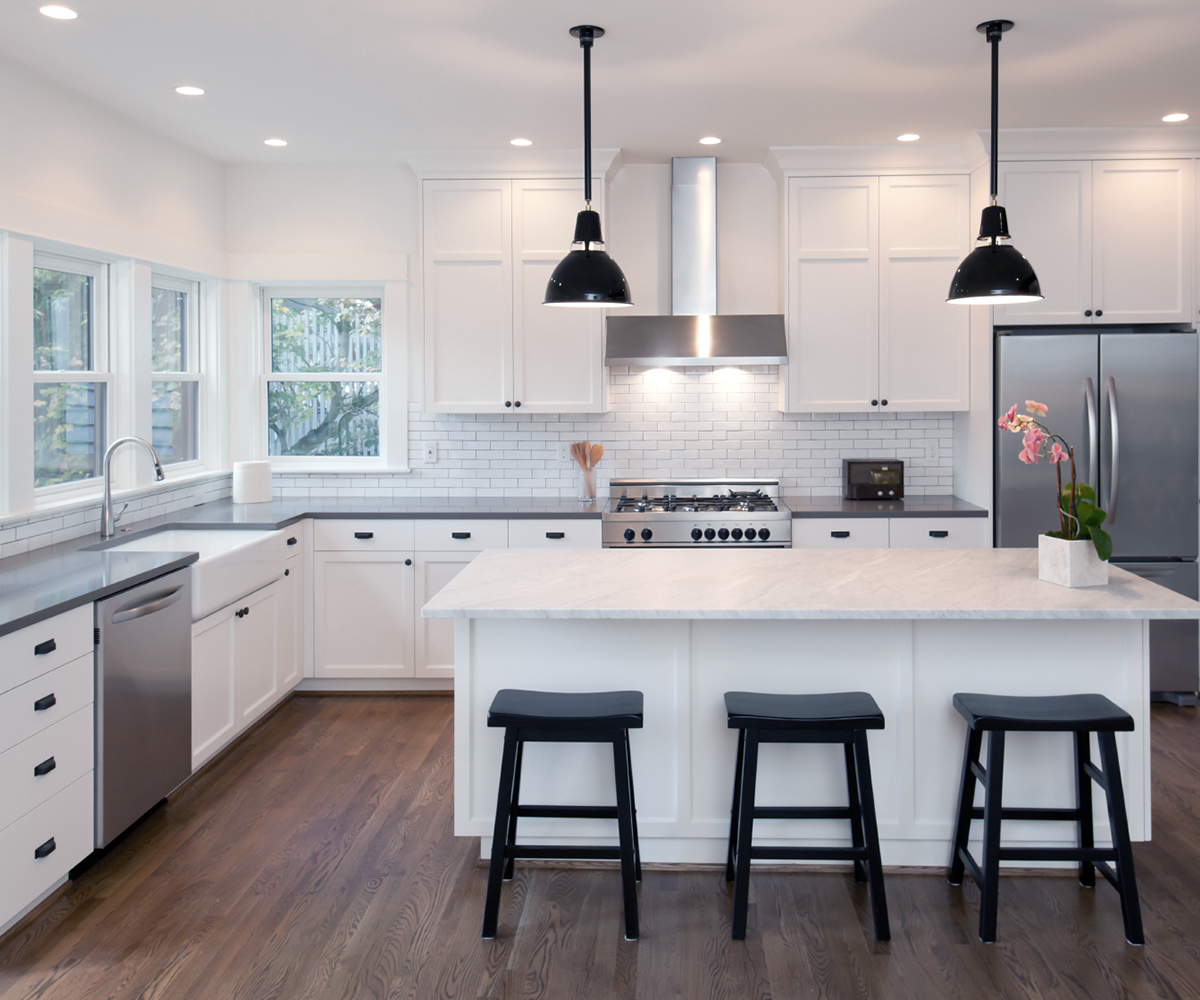 When it comes to designing your kitchen, one of the most important factors to consider is the lighting. Not only does lighting play a functional role in helping you see and work in the kitchen, but it also has a significant impact on the overall aesthetic and atmosphere of the space. This is why choosing the right type of lighting is crucial, and
recessed lighting
has emerged as the top choice for many homeowners.
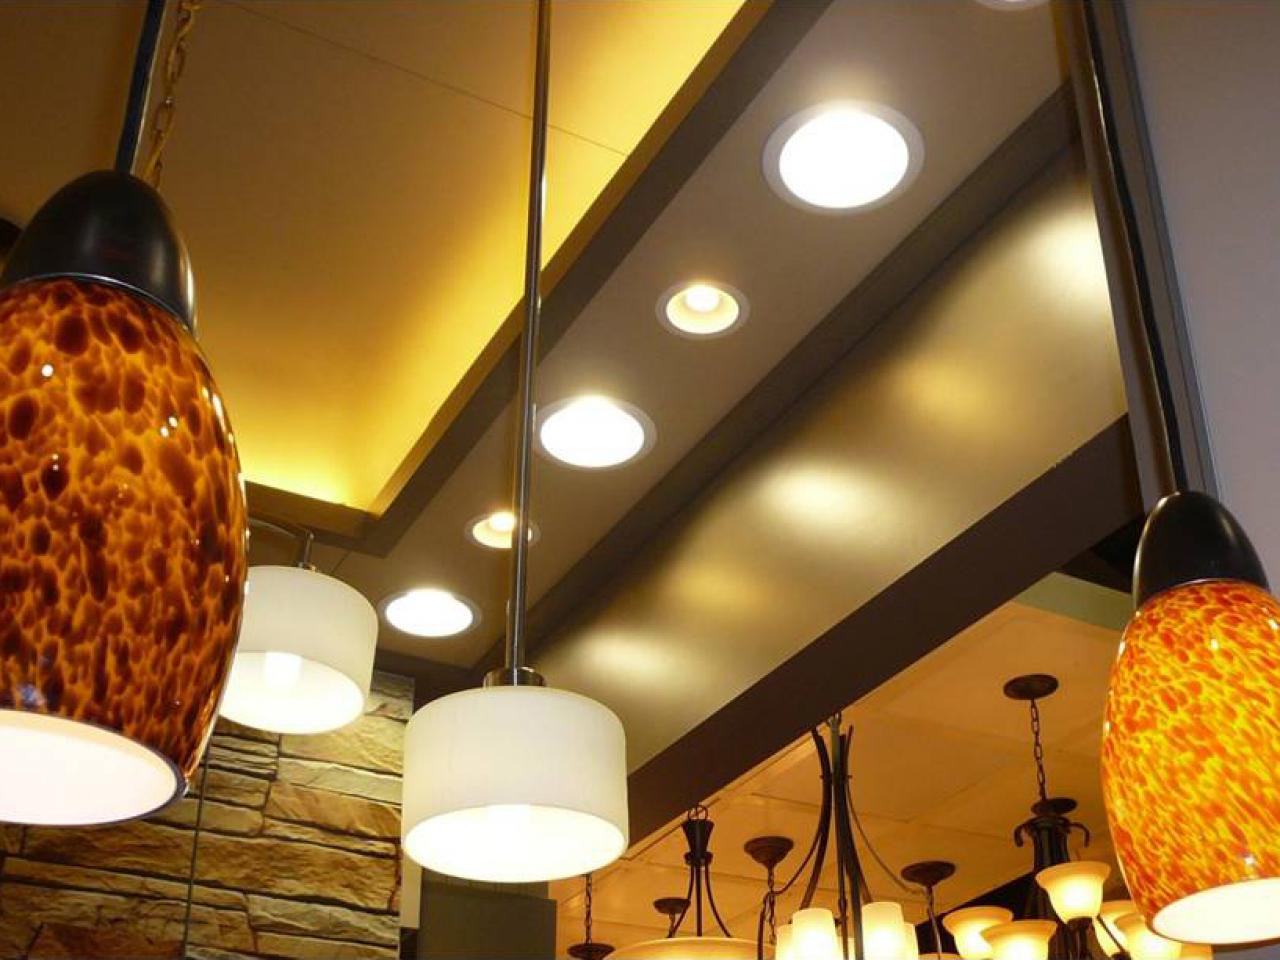
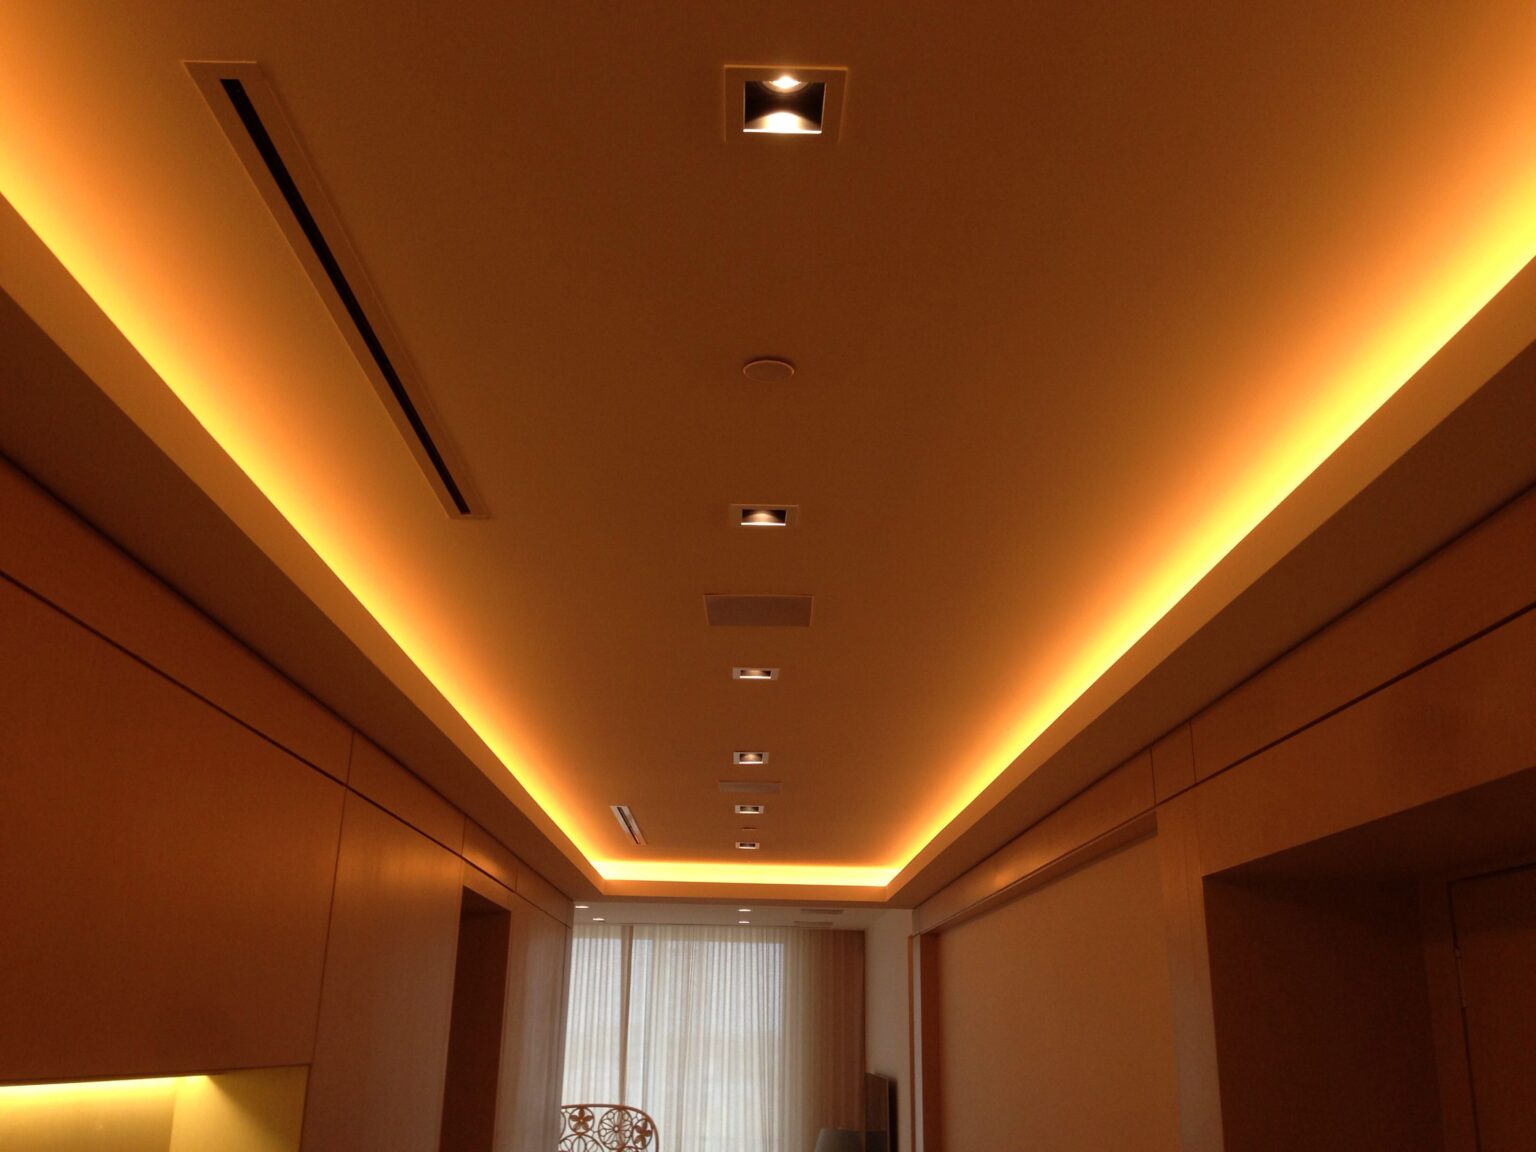
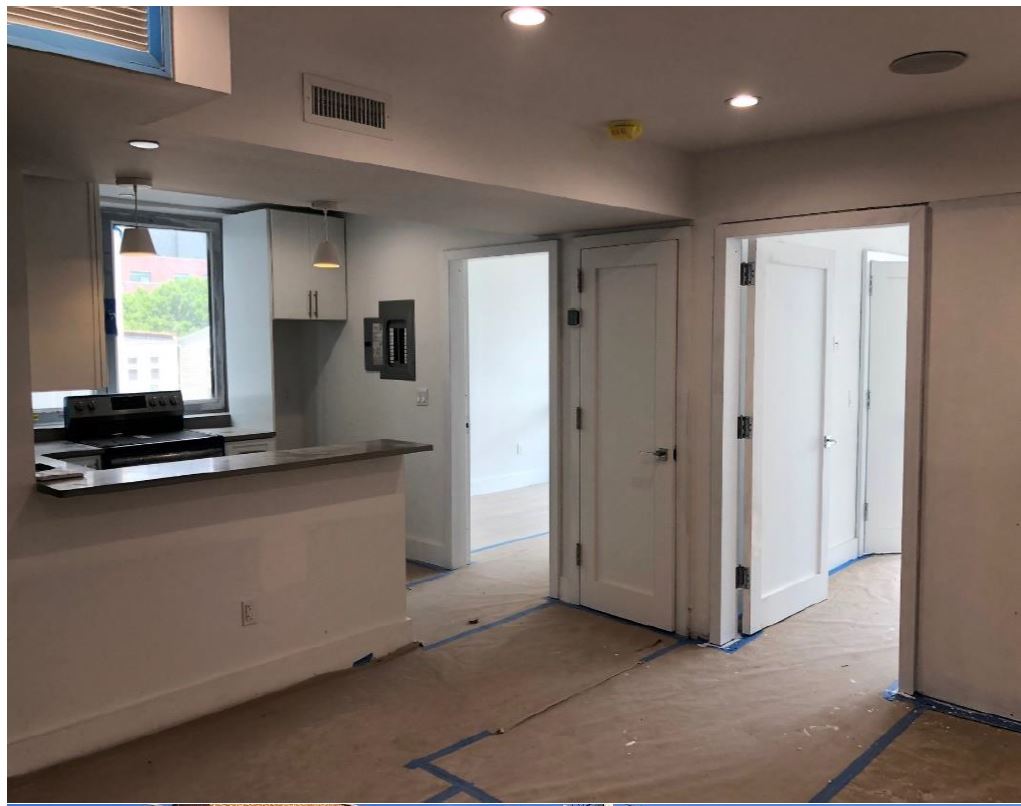
Recessed lighting, also known as can lights or pot lights, refers to fixtures that are installed into the ceiling and have a low profile. These fixtures provide direct and focused light downwards, making them ideal for task lighting in the kitchen. They also create a sleek and modern look, as they are flush with the ceiling and do not take up any visual space.
Installing recessed lighting in your kitchen
can significantly enhance the functionality and design of your space.
When it comes to designing your kitchen, one of the most important factors to consider is the lighting. Not only does lighting play a functional role in helping you see and work in the kitchen, but it also has a significant impact on the overall aesthetic and atmosphere of the space. This is why choosing the right type of lighting is crucial, and
recessed lighting
has emerged as the top choice for many homeowners.
Recessed lighting, also known as can lights or pot lights, refers to fixtures that are installed into the ceiling and have a low profile. These fixtures provide direct and focused light downwards, making them ideal for task lighting in the kitchen. They also create a sleek and modern look, as they are flush with the ceiling and do not take up any visual space.
Installing recessed lighting in your kitchen
can significantly enhance the functionality and design of your space.
Steps for Installing Recessed Lighting in Your Kitchen
 The first step
in
installing recessed lighting in your kitchen
is to determine the layout and placement of the lights. This will depend on the size and shape of your kitchen, as well as the areas that require the most illumination. Generally, it is recommended to space the lights about 4-6 feet apart for even distribution of light.
The second step
is to gather all the necessary tools and materials, including the recessed lighting fixtures, a drill, a keyhole saw, and wire strippers. It is also important to turn off the power to the area where you will be working to ensure safety.
The third step
is to mark the locations where the lights will be installed and cut holes in the ceiling using the keyhole saw. Then, run the wiring from the light switch to the first fixture and connect the wires according to the manufacturer's instructions.
The fourth step
is to secure the fixture in place and install the light bulb. Finally, turn the power back on and test the lights to make sure they are functioning properly.
The first step
in
installing recessed lighting in your kitchen
is to determine the layout and placement of the lights. This will depend on the size and shape of your kitchen, as well as the areas that require the most illumination. Generally, it is recommended to space the lights about 4-6 feet apart for even distribution of light.
The second step
is to gather all the necessary tools and materials, including the recessed lighting fixtures, a drill, a keyhole saw, and wire strippers. It is also important to turn off the power to the area where you will be working to ensure safety.
The third step
is to mark the locations where the lights will be installed and cut holes in the ceiling using the keyhole saw. Then, run the wiring from the light switch to the first fixture and connect the wires according to the manufacturer's instructions.
The fourth step
is to secure the fixture in place and install the light bulb. Finally, turn the power back on and test the lights to make sure they are functioning properly.
Conclusion
 Recessed lighting
is the best way to
install
lighting in your kitchen. It offers a functional and stylish solution for providing direct and focused light in your workspace. With proper planning and installation,
recessed lighting
can transform your kitchen into a well-lit and inviting space. So, consider this option when designing or remodeling your kitchen for a more modern and efficient look.
Recessed lighting
is the best way to
install
lighting in your kitchen. It offers a functional and stylish solution for providing direct and focused light in your workspace. With proper planning and installation,
recessed lighting
can transform your kitchen into a well-lit and inviting space. So, consider this option when designing or remodeling your kitchen for a more modern and efficient look.