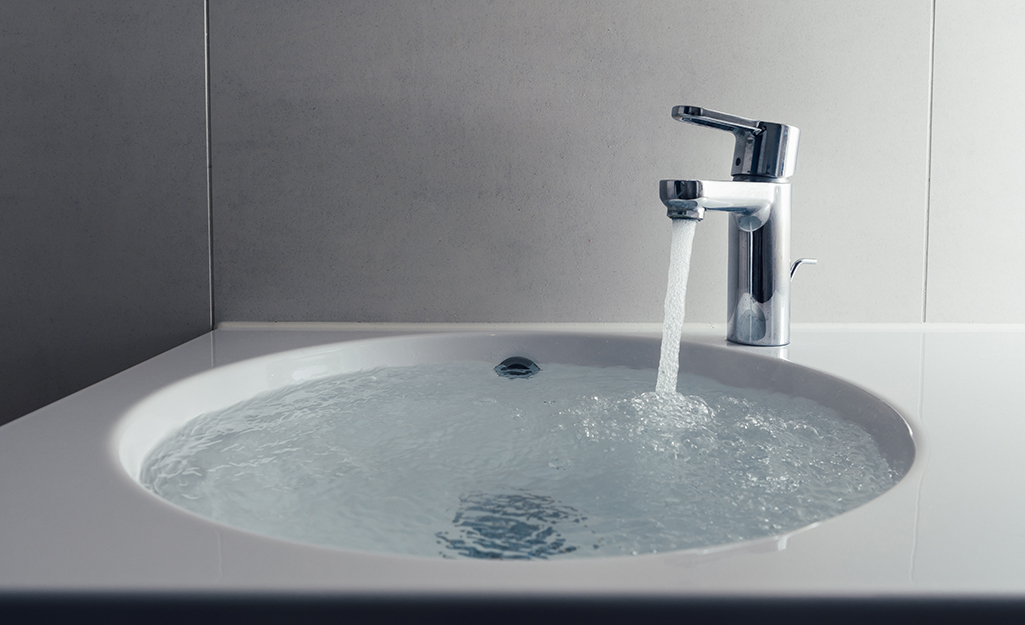
Every homeowner knows the struggle of a clogged bathroom sink. It can be a nuisance and disrupt your daily routine. But fear not, with a bathroom sink plunger repair kit, you can easily fix the issue and get your sink back to working condition.Bathroom Sink Plunger Repair Kit


Bathroom Sink Plunger Repair Kit


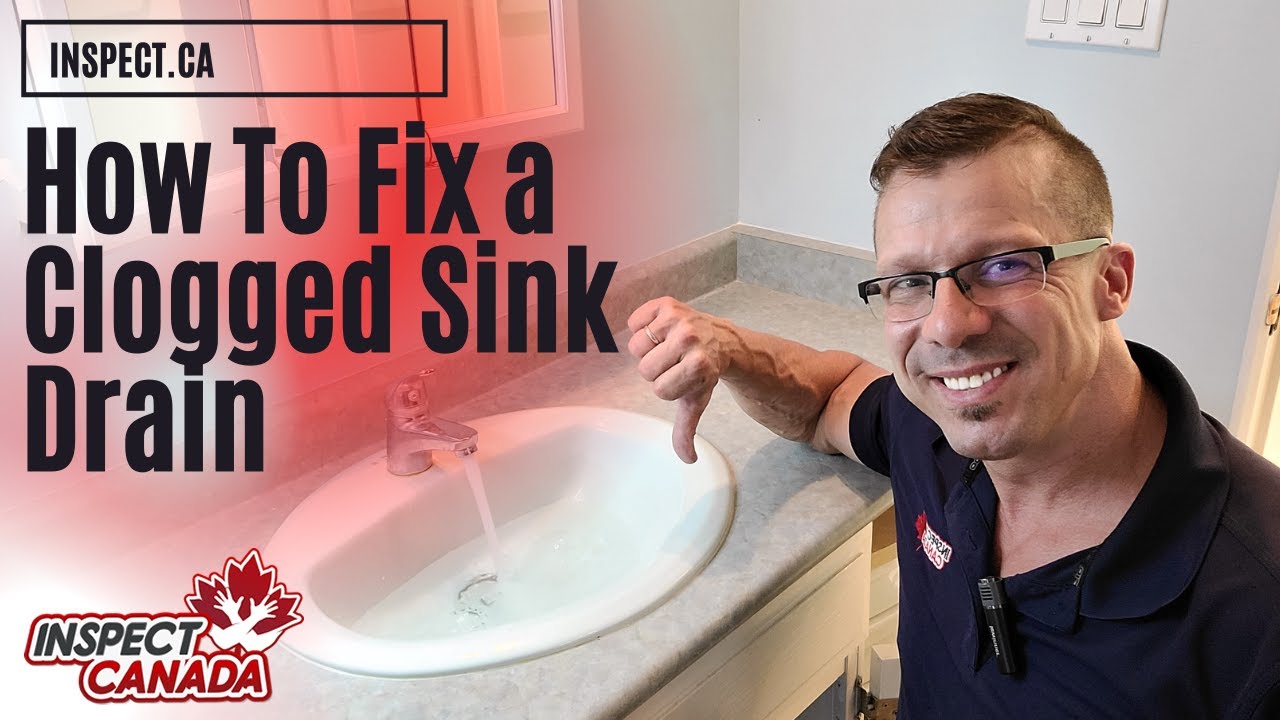
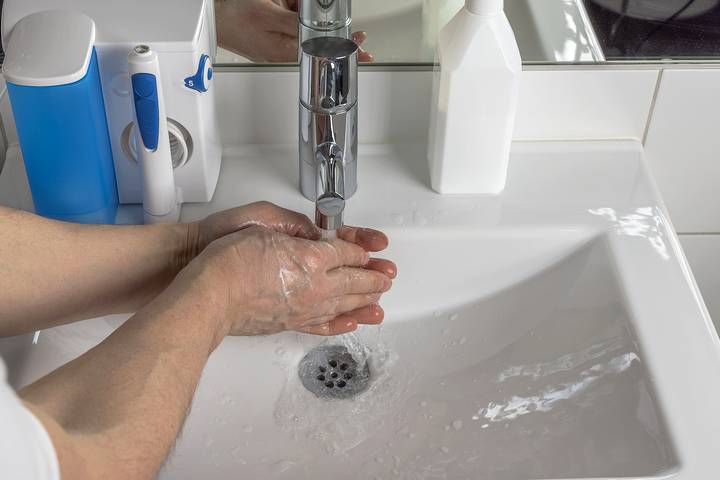
Before we dive into the nitty-gritty of bathroom sink plunger repair, it's important to understand how to fix a clogged bathroom sink. The first step is to identify the cause of the clog. It could be hair, soap scum, or other debris. Once you have identified the cause, you can proceed with the repair process.How to Fix a Clogged Bathroom Sink


How to Fix a Clogged Bathroom Sink


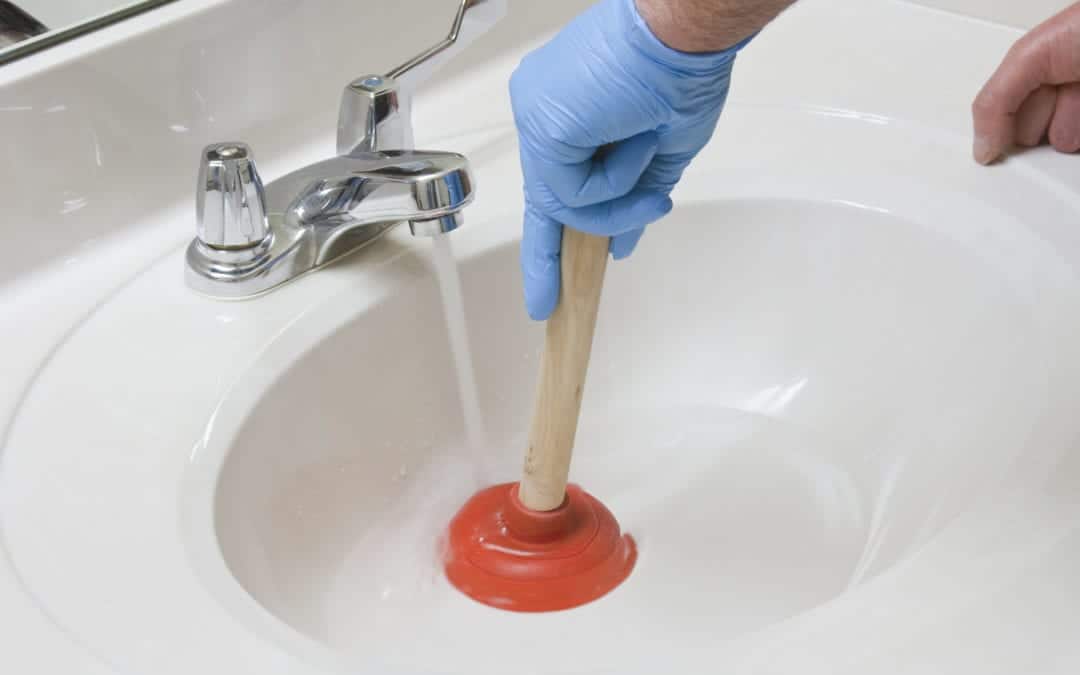


For minor clogs, you can easily fix it yourself with a bathroom sink plunger repair kit. These kits usually come with a plunger, a drain snake, and a drain cleaner. Pro tip: Make sure to read the instructions carefully before using any drain cleaner to avoid any damage to your pipes. Simply use the plunger to create suction and dislodge the clog, then use the drain snake to remove any remaining debris.DIY Bathroom Sink Plunger Repair


DIY Bathroom Sink Plunger Repair


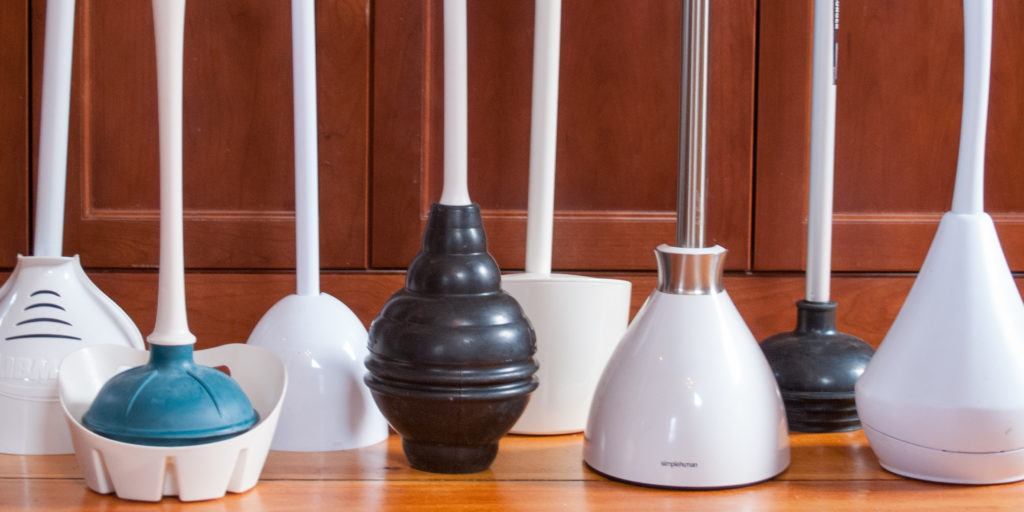
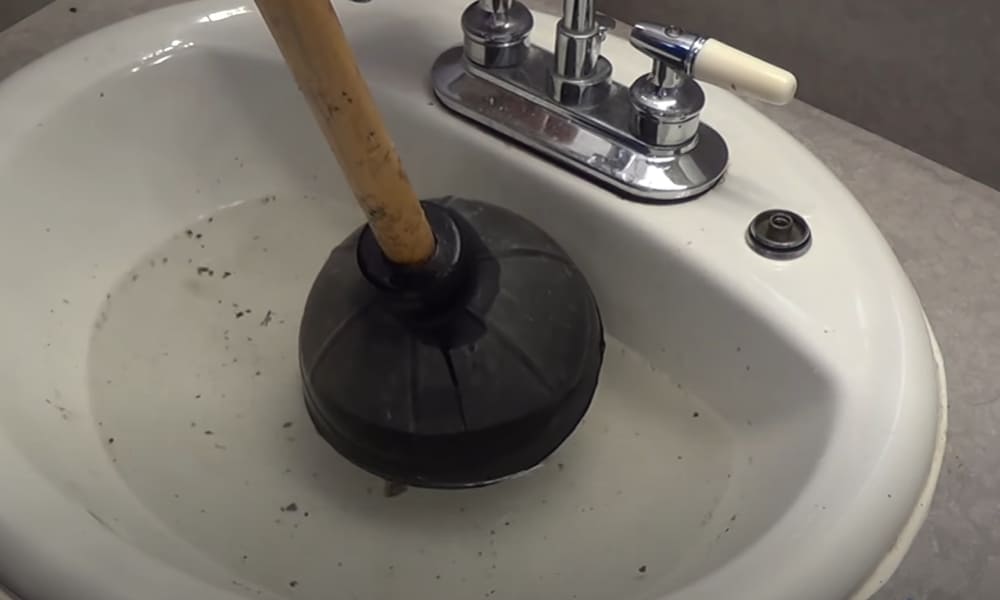
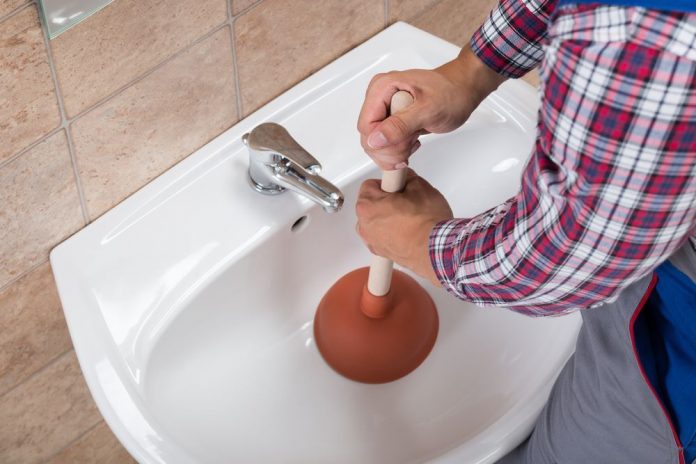
While bathroom sink plungers are a handy tool, they can also face common problems. The most common issue is that the plunger may not create enough suction to dislodge the clog. This could be due to the plunger's rubber being worn out or the plunger not being the right fit for your sink. In such cases, it's best to invest in a new plunger or seek professional help.Common Bathroom Sink Plunger Problems


Common Bathroom Sink Plunger Problems


If you're facing issues with your bathroom sink plunger, don't worry, we've got you covered. One of the first steps in troubleshooting a plunger is to ensure a tight seal between the plunger and the sink. You can also try using a different plunger or adjusting the water level in the sink to increase the pressure. If none of these solutions work, it's time to call in the professionals.Troubleshooting a Bathroom Sink Plunger


Troubleshooting a Bathroom Sink Plunger

:max_bytes(150000):strip_icc()/what-is-under-the-bathroom-sink-3973574-03-c2c800c743054899aca9bdcc0535db34.jpg)

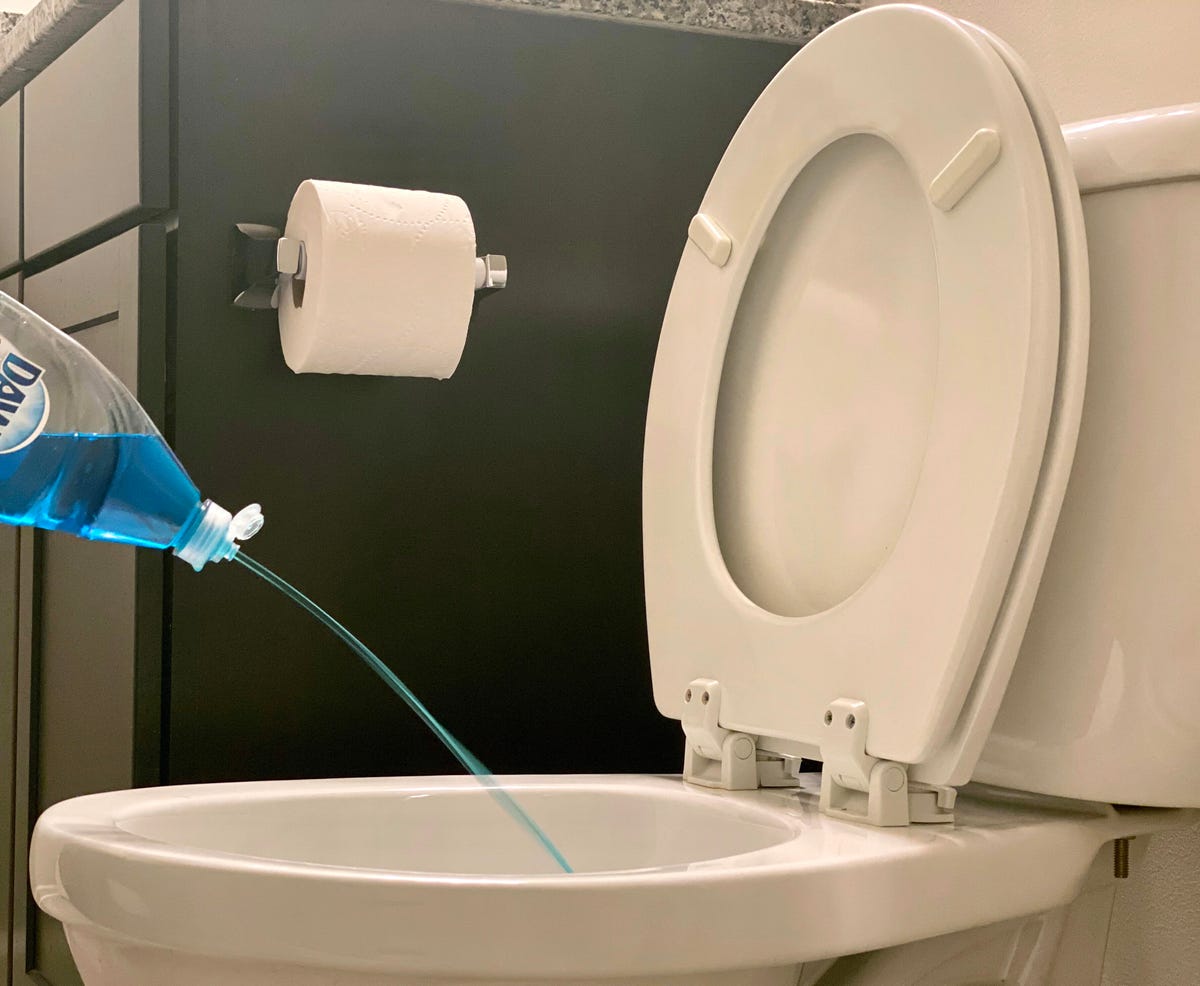
Not all clogs require a full-blown bathroom sink plunger repair. In some cases, there are quick fixes that can do the trick. For instance, you can try using boiling water, a mixture of baking soda and vinegar, or a drain snake to dislodge the clog. These methods are not only effective but also safe for your pipes.Quick Fixes for a Bathroom Sink Plunger


Quick Fixes for a Bathroom Sink Plunger


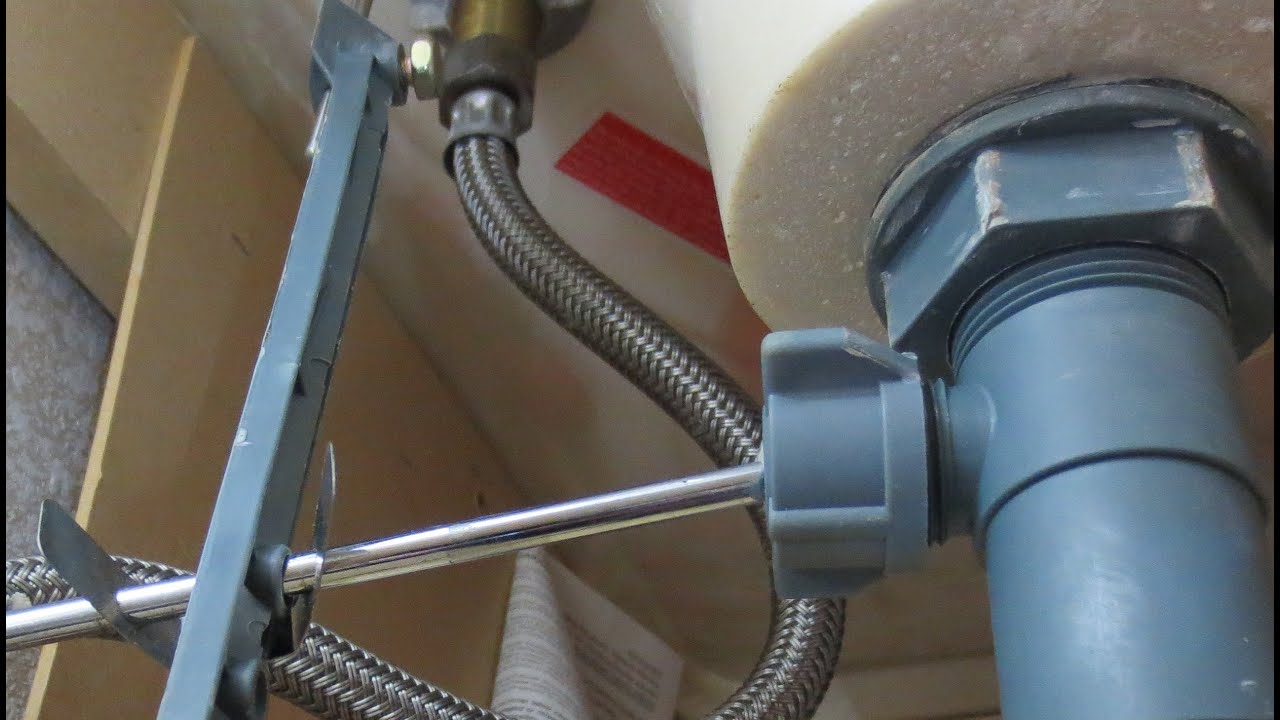
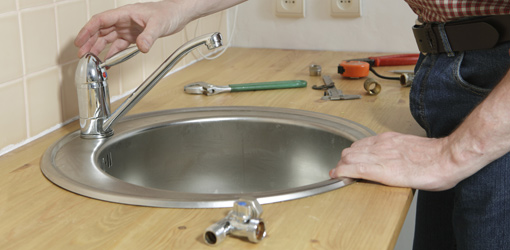
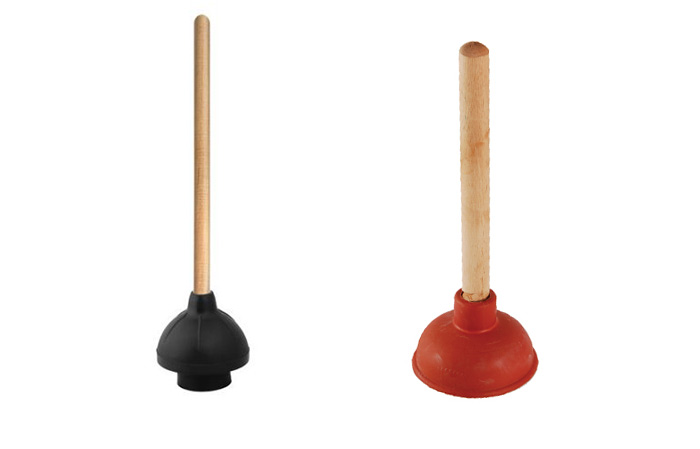
When it comes to bathroom sink plunger repair, having the right tools is crucial. Apart from a plunger, a drain snake and a drain cleaner, you may also need a bucket, a wrench, and a pair of gloves. These tools will help you dislodge the clog and clean up any mess that may occur during the process.Tools for Bathroom Sink Plunger Repair


Tools for Bathroom Sink Plunger Repair


:max_bytes(150000):strip_icc()/toilet-plunger-80708184-5797d8885f9b58461f591260.jpg)


For those who prefer a step-by-step guide, here's a breakdown of the bathroom sink plunger repair process. Step 1: Remove any standing water in the sink using a bucket or a cup. Step 2: Place the plunger over the drain and create a tight seal. Step 3: Use the plunger to create suction by pushing and pulling on the handle. Step 4: If the clog doesn't dislodge, use a drain snake to remove any remaining debris. Step 5: Run hot water to flush out any remaining debris and test the sink to see if it's fully functional again.Step-by-Step Guide for Bathroom Sink Plunger Repair
Step-by-Step Guide for Bathroom Sink Plunger Repair


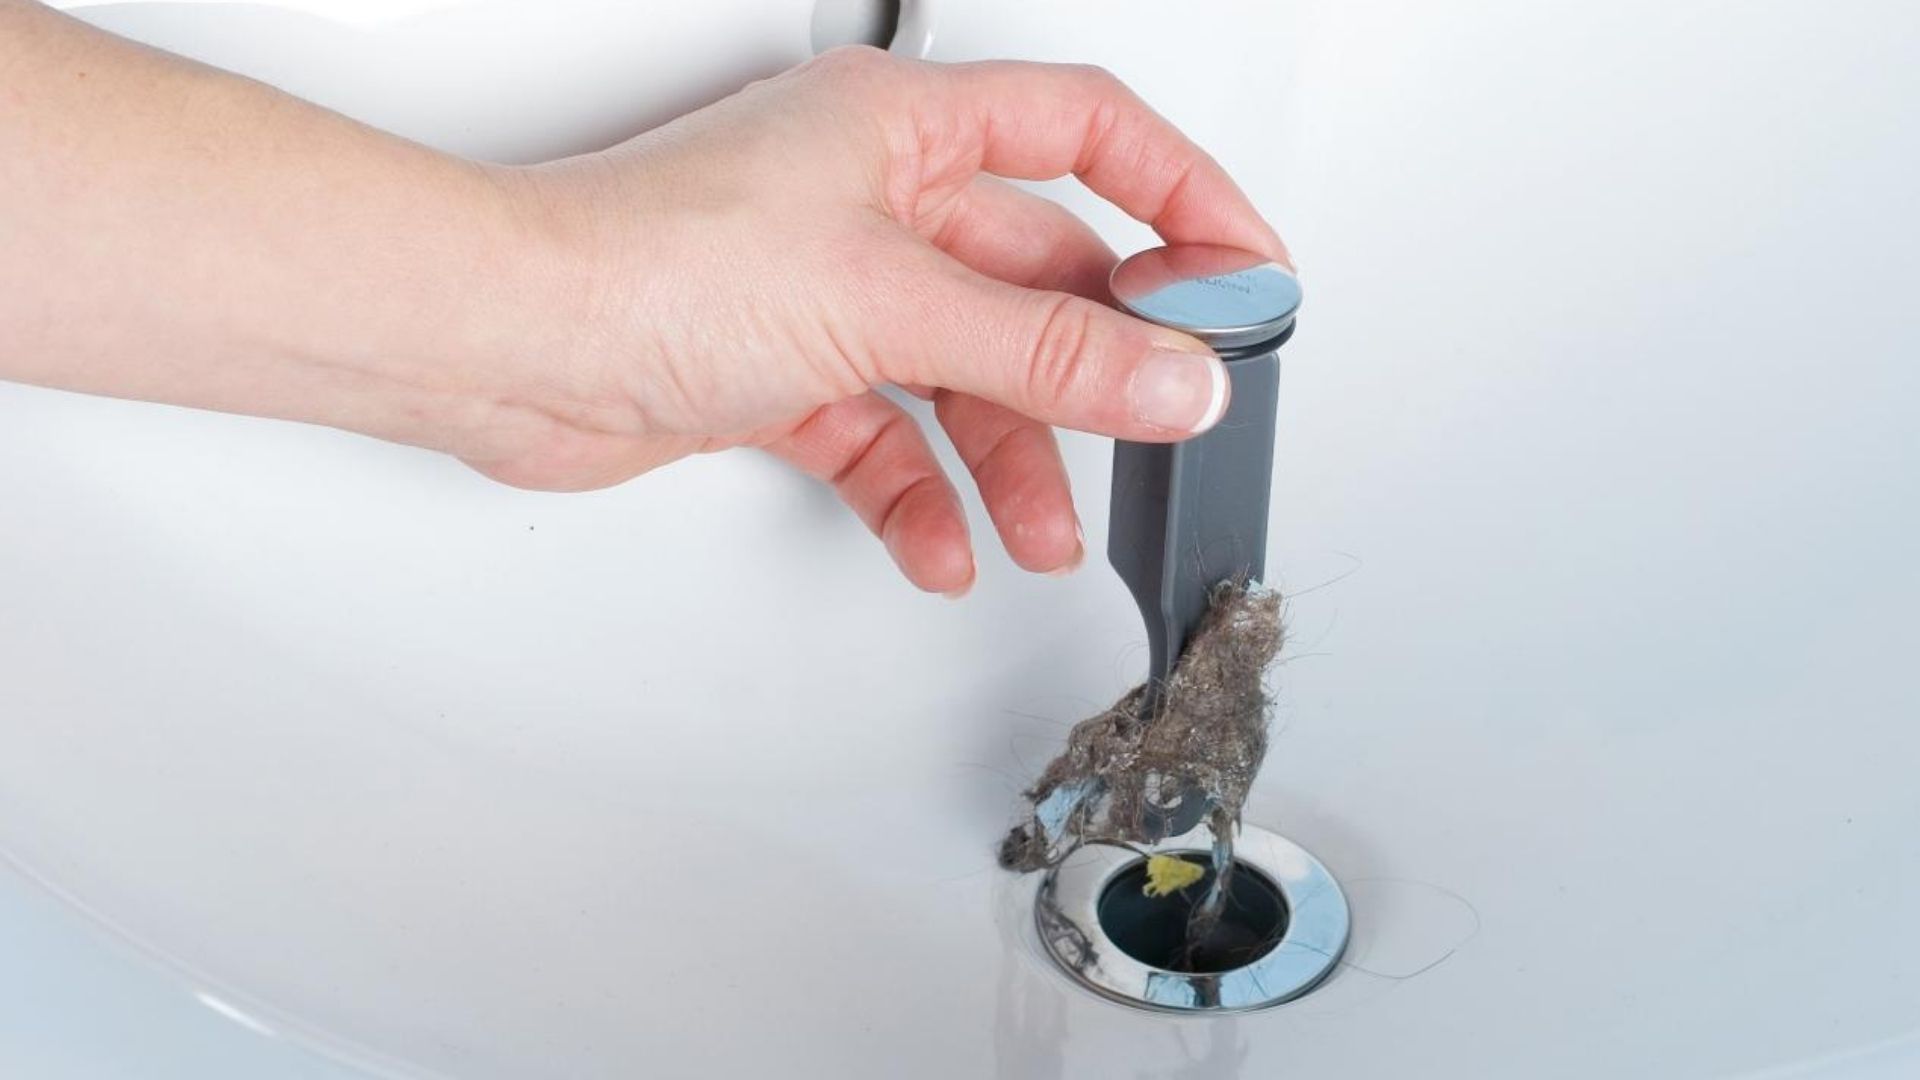
Prevention is always better than cure, and this holds true for bathroom sink plunger issues. Here are a few tips to help prevent clogs and avoid the need for frequent bathroom sink plunger repair. Tip 1: Use a drain stopper to catch hair and other debris. Tip 2: Regularly clean the sink stopper and drain to avoid buildup. Tip 3: Avoid pouring grease, oil, and food scraps down the sink. Tip 4: Use a drain catcher to prevent small objects from falling into the sink.Tips for Preventing Bathroom Sink Plunger Issues


Tips for Preventing Bathroom Sink Plunger Issues


If all else fails, it's best to seek professional help for your bathroom sink plunger repair. A plumbing expert will have the necessary tools and expertise to fix any clogs and ensure your sink is in top working condition. Pro tip: Schedule regular maintenance checks with a professional plumber to prevent any major issues with your bathroom sink.Professional Bathroom Sink Plunger Repair Services


Professional Bathroom Sink Plunger Repair Services


How to Effectively Repair Your Bathroom Sink Plunger

Understanding the Importance of a Functional Bathroom Sink Plunger
 When it comes to household plumbing issues, a clogged sink is a common and frustrating problem. Most homeowners resort to using a plunger as a quick and easy solution. However, a malfunctioning plunger can make this task much more difficult and time-consuming. In this article, we will discuss how to repair your bathroom sink plunger and ensure that it is in top working condition.
Identifying the Problem with Your Bathroom Sink Plunger
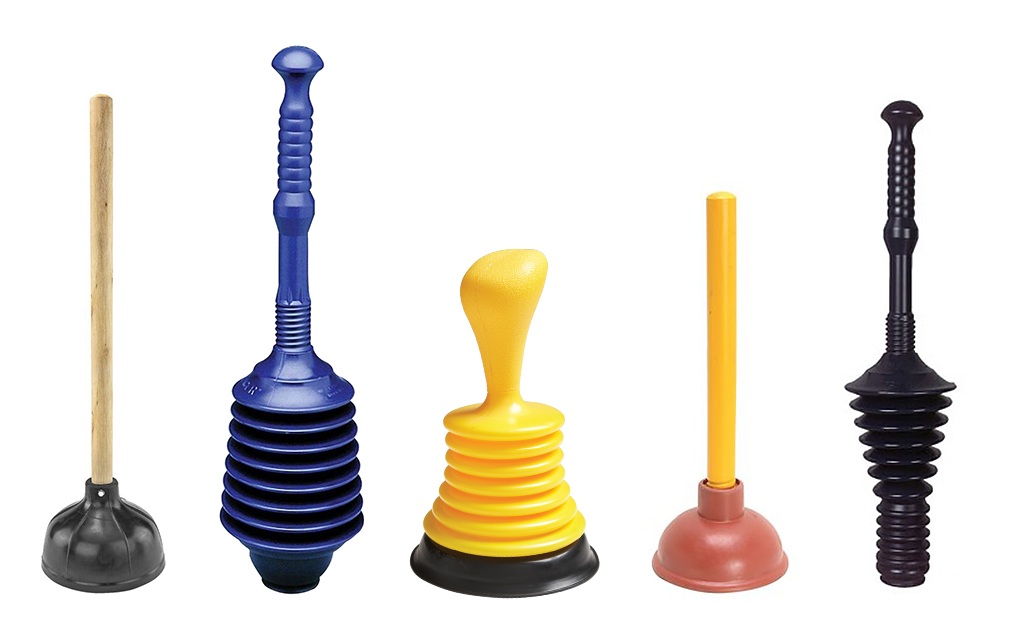
 Before attempting to repair your bathroom sink plunger, it's important to understand the common issues that can arise. The most common problem is a deteriorated rubber cup that is essential for creating a vacuum and dislodging the clog. This can happen due to wear and tear over time or exposure to harsh chemicals. Another issue could be a bent or cracked handle, which can affect the plunging motion and make it less effective.
Tools and Materials Needed for Repair
 To successfully repair your bathroom sink plunger, you will need a few tools and materials. These include a new rubber cup, a screwdriver, pliers, and an adhesive such as plumber's putty or epoxy. You can purchase a new rubber cup at any hardware store or online. It's important to make sure it is the correct size for your plunger.
Steps to Repair Your Bathroom Sink Plunger
 1. Start by removing the old rubber cup from the plunger. This can be done by gently pulling it off or using pliers to loosen it.
2. Clean the plunger handle and cup thoroughly to remove any debris or residue.
3. Place the new rubber cup onto the plunger handle, making sure it fits snugly.
4. If the handle is bent or cracked, use pliers to straighten it out or replace it entirely.
5. Apply a small amount of adhesive, such as plumber's putty, to the base of the rubber cup and secure it onto the handle.
6. Let the adhesive dry completely before using the plunger.
1. Start by removing the old rubber cup from the plunger. This can be done by gently pulling it off or using pliers to loosen it.
2. Clean the plunger handle and cup thoroughly to remove any debris or residue.
3. Place the new rubber cup onto the plunger handle, making sure it fits snugly.
4. If the handle is bent or cracked, use pliers to straighten it out or replace it entirely.
5. Apply a small amount of adhesive, such as plumber's putty, to the base of the rubber cup and secure it onto the handle.
6. Let the adhesive dry completely before using the plunger.
Maintaining Your Bathroom Sink Plunger
 To prevent future issues with your bathroom sink plunger, it's important to properly maintain it. After each use, clean the plunger and allow it to dry before storing it in a dry place. Avoid using harsh chemicals when plunging to prevent damage to the rubber cup.
Taking the time to repair and maintain your bathroom sink plunger will save you from the frustration of a malfunctioning tool. With these simple steps, you can have your plunger in top working condition and be prepared for any clogs that may come your way.
To prevent future issues with your bathroom sink plunger, it's important to properly maintain it. After each use, clean the plunger and allow it to dry before storing it in a dry place. Avoid using harsh chemicals when plunging to prevent damage to the rubber cup.
Taking the time to repair and maintain your bathroom sink plunger will save you from the frustration of a malfunctioning tool. With these simple steps, you can have your plunger in top working condition and be prepared for any clogs that may come your way.