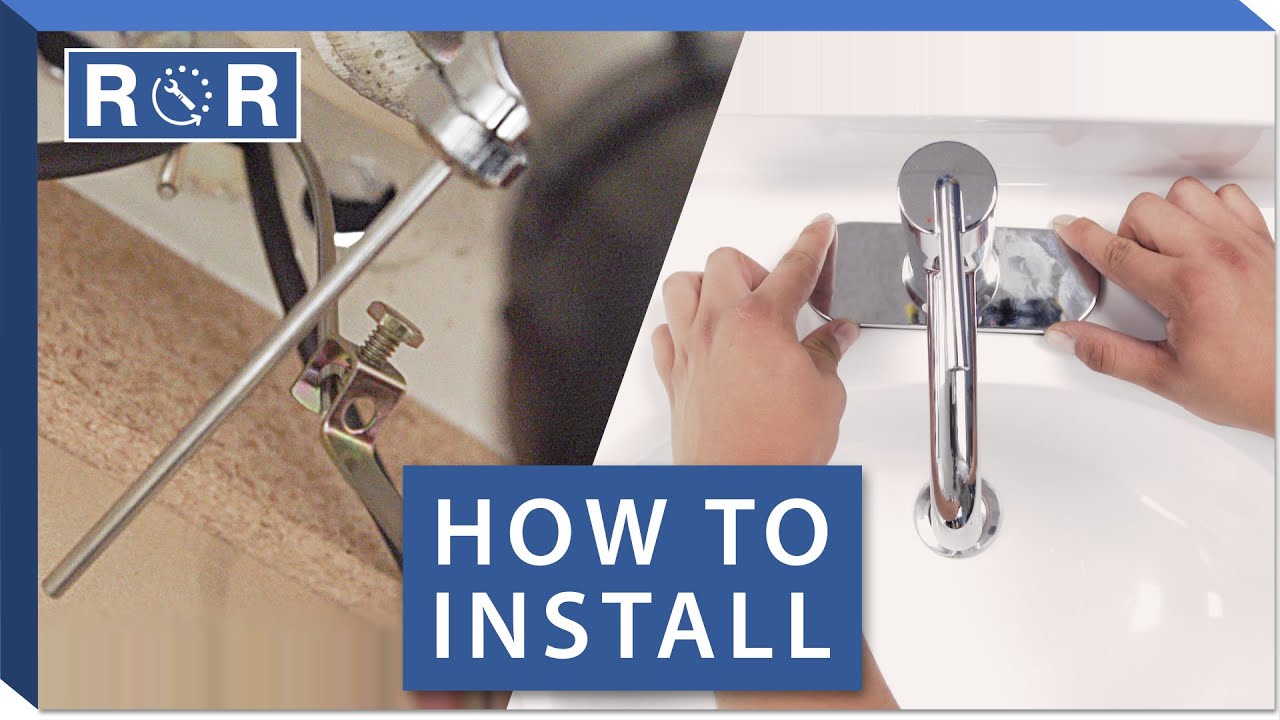
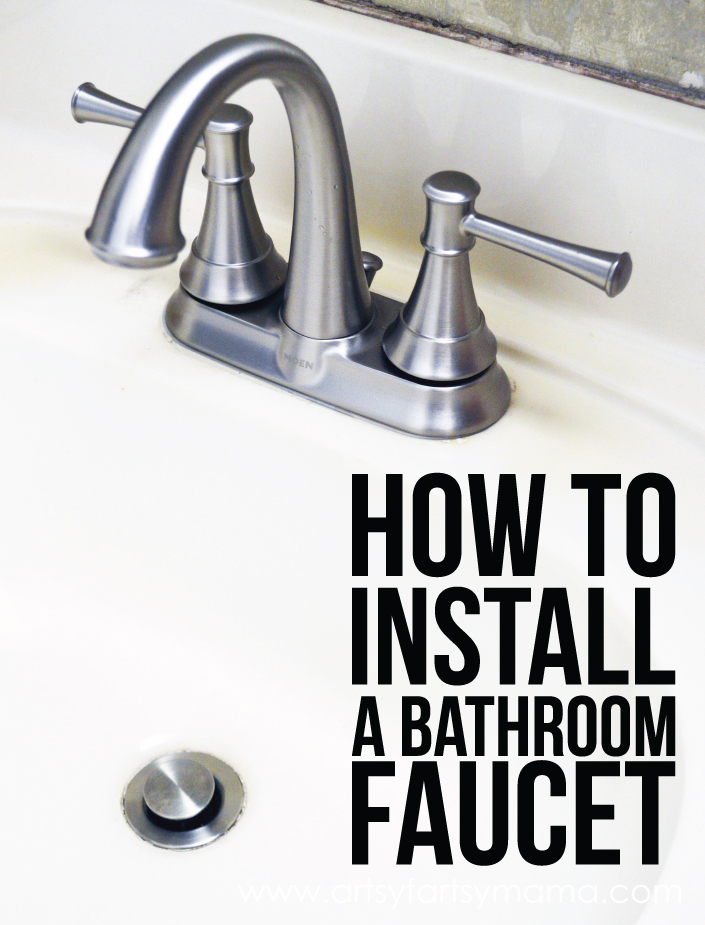
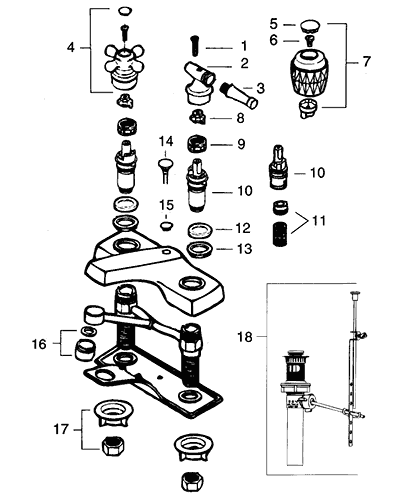
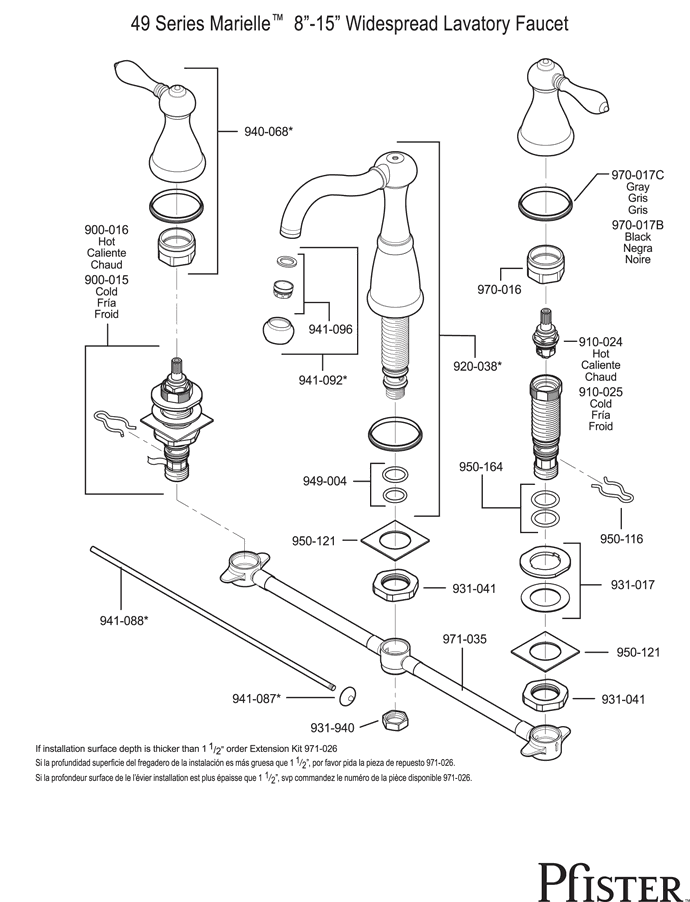
Are you looking to upgrade your bathroom sink with a new faucet? Installing a bathroom faucet may seem like a daunting task, but with the right tools and instructions, it can be a simple DIY project. In this guide, we will walk you through the process of installing a faucet into the back of your sink.1. Bathroom Faucet Installation: A Step-by-Step Guide


bathroom faucet installation


/173579315-56a4a2a83df78cf772835c77.jpg)


Before you begin, make sure you have all the necessary tools and materials. This includes a new faucet, plumber's tape, adjustable wrench, channel locks, and a bucket or towel to catch any water that may come out during the installation.2. Gather Your Tools and Materials


installing a bathroom faucet


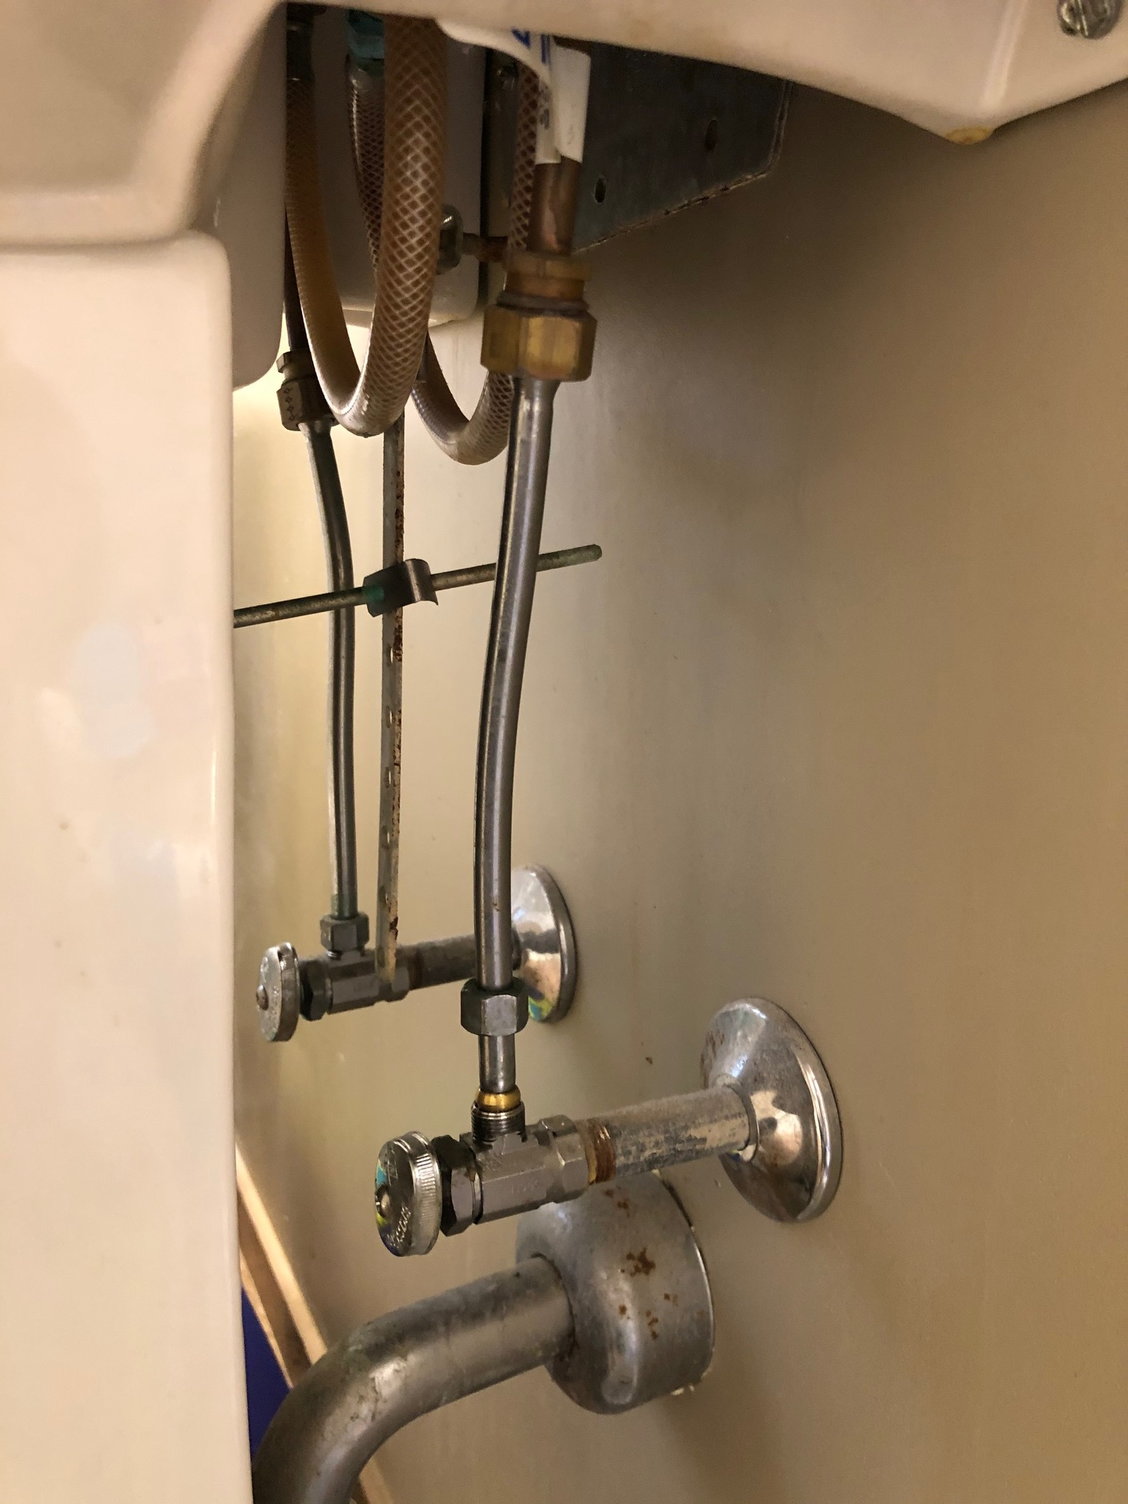
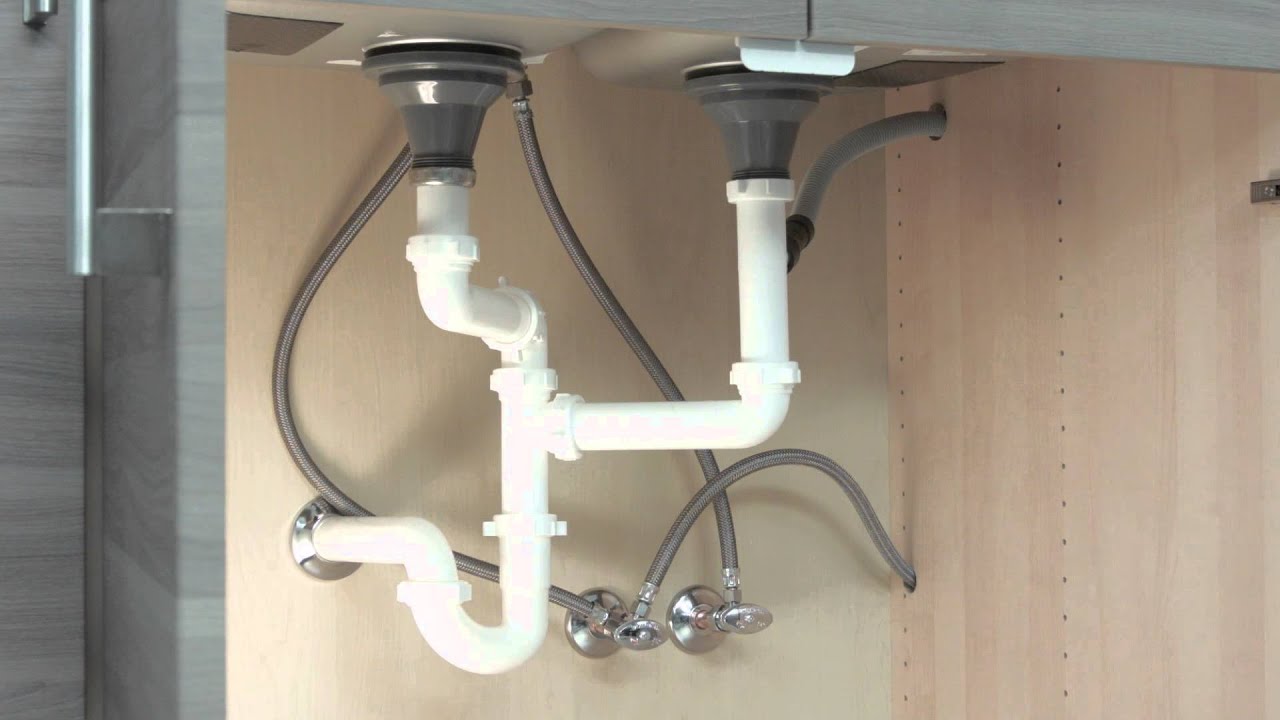
The first step in any plumbing project is to turn off the water supply. Locate the shut-off valves under the sink and turn them clockwise to shut off the water. If you cannot find the shut-off valves, you may need to turn off the main water supply to your house.3. Turn Off the Water Supply


bathroom sink faucet installation


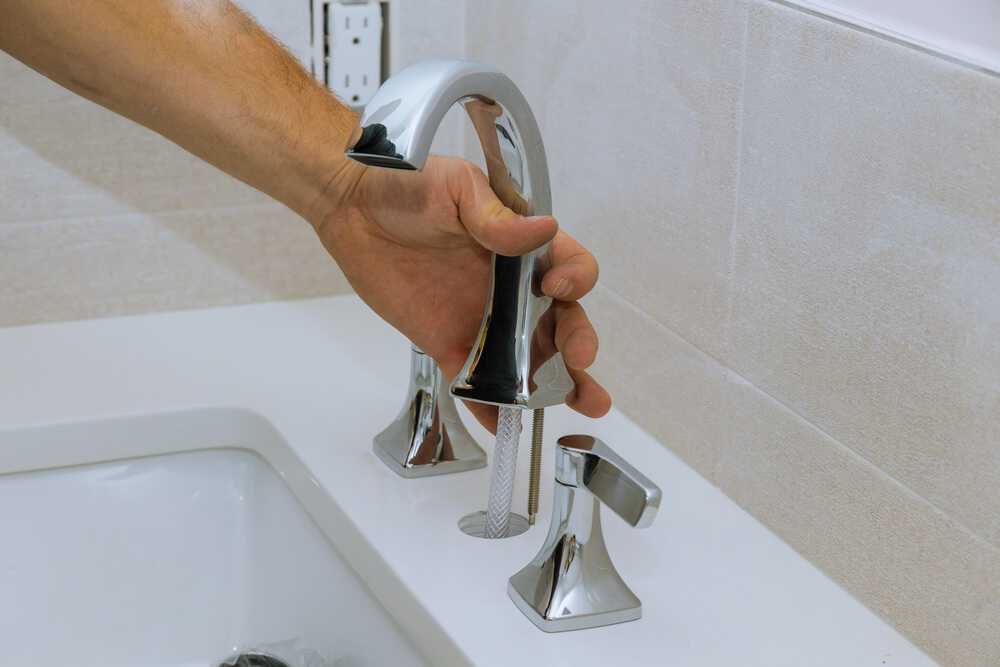
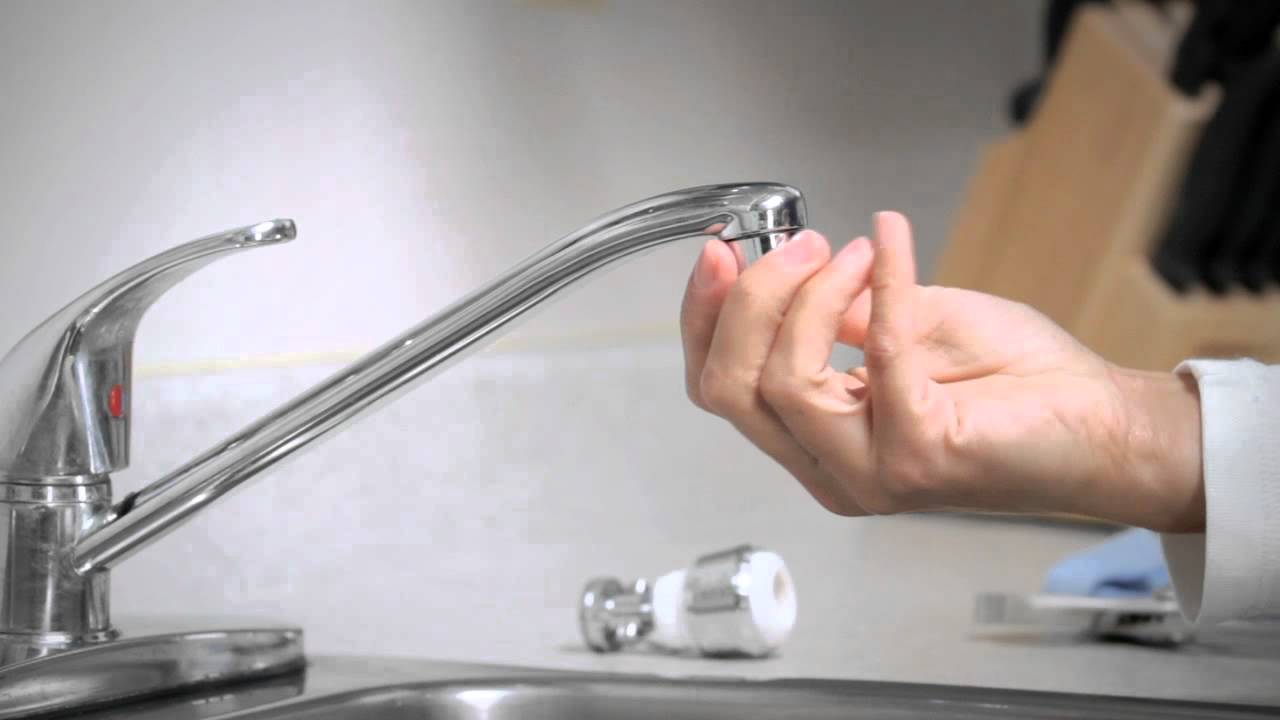
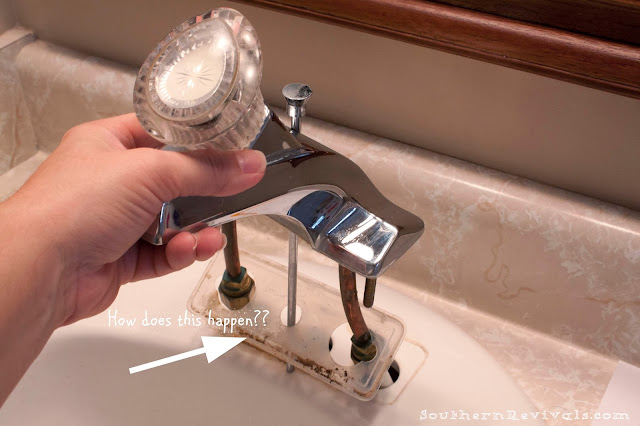
Using an adjustable wrench, loosen and remove the nuts and bolts that hold the old faucet in place. Once the old faucet is disconnected, lift it out of the sink and clean the area where the new faucet will be installed.4. Remove the Old Faucet


how to install a bathroom faucet


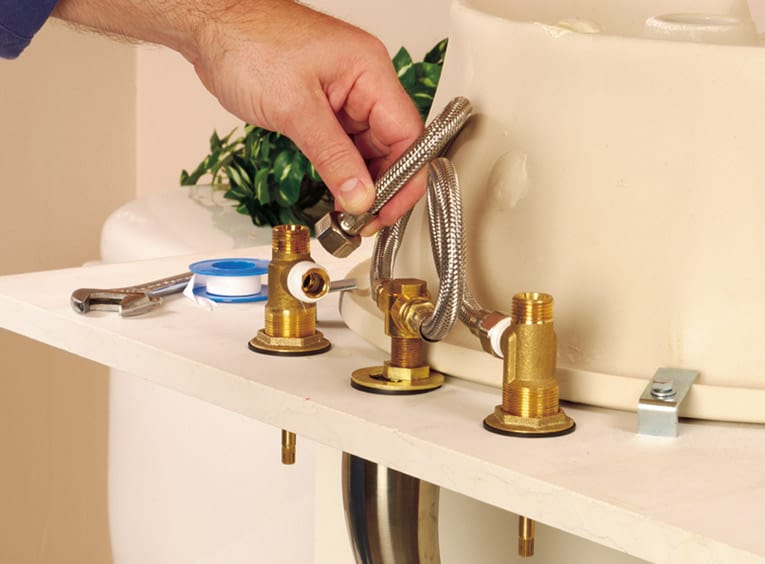
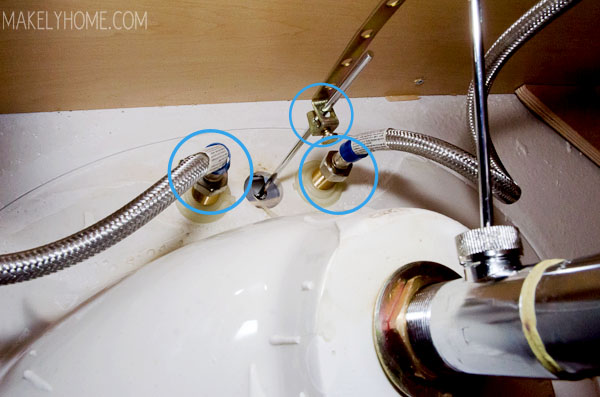
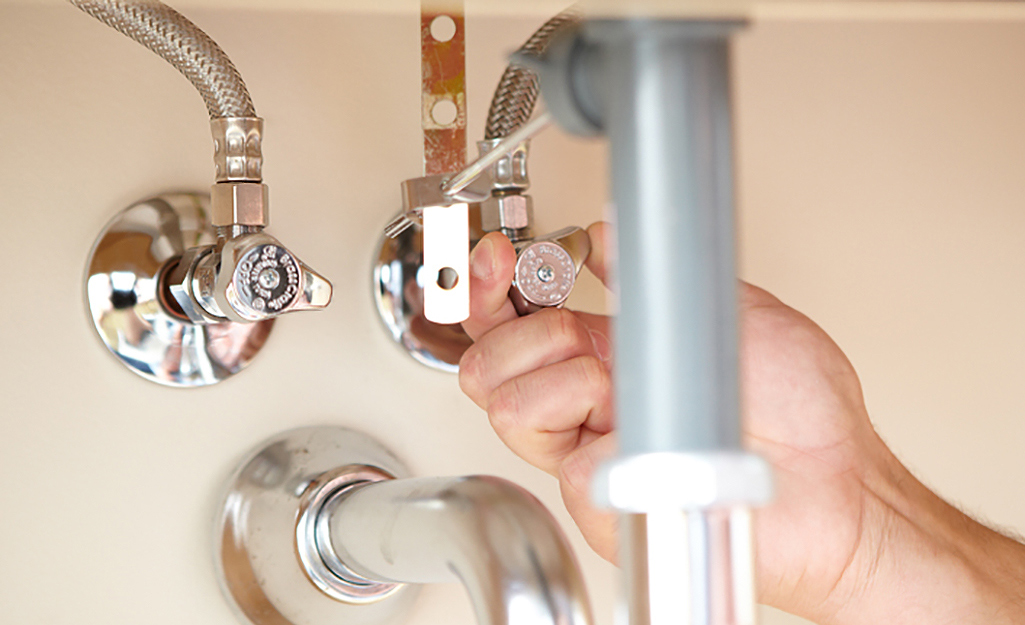
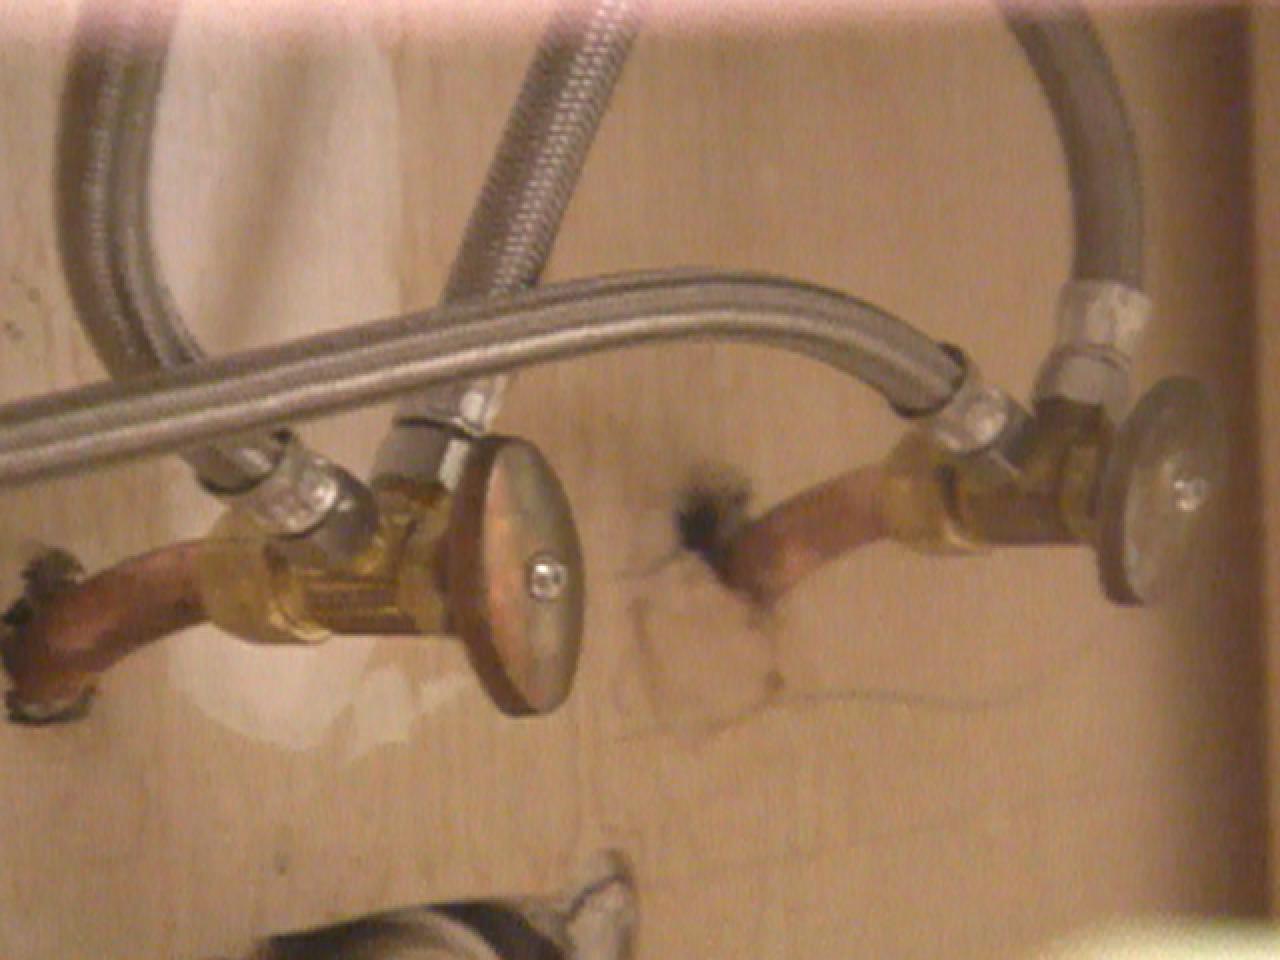
Take your plumber's tape and wrap it around the threads on the water supply lines. This will help create a tight seal and prevent any leaking. Be sure to wrap the tape in a clockwise direction.5. Apply Plumber's Tape
bathroom faucet installation guide


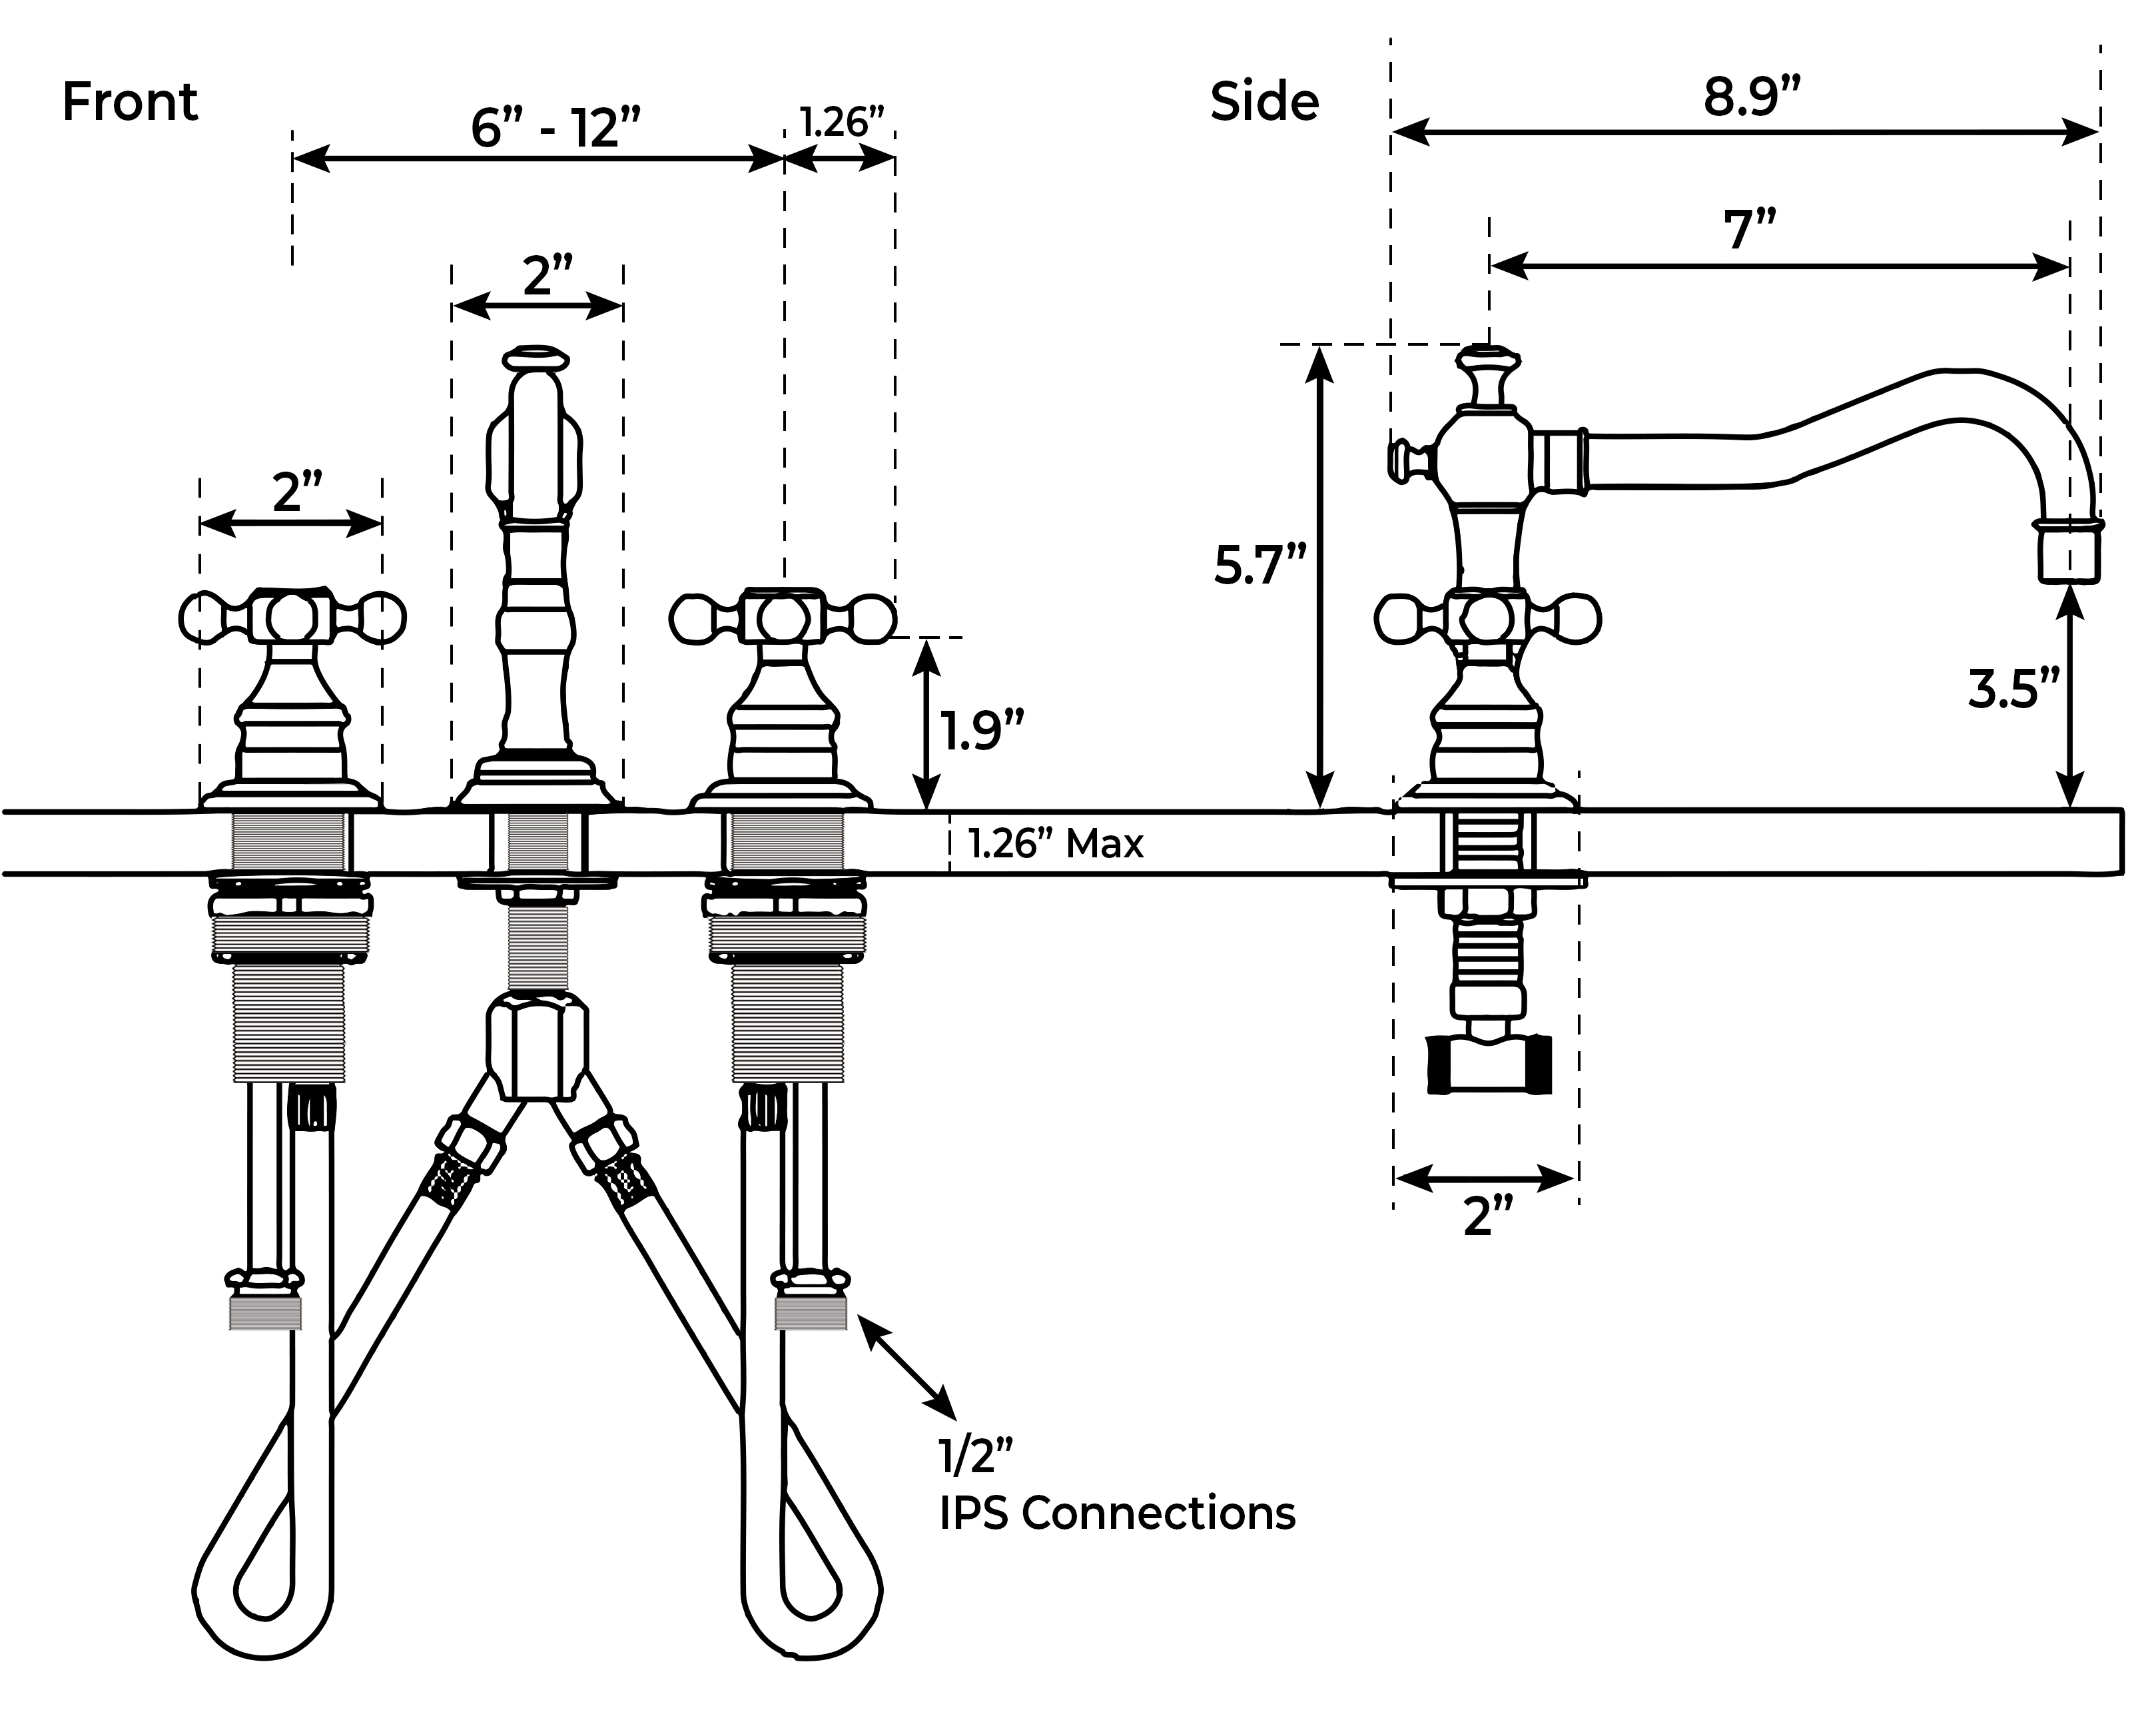

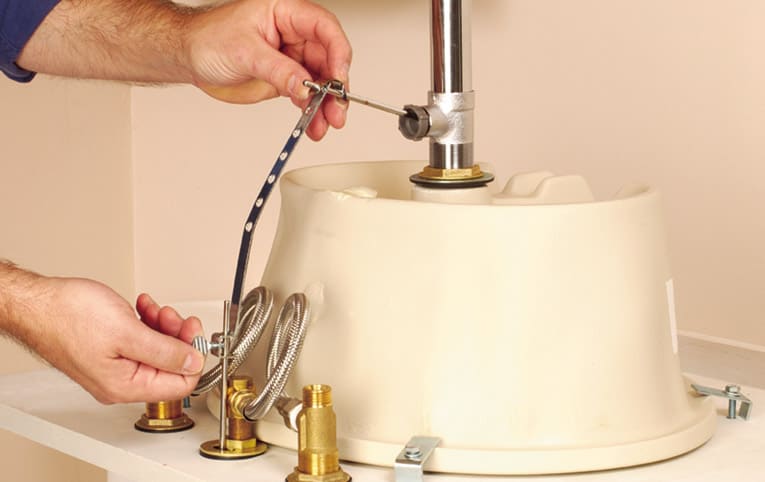
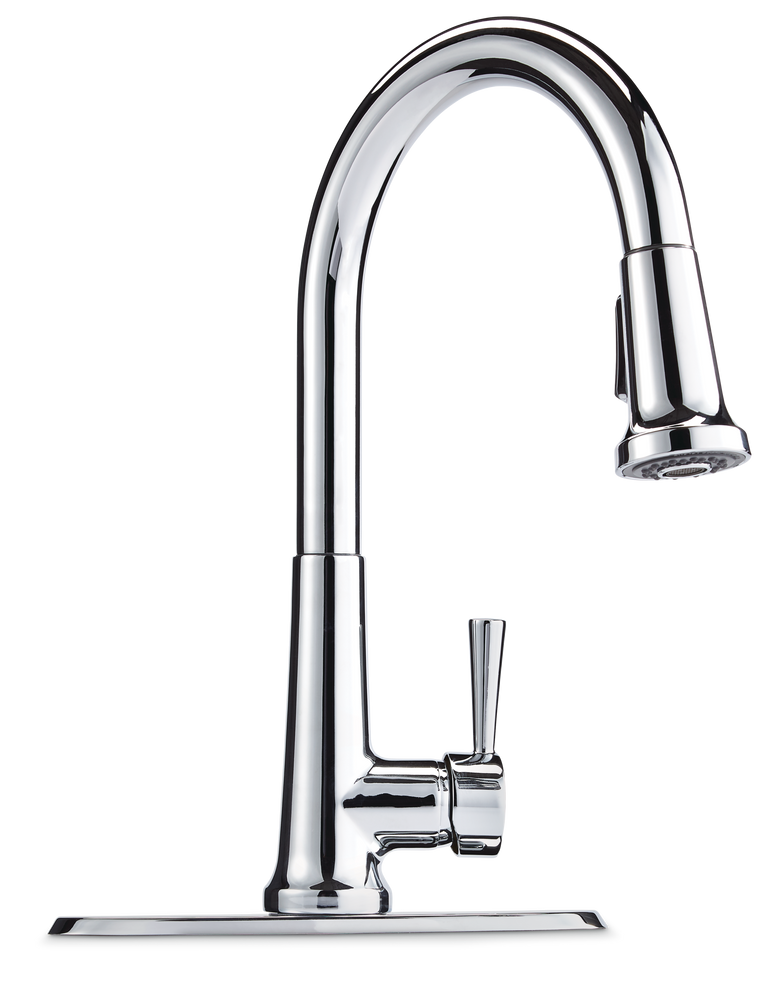
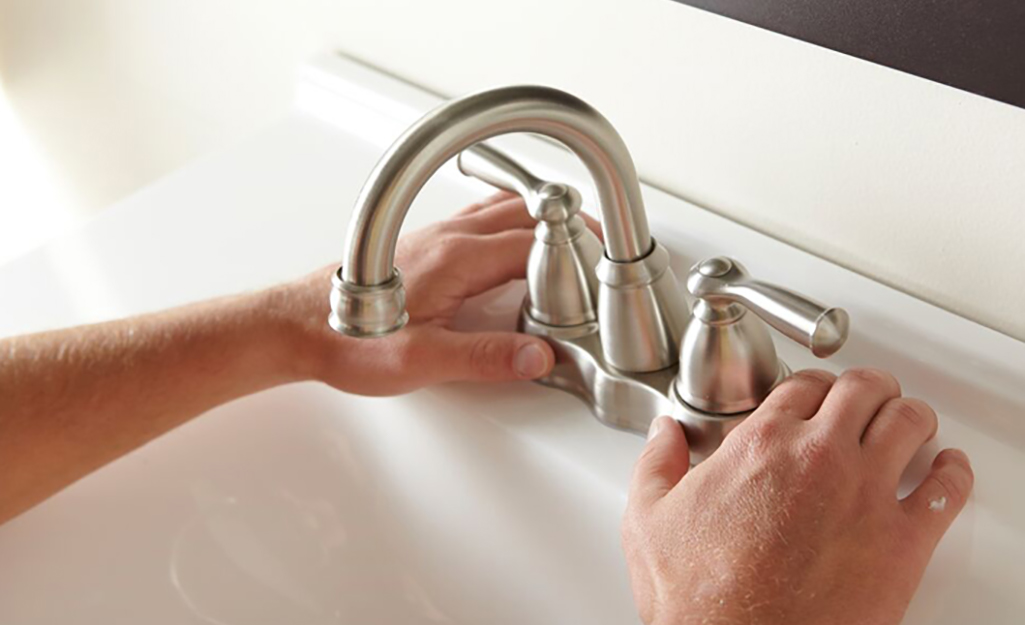
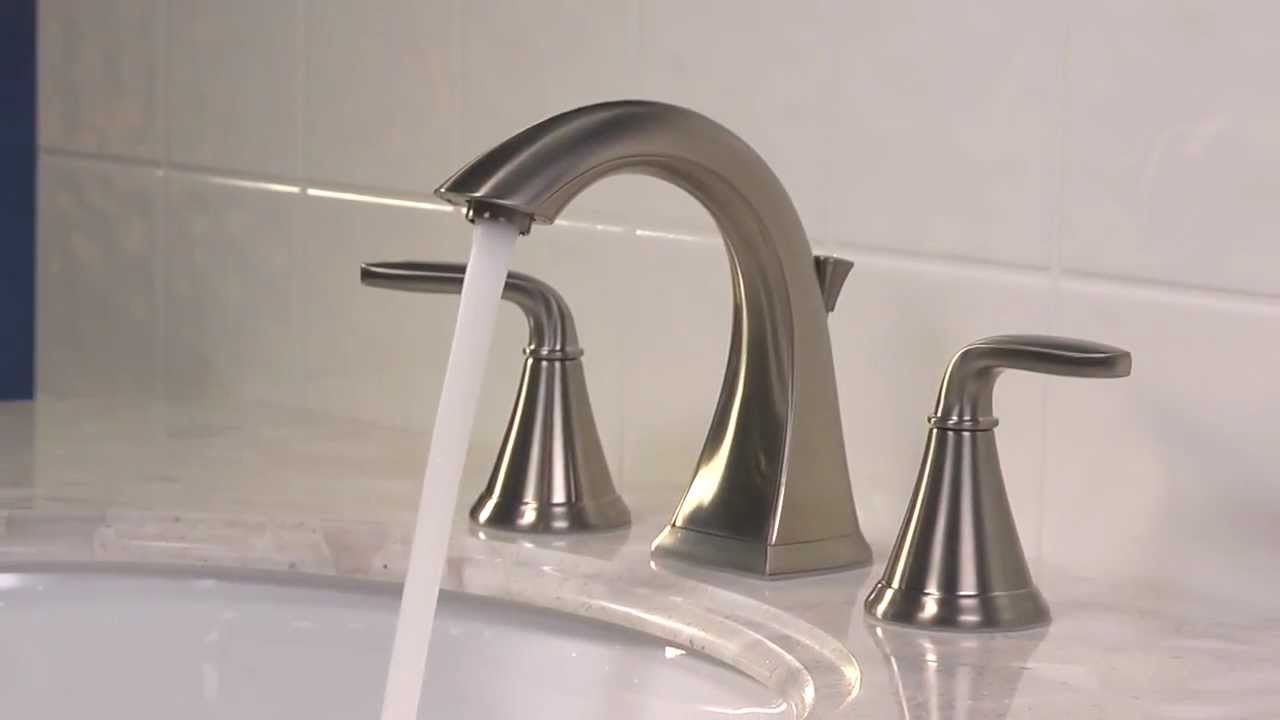
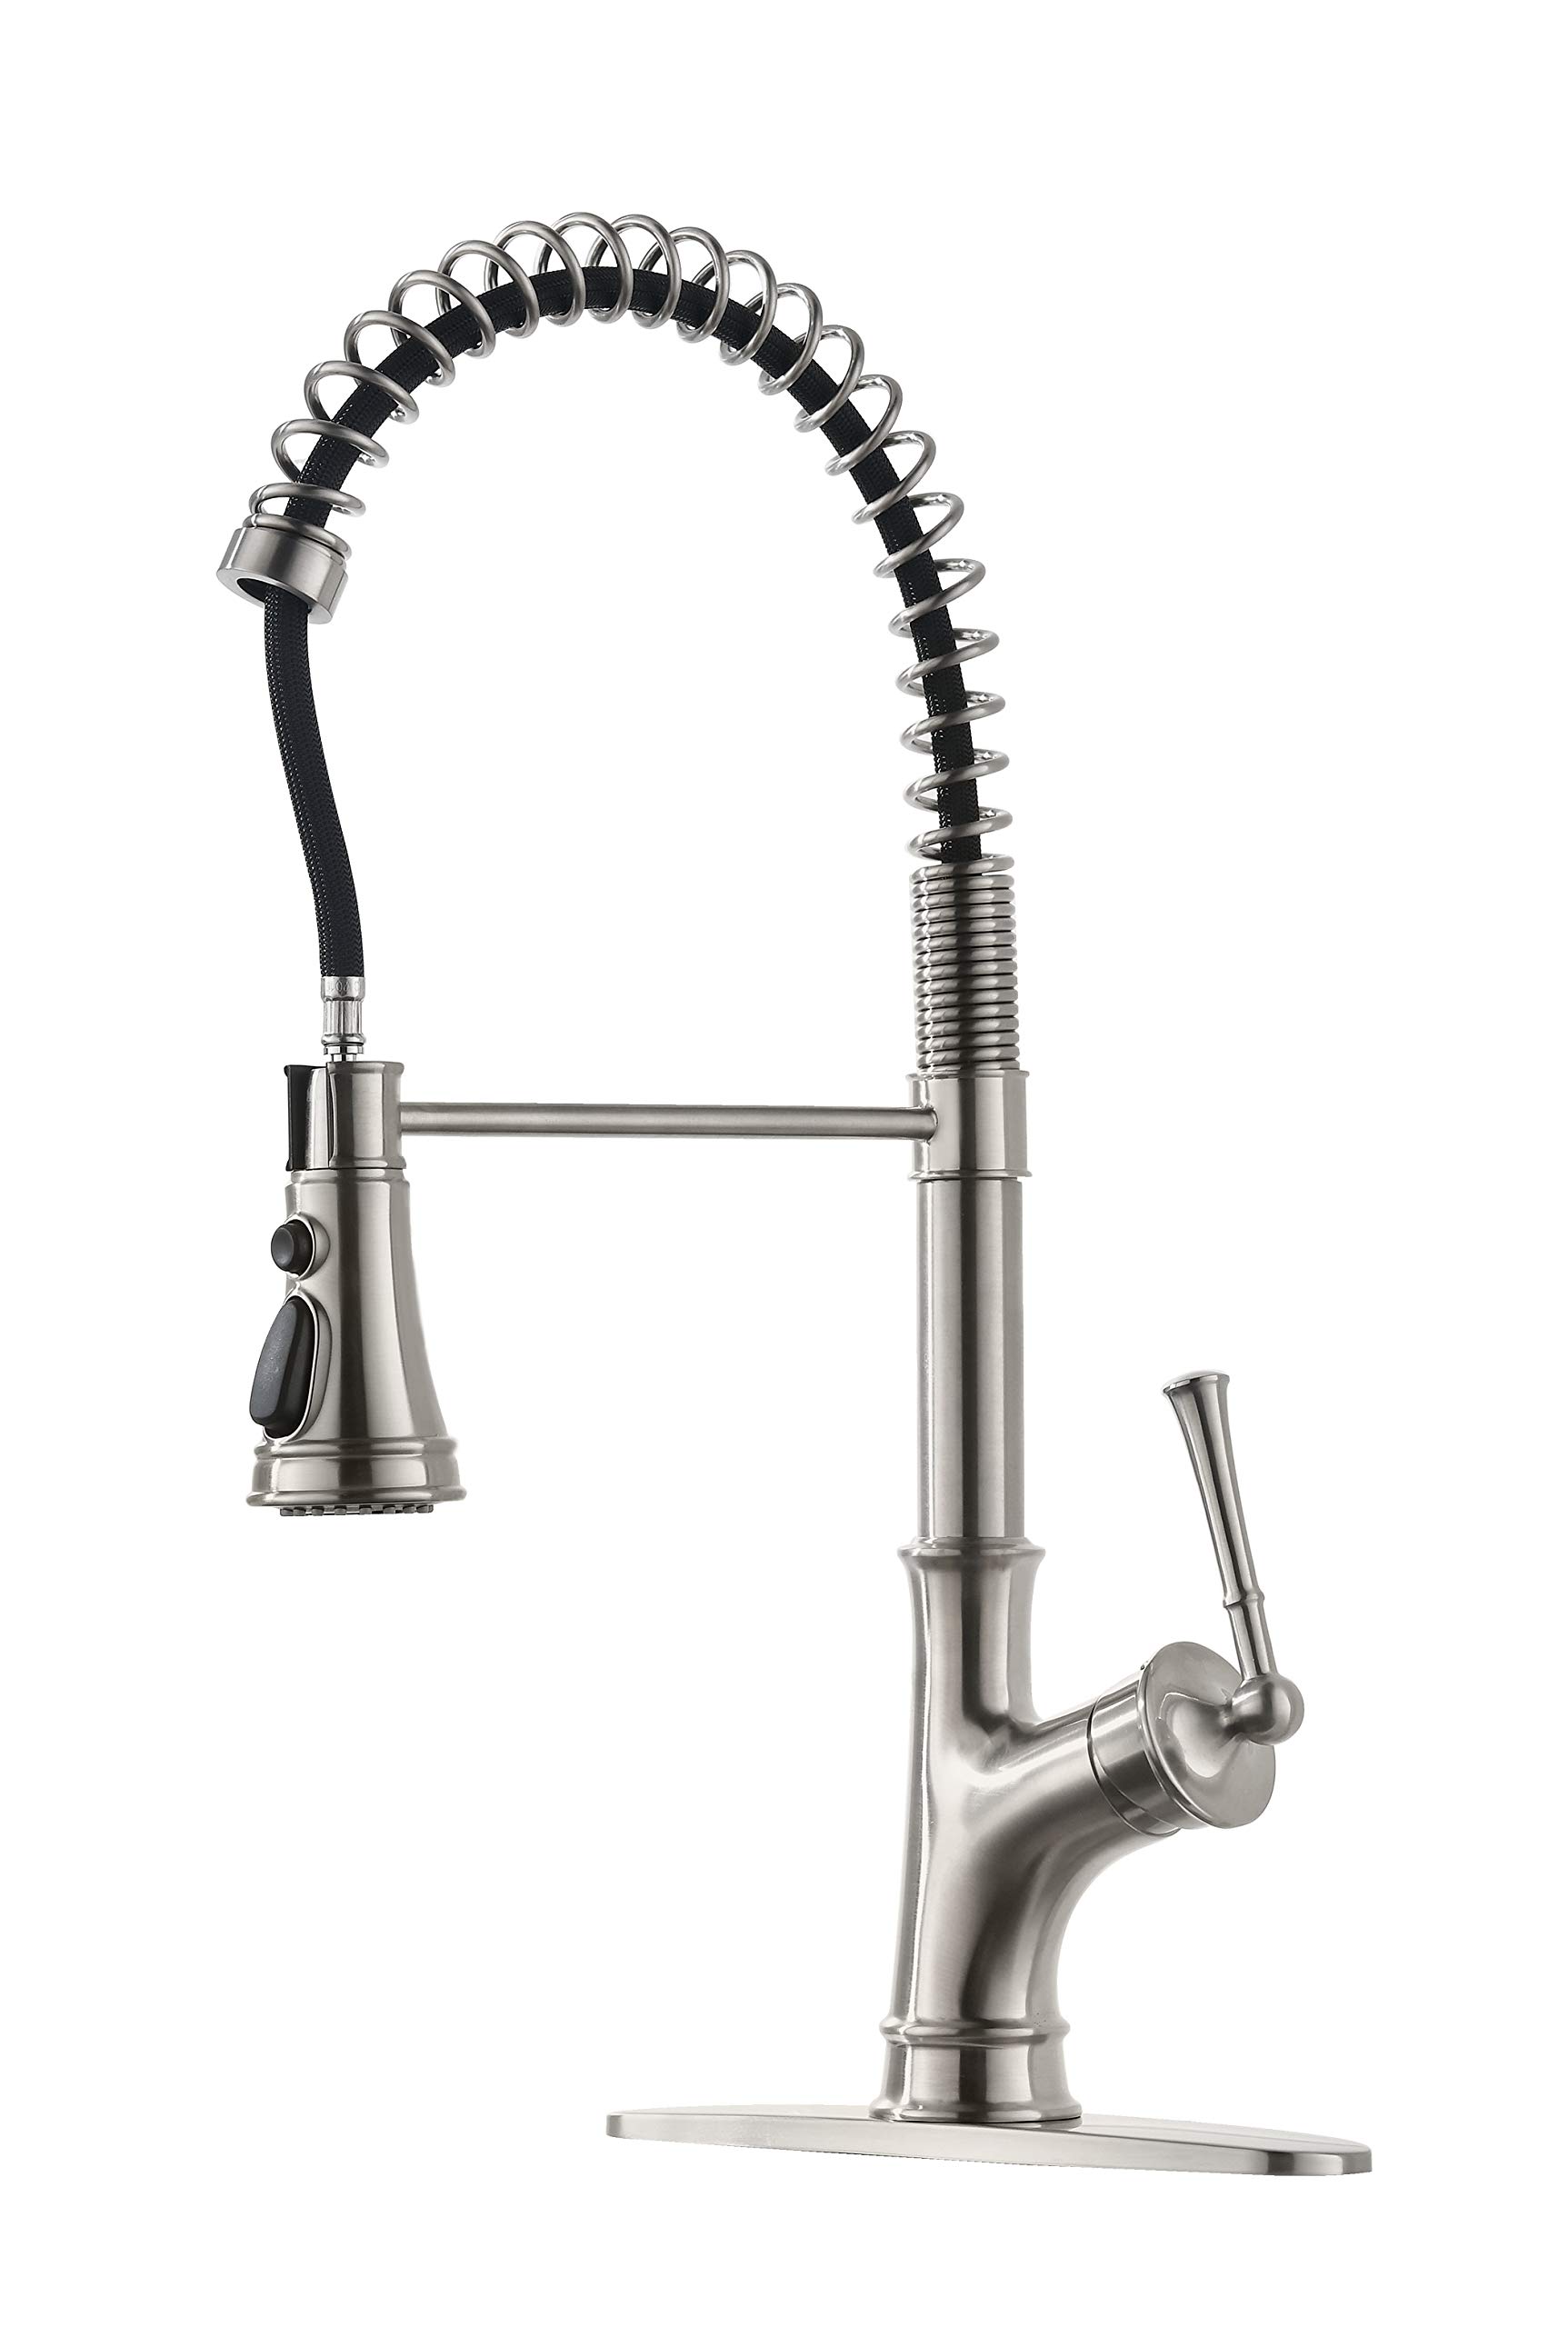
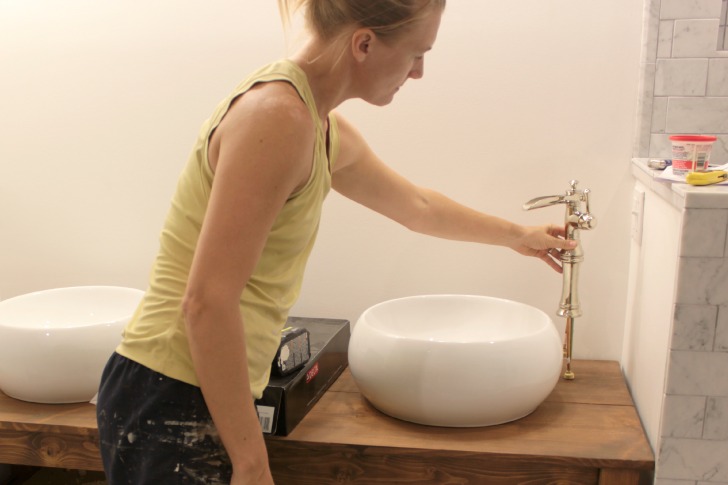
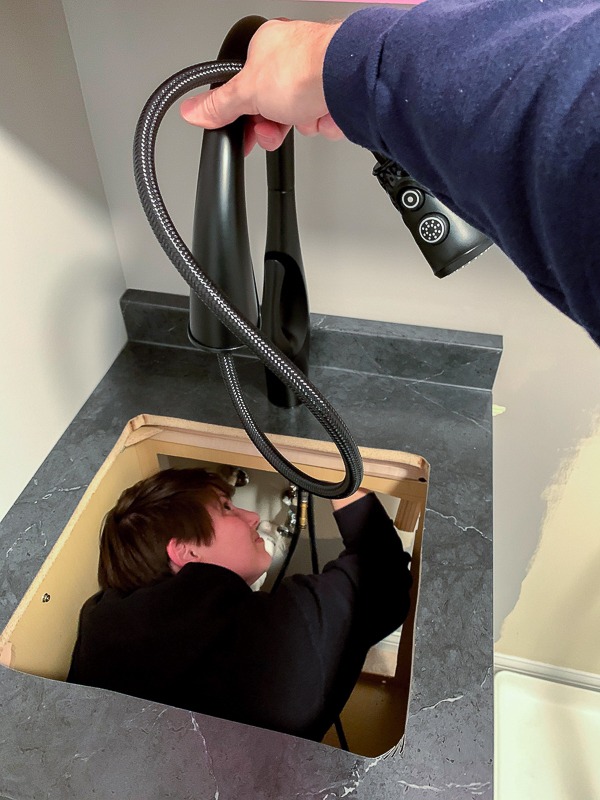
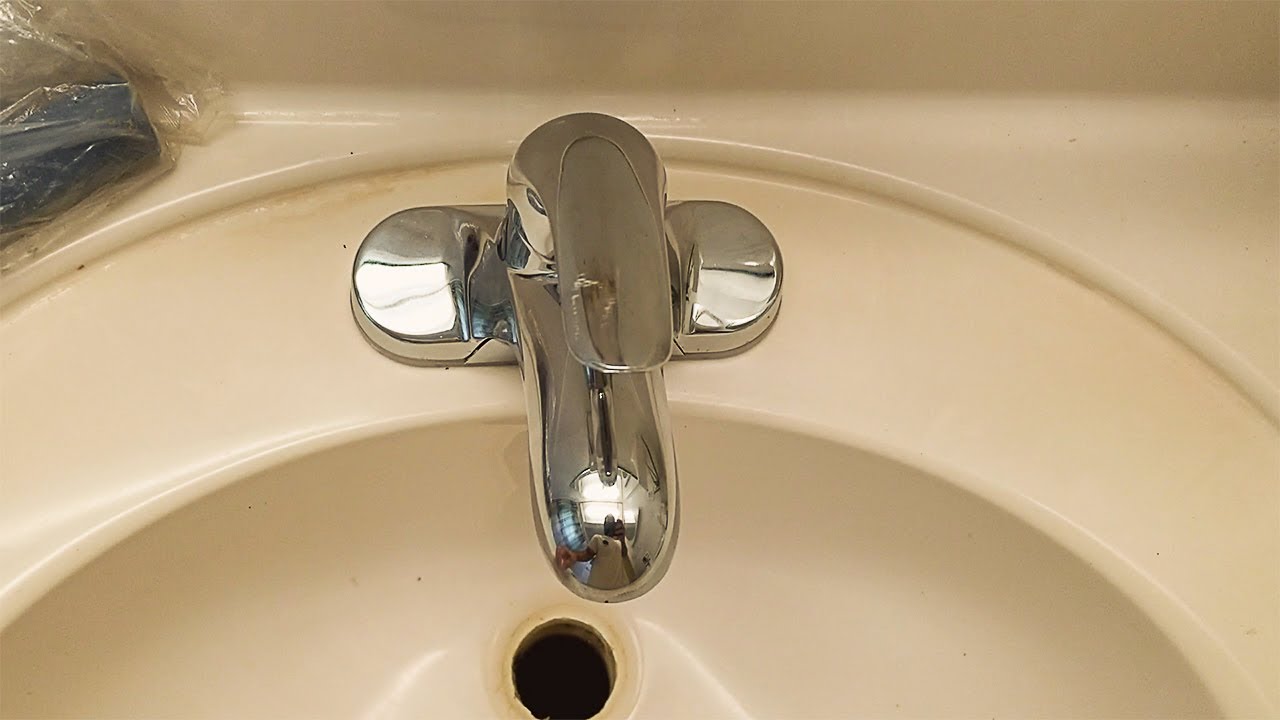
Insert the new faucet through the holes in the sink and secure it in place with the mounting hardware provided. Use an adjustable wrench to tighten the nuts and bolts, making sure the faucet is level and secure.6. Install the New Faucet

back of sink faucet installation
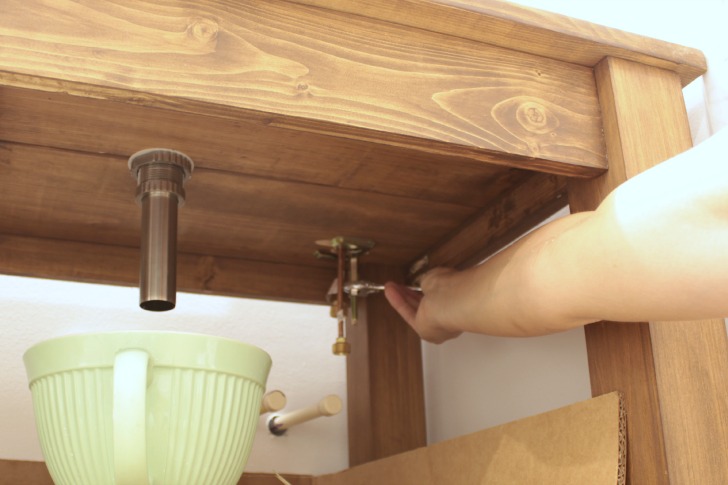


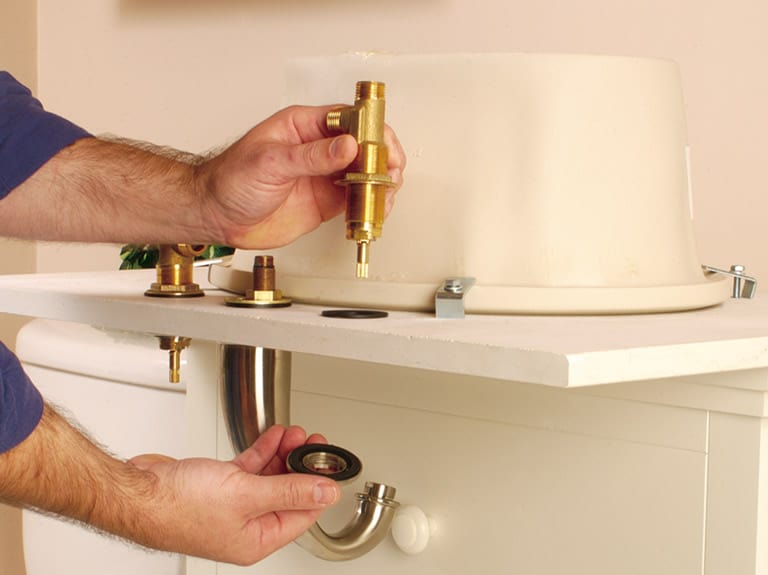

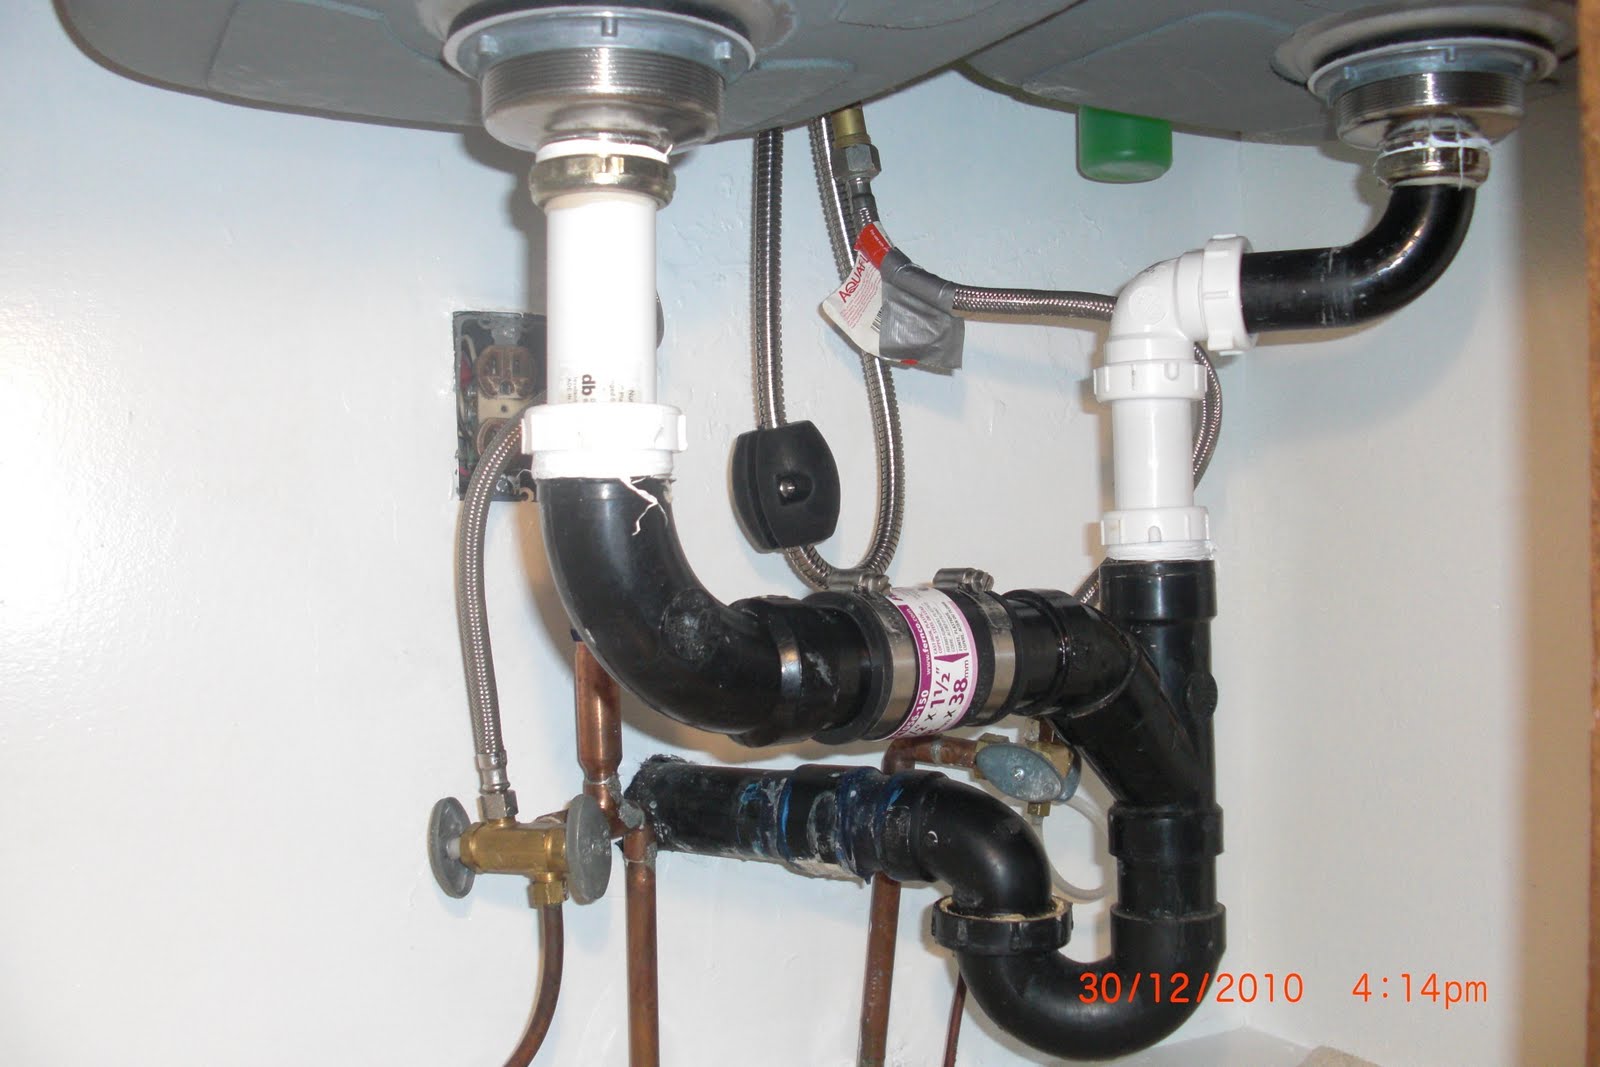
Next, connect the water supply lines to the corresponding hot and cold water valves. Use a wrench to tighten the connections, but be careful not to overtighten as this can cause damage to the valves.7. Connect the Water Supply Lines


installing a faucet into a sink


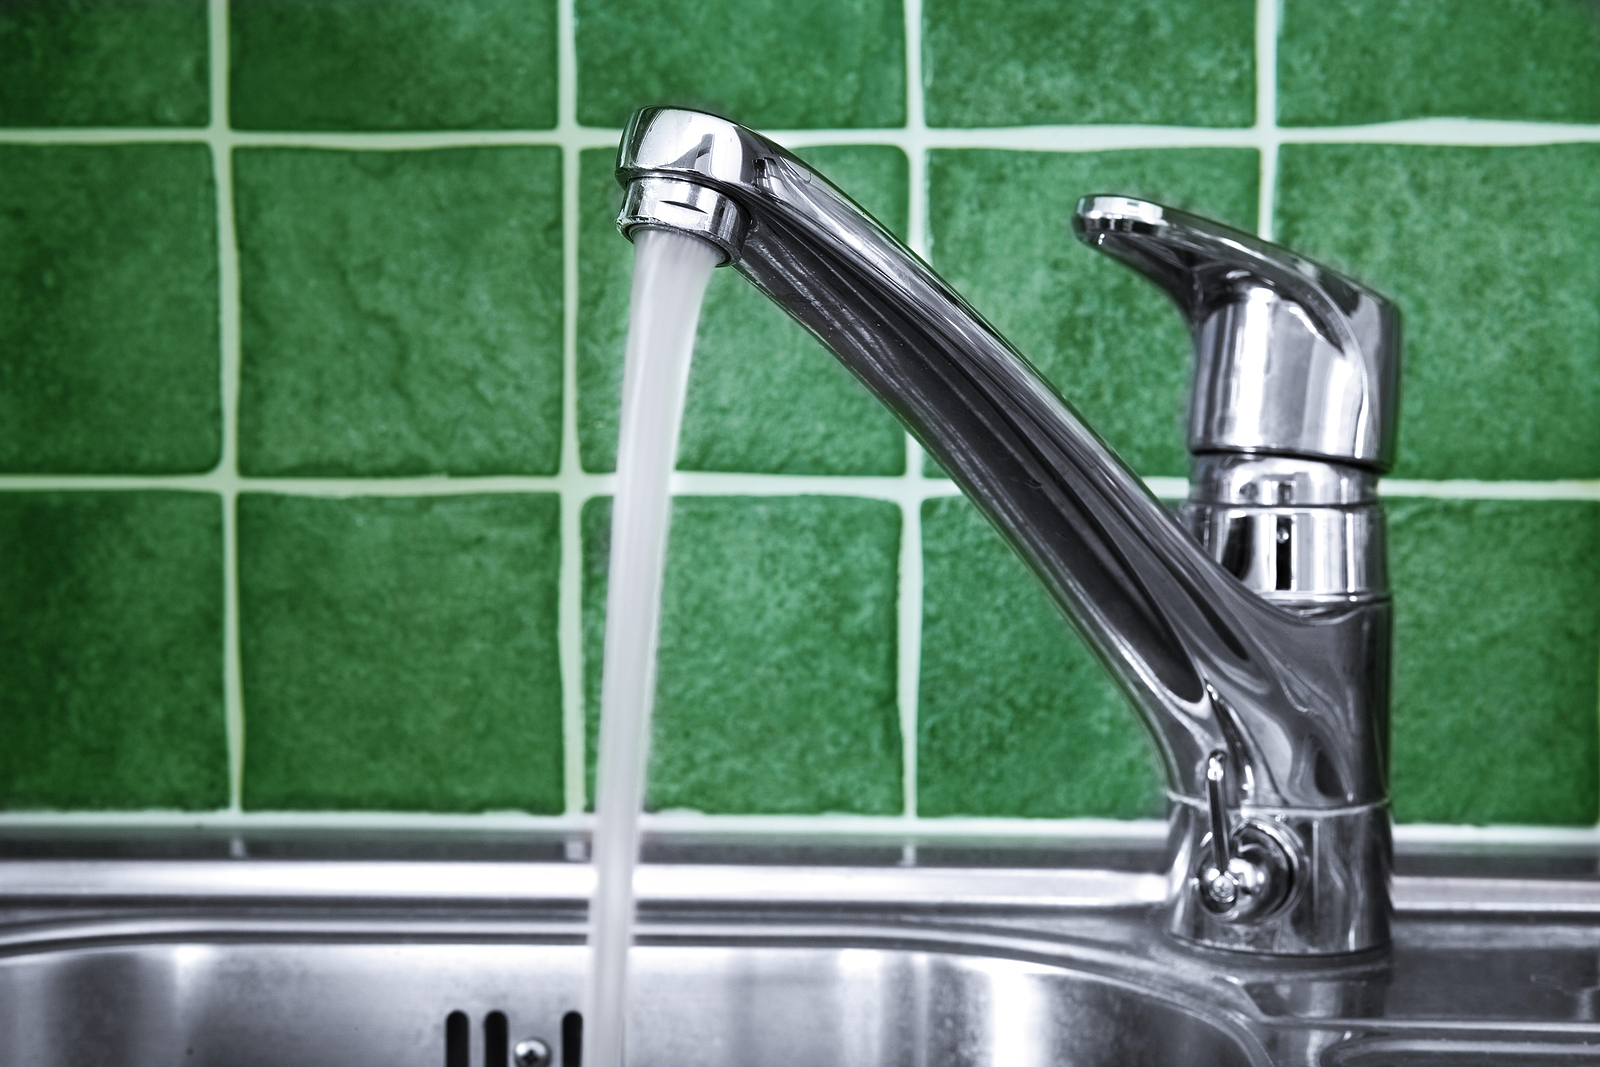
Before turning the water supply back on, test for any leaks by turning on the faucet. If you notice any leaks, tighten the connections as needed. If there are no leaks, you can proceed to the next step.8. Test for Leaks


bathroom sink faucet installation instructions


Once you have confirmed there are no leaks, turn the water supply back on by turning the shut-off valves counterclockwise. Let the water run for a few minutes to flush out any debris that may have accumulated during the installation process.9. Turn the Water Supply Back On


installing a bathroom faucet into a sink
Congratulations, you have successfully installed a new faucet into the back of your sink! Take a step back and admire your handiwork. Now you can enjoy the convenience and functionality of your new bathroom faucet.10. Enjoy Your New Bathroom Faucet


how to install a faucet into a sink


Why You Should Consider Installing a Bathroom Faucet into the Back of Your Sink

Maximizing Space and Aesthetics
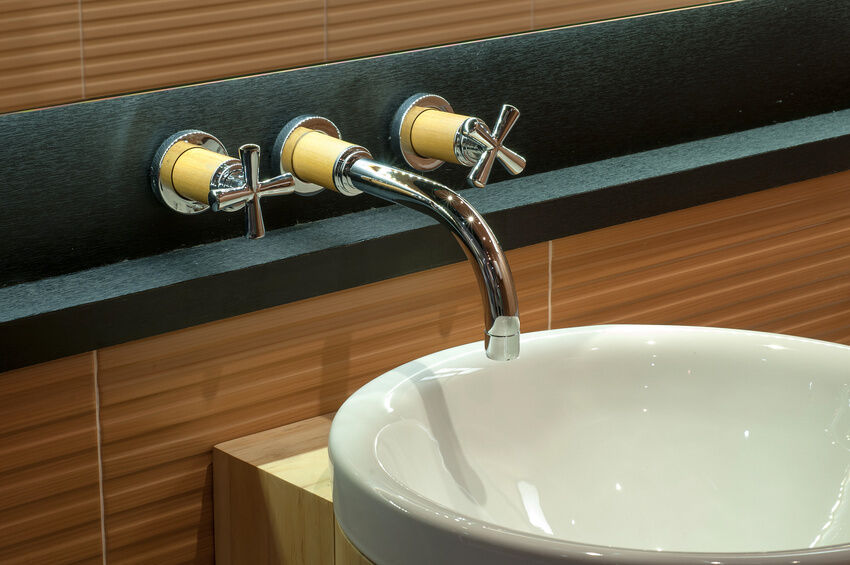
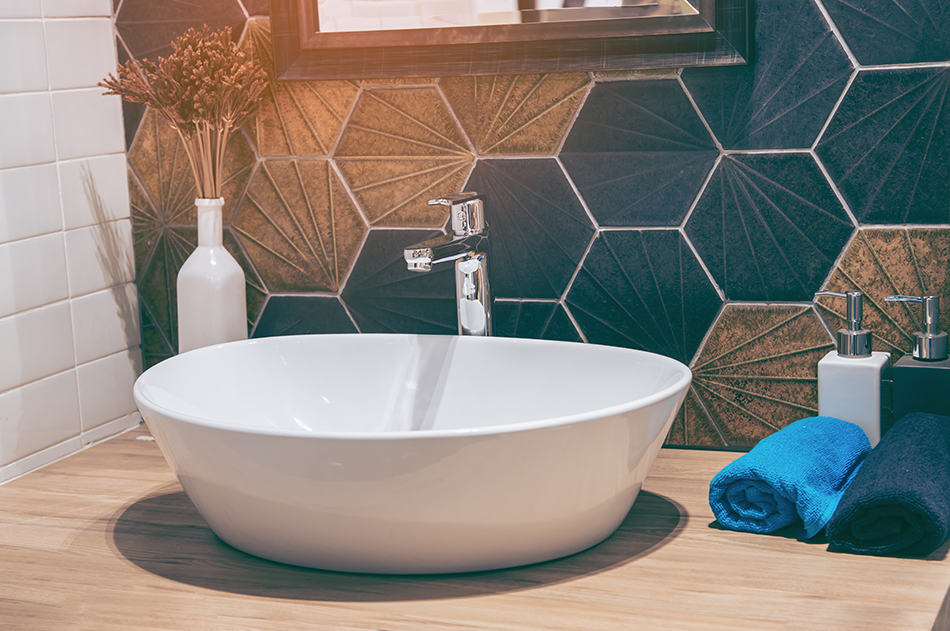
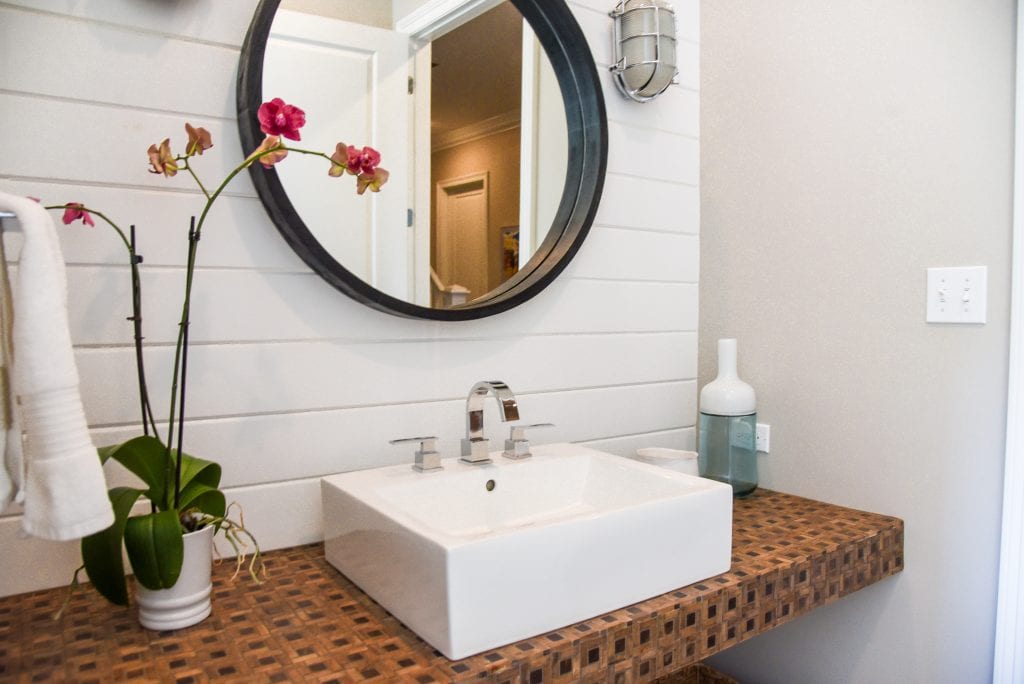 If you're looking to upgrade your bathroom design, one small change that can make a big impact is installing a bathroom faucet into the back of your sink. This simple switch can not only save space, but also add a touch of modern elegance to your bathroom.
Bathroom faucet
placement is often an overlooked aspect of bathroom design, but it can greatly affect the overall look and feel of the space. By installing your faucet into the back of the sink, you can free up valuable counter space and create a clean, minimalist look. This is especially beneficial for smaller bathrooms where every inch counts.
If you're looking to upgrade your bathroom design, one small change that can make a big impact is installing a bathroom faucet into the back of your sink. This simple switch can not only save space, but also add a touch of modern elegance to your bathroom.
Bathroom faucet
placement is often an overlooked aspect of bathroom design, but it can greatly affect the overall look and feel of the space. By installing your faucet into the back of the sink, you can free up valuable counter space and create a clean, minimalist look. This is especially beneficial for smaller bathrooms where every inch counts.
Improved Functionality
 Aside from the aesthetic benefits, having a
bathroom faucet
at the back of your sink can also improve functionality. Traditional faucets are typically placed at the center of the sink, making it difficult to wash your face or hands without splashing water everywhere. By moving the faucet to the back, you can have a more comfortable and mess-free experience.
Furthermore, if you have a shallow sink, a back-mounted faucet can prevent water from spilling over the edge and onto your counter. This can save you from constantly wiping up water and keeping your bathroom clean and dry.
Aside from the aesthetic benefits, having a
bathroom faucet
at the back of your sink can also improve functionality. Traditional faucets are typically placed at the center of the sink, making it difficult to wash your face or hands without splashing water everywhere. By moving the faucet to the back, you can have a more comfortable and mess-free experience.
Furthermore, if you have a shallow sink, a back-mounted faucet can prevent water from spilling over the edge and onto your counter. This can save you from constantly wiping up water and keeping your bathroom clean and dry.
Options for Design and Style
 Another advantage of installing a
bathroom faucet
into the back of your sink is the wide range of design and style options available. You can choose from various finishes, such as chrome, brushed nickel, or matte black, to match your bathroom's overall aesthetic. You can also opt for different types of faucets, such as a single-handle, two-handle, or touchless, to suit your personal preference and needs.
Additionally, back-mounted faucets offer a unique and modern look that can elevate the design of your bathroom. They also pair well with undermount sinks, creating a seamless and sleek look that will surely impress your guests.
In conclusion, installing a bathroom faucet into the back of your sink is a simple yet effective way to upgrade your bathroom design. It maximizes space, improves functionality, and offers a wide range of design options. So why not consider this small but impactful change for your next bathroom renovation?
Another advantage of installing a
bathroom faucet
into the back of your sink is the wide range of design and style options available. You can choose from various finishes, such as chrome, brushed nickel, or matte black, to match your bathroom's overall aesthetic. You can also opt for different types of faucets, such as a single-handle, two-handle, or touchless, to suit your personal preference and needs.
Additionally, back-mounted faucets offer a unique and modern look that can elevate the design of your bathroom. They also pair well with undermount sinks, creating a seamless and sleek look that will surely impress your guests.
In conclusion, installing a bathroom faucet into the back of your sink is a simple yet effective way to upgrade your bathroom design. It maximizes space, improves functionality, and offers a wide range of design options. So why not consider this small but impactful change for your next bathroom renovation?