If you're planning to install a new kitchen sink or replace an old one, one of the key steps is attaching the kitchen sink drain. This may seem like a daunting task, but with the right tools and knowledge, you can easily do it yourself. In this article, we'll guide you through the process of attaching a kitchen sink drain, step by step.How to Attach a Kitchen Sink Drain


How to Attach a Kitchen Sink Drain


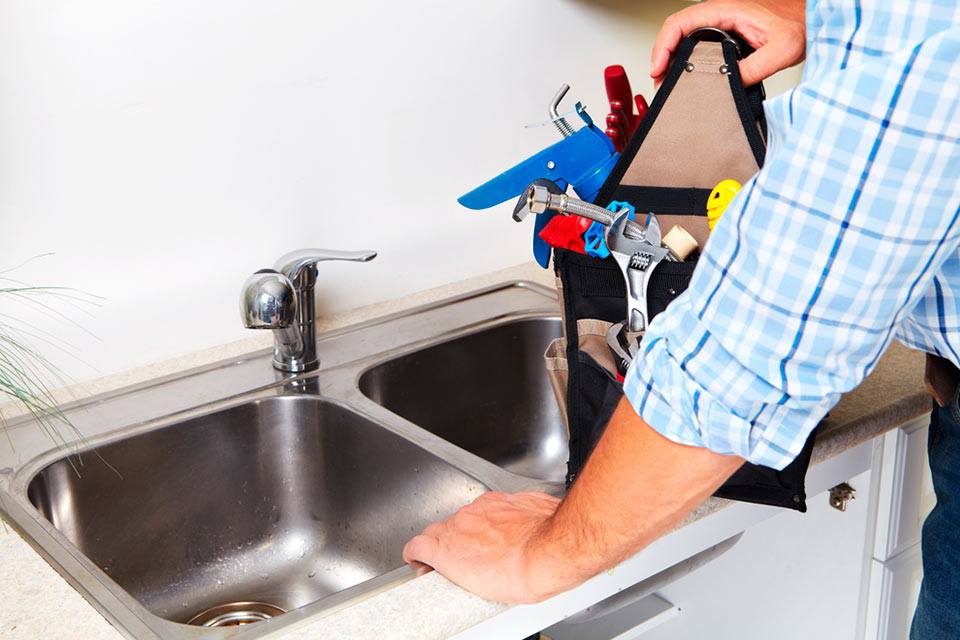
The process of attaching a kitchen sink drain involves installing the drain assembly, connecting it to the sink and the plumbing, and securing it in place. Before you begin, make sure you have all the necessary tools and materials, including a plumber's putty, a basin wrench, and a pipe wrench.How to Install a Kitchen Sink Drain


How to Install a Kitchen Sink Drain
/how-to-install-a-sink-drain-2718789-hero-b5b99f72b5a24bb2ae8364e60539cece.jpg)
:max_bytes(150000):strip_icc()/how-to-install-a-sink-drain-2718789-hero-24e898006ed94c9593a2a268b57989a3.jpg)

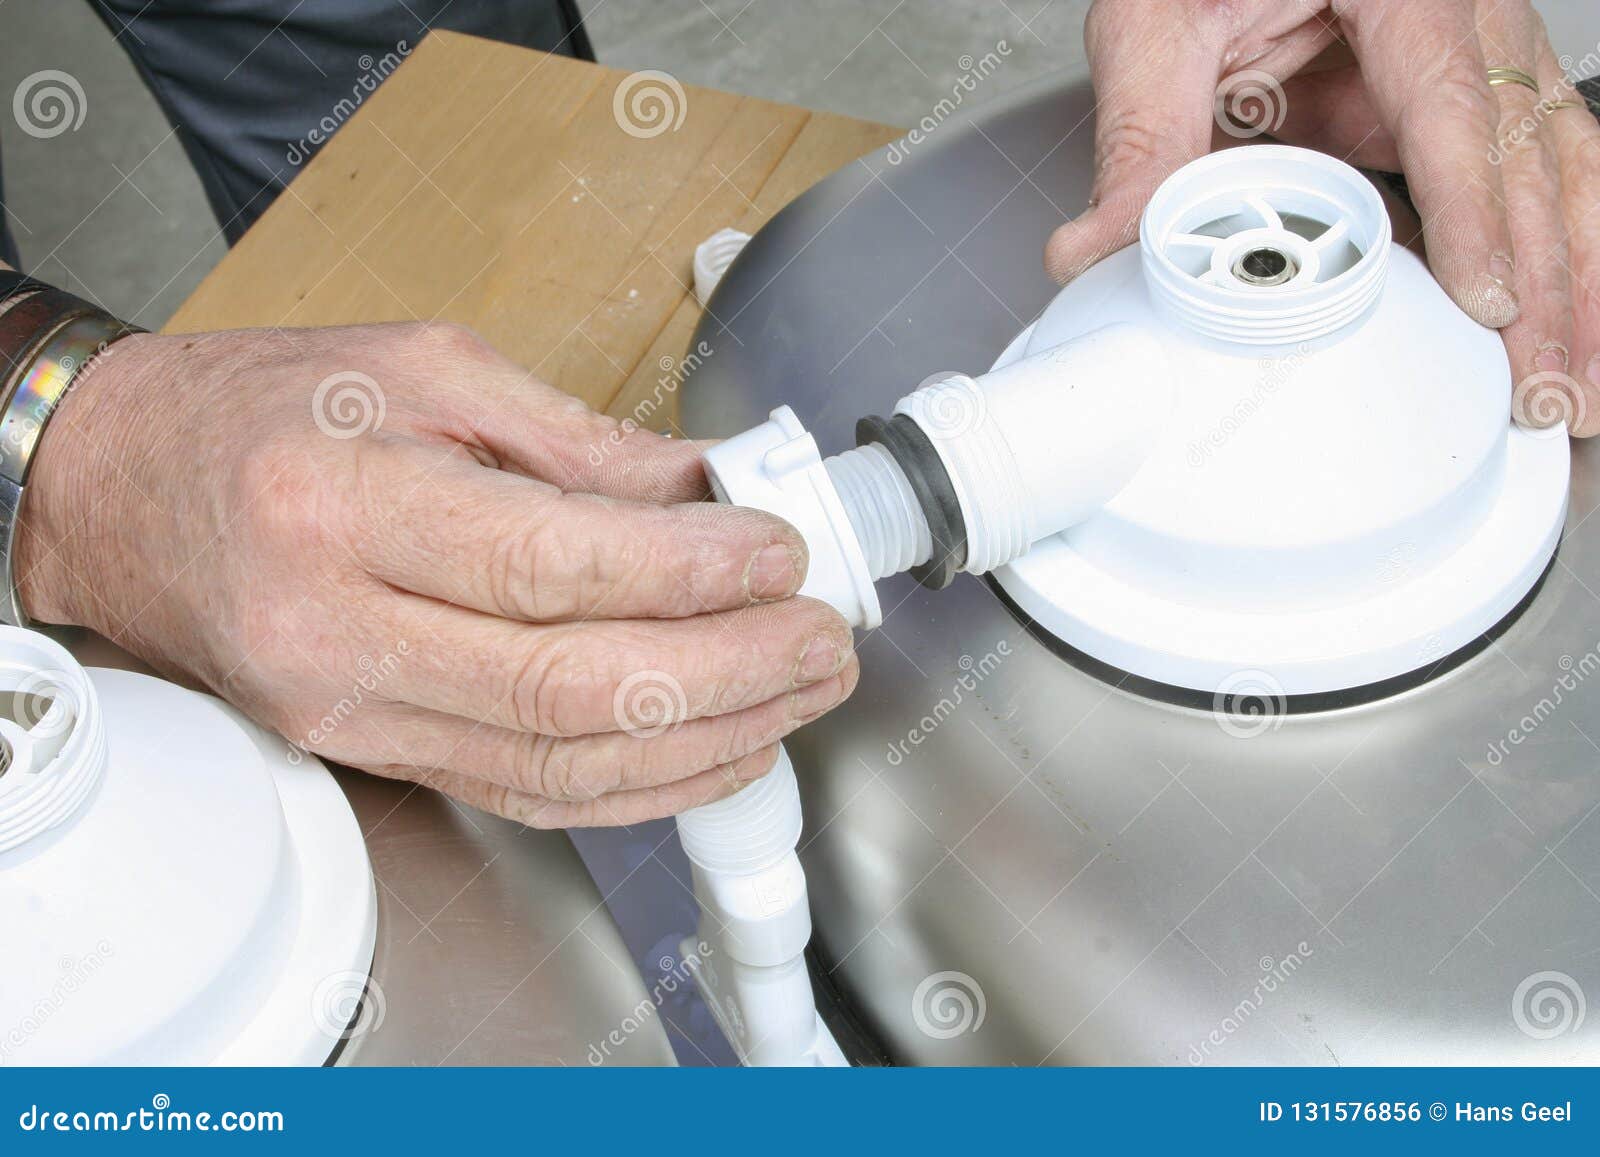
Step 1: Start by applying plumber's putty to the underside of the drain flange, then insert it into the sink drain opening. Step 2: From under the sink, install the rubber gasket and the cardboard washer onto the drain flange, then secure it in place with the mounting nut. Step 3: Next, install the drain tailpiece into the drain assembly, and connect it to the P-trap using a slip nut and a washer. Step 4: Once the drain assembly is in place, connect the water supply lines to the faucet and the drain pipe to the plumbing. Step 5: Finally, turn on the water and check for any leaks. If everything looks good, you can now use your newly attached kitchen sink drain.Attaching a Kitchen Sink Drain: Step-by-Step Guide


Attaching a Kitchen Sink Drain: Step-by-Step Guide


While it may be tempting to hire a professional to attach your kitchen sink drain, it is a relatively simple process that you can do yourself. Not only will you save money, but you'll also have the satisfaction of completing a DIY project successfully. By following the steps outlined above and having the right tools, you can easily install a kitchen sink drain in a matter of hours.DIY Kitchen Sink Drain Installation


DIY Kitchen Sink Drain Installation


/how-to-install-a-sink-drain-2718789-hero-24e898006ed94c9593a2a268b57989a3.jpg)


To successfully attach a kitchen sink drain, you will need the following tools:Tools Needed for Attaching a Kitchen Sink Drain


Tools Needed for Attaching a Kitchen Sink Drain


While attaching a kitchen sink drain may seem like a straightforward process, there are a few common mistakes that people make. These include:Common Mistakes When Attaching a Kitchen Sink Drain


Common Mistakes When Attaching a Kitchen Sink Drain


Here are some additional tips and tricks to keep in mind when attaching a kitchen sink drain:Attaching a Kitchen Sink Drain: Tips and Tricks


Attaching a Kitchen Sink Drain: Tips and Tricks


If you encounter any issues while attaching your kitchen sink drain, here are a few troubleshooting tips:Attaching a Kitchen Sink Drain: Troubleshooting


Attaching a Kitchen Sink Drain: Troubleshooting


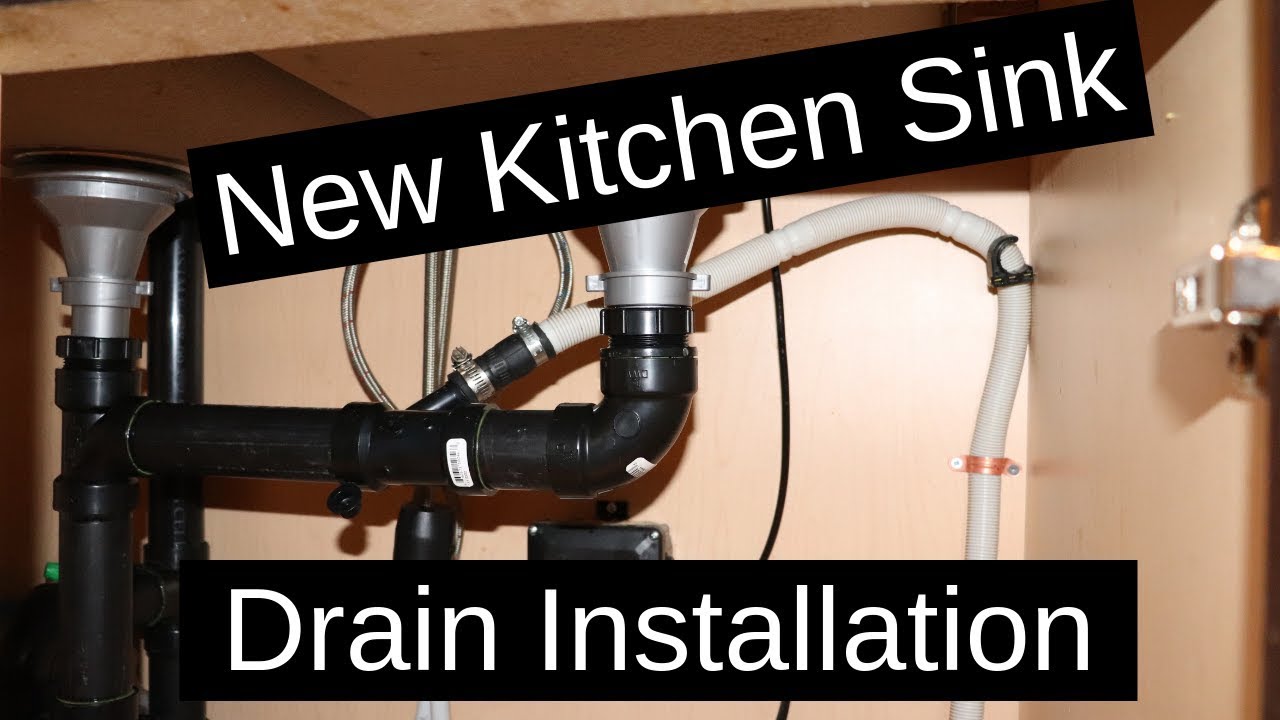
If you prefer visual demonstrations, you can also find many helpful video tutorials online that guide you through the process of attaching a kitchen sink drain. These can be especially useful if you are a visual learner and want a step-by-step visual guide.Attaching a Kitchen Sink Drain: Video Tutorial

Attaching a Kitchen Sink Drain: Video Tutorial
:max_bytes(150000):strip_icc()/how-to-clean-a-kitchen-sink-and-drain-02-5660035-7a630bc36f2c401bbe412bbe85937ff3.jpg)
As mentioned earlier, attaching a kitchen sink drain is a relatively simple task that you can do yourself. However, if you are not confident in your DIY skills or do not have the necessary tools, it may be best to hire a professional. Professional installation may also be necessary if you are installing a new sink or making significant changes to your plumbing system. In these cases, it's always best to leave it to the experts to ensure everything is installed correctly and safely. With this step-by-step guide and helpful tips, you can easily attach a kitchen sink drain and have your sink up and running in no time. Remember to take your time, follow the instructions carefully, and don't be afraid to seek professional help if needed. Happy installing!Attaching a Kitchen Sink Drain: Professional Installation vs. DIY

Attaching a Kitchen Sink Drain: Professional Installation vs. DIY
Benefits of Properly Attaching a Kitchen Sink Drain

Why Proper Installation is Important
 Properly attaching a kitchen sink drain is an essential step in house design and renovation. Not only does it ensure the functionality of your kitchen sink, but it also prevents any future plumbing issues that can be costly and time-consuming to fix. A well-installed kitchen sink drain also adds to the aesthetic appeal of your kitchen, making it a more inviting and organized space. So, before you start using your newly installed kitchen sink, make sure to follow these steps for a secure and durable drain attachment.
Step-by-Step Guide to Attaching a Kitchen Sink Drain
 Firstly, make sure to gather all the necessary tools and materials for the job, such as a drain assembly, plumber's putty, and a wrench. Then, follow these steps:
- Inspect the Drain Assembly: Before installation, inspect the drain assembly for any defects or damages. This will save you the hassle of having to replace it later on.
- Apply Plumber's Putty: Roll the plumber's putty into a long rope and wrap it around the top of the drain opening. This will create a watertight seal between the sink and the drain.
- Insert the Drain: Carefully insert the drain assembly into the sink opening and press it down firmly to secure it in place.
- Attach the Lock Nut: Underneath the sink, attach the lock nut to the drain assembly and tighten it using a wrench.
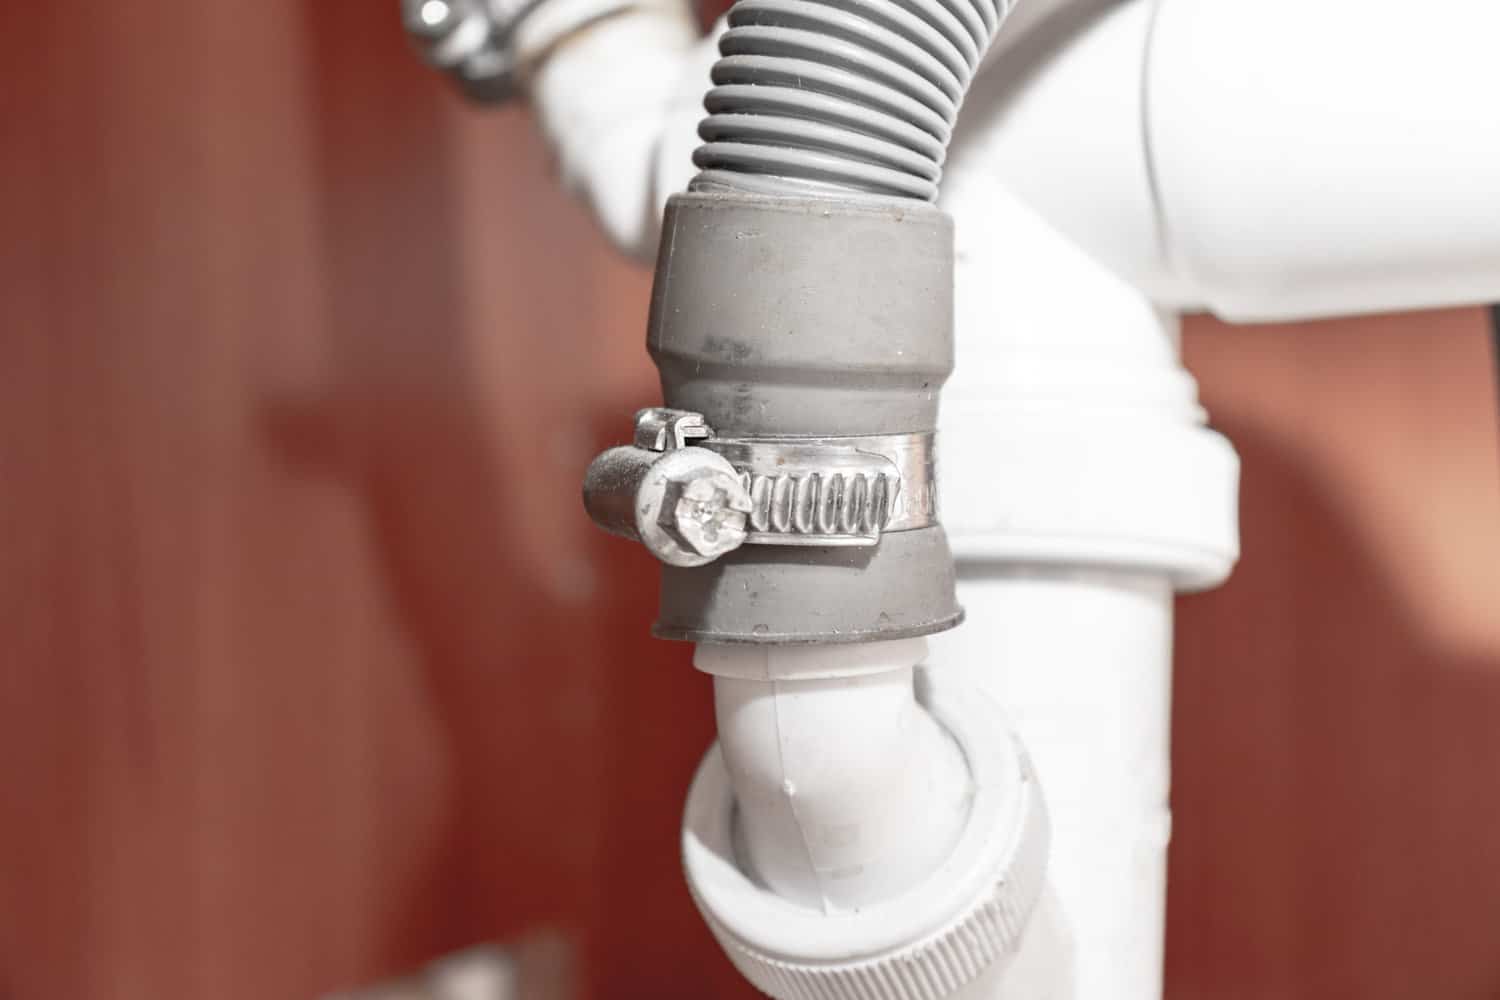
- Connect the Drain Pipe: Connect the drain pipe to the bottom of the drain assembly and use a plumber's tape to secure the connection.
- Test for Leaks: Turn on the water and let it run through the sink to test for any leaks. If you notice any, tighten the connections or replace any damaged parts.
Importance of Professional Installation
 While attaching a kitchen sink drain can be a simple DIY project, it is always recommended to hire a professional plumber for optimal results. They have the expertise and experience to ensure that the installation is done correctly and can offer valuable advice on choosing the right materials for your specific needs. Additionally, professional installation also comes with a warranty, giving you peace of mind knowing that any future issues will be taken care of.
In conclusion, attaching a kitchen sink drain is a crucial step in house design and renovation. It not only ensures the functionality and aesthetic appeal of your kitchen but also saves you from potential plumbing headaches in the future. So, follow the steps outlined above or hire a professional for a hassle-free and durable installation.
While attaching a kitchen sink drain can be a simple DIY project, it is always recommended to hire a professional plumber for optimal results. They have the expertise and experience to ensure that the installation is done correctly and can offer valuable advice on choosing the right materials for your specific needs. Additionally, professional installation also comes with a warranty, giving you peace of mind knowing that any future issues will be taken care of.
In conclusion, attaching a kitchen sink drain is a crucial step in house design and renovation. It not only ensures the functionality and aesthetic appeal of your kitchen but also saves you from potential plumbing headaches in the future. So, follow the steps outlined above or hire a professional for a hassle-free and durable installation.