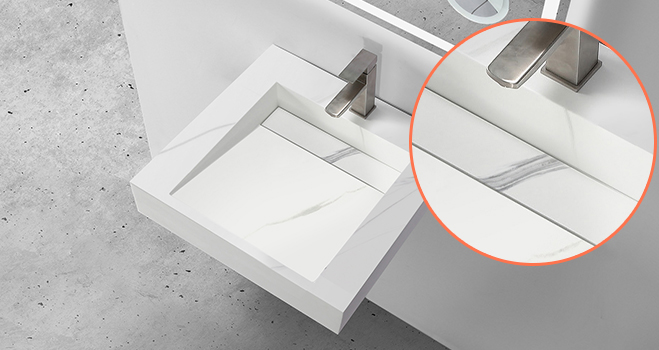
When it comes to bathroom sinks, wall-mounted options are a popular choice for both their style and space-saving benefits. However, if you have a heavy sink, it's important to properly secure it to the wall to avoid any accidents or damage. Here are some tips for attaching a heavy bathroom sink to a wall. Attaching a Heavy Bathroom Sink to a Wall


Attaching a Heavy Bathroom Sink to a Wall


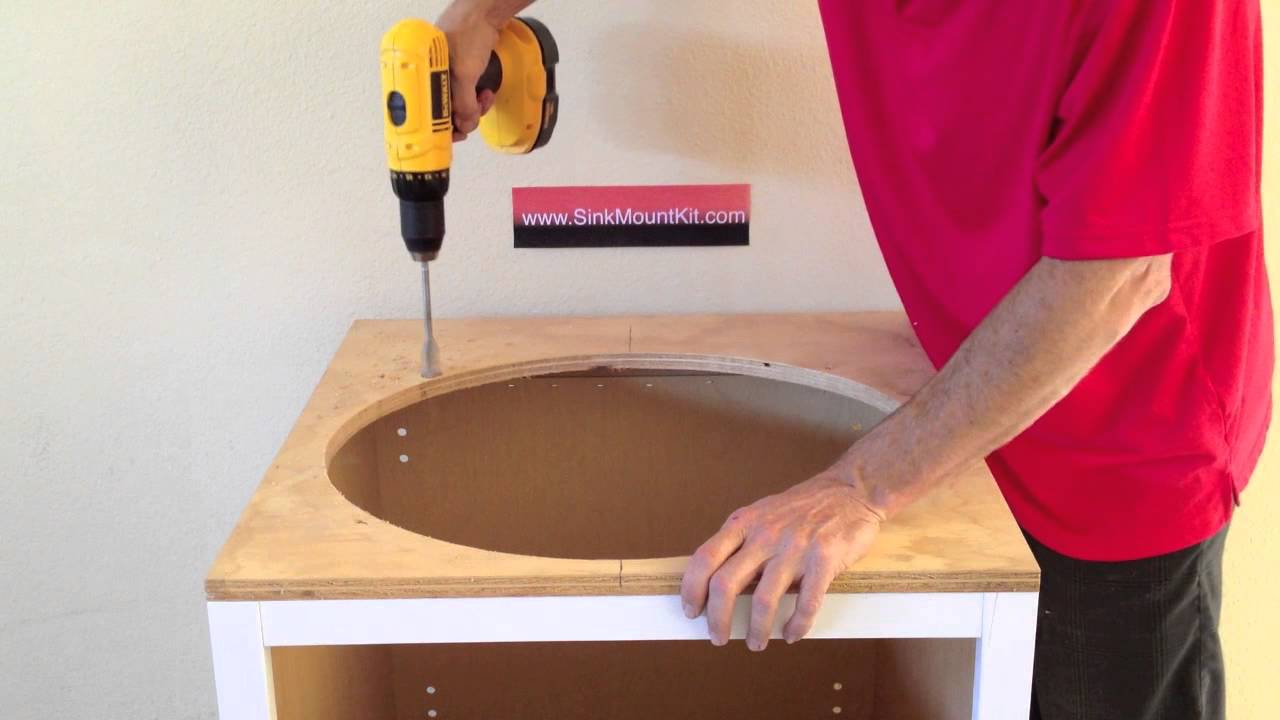
Before you begin the installation process, make sure you have all the necessary tools and materials. This may include a drill, screws, brackets, and a level. It's also important to have someone to help you hold the sink in place while you attach it to the wall. How to Secure a Heavy Bathroom Sink to the Wall


How to Secure a Heavy Bathroom Sink to the Wall


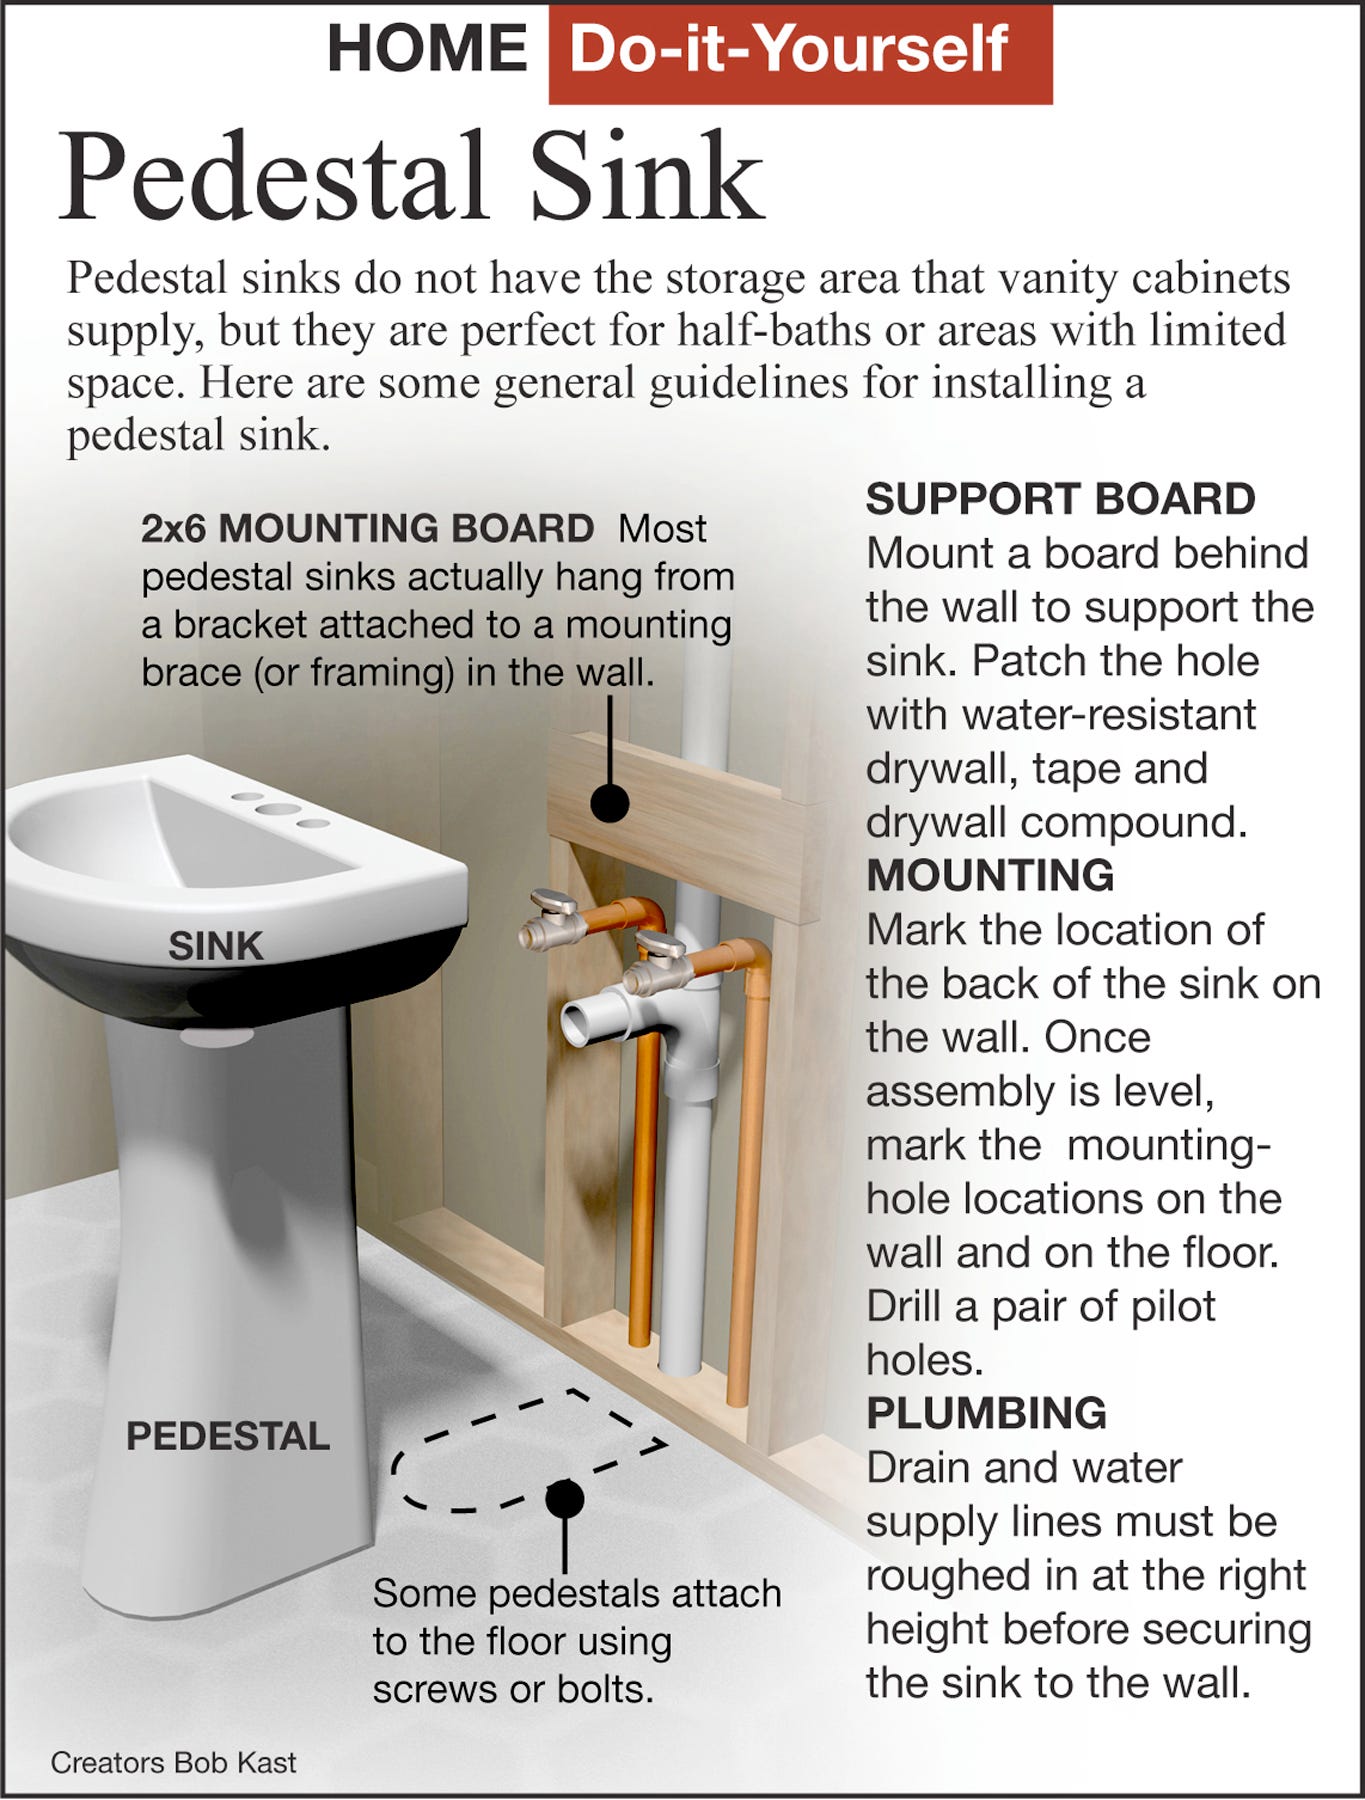
The first step in attaching a heavy bathroom sink to the wall is to locate the studs. These are the strong, vertical beams behind the drywall that provide support for the weight of the sink. Use a stud finder to locate the studs and mark their location on the wall. Wall-Mounting a Heavy Bathroom Sink


Wall-Mounting a Heavy Bathroom Sink


/bathroom-sink-523598998-5797c0dc5f9b58461f3d5c23.jpg)


Once you have located the studs, you can begin attaching the sink to the wall. It's important to use brackets to support the weight of the sink, especially if it is a larger or heavier model. You may also want to use toggle bolts for additional support. Make sure to use the appropriate size and type of screws for your sink and wall material. Tips for Attaching a Heavy Bathroom Sink to the Wall


Tips for Attaching a Heavy Bathroom Sink to the Wall


Using your drill, create pilot holes in the marked locations on the wall. Then, have your helper hold the sink in place while you attach the brackets to the wall using the screws. Use a level to ensure the sink is straight before fully securing the brackets to the wall. Securing a Heavy Bathroom Sink to the Wall


Securing a Heavy Bathroom Sink to the Wall


Once the brackets are securely attached to the wall, you can carefully place the sink on top of them. Make sure the sink is centered and level before fully tightening the screws. You may also want to use caulk around the edges of the sink to seal it to the wall and prevent any water damage. Mounting a Heavy Bathroom Sink on the Wall


Mounting a Heavy Bathroom Sink on the Wall

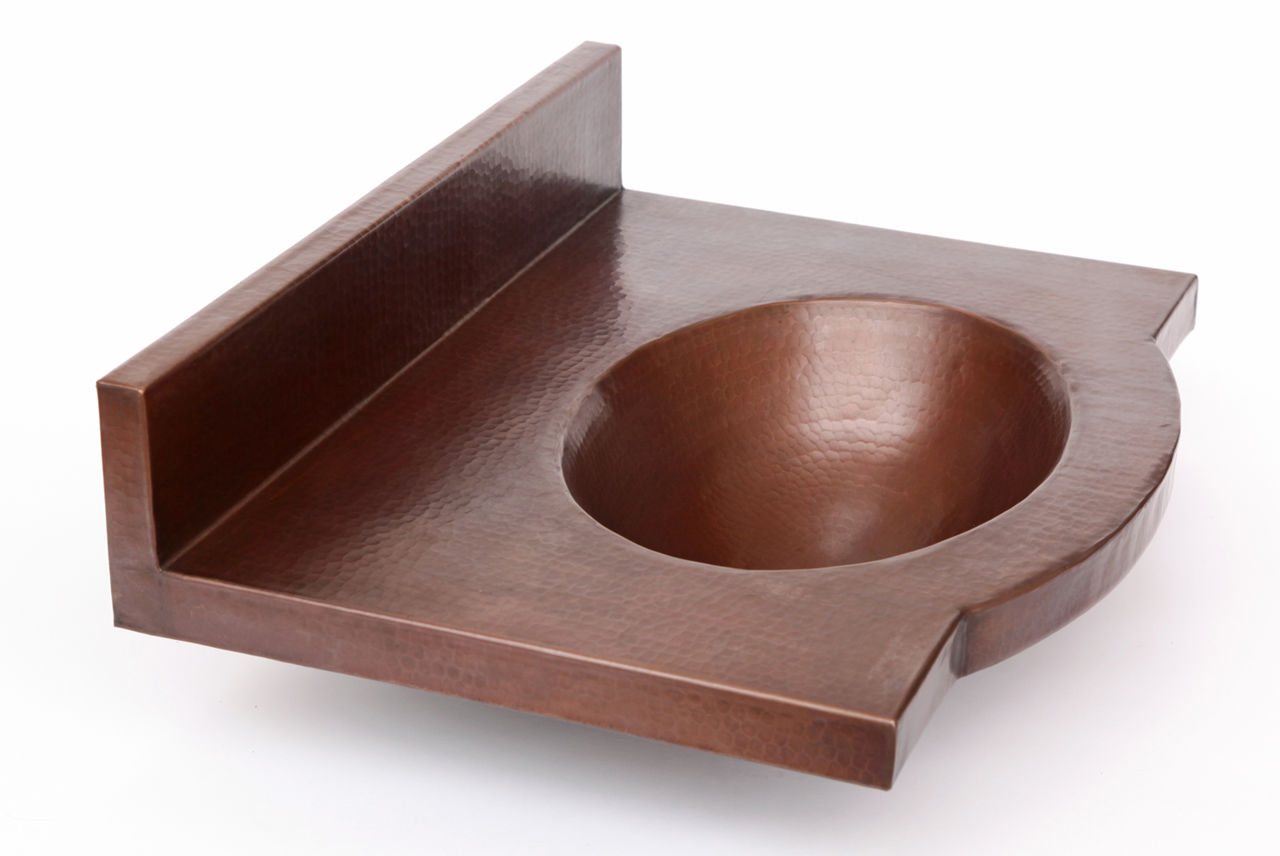
If you have a pedestal sink, you may be wondering how to hang it on the wall without the support of a cabinet or vanity. In this case, you will need to use a special bracket designed for pedestal sinks. These brackets attach to the wall and support the weight of the sink. Follow the same steps as above, making sure to use the appropriate bracket and screws for your sink and wall material. How to Hang a Heavy Bathroom Sink on the Wall


How to Hang a Heavy Bathroom Sink on the Wall


If you are installing a new sink, it's important to make sure the wall is strong enough to support the weight. If you have any doubts, it may be best to consult a professional or choose a different style of sink. Additionally, make sure to follow the manufacturer's instructions for installation to ensure the sink is properly attached to the wall. Installing a Heavy Bathroom Sink on the Wall


Installing a Heavy Bathroom Sink on the Wall
:max_bytes(150000):strip_icc()/8_IMG_3767-56a4a2753df78cf772835b72.JPG)


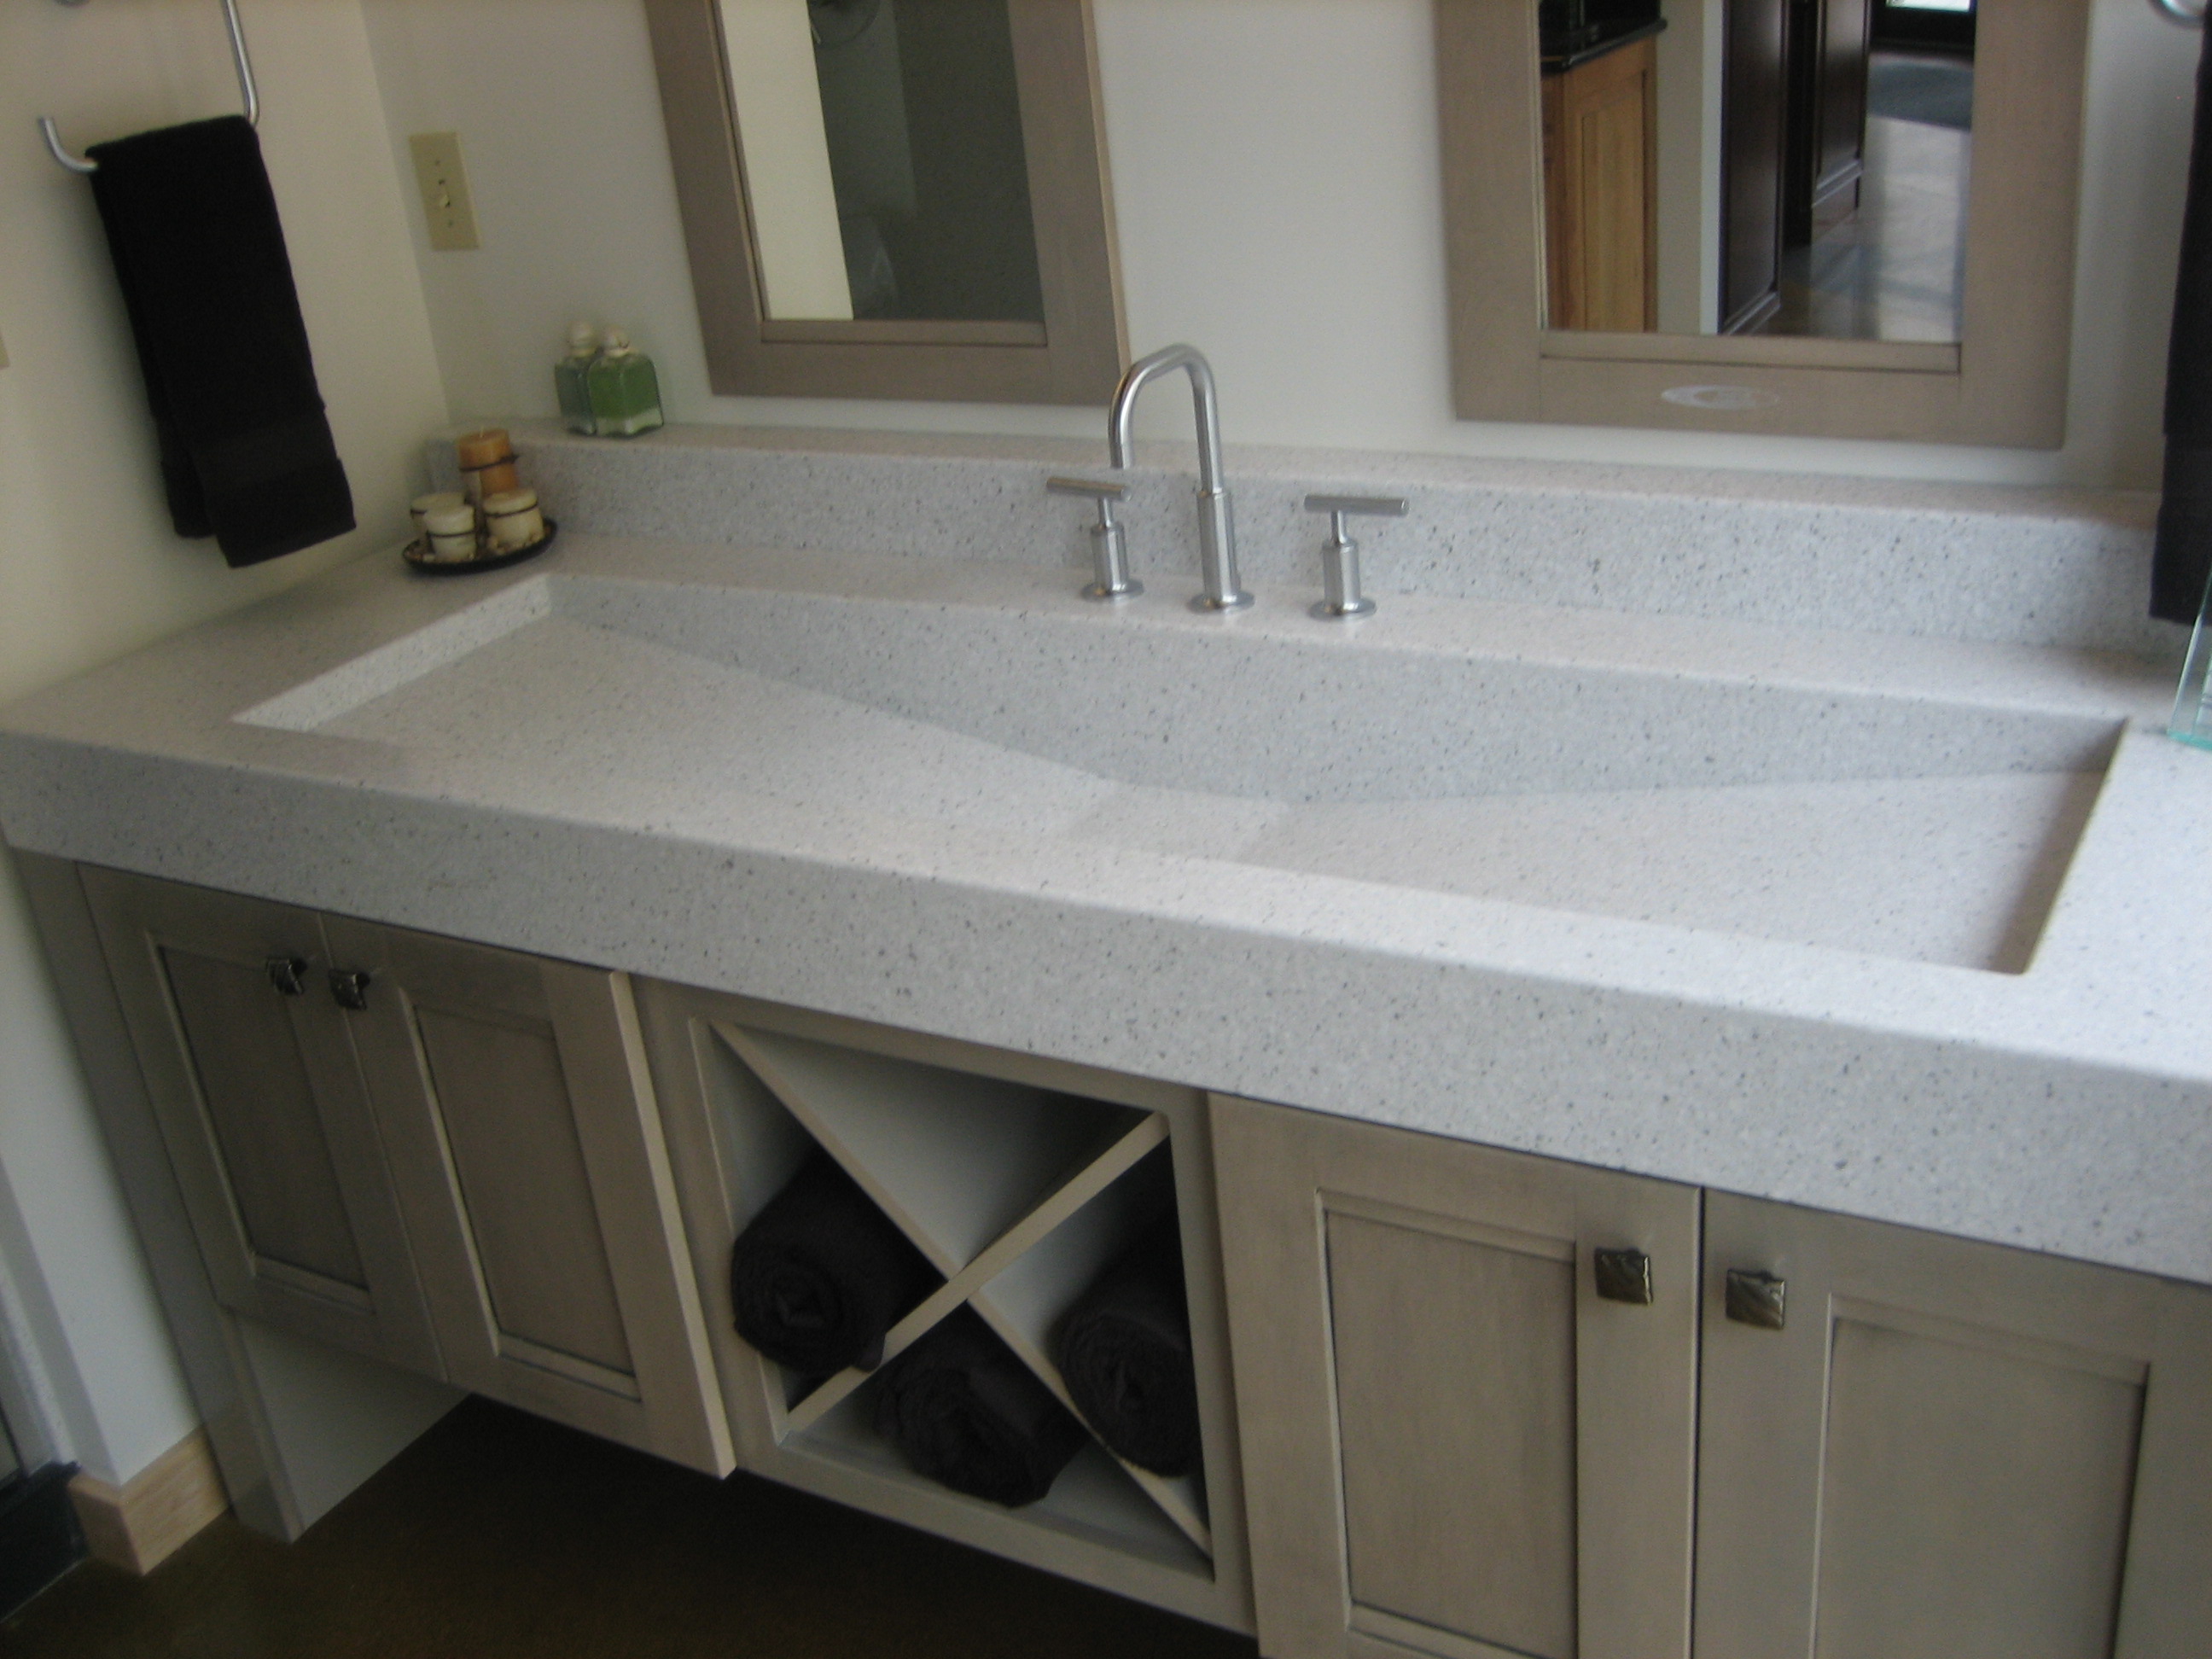
If you have a heavy sink but don't want to mount it directly to the wall, there are other options available. One option is to use a wall-mounted cabinet or shelf to support the sink. This can provide additional storage space while also taking the weight off the wall. Another option is to choose a smaller, lighter sink that can be mounted with brackets or toggle bolts. Wall-Mounting Options for Heavy Bathroom Sinks


Wall-Mounting Options for Heavy Bathroom Sinks


If you live in an earthquake-prone area or simply want extra security for your heavy bathroom sink, you may want to consider using anchor bolts. These are heavy-duty bolts that are drilled into the studs and provide extra support for the sink. Follow the same steps as above, but use the anchor bolts instead of regular screws. In conclusion, attaching a heavy bathroom sink to the wall is a relatively simple process that can be done with the right tools and materials. It's important to properly secure the sink to ensure safety and prevent any damage to your walls. With these tips, you can easily have a stylish and functional wall-mounted sink in your bathroom. How to Anchor a Heavy Bathroom Sink to the Wall


How to Anchor a Heavy Bathroom Sink to the Wall


How to Properly Attach a Heavy Bathroom Sink to the Wall
Achieving a Secure and Stylish Bathroom Design
 When it comes to designing a bathroom, every detail counts - including the type of sink you choose and how it is installed. A heavy bathroom sink can add a touch of elegance and luxury to your space, but it also requires proper installation to ensure it stays securely in place. In this article, we will discuss the steps to properly attach a heavy bathroom sink to the wall, giving you a secure and stylish bathroom design.
The Importance of Properly Attaching a Heavy Bathroom Sink to the Wall
Before we dive into the steps, it is important to understand why proper installation is essential for a heavy bathroom sink. A sink that is not securely attached to the wall can pose a safety risk and can also lead to damage to your bathroom in the long run. Additionally, a poorly installed sink can affect the overall aesthetic of your bathroom, taking away from the desired design and style. Therefore, it is crucial to follow these steps to ensure your heavy bathroom sink is properly attached to the wall.
Step 1: Choose the Right Sink and Wall Mounting System
The first step to attaching a heavy bathroom sink to the wall is to choose the right sink and wall mounting system. It is important to select a sink that is compatible with your chosen wall mounting system. For example, a pedestal sink may require a different mounting system than a wall-mounted sink. It is recommended to consult with a professional or refer to the manufacturer's instructions for the appropriate wall mounting system for your specific sink.
Step 2: Find and Mark the Studs
Locating the studs in the wall is crucial for a secure installation. Use a stud finder to locate the studs behind the drywall. Once you have located the studs, mark their positions on the wall with a pencil. This will serve as a guide for where to place the brackets for the sink.
Step 3: Install the Brackets
Using the marked positions as a guide, install the brackets onto the wall using screws and a power drill. Make sure the brackets are securely attached to the studs for maximum support. It is recommended to use at least two brackets for a heavy bathroom sink.
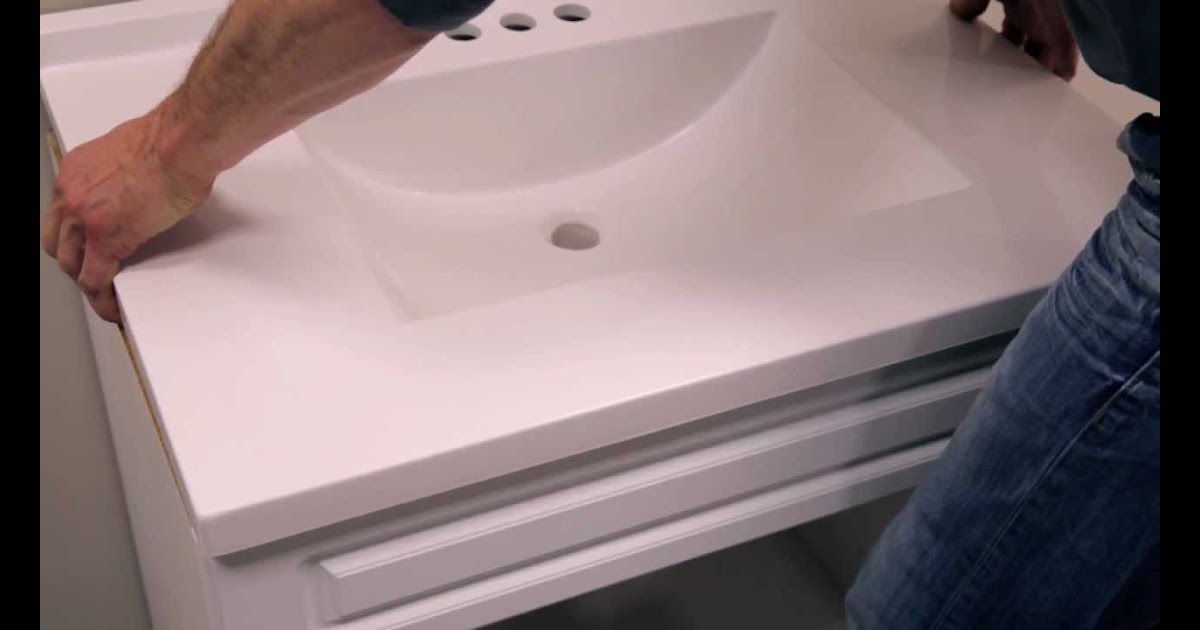
Step 4: Mount the Sink
Carefully place the sink onto the brackets and adjust it until it is level. Use a level to ensure the sink is straight and make any necessary adjustments. Once the sink is in place, secure it by tightening the bracket screws.
Step 5: Seal the Edges
To prevent water damage and ensure a clean finish, use silicone caulk to seal the edges of the sink where it meets the wall. This will also help to keep the sink securely in place.
With these steps, you can now confidently attach a heavy bathroom sink to the wall, achieving a secure and stylish bathroom design. Remember to always consult with a professional or refer to the manufacturer's instructions for the best results. Enjoy your new, beautifully designed bathroom!