Replacing a damaged or broken table leg can seem like a daunting task, especially if you have a beautiful wooden dining room table that you want to preserve. However, with some DIY know-how and a few tools, it is possible to easily replace a wooden dining room table leg and restore your table to its former glory. In this article, we will provide you with the top 10 wooden dining room table leg replacement DIY ideas to help you get started.Wooden Dining Room Table Leg Replacement Diy


Wooden Dining Room Table Leg Replacement Diy

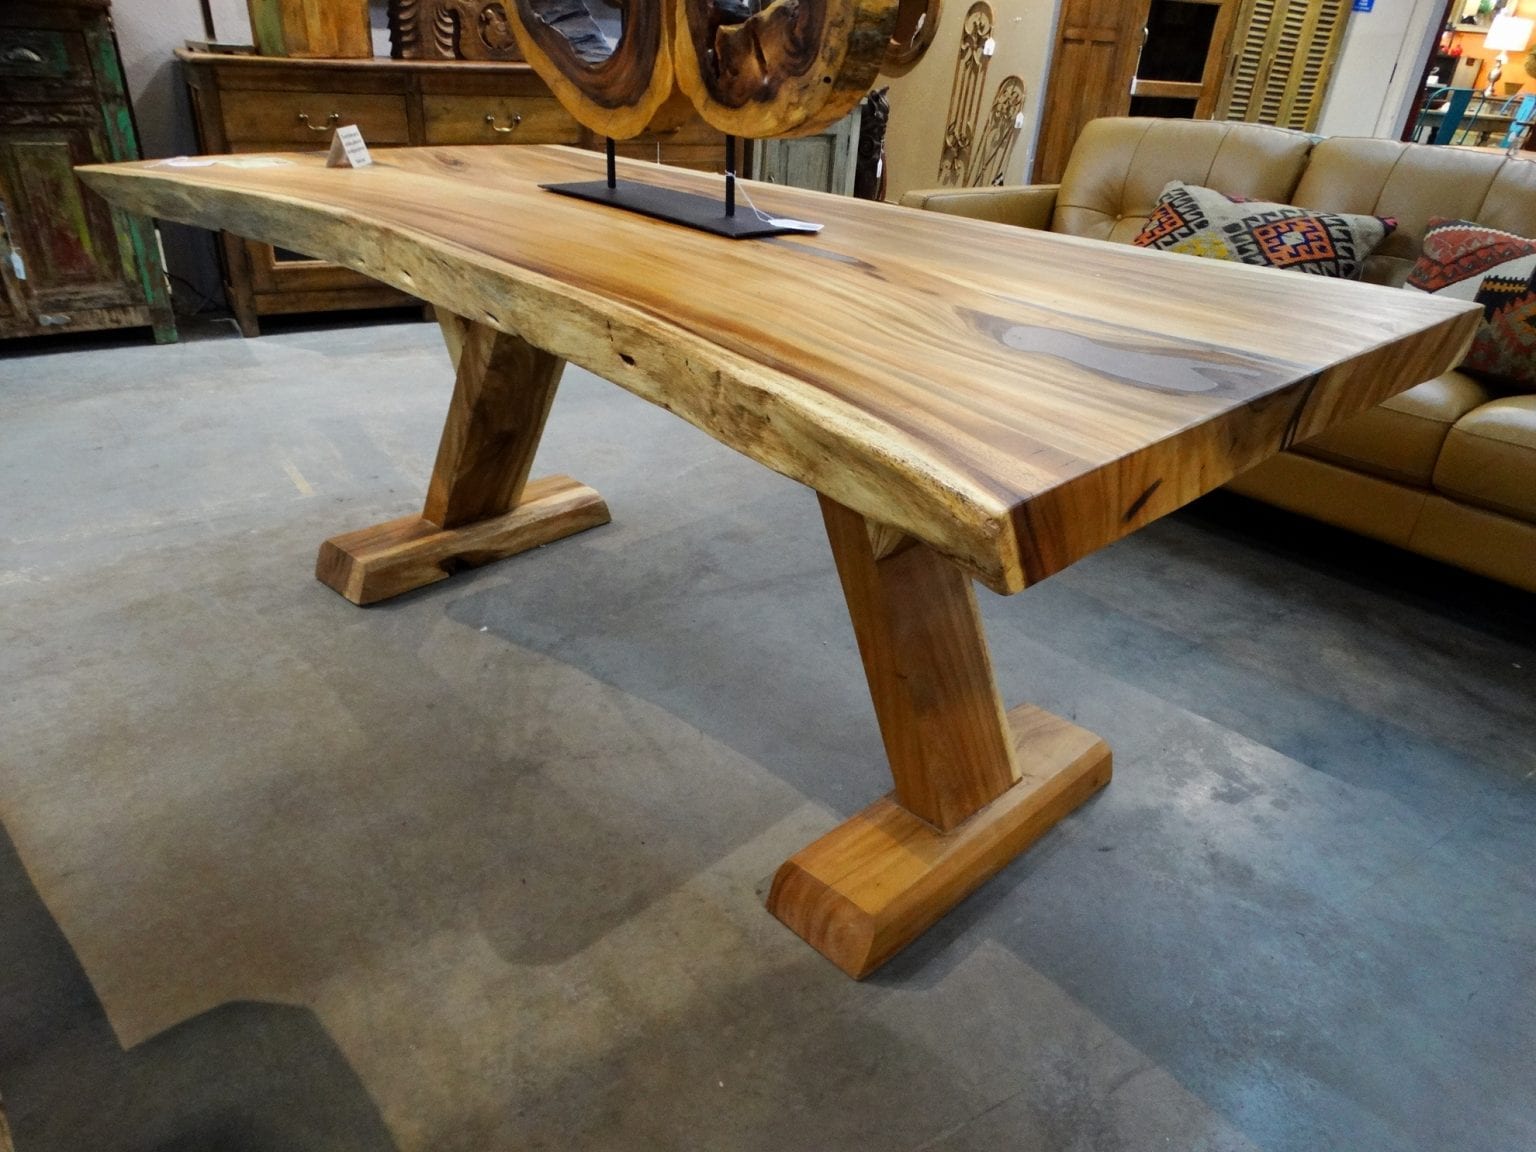
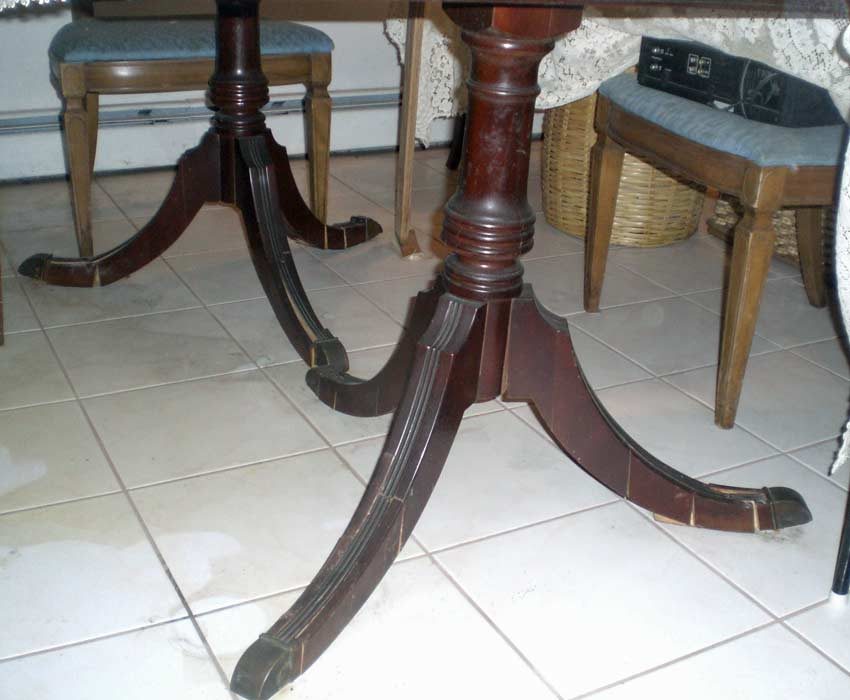
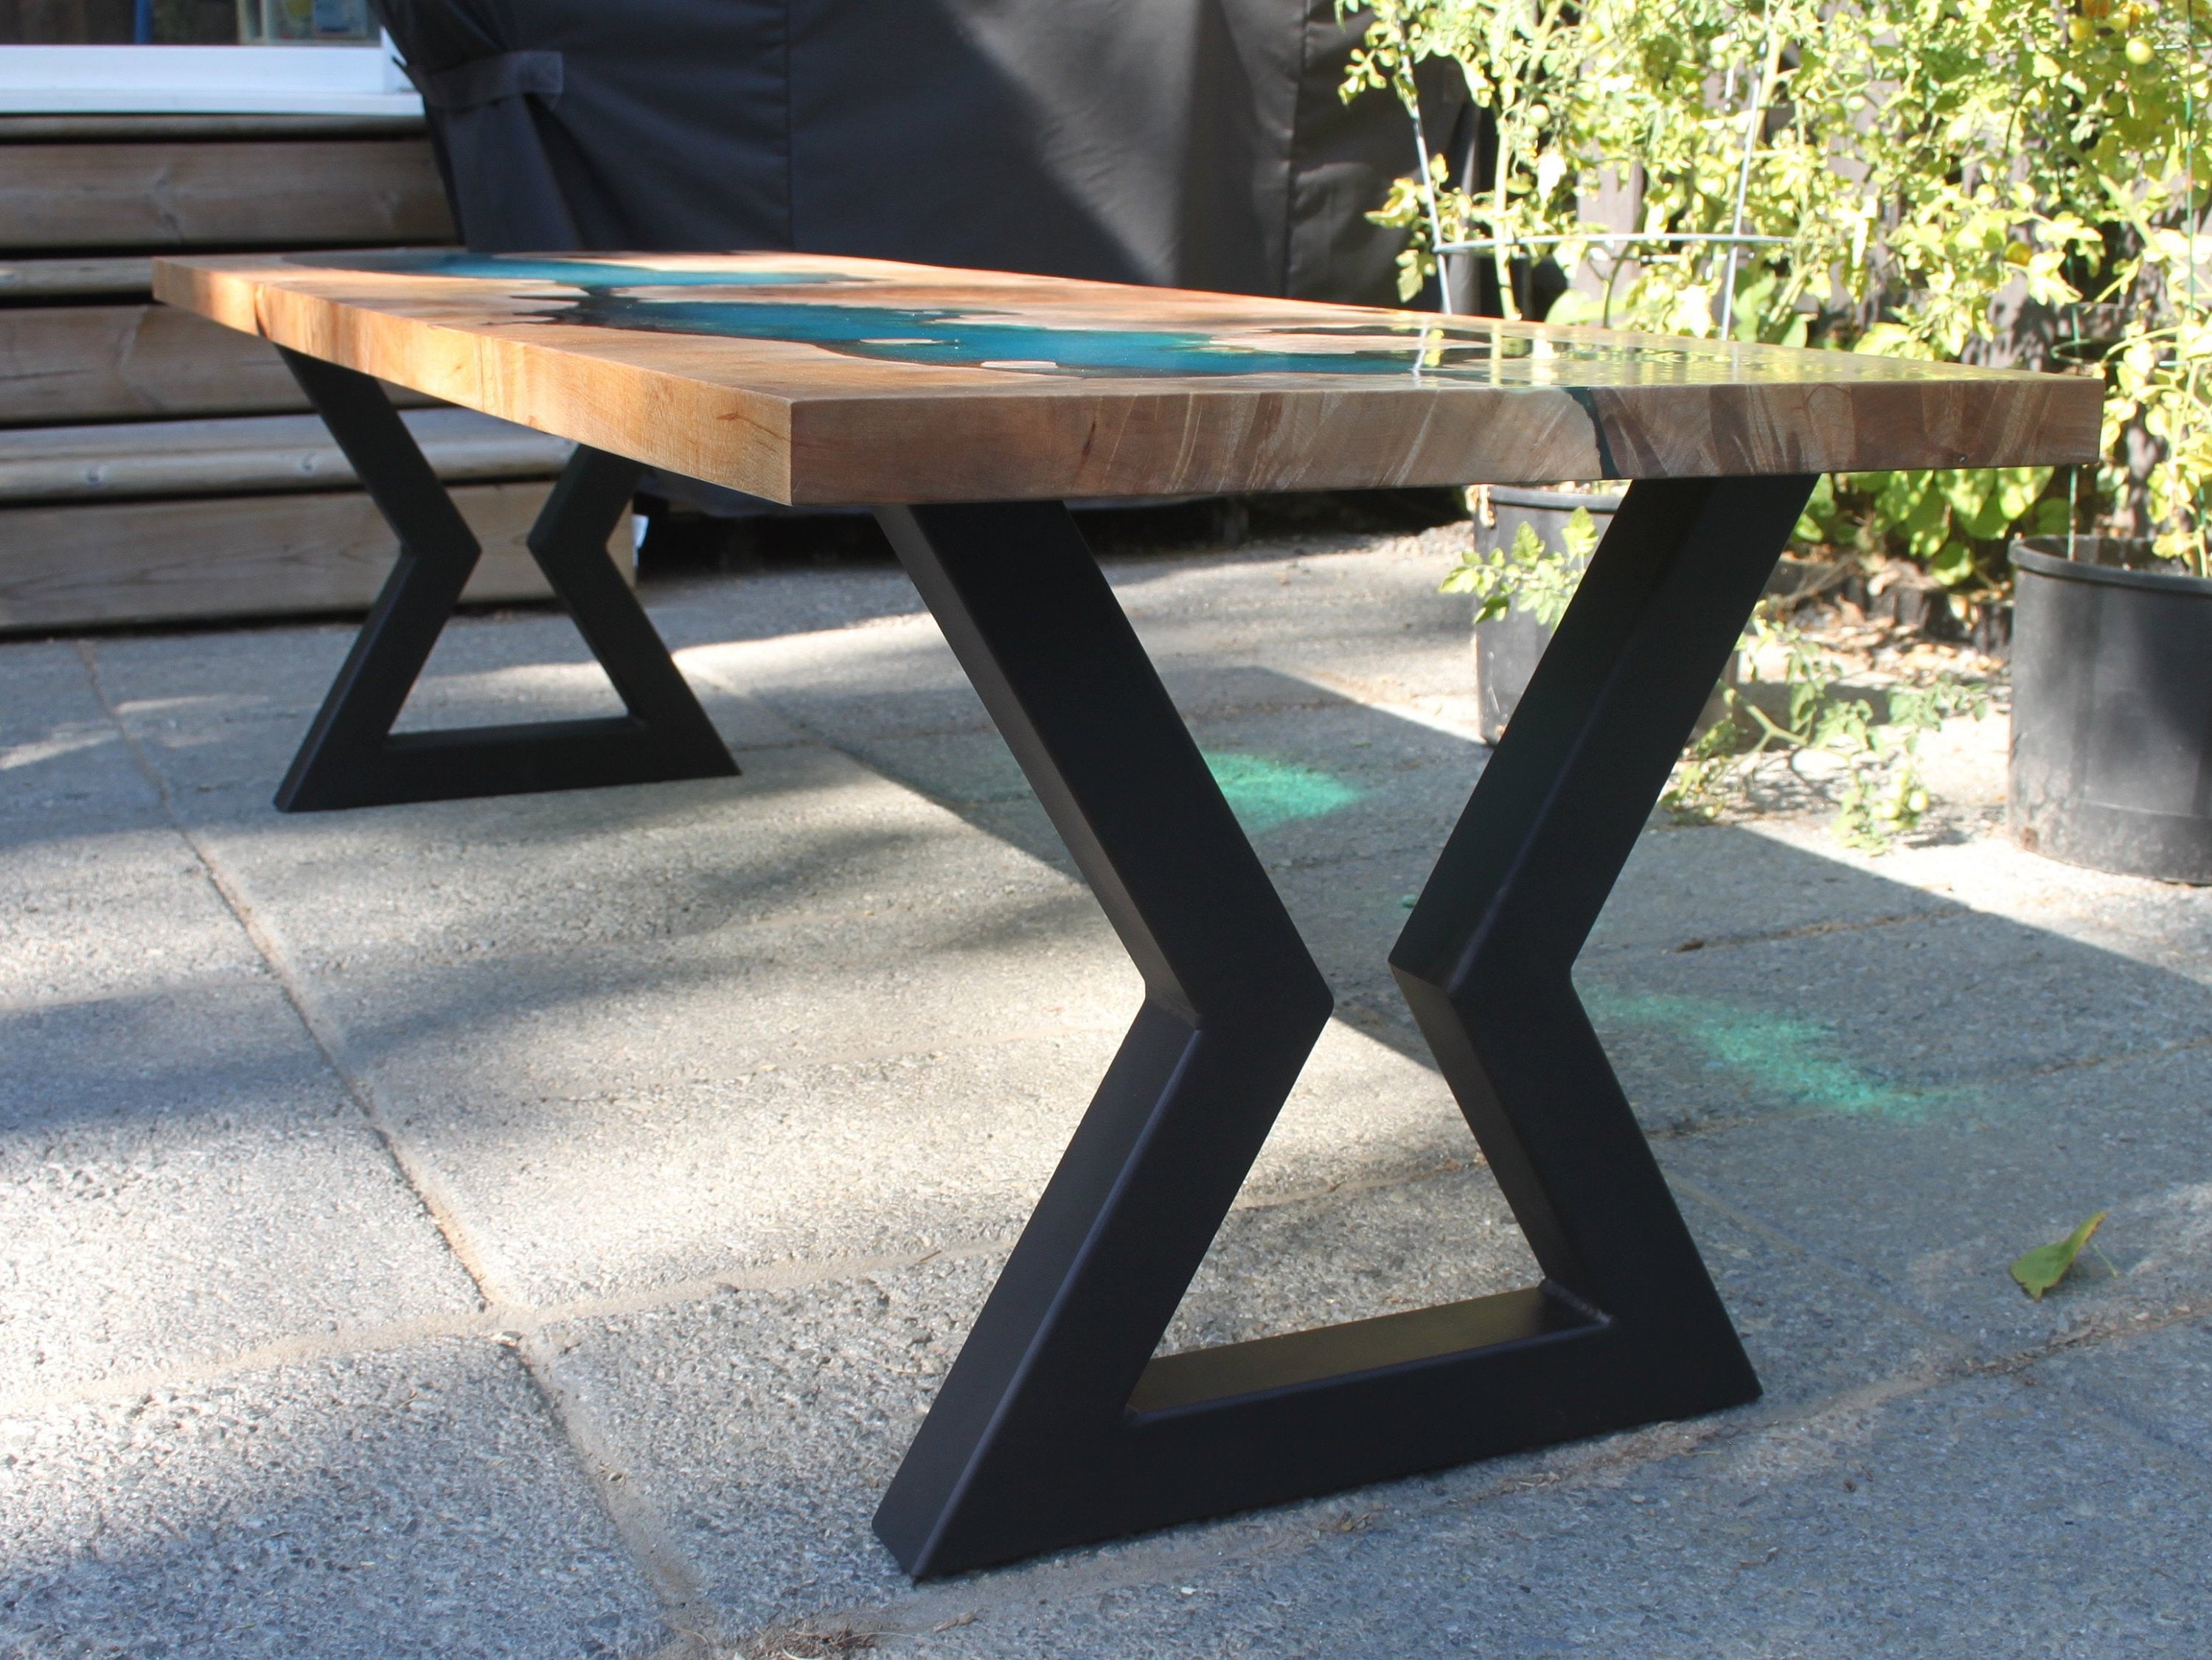
When it comes to replacing a wooden table leg, the first step is to determine the type of wood used for your table and the specific measurements of the leg. This information will help you find a suitable replacement leg that matches the style and size of your original leg. You can search for replacement legs at your local hardware store or online, making sure to choose a high-quality and sturdy option that will support your table.Wooden Table Leg Replacement


Wooden Table Leg Replacement
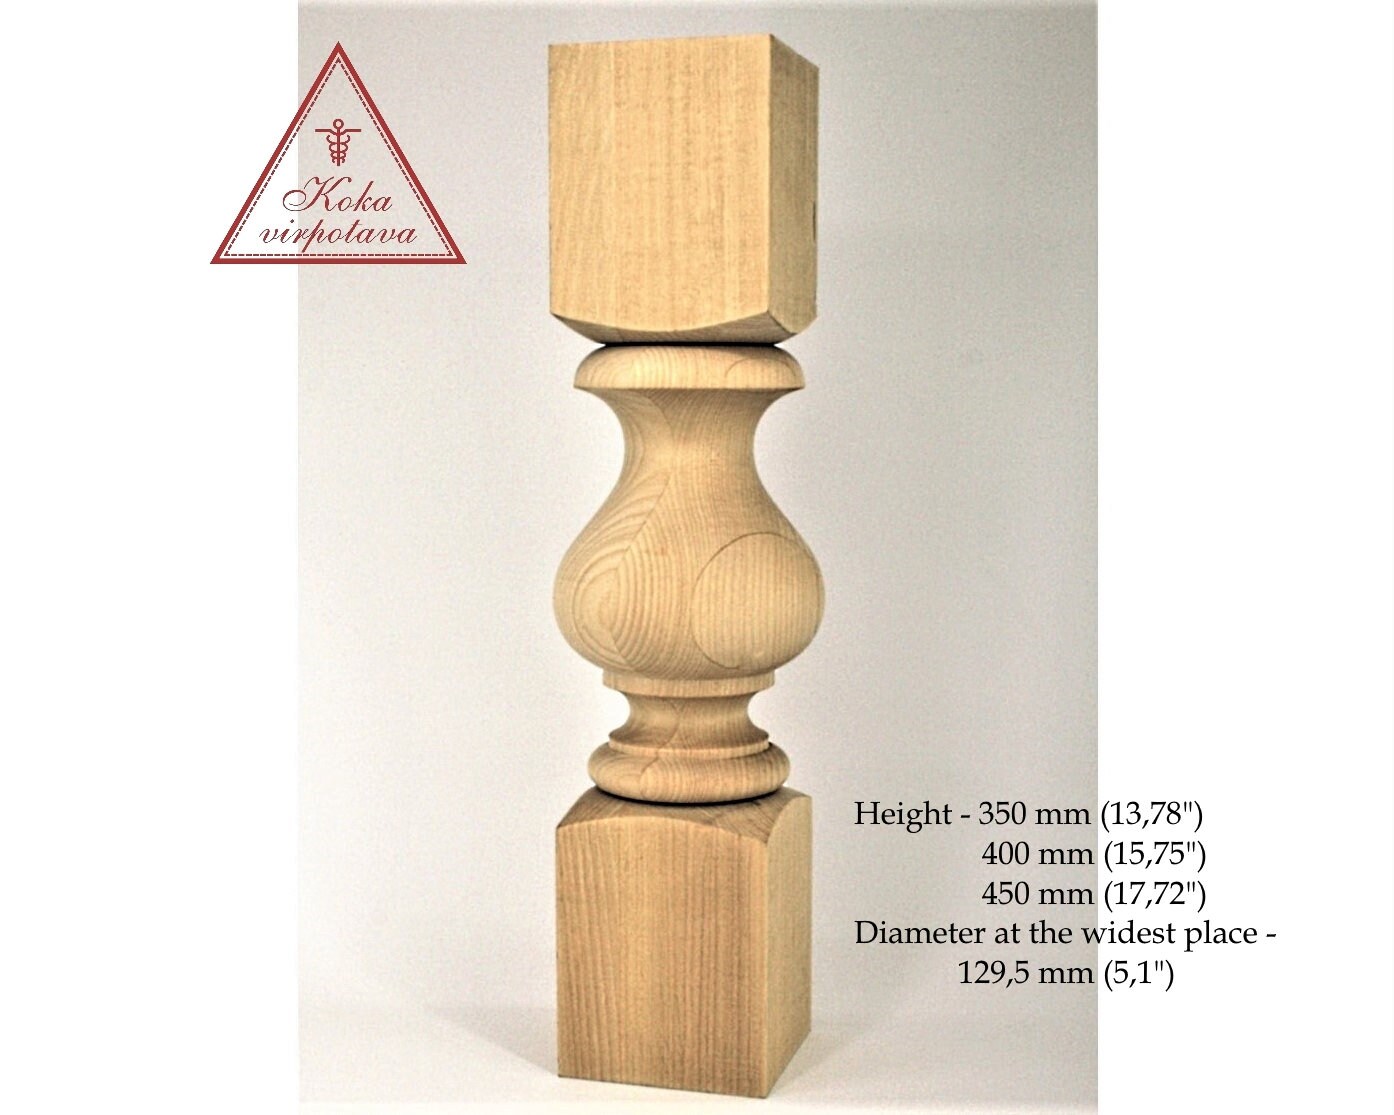
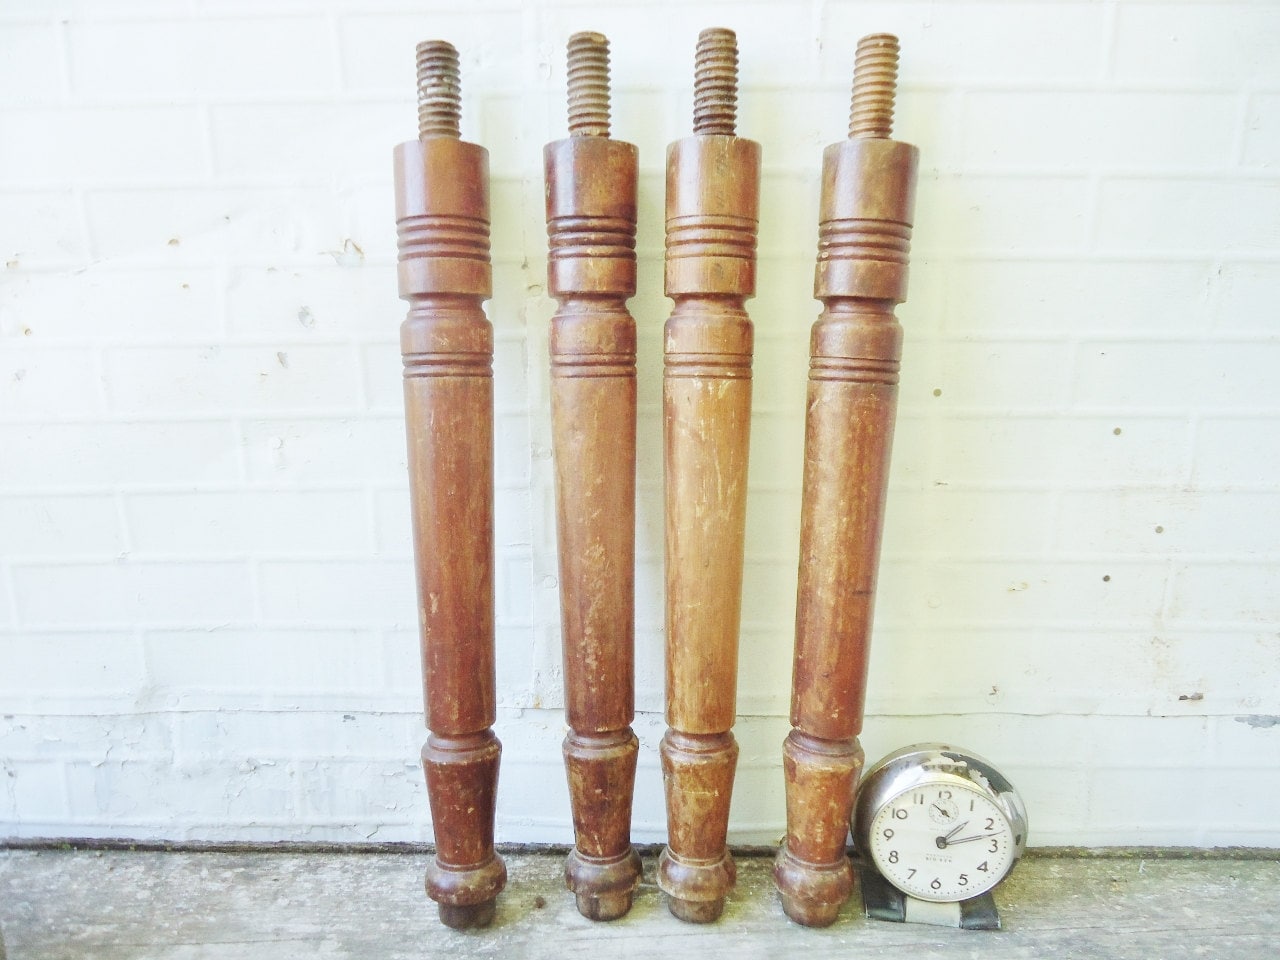


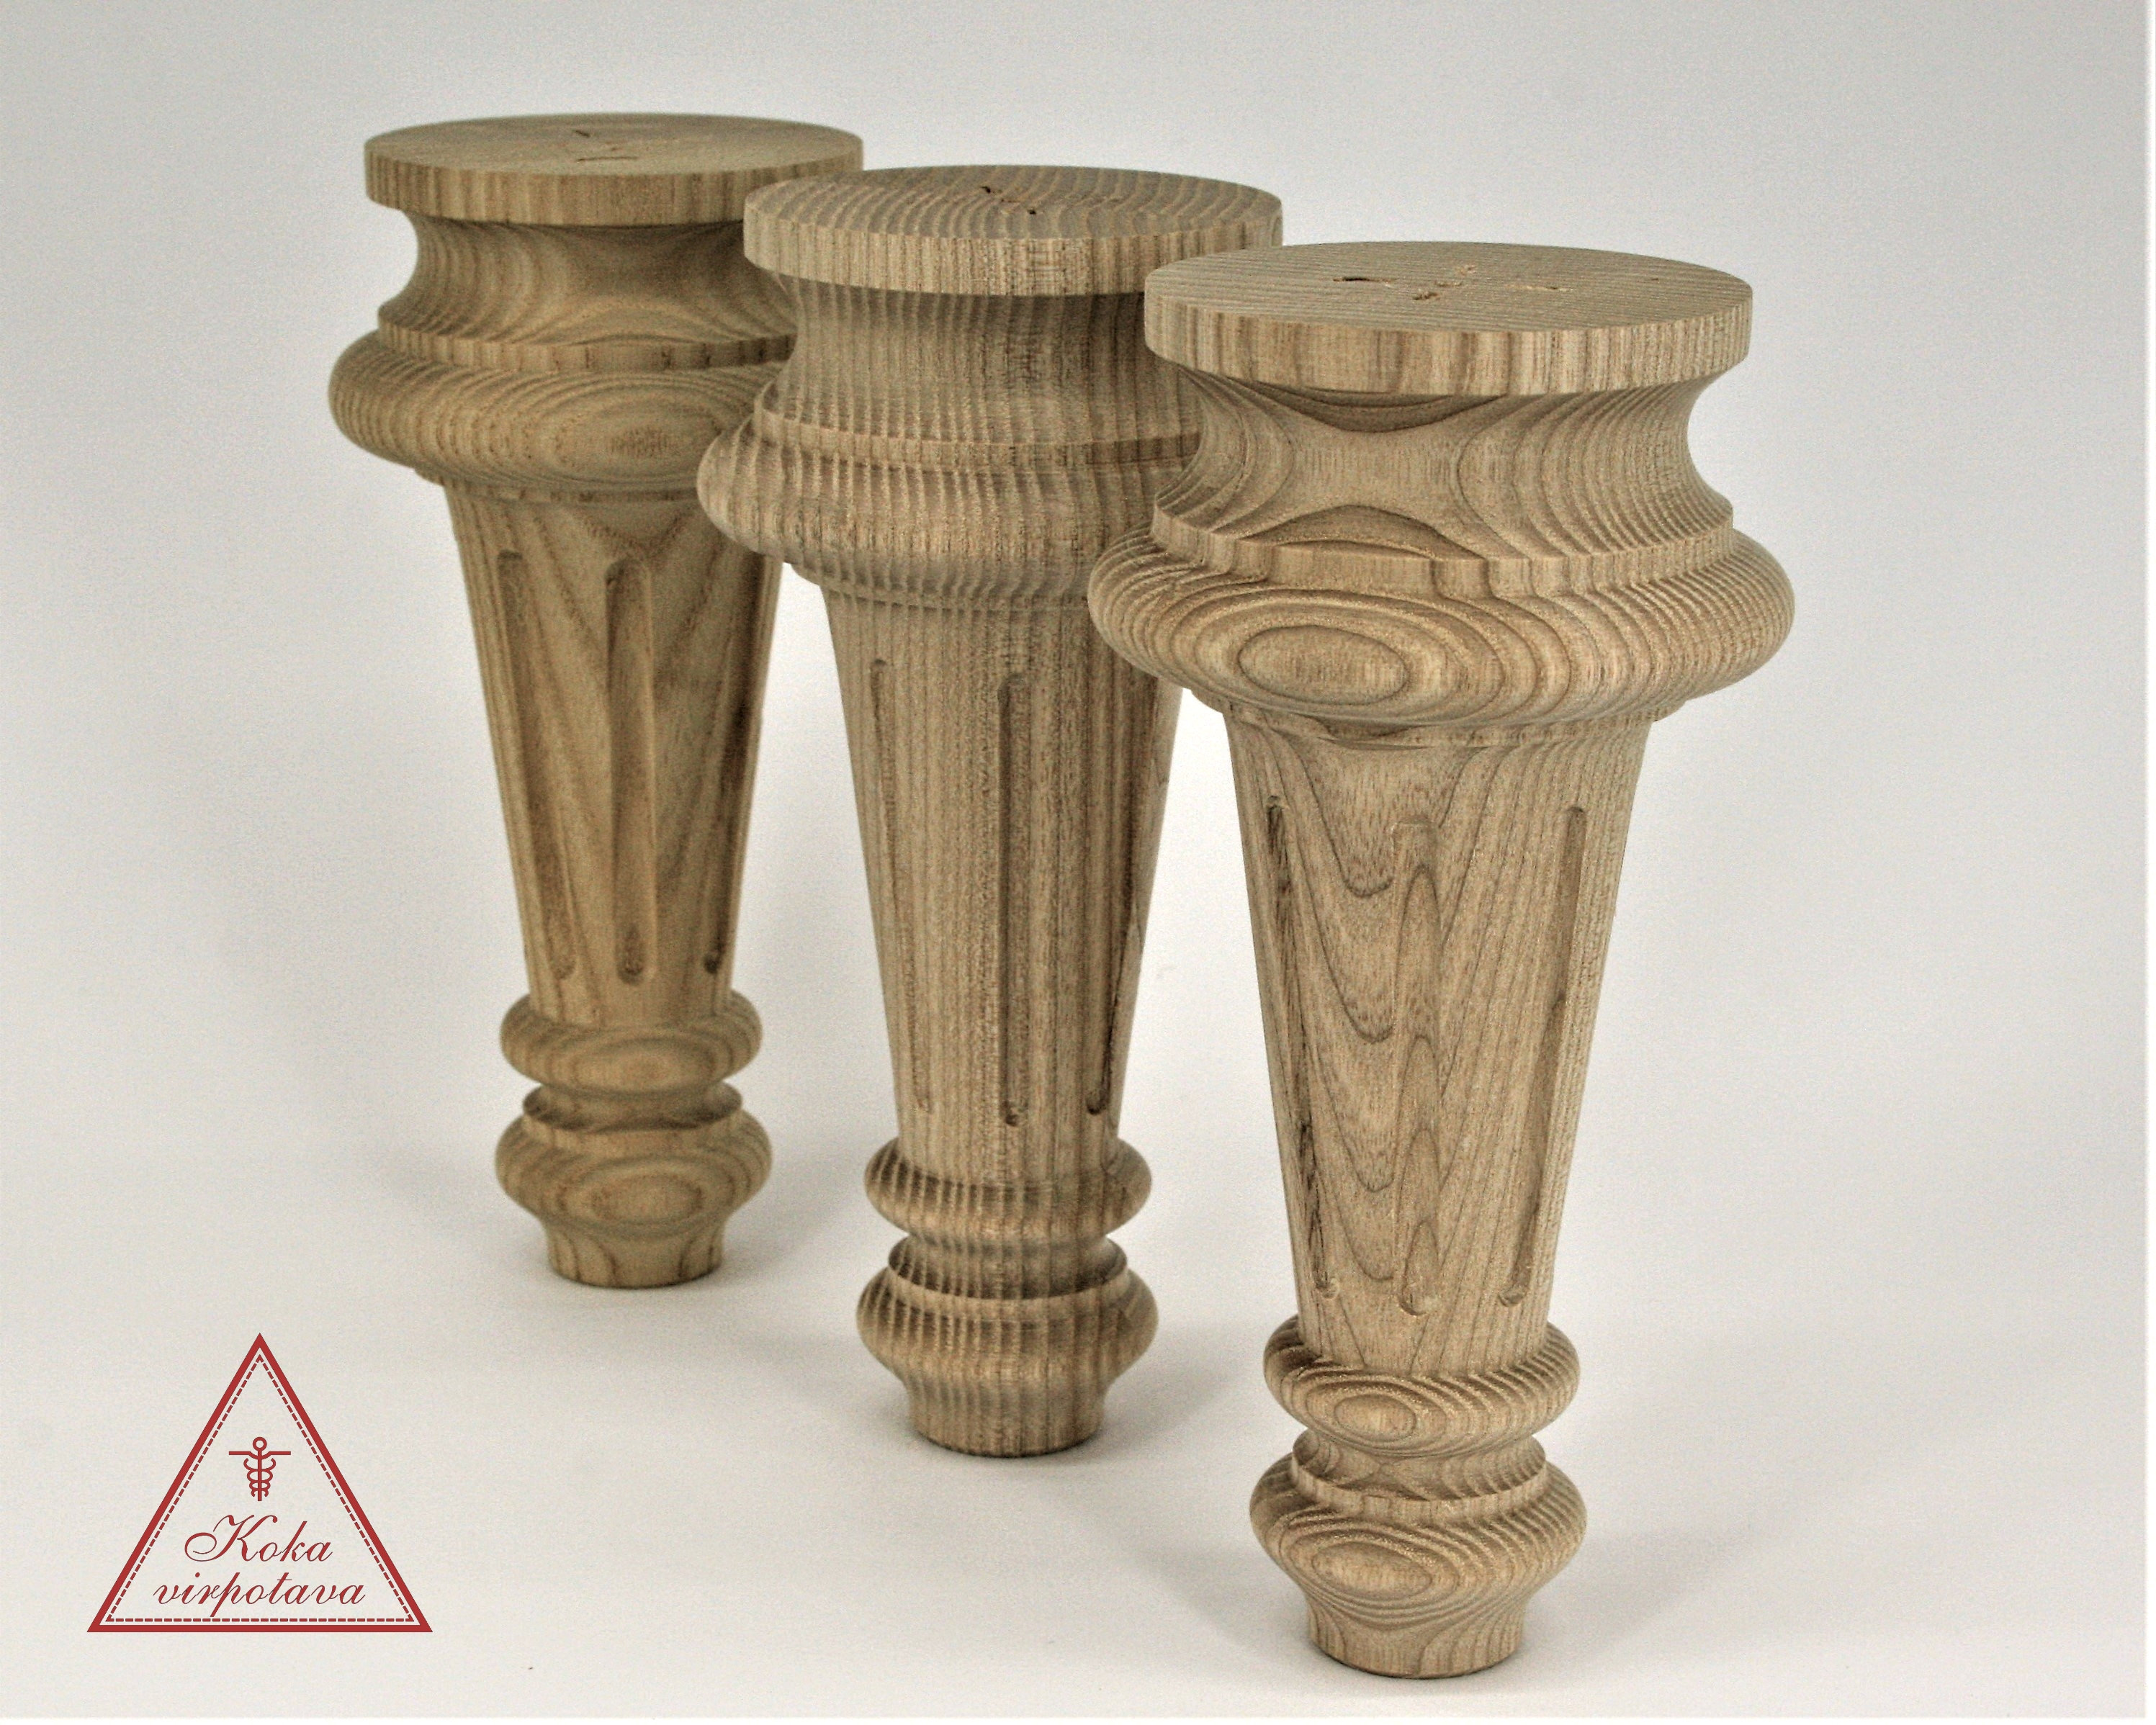


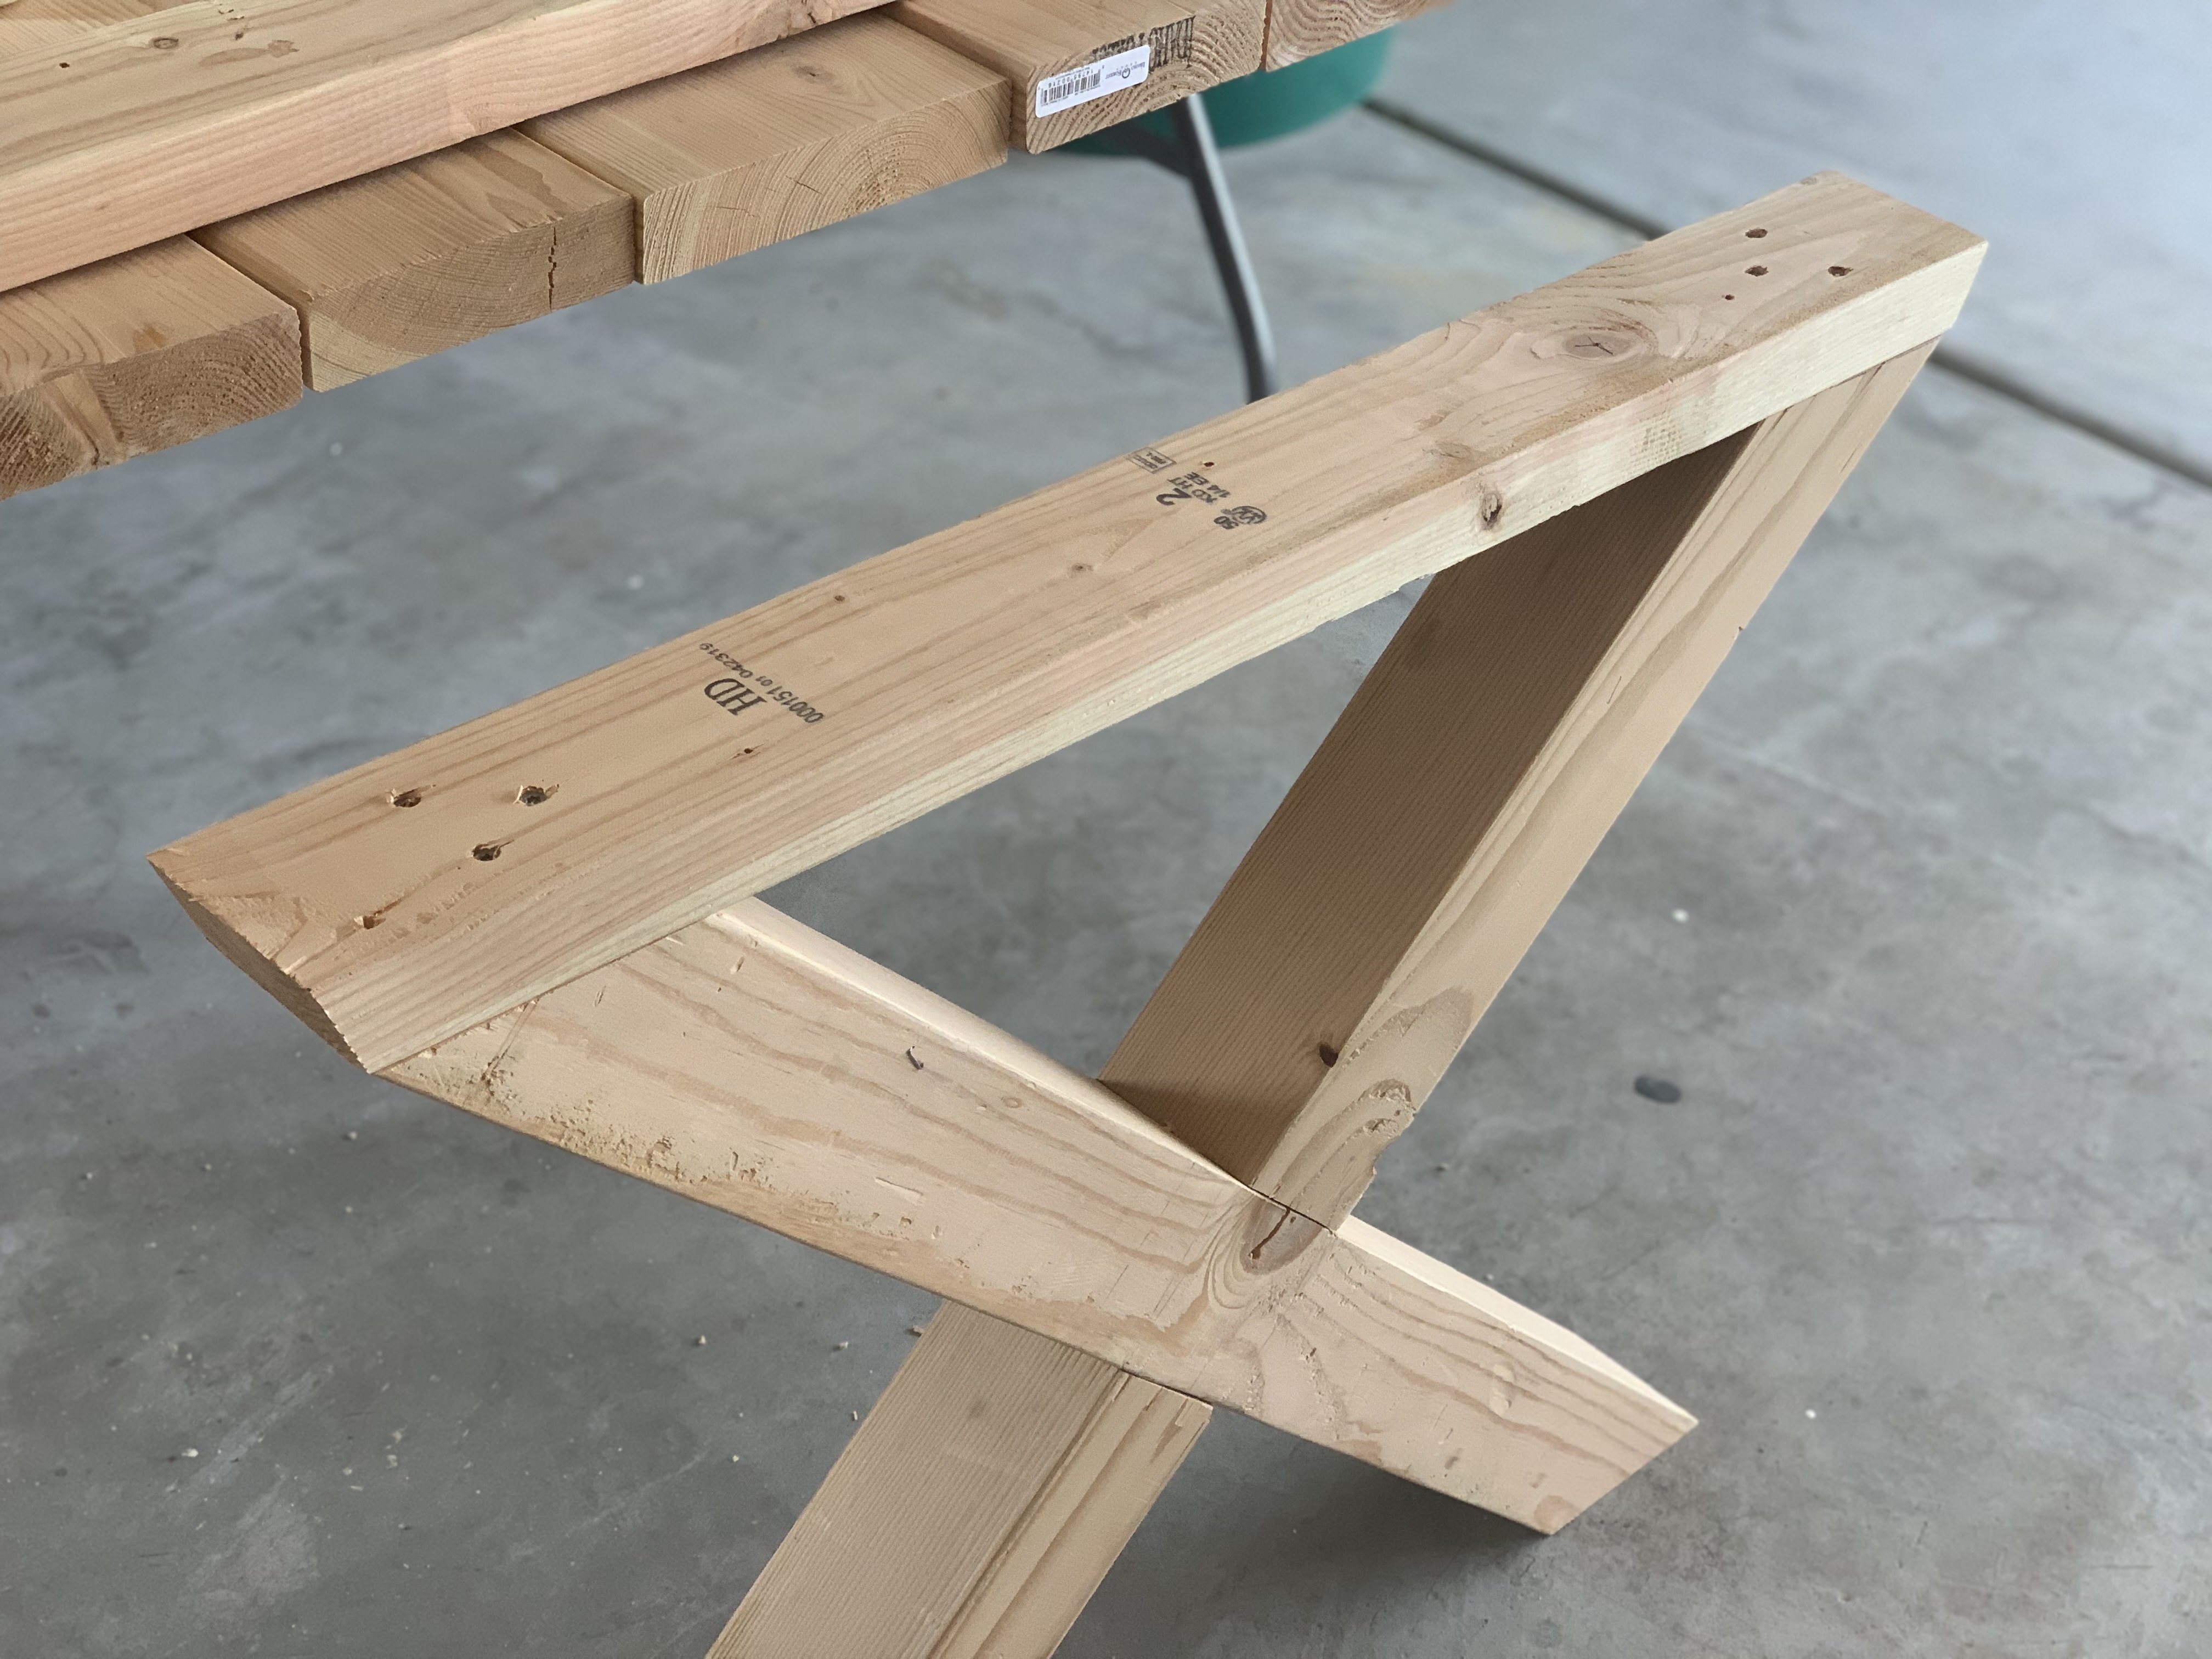
If you're feeling adventurous and want to save some money, you can also make your own replacement table leg using a piece of wood and some basic tools. This DIY approach allows you to customize the leg according to your preferences and can be a fun and rewarding project. Just make sure to carefully measure and cut the wood to the appropriate size and shape, and sand it down for a smooth finish.Diy Table Leg Replacement


Diy Table Leg Replacement


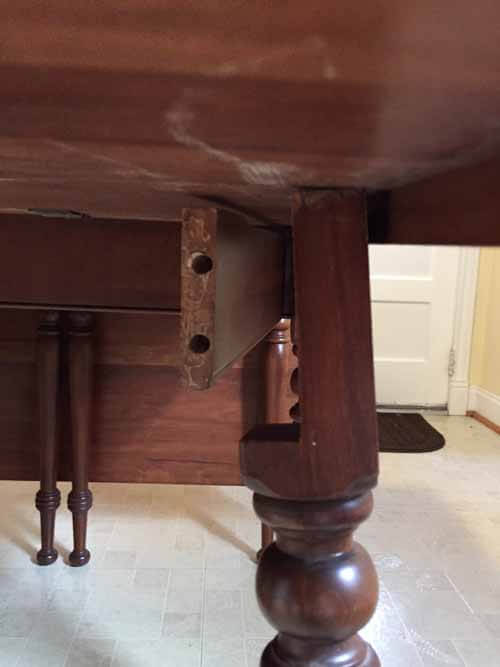
Replacing a wooden dining table leg may seem like a big task, but it can actually be quite simple. Start by flipping your table over and removing the damaged leg. If the leg is attached with screws, simply unscrew them and detach the leg. If it is glued, you may need to use a saw to carefully cut through the glue before removing the leg. Once the old leg is removed, you can attach the new one using screws or glue, depending on the original method.Wooden Dining Table Leg Replacement

Wooden Dining Table Leg Replacement


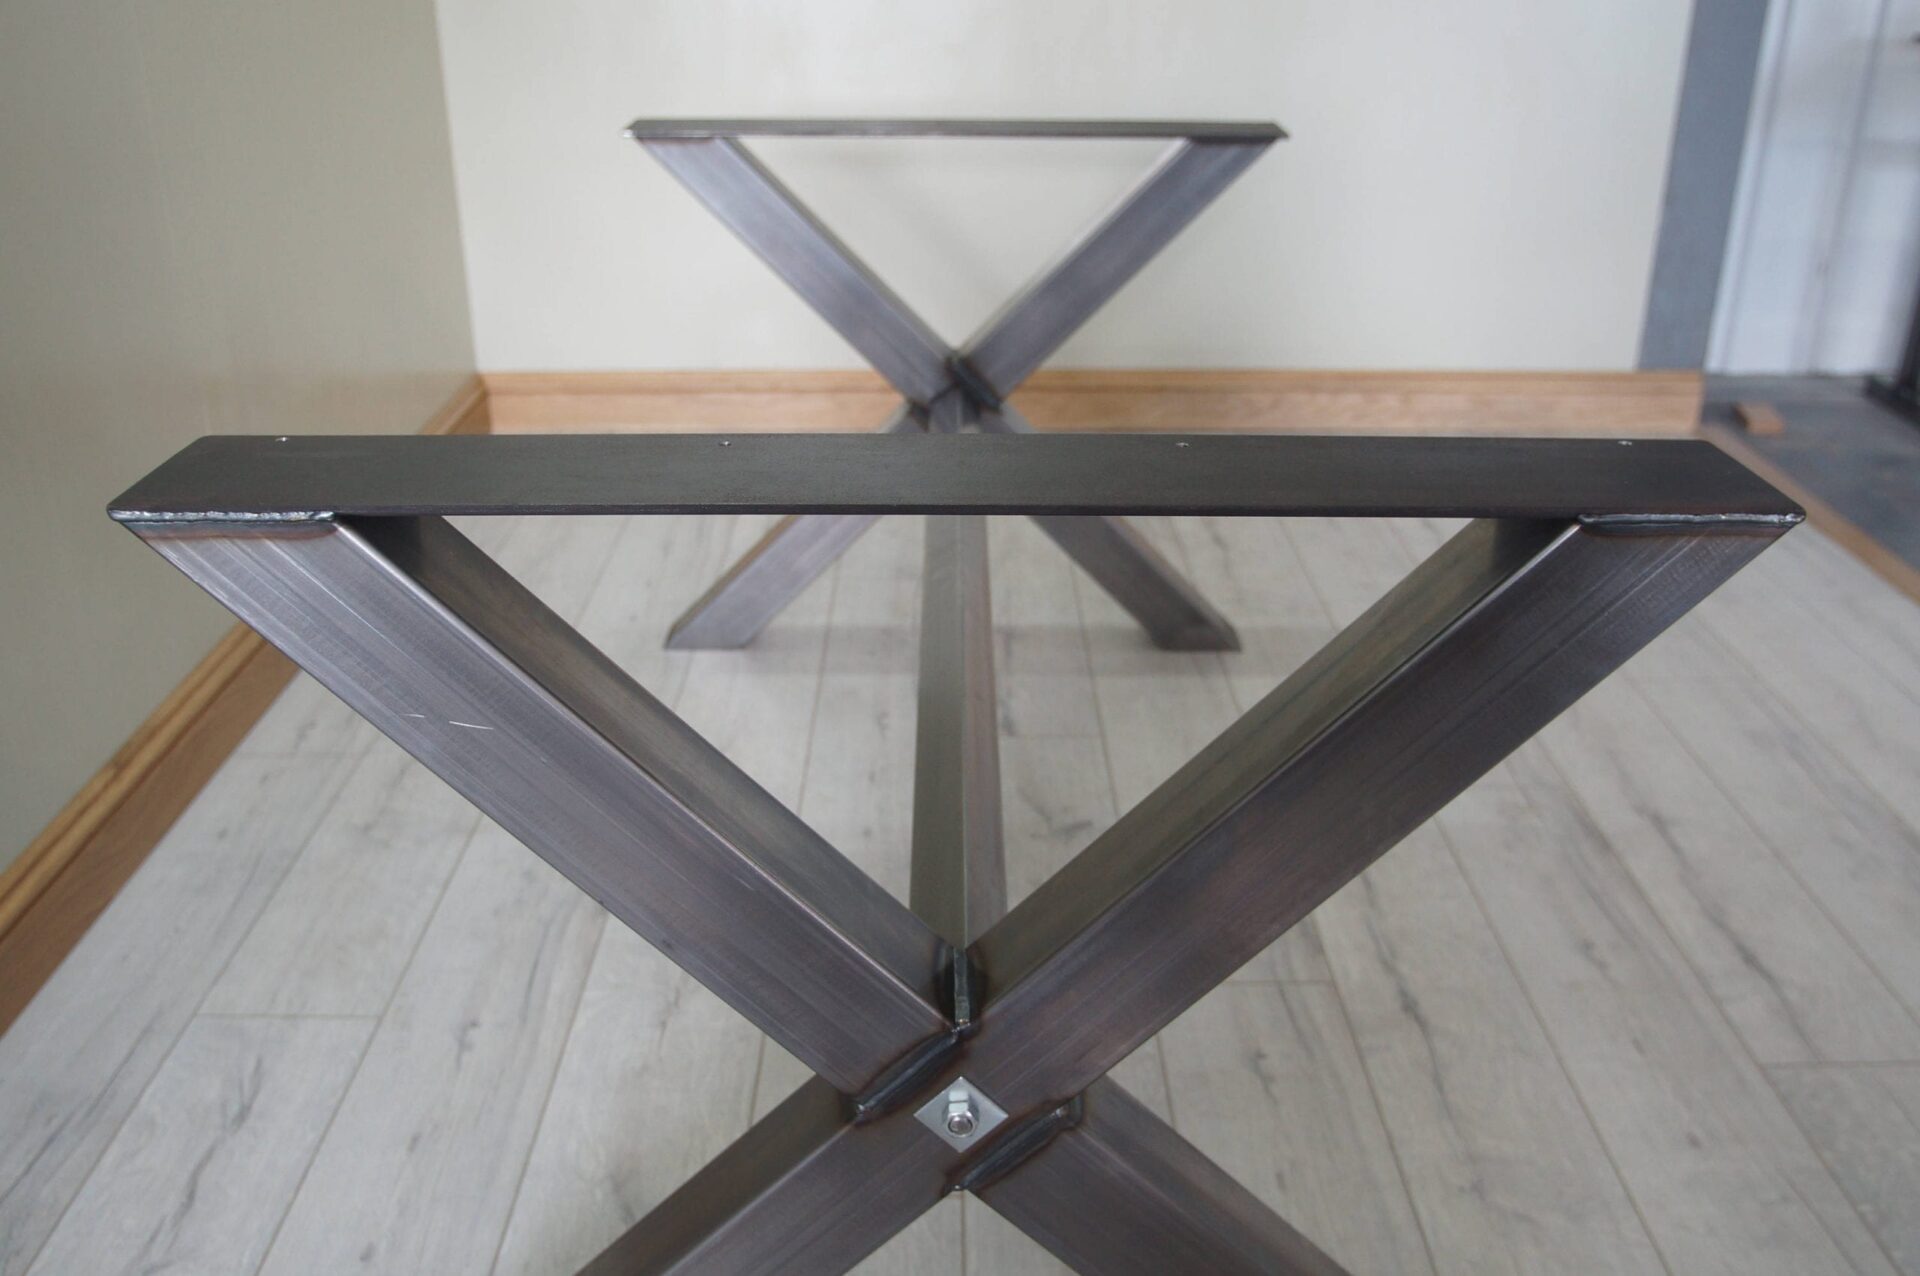
For those who enjoy DIY projects, replacing a dining table leg can be a fun and creative endeavor. You can use materials like metal pipes or wooden dowels to create unique and stylish replacement legs. You can also paint or stain the legs to match your table or add a pop of color. Just make sure to use sturdy materials and attach the legs securely to ensure the stability of your table.Diy Dining Table Leg Replacement


Diy Dining Table Leg Replacement


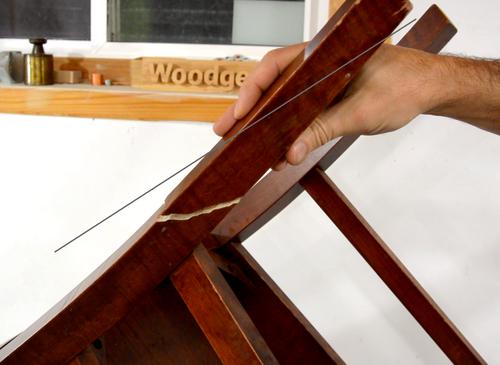
If your table leg is only slightly damaged, you may not need to replace it entirely. In some cases, a simple repair may be enough to fix the issue. For small cracks or chips, you can use wood filler to fill in the gaps and sand it down for a smooth finish. For more serious damage, you may need to use wood glue and clamps to fix the leg. This option is more time-consuming but can save you from having to replace the leg completely.Wooden Table Leg Repair

Wooden Table Leg Repair


Similar to DIY replacement, you can also repair a damaged table leg using some basic tools and materials. This option is more cost-effective and allows you to keep the original leg, which can be sentimental or valuable. You can use wood glue, clamps, and screws to reinforce and repair any cracks or breaks in the leg. Make sure to let the glue dry completely before using the table again.Diy Table Leg Repair


Diy Table Leg Repair

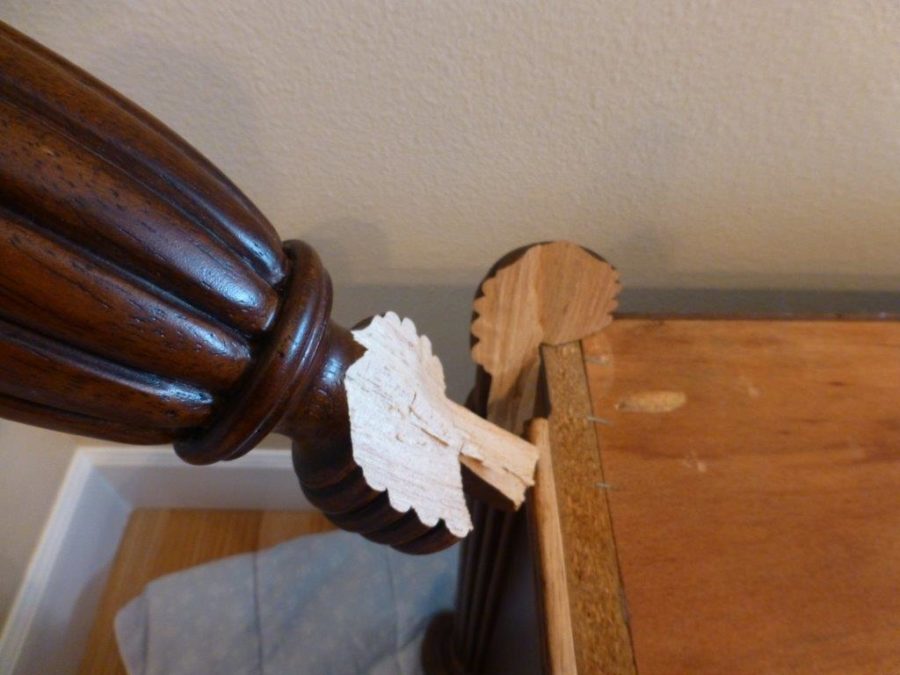

If your wooden dining table leg is cracked or broken, it is important to address the issue as soon as possible to prevent further damage. You can use the same techniques mentioned above for repair, but it may also be helpful to add additional support to the leg. You can wrap the leg with a metal bracket or add a wooden brace to reinforce the damaged area.Wooden Dining Table Leg Repair


Wooden Dining Table Leg Repair


For those who prefer a more hands-on approach, DIY dining table leg repair can be a fun and rewarding project. You can use creative methods like using decorative brackets or adding a unique design to the leg to turn a repair job into a statement piece. Just make sure to properly secure the leg and test its stability before using the table again.Diy Dining Table Leg Repair

Diy Dining Table Leg Repair


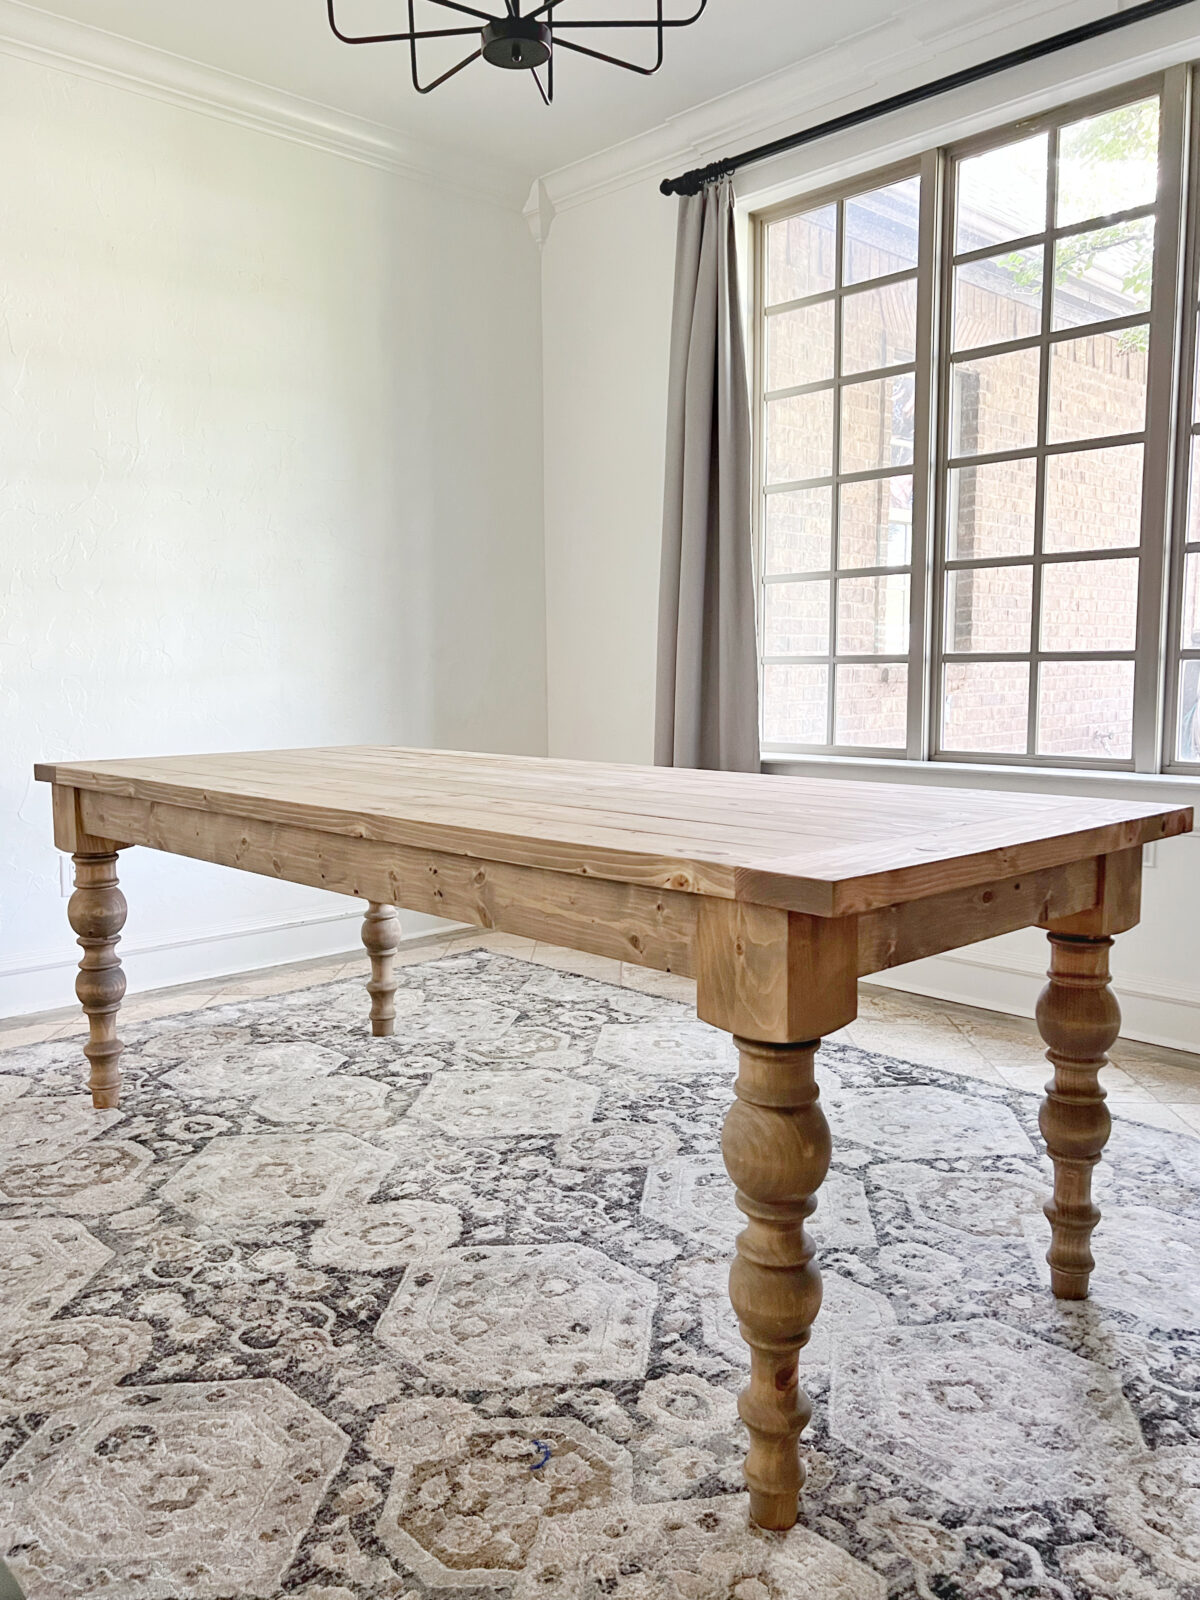
Replacing or repairing a table leg doesn't have to be a boring or tedious task. With some creativity and DIY skills, you can turn it into an opportunity to add a unique touch to your dining room. Some ideas for wooden table leg replacement include using hairpin legs for a modern look, adding a decorative or carved design to the leg, or painting the leg in a bold color to make it a statement piece.Wooden Table Leg Replacement Ideas


Wooden Table Leg Replacement Ideas


How to Perfectly Replace the Legs of Your Wooden Dining Room Table

The Importance of Your Dining Room Table
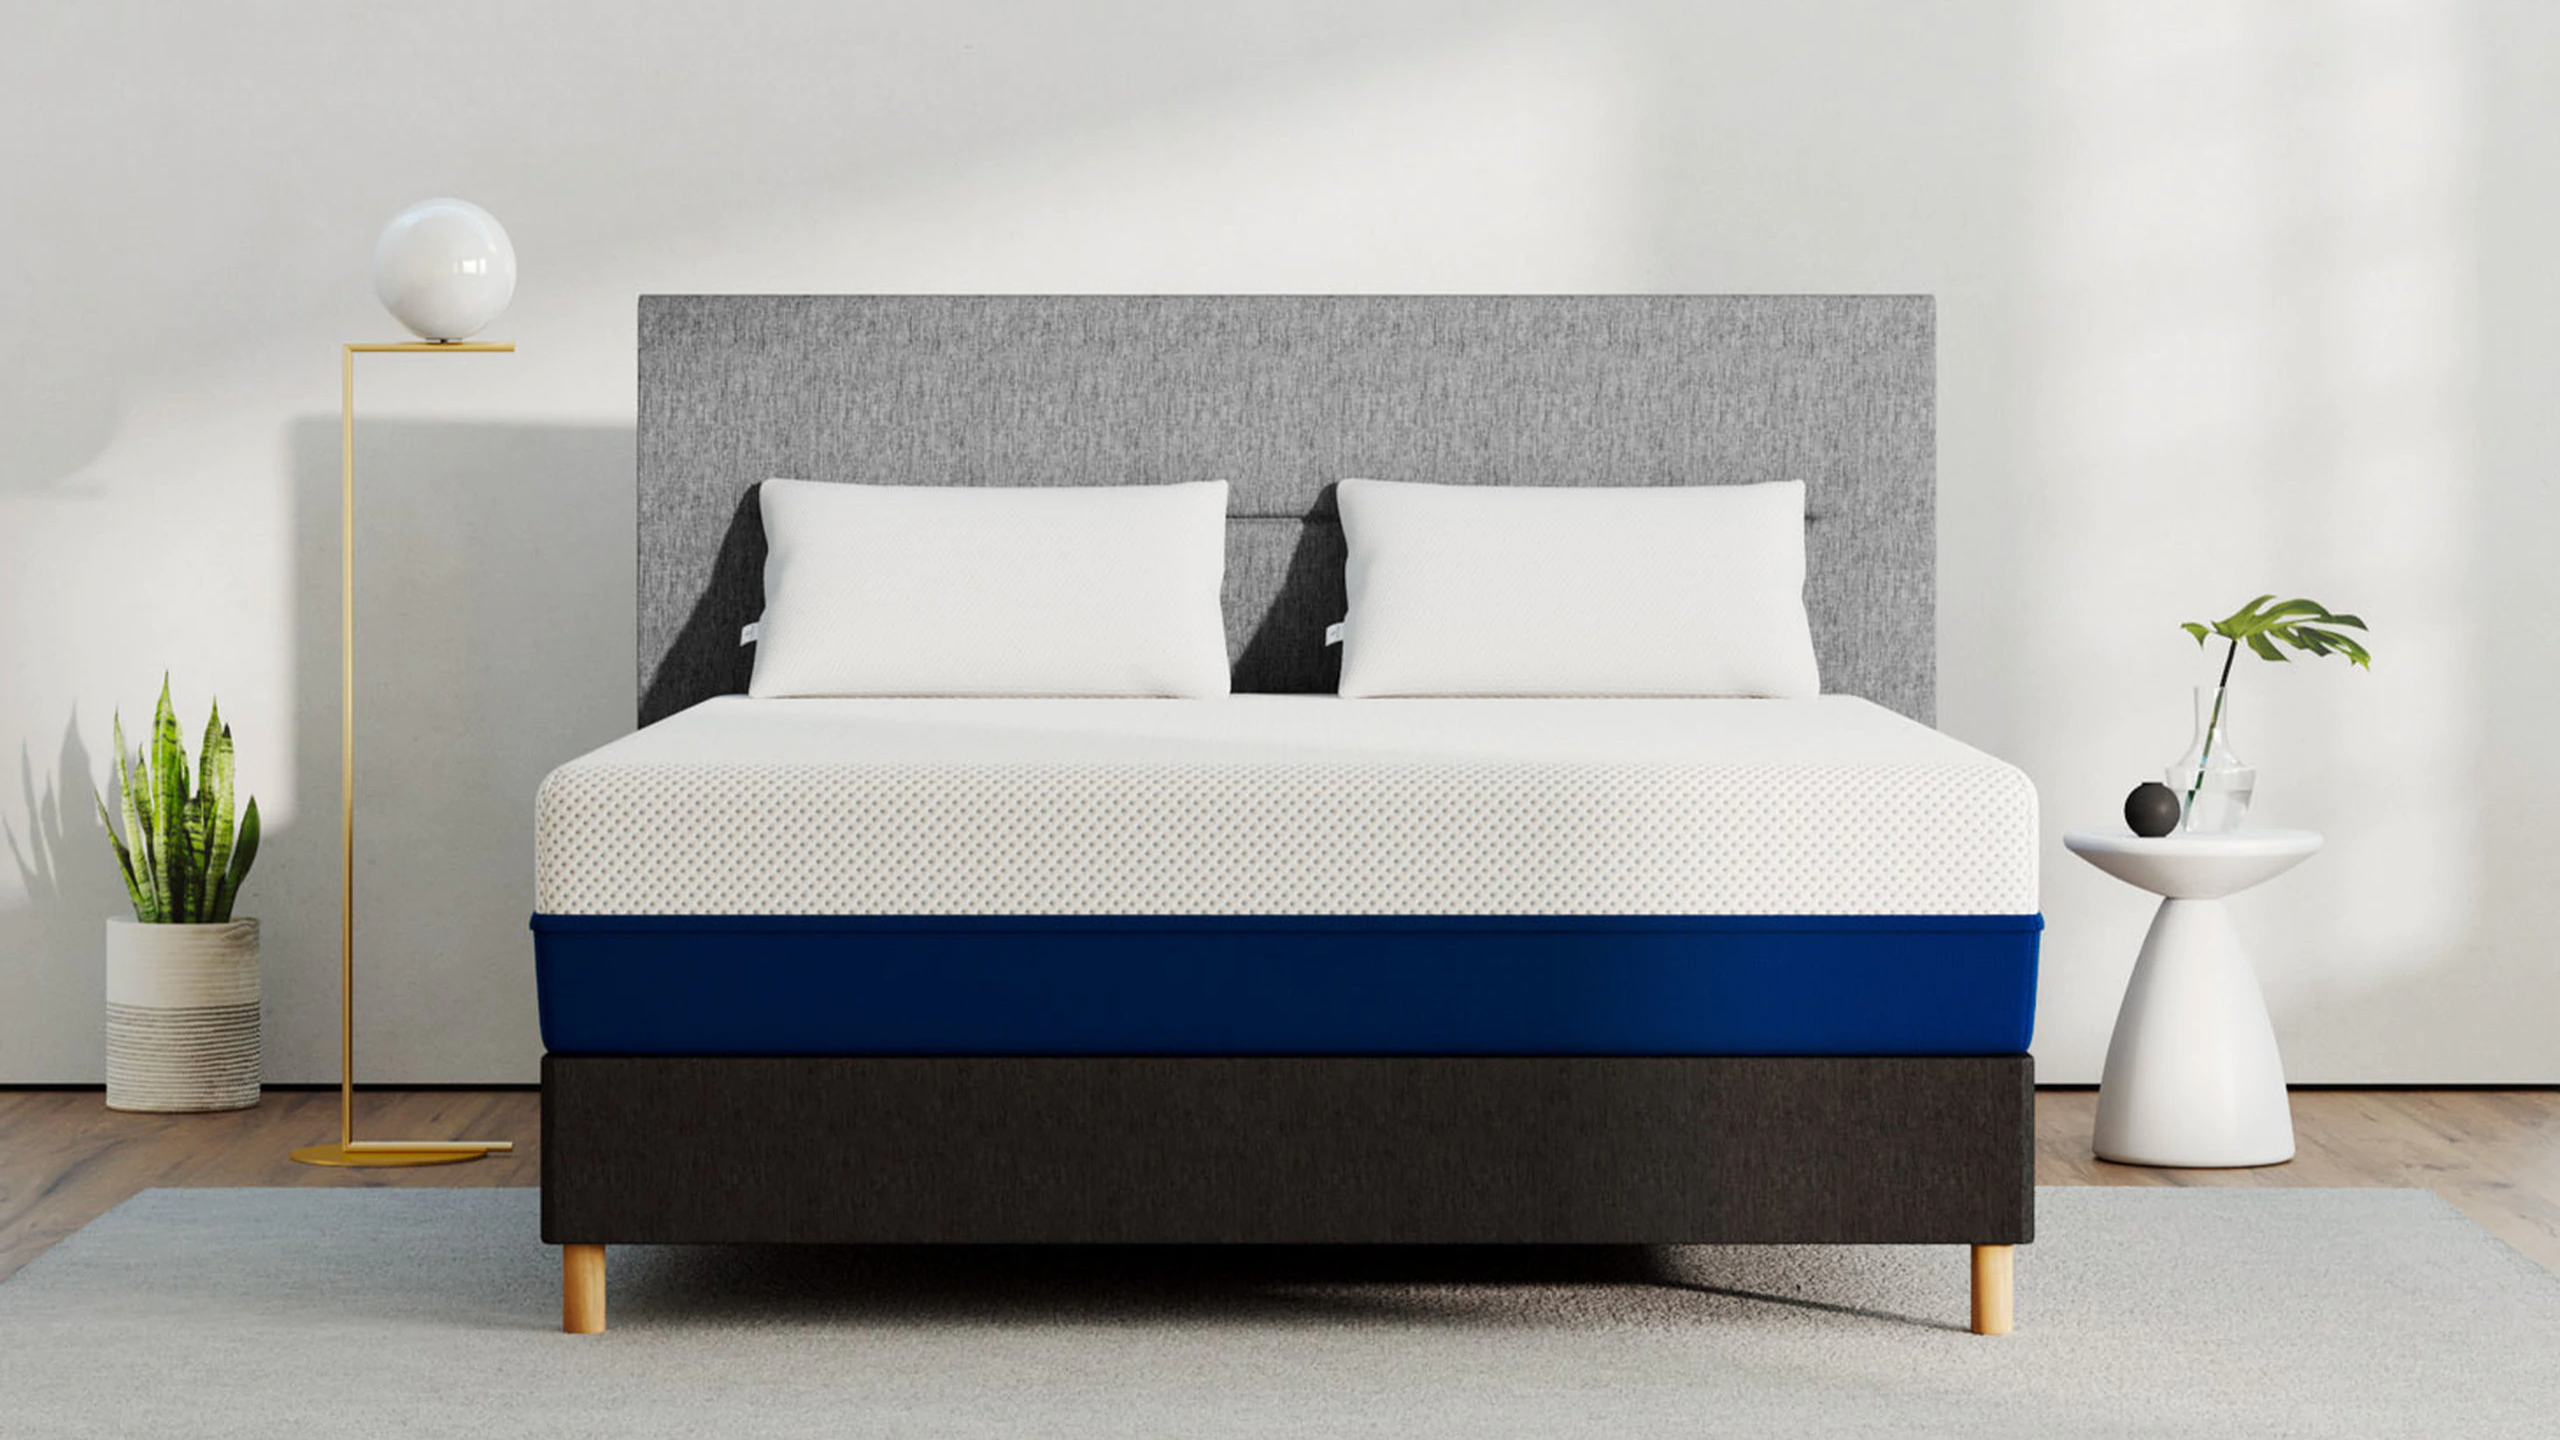
 Your dining room table is not just a piece of furniture, it is the centerpiece of your dining room and an essential part of your home. It is where you gather with your family and friends to share meals and create memories. So, when one of the legs of your wooden dining room table breaks or becomes damaged, it can be quite a hassle and a major inconvenience.
Why You Should Consider DIY Leg Replacement
 Replacing the legs of your wooden dining room table may seem like a daunting task, but it can actually be a fun and rewarding DIY project. Not only will it save you money, but it also allows you to customize the look of your table. You can choose from different styles and finishes to match your personal taste and the overall design of your dining room.
The Step-by-Step Guide to DIY Leg Replacement
 Step 1:
Assess the damage of your table leg and determine if it can be repaired or if it needs to be completely replaced.
Step 2:
Measure the length and width of your current table legs to ensure that your replacement legs will fit properly.
Step 3:
Purchase replacement legs that match the style and dimensions of your table. You can find a variety of options at your local home improvement store or online.
Step 4:
Remove the damaged leg by unscrewing it from the tabletop and base.
Step 5:
Sand down the area where the leg was attached to remove any rough edges or leftover glue.
Step 6:
Attach the new leg to the tabletop and base using screws or wood glue, depending on the type of leg and your personal preference.
Step 7:
Allow the glue to dry completely before using your table.
Step 8:
If desired, you can paint or stain the new leg to match the rest of your table.
Step 9:
Repeat the process for any other damaged legs.
Step 1:
Assess the damage of your table leg and determine if it can be repaired or if it needs to be completely replaced.
Step 2:
Measure the length and width of your current table legs to ensure that your replacement legs will fit properly.
Step 3:
Purchase replacement legs that match the style and dimensions of your table. You can find a variety of options at your local home improvement store or online.
Step 4:
Remove the damaged leg by unscrewing it from the tabletop and base.
Step 5:
Sand down the area where the leg was attached to remove any rough edges or leftover glue.
Step 6:
Attach the new leg to the tabletop and base using screws or wood glue, depending on the type of leg and your personal preference.
Step 7:
Allow the glue to dry completely before using your table.
Step 8:
If desired, you can paint or stain the new leg to match the rest of your table.
Step 9:
Repeat the process for any other damaged legs.
Tips for a Successful DIY Leg Replacement
 - Make sure to use the correct size and type of screws or wood glue for your specific table and leg.
- Sand down the attachment area to create a smooth surface for the new leg to be attached.
- If using wood glue, let it dry for at least 24 hours before using the table.
- Take your time and be patient to ensure a precise and secure leg replacement.
- Don't be afraid to ask for help or consult a professional if needed.
- Make sure to use the correct size and type of screws or wood glue for your specific table and leg.
- Sand down the attachment area to create a smooth surface for the new leg to be attached.
- If using wood glue, let it dry for at least 24 hours before using the table.
- Take your time and be patient to ensure a precise and secure leg replacement.
- Don't be afraid to ask for help or consult a professional if needed.
In Conclusion
 Replacing the legs of your wooden dining room table may seem like a daunting task, but with the right tools and techniques, it can be a simple and enjoyable DIY project. By following these steps and tips, you can have your table looking as good as new and be back to creating memories around it in no time.