Tiling around a kitchen sink may seem like a daunting task, but with the right tools and techniques, it can be a simple and rewarding DIY project. Not only will it give your kitchen a fresh and updated look, but it will also protect your walls from water damage. Here are our top 10 tips for tiling around a kitchen sink.How to Tile Around a Kitchen Sink


How to Tile Around a Kitchen Sink


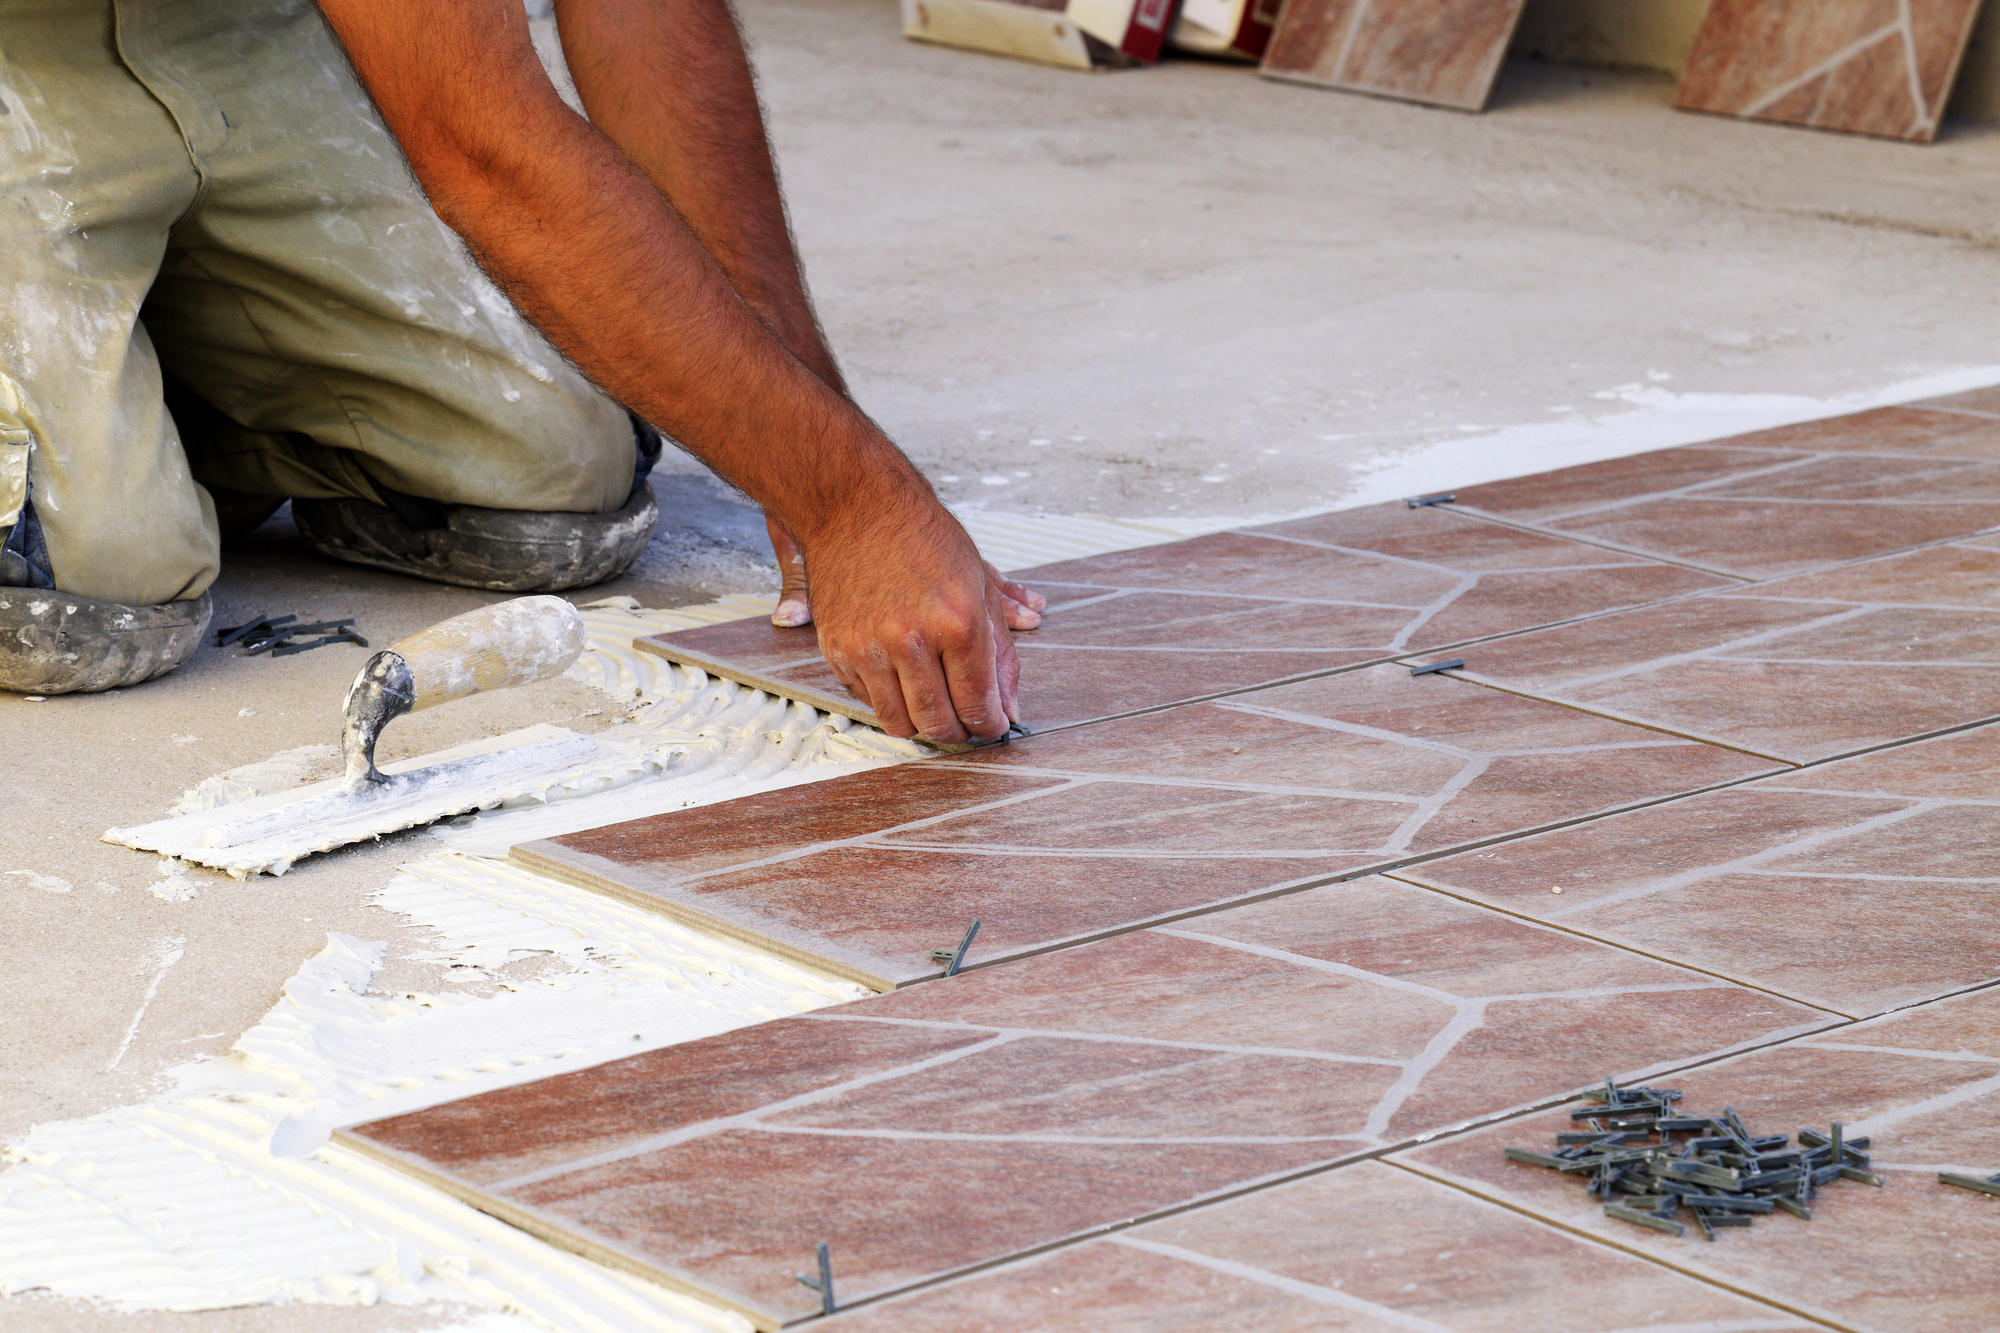
Before you begin tiling, make sure to gather all the necessary tools and materials. This includes tiles, adhesive, grout, a tile cutter, spacers, and a trowel. Start by measuring the area around your sink and cutting the tiles to fit. Then, spread adhesive onto the wall and press the tiles firmly in place. Use spacers to ensure even spacing and let the adhesive dry before applying grout.How to Install Tile Around a Kitchen Sink


How to Install Tile Around a Kitchen Sink


When it comes to tiling around a kitchen sink, there are a few tips that can make the process easier and ensure a professional-looking result. For example, make sure to use waterproof adhesive and grout to protect against water damage. It's also important to use spacers to ensure even spacing between tiles and to wipe away excess grout before it dries.Tiling Tips for Kitchen Sink


Tiling Tips for Kitchen Sink


Tiling around a kitchen sink is a great DIY project for those looking to spruce up their kitchen without breaking the bank. It's a relatively simple process that can save you money on hiring a professional. With the right tools and techniques, you can achieve a beautiful and functional tiled backsplash around your sink.DIY Tiling Around Kitchen Sink


DIY Tiling Around Kitchen Sink
:max_bytes(150000):strip_icc()/marble-countertop-hack-how-to-tile-over-laminate-countertop-countertops-how-to-kitchen-design-5bad532b4cedfd002687ed53.jpg)
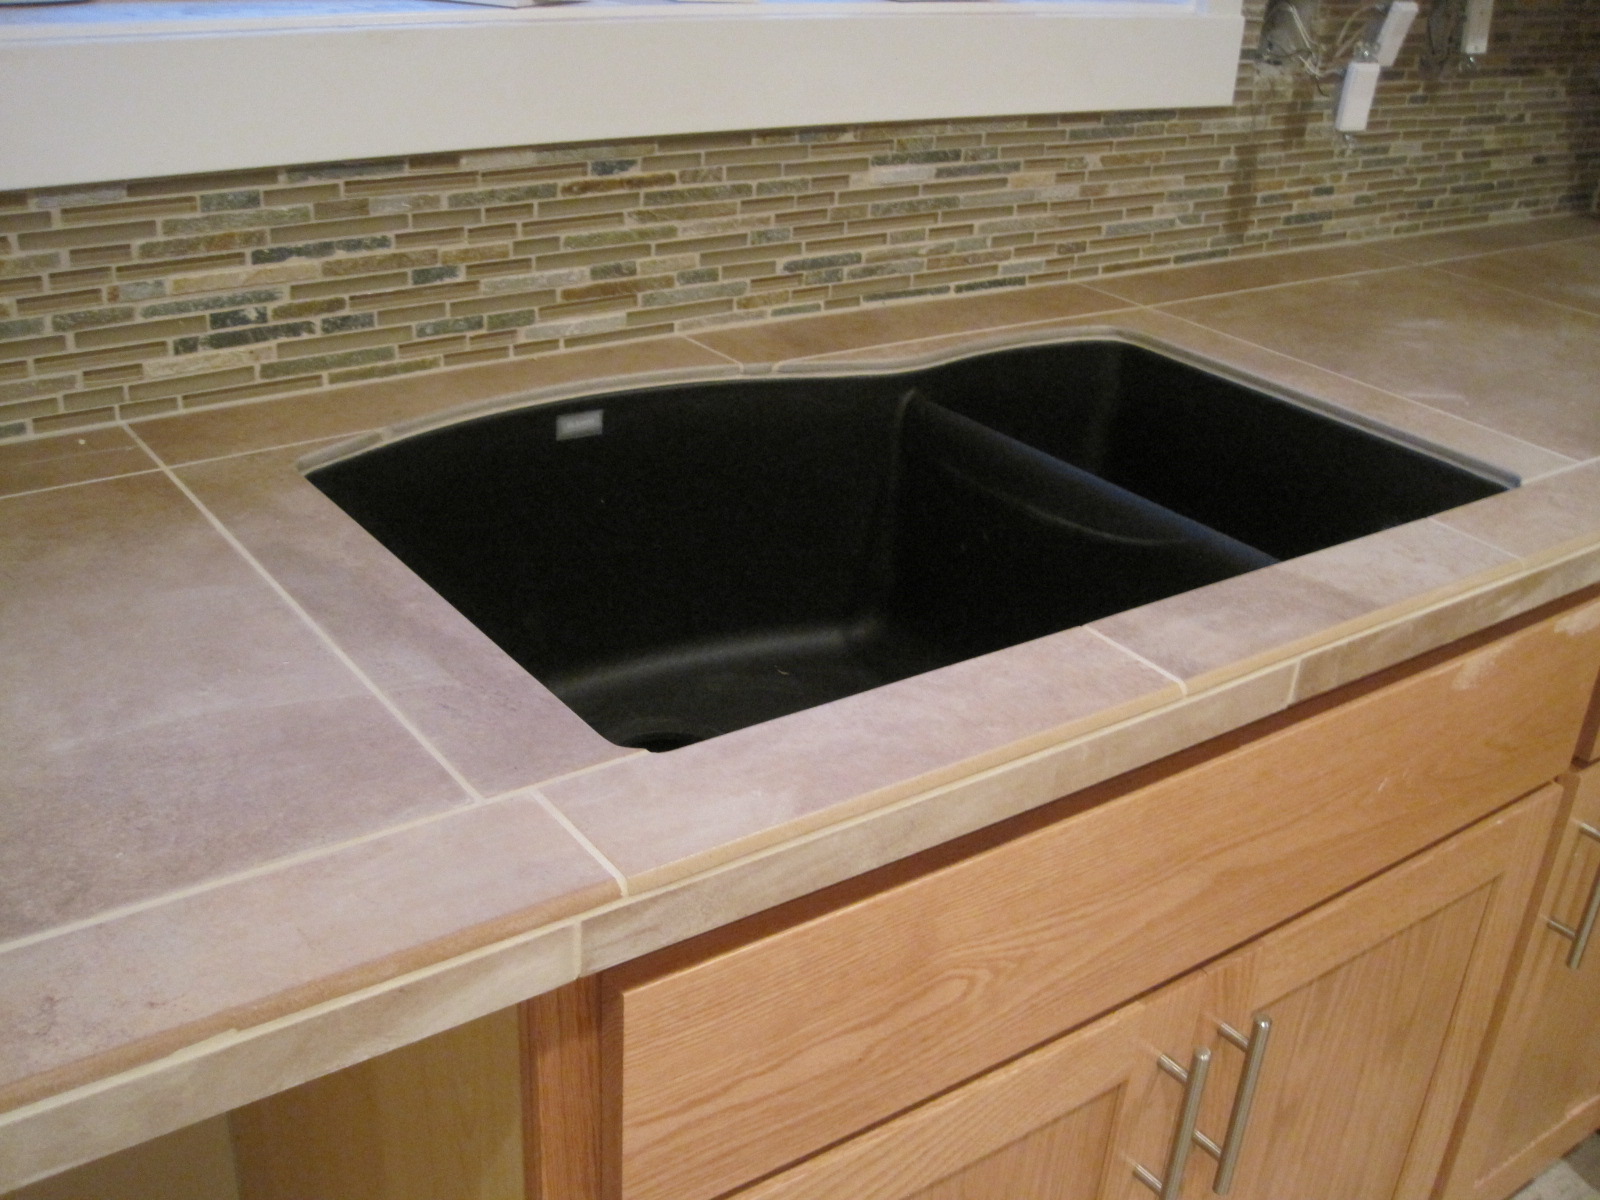
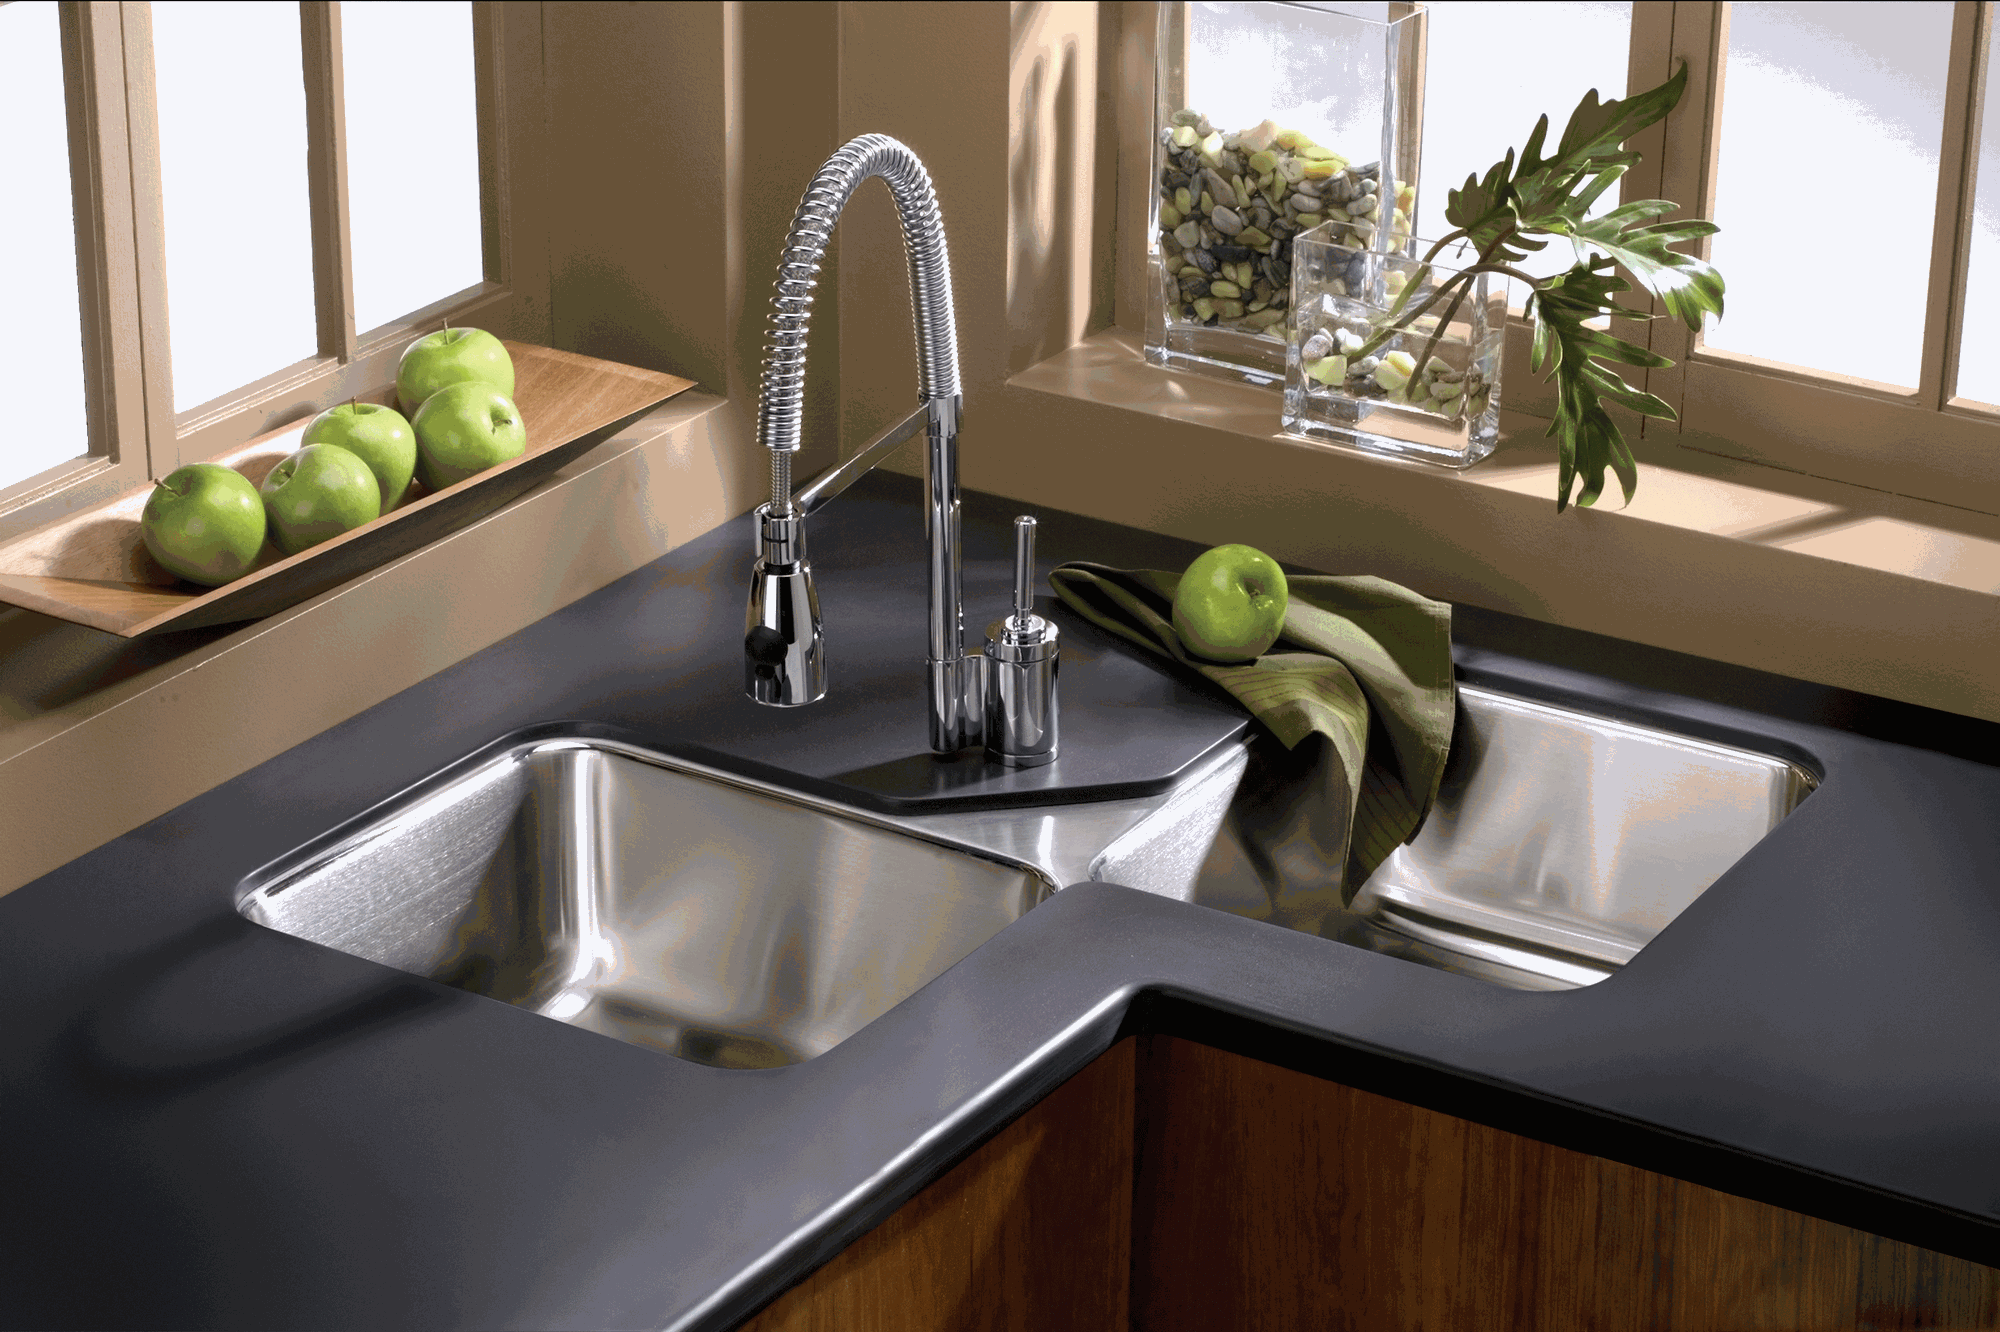
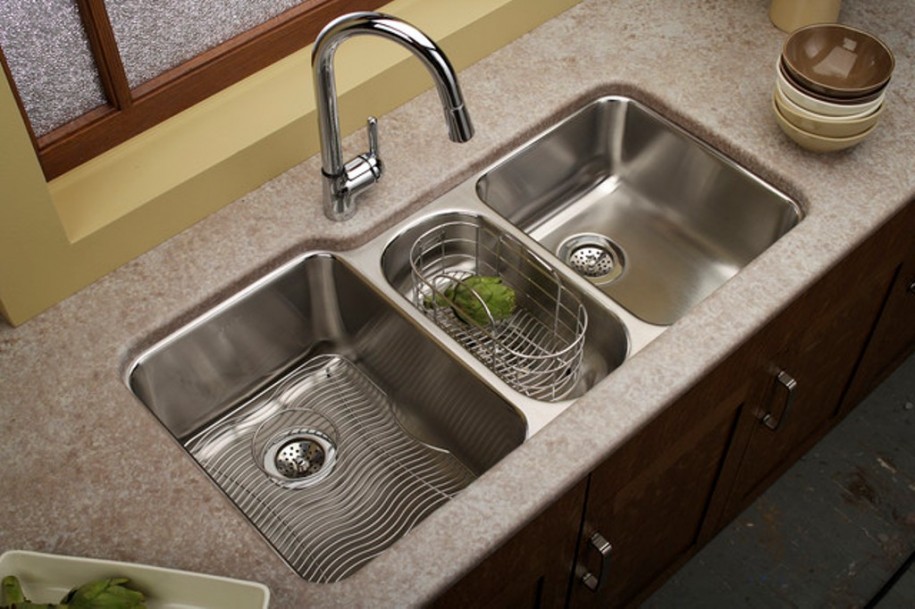
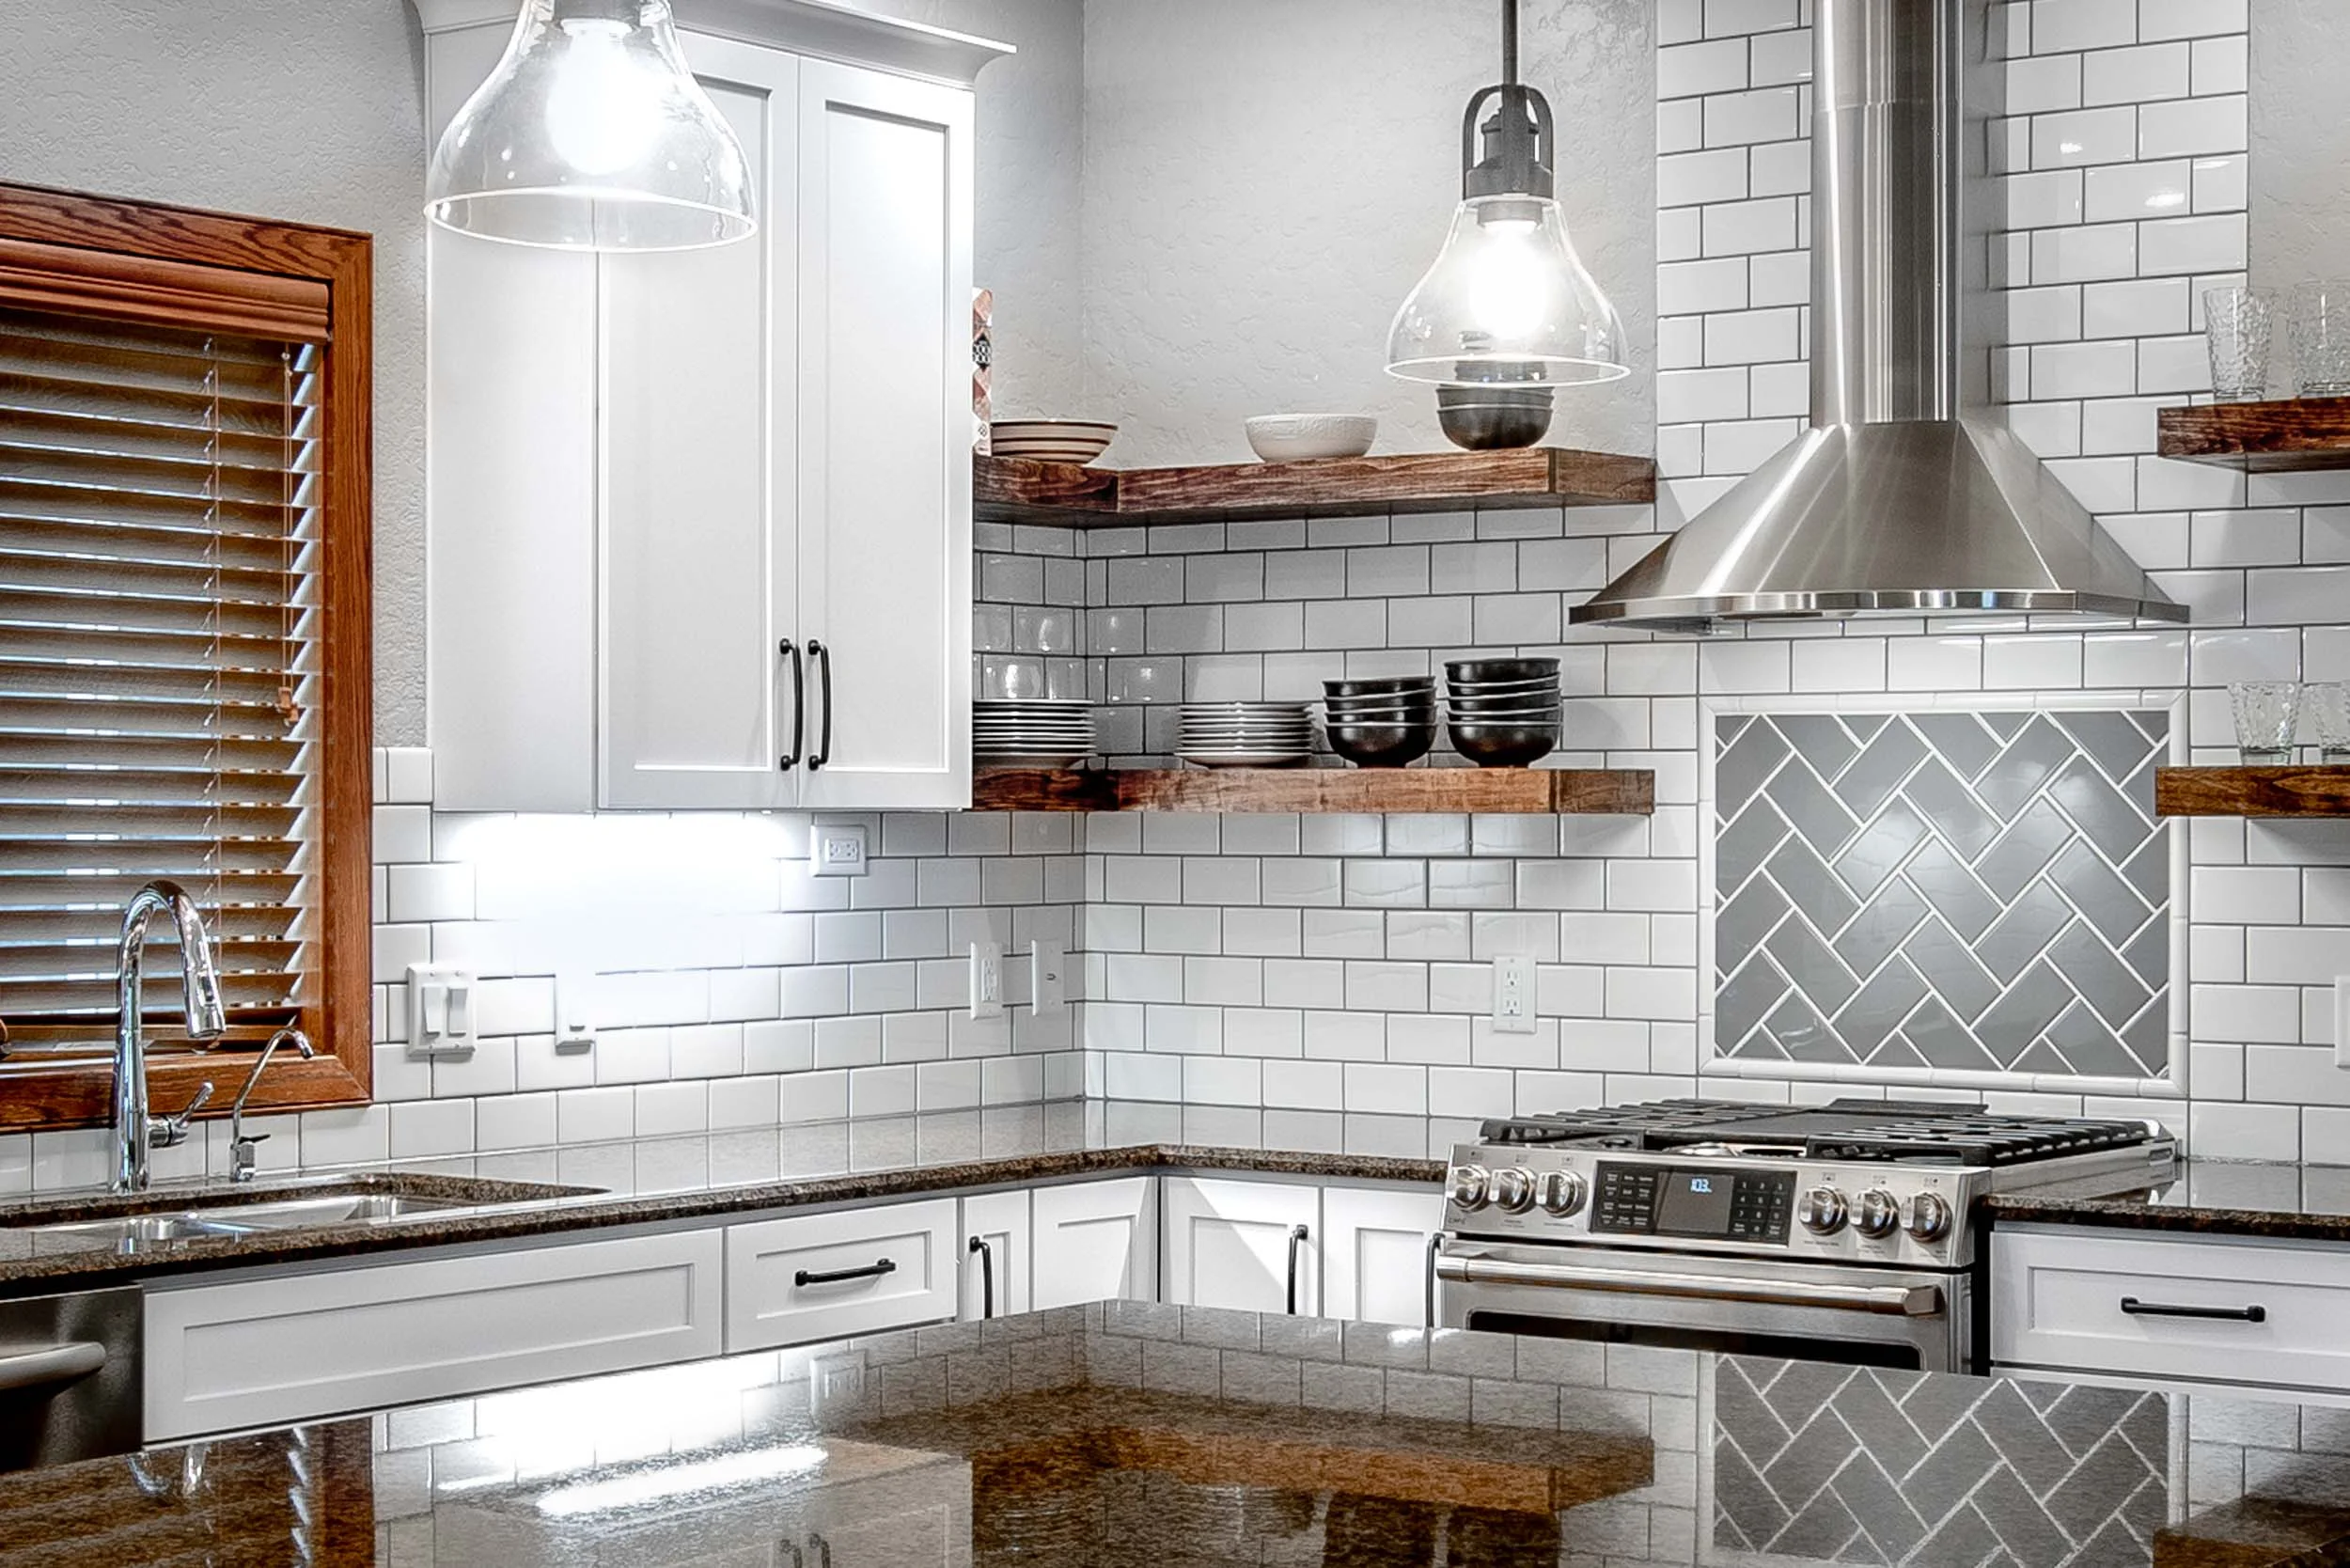
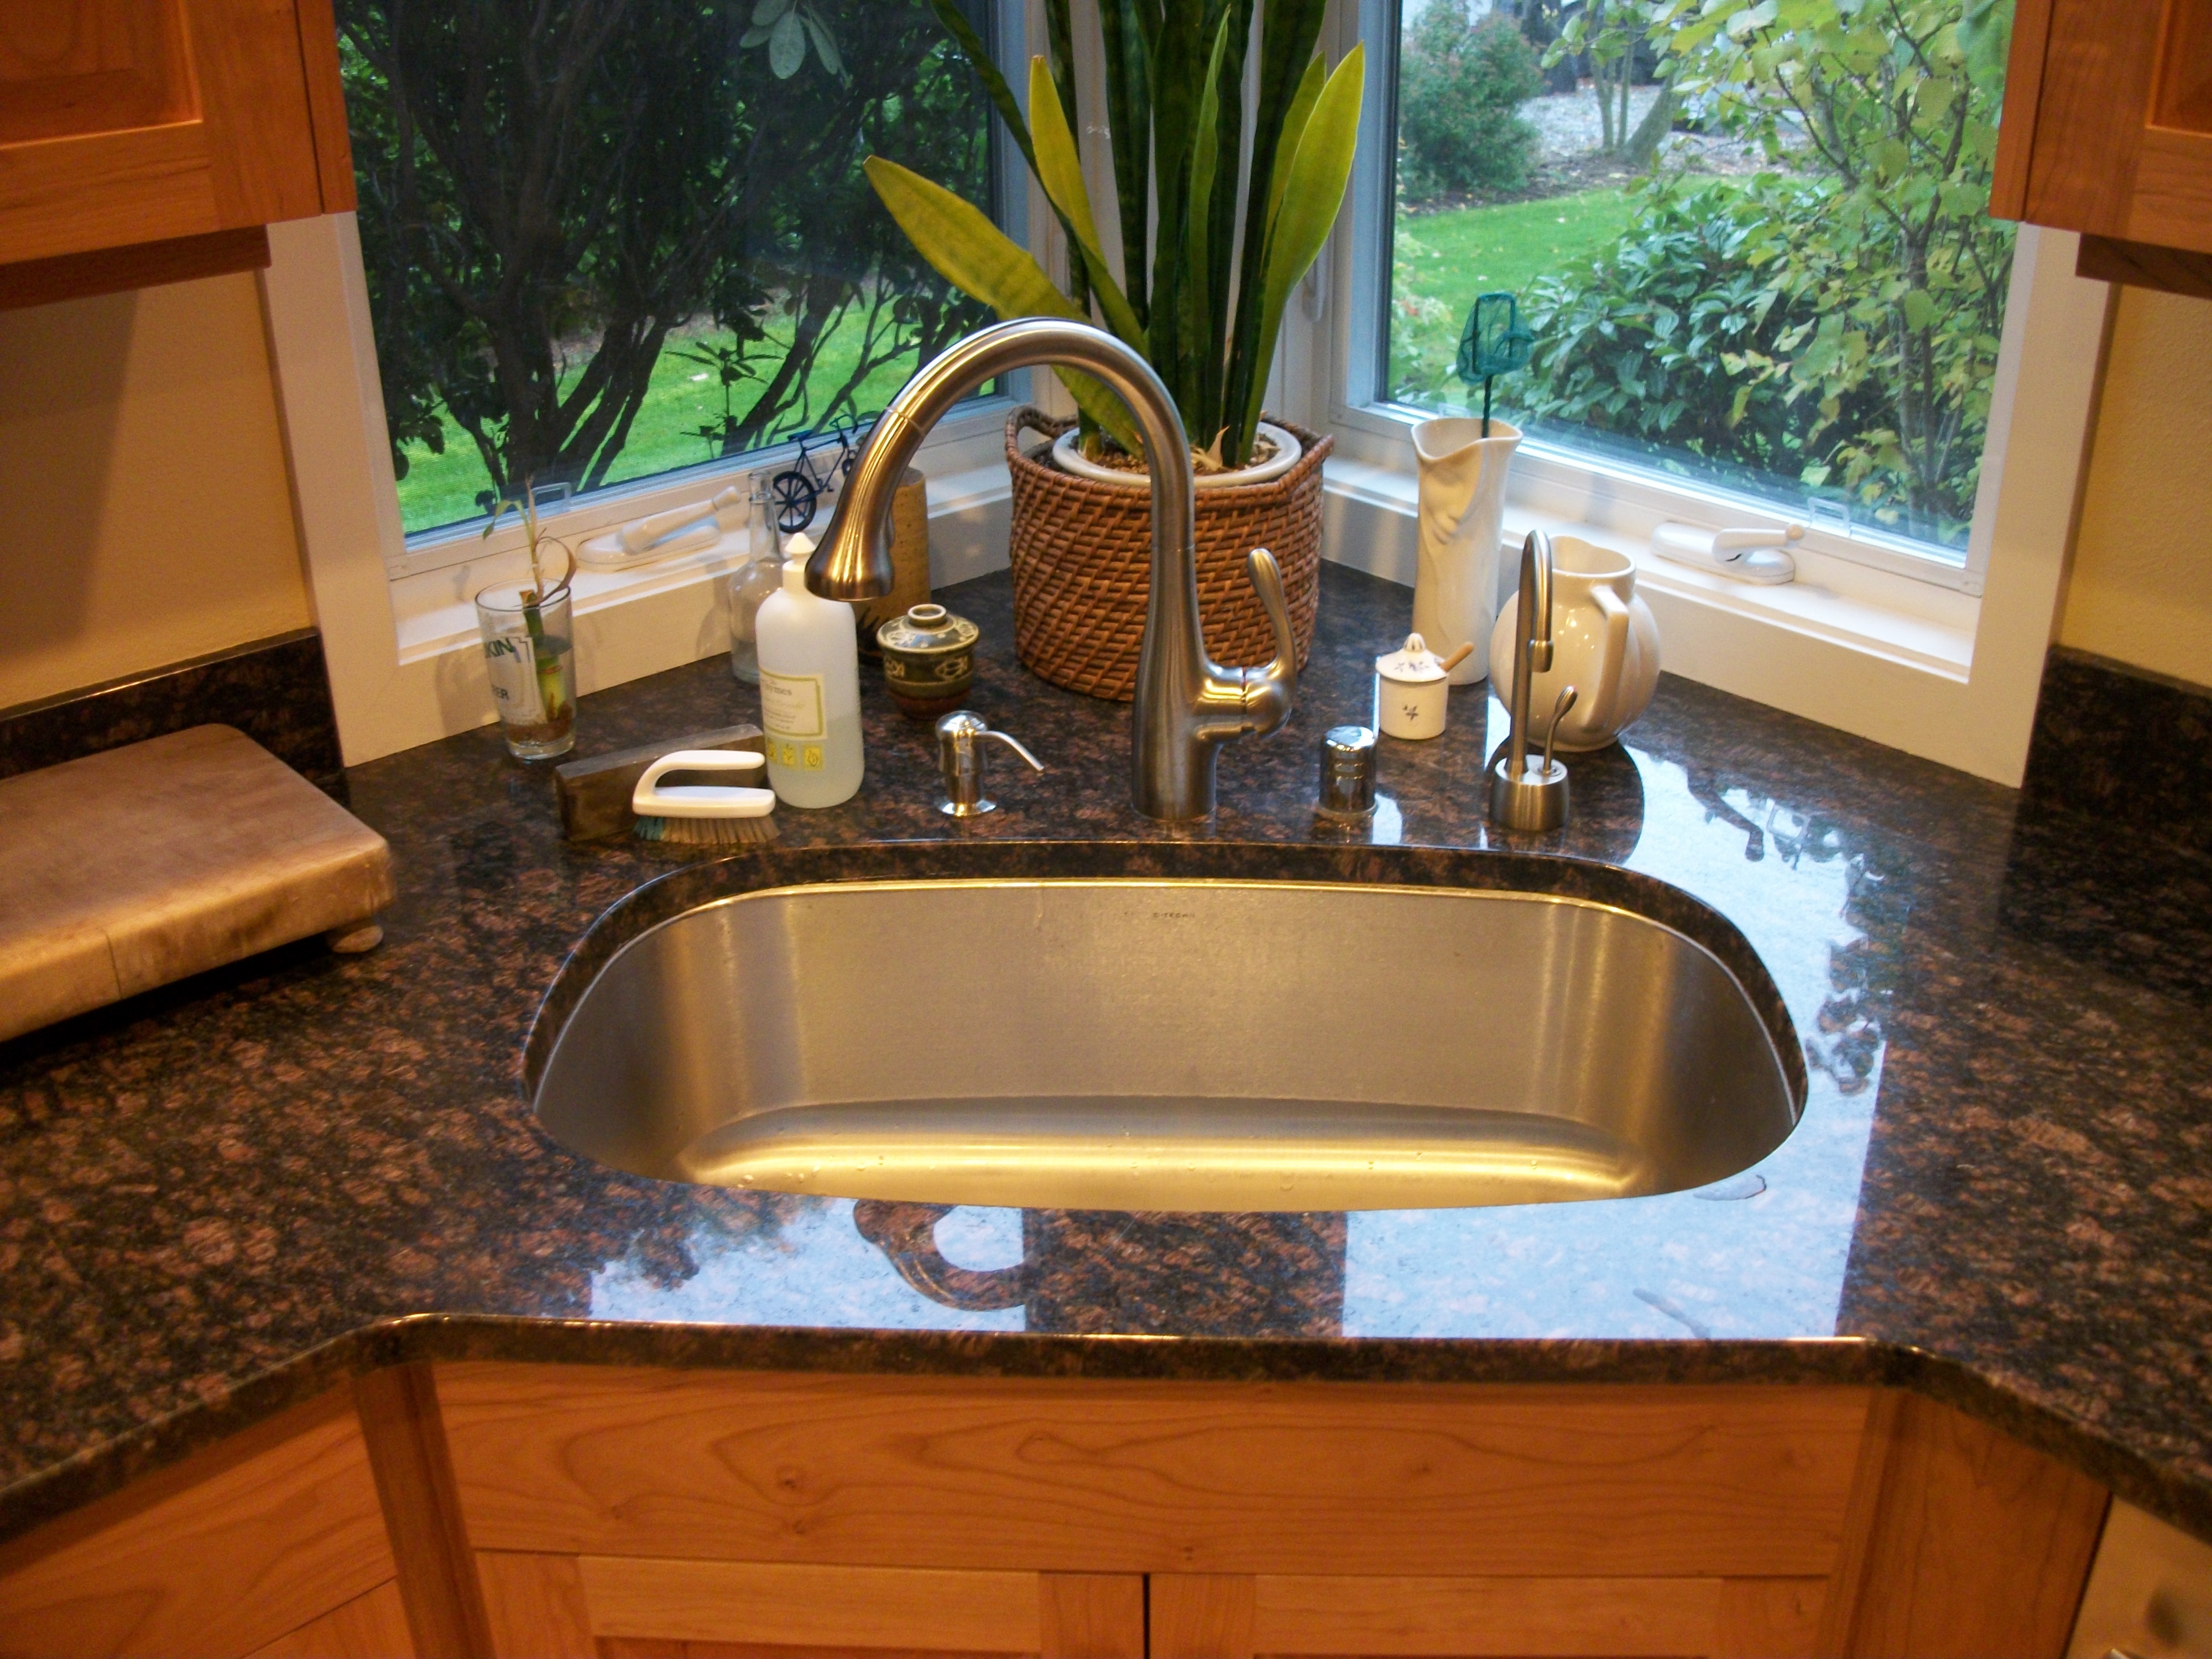
There are a variety of tiles to choose from when tiling around a kitchen sink. Some popular options include ceramic, porcelain, and glass tiles. It's important to choose tiles that are waterproof and durable to withstand constant exposure to water and cleaning products. Consider the style and color of your kitchen when selecting tiles to ensure a cohesive look.Best Tiles for Kitchen Sink Area


Best Tiles for Kitchen Sink Area


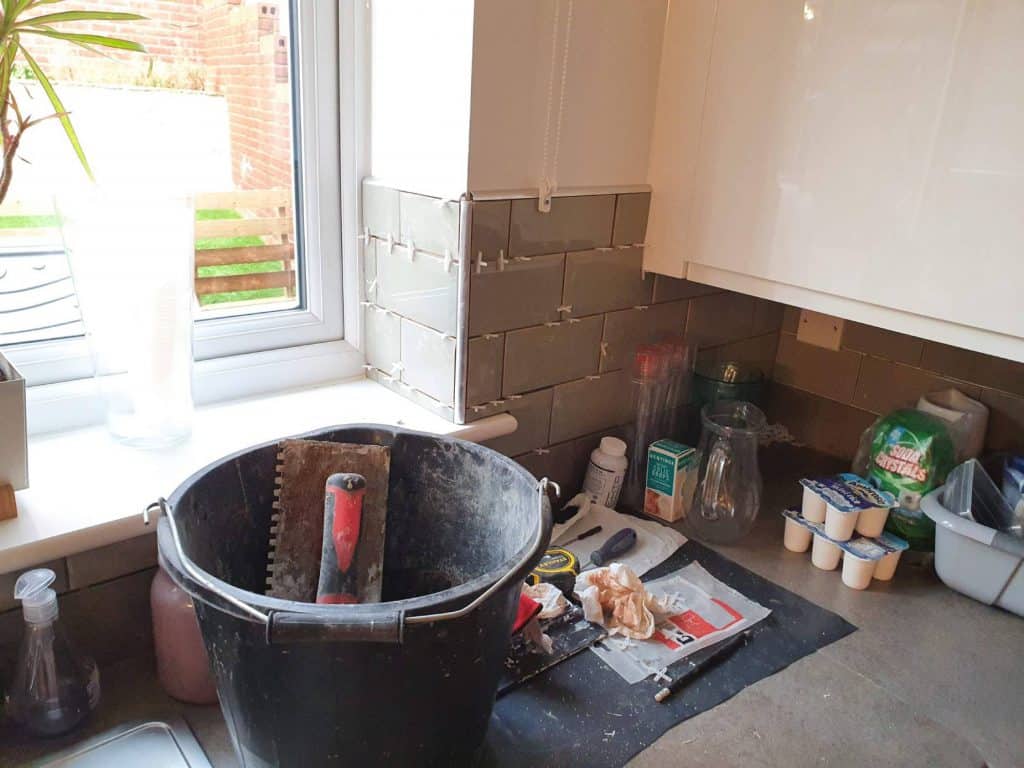
Here is a step-by-step guide for tiling around a kitchen sink: Step 1: Measure the area around your sink and cut tiles to fit. Step 2: Spread waterproof adhesive onto the wall using a trowel. Step 3: Press tiles firmly into place, using spacers to ensure even spacing. Step 4: Let adhesive dry completely before removing spacers. Step 5: Mix grout according to instructions and apply to the tiles using a grout float. Step 6: Use a damp sponge to wipe away excess grout before it dries. Step 7: Allow grout to dry completely before sealing.Step-by-Step Guide for Tiling Around Kitchen Sink


Step-by-Step Guide for Tiling Around Kitchen Sink


While tiling around a kitchen sink may seem like a straightforward process, there are some common mistakes that can be easily avoided. These include not using waterproof adhesive and grout, not measuring and cutting tiles accurately, and not wiping away excess grout before it dries. Make sure to follow the proper steps and use the right materials to avoid these mistakes.Common Mistakes When Tiling Around Kitchen Sink


Common Mistakes When Tiling Around Kitchen Sink

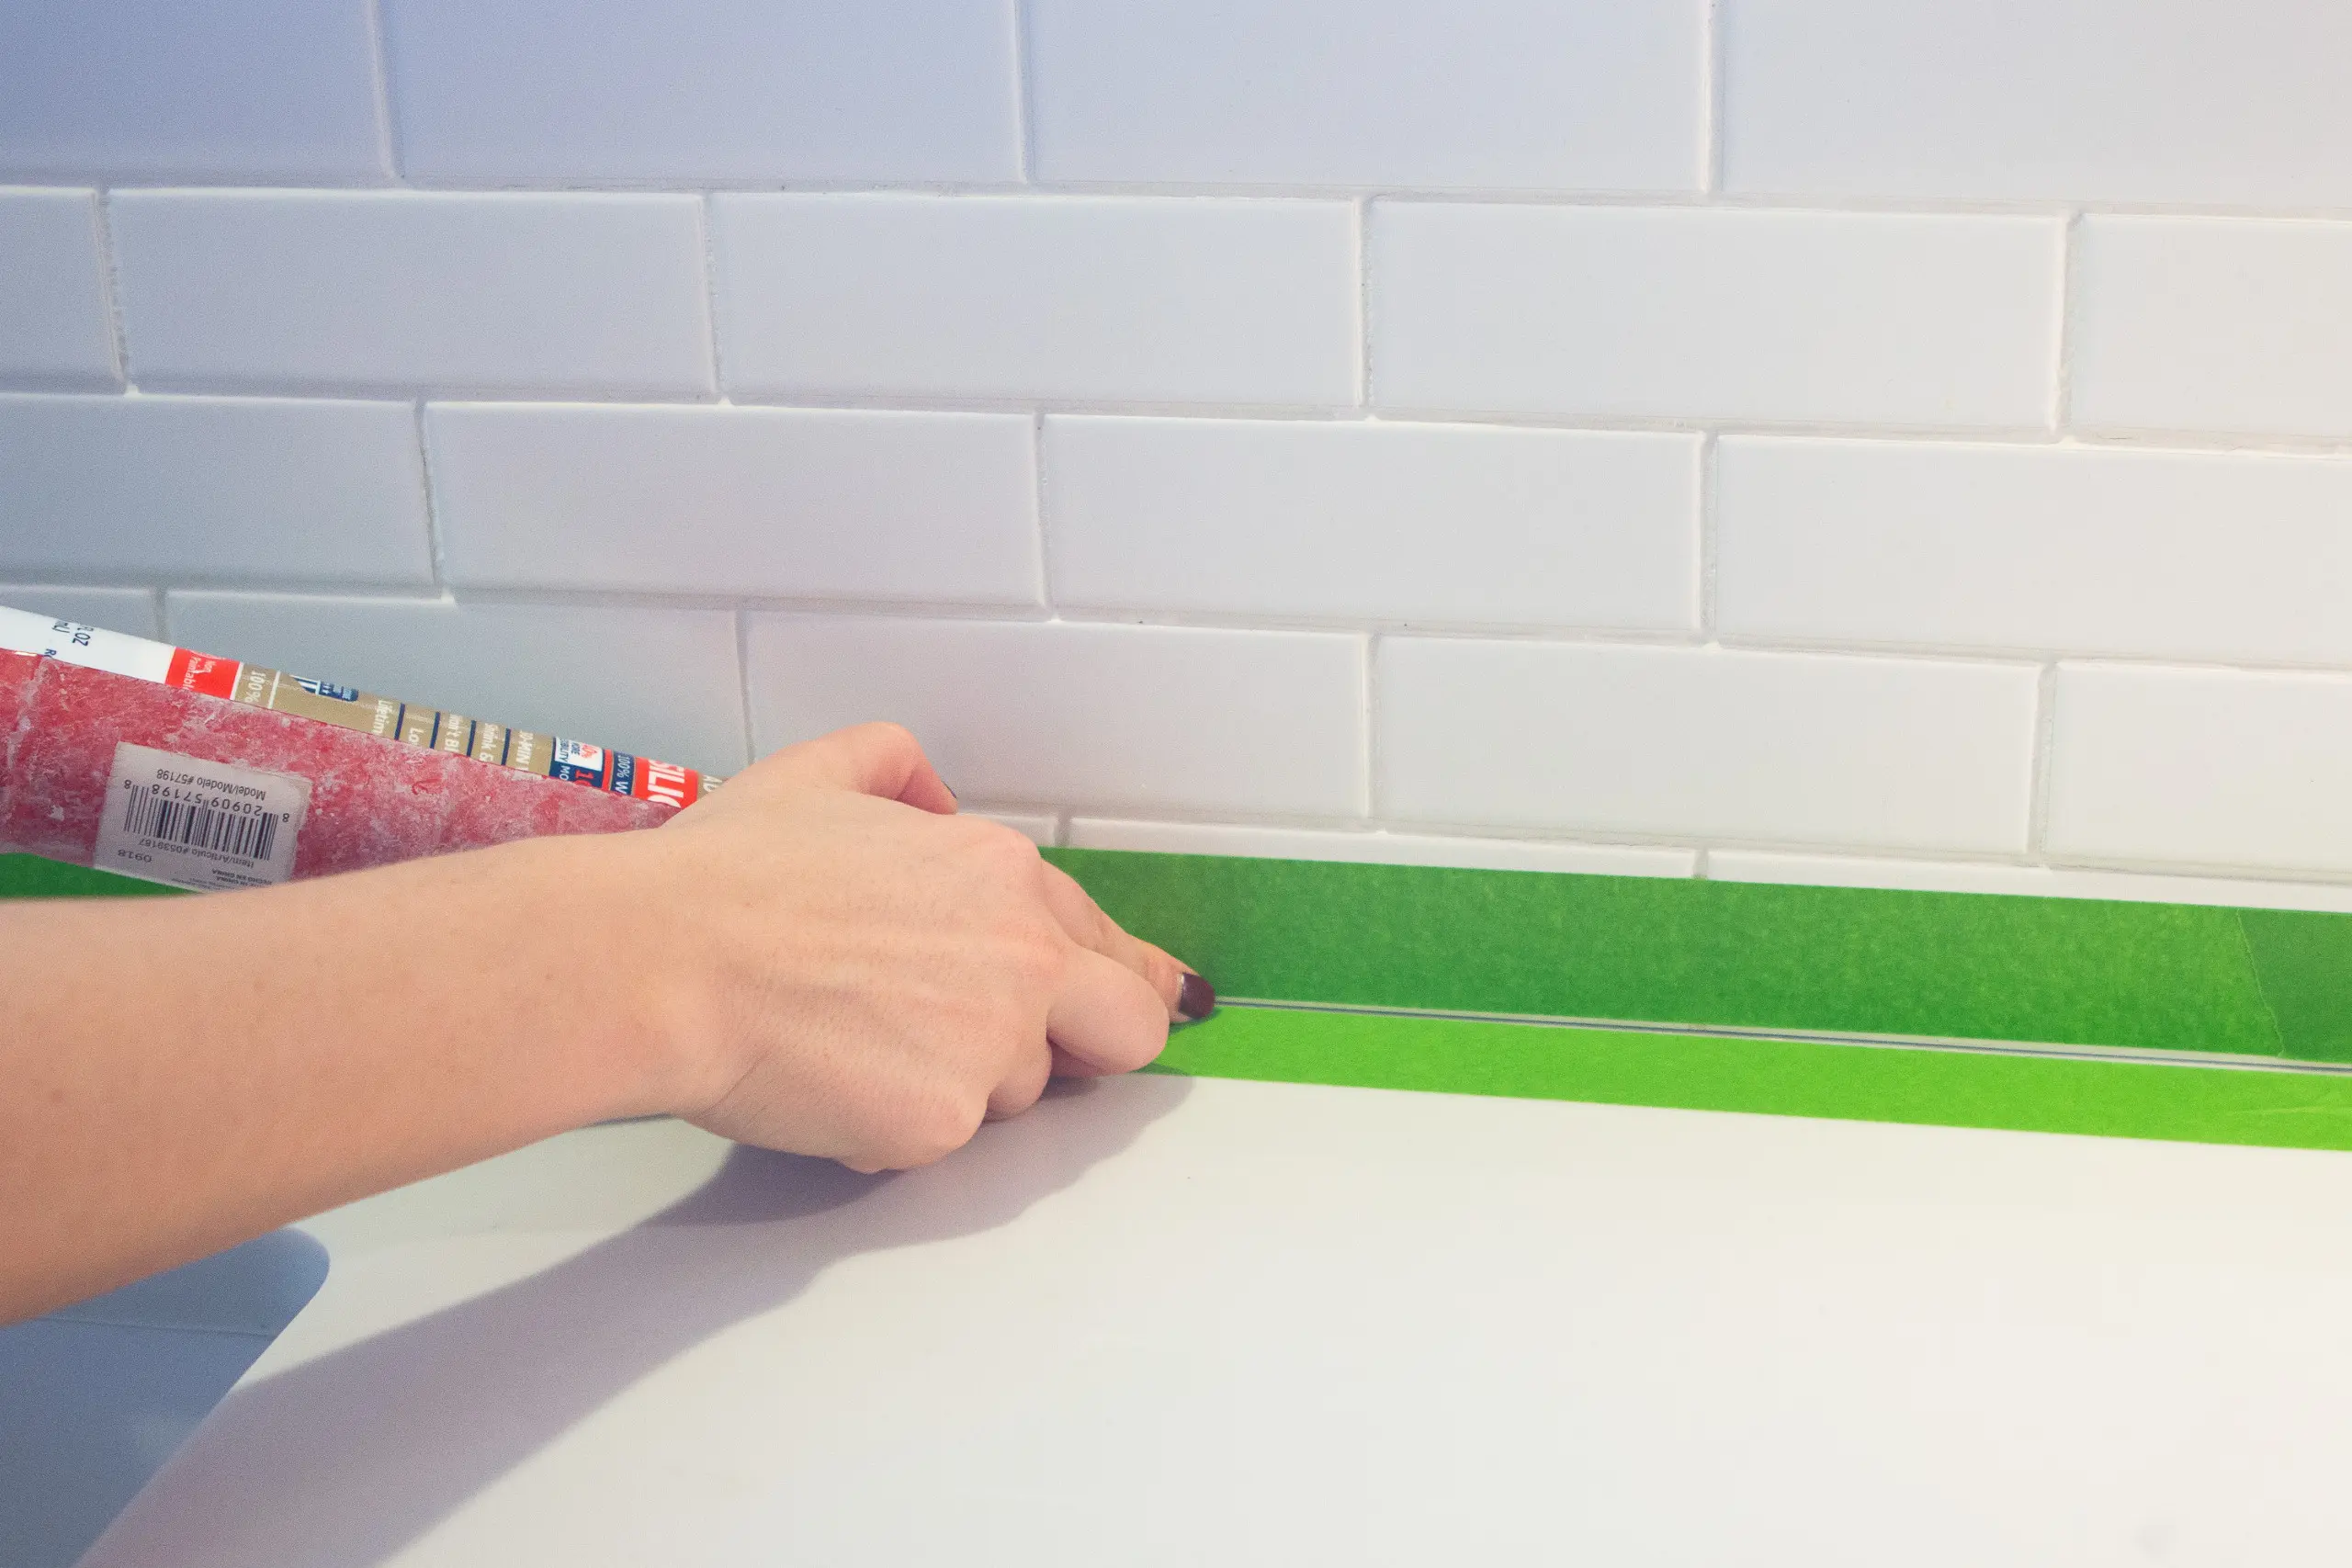


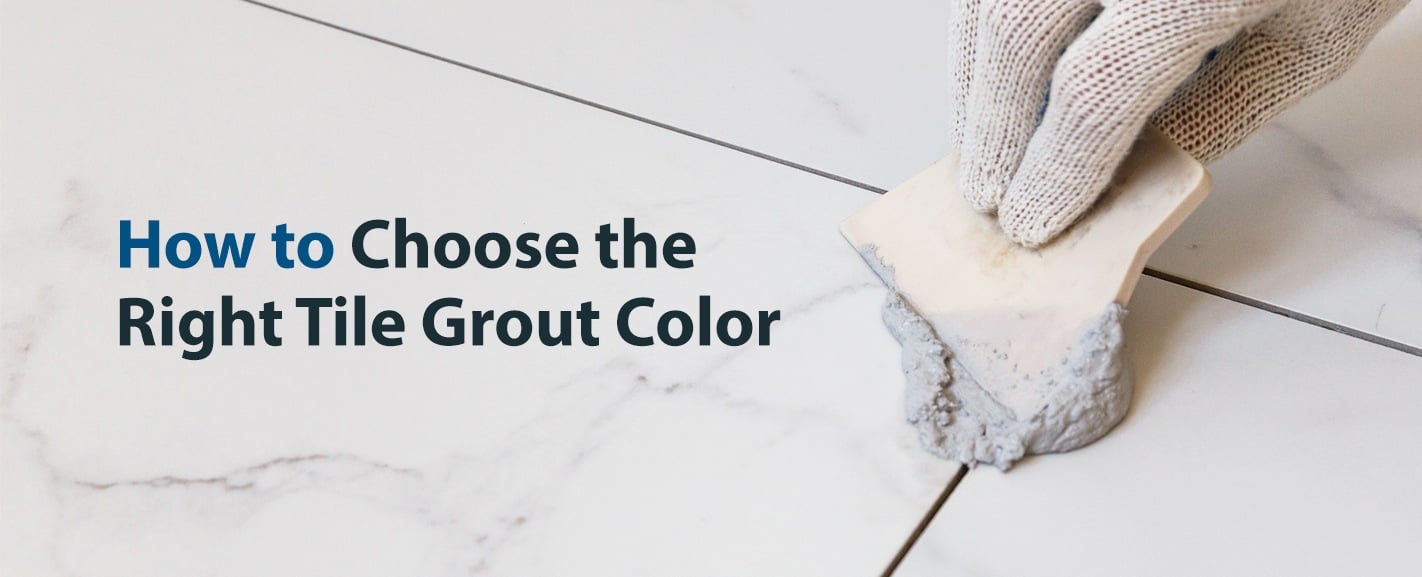
Grout not only holds the tiles in place, but it also helps to seal and waterproof the area around your sink. When choosing grout for tiling around a kitchen sink, make sure to select a waterproof and stain-resistant option. There are also a variety of colors to choose from to complement your tiles and overall kitchen design.Choosing the Right Grout for Tiling Around Kitchen Sink


Choosing the Right Grout for Tiling Around Kitchen Sink


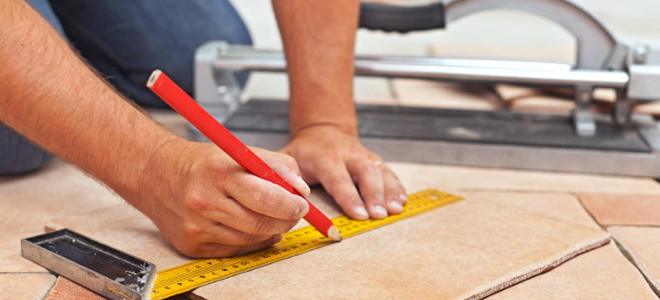
When tiling around a kitchen sink, you may need to cut tiles to fit around corners and edges. To do this, use a tile cutter or tile saw to make precise cuts. Measure and mark the area to be cut, then use the cutter to score the tile and snap it along the score line. Remember to wear safety goggles and gloves when cutting tiles.How to Cut Tiles for Tiling Around Kitchen Sink


How to Cut Tiles for Tiling Around Kitchen Sink


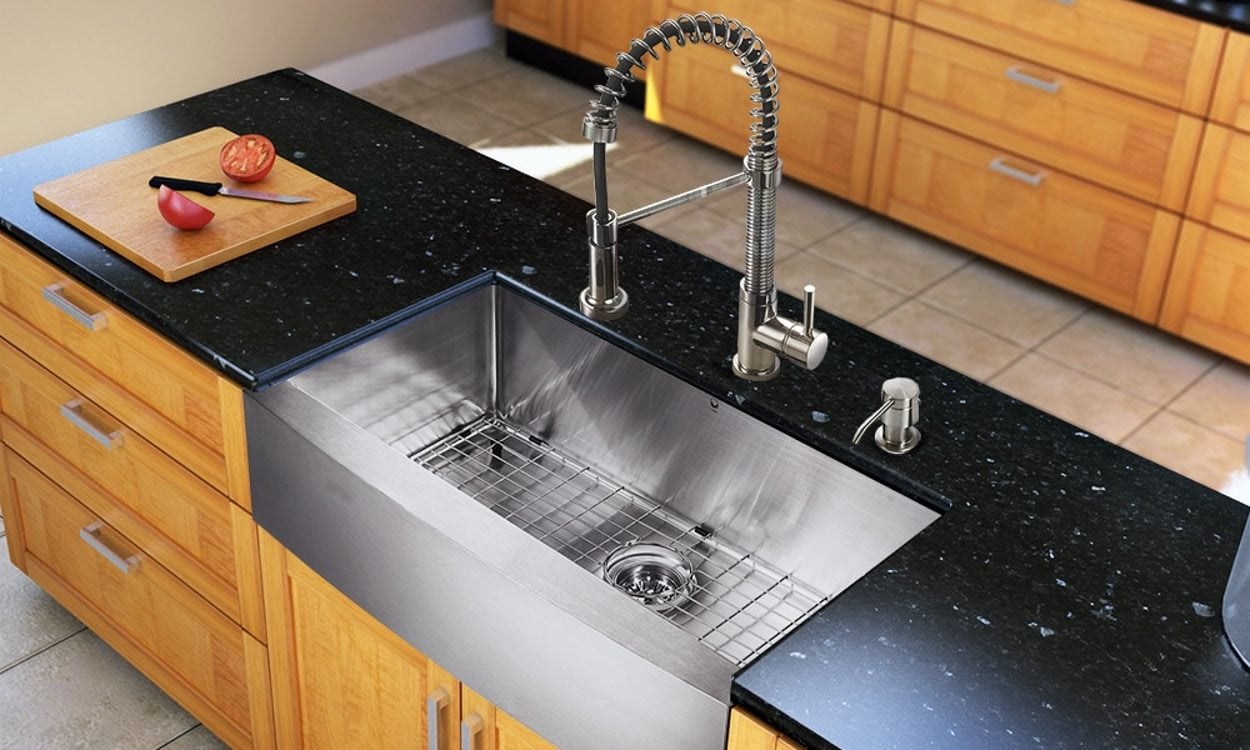
Tiling around a kitchen sink doesn't have to be boring. There are many creative design ideas that can add a unique touch to your kitchen. Consider using patterned or textured tiles, creating a mosaic design, or adding a border or accent tiles to make your backsplash stand out. You can also mix and match different tile colors and sizes for a more eclectic look.Creative Design Ideas for Tiling Around Kitchen Sink


Creative Design Ideas for Tiling Around Kitchen Sink


Tiling Around Kitchen Sink: A Guide to Beautiful and Functional Design
The Importance of Tiling Around Your Kitchen Sink
 When it comes to designing your kitchen, every detail matters. From the color of the walls to the type of flooring, each element contributes to the overall look and functionality of the space. One area that often gets overlooked is the tiling around the kitchen sink. However, this small detail can make a big impact on the aesthetics and practicality of your kitchen.
Tiling around the kitchen sink not only adds a decorative touch, but also serves as a protective barrier against water damage and spills.
With the right approach, you can create a beautiful and functional design that will elevate your kitchen to the next level.
When it comes to designing your kitchen, every detail matters. From the color of the walls to the type of flooring, each element contributes to the overall look and functionality of the space. One area that often gets overlooked is the tiling around the kitchen sink. However, this small detail can make a big impact on the aesthetics and practicality of your kitchen.
Tiling around the kitchen sink not only adds a decorative touch, but also serves as a protective barrier against water damage and spills.
With the right approach, you can create a beautiful and functional design that will elevate your kitchen to the next level.
Choosing the Right Tiles for Your Kitchen Sink
 Before diving into the tiling process, it's important to consider the type of tiles that would work best for your kitchen sink area.
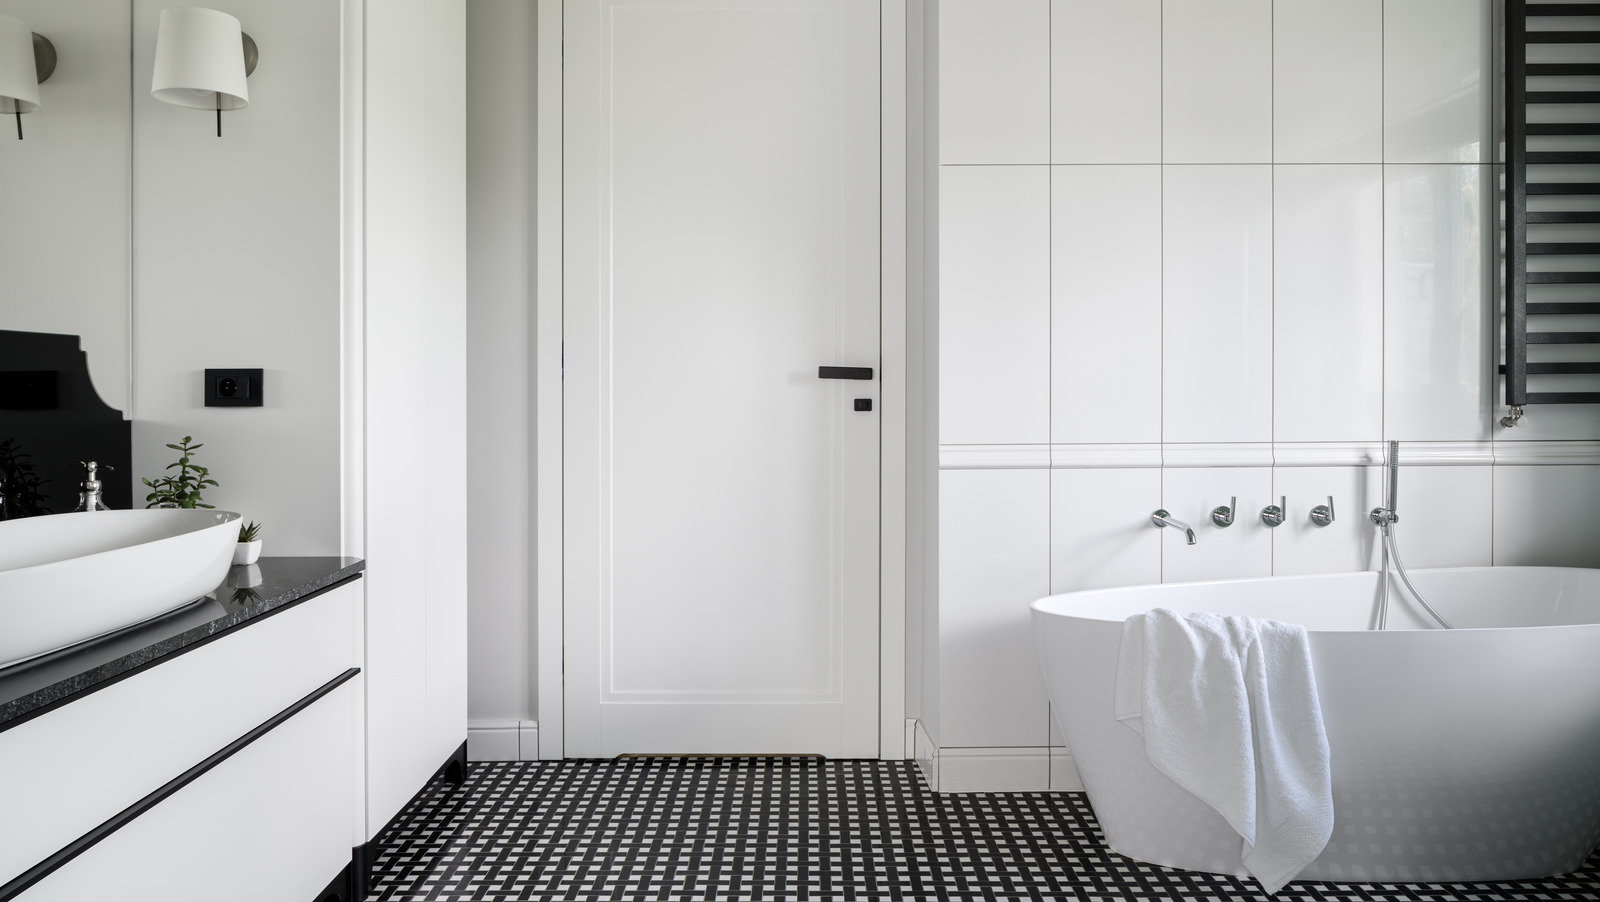
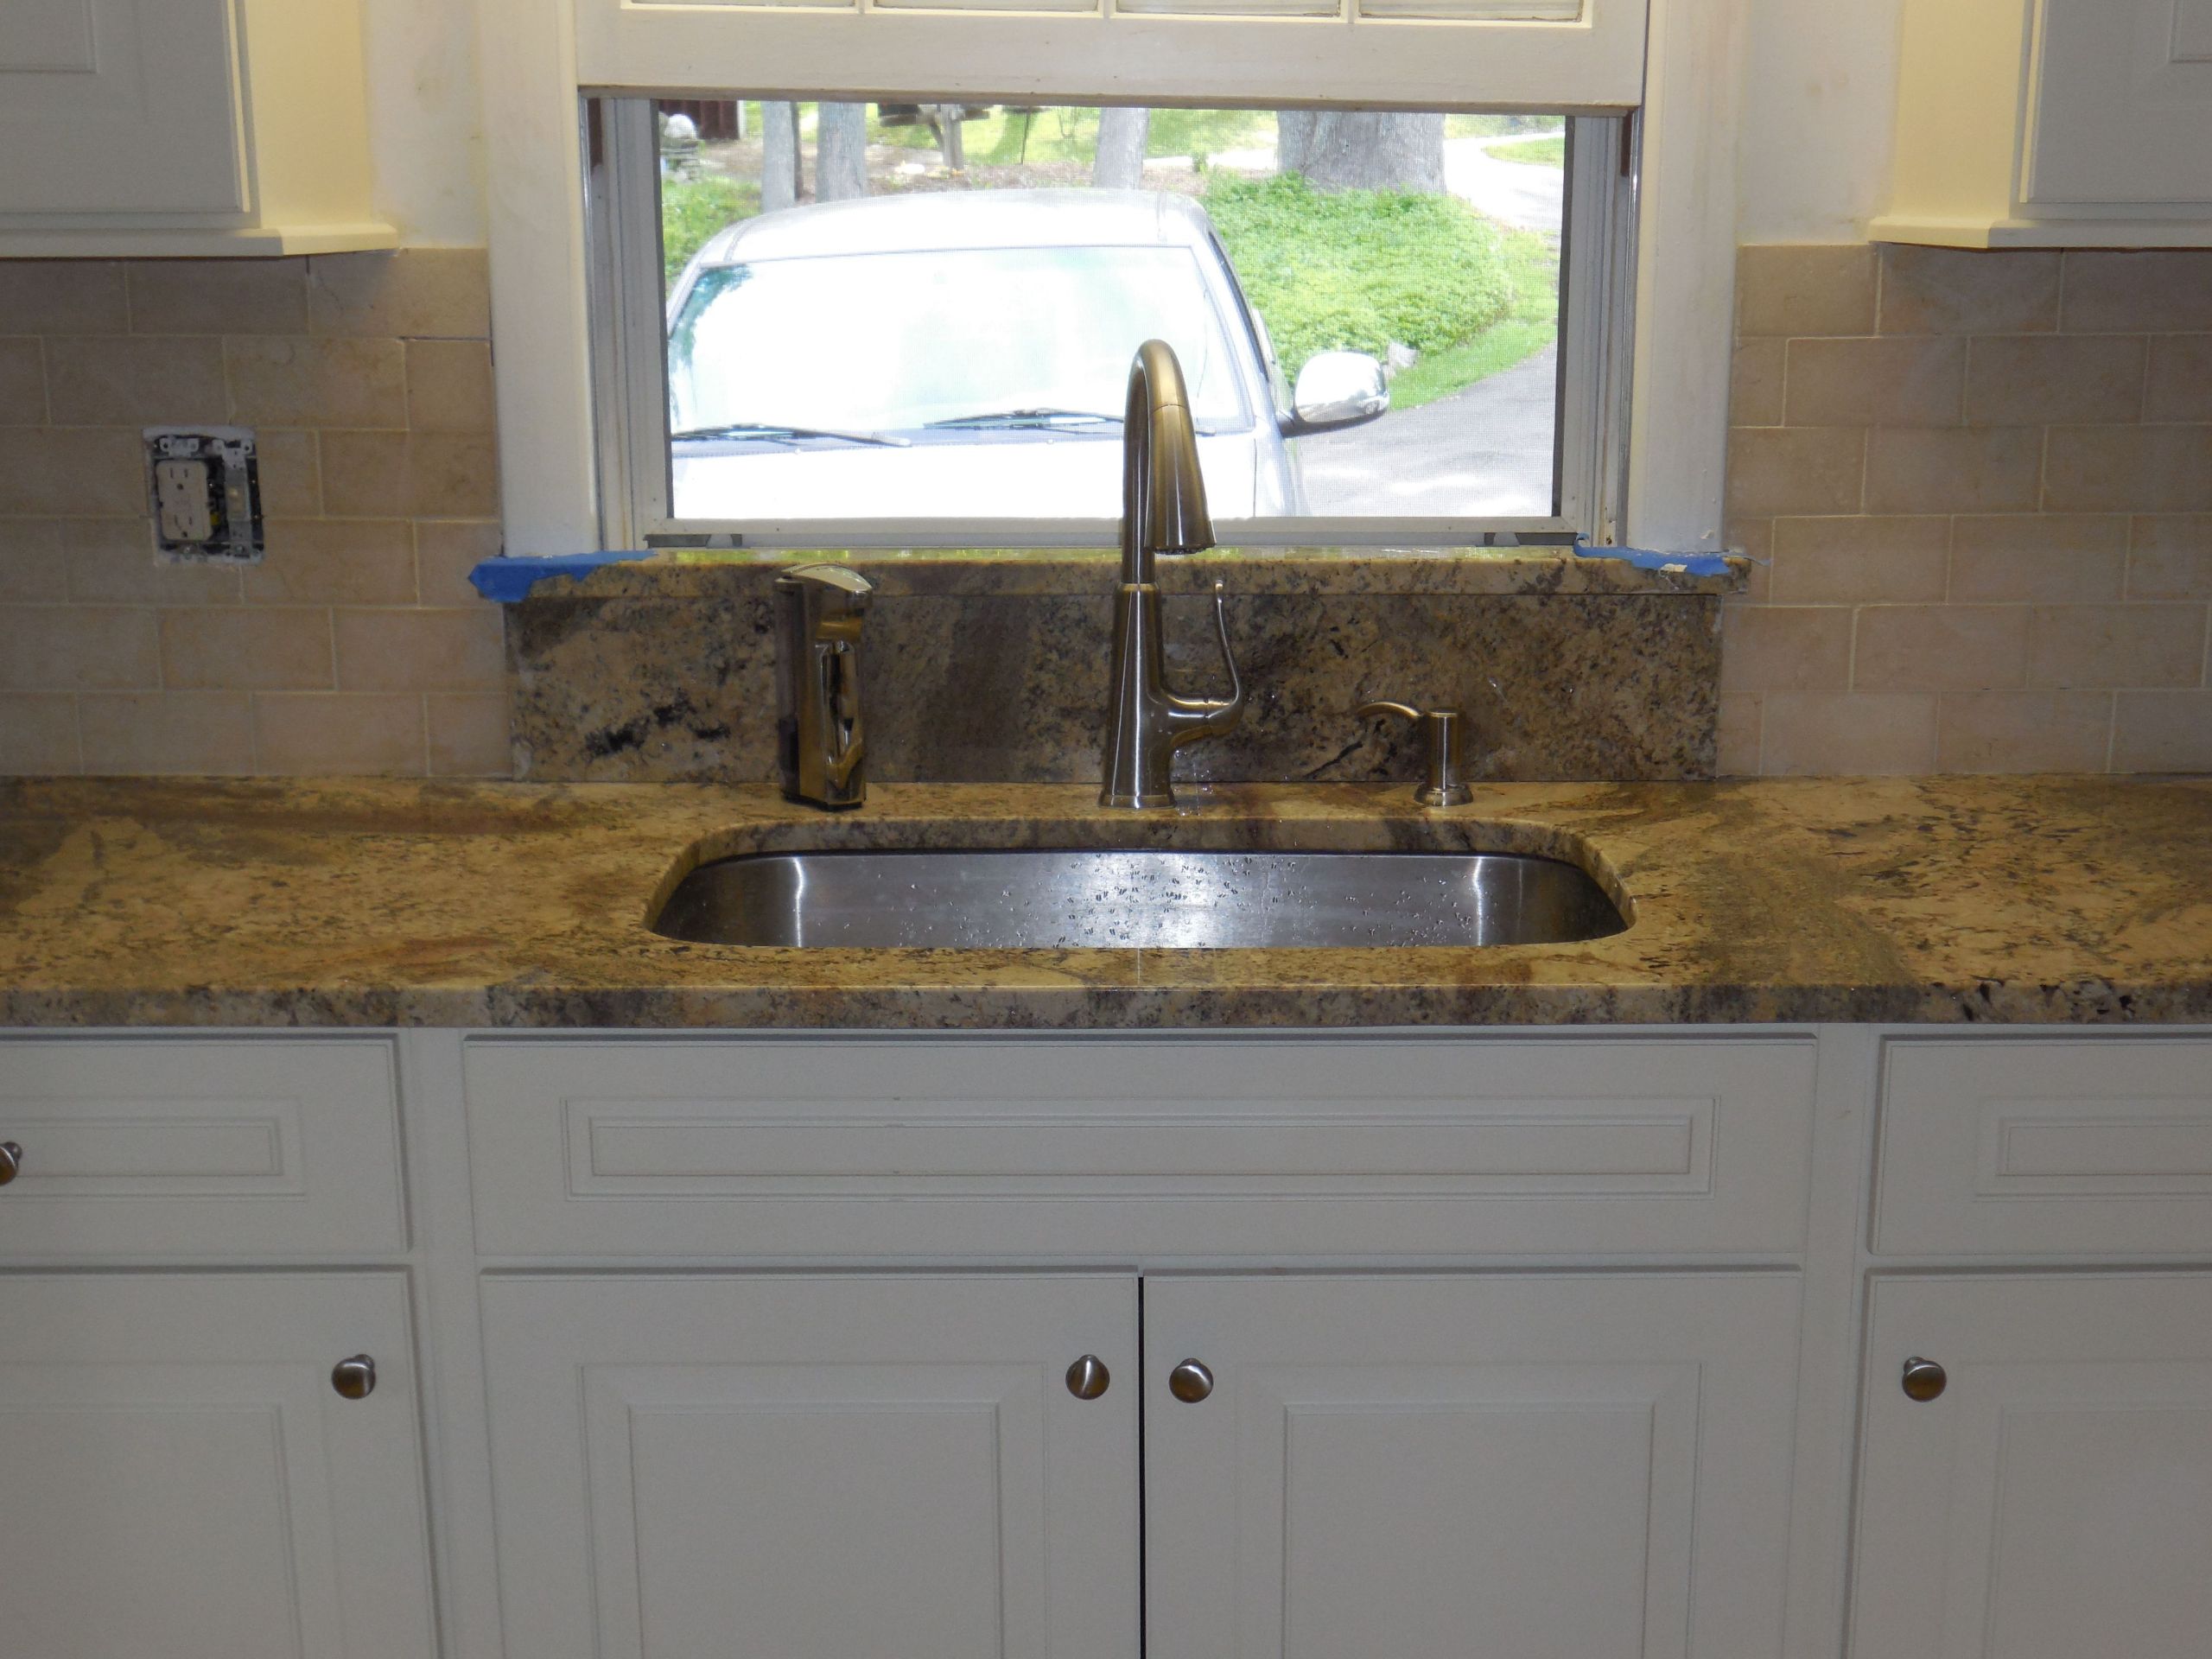
Ceramic and porcelain tiles are popular choices for kitchen spaces due to their durability and water resistance.
They are also available in a wide range of colors and patterns, allowing you to customize the look to match your kitchen's style. Natural stone tiles, such as marble or granite, can also add a luxurious touch to your kitchen sink area, but they require more maintenance to keep them looking their best.
Before diving into the tiling process, it's important to consider the type of tiles that would work best for your kitchen sink area.
Ceramic and porcelain tiles are popular choices for kitchen spaces due to their durability and water resistance.
They are also available in a wide range of colors and patterns, allowing you to customize the look to match your kitchen's style. Natural stone tiles, such as marble or granite, can also add a luxurious touch to your kitchen sink area, but they require more maintenance to keep them looking their best.
Creating a Cohesive Design
 When selecting tiles for your kitchen sink area, it's crucial to consider the overall design of your kitchen.
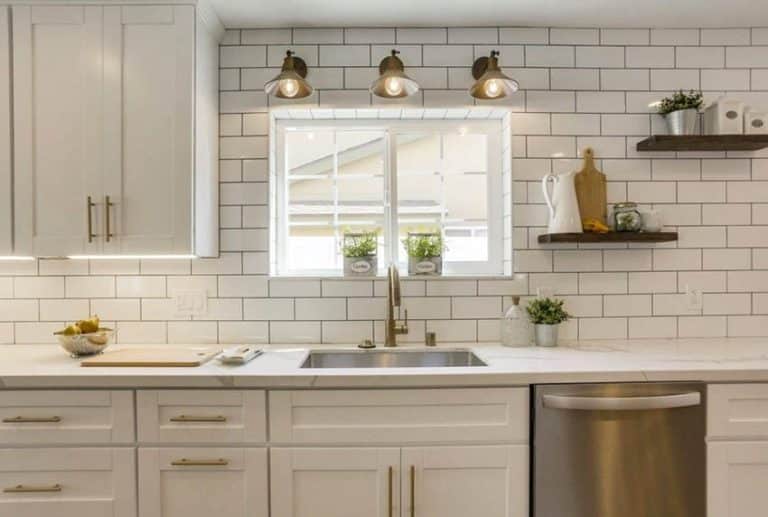
Using the same tiles as your kitchen backsplash can create a cohesive and visually appealing look.
This will tie the sink area in with the rest of the kitchen and create a seamless flow. If you have a more minimalistic kitchen design, you can use the tiling around the sink as a statement piece. Bold patterned tiles or a pop of color can add character and personality to your kitchen.
When selecting tiles for your kitchen sink area, it's crucial to consider the overall design of your kitchen.
Using the same tiles as your kitchen backsplash can create a cohesive and visually appealing look.
This will tie the sink area in with the rest of the kitchen and create a seamless flow. If you have a more minimalistic kitchen design, you can use the tiling around the sink as a statement piece. Bold patterned tiles or a pop of color can add character and personality to your kitchen.
The Tiling Process
 Once you have chosen your desired tiles, it's time to start tiling around your kitchen sink.
Start by measuring and cutting the tiles to fit the area around your sink.
It's important to use a waterproof adhesive to prevent any water damage. You can also add a sealant to the grout lines for added protection.
For a clean and polished look, use tile edging strips to frame the area around the sink.
Make sure to let the tiles dry completely before using your sink to avoid any shifting or damage.
Once you have chosen your desired tiles, it's time to start tiling around your kitchen sink.
Start by measuring and cutting the tiles to fit the area around your sink.
It's important to use a waterproof adhesive to prevent any water damage. You can also add a sealant to the grout lines for added protection.
For a clean and polished look, use tile edging strips to frame the area around the sink.
Make sure to let the tiles dry completely before using your sink to avoid any shifting or damage.
Maintaining Your Tiled Kitchen Sink Area
 To keep your tiled kitchen sink area looking its best, regular maintenance is key.
Wipe down the tiles with a damp cloth and mild cleaner to remove any food or dirt build-up.
Avoid using harsh chemicals or abrasive cleaners as they can damage the tiles.
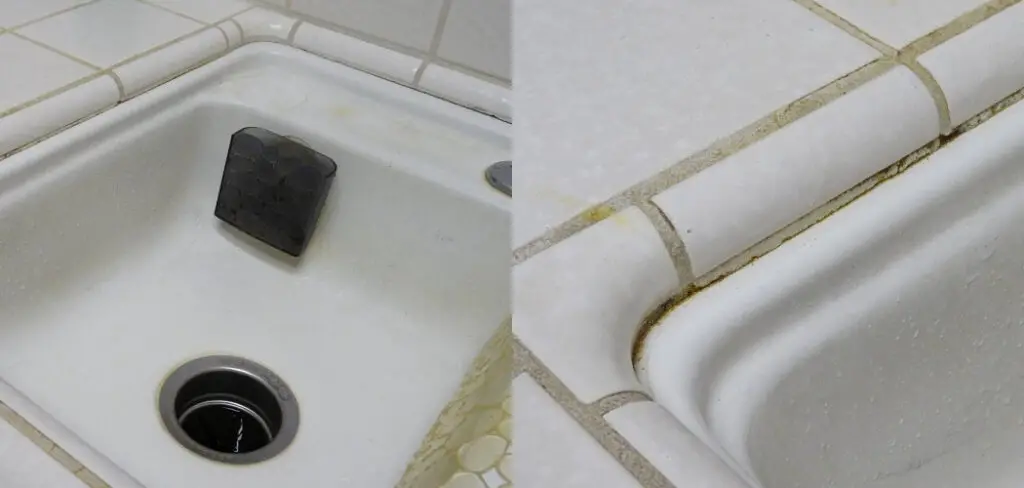
Regularly check for any cracks or chips in the tiles and replace them as needed to prevent any water leakage.
With proper care, your tiled kitchen sink area will stay beautiful and functional for years to come.
In conclusion, tiling around your kitchen sink is an essential design element that should not be overlooked.
Not only does it add a decorative touch, but it also serves as a protective barrier and can tie the design of your kitchen together.
By choosing the right tiles and following the proper tiling process, you can create a stunning and functional kitchen sink area that will elevate your overall kitchen design. So next time you're planning a kitchen renovation, don't forget to pay attention to this important detail.
To keep your tiled kitchen sink area looking its best, regular maintenance is key.
Wipe down the tiles with a damp cloth and mild cleaner to remove any food or dirt build-up.
Avoid using harsh chemicals or abrasive cleaners as they can damage the tiles.
Regularly check for any cracks or chips in the tiles and replace them as needed to prevent any water leakage.
With proper care, your tiled kitchen sink area will stay beautiful and functional for years to come.
In conclusion, tiling around your kitchen sink is an essential design element that should not be overlooked.
Not only does it add a decorative touch, but it also serves as a protective barrier and can tie the design of your kitchen together.
By choosing the right tiles and following the proper tiling process, you can create a stunning and functional kitchen sink area that will elevate your overall kitchen design. So next time you're planning a kitchen renovation, don't forget to pay attention to this important detail.