If your bathroom sink is clogged or you need to do some repairs, you may need to remove the drain from your bathroom sink. This may seem like a daunting task, but with the right tools and knowledge, you can easily take out the drain and have it fixed in no time. In this article, we will provide you with a step-by-step guide on how to remove the drain from your bathroom sink.Removing the Drain from a Bathroom Sink


Removing the Drain from a Bathroom Sink


Before you begin, make sure you have all the necessary tools ready. You will need a pair of pliers, a screwdriver, a bucket, and a plumber's snake (if the drain is clogged). Once you have these tools, follow the steps below to successfully remove the drain from your bathroom sink.How to Take Out a Bathroom Sink Drain


How to Take Out a Bathroom Sink Drain

Step 1: Remove the stopper from the drain. This can be done by either unscrewing it or pulling it out, depending on the type of stopper you have. Step 2: Use the pliers to loosen the slip nuts that connect the drain pipe to the sink. Make sure to place a bucket underneath the pipes to catch any water that may spill out. Step 3: Once the slip nuts are loosened, you can easily remove the drain pipe from the sink. Step 4: If the drain is clogged, use a plumber's snake to clear out any debris and unclog the drain. Step 5: Use the screwdriver to remove the screws that hold the drain in place. These screws are usually located under the sink. Step 6: Once the screws are removed, you can now pull the drain out from the top of the sink. Step 7: Clean the drain thoroughly to remove any buildup or debris. Step 8: If you need to replace the drain, simply follow the steps above in reverse order. Make sure to tighten the slip nuts securely to prevent any leaks.Step-by-Step Guide for Removing a Bathroom Sink Drain


Step-by-Step Guide for Removing a Bathroom Sink Drain


Removing a bathroom sink drain can easily be done as a DIY project. However, it is important to have some plumbing knowledge and the proper tools to avoid any potential damage or accidents. If you are not confident in your abilities, it is always best to hire a professional plumber to do the job.DIY: Removing a Bathroom Sink Drain


DIY: Removing a Bathroom Sink Drain

/bathroom-sink-drain-installation-2718843-01-4955fe1f576b447a91abe51c126d220b.jpg)

To successfully remove a bathroom sink drain, you will need the following tools:Tools Needed for Taking Out a Bathroom Sink Drain
Tools Needed for Taking Out a Bathroom Sink Drain


:max_bytes(150000):strip_icc()/bathroom-sink-drain-installation-2718843-02-61e5ecbee1e949be8d8f45ac4f5a6797.jpg)
Here are some tips to keep in mind when taking out a bathroom sink drain:Tips for Successfully Removing a Bathroom Sink Drain


Tips for Successfully Removing a Bathroom Sink Drain


Some common mistakes to avoid when removing a bathroom sink drain include:Common Mistakes to Avoid When Taking Out a Bathroom Sink Drain


Common Mistakes to Avoid When Taking Out a Bathroom Sink Drain


If you prefer visual instructions, you can easily find video tutorials online that demonstrate how to remove a bathroom sink drain. These videos can provide you with a better understanding of the process and help you avoid any mistakes.Video Tutorial: Removing a Bathroom Sink Drain


Video Tutorial: Removing a Bathroom Sink Drain


While it is possible to remove a bathroom sink drain as a DIY project, it is always best to hire a professional plumber for more complex issues. A plumber has the necessary knowledge and experience to handle any potential problems and prevent any damage to your plumbing system.Professional vs. DIY: Removing a Bathroom Sink Drain


Professional vs. DIY: Removing a Bathroom Sink Drain

When removing a bathroom sink drain, it is important to take the following safety precautions:Safety Precautions to Take When Removing a Bathroom Sink Drain

Safety Precautions to Take When Removing a Bathroom Sink Drain


Taking the Drain Out of Bathroom Sink: A Simple Guide to Improving Your House Design

Introduction
 When it comes to designing our homes, we often focus on the bigger elements such as furniture, lighting, and color schemes. But, it's the little things that can make a big difference in the overall look and feel of a space. One of these often overlooked elements is the bathroom sink drain. While it may seem like a small and insignificant detail, changing out the drain can actually enhance the design and functionality of your bathroom. In this article, we'll explore the benefits of taking the drain out of your bathroom sink and provide a step-by-step guide on how to do it yourself.
Why Change the Drain?
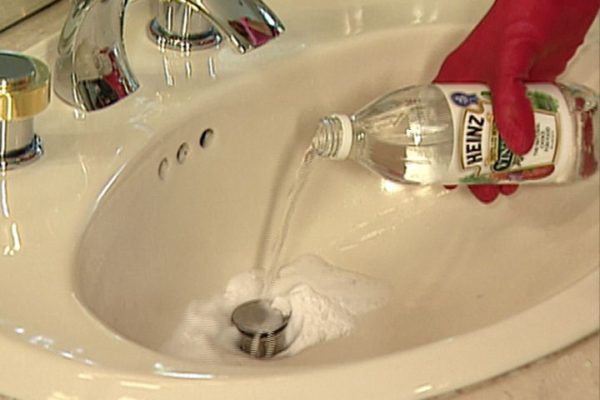
 You may be wondering, why bother changing out the drain in the first place? Well, there are a few reasons. Firstly, over time, drains can become clogged with hair and debris, causing slow draining and unpleasant odors. By replacing the drain, you can improve the functionality of your sink and prevent any potential plumbing issues. Secondly, changing out the drain can also give your bathroom a fresh and updated look. With so many different styles and finishes available, you can choose a drain that complements your existing bathroom design or use it as an opportunity to add a unique touch.
Step-by-Step Guide
 Now that you understand the benefits, let's dive into the steps for taking the drain out of your bathroom sink.
Step 1:
Turn off the water supply to your bathroom sink by closing the shut-off valves under the sink.
Step 2:
Using a wrench, detach the P-trap (the U-shaped pipe under the sink) and remove any standing water.
Step 3:
Locate the nut that holds the drain in place and use pliers to loosen and remove it.
Step 4:
Pull the old drain out of the sink.
Step 5:
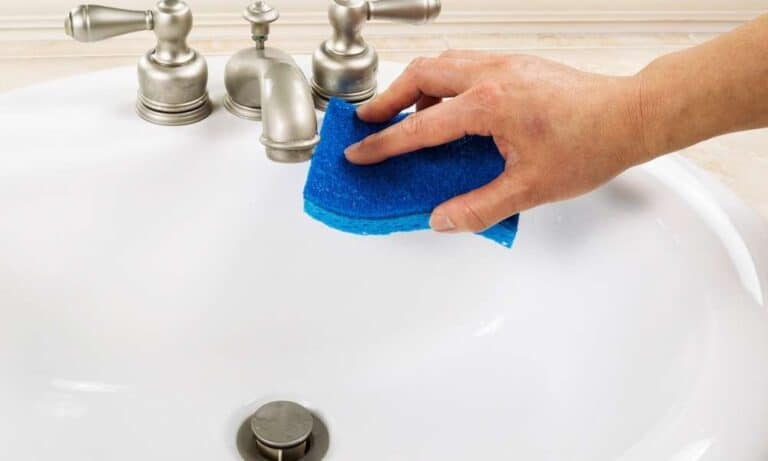
Clean the area around the drain hole and remove any old putty or caulk.
Step 6:
Apply a ring of plumber's putty around the underside of the new drain.
Step 7:
Insert the new drain into the sink and secure it with the nut from step 3.
Step 8:
Reattach the P-trap and turn the water supply back on.
Now that you understand the benefits, let's dive into the steps for taking the drain out of your bathroom sink.
Step 1:
Turn off the water supply to your bathroom sink by closing the shut-off valves under the sink.
Step 2:
Using a wrench, detach the P-trap (the U-shaped pipe under the sink) and remove any standing water.
Step 3:
Locate the nut that holds the drain in place and use pliers to loosen and remove it.
Step 4:
Pull the old drain out of the sink.
Step 5:
Clean the area around the drain hole and remove any old putty or caulk.
Step 6:
Apply a ring of plumber's putty around the underside of the new drain.
Step 7:
Insert the new drain into the sink and secure it with the nut from step 3.
Step 8:
Reattach the P-trap and turn the water supply back on.
Conclusion
 By following these simple steps, you can easily change out the drain in your bathroom sink and reap the benefits of an improved design and functionality. Don't overlook the small details when it comes to your house design, as they can make all the difference. So, next time you're looking to update your bathroom, consider taking the drain out and giving your sink a fresh new look.