Welcome to Sunco, where we believe in providing high-quality bathroom vanities for your home. Our bathroom vanities are not only stylish and functional, but they are also easy to assemble. In this article, we will be guiding you through the top 10 Sunco bathroom vanity assembly instructions. Whether you are a beginner or an experienced DIY enthusiast, our step-by-step instructions will make the assembly process a breeze.1. Introduction


Sunco Bathroom Vanity Assembly Instructions


Before beginning the assembly process, make sure you have all the necessary tools. These include a screwdriver, hammer, level, and measuring tape. It is also recommended to have a helper to make the assembly process smoother.2. Tools Required


Sunco Vanity Assembly Instructions


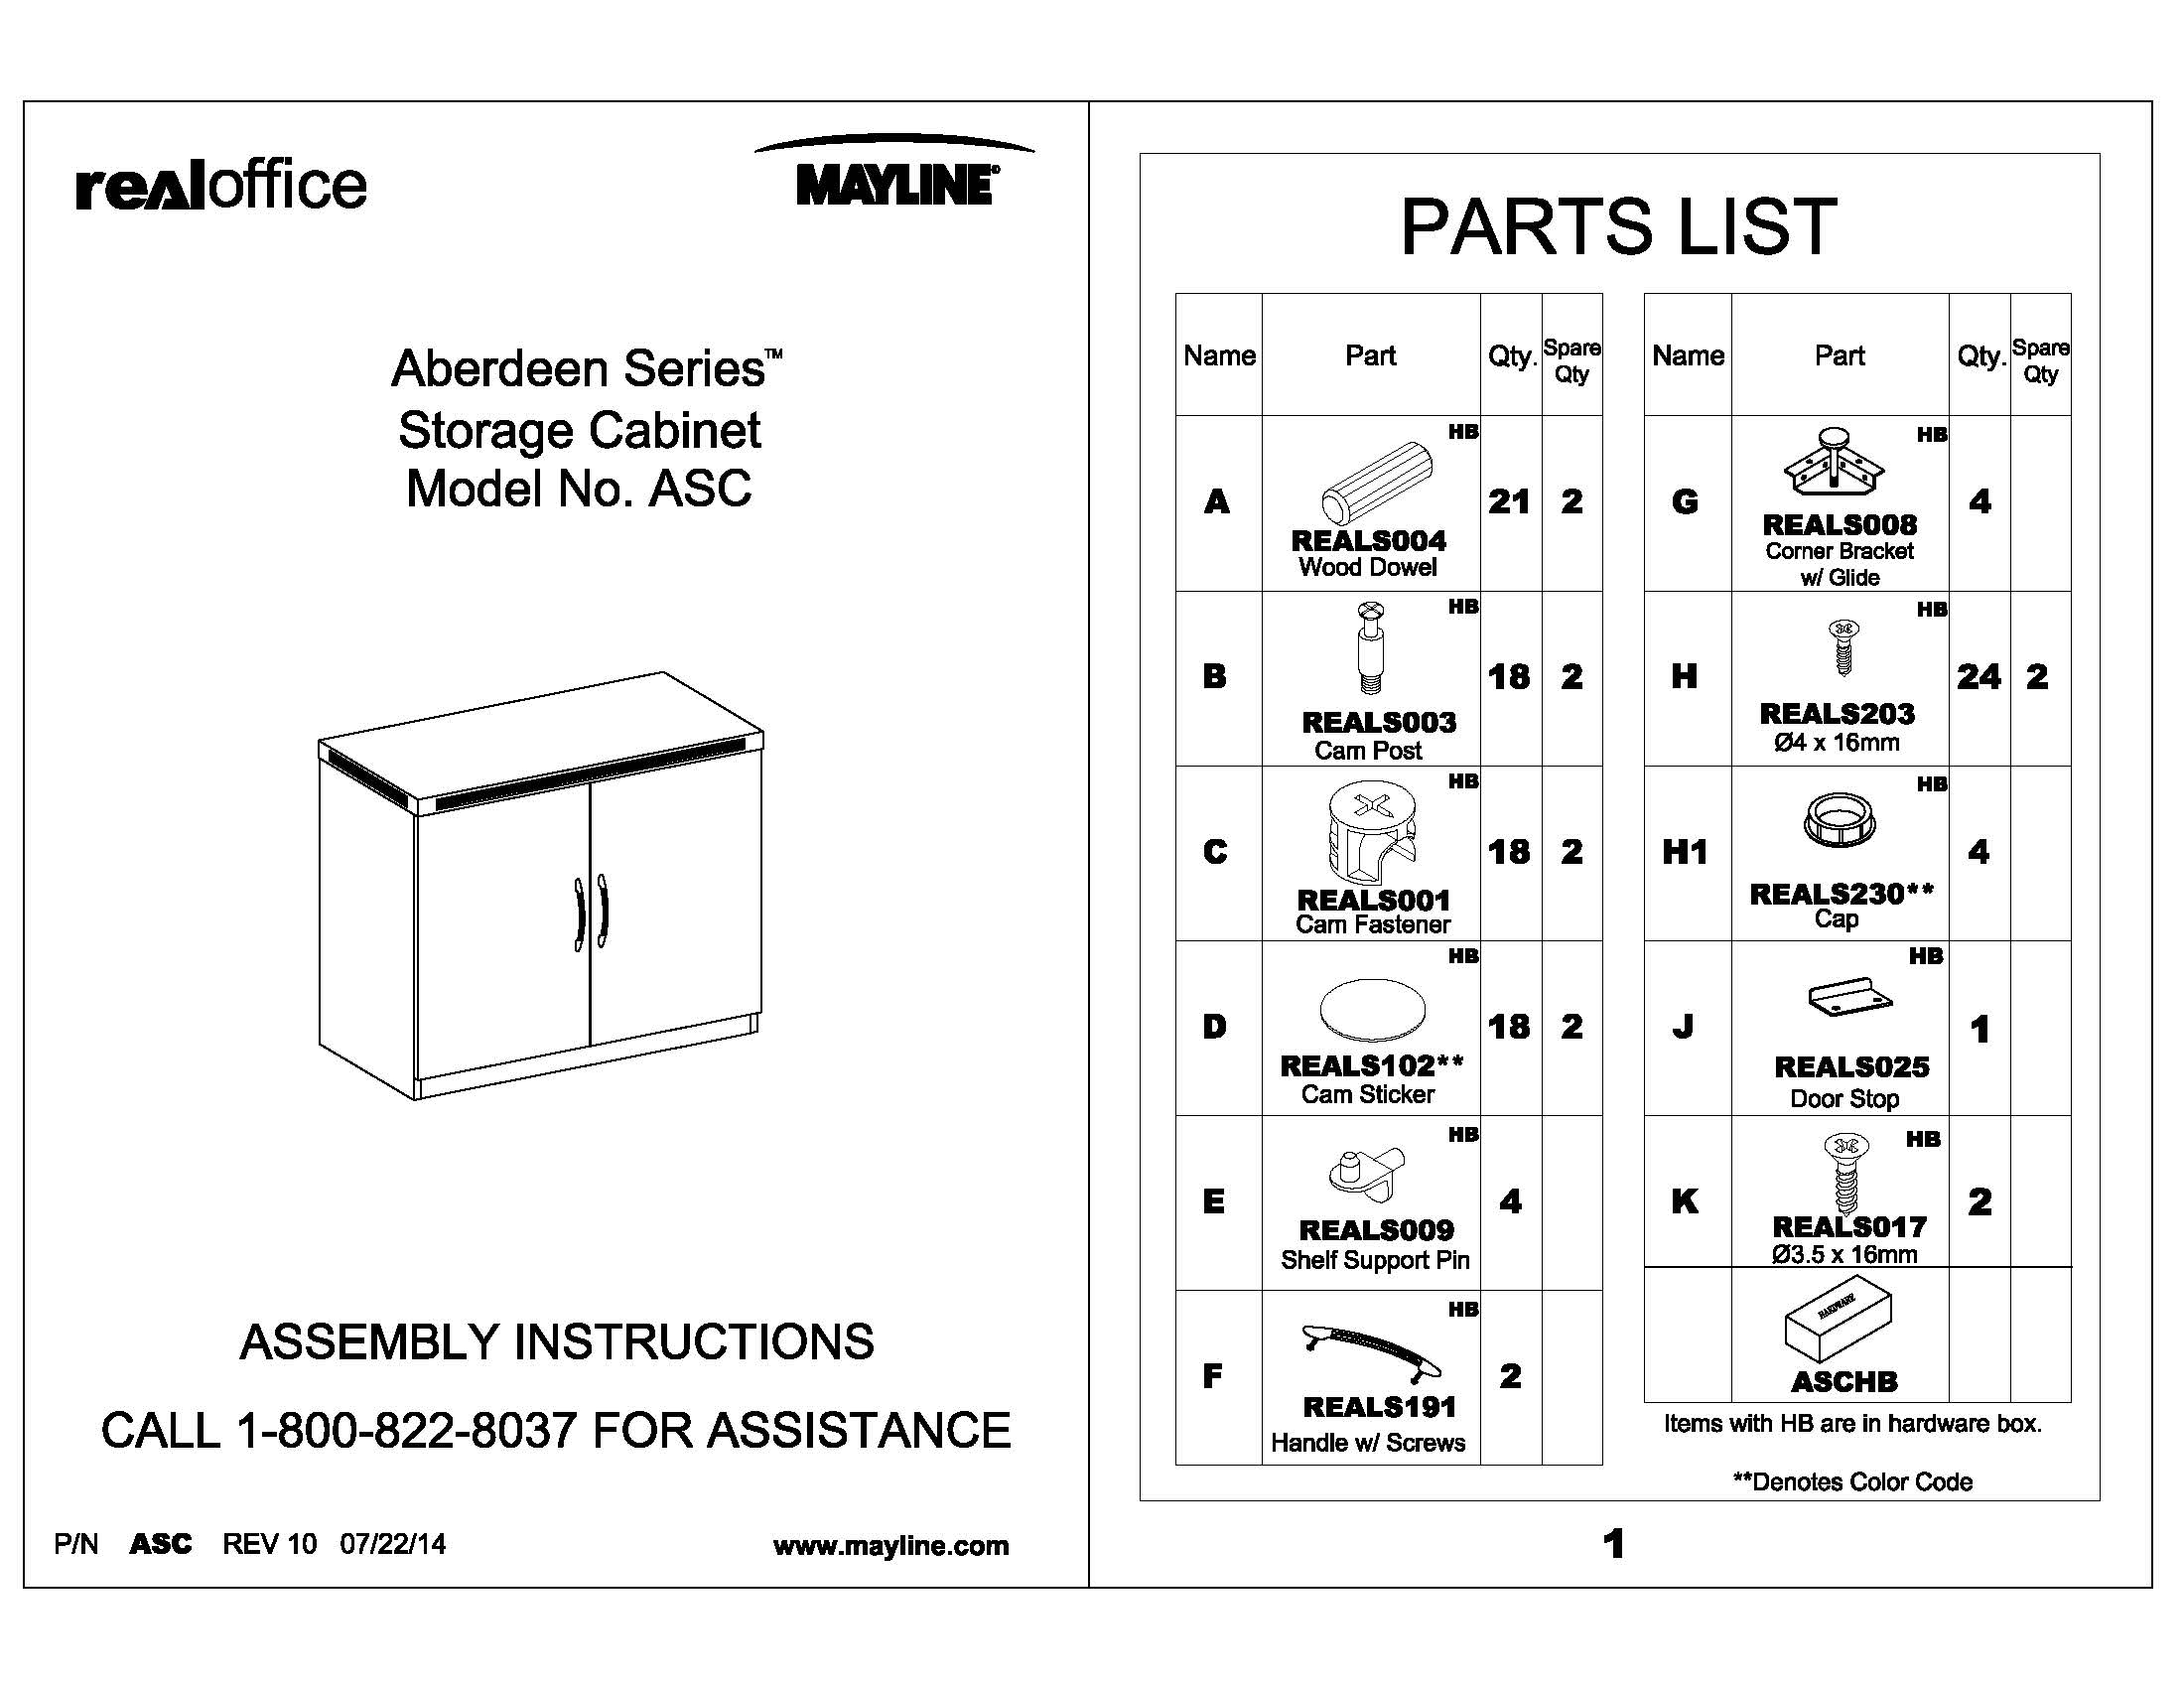


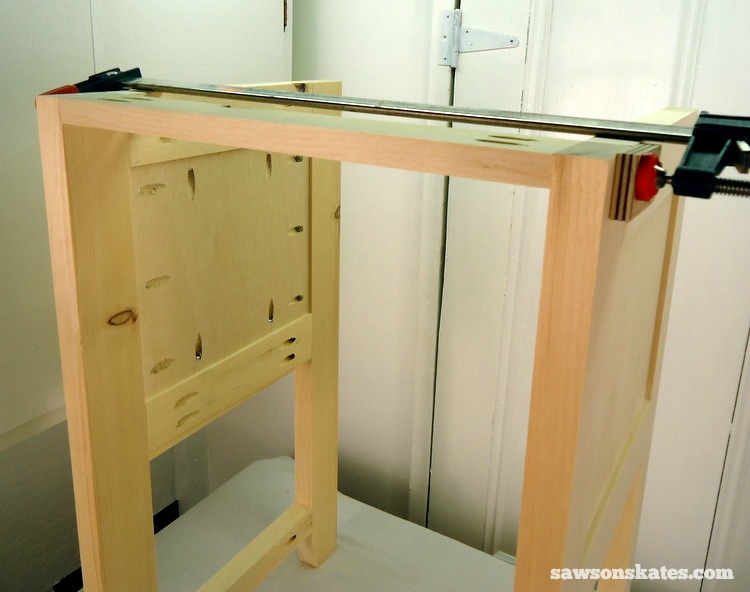
The first step is to unpack and inspect your Sunco bathroom vanity. Carefully remove all the parts from the packaging and check for any damages. If you notice any defects or missing parts, please contact our customer service team for assistance.3. Unpack and Inspect


Sunco Bathroom Vanity Instructions


:max_bytes(150000):strip_icc()/build-something-diy-vanity-594402125f9b58d58ae21158.jpg)
It is essential to read the instructions provided before starting the assembly process. The instructions will provide you with a clear understanding of the steps involved and the tools required. This will ensure that you assemble your vanity correctly.4. Read the Instructions


Sunco Vanity Assembly


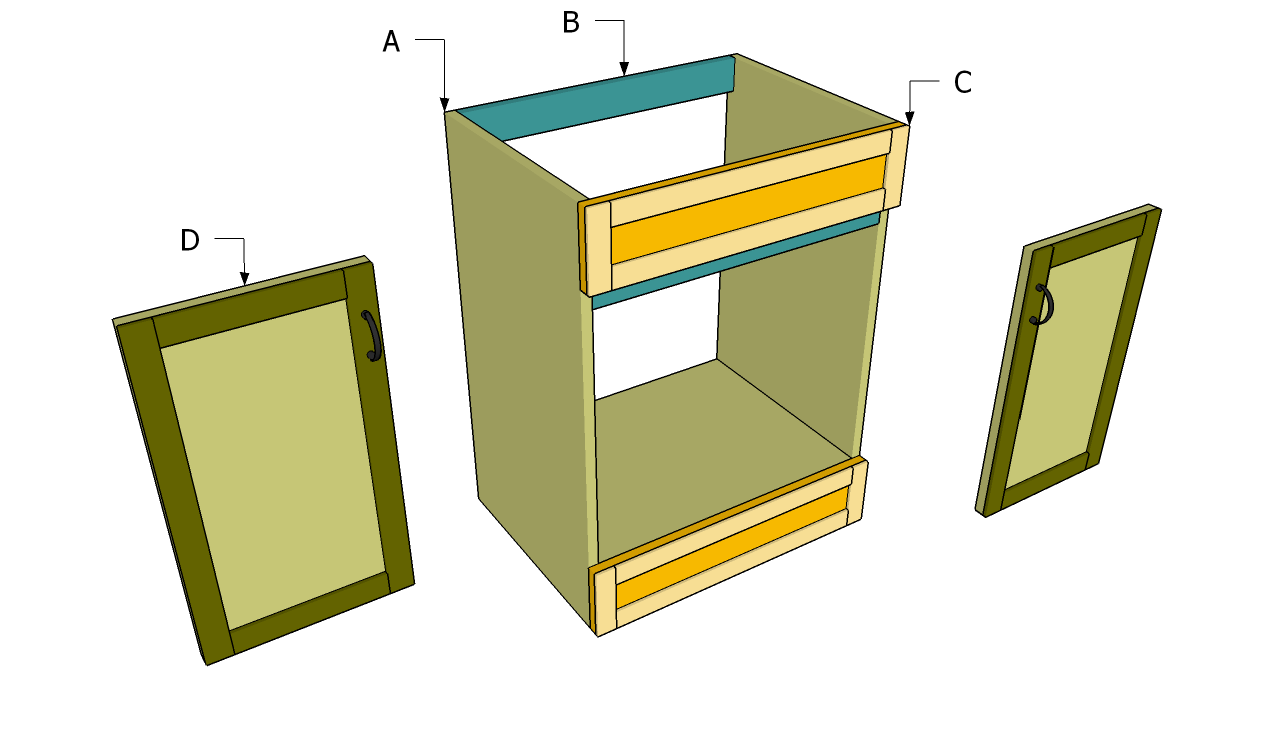
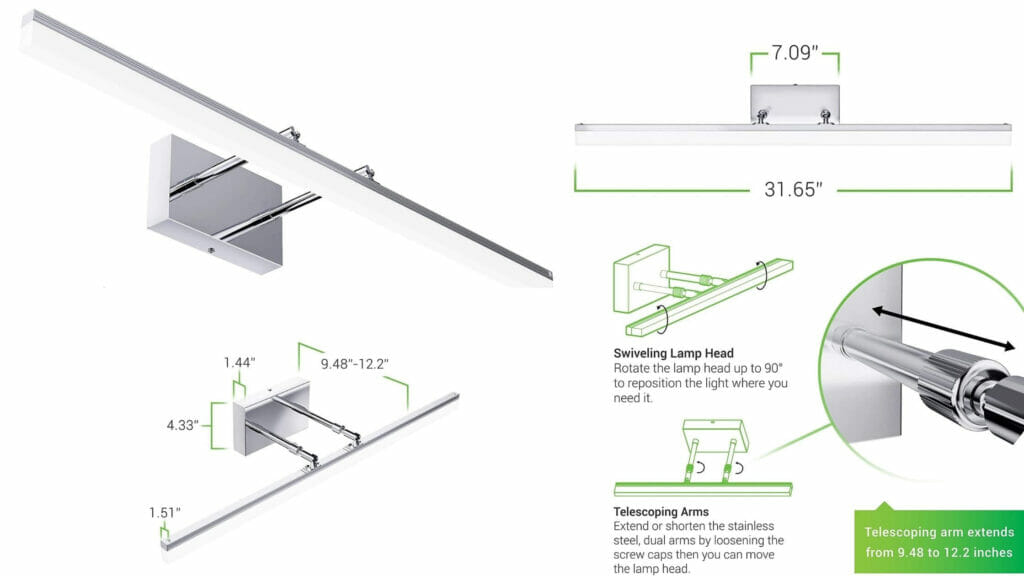
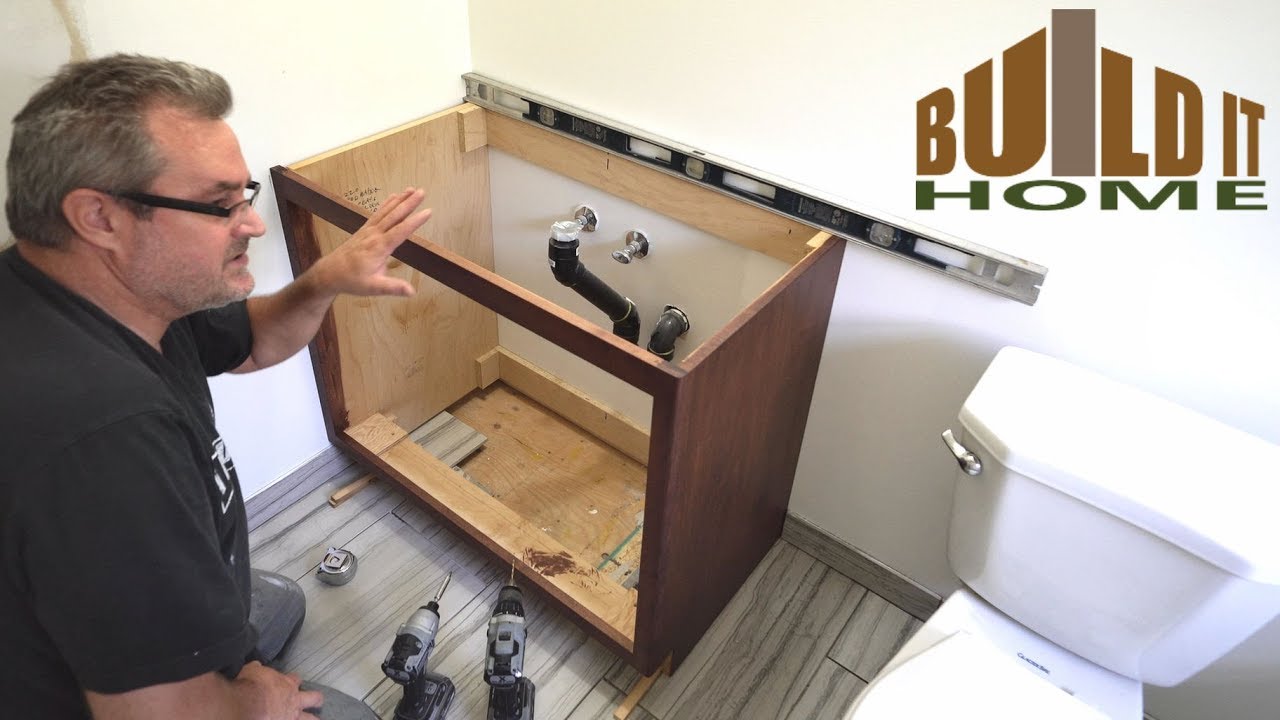
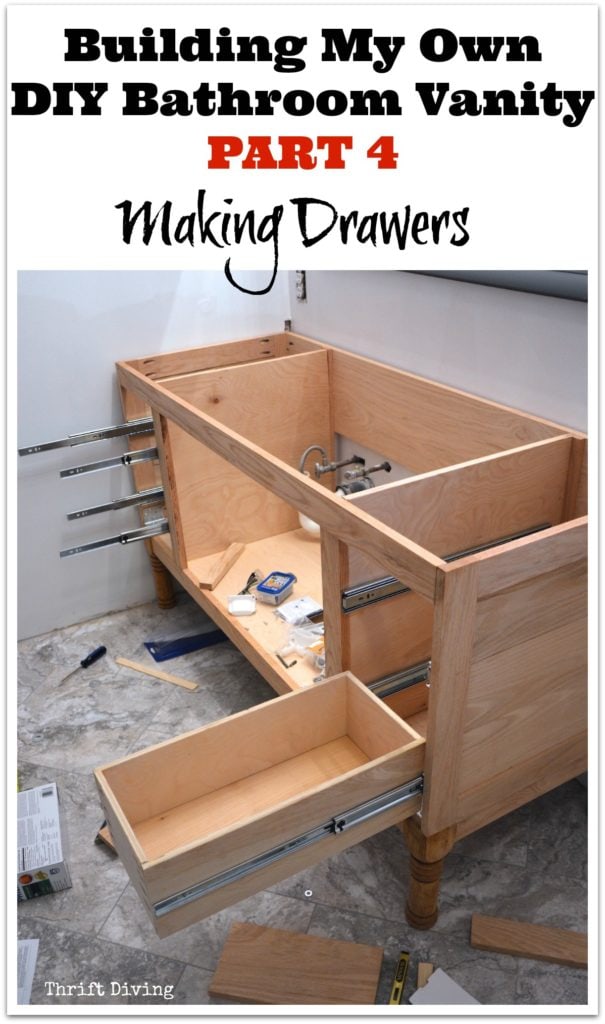
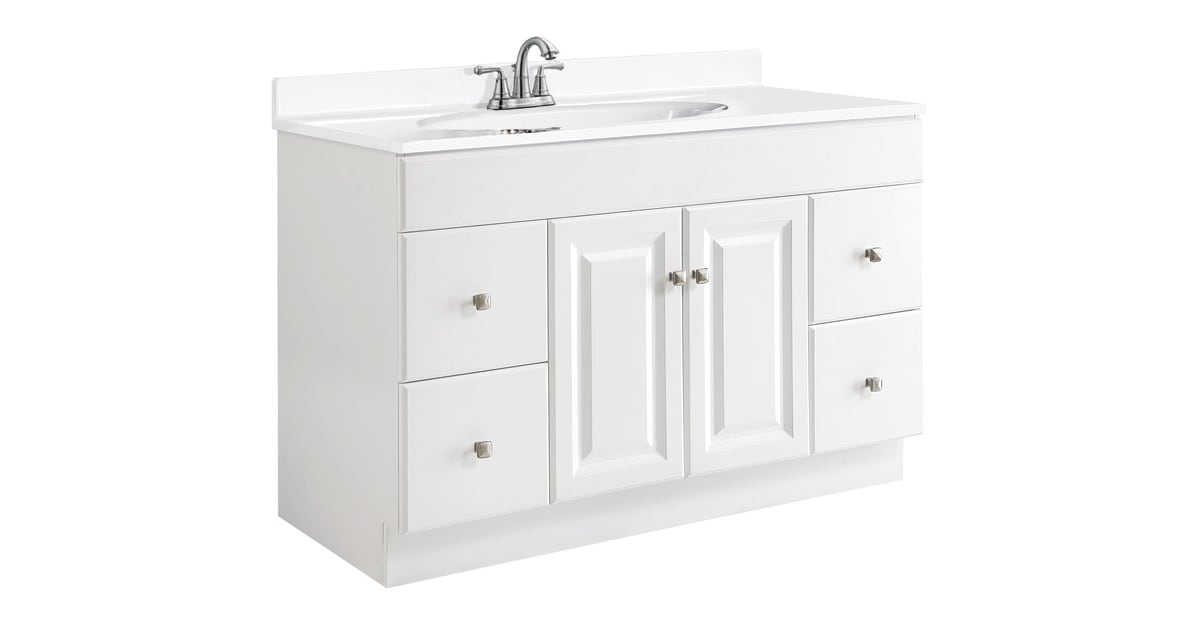
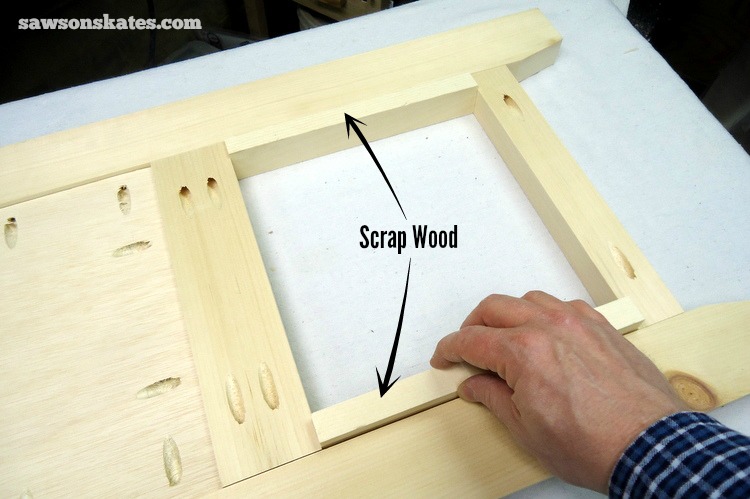
The first step is to assemble the base of the vanity. Place the base on a flat surface and attach the side panels using the provided screws. Make sure to use a level to ensure the base is even.5. Begin with the Base


Sunco Bathroom Vanity


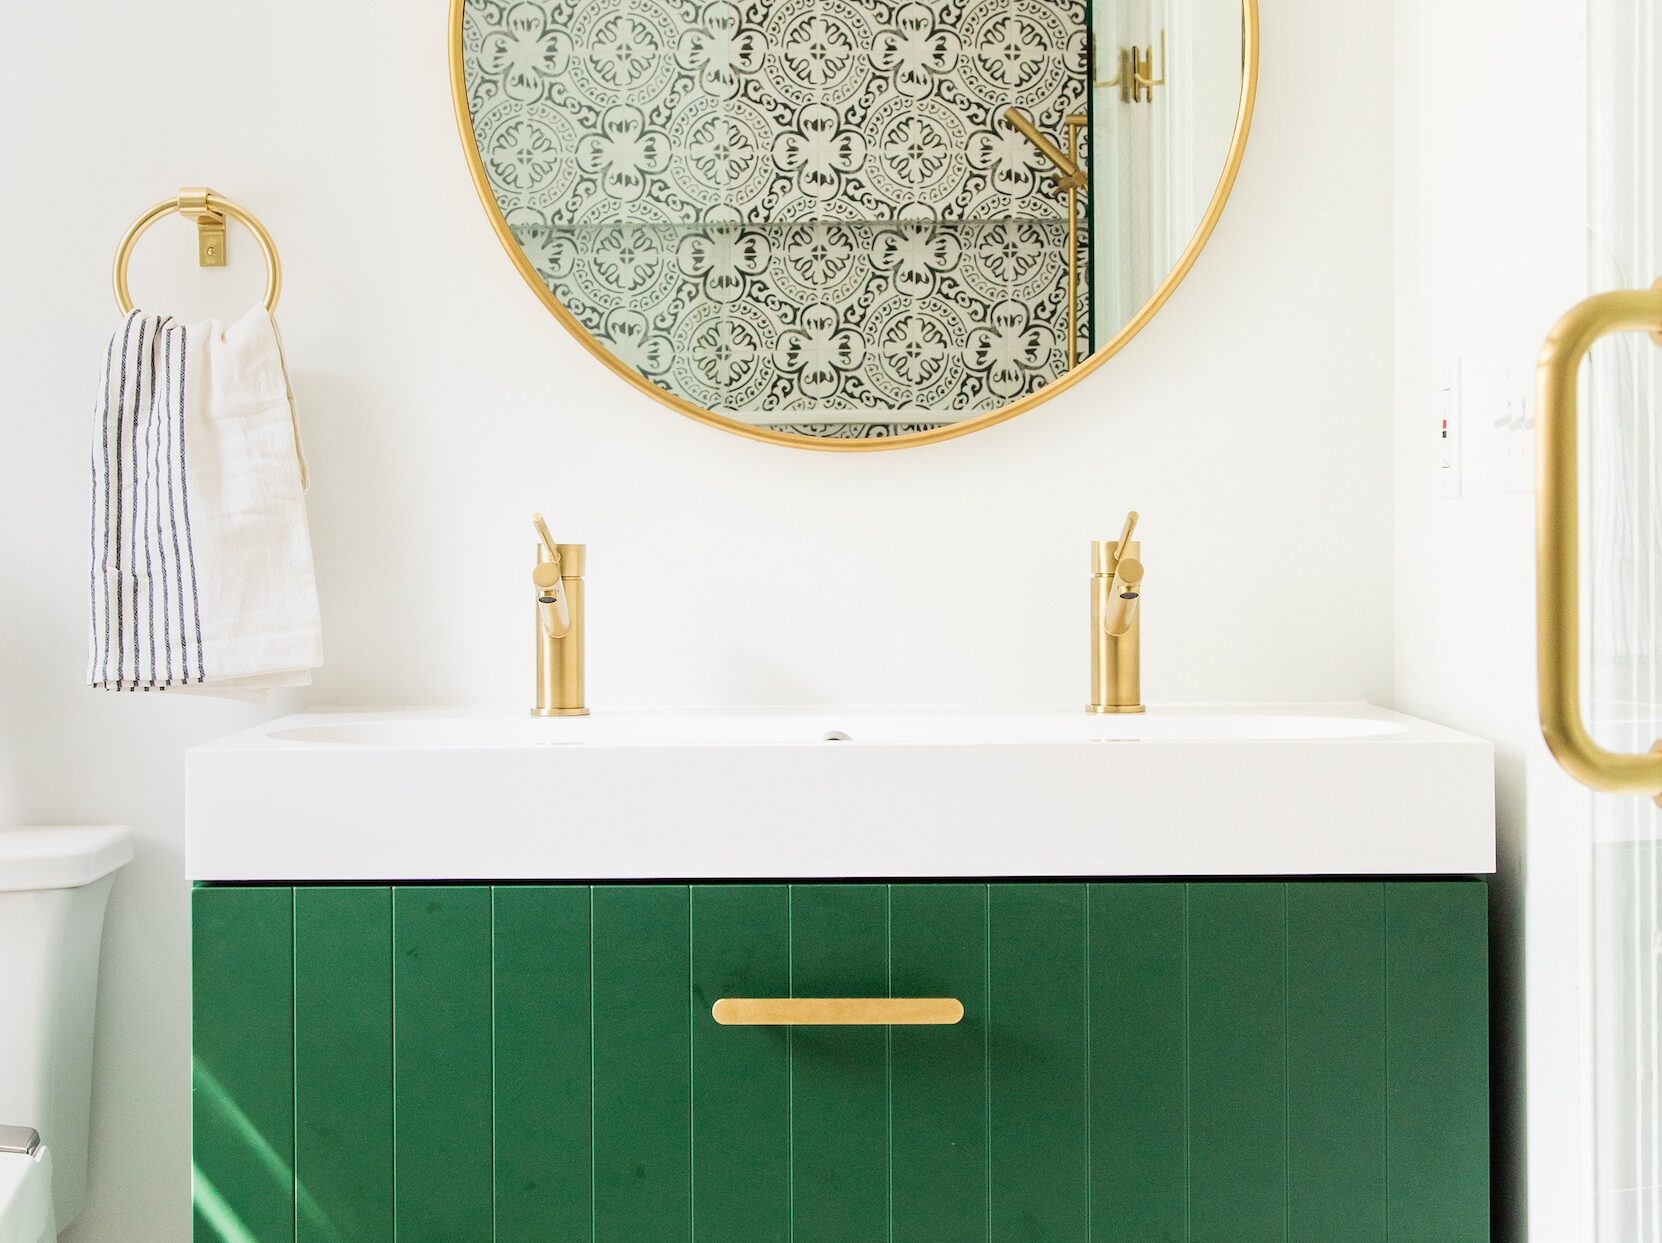
Once the base is assembled, it is time to install the countertop. Carefully place the countertop on top of the base and secure it with the provided screws. Make sure to use a level to ensure the countertop is even.6. Install the Countertop


Sunco Assembly Instructions


Next, you will need to attach the sink to the countertop. Apply a thin layer of silicone caulk around the edges of the sink and carefully place it on top of the countertop. Wipe off any excess caulk and let it dry before proceeding.7. Attach the Sink


Bathroom Vanity Assembly Instructions


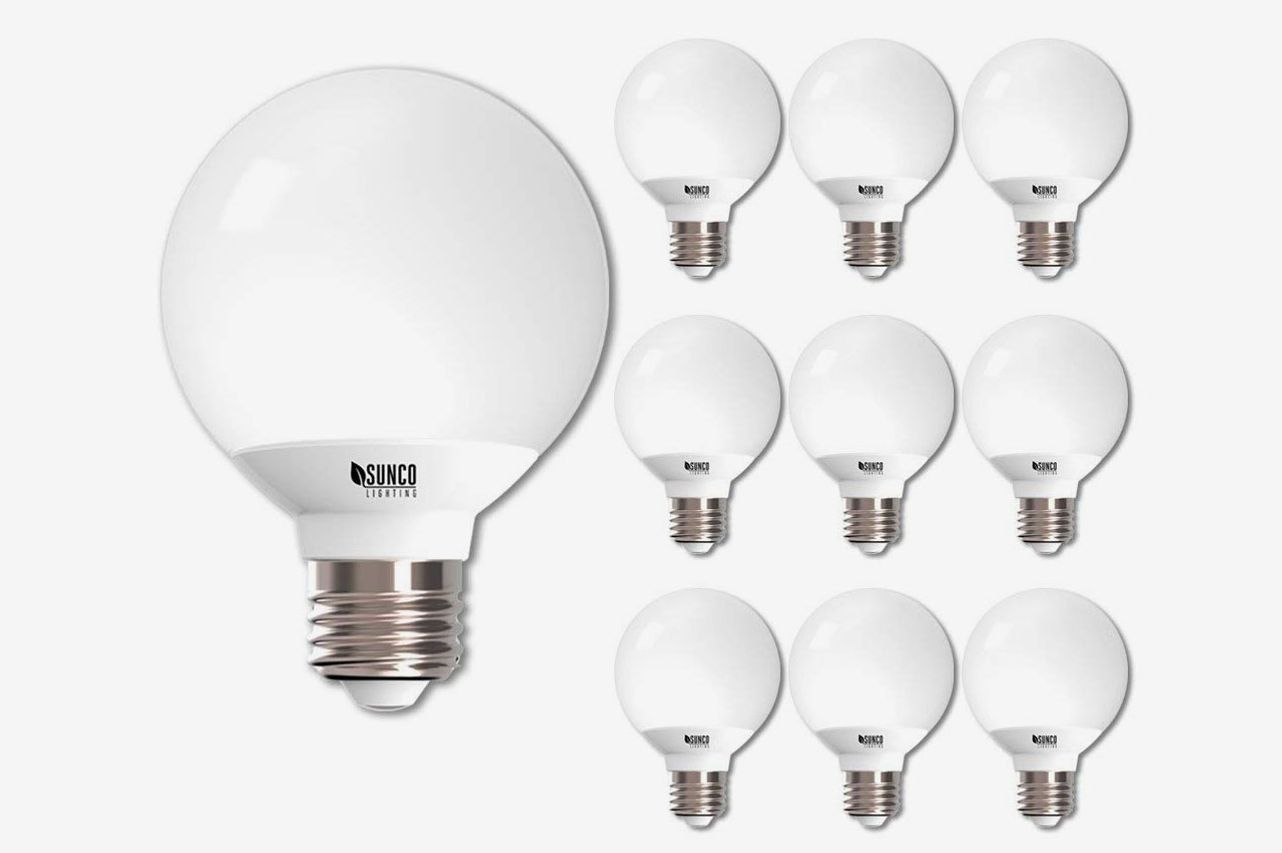
Now it is time to install the faucet on the sink. Follow the manufacturer's instructions for the specific faucet you have purchased. Make sure to turn off the water supply before installing the faucet.8. Install the Faucet


Sunco Vanity


Once the faucet is installed, you can connect the plumbing. This includes attaching the drain and water supply lines. Make sure to tighten all connections to prevent any leaks.9. Connect the Plumbing


Bathroom Vanity Instructions
:max_bytes(150000):strip_icc()/build-something-diy-vanity-594402125f9b58d58ae21158.jpg)


The final step is to secure the vanity to the wall. Use the provided screws to attach the vanity to the wall studs. This will ensure that your vanity is stable and secure. Congratulations, you have successfully assembled your Sunco bathroom vanity! With proper care and maintenance, your vanity will last for many years to come. Thank you for choosing Sunco for your bathroom needs.10. Secure the Vanity to the Wall

Vanity Assembly Instructions


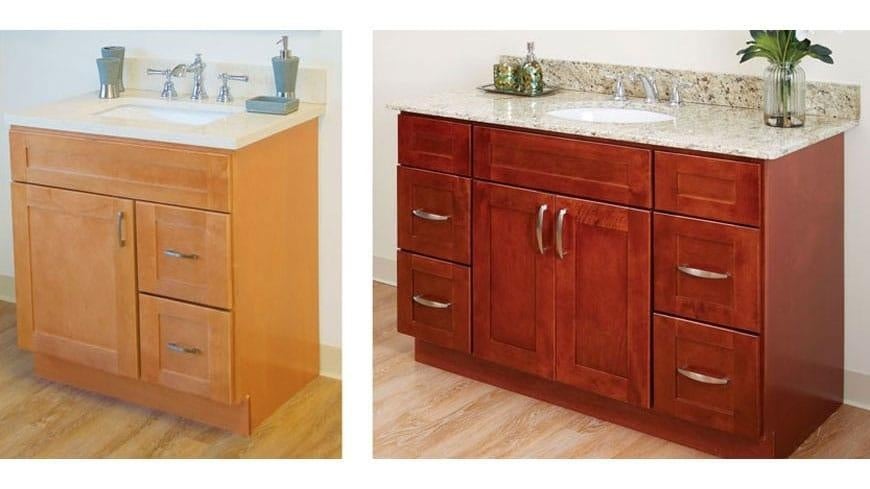
Why Choose Sunco Bathroom Vanity for Your House Design?

Unparalleled Quality
 When it comes to designing your dream bathroom, every detail matters. This is why Sunco bathroom vanities are the perfect choice for your house design. Each piece is crafted with the highest quality materials, ensuring durability and longevity. From the sturdy wood frames to the sleek and stylish finishes, every aspect of a Sunco bathroom vanity exudes quality and sophistication.
Customizable Options
 No two bathrooms are the same, and at Sunco, we understand the importance of personalization. That's why our bathroom vanities come in a variety of sizes, styles, and finishes to suit your unique space and design preferences. Whether you prefer a modern and minimalistic look or a more traditional and ornate design, we have a vanity that will complement your house design perfectly.
Easy Assembly with Sunco Bathroom Vanity Assembly Instructions
 One of the biggest concerns when purchasing furniture is the assembly process. However, with Sunco bathroom vanities, this is not a problem. Our easy-to-follow
assembly instructions
make it simple and stress-free to put together your new vanity. Each step is clearly outlined and accompanied by detailed illustrations, ensuring a smooth and hassle-free assembly process.
One of the biggest concerns when purchasing furniture is the assembly process. However, with Sunco bathroom vanities, this is not a problem. Our easy-to-follow
assembly instructions
make it simple and stress-free to put together your new vanity. Each step is clearly outlined and accompanied by detailed illustrations, ensuring a smooth and hassle-free assembly process.
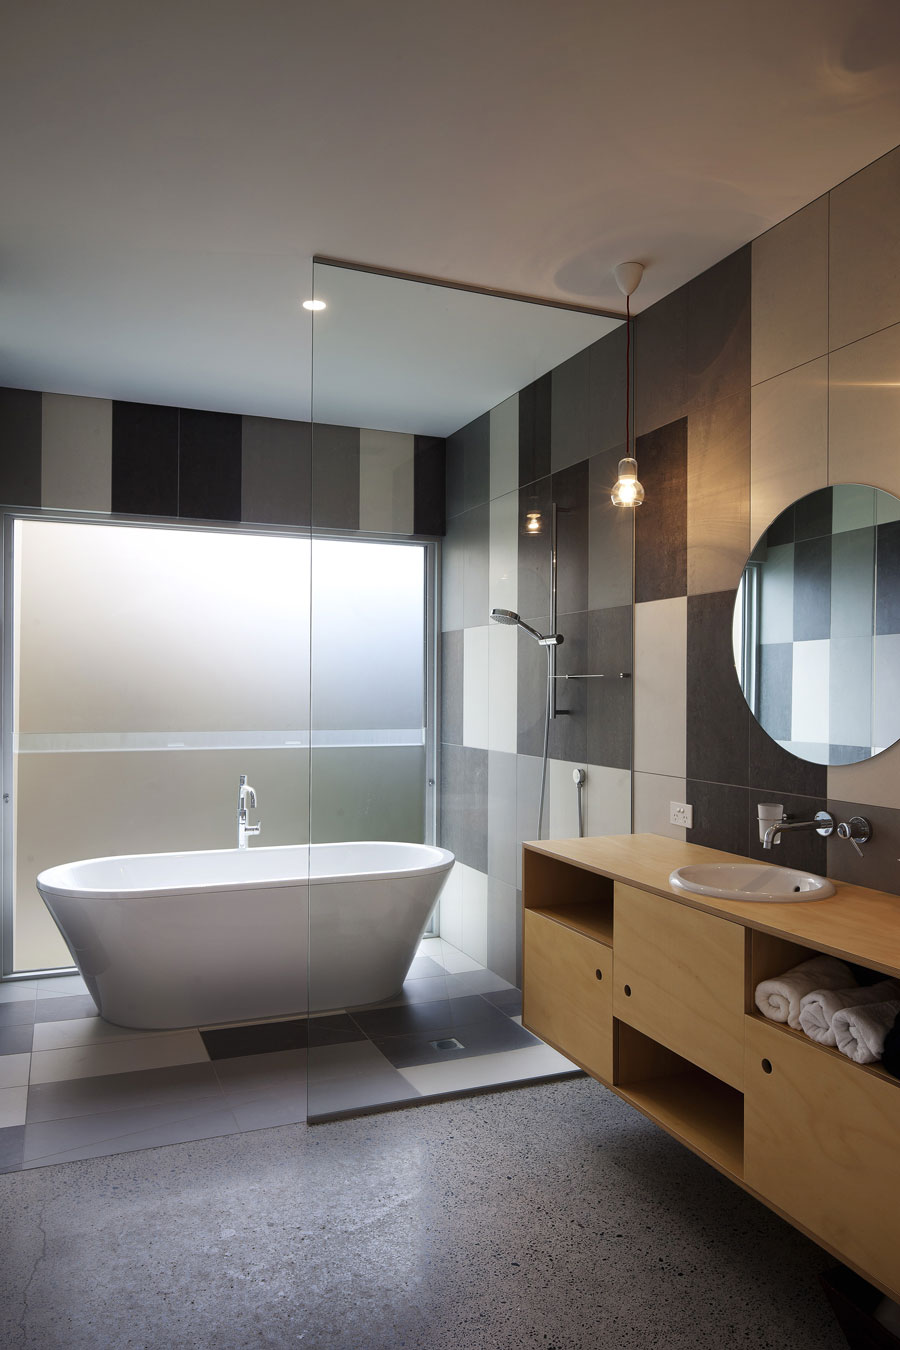
Stylish and Functional Addition to Your Bathroom
 A bathroom vanity is not just a piece of furniture, but also a statement piece in your overall house design. Sunco bathroom vanities not only add style and elegance to your bathroom, but they also provide essential storage space for all your bathroom essentials. With spacious drawers and cabinets, you can keep your bathroom clutter-free and organized.
Affordable Luxury
 Sunco bathroom vanities are not only high-quality and stylish, but they are also affordable. We believe that everyone should have access to luxurious and functional bathroom furniture without breaking the bank. Our competitive prices make it easy for you to upgrade your bathroom and elevate your house design without spending a fortune.
In conclusion, Sunco bathroom vanities offer unparalleled quality, customizable options, easy assembly, style, and affordability, making them the perfect choice for your house design. Don't settle for less, choose Sunco and transform your bathroom into a luxurious and functional space.
Sunco bathroom vanities are not only high-quality and stylish, but they are also affordable. We believe that everyone should have access to luxurious and functional bathroom furniture without breaking the bank. Our competitive prices make it easy for you to upgrade your bathroom and elevate your house design without spending a fortune.
In conclusion, Sunco bathroom vanities offer unparalleled quality, customizable options, easy assembly, style, and affordability, making them the perfect choice for your house design. Don't settle for less, choose Sunco and transform your bathroom into a luxurious and functional space.