Are you ready to upgrade your sleeping experience with a new Sleep Number S1 Mattress? Congratulations on your purchase! But now comes the task of assembling it. Don't worry, we've got you covered with step-by-step instructions to make the process a breeze. The first step in assembling your Sleep Number S1 Mattress is to unpack all the pieces from the box. Make sure you have all the necessary parts, including the mattress, base, and remote control. It's always a good idea to double-check the contents before starting. Featured keyword: Sleep Number S1 Mattress Assembly1. Sleep Number S1 Mattress Assembly Instructions


1. Sleep Number S1 Mattress Assembly Instructions


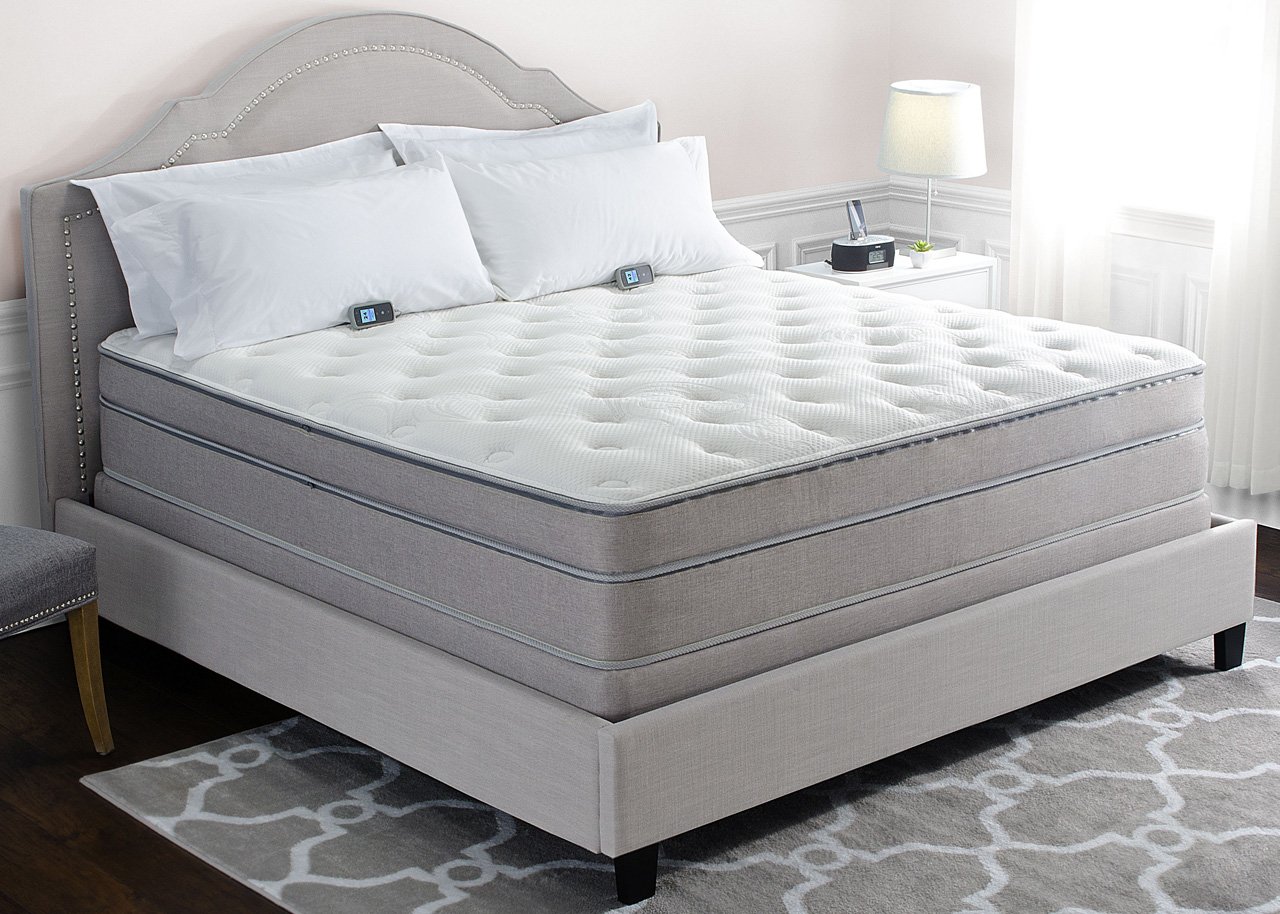
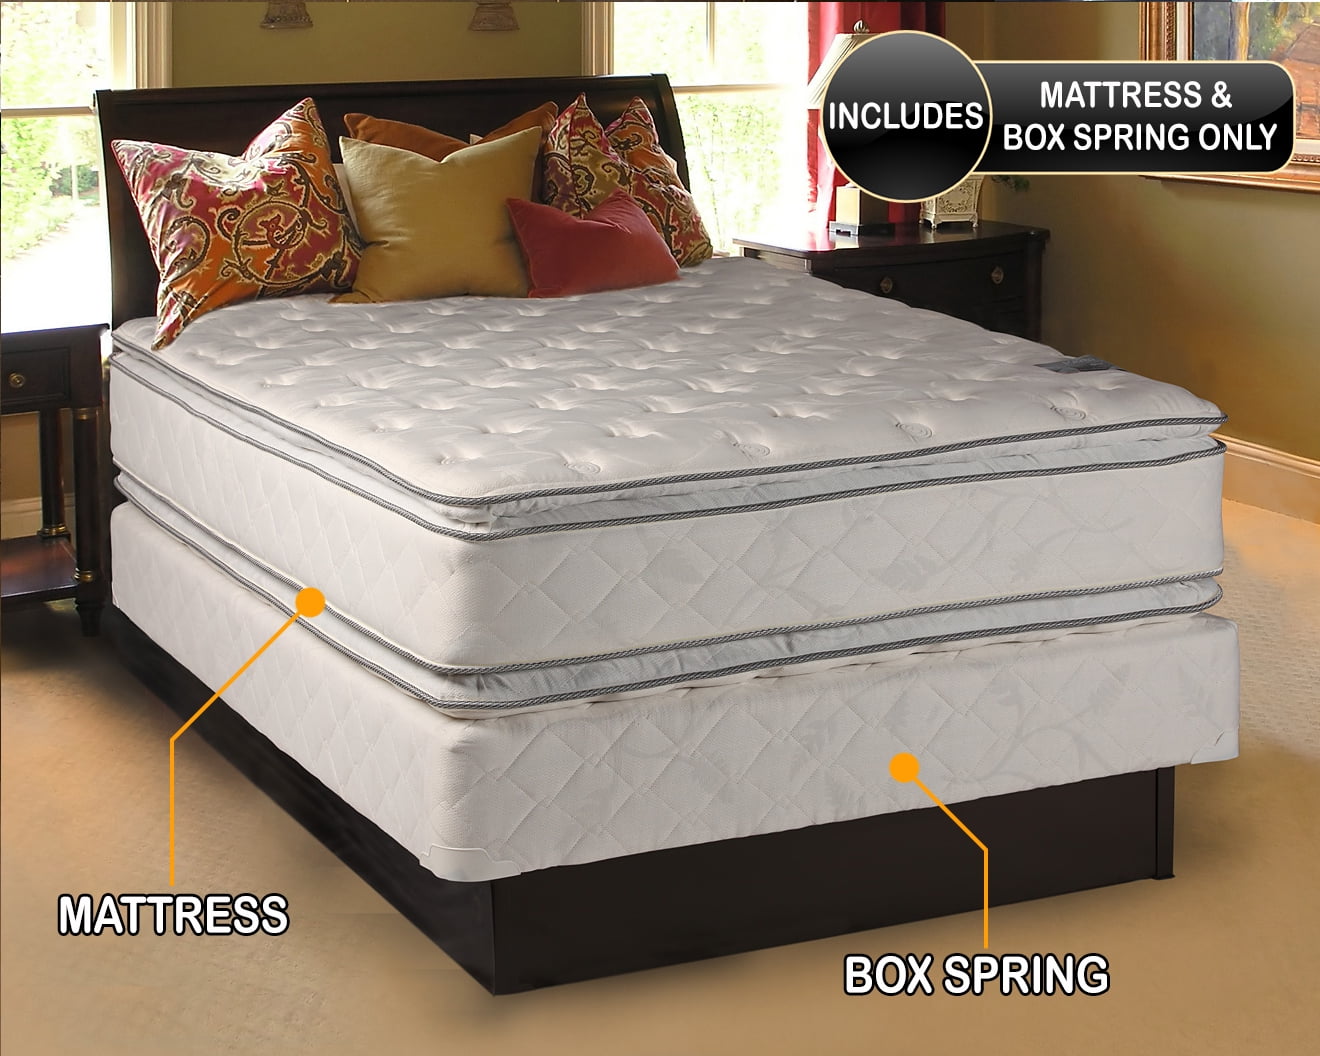
Now that you have all the pieces laid out, it's time to start setting up your Sleep Number S1 Mattress. The first thing you'll need to do is place the base in your desired location. Make sure it's close to a power outlet as the base will need to be plugged in for the remote control to work. Next, you'll need to unfold the mattress and place it on top of the base. The Sleep Number S1 Mattress is designed to be compatible with any base, including a traditional box spring or adjustable base. Featured keyword: Sleep Number S1 Mattress Setup2. Sleep Number S1 Mattress Setup Guide


2. Sleep Number S1 Mattress Setup Guide


/media/img/prizes/prizegrab-sleep-number-bed-sweepstakes.jpg)
Now that the base and mattress are in place, it's time to connect them. On the side of the base, you'll see a small cord with a plug. This cord needs to be inserted into the port on the bottom of the mattress. Gently push the plug in until it clicks into place. Once the base and mattress are connected, you can plug in the base and turn it on. You should see a small light on the base indicating that it's receiving power. If you don't see a light, double-check the connection between the base and mattress. Featured keyword: Assemble a Sleep Number S1 Mattress3. How to Assemble a Sleep Number S1 Mattress

3. How to Assemble a Sleep Number S1 Mattress


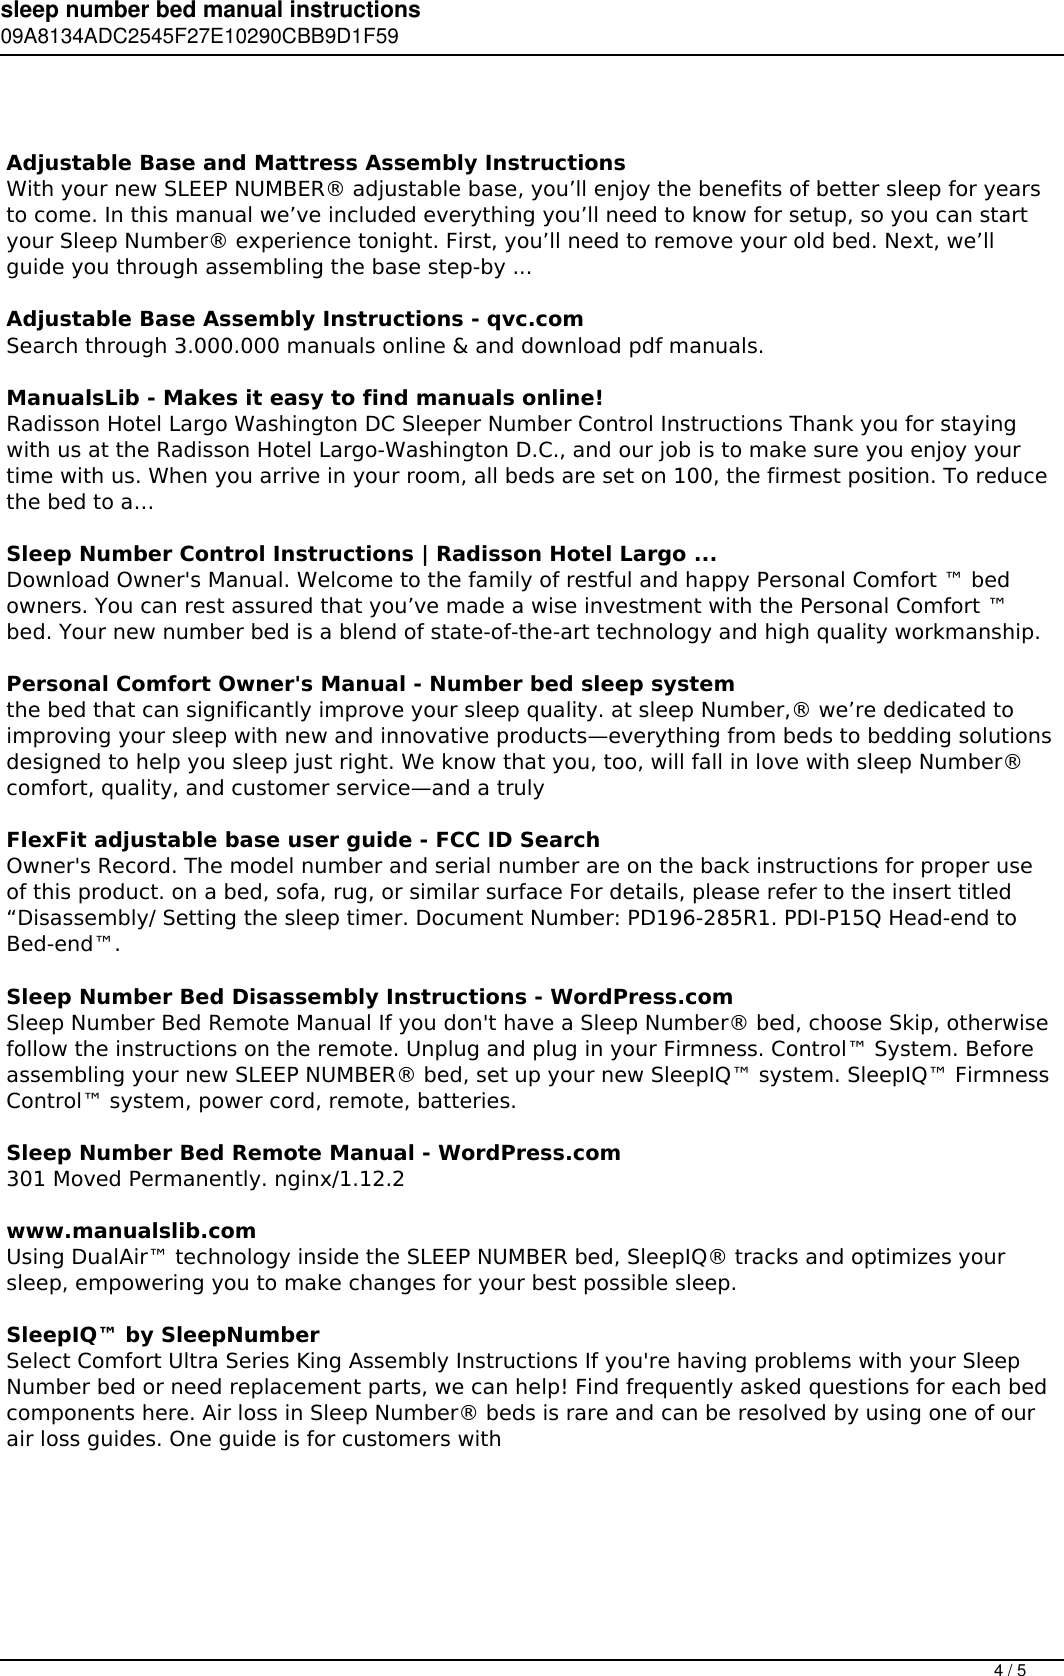
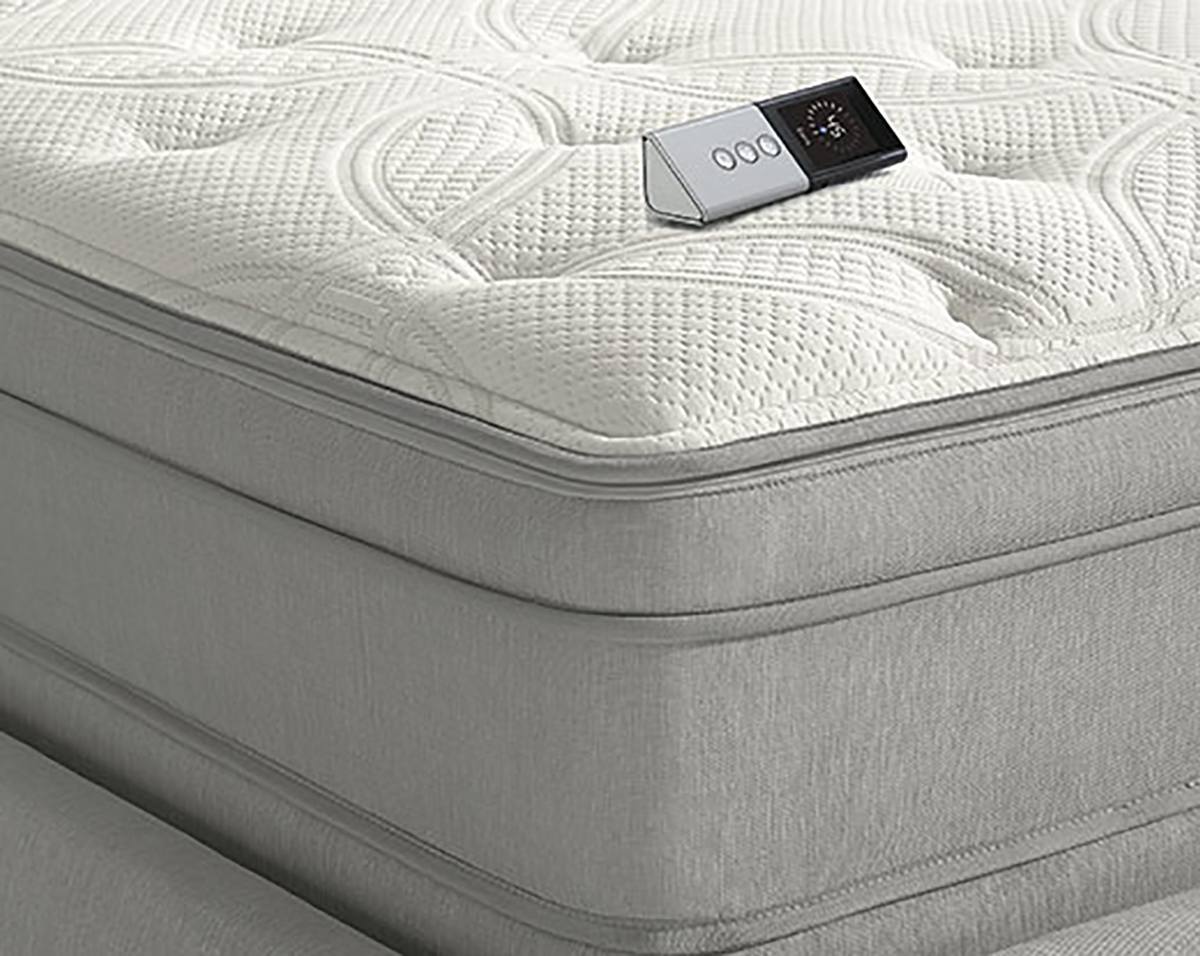
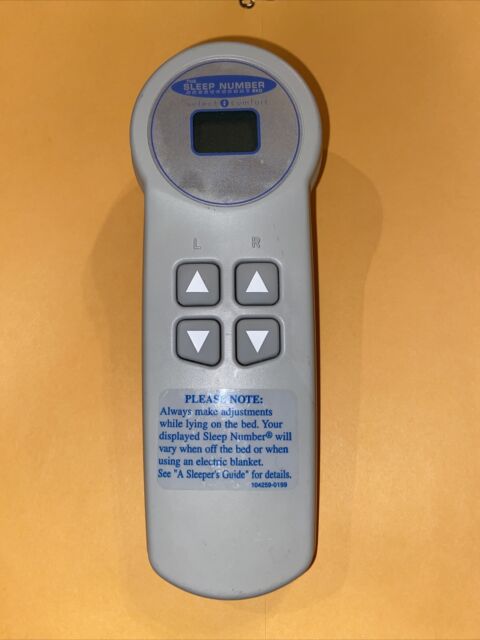
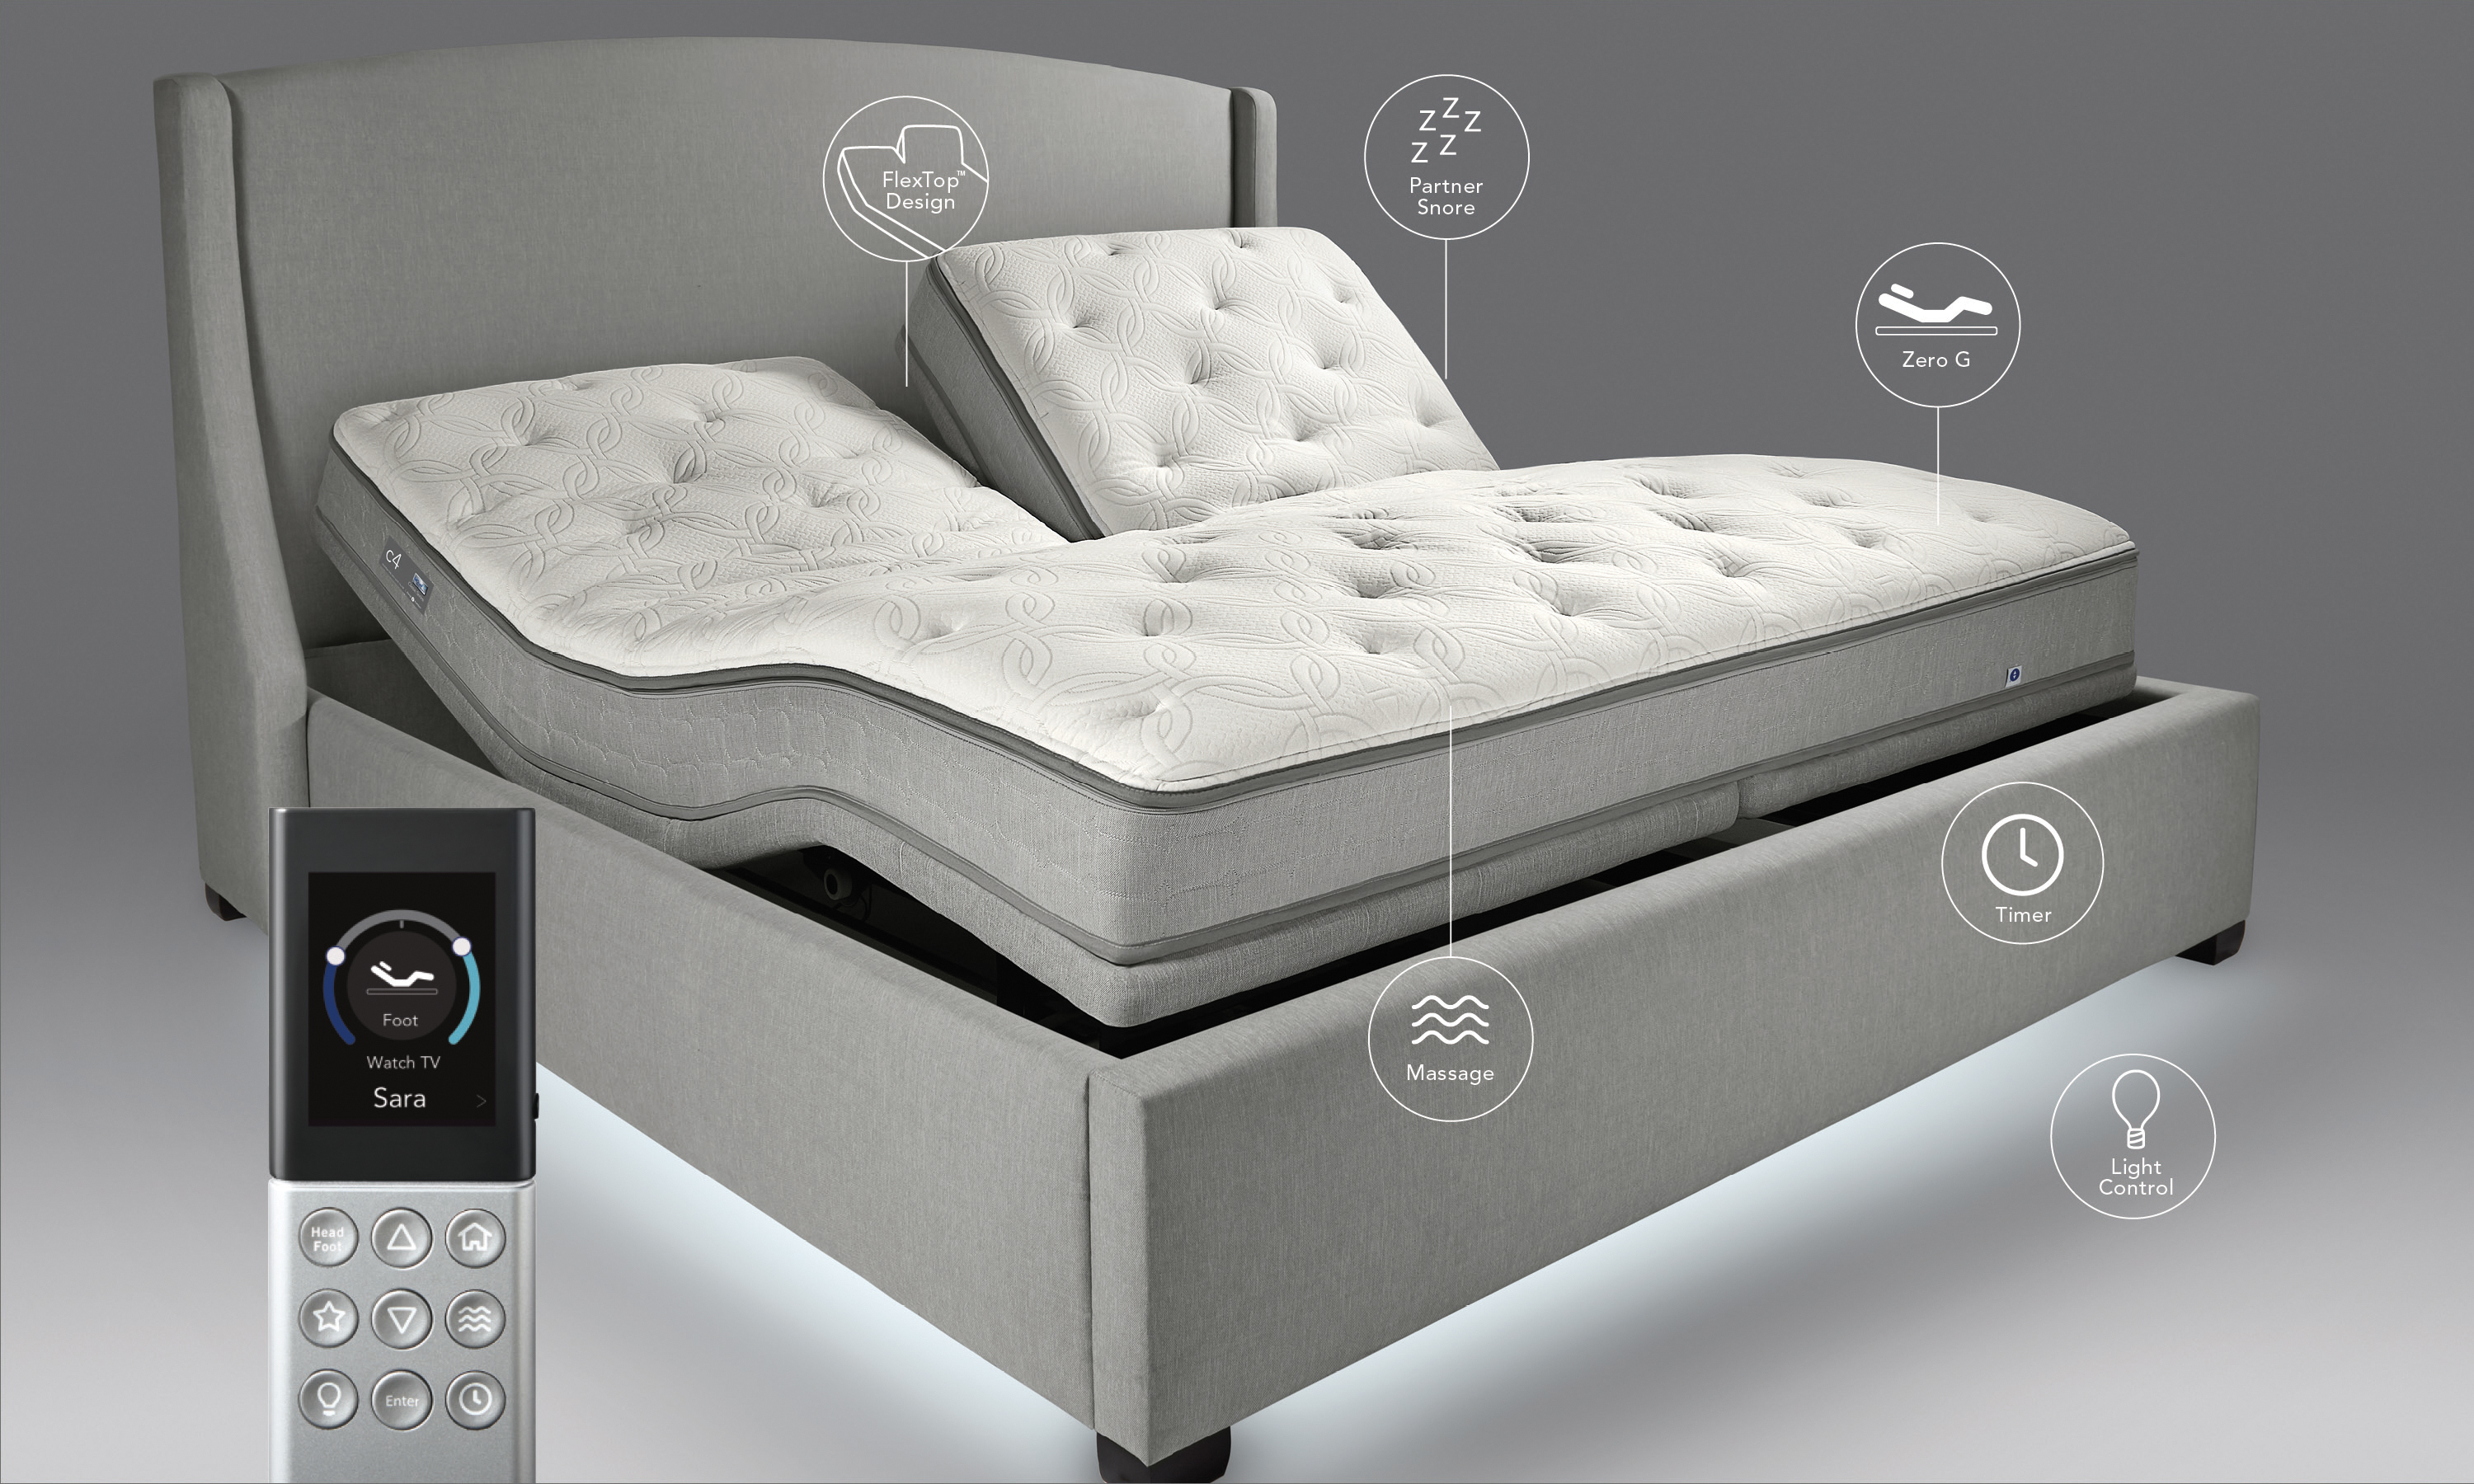
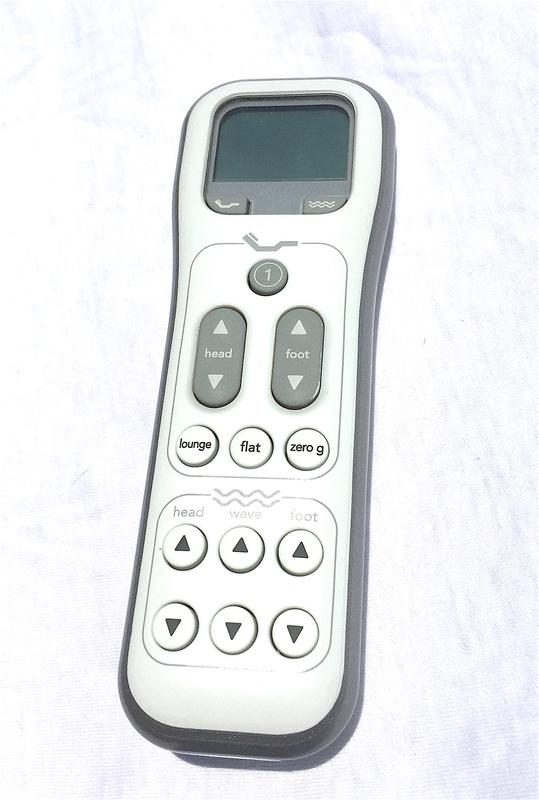
Now comes the fun part – setting up your Sleep Number S1 Mattress to your desired level of comfort. Using the remote control, you can adjust the firmness of the mattress by pressing the "up" or "down" buttons. Keep in mind that the mattress will take a few minutes to adjust to each setting, so give it some time before making further adjustments. Additionally, you can adjust the head and foot of the mattress by using the "head" and "foot" buttons on the remote. This allows you to find the perfect position for reading, watching TV, or sleeping. Featured keyword: Step-by-Step Instructions for Sleep Number S1 Mattress Setup4. Step-by-Step Instructions for Setting Up a Sleep Number S1 Mattress


4. Step-by-Step Instructions for Setting Up a Sleep Number S1 Mattress


If you prefer visual instructions, Sleep Number offers a helpful video tutorial for assembling their S1 Mattress. You can find the video on their website or YouTube channel. The video will walk you through the entire assembly process, making it even easier to follow along. Additionally, the video includes tips and tricks for getting the perfect sleep experience with your Sleep Number S1 Mattress. Featured keyword: Sleep Number S1 Mattress Assembly Video Tutorial5. Sleep Number S1 Mattress Assembly Video Tutorial


5. Sleep Number S1 Mattress Assembly Video Tutorial


Assembling any new piece of furniture can be a daunting task, but with these tips, you'll have your Sleep Number S1 Mattress set up in no time:6. Tips for Easy Assembly of a Sleep Number S1 Mattress


6. Tips for Easy Assembly of a Sleep Number S1 Mattress


While assembling a Sleep Number S1 Mattress is a simple process, there are some common mistakes that people make. Here are a few to avoid to ensure a smooth assembly:7. Common Mistakes to Avoid When Assembling a Sleep Number S1 Mattress


7. Common Mistakes to Avoid When Assembling a Sleep Number S1 Mattress


If you encounter any issues during the assembly process, don't panic. Sleep Number has a helpful troubleshooting guide on their website to assist you. The guide covers common problems and provides step-by-step solutions to help you get your Sleep Number S1 Mattress set up correctly. Additionally, you can contact Sleep Number's customer support for further assistance. Featured keyword: Sleep Number S1 Mattress Assembly Troubleshooting8. Troubleshooting Guide for Sleep Number S1 Mattress Assembly


8. Troubleshooting Guide for Sleep Number S1 Mattress Assembly


Once your Sleep Number S1 Mattress is assembled and ready to use, it's essential to keep the owner's manual for future reference. The manual includes helpful information on maintaining and caring for your mattress, troubleshooting tips, and warranty information. It's always a good idea to keep the owner's manual in a safe place so you can refer to it if needed. Featured keyword: Sleep Number S1 Mattress Owner's Manual9. Sleep Number S1 Mattress Owner's Manual


9. Sleep Number S1 Mattress Owner's Manual

In case you need to replace any parts of your Sleep Number S1 Mattress in the future, it's essential to know where to find them. You can purchase replacement parts directly from Sleep Number's website or by contacting their customer support. If your mattress is still under warranty, you may be eligible for a free replacement of certain parts. Featured keyword: Sleep Number S1 Mattress Replacement Parts With these step-by-step instructions and tips, you should have no trouble assembling your Sleep Number S1 Mattress. Remember to take your time, follow the instructions carefully, and reach out to customer support if you encounter any issues. Soon enough, you'll be enjoying a comfortable and customized sleeping experience with your new Sleep Number S1 Mattress.10. Where to Find Replacement Parts for a Sleep Number S1 Mattress

10. Where to Find Replacement Parts for a Sleep Number S1 Mattress


How to Assemble Your Sleep Number S1 Mattress: A Comprehensive Guide

Introduction
 With the increasing demand for comfortable and customized sleeping solutions,
Sleep Number
has become a popular choice for many households. The
S1
is one of their flagship models, known for its innovative design and adjustable firmness settings. However, like any other mattress, proper assembly is crucial for ensuring its longevity and optimal performance. In this article, we will provide you with step-by-step instructions on how to assemble your
Sleep Number S1 mattress
and make the most out of your sleeping experience.
With the increasing demand for comfortable and customized sleeping solutions,
Sleep Number
has become a popular choice for many households. The
S1
is one of their flagship models, known for its innovative design and adjustable firmness settings. However, like any other mattress, proper assembly is crucial for ensuring its longevity and optimal performance. In this article, we will provide you with step-by-step instructions on how to assemble your
Sleep Number S1 mattress
and make the most out of your sleeping experience.
Step 1: Gather Your Tools and Materials
 Before you begin assembling your
S1 mattress
, make sure you have all the necessary tools and materials. You will need a pair of scissors, a flathead screwdriver, a power drill, and the included
Sleep Number
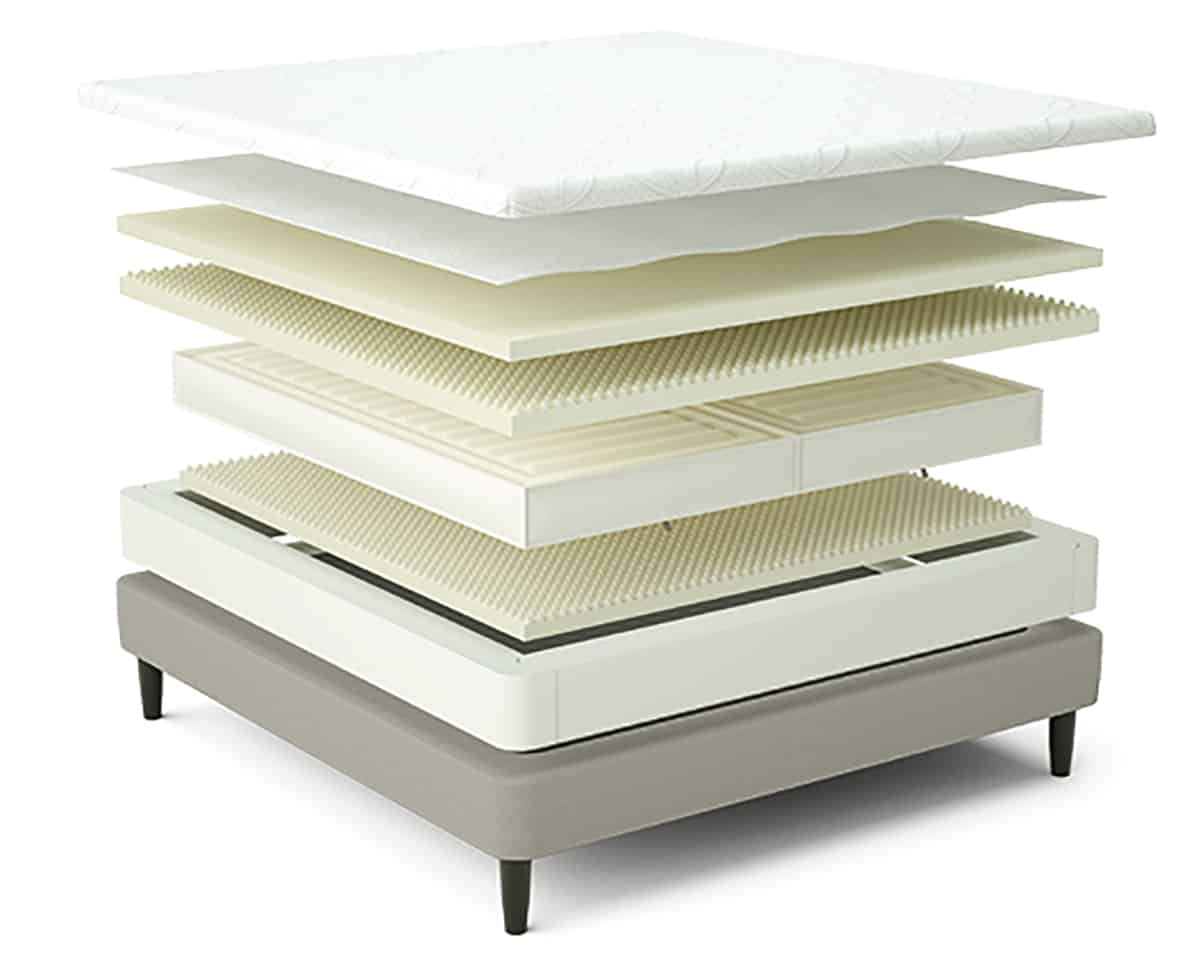
pump. It's also recommended to have a helper to assist you with some of the steps. As for materials, you will need the mattress components, including the air chambers, foam comfort pad, air hoses, and mattress cover.
Before you begin assembling your
S1 mattress
, make sure you have all the necessary tools and materials. You will need a pair of scissors, a flathead screwdriver, a power drill, and the included
Sleep Number
pump. It's also recommended to have a helper to assist you with some of the steps. As for materials, you will need the mattress components, including the air chambers, foam comfort pad, air hoses, and mattress cover.
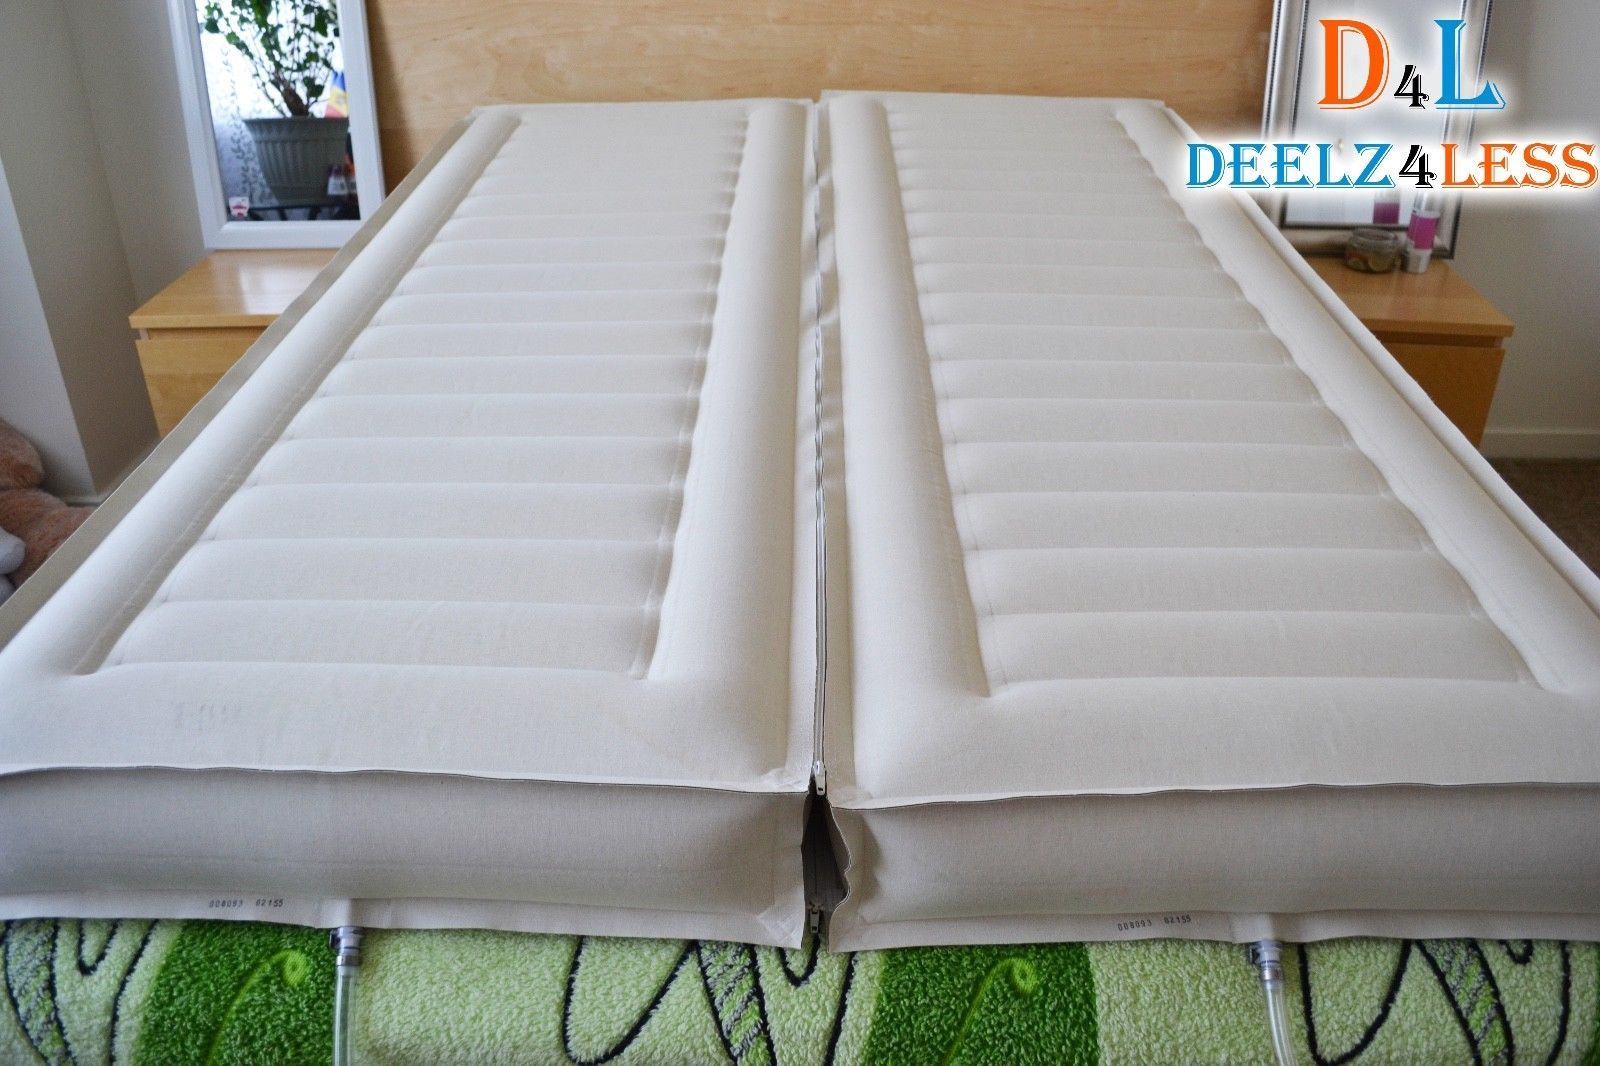
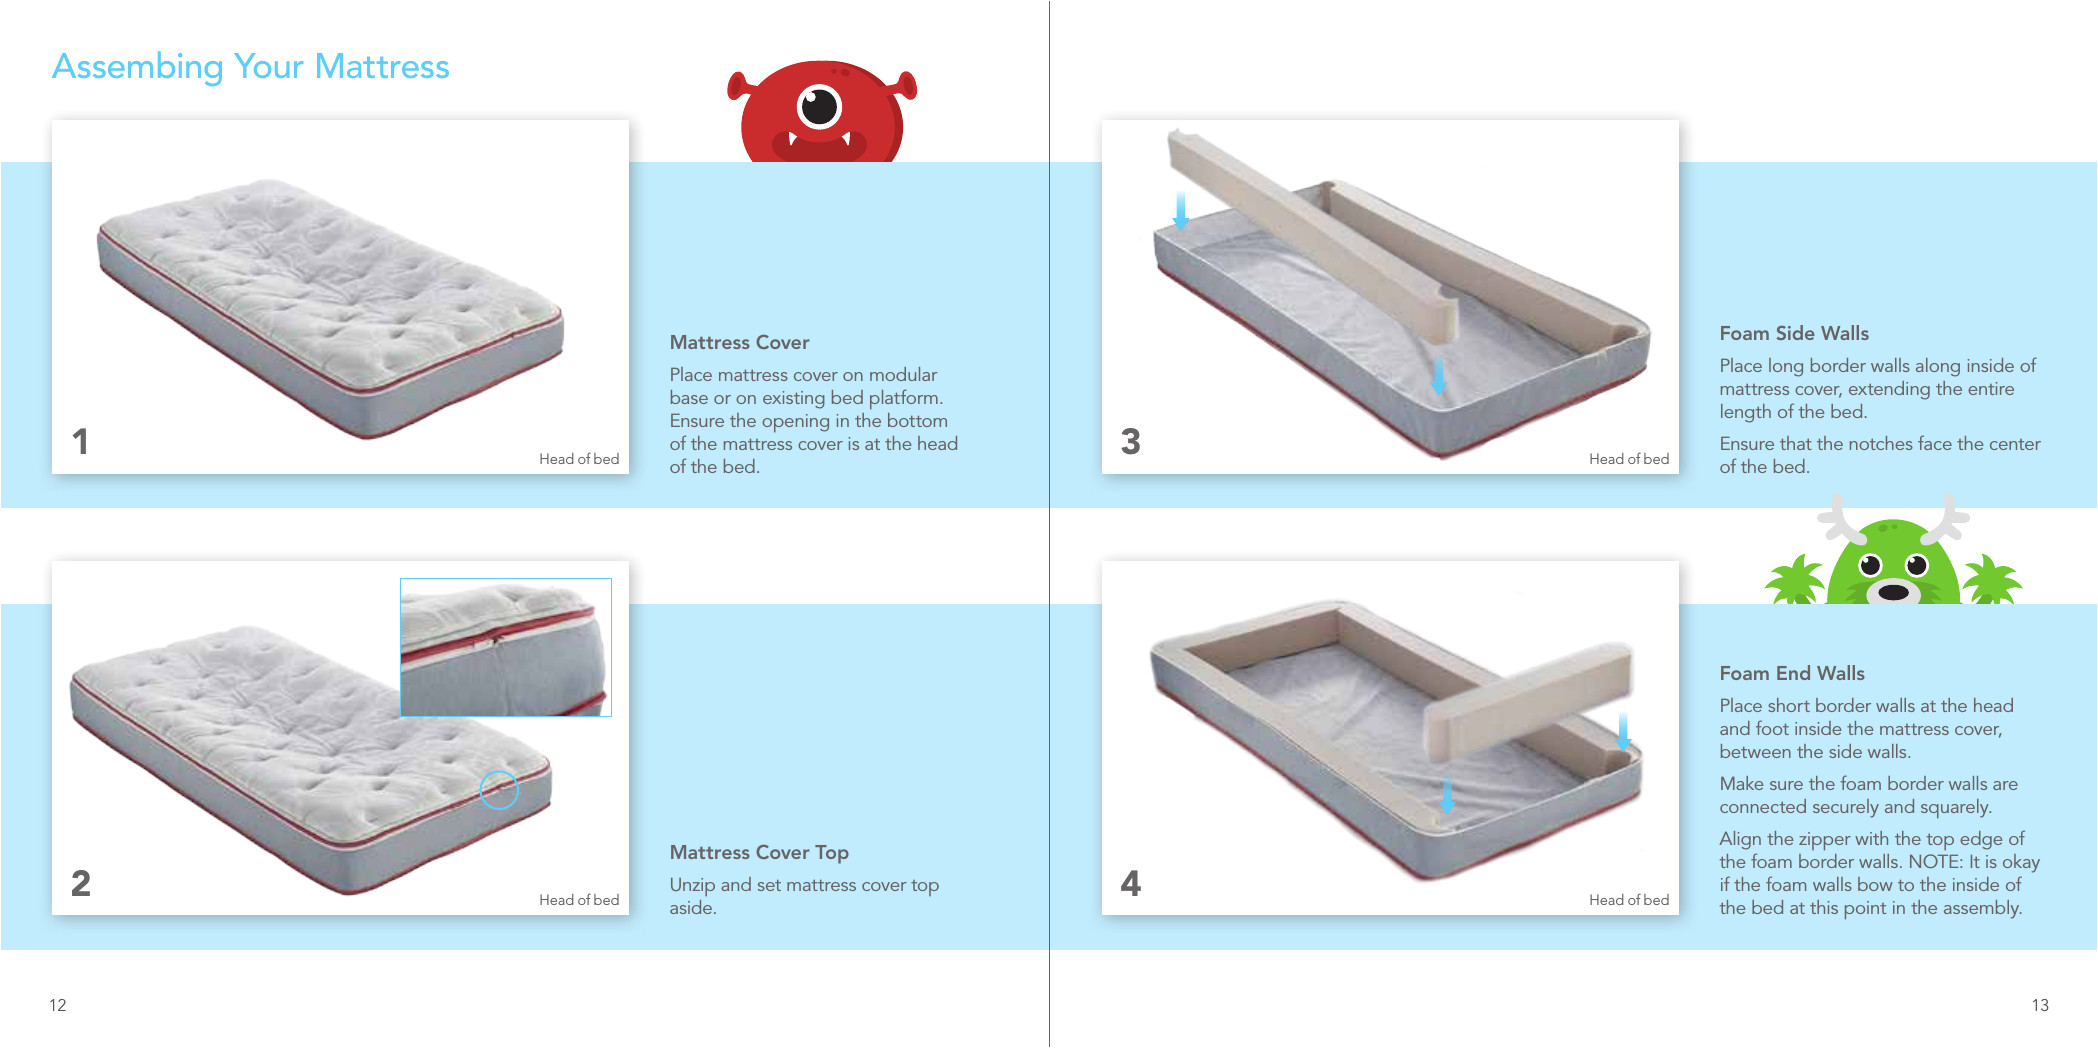
Step 2: Unpack and Prepare the Mattress Components
 Start by unpacking all the components of your
Sleep Number S1 mattress
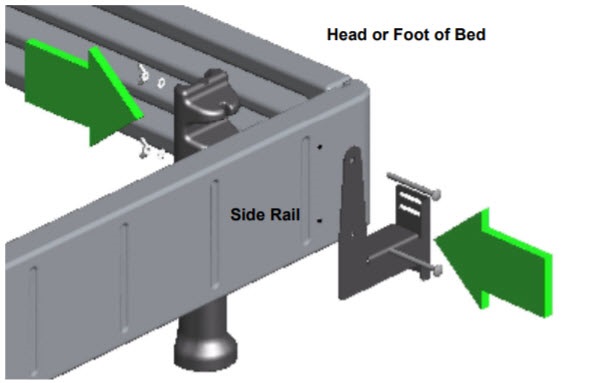
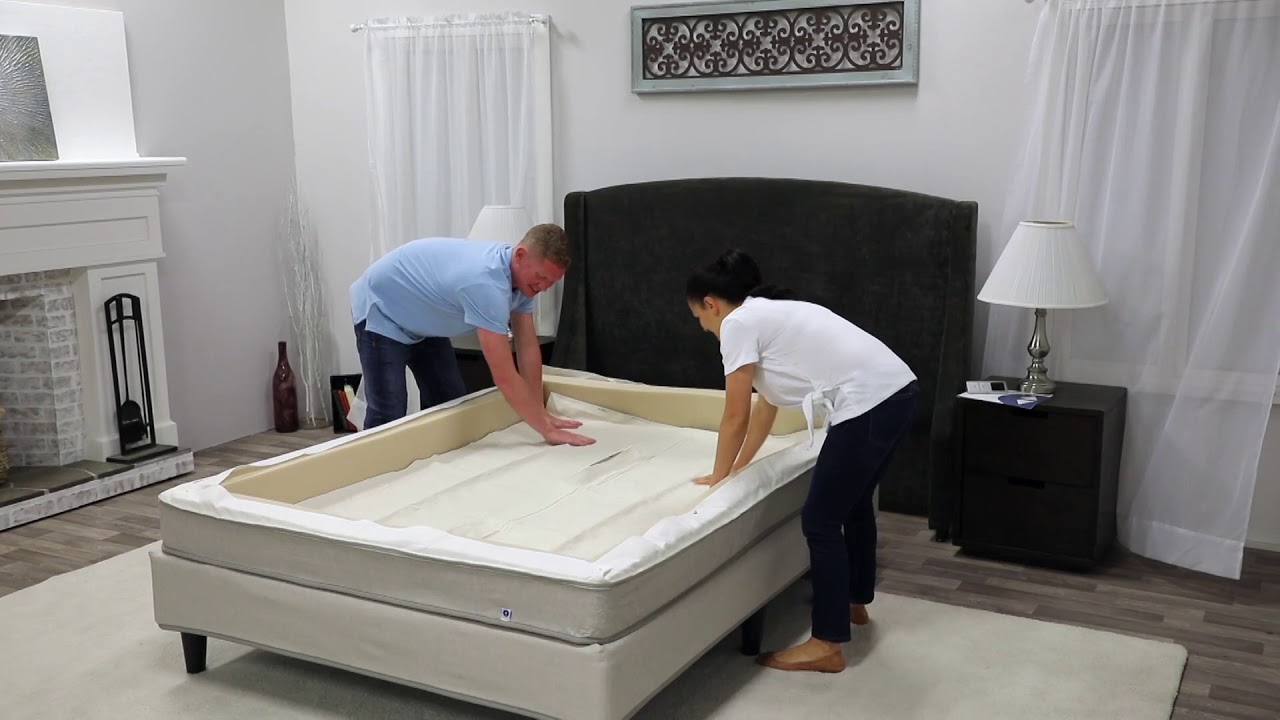
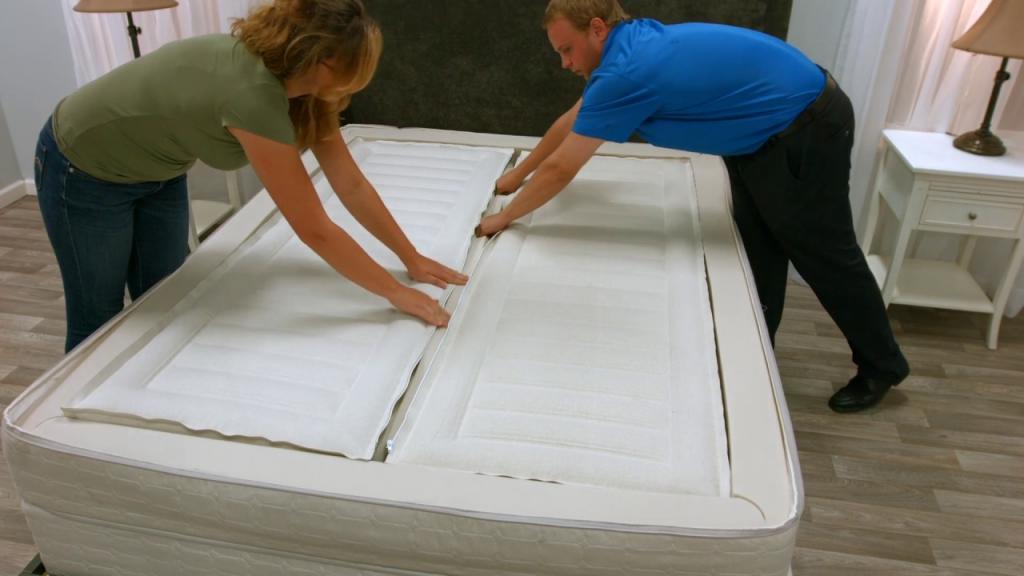
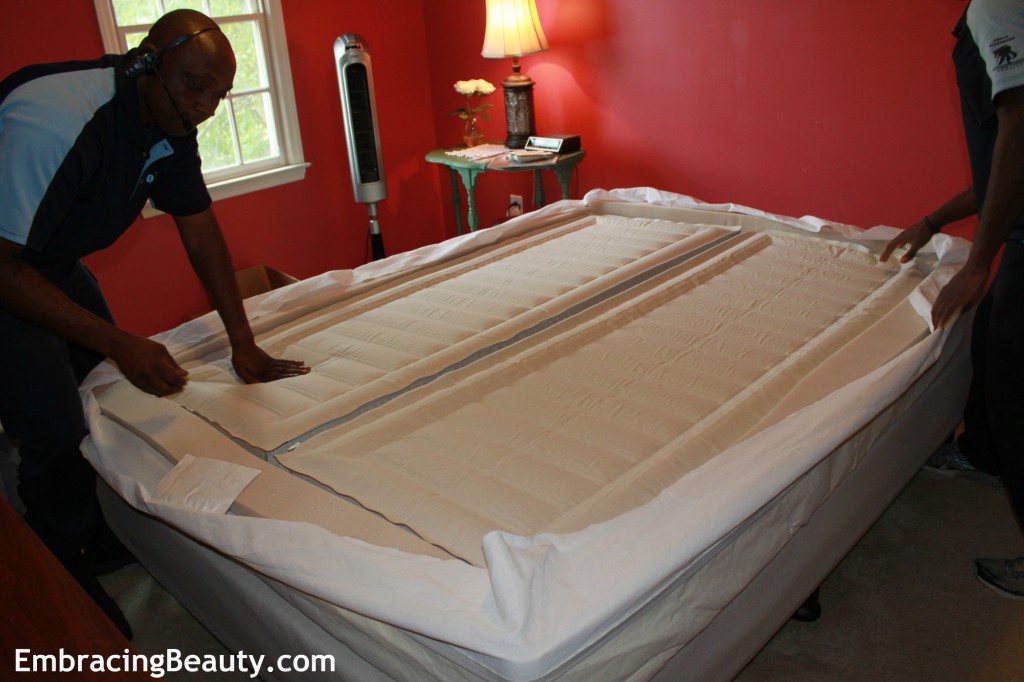
and placing them in their designated areas. Lay out the foam comfort pad on the bed frame, followed by the air hoses and air chambers. Make sure the hoses are untangled and positioned correctly before attaching them to the air chambers.
Start by unpacking all the components of your
Sleep Number S1 mattress
and placing them in their designated areas. Lay out the foam comfort pad on the bed frame, followed by the air hoses and air chambers. Make sure the hoses are untangled and positioned correctly before attaching them to the air chambers.
Step 3: Connect the Air Hoses and Assemble the Pump
 Take the air hoses and connect them to the designated ports on the air chambers. Use the included connectors to secure the hoses in place. Next, assemble the
Sleep Number
pump according to the instructions provided. Once assembled, connect the pump to the air hoses.
Take the air hoses and connect them to the designated ports on the air chambers. Use the included connectors to secure the hoses in place. Next, assemble the
Sleep Number
pump according to the instructions provided. Once assembled, connect the pump to the air hoses.
Step 4: Install the Mattress Cover
 Carefully stretch the mattress cover over the foam comfort pad and air chambers. Make sure the cover is evenly spread and the hoses are not twisted. Use the designated clips to secure the cover to the air chambers.
Step 5: Adjust the Firmness Settings
 Plug in the
Sleep Number
pump and turn on the power. Use the remote control to adjust the firmness settings according to your preference. Keep in mind that it may take a few nights to find your ideal firmness level.
Plug in the
Sleep Number
pump and turn on the power. Use the remote control to adjust the firmness settings according to your preference. Keep in mind that it may take a few nights to find your ideal firmness level.
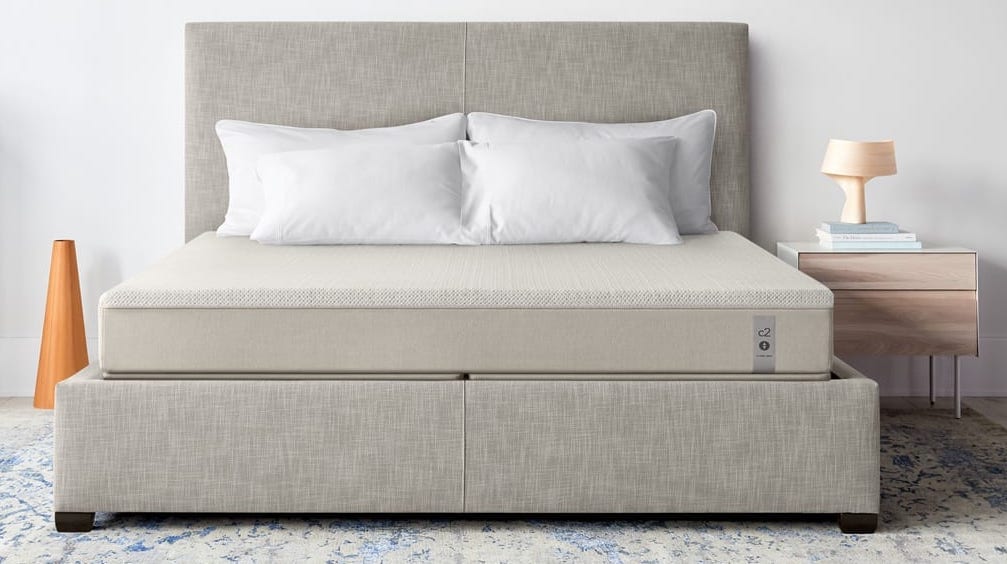
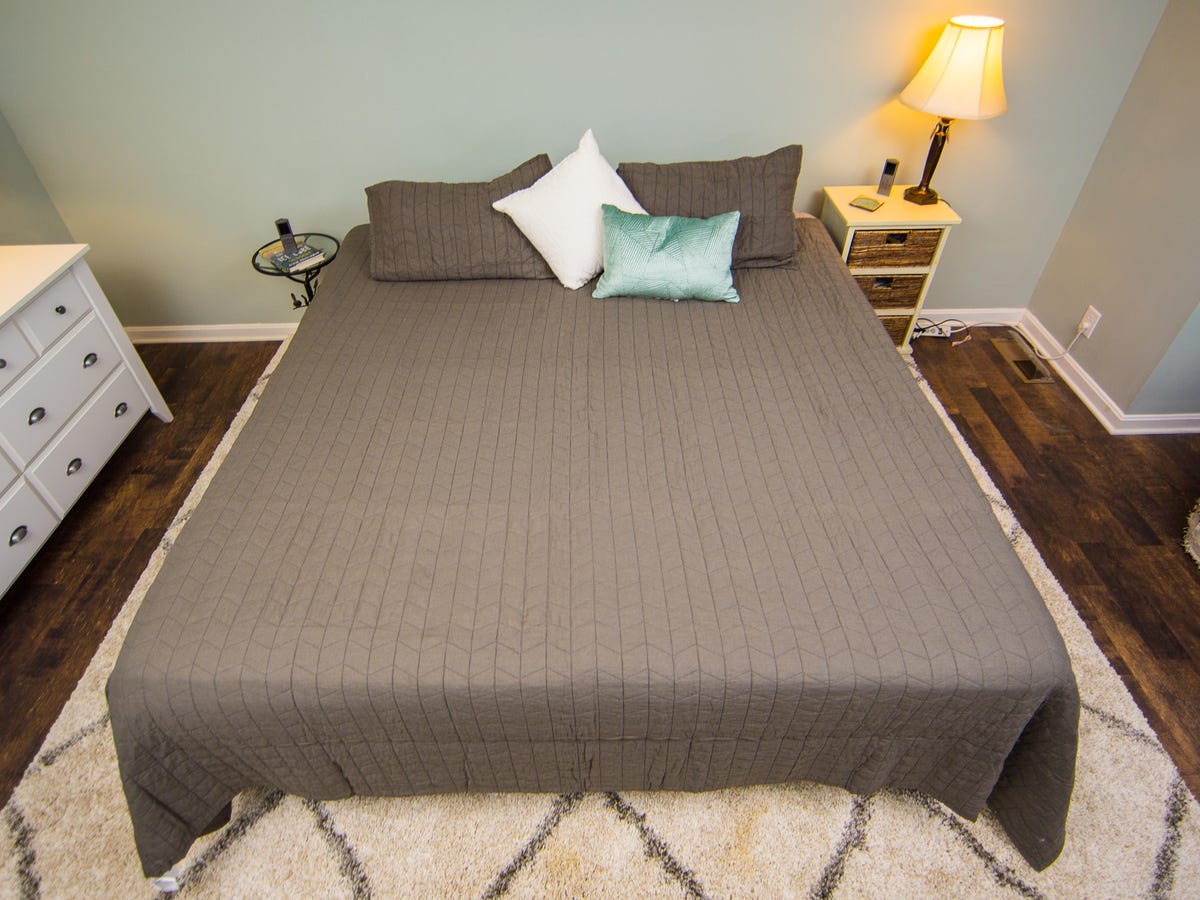
Step 6: Enjoy Your New Sleep Number S1 Mattress
 Congratulations! You have successfully assembled your
Sleep Number S1 mattress
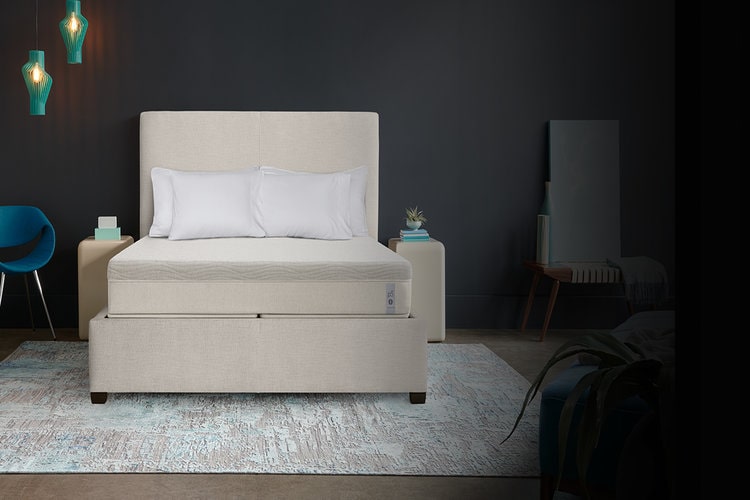
. Now, it's time to lay back, relax, and enjoy a comfortable and personalized sleeping experience. Remember to periodically check and adjust the firmness settings to ensure your mattress is providing you with the best support and comfort.
Congratulations! You have successfully assembled your
Sleep Number S1 mattress
. Now, it's time to lay back, relax, and enjoy a comfortable and personalized sleeping experience. Remember to periodically check and adjust the firmness settings to ensure your mattress is providing you with the best support and comfort.
In Conclusion
 Assembling your
Sleep Number S1 mattress
may seem like a daunting task, but with these step-by-step instructions, you can easily set it up and reap the benefits of a good night's sleep. Make sure to follow the instructions carefully and use the recommended tools and materials for the best results. With proper assembly and maintenance, your
Sleep Number S1 mattress
will provide you with many nights of restful and rejuvenating sleep.
Assembling your
Sleep Number S1 mattress
may seem like a daunting task, but with these step-by-step instructions, you can easily set it up and reap the benefits of a good night's sleep. Make sure to follow the instructions carefully and use the recommended tools and materials for the best results. With proper assembly and maintenance, your
Sleep Number S1 mattress
will provide you with many nights of restful and rejuvenating sleep.