If you're planning to install a new bathroom sink or fixing an old one, one of the essential steps is applying silicone caulk. This waterproof sealant is crucial in preventing water damage, mold, and mildew growth. However, applying silicone caulk on a bathroom sink may seem like a daunting task, especially for beginners. But don't worry, we've got you covered. Here are the top 10 tips and tricks for a successful silicone caulk application on your bathroom sink.Silicone Caulk Application on Bathroom Sink: Tips and Tricks


Silicone Caulk Application on Bathroom Sink: Tips and Tricks


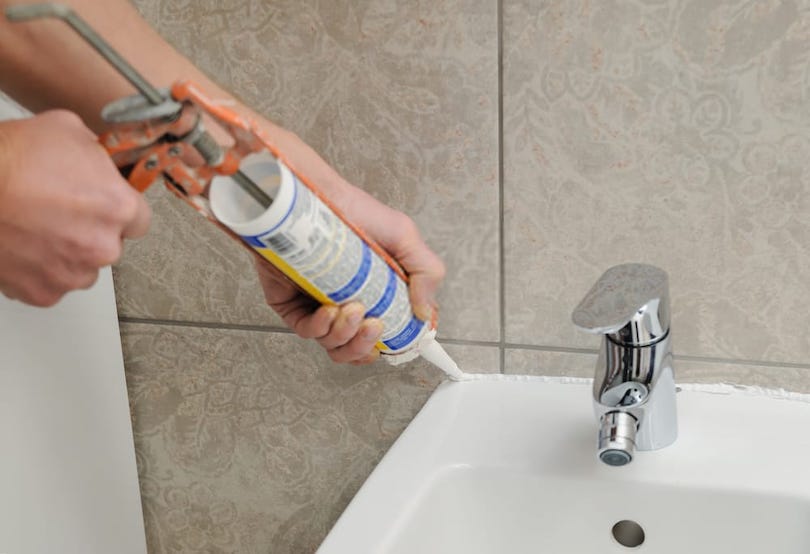
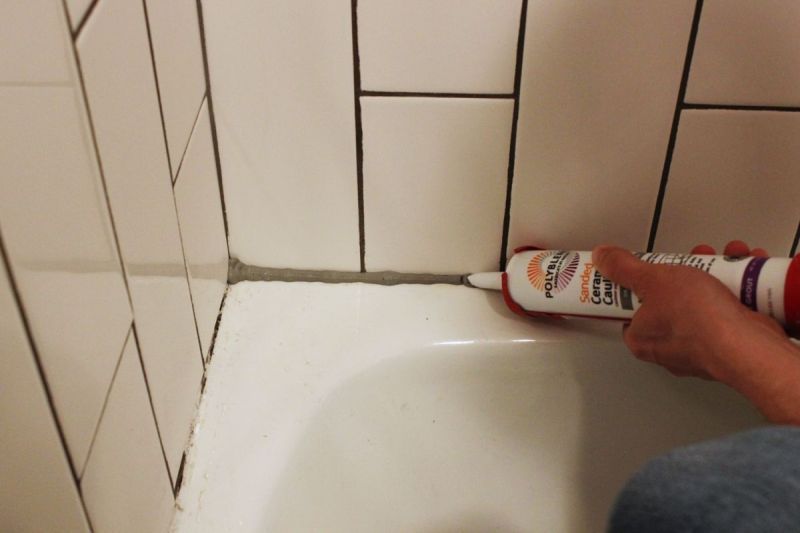
Before diving into the application process, it's essential to have all the necessary tools and materials at hand. You'll need a caulk gun, silicone caulk, a putty knife, a damp cloth, and a razor blade. Start by cleaning the sink thoroughly and removing any old caulk residue. Then, cut the caulk tube's tip at a 45-degree angle and load it into the caulk gun. Apply a thin and even line of caulk around the edges of the sink, making sure to cover any gaps or holes. Use a putty knife or your finger to smooth out the caulk and remove any excess. Finally, use a damp cloth to wipe away any smudges or imperfections.How to Properly Apply Silicone Caulk on a Bathroom Sink


How to Properly Apply Silicone Caulk on a Bathroom Sink


To achieve a professional-looking finish, follow these steps: Step 1: Prepare the surface by thoroughly cleaning the sink and removing any old caulk residue. Step 2: Cut the tip of the caulk tube at a 45-degree angle. Step 3: Load the caulk into the caulk gun and apply a thin and even line of caulk around the edges of the sink. Step 4: Use a putty knife or your finger to smooth out the caulk and remove any excess. Step 5: Wipe away any smudges or imperfections with a damp cloth.Step-by-Step Guide for Silicone Caulk Application on Bathroom Sink


Step-by-Step Guide for Silicone Caulk Application on Bathroom Sink


Here are some best practices to keep in mind when applying silicone caulk on your bathroom sink: Choose the right caulk: Make sure to use a silicone-based caulk that is specifically designed for use in bathrooms and kitchens. Apply in a well-ventilated area: The fumes from silicone caulk can be strong, so make sure to work in a well-ventilated area to avoid any health hazards. Use a caulk gun: A caulk gun makes the application process much more comfortable and allows for better control and precision. Don't skimp on the caulk: Make sure to apply enough caulk to cover all the gaps and holes around the sink to prevent any water leakage.Best Practices for Applying Silicone Caulk on Bathroom Sink


Best Practices for Applying Silicone Caulk on Bathroom Sink

Here are some common mistakes to avoid when applying silicone caulk on your bathroom sink: Not cleaning the surface properly: Any dirt, grime, or old caulk residue left on the sink will prevent the caulk from adhering correctly. Using too much caulk: Applying too much caulk can result in a messy finish and may not adhere correctly. Not smoothing out the caulk: Leaving the caulk uneven or with excess can result in a poor finish and may not seal the sink properly. Not allowing enough time to dry: Silicone caulk takes at least 24 hours to dry completely, so make sure to avoid using the sink during this time.Common Mistakes to Avoid When Applying Silicone Caulk on Bathroom Sink


Common Mistakes to Avoid When Applying Silicone Caulk on Bathroom Sink


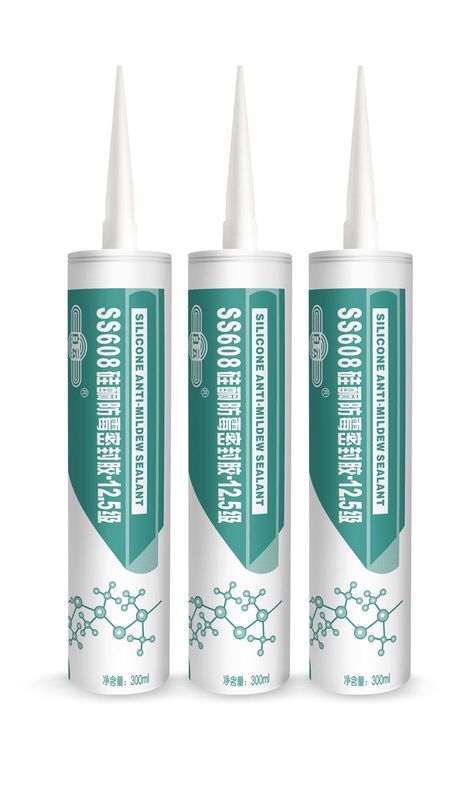
When choosing silicone caulk for your bathroom sink, look for a product that is specifically designed for use in this area. It should be waterproof, mold and mildew resistant, and safe for use on various surfaces such as porcelain, ceramic, and fiberglass. Some top brands for silicone caulk for bathroom sink application include GE Silicone II, DAP Kwik Seal Plus, and Loctite Polyseamseal.Choosing the Right Silicone Caulk for Bathroom Sink Application


Choosing the Right Silicone Caulk for Bathroom Sink Application
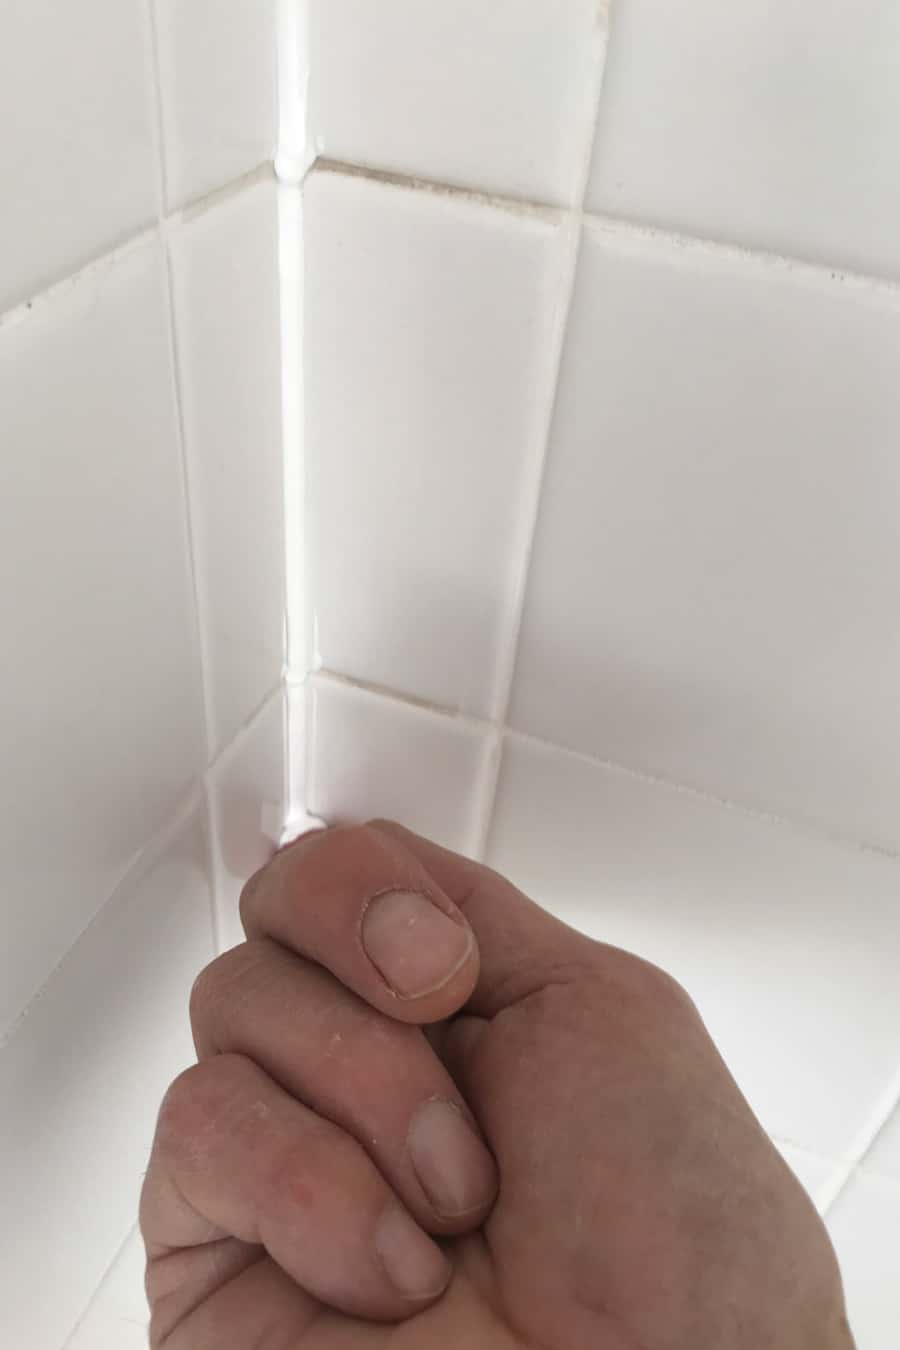
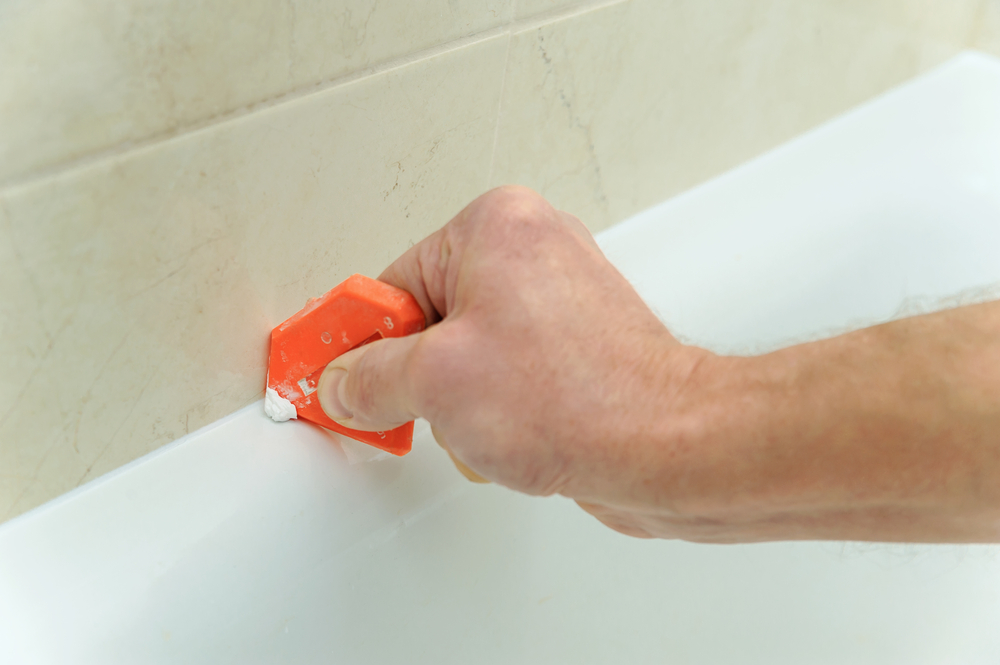
If you're replacing an old sink or fixing a damaged one, you'll need to remove the old caulk before applying a new one. To do this, use a razor blade or a caulk-removing tool to carefully scrape away the old caulk. Make sure to clean the surface thoroughly before applying the new caulk.How to Remove Old Silicone Caulk from Bathroom Sink

How to Remove Old Silicone Caulk from Bathroom Sink

:max_bytes(150000):strip_icc()/how-to-remove-old-caulk-1824827-01-3d0370c59e124dbbaa6560c68bab111c.jpg)


:max_bytes(150000):strip_icc()/how-to-remove-old-caulk-1824827-hero-4863fcf5169e426da8f822429ed46301.jpg?strip=all)
To achieve a professional finish, make sure to follow the steps mentioned above carefully. Use a caulk gun for better control and smooth out the caulk with a putty knife or your finger. It's also essential to keep the sink and surrounding area clean to avoid any smudges or imperfections in the caulk.How to Achieve a Professional Finish with Silicone Caulk on Bathroom Sink
Top Brands for Silicone Caulk for Bathroom Sink Application

Some common issues that may arise during silicone caulk application on bathroom sink include air bubbles, uneven application, and smudging. To fix these issues, use a putty knife or your finger to smooth out the caulk, and wipe away any excess with a damp cloth. If air bubbles appear, gently poke them with a pin and smooth out the caulk again. With these tips and tricks, you can confidently apply silicone caulk on your bathroom sink and achieve a professional-looking finish. Just remember to choose the right caulk, prepare the surface properly, and follow the steps mentioned in this guide. Happy caulking!Troubleshooting Common Issues with Silicone Caulk Application on Bathroom Sink


How to Achieve a Professional Finish with Silicone Caulk on Bathroom Sink

How to Properly Apply Silicone Caulk on Your Bathroom Sink for a Professional Finish

Preparing Your Sink for Caulking
 When it comes to giving your bathroom sink a clean and polished look, applying silicone caulk is a crucial step. This waterproof sealant not only helps to prevent water damage and mold growth, but it also adds a professional touch to your sink's overall design. Before you start caulking, it's important to thoroughly clean and prepare your sink to ensure a successful application. Begin by removing any old caulk or residue using a scraper or caulk remover. Then, use a mild cleaner and warm water to wash the sink and remove any dirt, grime, or soap scum. Allow the sink to dry completely before moving on to the next step.
Choosing the Right Silicone Caulk
 When selecting a silicone caulk for your bathroom sink, it's important to choose one that is specifically designed for use in wet areas. Look for a product labeled as "bathroom" or "kitchen and bath" caulk, as these are formulated to resist mold and mildew growth. It's also important to choose a caulk that is the same color as your sink or complements it well.
White
,
clear
, and
translucent
are popular color options for bathroom sinks.
When selecting a silicone caulk for your bathroom sink, it's important to choose one that is specifically designed for use in wet areas. Look for a product labeled as "bathroom" or "kitchen and bath" caulk, as these are formulated to resist mold and mildew growth. It's also important to choose a caulk that is the same color as your sink or complements it well.
White
,
clear
, and
translucent
are popular color options for bathroom sinks.
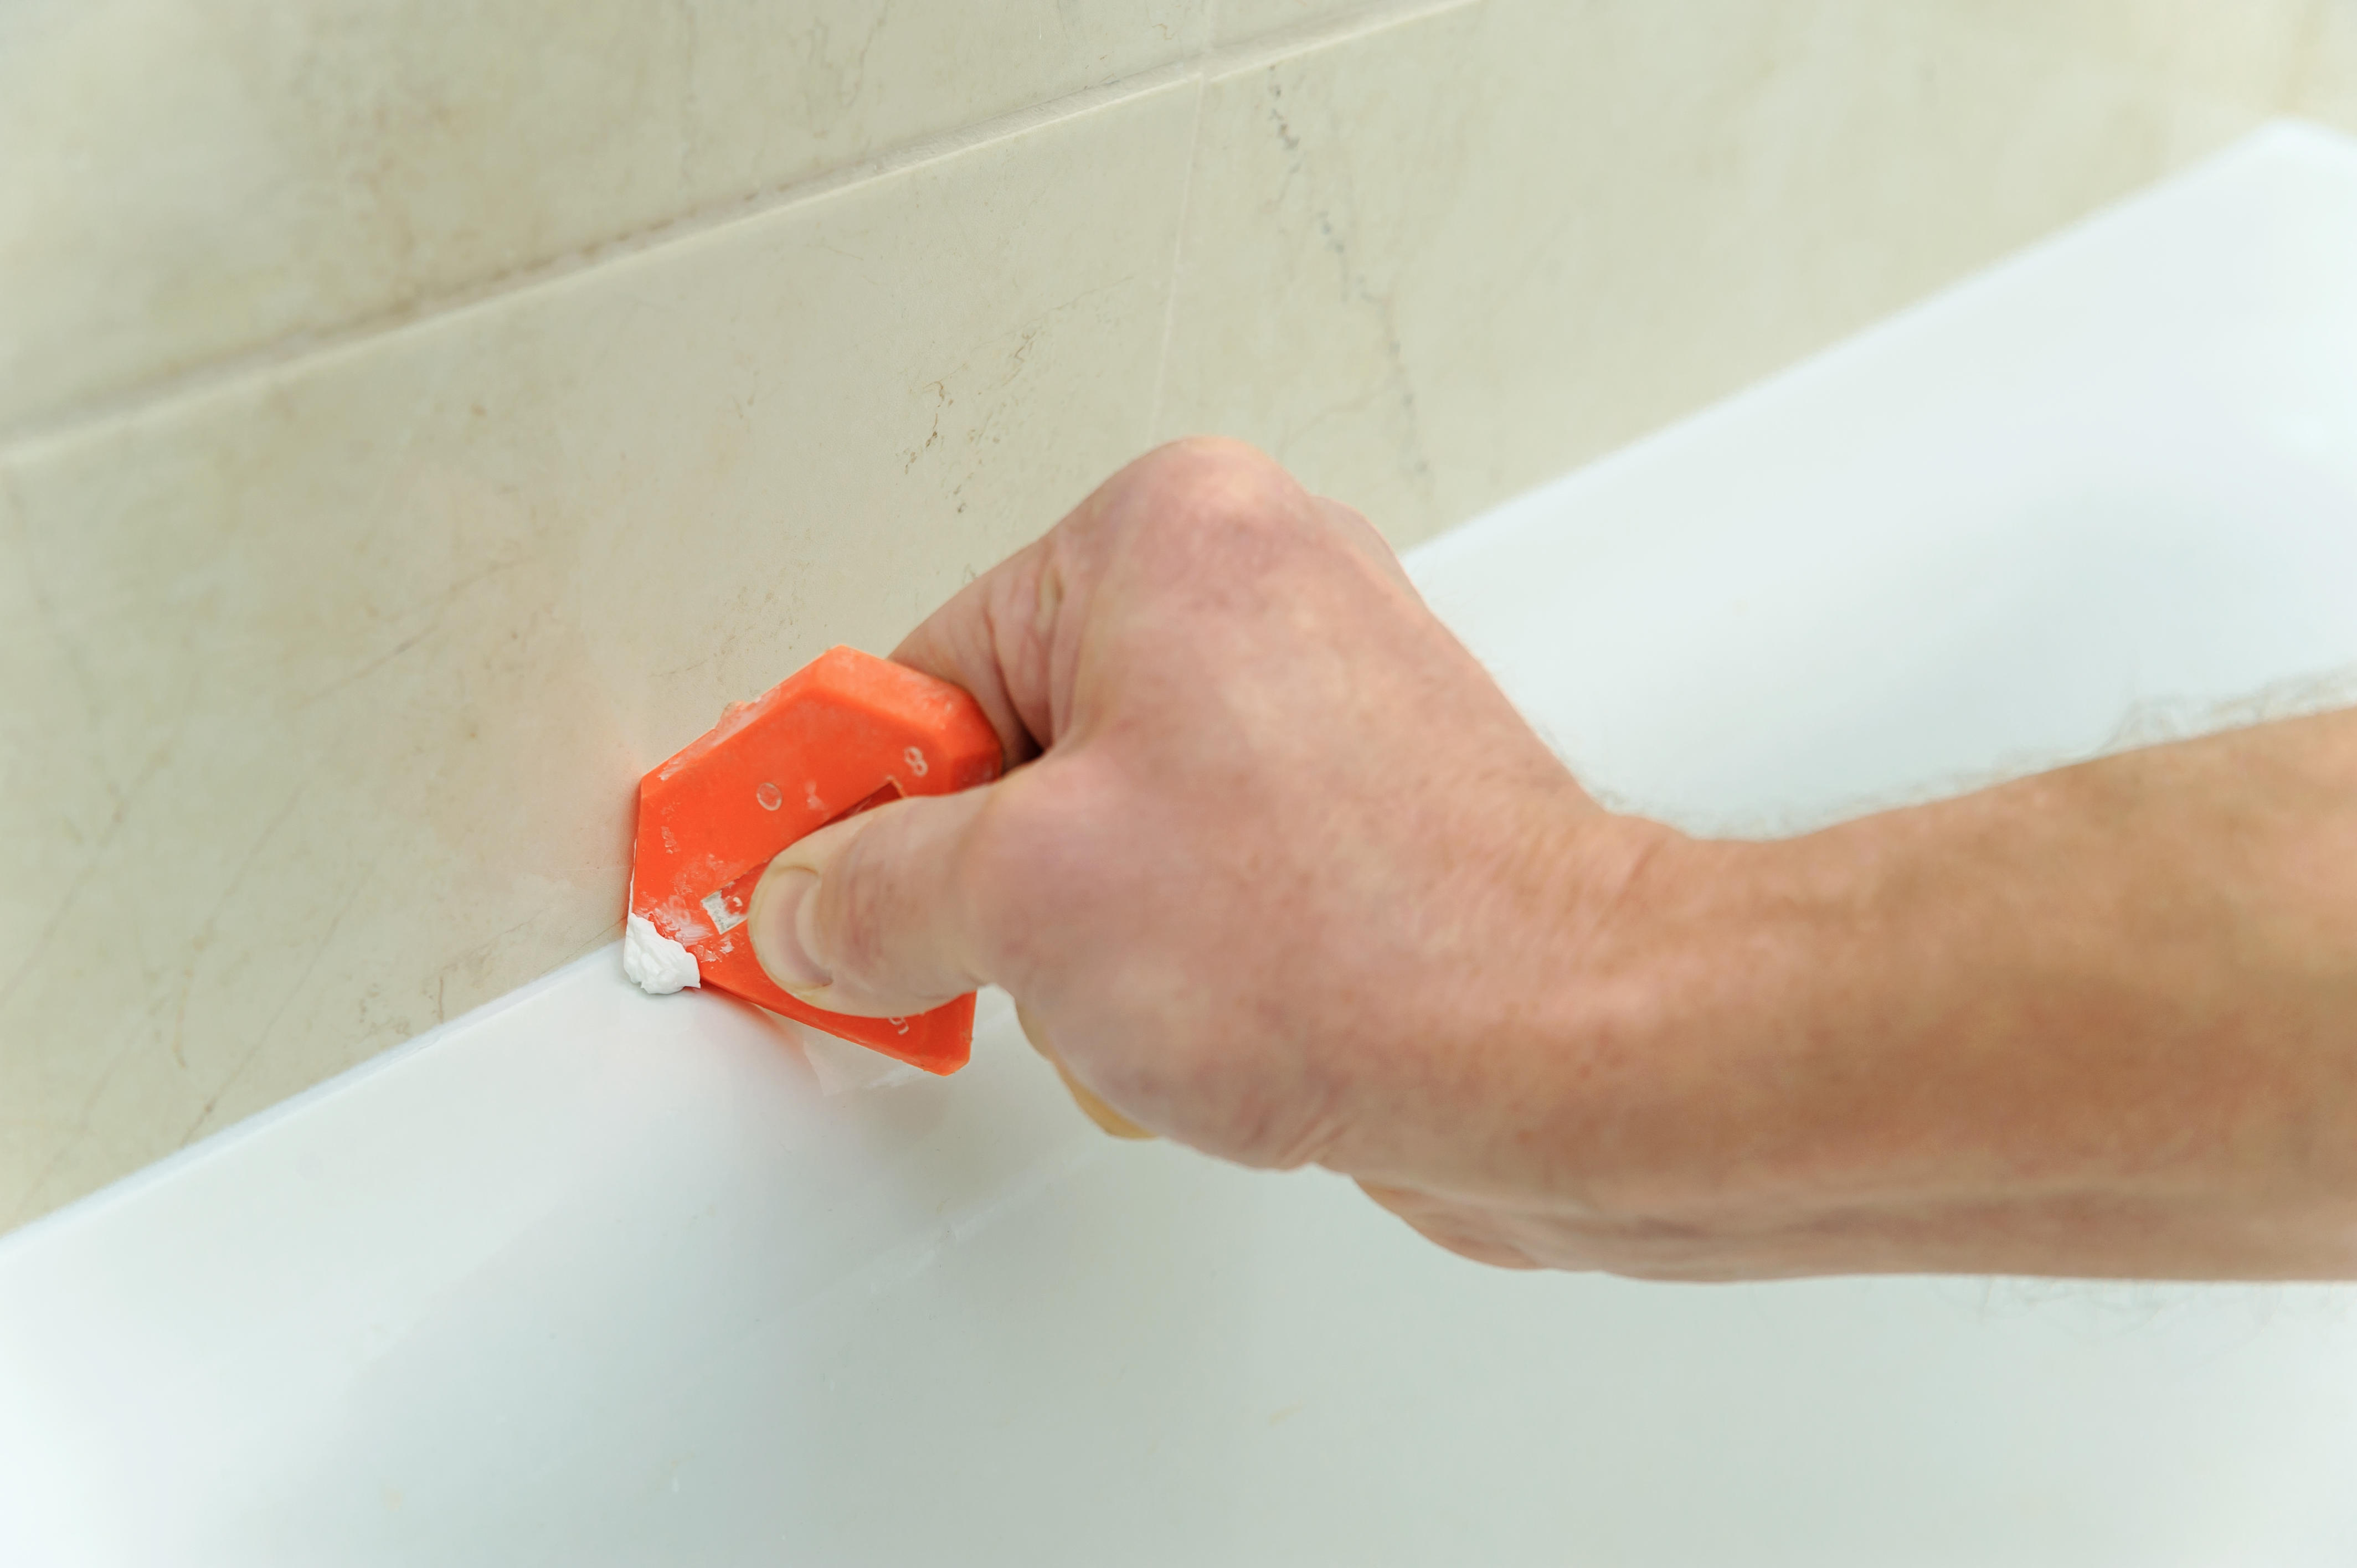
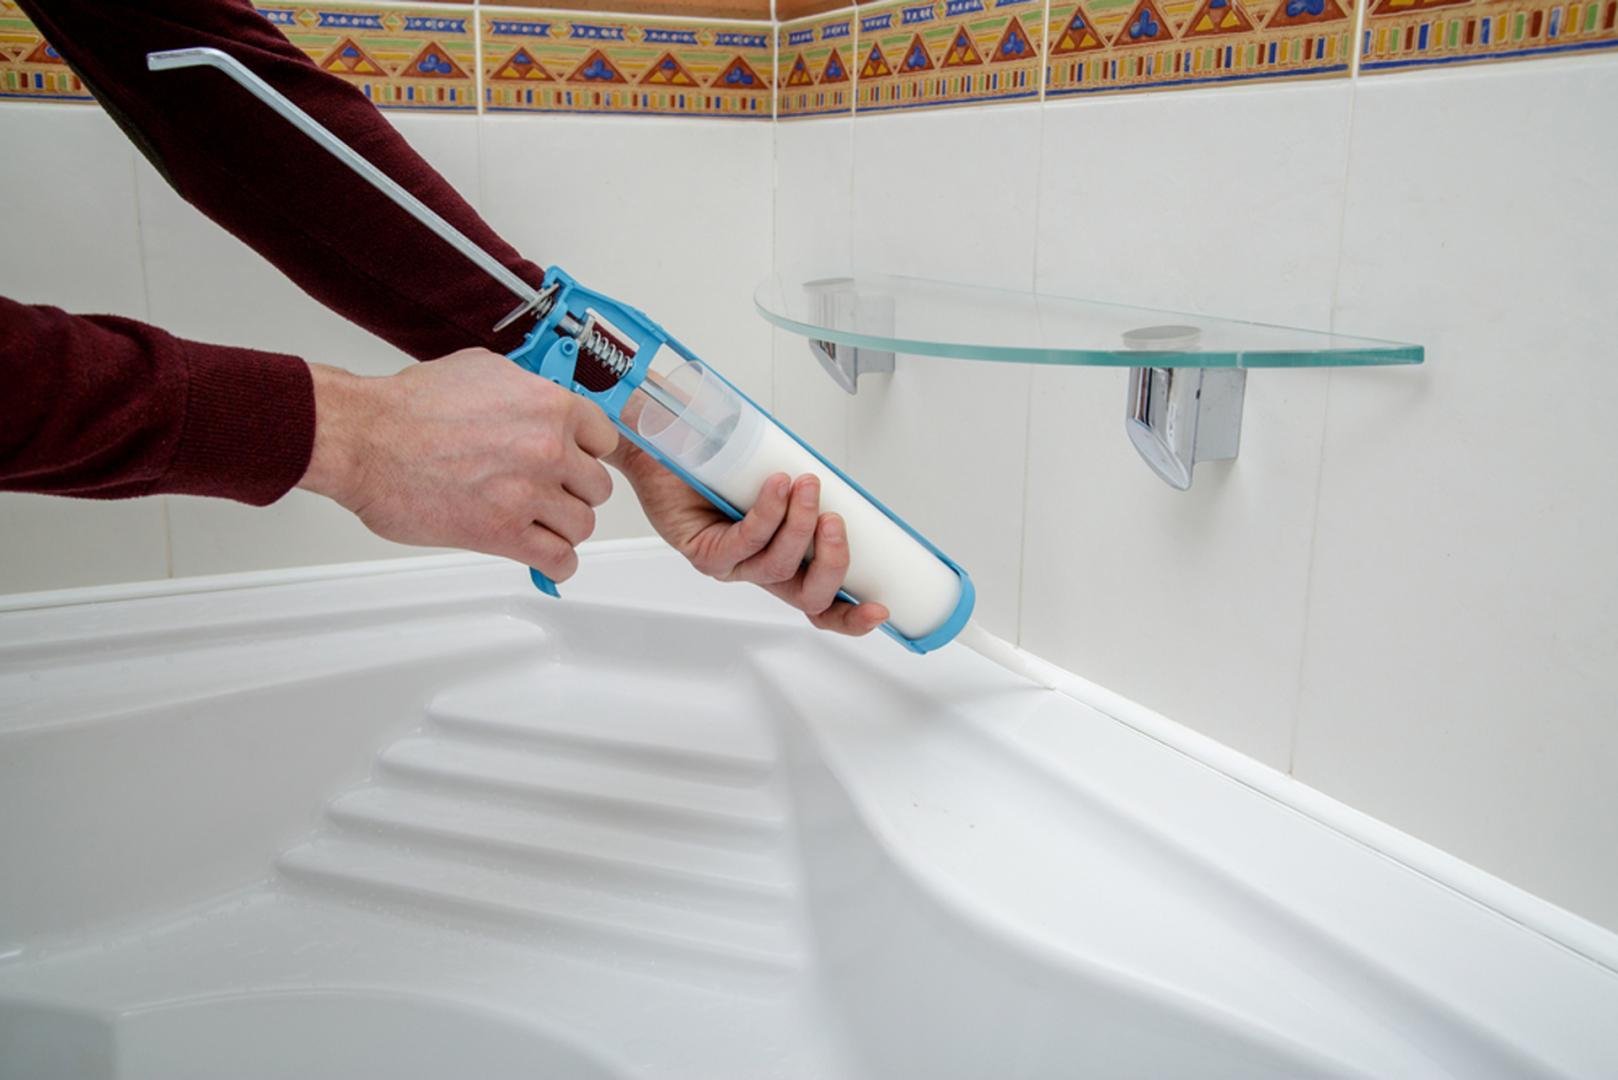
Applying the Silicone Caulk
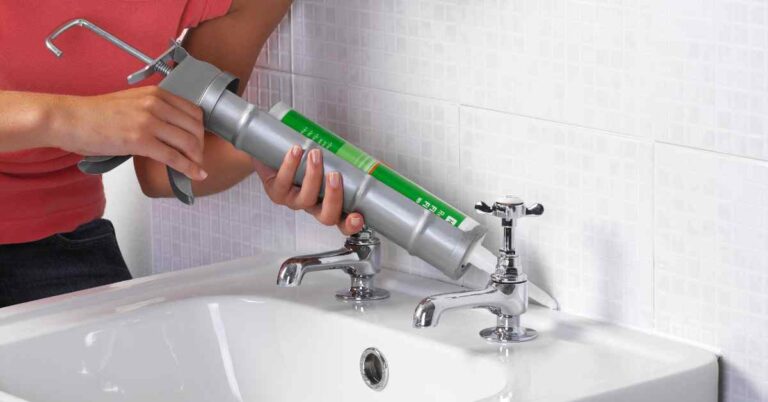
 Once your sink is clean and dry, it's time to begin the caulking process.
Wear gloves
to protect your hands from the caulk, and use a caulk gun for more precise application. Cut the tip of the caulk tube at a
45-degree angle
and puncture the inner seal with a nail or wire. Begin at one corner of the sink and apply a thin, even bead of caulk along the joint between the sink and the countertop. Use your finger or a caulk smoother to
smooth out
the caulk and create a neat finish. Repeat this process for all joints and seams around the sink, making sure to fill any gaps or holes.
Once your sink is clean and dry, it's time to begin the caulking process.
Wear gloves
to protect your hands from the caulk, and use a caulk gun for more precise application. Cut the tip of the caulk tube at a
45-degree angle
and puncture the inner seal with a nail or wire. Begin at one corner of the sink and apply a thin, even bead of caulk along the joint between the sink and the countertop. Use your finger or a caulk smoother to
smooth out
the caulk and create a neat finish. Repeat this process for all joints and seams around the sink, making sure to fill any gaps or holes.
Finishing Touches
 After you have applied the caulk,
remove any excess
with a damp cloth or paper towel. This will help to create a clean and seamless finish. Allow the caulk to dry for at least
24 hours
before using your sink. Once it is completely dry, you can use a mild cleaner to remove any excess residue and admire your newly caulked bathroom sink. Remember to regularly check and
re-caulk as needed
to maintain a strong and waterproof seal.
In conclusion, properly applying silicone caulk on your bathroom sink is an important step in achieving a professional and polished look for your sink area. By following these simple steps and using the right products and techniques, you can ensure a successful and long-lasting caulk application. So go ahead and give your bathroom sink the upgrade it deserves with a fresh and neatly sealed caulk finish.
After you have applied the caulk,
remove any excess
with a damp cloth or paper towel. This will help to create a clean and seamless finish. Allow the caulk to dry for at least
24 hours
before using your sink. Once it is completely dry, you can use a mild cleaner to remove any excess residue and admire your newly caulked bathroom sink. Remember to regularly check and
re-caulk as needed
to maintain a strong and waterproof seal.
In conclusion, properly applying silicone caulk on your bathroom sink is an important step in achieving a professional and polished look for your sink area. By following these simple steps and using the right products and techniques, you can ensure a successful and long-lasting caulk application. So go ahead and give your bathroom sink the upgrade it deserves with a fresh and neatly sealed caulk finish.