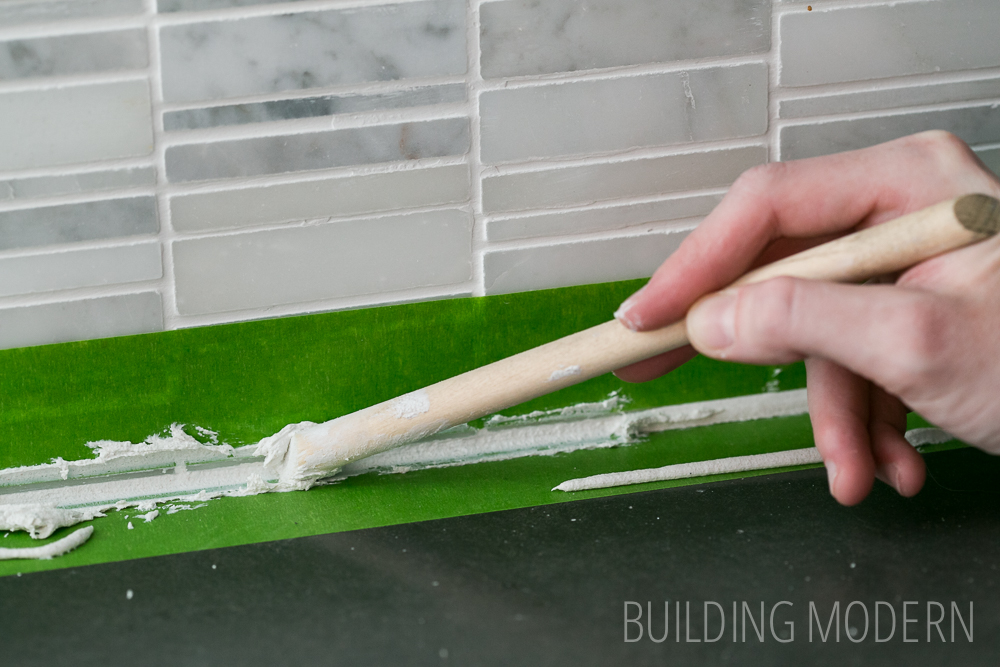
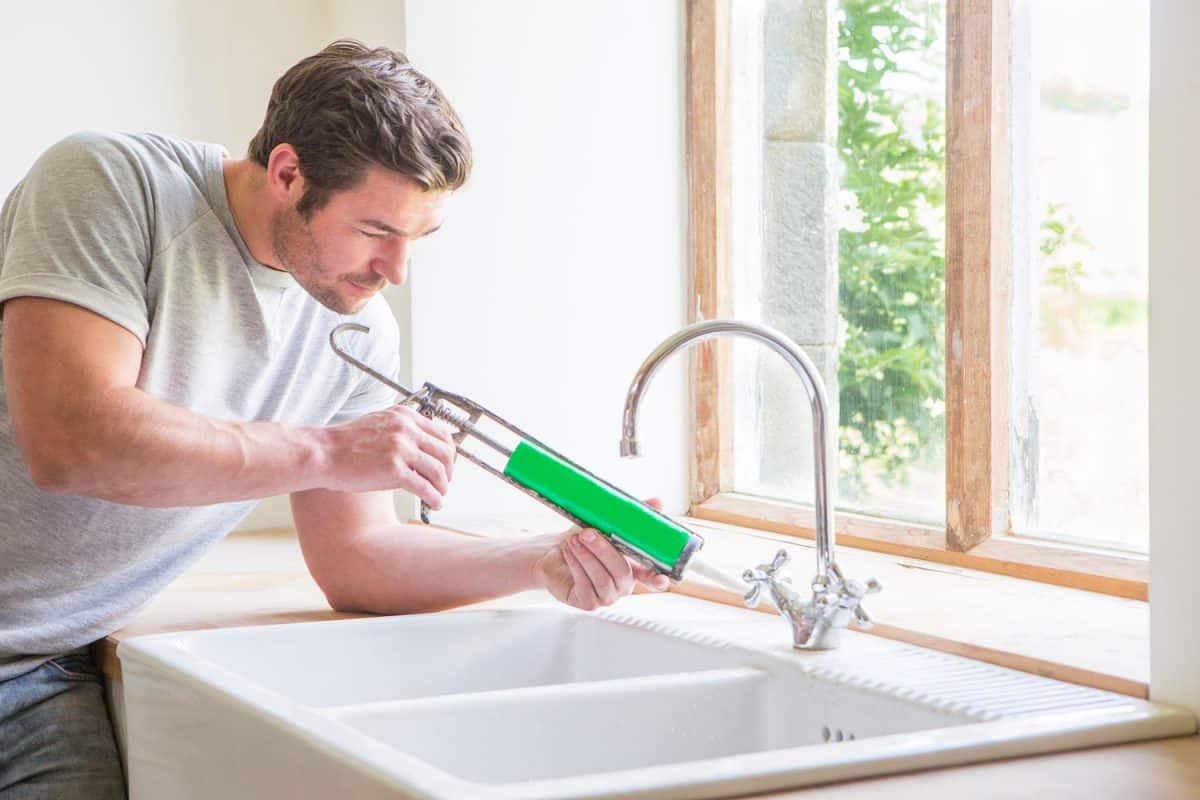
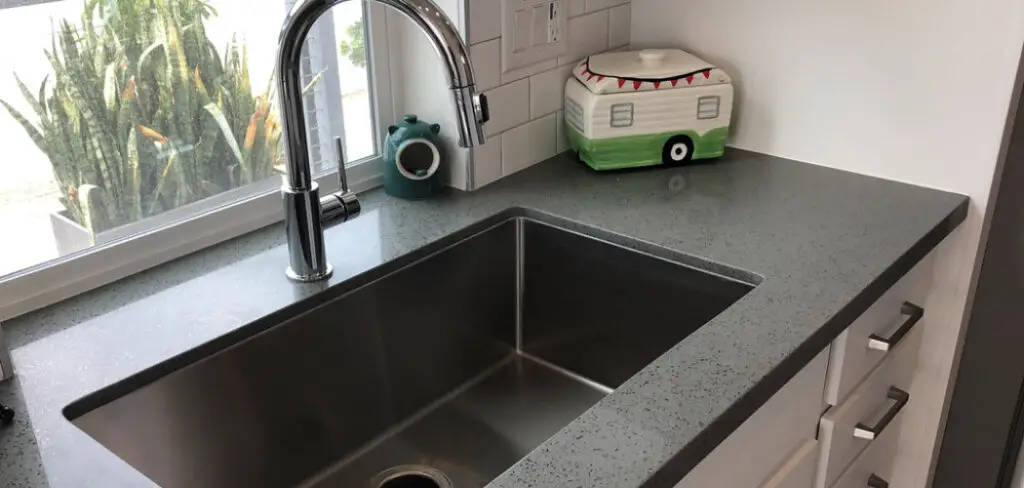
If you're planning on installing a new kitchen sink or replacing an old one, you'll need to use silicone caulk to seal it properly. Silicone caulk is a type of adhesive that creates a waterproof seal to prevent leaks and water damage. Here's how to apply silicone caulk to your kitchen sink like a pro. First, make sure the area around your sink is clean and dry. Use a mild soap and water to remove any dirt or debris, and dry the surface thoroughly with a clean towel. Next, cut the tip of the silicone caulk tube at a 45-degree angle. This will create a small opening that allows you to control the flow of caulk. Using a caulking gun, apply a thin and even layer of silicone caulk along the edges of the sink where it meets the countertop. Make sure to press the caulk firmly into the gap between the sink and the countertop. After you've applied the caulk, use a damp cloth or your finger to smooth out the caulk and remove any excess. This will create a clean and seamless finish. Allow the caulk to dry completely before using your sink. It typically takes around 24 hours for silicone caulk to fully cure, but it's best to check the instructions on the specific product you're using.1. How to Apply Silicone Caulk to a Kitchen Sink


1. How to Apply Silicone Caulk to a Kitchen Sink

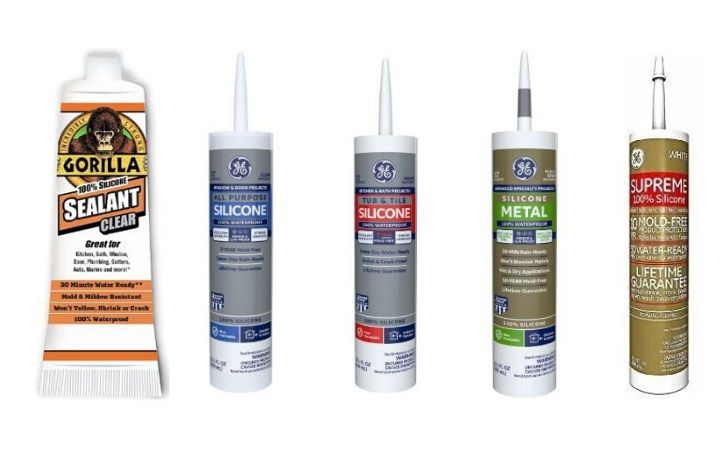
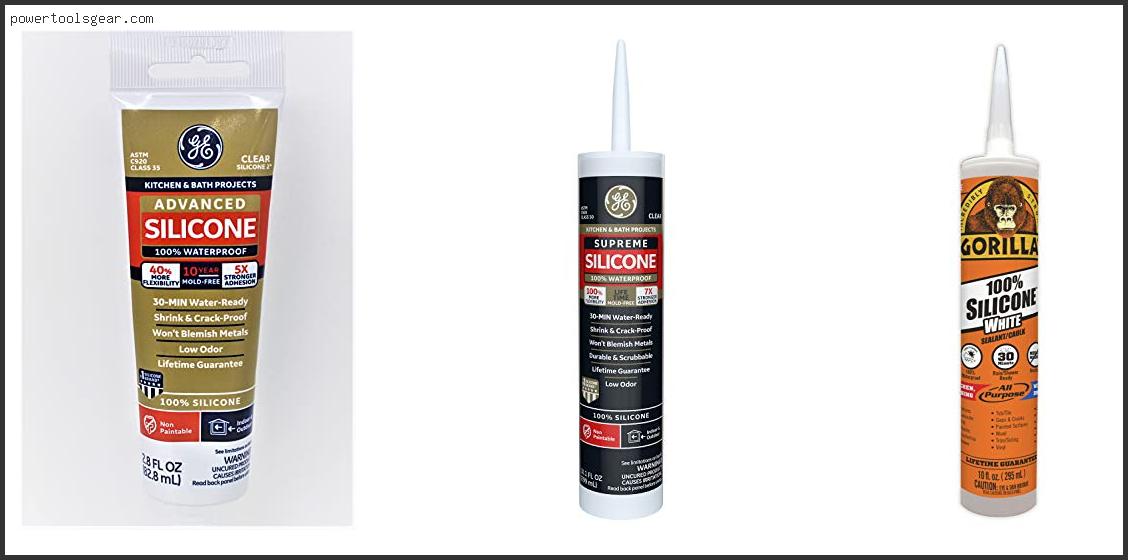


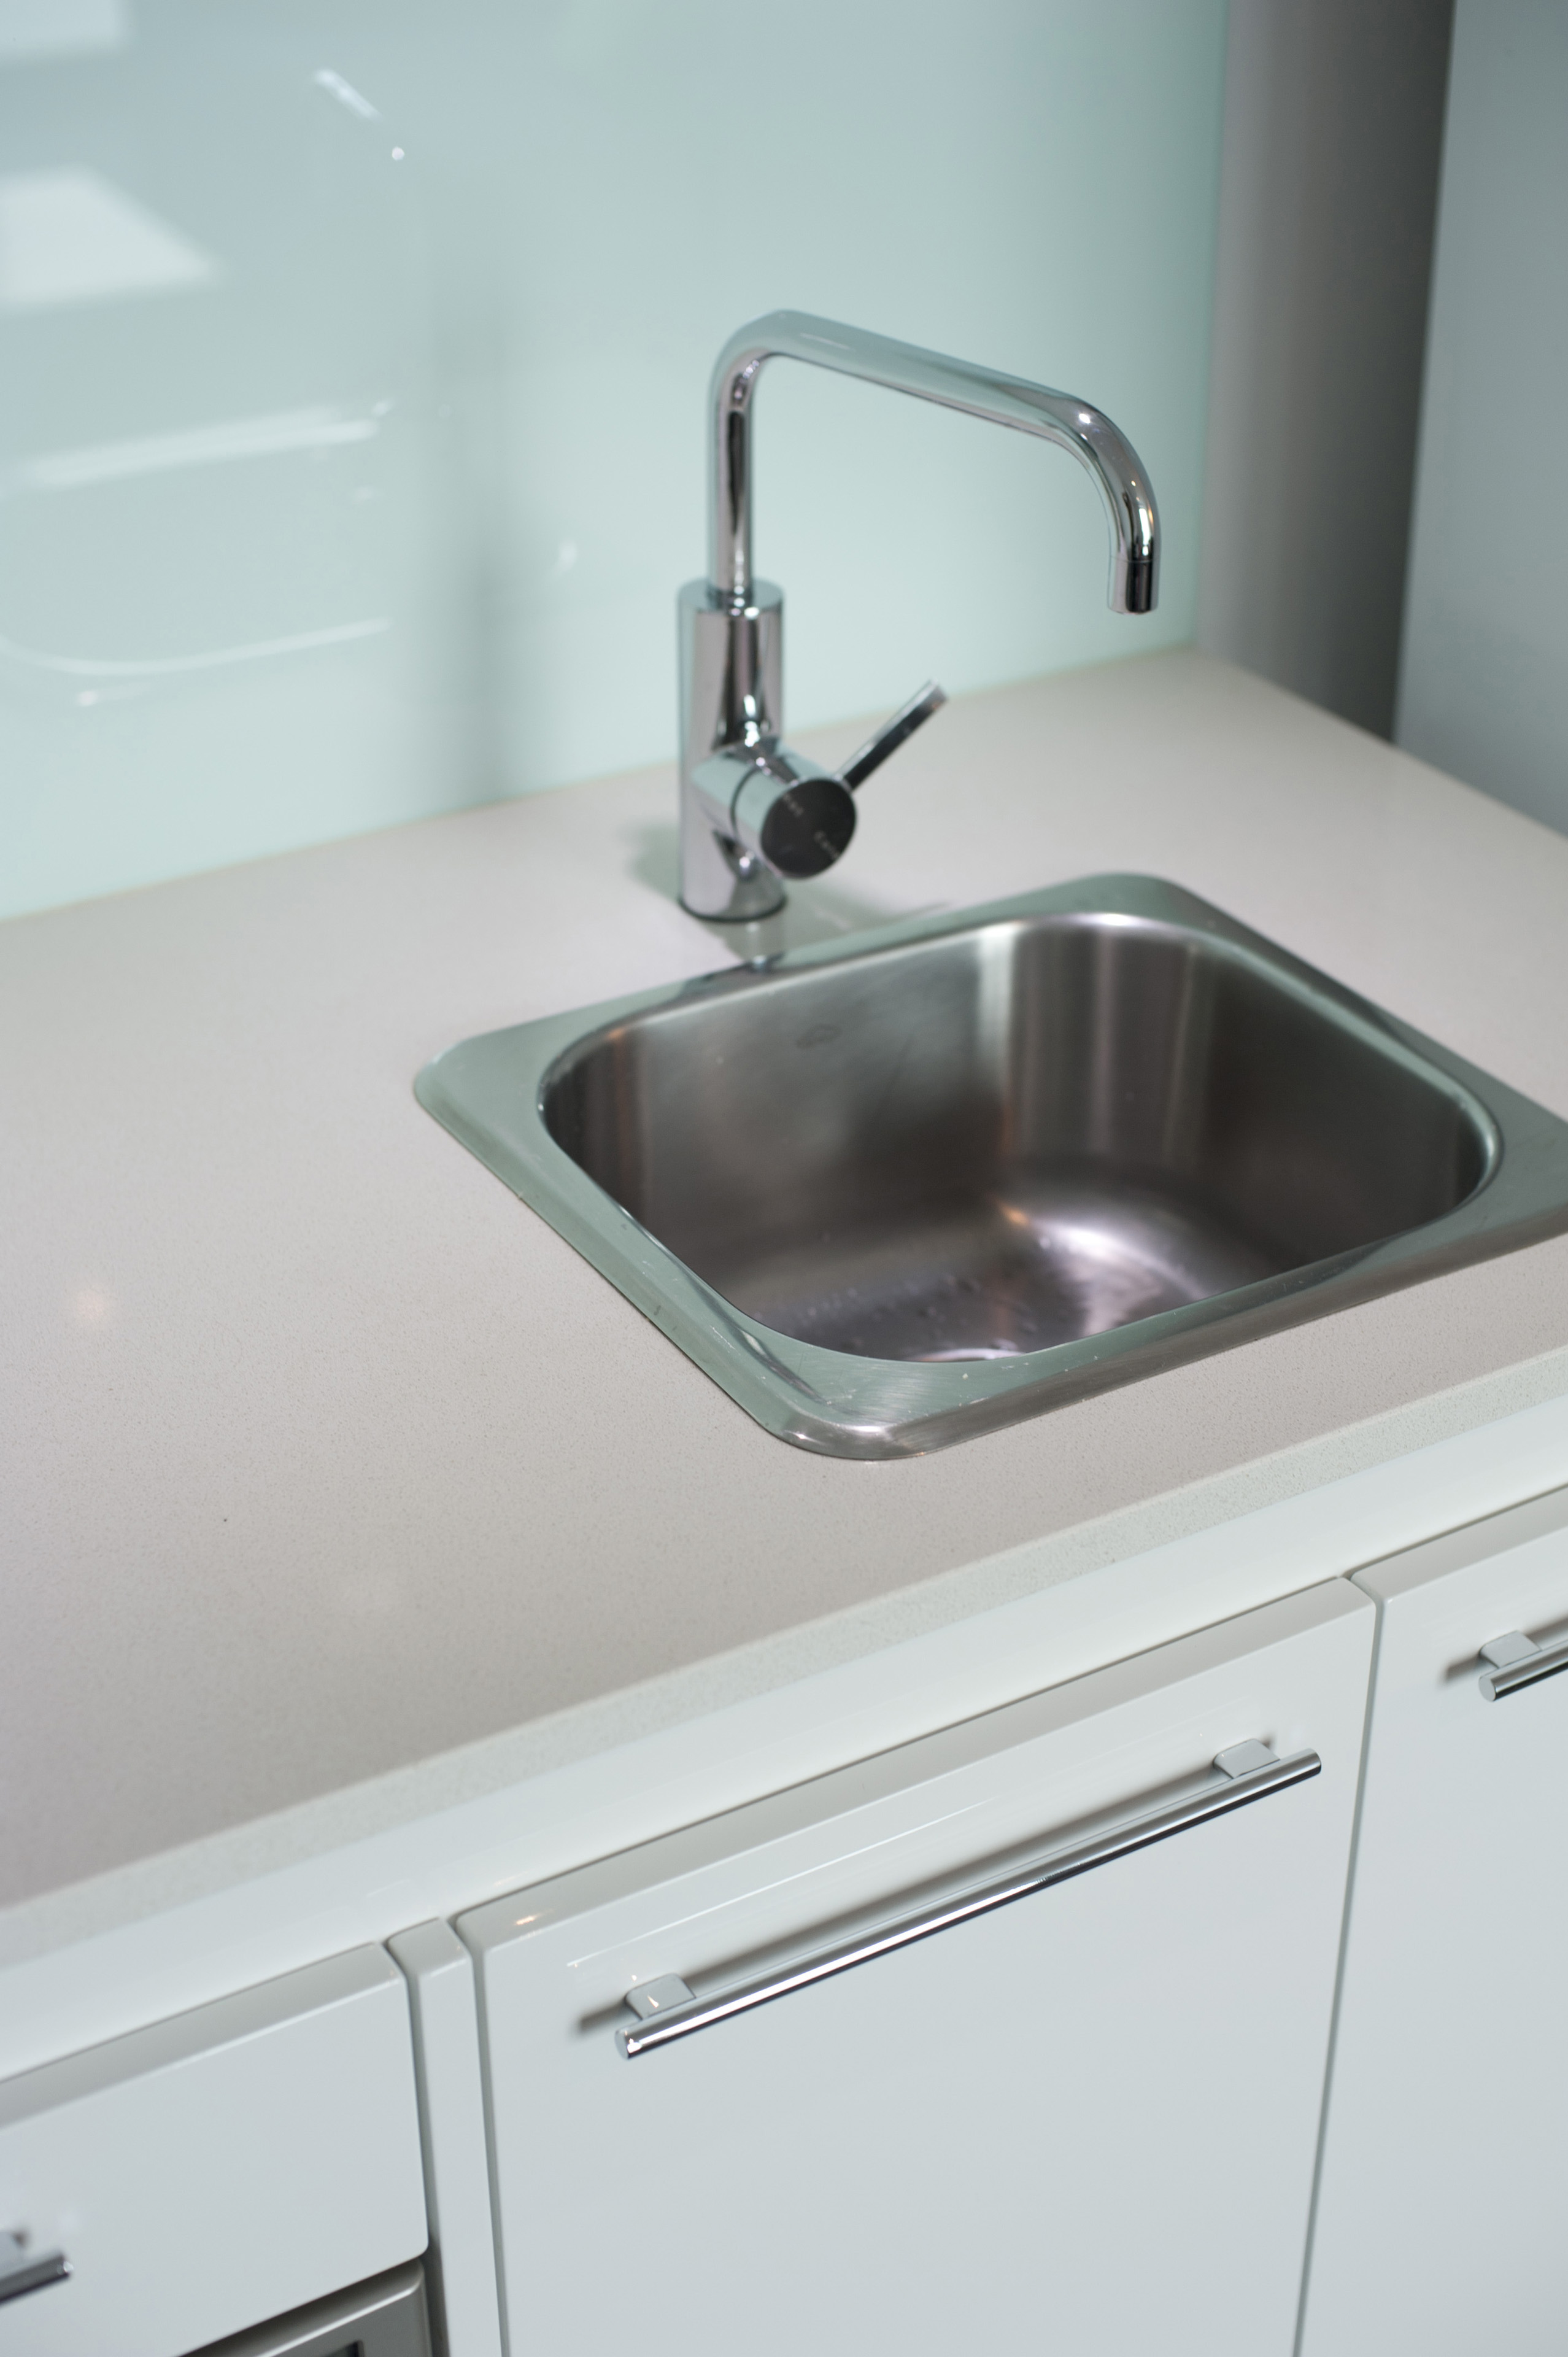
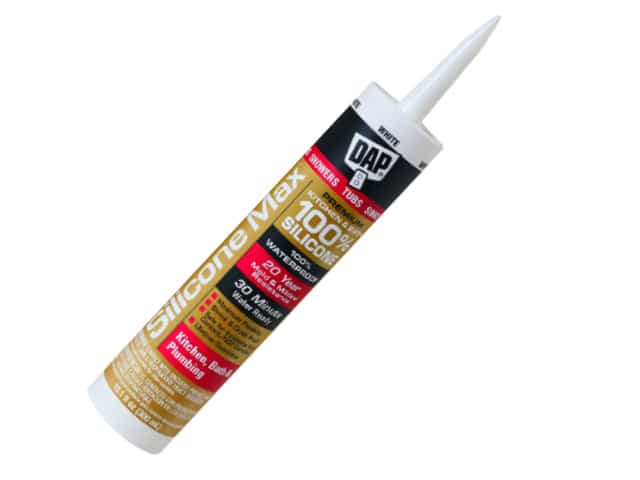
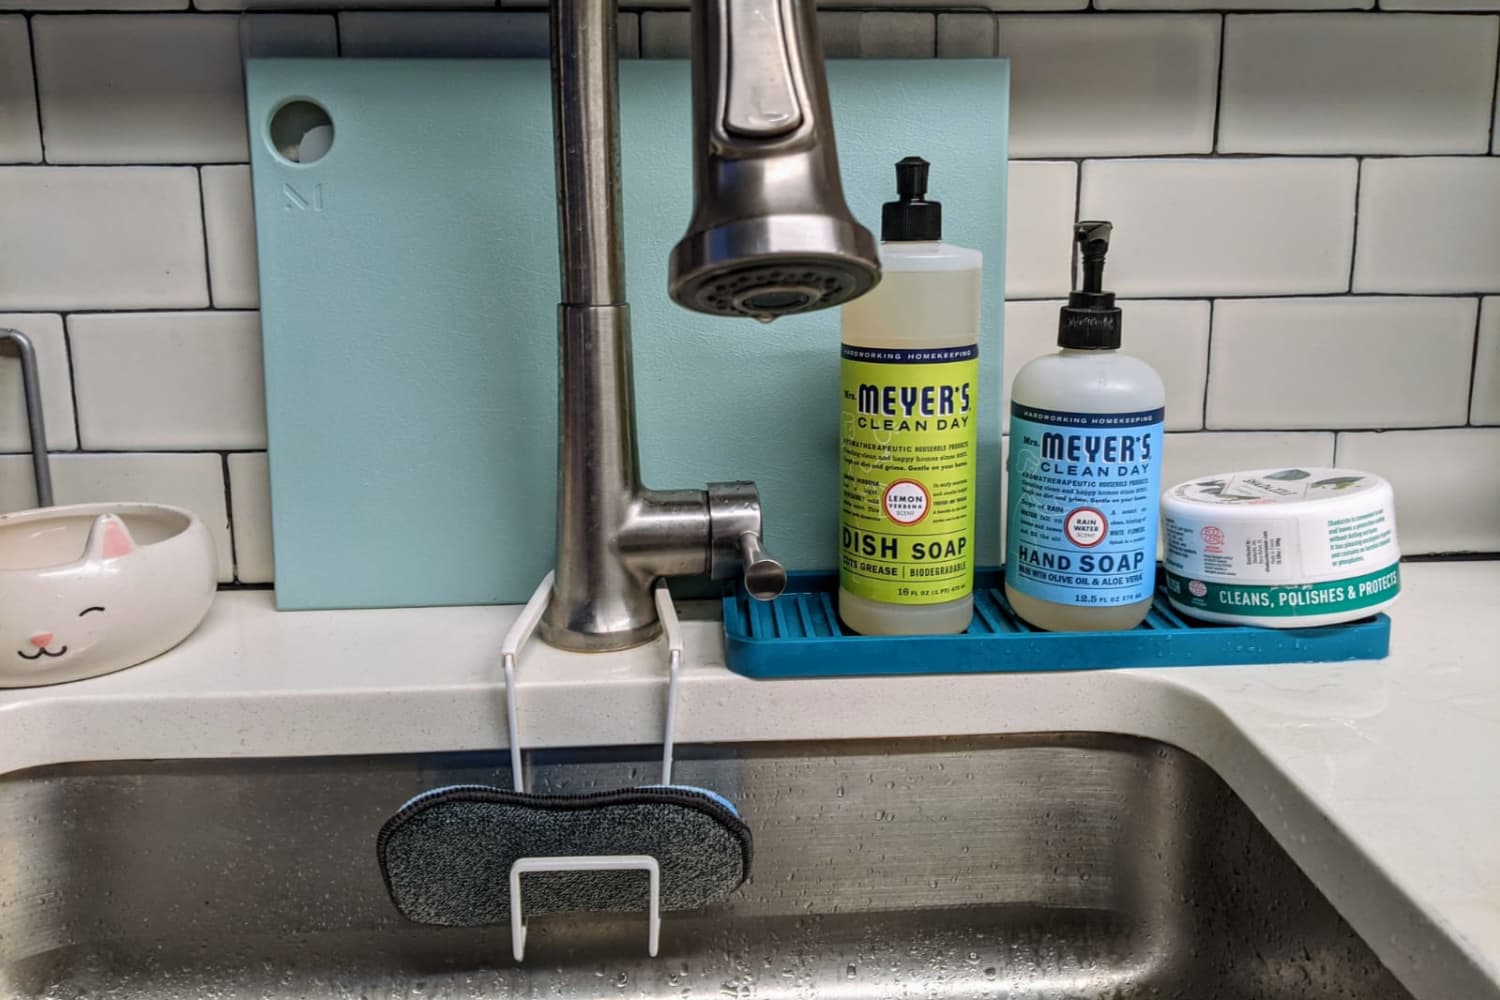
When it comes to choosing the right silicone for your kitchen sink, there are a few factors to consider. First, make sure to use 100% silicone caulk rather than a silicone blend or acrylic caulk. For kitchen sinks, it's best to use a clear or white silicone caulk that is specifically designed for kitchen and bathroom use. These types of silicone are more resistant to water and mold, making them ideal for use in areas with high moisture levels. Some popular brands for kitchen sink silicone caulk include GE Silicone II Kitchen and Bath, DAP Kwik Seal Plus, and Gorilla 100% Silicone Sealant. When in doubt, always read the product label to ensure that the silicone caulk is suitable for use on kitchen sinks.2. The Best Silicone for Kitchen Sinks


2. The Best Silicone for Kitchen Sinks


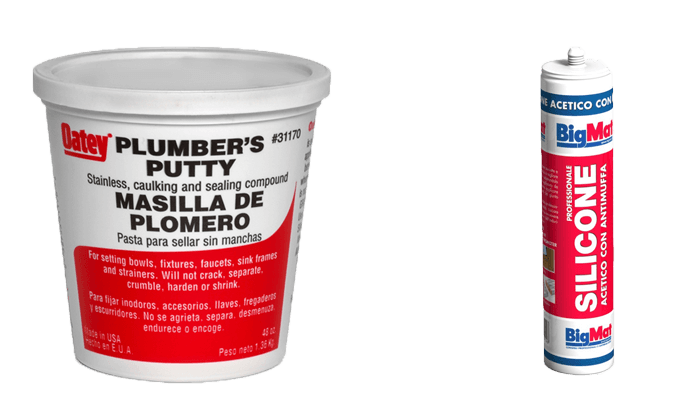
One common question when it comes to sealing a kitchen sink is whether to use silicone or plumbers putty. While both materials can create a waterproof seal, they have different purposes and uses. Silicone is a type of adhesive that is best for use on non-porous surfaces like ceramic, porcelain, and metal. It creates a tight and durable seal that is resistant to water and mold. On the other hand, plumbers putty is a clay-like material that is used to create a watertight seal around drains and fixtures. It's best for use on porous surfaces like granite, marble, and plastic. In general, it's recommended to use silicone for sealing a kitchen sink, as it is more versatile and long-lasting. However, if you have a sink made of a porous material, plumbers putty may be a better option.3. Silicone vs. Plumbers Putty for Kitchen Sink


3. Silicone vs. Plumbers Putty for Kitchen Sink


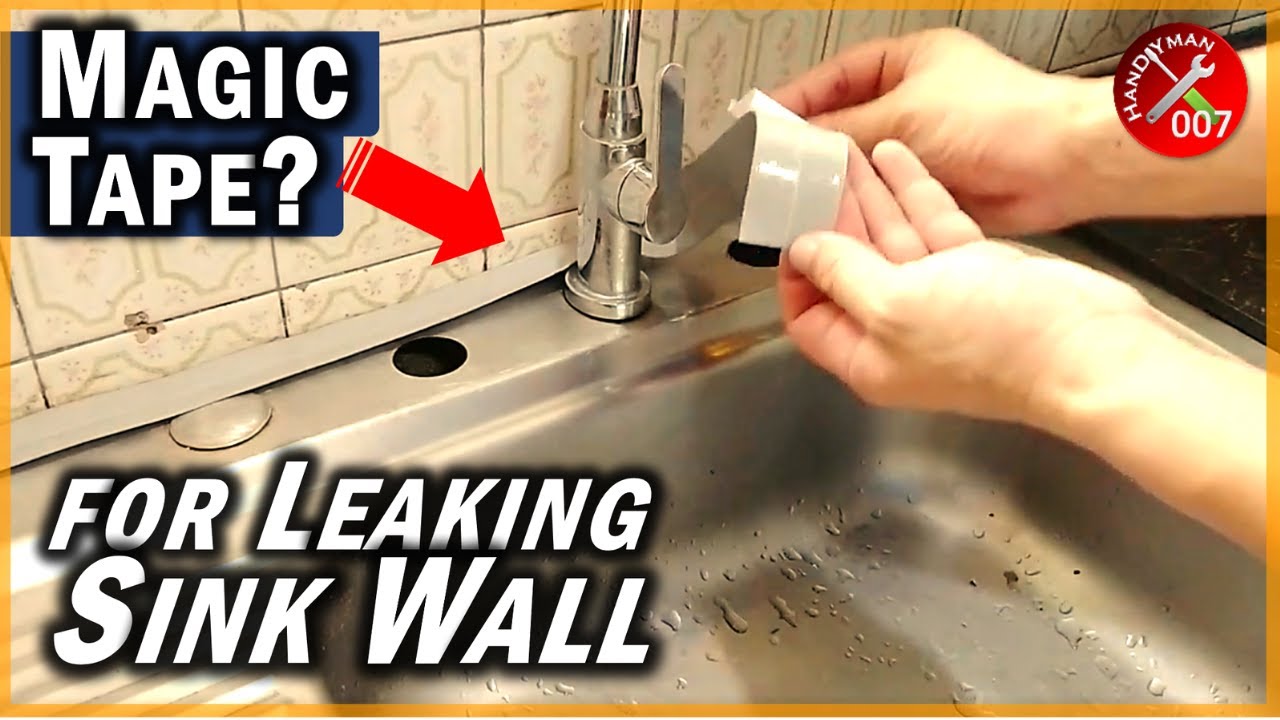
If you need to remove old or damaged silicone caulk from your kitchen sink, it's important to do it properly to avoid damaging the sink or countertop. First, use a razor blade or utility knife to carefully cut away as much of the caulk as possible. Be gentle to avoid scratching the surface of the sink. Next, use a caulk remover or a mixture of equal parts white vinegar and water to soften the remaining caulk. Let it sit for a few minutes before using a scrubbing pad or toothbrush to gently scrub away the caulk. Once all the caulk is removed, clean the area with soap and water and dry it thoroughly before applying new silicone caulk.4. How to Remove Silicone Caulk from a Kitchen Sink


4. How to Remove Silicone Caulk from a Kitchen Sink


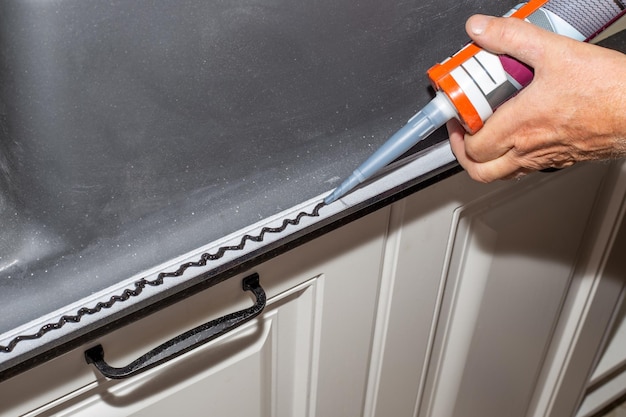
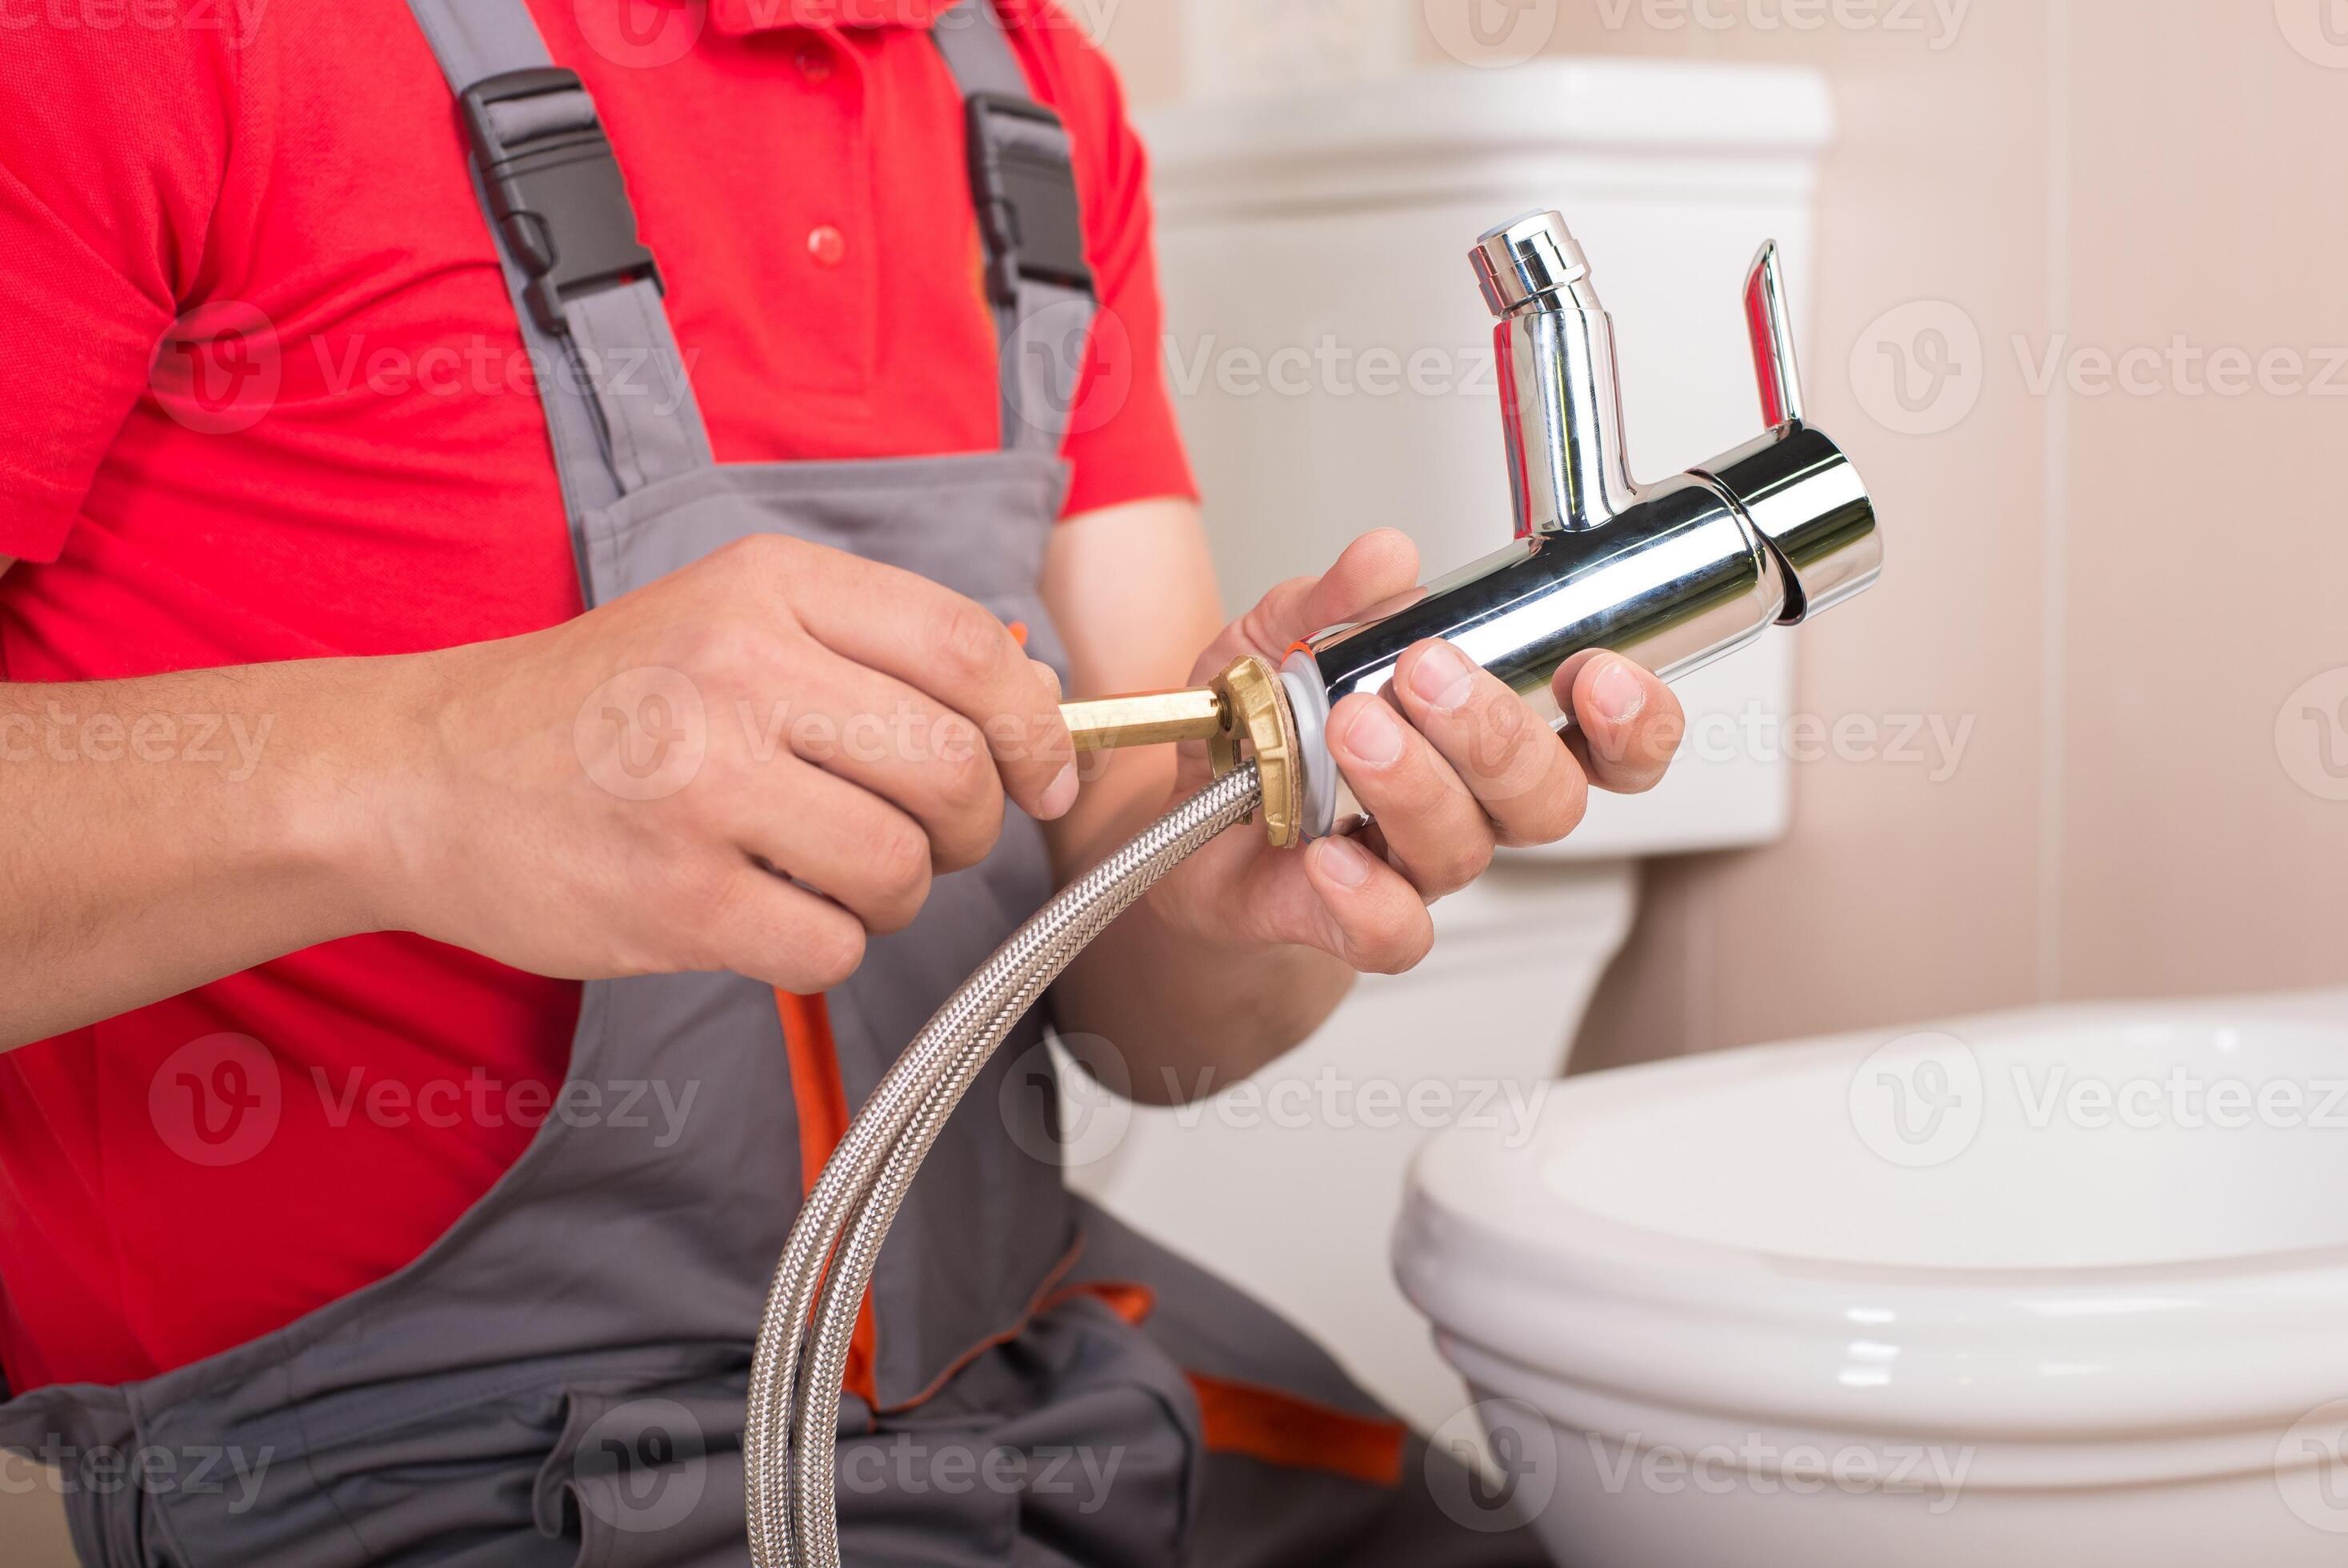
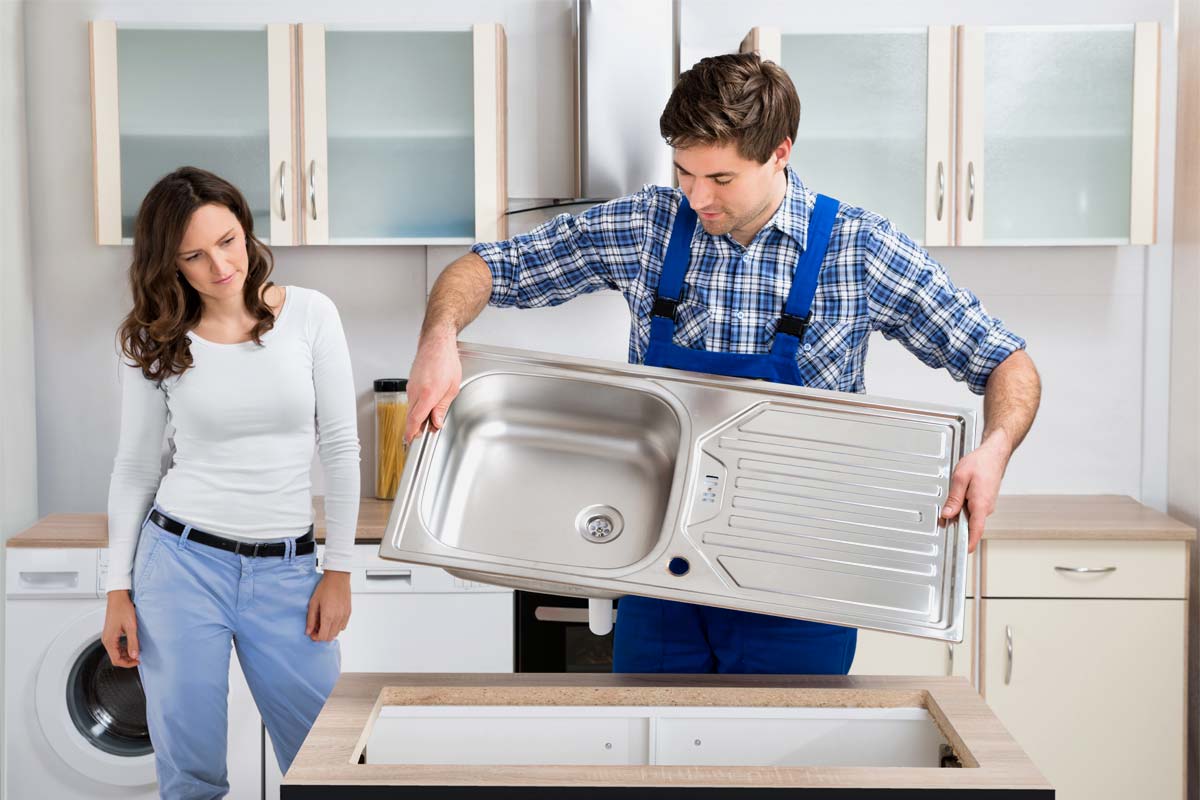
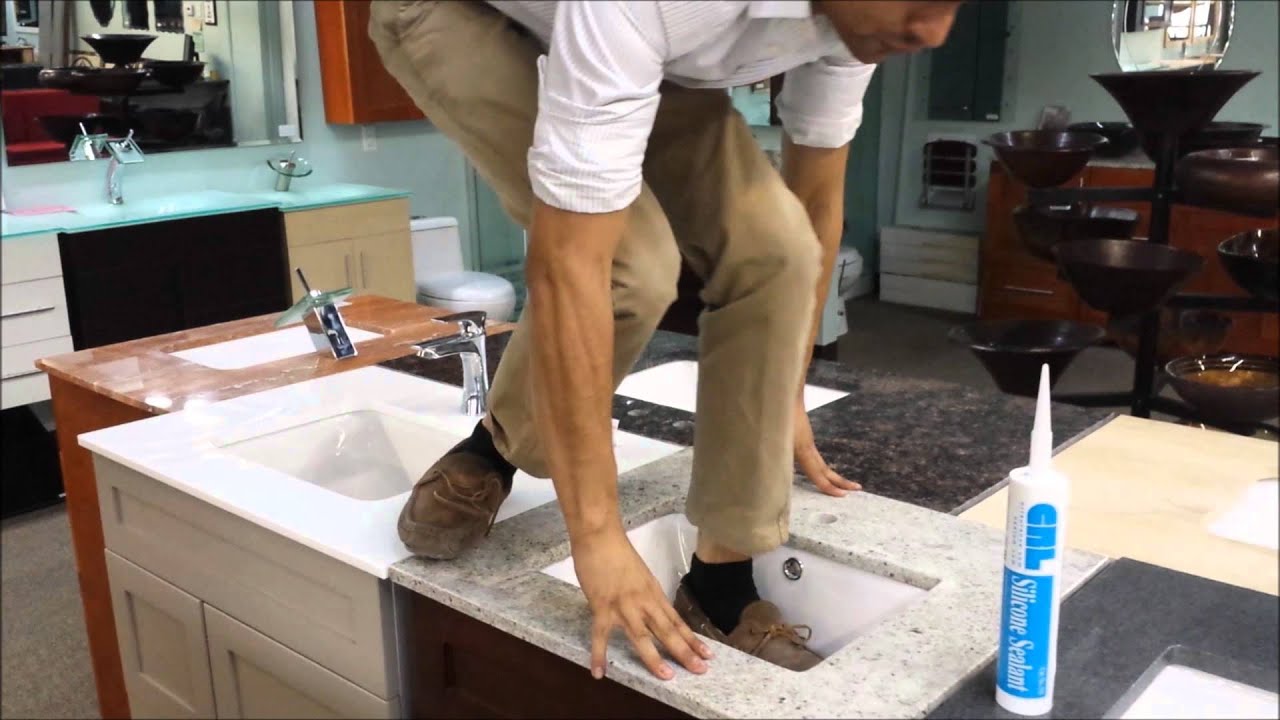
When installing a new kitchen sink, it's important to use silicone sealant to create a waterproof barrier between the sink and the countertop. This will prevent leaks and water damage over time. Before installing the sink, apply a thin and even layer of silicone sealant along the edges of the sink where it will come into contact with the countertop. Then, carefully place the sink into the opening and press it firmly into place. Wipe away any excess sealant and allow it to dry completely before using the sink.5. Silicone Sealant for Kitchen Sink Installation


5. Silicone Sealant for Kitchen Sink Installation

/how-to-install-a-sink-drain-2718789-hero-24e898006ed94c9593a2a268b57989a3.jpg)


Properly sealing your kitchen sink with silicone is essential to prevent leaks and water damage. Here's how to do it: First, make sure to thoroughly clean and dry the area around your sink. Remove any old caulk or debris, and clean the surface with soap and water. Next, use a caulking gun to apply a thin and even layer of silicone caulk along the edges of the sink where it meets the countertop. Be sure to press the caulk firmly into the gap to create a tight seal. Once the caulk is applied, use a damp cloth or your finger to smooth out the caulk and remove any excess. Allow the caulk to dry completely before using the sink.6. How to Seal a Kitchen Sink with Silicone


6. How to Seal a Kitchen Sink with Silicone


Silicone adhesive is a great option for repairing a damaged or cracked kitchen sink. It creates a strong and waterproof bond that can withstand the constant use and exposure to water in a kitchen sink. To use silicone adhesive for kitchen sink repair, first clean and dry the damaged area. Apply a thin layer of adhesive to both surfaces and press them together firmly. Wipe away any excess adhesive and allow it to dry completely before using the sink. It's important to note that silicone adhesive may not be suitable for all types of kitchen sink repair, so be sure to read the product label and instructions carefully.7. Silicone Adhesive for Kitchen Sink Repair


7. Silicone Adhesive for Kitchen Sink Repair


Silicone is a popular choice for sealing and repairing kitchen sinks, and for good reason. Here are some of the benefits of using silicone: Durable: Silicone creates a strong and long-lasting seal that can withstand the constant use and exposure to water in a kitchen sink. Waterproof: Silicone is highly resistant to water, making it a great choice for use in areas with high moisture levels. Mold-Resistant: Unlike other types of caulk, silicone is resistant to mold and mildew growth, making it ideal for use in wet areas like kitchens and bathrooms. Easy to Use: Silicone caulk is easy to apply and can be smoothed out with a damp cloth or your finger for a clean finish.8. The Benefits of Using Silicone for Kitchen Sinks


8. The Benefits of Using Silicone for Kitchen Sinks


With so many options available, it can be overwhelming to choose the right silicone for your kitchen sink. Here are some factors to consider when making your decision: Type: Make sure to use 100% silicone caulk rather than a silicone blend or acrylic caulk. Color: Clear or white silicone is best for use on kitchen sinks, as it will blend in seamlessly with the sink and countertop. Intended Use: Look for silicone caulk that is specifically designed for kitchen and bathroom use, as it will be more resistant to water and mold. Brand: Some popular brands for kitchen sink silicone caulk include GE Silicone II Kitchen and Bath, DAP Kwik Seal Plus, and Gorilla 100% Silicone Sealant.9. How to Choose the Right Silicone for Your Kitchen Sink


9. How to Choose the Right Silicone for Your Kitchen Sink


:max_bytes(150000):strip_icc()/Basic-kitchen-sink-types-1821207_color_rev-0b539306b9ef4236a136624ad2a89a4c.jpg)

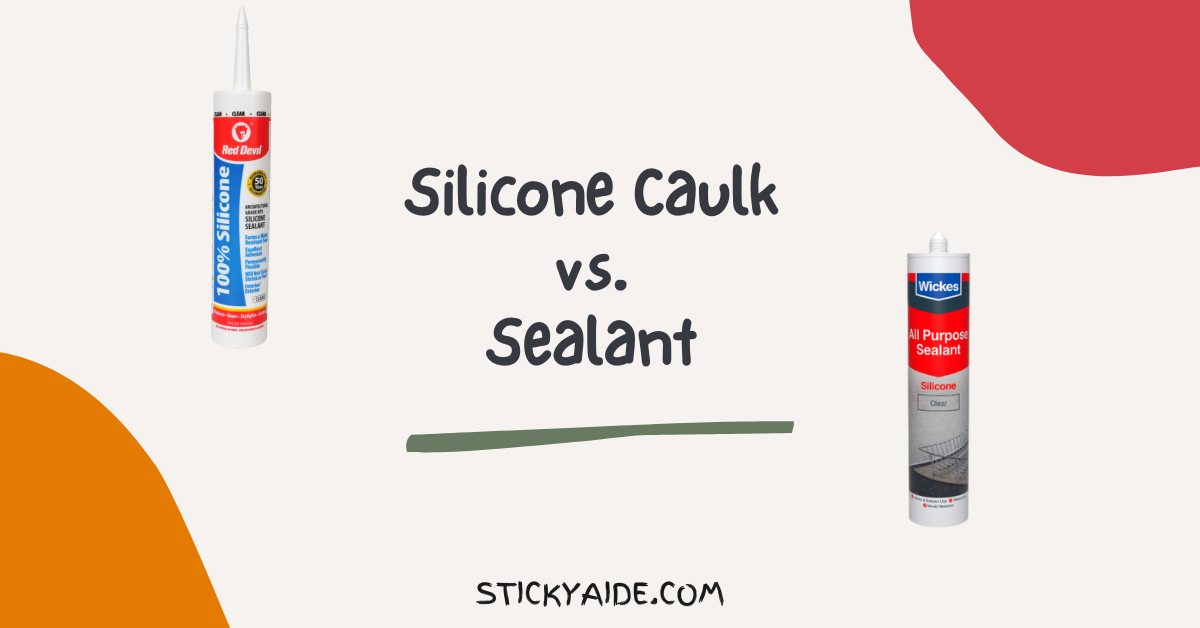
While the terms "caulk" and "sealant" are often used interchangeably, there are some key differences between silicone caulk and silicone sealant when it comes to their use in kitchen sinks. Silicone caulk is best for sealing gaps and creating a watertight seal between two non-porous surfaces, such as a sink and a countertop. On the other hand, silicone sealant is better for filling in larger gaps and creating a more durable bond, making it a good choice for repairing a cracked or damaged sink. In general, it's best to use silicone caulk for sealing and silicone sealant for repairs, but make sure to read the product label and instructions to ensure you're using the right product for your specific needs.10. Silicone Caulk vs. Silicone Sealant for Kitchen Sinks


10. Silicone Caulk vs. Silicone Sealant for Kitchen Sinks


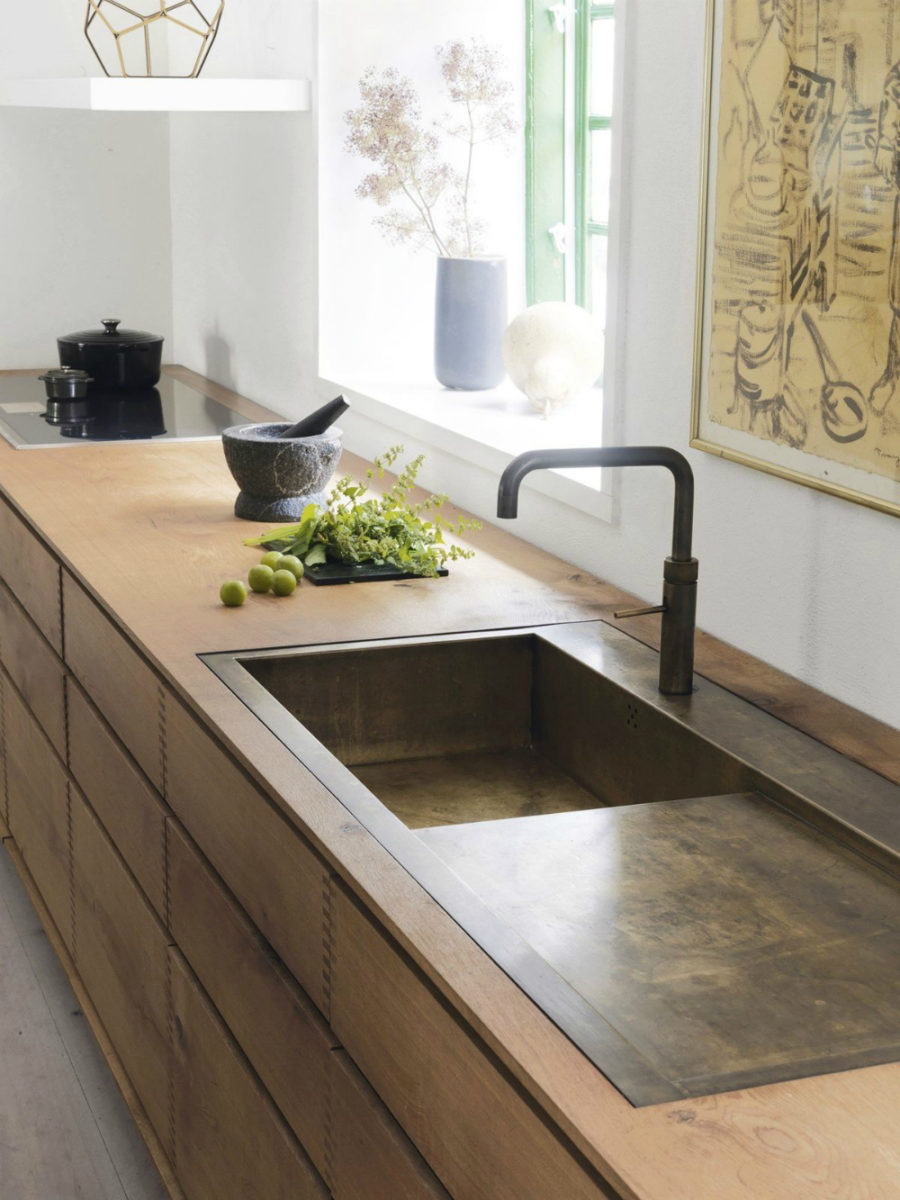
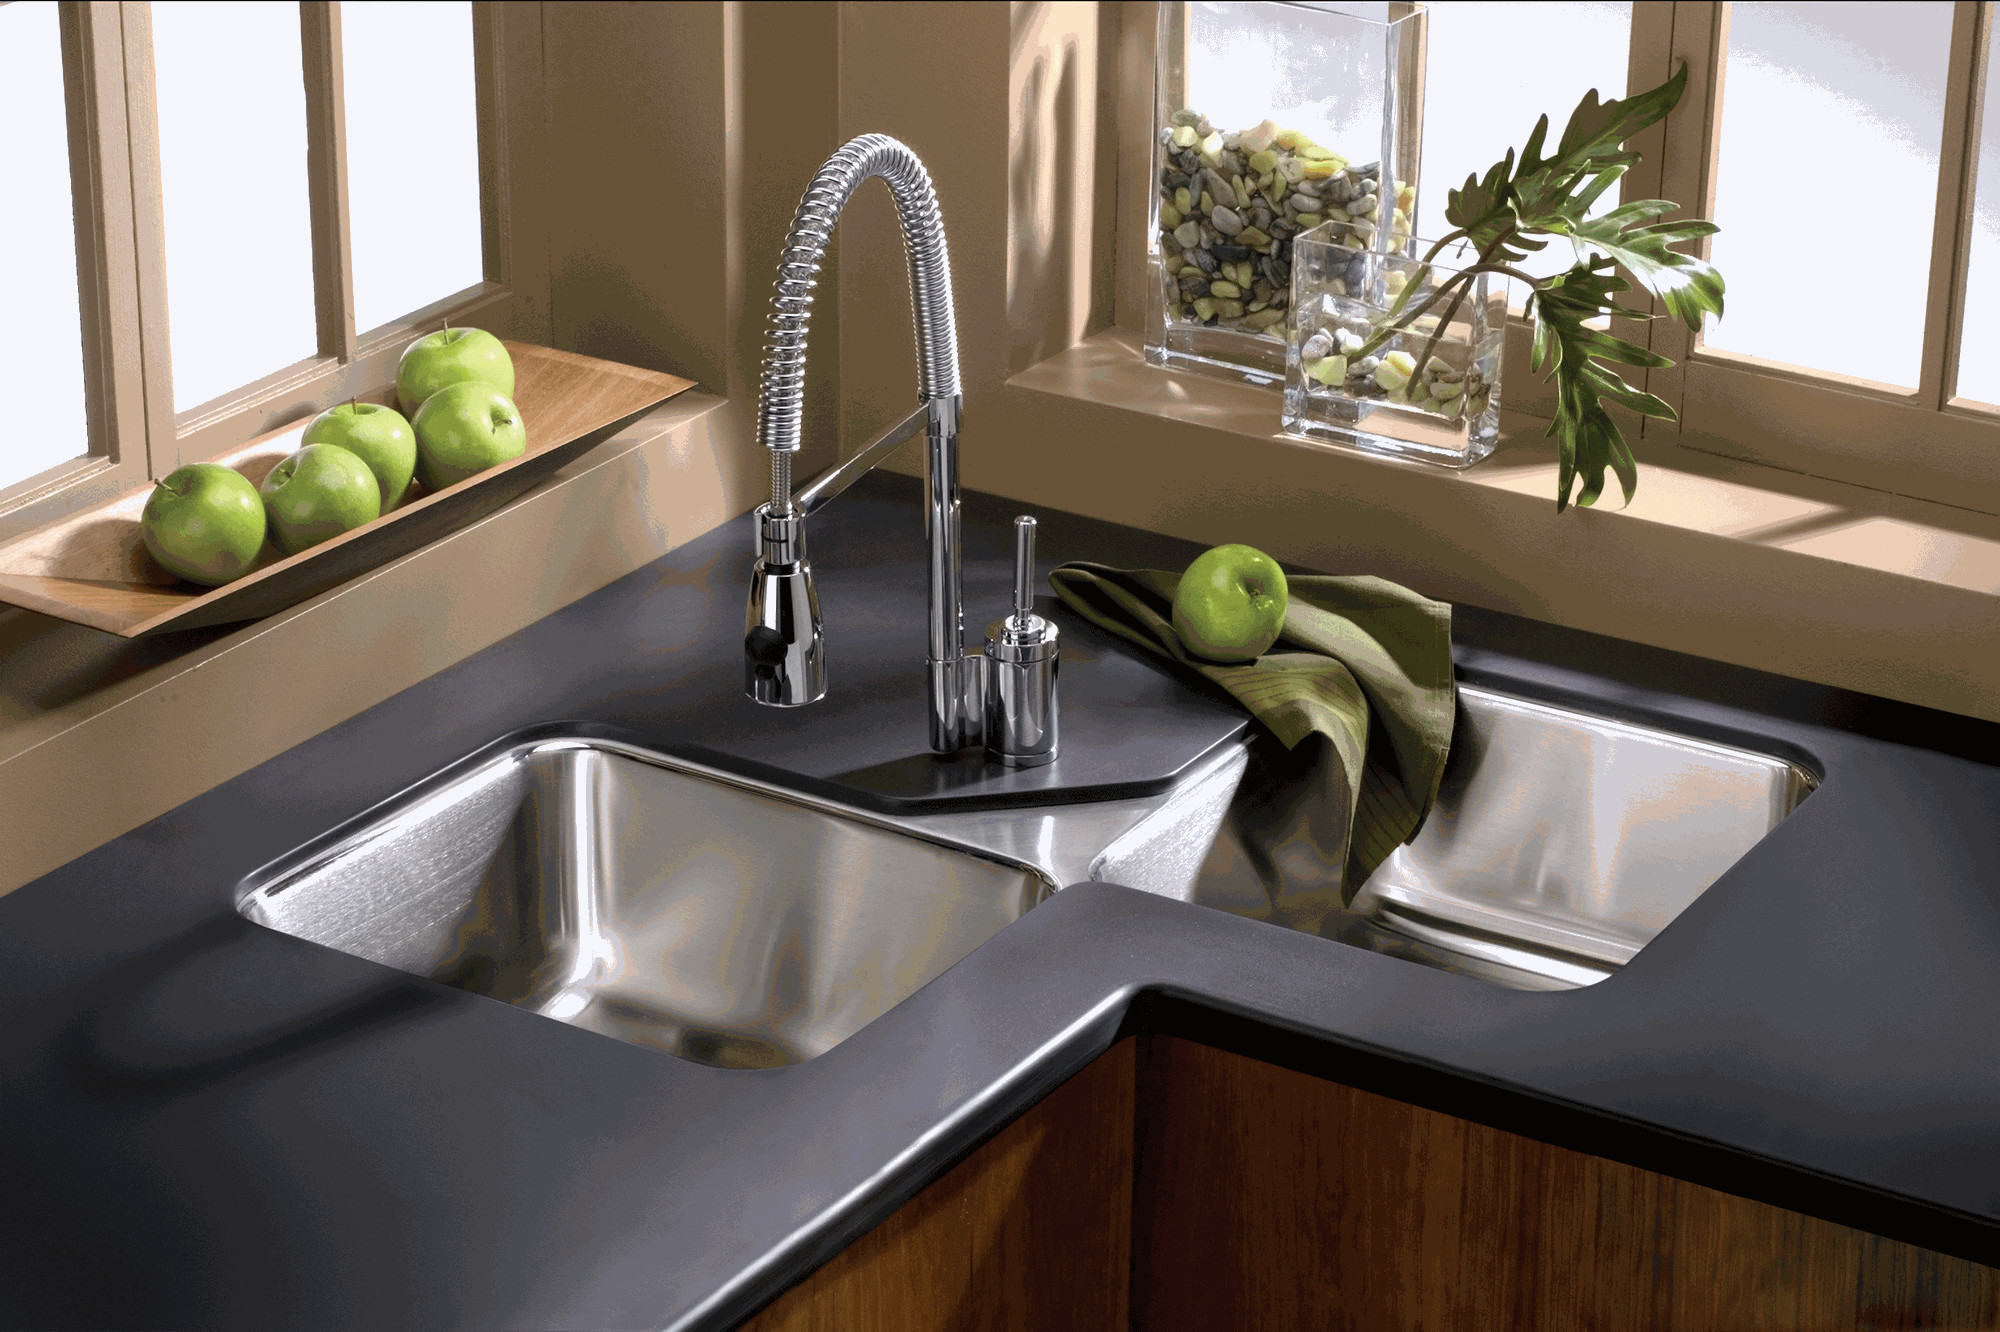
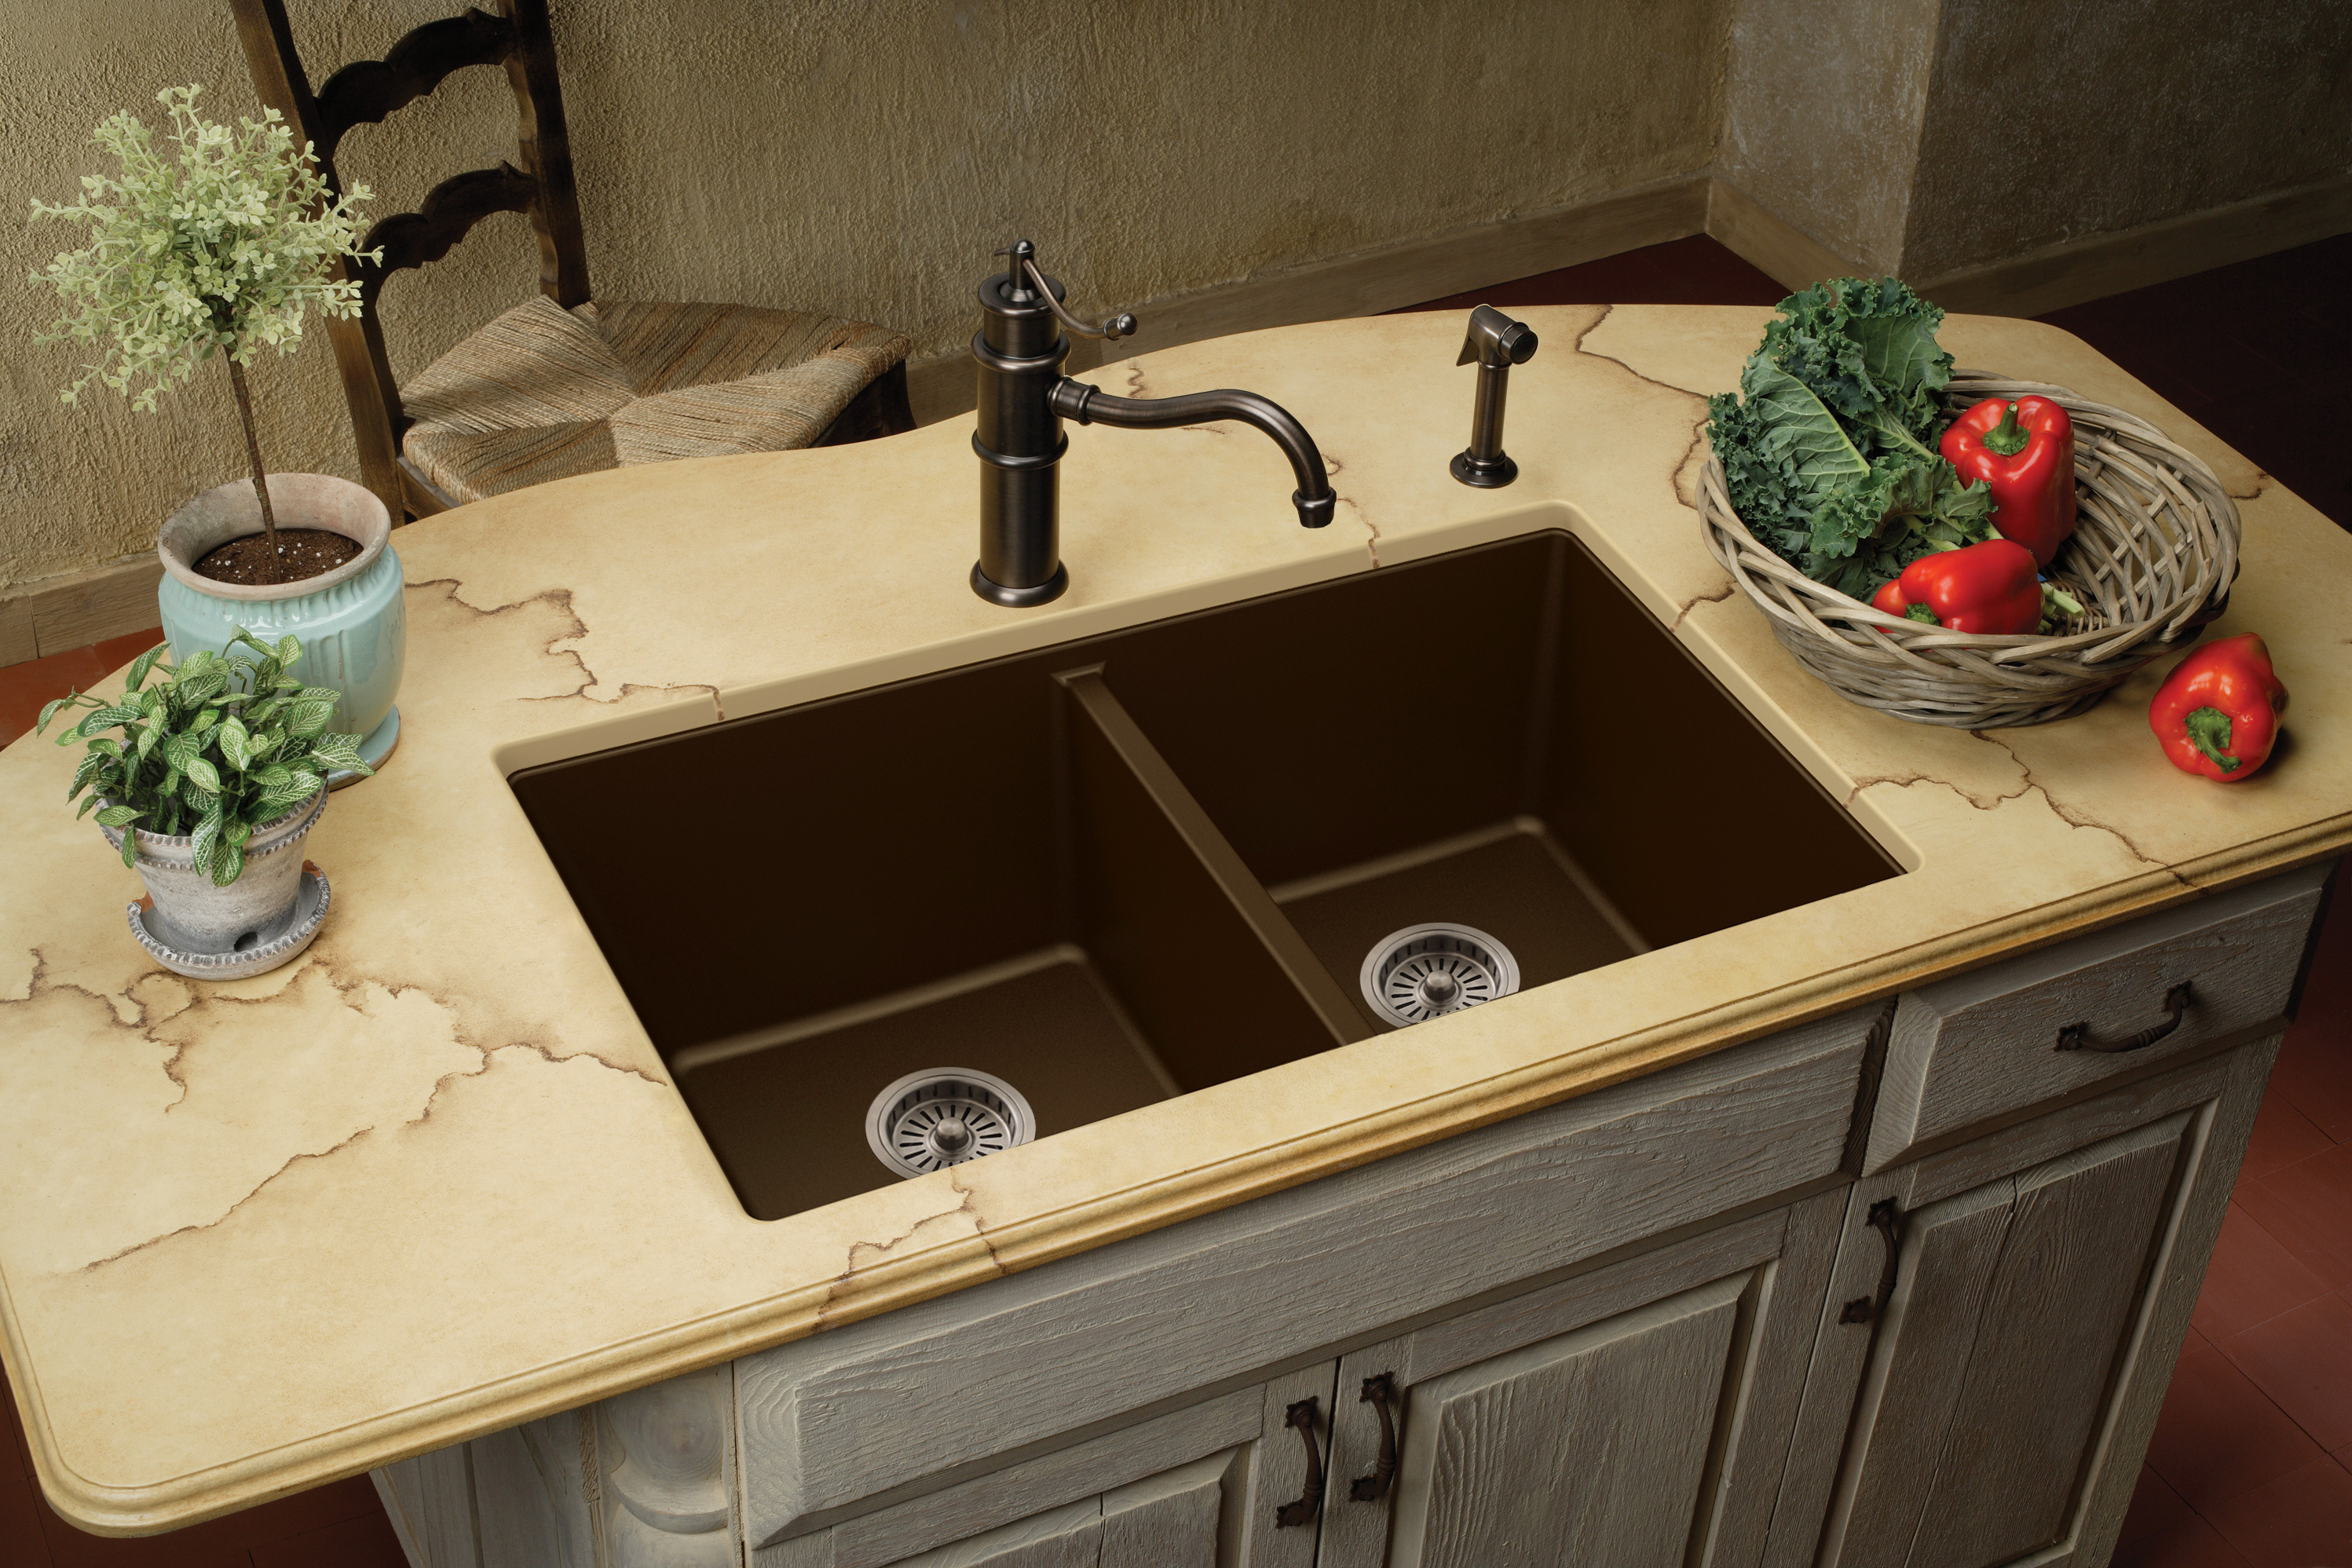
Silicone: The Secret to a Functional and Stylish Kitchen Sink

Why Silicone is the Ultimate Kitchen Sink Solution
 When it comes to designing your dream kitchen, one of the most important features to consider is the kitchen sink. It's a central hub for cooking, cleaning, and entertaining, and it needs to be both functional and visually appealing. That's where silicone comes in. This versatile material has become a popular choice for kitchen sink maintenance and design, and it's not hard to see why.
Silicone is a synthetic polymer that is known for its durability and resistance to extreme temperatures and chemicals. It's also flexible and waterproof, making it the perfect material for sealing and protecting kitchen sinks. By using
silicone to seal your kitchen sink
, you can prevent water and food particles from getting trapped in between the sink and the countertop, reducing the risk of mold and mildew growth.
When it comes to designing your dream kitchen, one of the most important features to consider is the kitchen sink. It's a central hub for cooking, cleaning, and entertaining, and it needs to be both functional and visually appealing. That's where silicone comes in. This versatile material has become a popular choice for kitchen sink maintenance and design, and it's not hard to see why.
Silicone is a synthetic polymer that is known for its durability and resistance to extreme temperatures and chemicals. It's also flexible and waterproof, making it the perfect material for sealing and protecting kitchen sinks. By using
silicone to seal your kitchen sink
, you can prevent water and food particles from getting trapped in between the sink and the countertop, reducing the risk of mold and mildew growth.
Seamless Design with Silicone
 The beauty of silicone is that it can be molded and shaped to fit any design, making it a versatile choice for kitchen sinks. Whether you have a traditional, modern, or industrial-style kitchen, silicone can seamlessly blend in with your aesthetic. It also comes in a variety of colors, allowing you to
customize your kitchen sink
to match your overall kitchen design.
Not only is silicone a practical choice for maintaining your kitchen sink, but it can also elevate the overall look of your kitchen. With its sleek and seamless appearance, it can give your sink a sophisticated and polished finish. Plus, silicone is easy to clean and maintain, making it a low-maintenance option for busy homeowners.
The beauty of silicone is that it can be molded and shaped to fit any design, making it a versatile choice for kitchen sinks. Whether you have a traditional, modern, or industrial-style kitchen, silicone can seamlessly blend in with your aesthetic. It also comes in a variety of colors, allowing you to
customize your kitchen sink
to match your overall kitchen design.
Not only is silicone a practical choice for maintaining your kitchen sink, but it can also elevate the overall look of your kitchen. With its sleek and seamless appearance, it can give your sink a sophisticated and polished finish. Plus, silicone is easy to clean and maintain, making it a low-maintenance option for busy homeowners.
Protecting Your Investment
 Investing in a high-quality kitchen sink is essential, and using silicone can help protect that investment. By properly sealing your sink with silicone, you can prevent water damage, scratches, and stains, ensuring that your sink will last for years to come. It's also a cost-effective solution, as silicone is an affordable material that can save you money on costly repairs in the long run.
In conclusion, when it comes to designing your kitchen, don't overlook the importance of silicone. It's the secret to a functional and stylish kitchen sink, providing durability, versatility, and protection for your investment. So, the next time you're considering a kitchen renovation, be sure to include silicone in your plans for a beautiful and long-lasting sink.
Investing in a high-quality kitchen sink is essential, and using silicone can help protect that investment. By properly sealing your sink with silicone, you can prevent water damage, scratches, and stains, ensuring that your sink will last for years to come. It's also a cost-effective solution, as silicone is an affordable material that can save you money on costly repairs in the long run.
In conclusion, when it comes to designing your kitchen, don't overlook the importance of silicone. It's the secret to a functional and stylish kitchen sink, providing durability, versatility, and protection for your investment. So, the next time you're considering a kitchen renovation, be sure to include silicone in your plans for a beautiful and long-lasting sink.