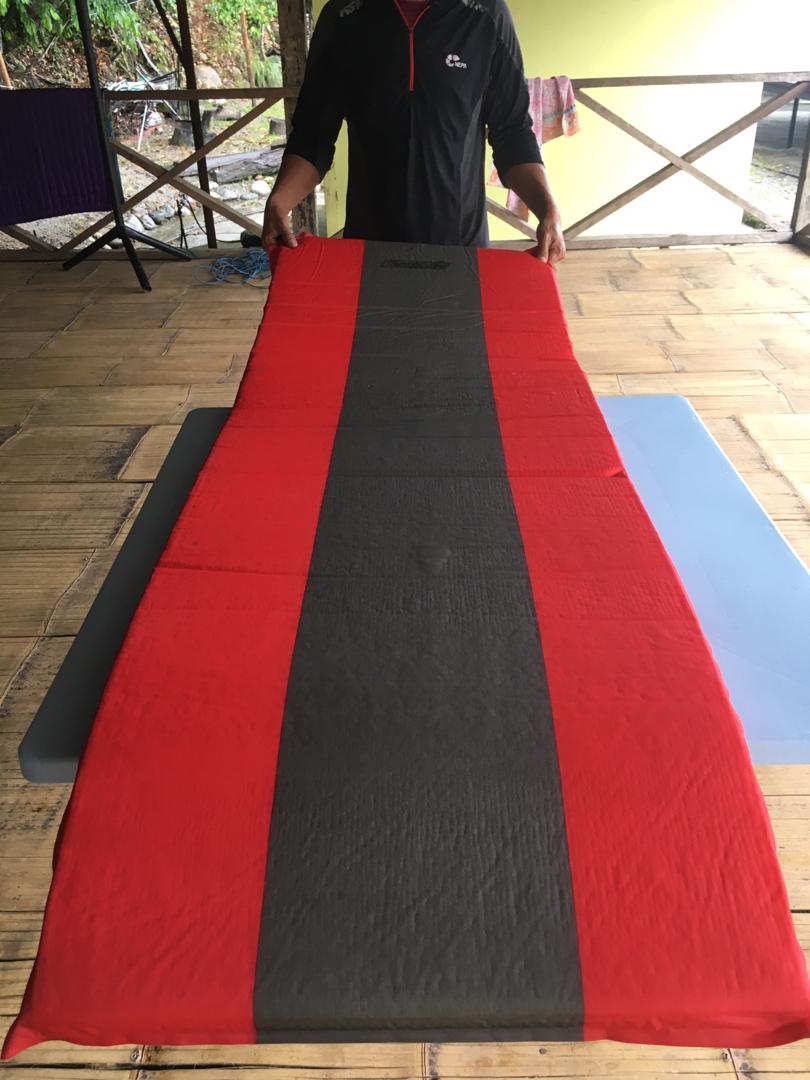
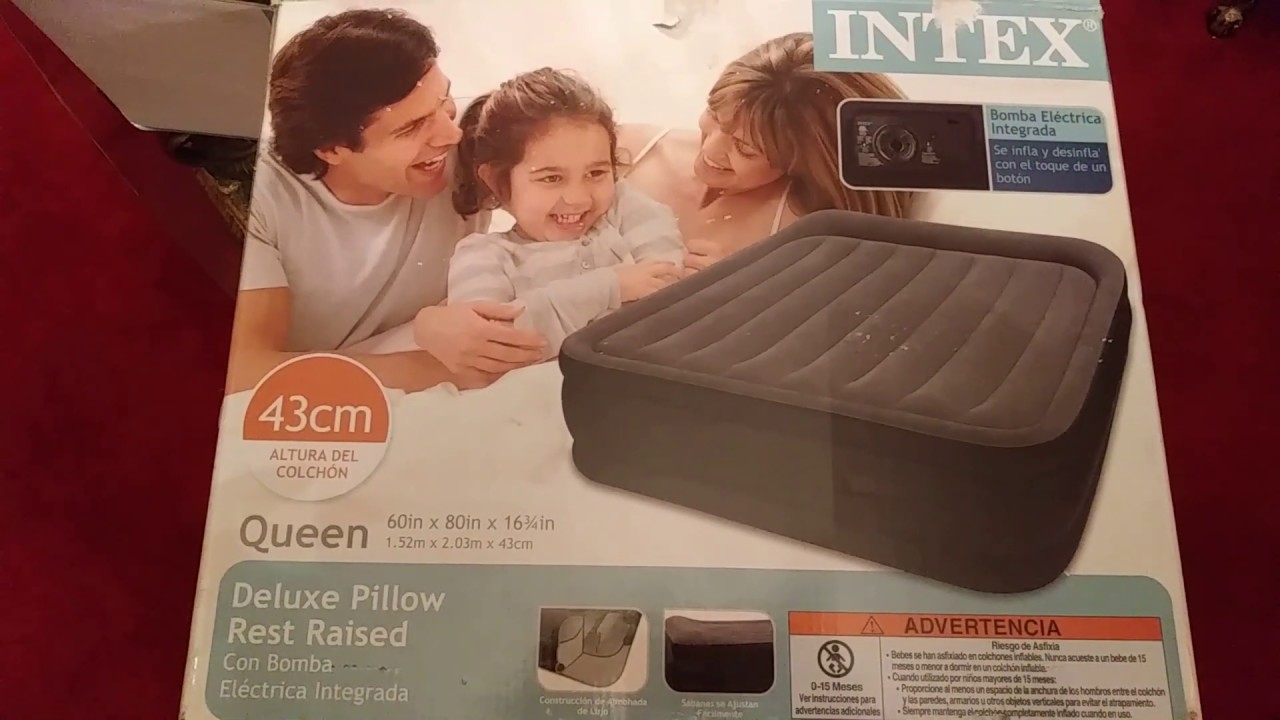
If you've ever experienced the frustration of a popped seam in your air mattress, you know how quickly it can deflate your good night's sleep. Don't worry, though, because fixing a popped seam is easier than you may think. With a few simple steps, you can have your air mattress back in top shape and ready for a comfortable night's rest. Here's a guide on how to fix a popped seam in an air mattress.How to Fix a Popped Seam in an Air Mattress

How to Fix a Popped Seam in an Air Mattress


When it comes to fixing a popped seam in an air mattress, there are a few different approaches you can take. One of the quickest and easiest solutions is to use a patch kit specifically designed for air mattresses. These kits often come with pre-cut patches and adhesive, making the repair process a breeze. Simply clean the area around the popped seam, apply the patch, and let it dry. Your air mattress will be as good as new in no time.Quick and Easy Solutions for a Popped Air Mattress Seam


Quick and Easy Solutions for a Popped Air Mattress Seam


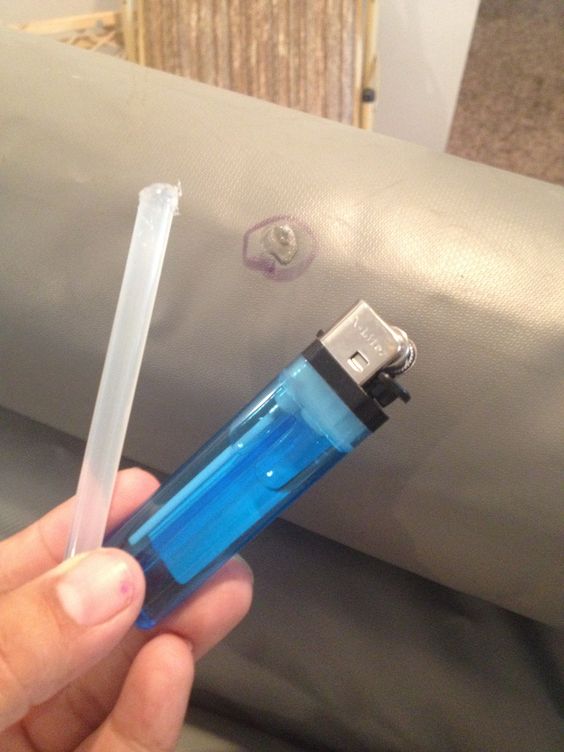
If you prefer a more hands-on approach, you can also fix a popped seam in your air mattress with some simple household items. Start by deflating your air mattress and cleaning the area around the popped seam with rubbing alcohol. Next, apply a thin layer of silicone adhesive to the seam and press it together. Use heavy objects, such as books, to keep the seam in place while it dries. Once it's dry, your air mattress should be ready to use again.DIY Guide: Repairing a Popped Seam in an Air Mattress


DIY Guide: Repairing a Popped Seam in an Air Mattress


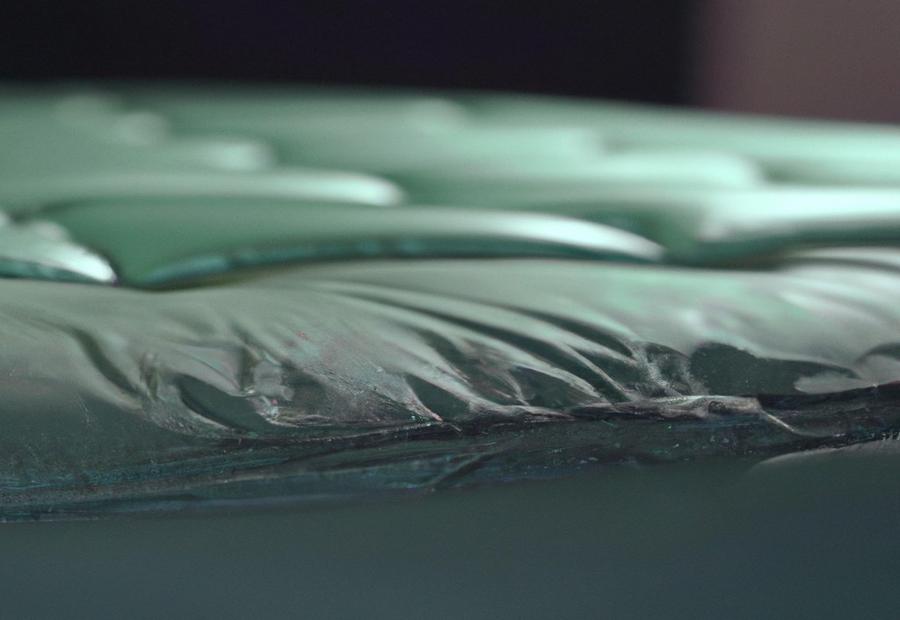
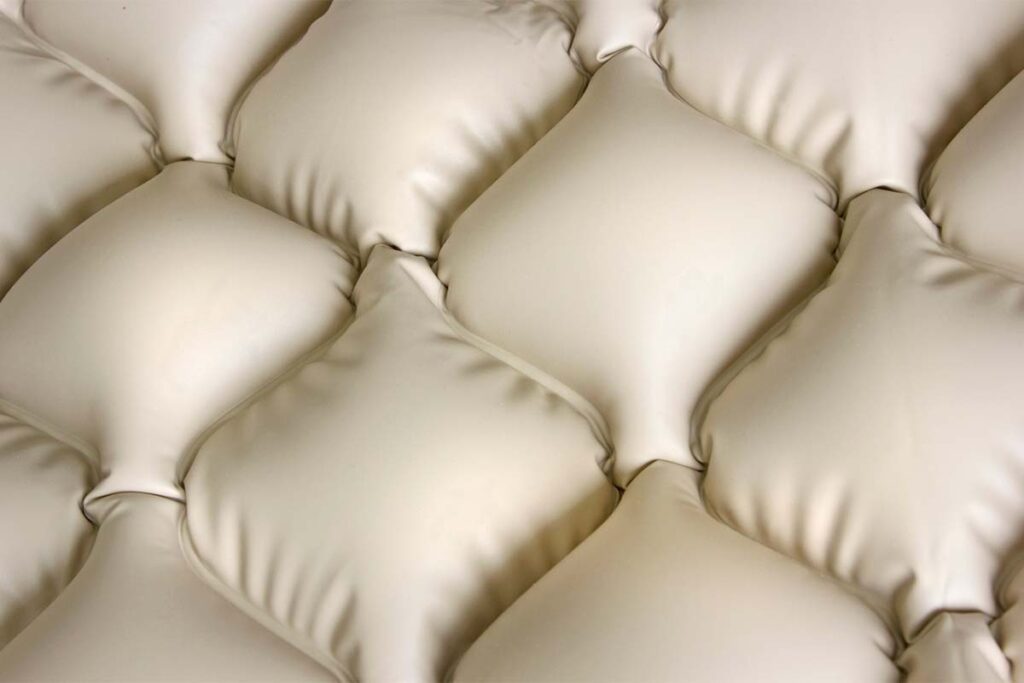
Prevention is always better than a cure, so it's important to understand the common causes of a popped seam in an air mattress. The most common cause is overinflating the mattress, which puts excess pressure on the seams. Other potential causes include sharp objects, rough handling, and temperature changes. By being mindful of these potential causes, you can reduce the likelihood of a popped seam in the future.5 Common Causes of a Popped Seam in an Air Mattress


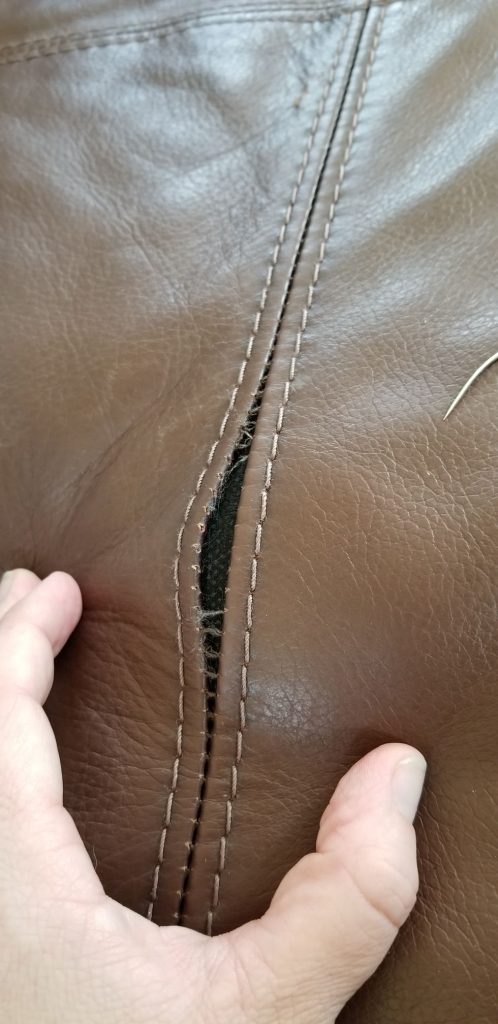
5 Common Causes of a Popped Seam in an Air Mattress


In addition to being aware of the common causes of a popped seam, there are also some preventative measures you can take. When inflating your air mattress, be sure to follow the manufacturer's recommended inflation levels. Avoid placing the mattress near sharp objects and handle it with care when moving or storing it. If you do experience a popped seam, you can follow the steps outlined above to fix it quickly and easily.Preventing and Fixing a Popped Seam in Your Air Mattress


Preventing and Fixing a Popped Seam in Your Air Mattress


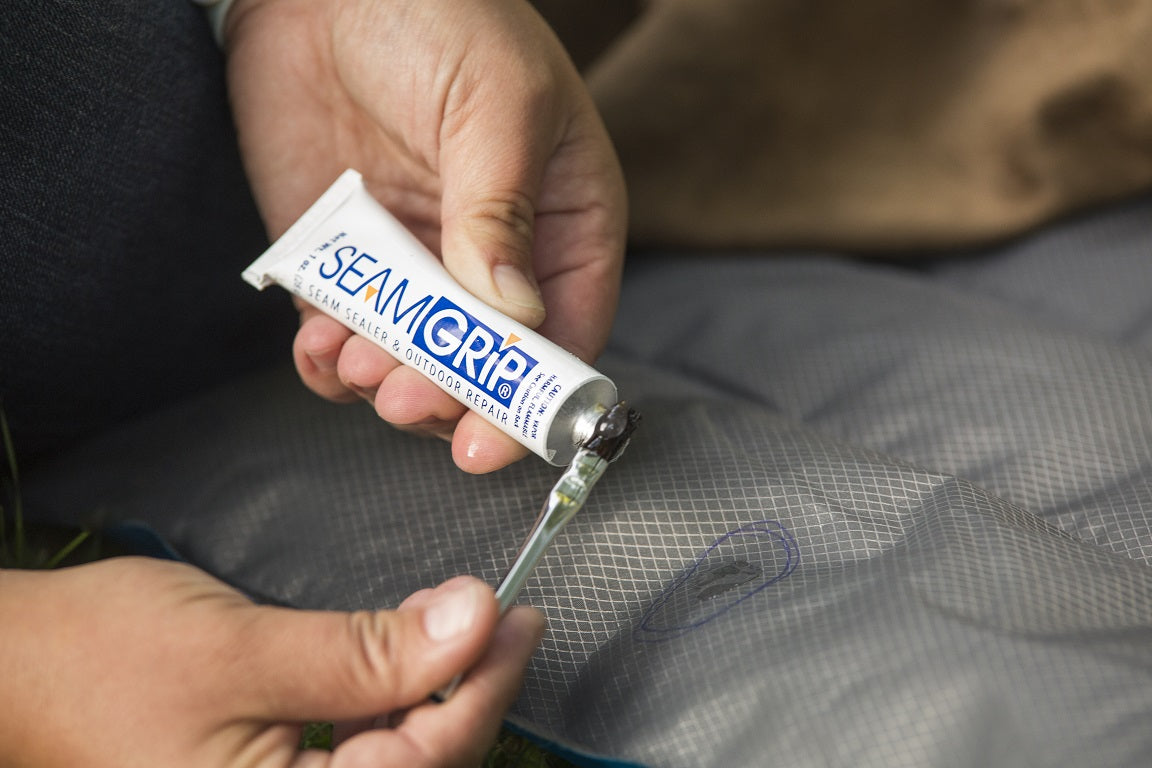


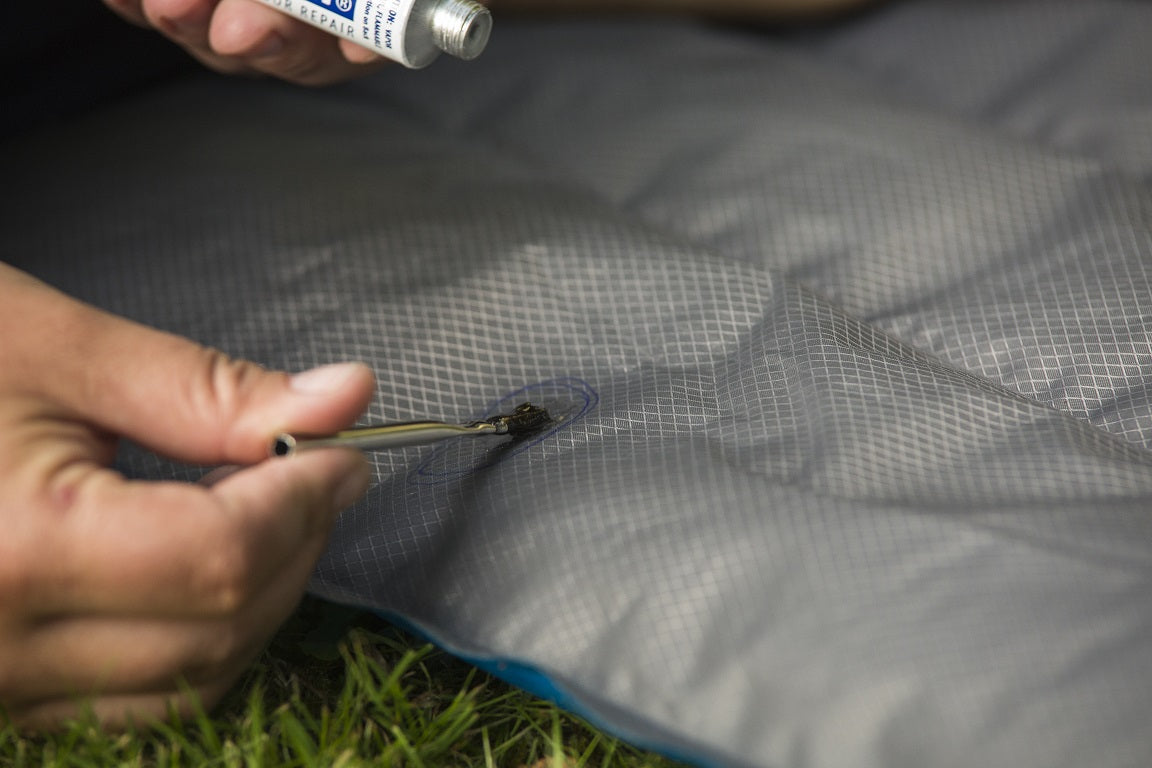
If you're a visual learner, you may prefer a step-by-step guide to repairing a popped seam in an air mattress. Start by deflating the mattress and cleaning the area around the popped seam with rubbing alcohol. Next, apply a thin layer of silicone adhesive to the seam and press it together. Use heavy objects to weigh down the seam and let it dry for at least 24 hours. Once it's dry, your air mattress should be ready to use again.Step-by-Step Guide to Repairing a Popped Seam in an Air Mattress


Step-by-Step Guide to Repairing a Popped Seam in an Air Mattress


For those who want to ensure their air mattress repair is done correctly, there are some expert tips to keep in mind. When applying the adhesive, be sure to spread it evenly and avoid using too much. Use a weight distribution system, such as books or heavy objects, to keep the seam in place while it dries. And if you're using a patch kit, follow the instructions carefully for the best results.Expert Tips for Fixing a Popped Seam in an Air Mattress

Expert Tips for Fixing a Popped Seam in an Air Mattress


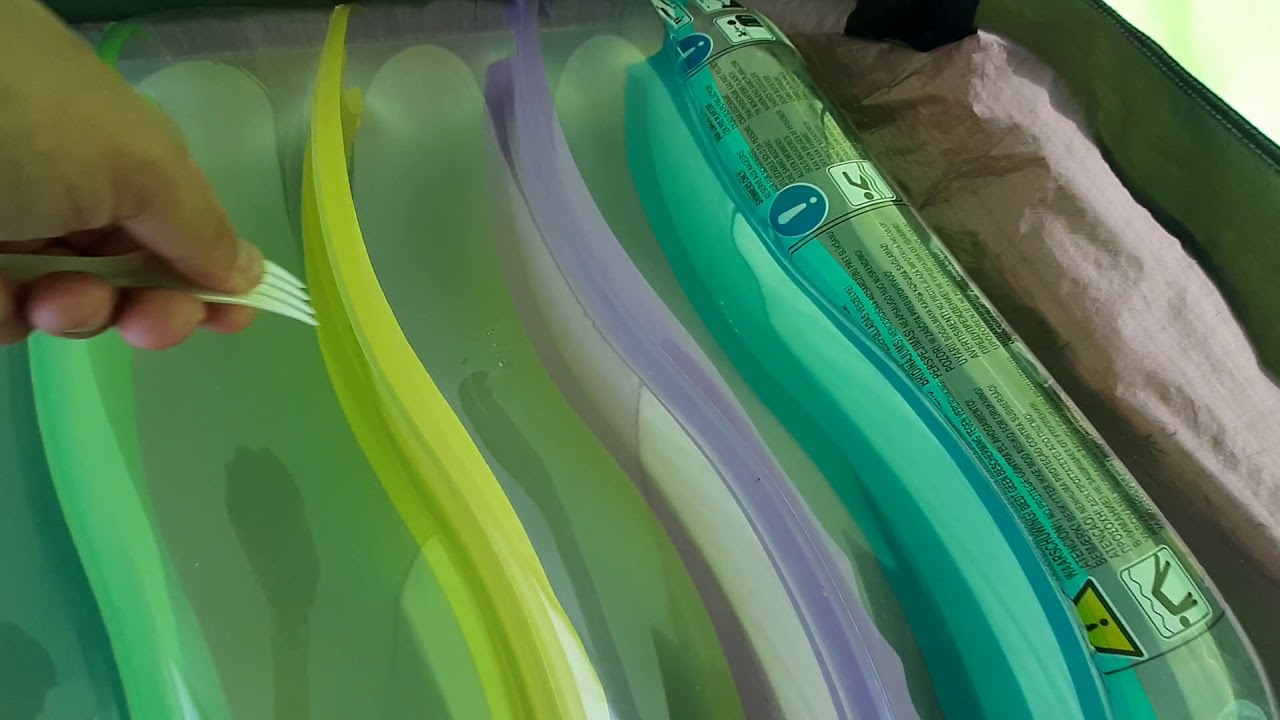
In some cases, a popped seam may not be immediately noticeable. If you suspect your air mattress has a popped seam, start by inflating it and examining the seams for any signs of damage. If you find a popped seam, you can follow the steps outlined above to repair it. If you're unsure whether the seam is popped or just needs to be resealed, you can use the soapy water test to check for any air leaks.How to Identify and Repair a Popped Seam in an Air Mattress

How to Identify and Repair a Popped Seam in an Air Mattress


If you want to be prepared for any future popped seams in your air mattress, it's a good idea to have some repair products on hand. Some of the top products for fixing a popped seam in an air mattress include patch kits, silicone adhesive, and soapy water. These items are readily available at most stores and can be used for quick and easy repairs.Top Products for Fixing a Popped Seam in an Air Mattress


Top Products for Fixing a Popped Seam in an Air Mattress

While fixing a popped seam in an air mattress is a simple process, there are some common mistakes to avoid to ensure the best results. Using too much adhesive can result in a messy and ineffective repair. Not giving the seam enough time to dry can also lead to a weak repair. And using sharp objects or rough handling can cause even more damage to the seam. In conclusion, a popped seam in your air mattress doesn't have to ruin your sleep. With the right tools and techniques, you can easily fix the seam and have your air mattress back in top shape. By being mindful of the common causes of a popped seam and taking preventative measures, you can also reduce the likelihood of it happening in the first place. Remember to follow the steps outlined above and avoid common mistakes for a successful repair. Happy sleeping!Common Mistakes to Avoid When Repairing a Popped Seam in an Air Mattress


Common Mistakes to Avoid When Repairing a Popped Seam in an Air Mattress


How to Repair a Seam Popped in Your Air Mattress
Air mattresses are a convenient and comfortable option for hosting guests or camping trips. However, just like any other household item, they are not immune to wear and tear. One of the most common issues with air mattresses is a seam popping, causing the mattress to lose air and become unusable. If you are facing this problem, don't worry, as it is not difficult to fix. In this article, we will guide you on how to repair a seam popped in your air mattress.
Identify the Cause of the Seam Popping

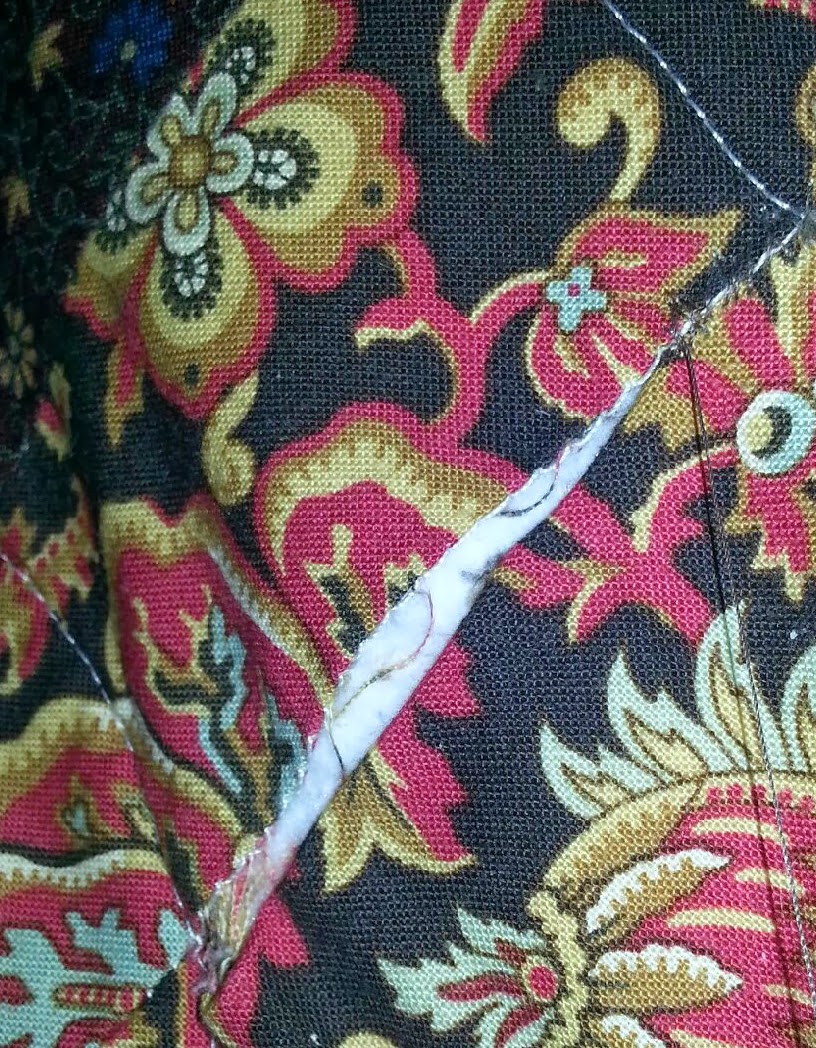
Before you start repairing the seam, it is essential to understand why it happened in the first place. The most common reason for a seam popping is over-inflating the mattress. When the air mattress is fully inflated, it puts pressure on the seams, causing them to stretch and eventually pop. Another reason could be the material of the air mattress. Cheaper air mattresses are more prone to seam popping as they are made with thinner materials. Identifying the cause will help you prevent the issue in the future.
Materials You Will Need

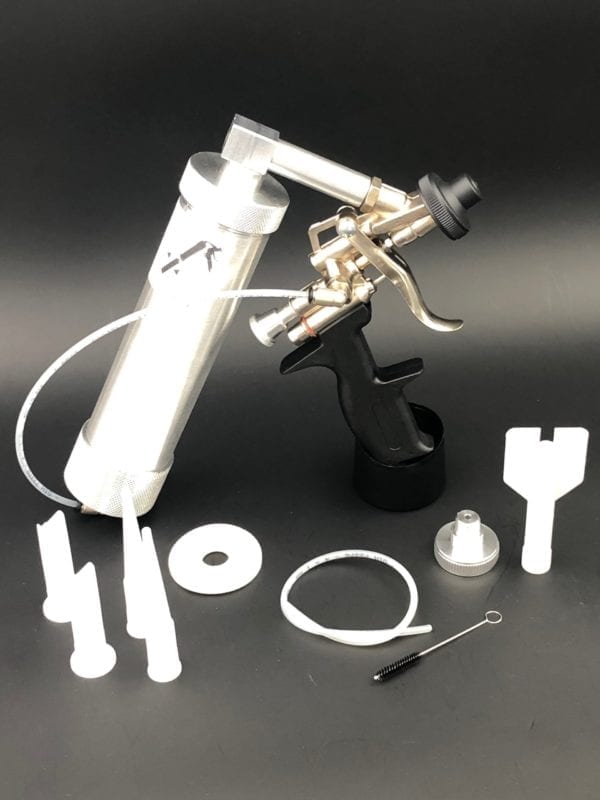
To repair the seam, you will need a few basic materials that you probably already have at home. These include a patch kit, scissors, rubbing alcohol, and a cloth. You can purchase a patch kit specifically designed for air mattresses or use a bicycle tire repair kit.
Step-by-Step Guide to Repairing the Seam
Now that you have identified the cause of the seam popping and gathered the necessary materials, let's move on to the actual repair process.
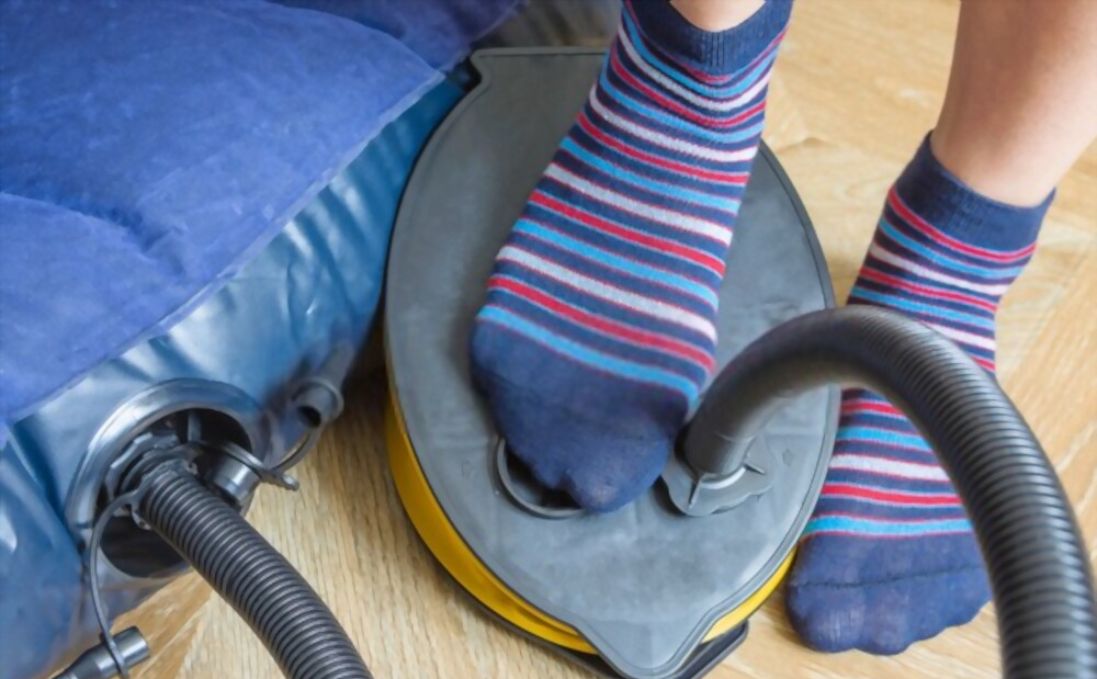
Step 1: Deflate the Mattress
The first step is to deflate the air mattress completely. This will allow you to work on the seam without any obstacles and also prevent the patch from wrinkling when the mattress is inflated.
Step 2: Clean the Area
Using a cloth and rubbing alcohol, clean the area around the popped seam. This will remove any dirt or oils that could prevent the patch from sticking properly.
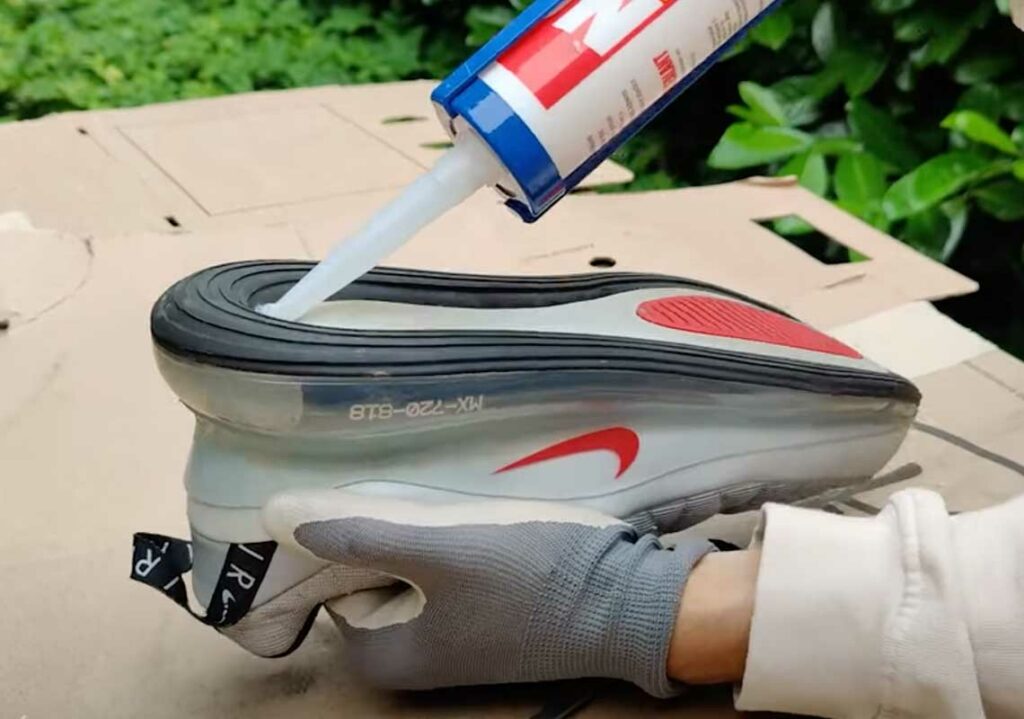
Step 3: Cut the Patch
Using scissors, cut a patch from the repair kit that is slightly larger than the popped seam. Make sure to round the edges of the patch to prevent it from peeling off later.
Step 4: Apply the Patch
Peel off the backing of the patch and carefully place it over the popped seam. Press down firmly to ensure it sticks properly. Smooth out any wrinkles or air bubbles that may have formed.
Step 5: Let it Dry
Allow the patch to dry completely before inflating the mattress. This could take anywhere from a few hours to overnight, depending on the type of patch and adhesive used.
Step 6: Inflate the Mattress
Once the patch is dry, you can inflate the air mattress again and test it out. If the seam holds, then congratulations, you have successfully repaired your air mattress!
Preventing Seam Popping in the Future

To prevent seam popping in the future, make sure not to over-inflate the mattress. Follow the manufacturer's guidelines for inflating and deflating the mattress. You can also consider purchasing a higher quality air mattress with thicker materials that are less prone to seam popping.
Repairing a seam popped in your air mattress is a simple and cost-effective solution, saving you from having to buy a new one. With these easy steps, you can have your air mattress back in working condition in no time. Happy sleeping!