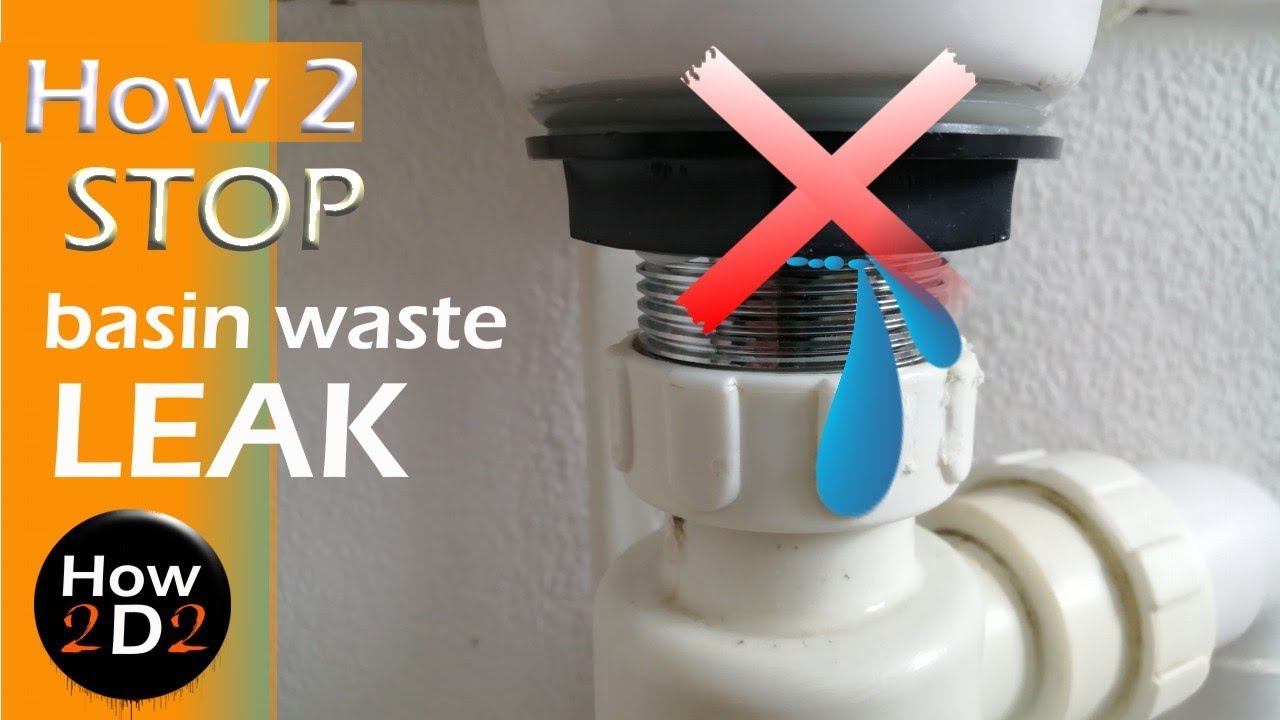
Are you tired of dealing with a leaky kitchen sink drain? The solution may be as simple as sealing it with silicone. Not only is this a cost-effective option, but it's also a relatively easy DIY project. In this guide, we'll walk you through the process of sealing your kitchen sink drain with silicone, step-by-step. By the end, you'll have a properly sealed drain that will save you from any future headaches.How to Seal a Kitchen Sink Drain with Silicone


How to Seal a Kitchen Sink Drain with Silicone


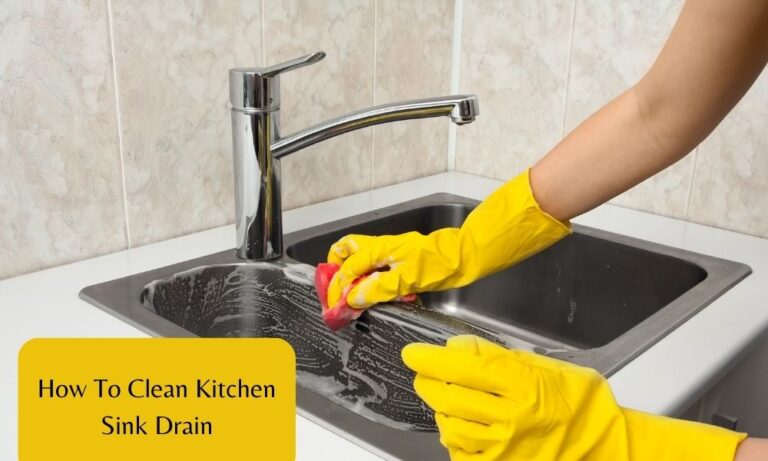
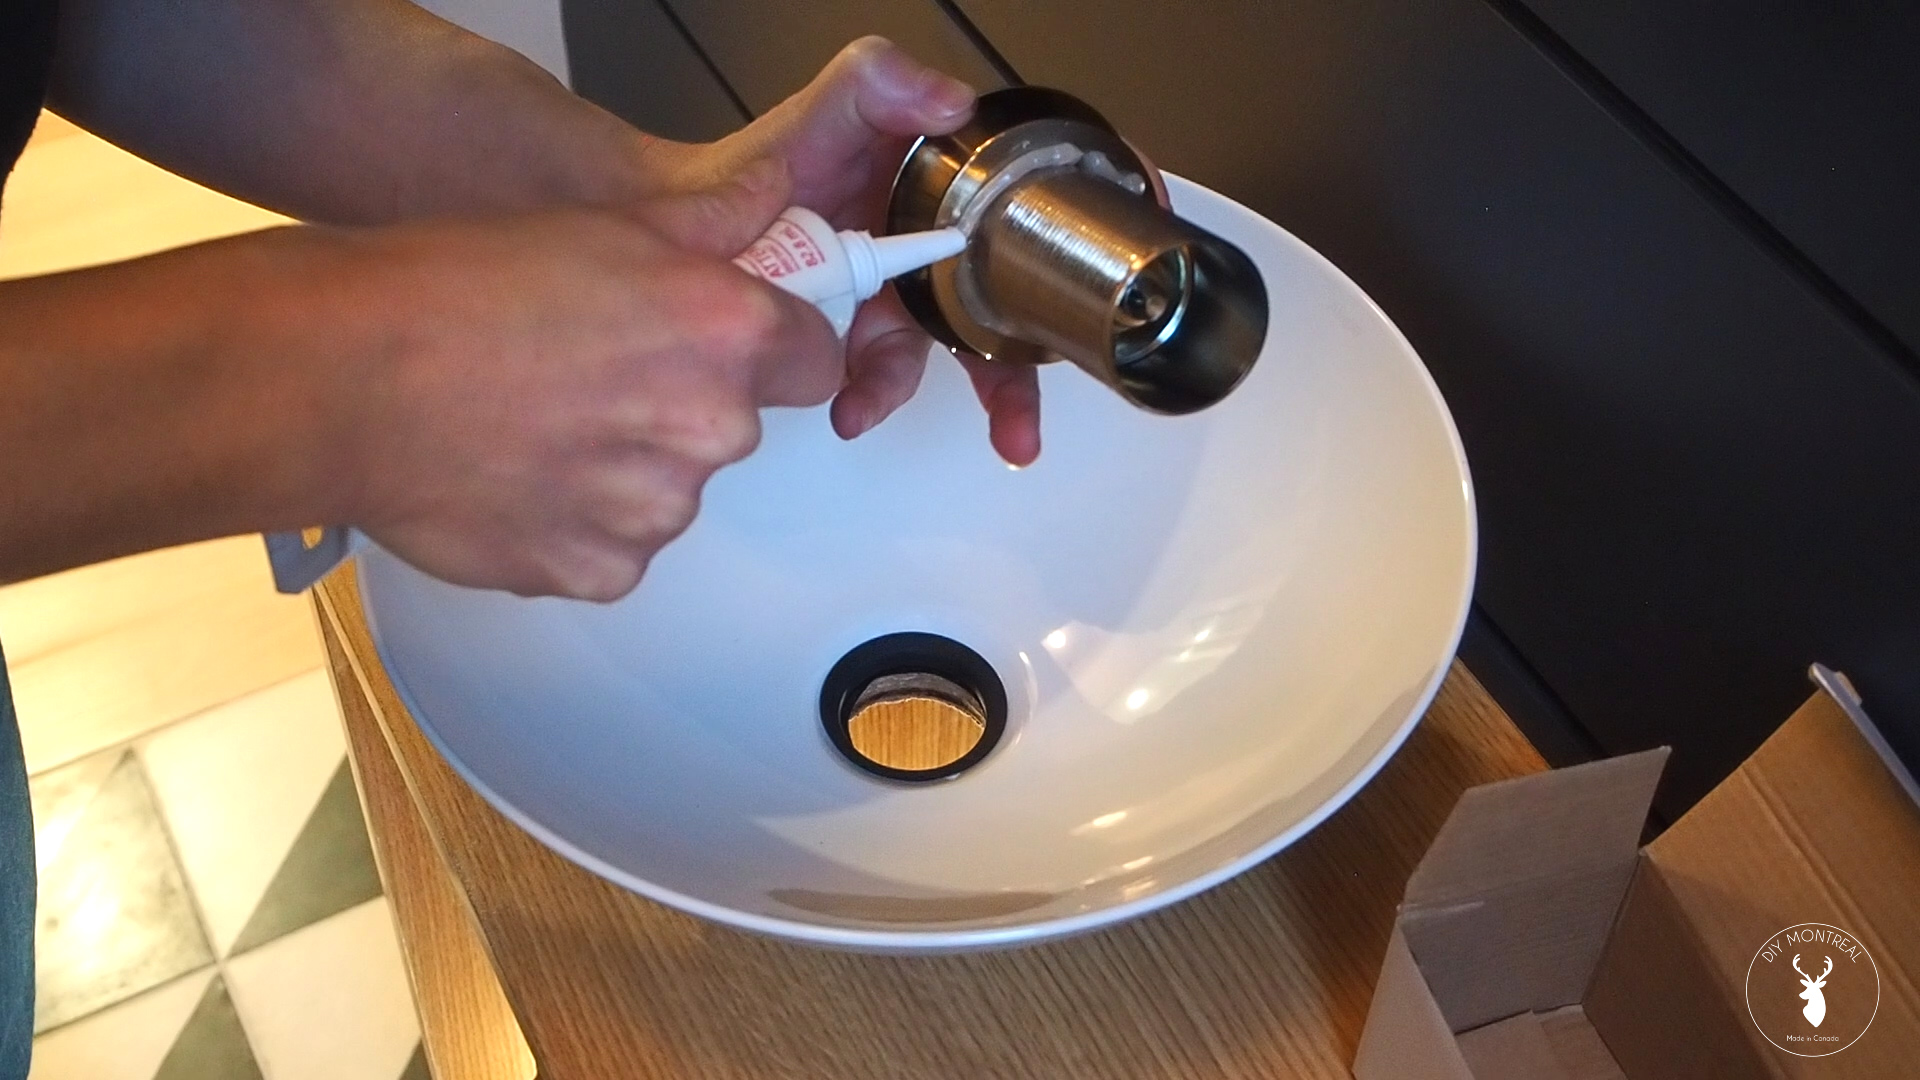
The first step in sealing your kitchen sink drain with silicone is to gather all the necessary materials. You will need a tube of silicone sealant, a caulking gun, a putty knife, and a damp cloth. It's also a good idea to have some rubbing alcohol on hand to clean the area before applying the sealant. Next, remove any debris or old sealant from around the drain. This can be done with a putty knife or a brush. Once the area is clean, use the rubbing alcohol to thoroughly clean the area. This will ensure that the silicone adheres properly. Now it's time to apply the silicone sealant. Load the tube into the caulking gun and cut the tip of the tube at a 45-degree angle. This will give you better control over the flow of the sealant. Starting at one end of the drain, slowly and evenly apply the sealant in a continuous line around the perimeter of the drain. Use the putty knife to smooth out any bumps or excess sealant. Once the sealant is applied, wet your finger with some water and run it along the sealant line to create a smooth finish. This will also help to press the sealant into any gaps and ensure a tight seal.How to Seal a Kitchen Sink Drain


How to Seal a Kitchen Sink Drain


After you've applied the silicone sealant, it's important to let it dry completely before using the sink. This can take anywhere from 24 to 48 hours, depending on the brand of sealant you used. Be sure to read the instructions on the tube for specific drying times. Once the sealant is dry, test the seal by running water into the sink and checking for any leaks. If there are no leaks, you can replace the drain cover and start using your sink as normal.Sealing a Kitchen Sink Drain with Silicone


Sealing a Kitchen Sink Drain with Silicone


:max_bytes(150000):strip_icc()/how-to-install-a-sink-drain-2718789-hero-24e898006ed94c9593a2a268b57989a3.jpg)


Sealing your kitchen sink drain with silicone is a simple and cost-effective DIY project. It not only saves you money from hiring a professional, but it also gives you the satisfaction of completing a home improvement task on your own. By following the steps outlined above, you can confidently seal your kitchen sink drain with silicone and prevent any future leaks or water damage.DIY Kitchen Sink Drain Sealant


DIY Kitchen Sink Drain Sealant


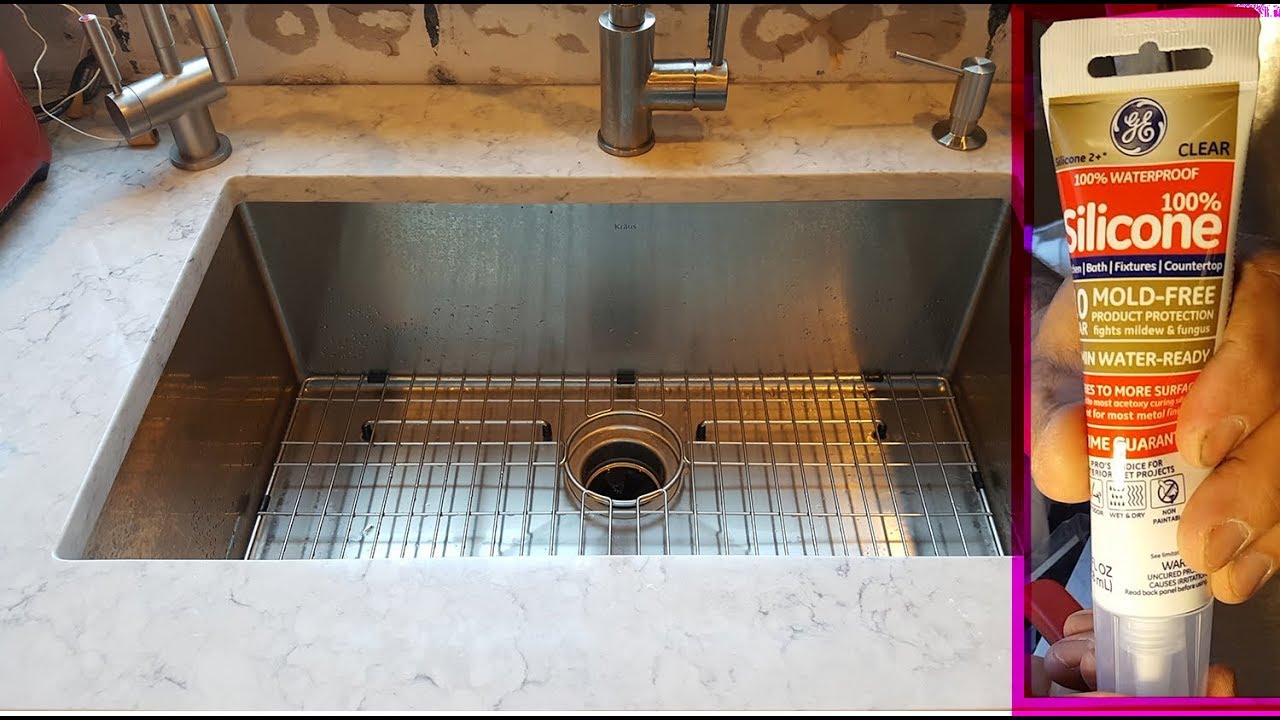
When it comes to choosing the right silicone for sealing your kitchen sink drain, there are a few factors to consider. First and foremost, make sure to choose a silicone sealant that is specifically designed for kitchen use. This will ensure that it is waterproof and can withstand the constant exposure to water and moisture. Secondly, look for a silicone sealant that is mold and mildew resistant. This will help prevent any unsightly growths from forming around your drain over time. Lastly, consider the color of the silicone. While clear silicone is a popular choice, it may not be the best option for a kitchen sink drain. If your drain is white or another light color, consider using a white or light-colored silicone to blend in seamlessly with the drain.Best Silicone for Sealing Kitchen Sink Drain


Best Silicone for Sealing Kitchen Sink Drain


To summarize, here is a step-by-step guide for sealing your kitchen sink drain with silicone:Step-by-Step Guide for Sealing Kitchen Sink Drain with Silicone


Step-by-Step Guide for Sealing Kitchen Sink Drain with Silicone


Here are a few additional tips to keep in mind when sealing your kitchen sink drain with silicone:Tips for Sealing Kitchen Sink Drain with Silicone

Tips for Sealing Kitchen Sink Drain with Silicone


While sealing your kitchen sink drain with silicone is a relatively straightforward process, there are a few common mistakes that can lead to a less-than-perfect seal. These include:Sealing Kitchen Sink Drain with Silicone: Common Mistakes to Avoid


Sealing Kitchen Sink Drain with Silicone: Common Mistakes to Avoid


In addition to considering the factors mentioned earlier, such as waterproofing and mold-resistance, there are a few other things to keep in mind when choosing the right silicone for sealing your kitchen sink drain. Firstly, consider the brand and reputation of the silicone sealant. Look for reviews and recommendations from other homeowners who have used it for similar purposes. Secondly, pay attention to the curing time of the sealant. Some may dry faster than others, which can be beneficial if you need to use your sink sooner rather than later. Lastly, check the warranty of the silicone sealant. This can give you peace of mind knowing that the manufacturer stands behind their product.How to Choose the Right Silicone for Sealing Kitchen Sink Drain

How to Choose the Right Silicone for Sealing Kitchen Sink Drain


As with any DIY project, there are both pros and cons to sealing your kitchen sink drain with silicone. Some advantages of using silicone sealant for this purpose include its affordability, ease of use, and ability to create a watertight seal. It is also readily available at most hardware stores. On the other hand, some potential downsides to consider are the drying time and the possibility of not achieving a perfect seal if not done correctly. Overall, sealing your kitchen sink drain with silicone is a practical and cost-effective solution that can save you from future headaches and potential water damage. By following the steps outlined in this guide and using the right silicone sealant, you can confidently tackle this DIY project and enjoy a properly sealed kitchen sink drain.Sealing Kitchen Sink Drain with Silicone: Pros and Cons


Sealing Kitchen Sink Drain with Silicone: Pros and Cons

Why Sealing Your Kitchen Sink Drain with Silicone is Essential for a Well-Designed Home

Protect Your Kitchen from Leaks and Water Damage
 When designing or renovating a home, the kitchen is often considered the heart of the house. It's where families gather, meals are cooked, and memories are made. However, the kitchen is also one of the most prone areas in the house for leaks and water damage. A common culprit for these issues is a poorly sealed kitchen sink drain. This is why
sealing your kitchen sink drain with silicone
is essential for a well-designed home.
When designing or renovating a home, the kitchen is often considered the heart of the house. It's where families gather, meals are cooked, and memories are made. However, the kitchen is also one of the most prone areas in the house for leaks and water damage. A common culprit for these issues is a poorly sealed kitchen sink drain. This is why
sealing your kitchen sink drain with silicone
is essential for a well-designed home.
Prolong the Lifespan of Your Kitchen Sink
 A kitchen sink is a significant investment in any home. It is used daily and exposed to various substances, from food scraps to harsh cleaning chemicals. Over time, these substances can cause wear and tear on the sink, leading to cracks and damage. By
sealing your kitchen sink drain with silicone
, you can create a barrier that protects the sink from these substances and helps prolong its lifespan.
A kitchen sink is a significant investment in any home. It is used daily and exposed to various substances, from food scraps to harsh cleaning chemicals. Over time, these substances can cause wear and tear on the sink, leading to cracks and damage. By
sealing your kitchen sink drain with silicone
, you can create a barrier that protects the sink from these substances and helps prolong its lifespan.
Create a Polished and Clean Look
 A well-designed home is not just about functionality but also aesthetic appeal. A poorly sealed kitchen sink drain can be an eyesore and take away from the overall look of your kitchen. By using silicone to seal the drain, you can create a clean and polished look. Silicone comes in various colors, allowing you to choose the one that best matches your sink and kitchen decor.
Prevent Unpleasant Odors
 A leaky kitchen sink drain can also lead to unpleasant odors in your home. Water can get trapped in the drain and create a breeding ground for bacteria, causing foul smells. By
sealing your kitchen sink drain with silicone
, you can prevent water from getting trapped and eliminate any potential odors.
A leaky kitchen sink drain can also lead to unpleasant odors in your home. Water can get trapped in the drain and create a breeding ground for bacteria, causing foul smells. By
sealing your kitchen sink drain with silicone
, you can prevent water from getting trapped and eliminate any potential odors.
Easy to Apply and Cost-Effective
 Many homeowners may shy away from DIY projects, thinking they are complicated and time-consuming. However, sealing your kitchen sink drain with silicone is a straightforward and cost-effective solution. Silicone is readily available at most hardware stores and is easy to apply. With just a few simple steps, you can have a well-sealed kitchen sink drain without breaking the bank.
In conclusion,
sealing your kitchen sink drain with silicone
is a crucial step in creating a well-designed home. It protects your kitchen from leaks and water damage, prolongs the lifespan of your sink, creates a polished look, eliminates unpleasant odors, and is easy to apply and cost-effective. So, next time you're designing or renovating your home, don't forget to give your kitchen sink drain the attention it deserves.
Many homeowners may shy away from DIY projects, thinking they are complicated and time-consuming. However, sealing your kitchen sink drain with silicone is a straightforward and cost-effective solution. Silicone is readily available at most hardware stores and is easy to apply. With just a few simple steps, you can have a well-sealed kitchen sink drain without breaking the bank.
In conclusion,
sealing your kitchen sink drain with silicone
is a crucial step in creating a well-designed home. It protects your kitchen from leaks and water damage, prolongs the lifespan of your sink, creates a polished look, eliminates unpleasant odors, and is easy to apply and cost-effective. So, next time you're designing or renovating your home, don't forget to give your kitchen sink drain the attention it deserves.