Are you looking to give your bathroom a fresh new look without breaking the bank? Sanding and staining your bathroom vanity is a simple and cost-effective way to upgrade your space. Not only will it add a touch of elegance, but it will also protect your vanity from wear and tear. Follow our step-by-step tutorial to learn how to sand and stain your bathroom vanity like a pro.How to Sand and Stain a Bathroom Vanity


How to Sand and Stain a Bathroom Vanity


Before you begin, make sure you have all the necessary tools and materials. You will need sandpaper, wood stain, a paintbrush, a tack cloth, and a polyurethane finish. It is also important to have a well-ventilated area and to wear protective gear such as a mask and gloves. Once you have everything you need, follow these simple steps to sand and stain your bathroom vanity.DIY Bathroom Vanity Sanding and Staining Guide


DIY Bathroom Vanity Sanding and Staining Guide


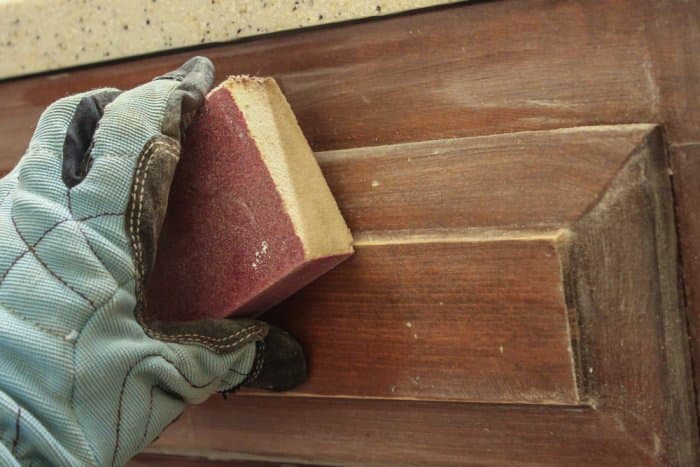
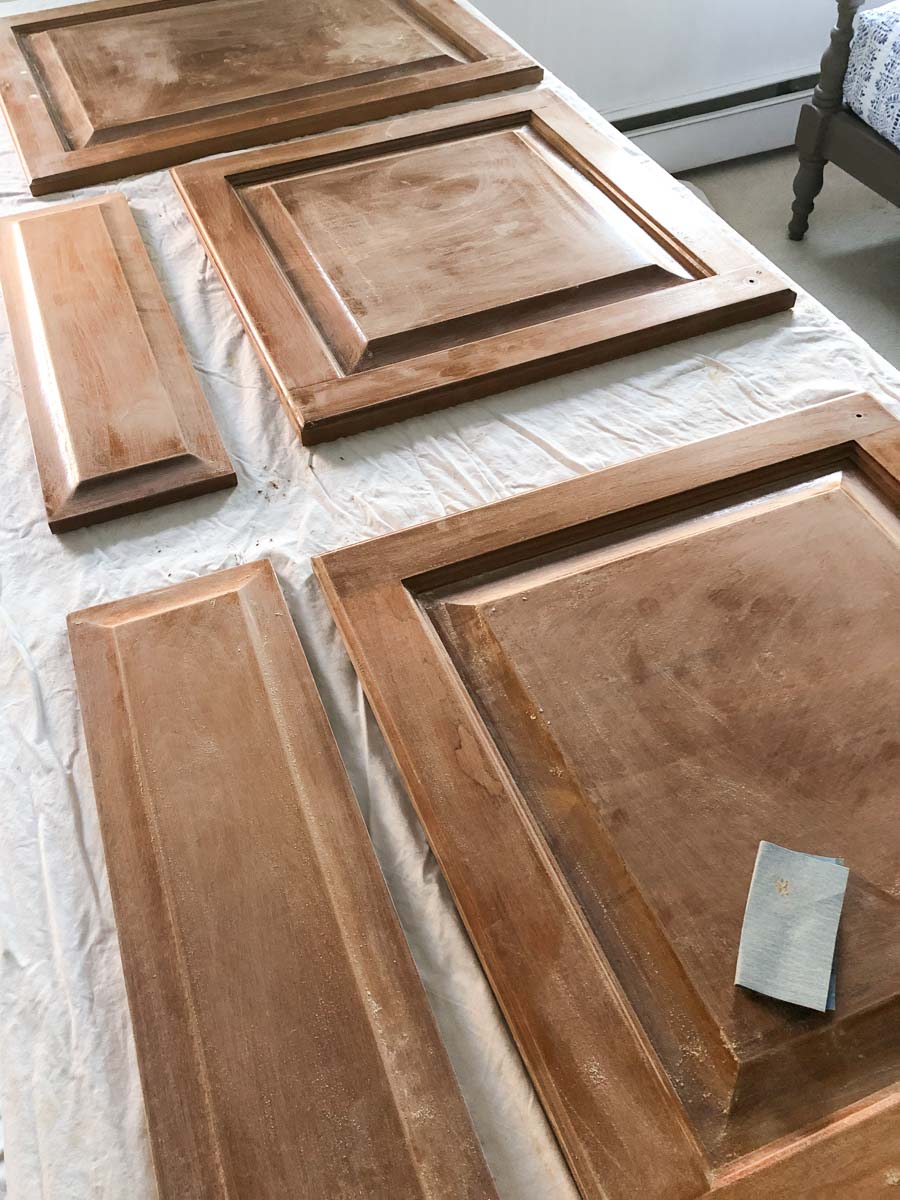
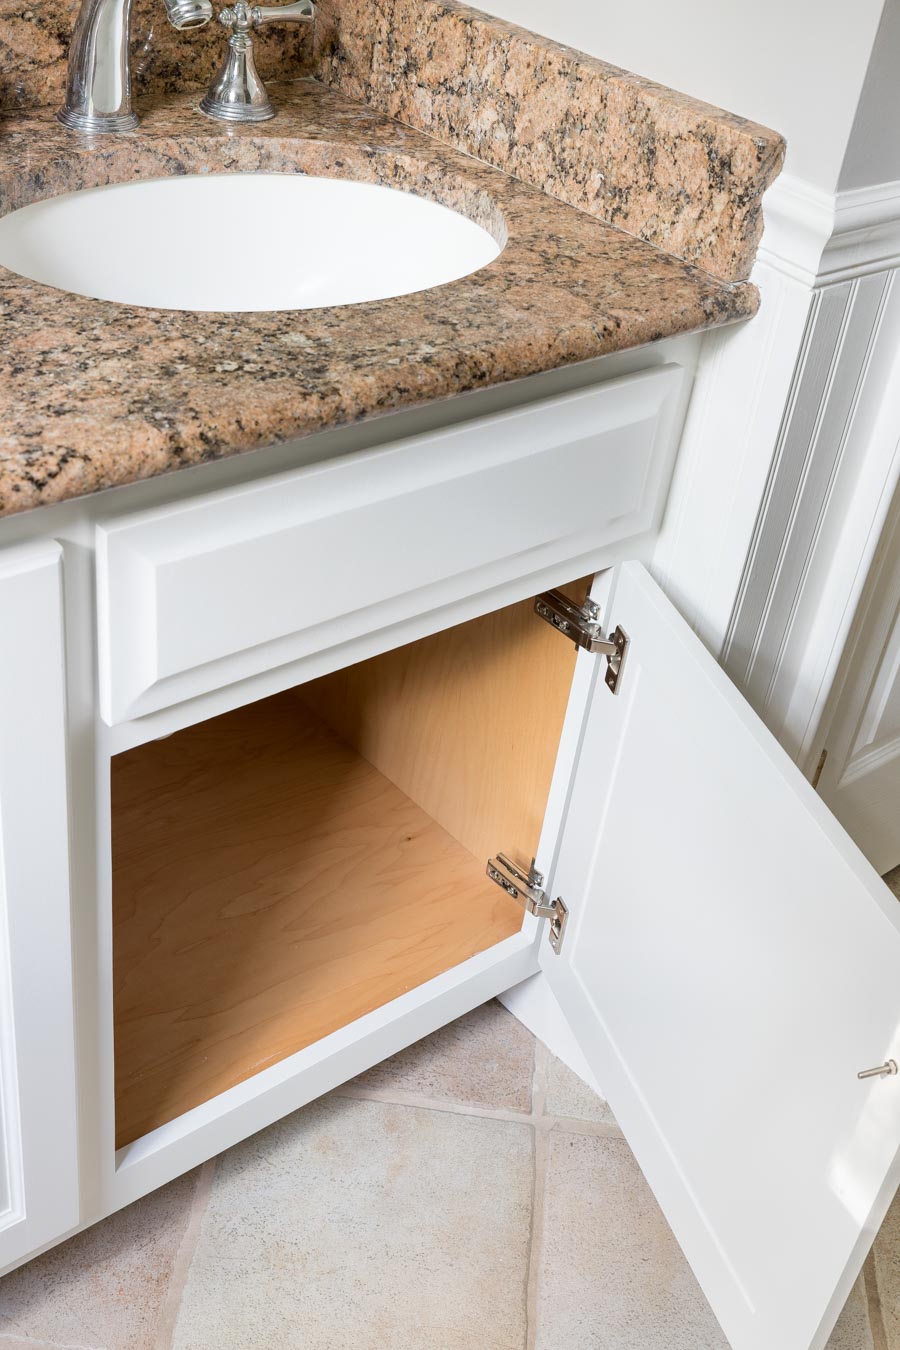
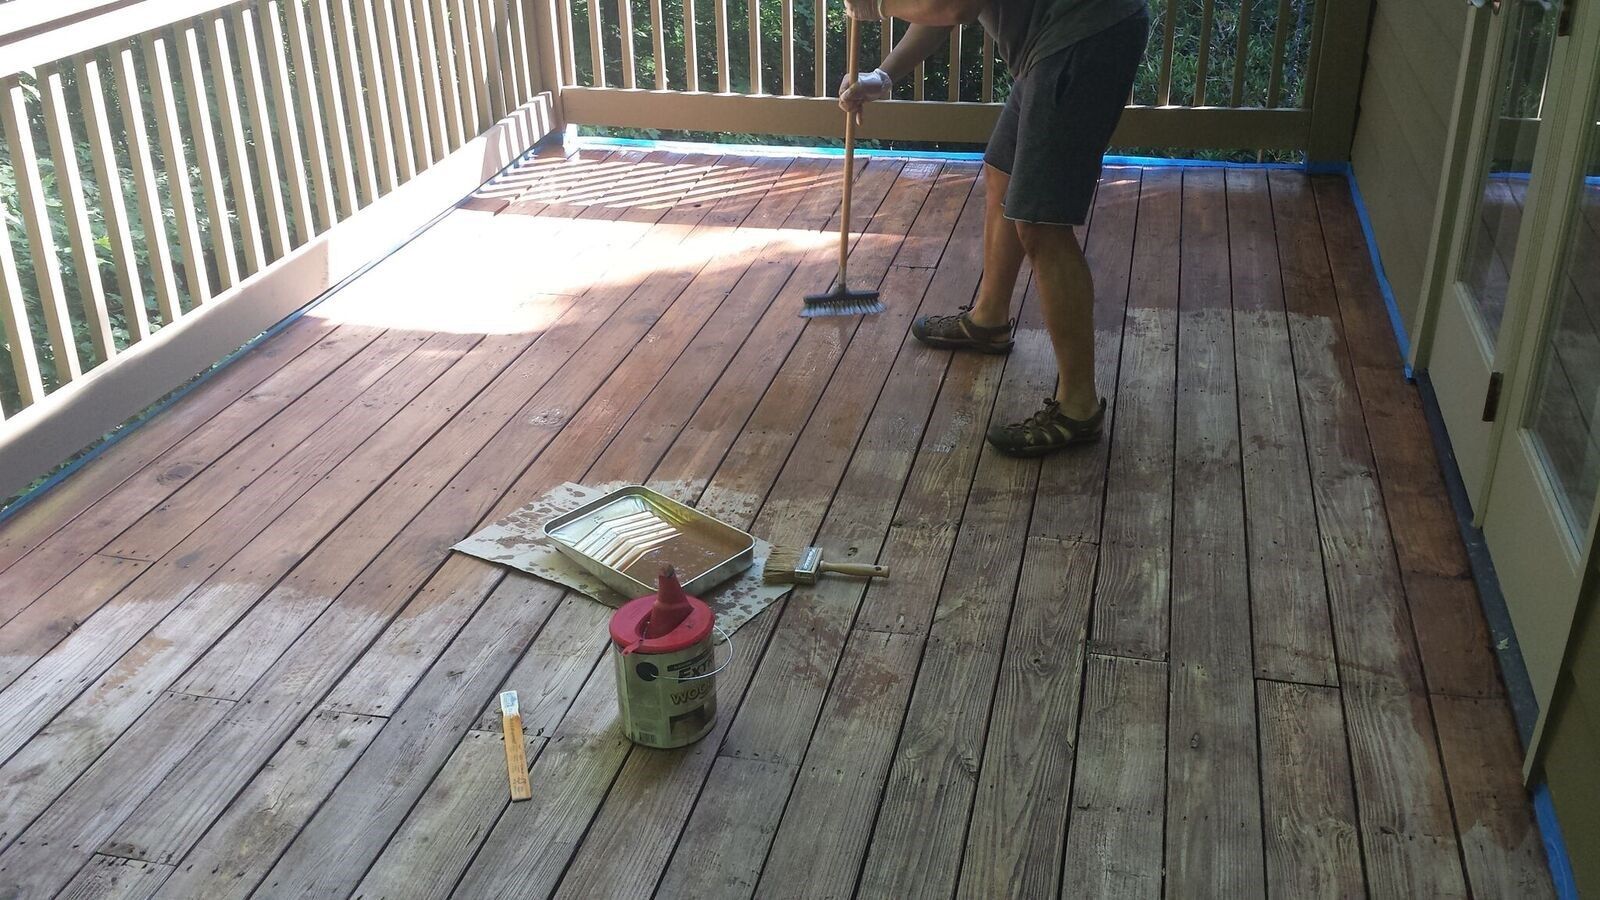
Step 1: Start by removing all hardware, such as handles and knobs, from your vanity. This will make it easier to sand and stain the entire surface. Step 2: Use a medium grit sandpaper to sand the entire vanity, including the drawers and doors. This will remove any existing finish and create a smooth surface for the stain to adhere to. Make sure to sand in the direction of the wood grain for the best results. Step 3: Once you have sanded the entire vanity, wipe it down with a tack cloth to remove any dust or debris. Step 4: Now it's time to apply the wood stain. Use a paintbrush to apply the stain in the direction of the wood grain. Start with the edges and corners, and then move on to the larger surfaces. Make sure to apply an even coat and wipe away any excess stain with a clean cloth. Step 5: Allow the stain to dry completely before applying a second coat if desired. This will give your vanity a deeper and richer color. Step 6: Once the stain is completely dry, apply a layer of polyurethane finish to protect the wood and give it a glossy finish. Use a clean paintbrush and apply the finish in the direction of the wood grain. Let it dry according to the manufacturer's instructions. Step 7: Once the finish is dry, reattach the hardware and your newly stained bathroom vanity is ready to be installed.Step-by-Step Tutorial for Sanding and Staining a Bathroom Vanity


Step-by-Step Tutorial for Sanding and Staining a Bathroom Vanity


When it comes to sanding and staining your bathroom vanity, it is important to use high-quality products for the best results. Look for sandpaper with multiple grit options, as well as wood stain and polyurethane finish specifically designed for bathroom use. Some popular brands to consider are Minwax, Varathane, and Rust-Oleum.Best Products for Sanding and Staining a Bathroom Vanity


Best Products for Sanding and Staining a Bathroom Vanity


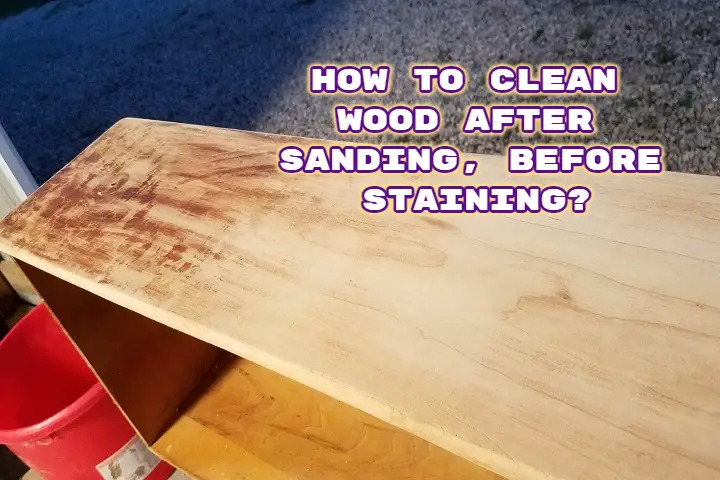
Here are a few tips to keep in mind when sanding and staining your bathroom vanity:Tips for Sanding and Staining a Bathroom Vanity Like a Pro
.jpg)
Tips for Sanding and Staining a Bathroom Vanity Like a Pro


While sanding and staining a bathroom vanity may seem like a simple task, there are a few common mistakes to avoid for the best results. These include:Common Mistakes to Avoid When Sanding and Staining a Bathroom Vanity


Common Mistakes to Avoid When Sanding and Staining a Bathroom Vanity


The time it takes to sand and stain a bathroom vanity will depend on the size and condition of your vanity, as well as your level of experience. On average, it can take anywhere from 3-6 hours to complete the process from start to finish.How Long Does it Take to Sand and Stain a Bathroom Vanity?


How Long Does it Take to Sand and Stain a Bathroom Vanity?


The cost of sanding and staining a bathroom vanity will vary depending on the size of your vanity and the products you choose. On average, you can expect to spend around $50-$100 for sandpaper, wood stain, and polyurethane finish. However, this is still significantly cheaper than purchasing a new vanity.Cost Breakdown for Sanding and Staining a Bathroom Vanity
Cost Breakdown for Sanding and Staining a Bathroom Vanity


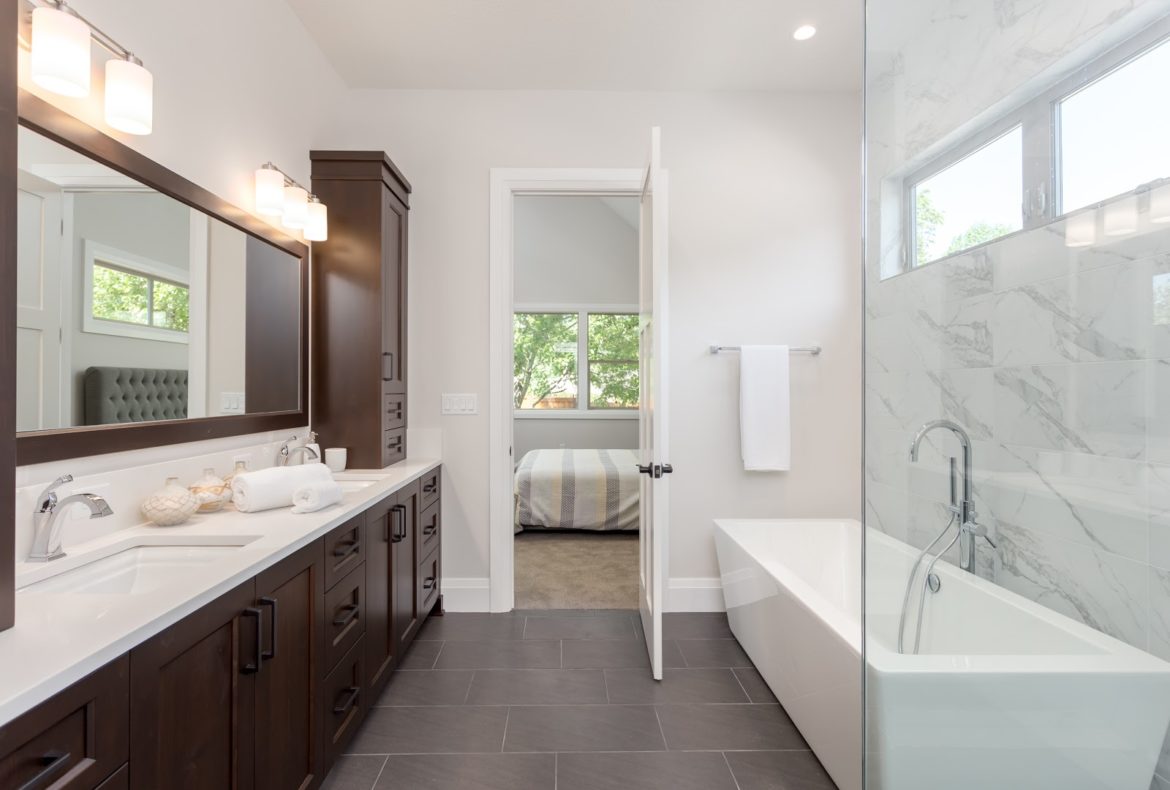
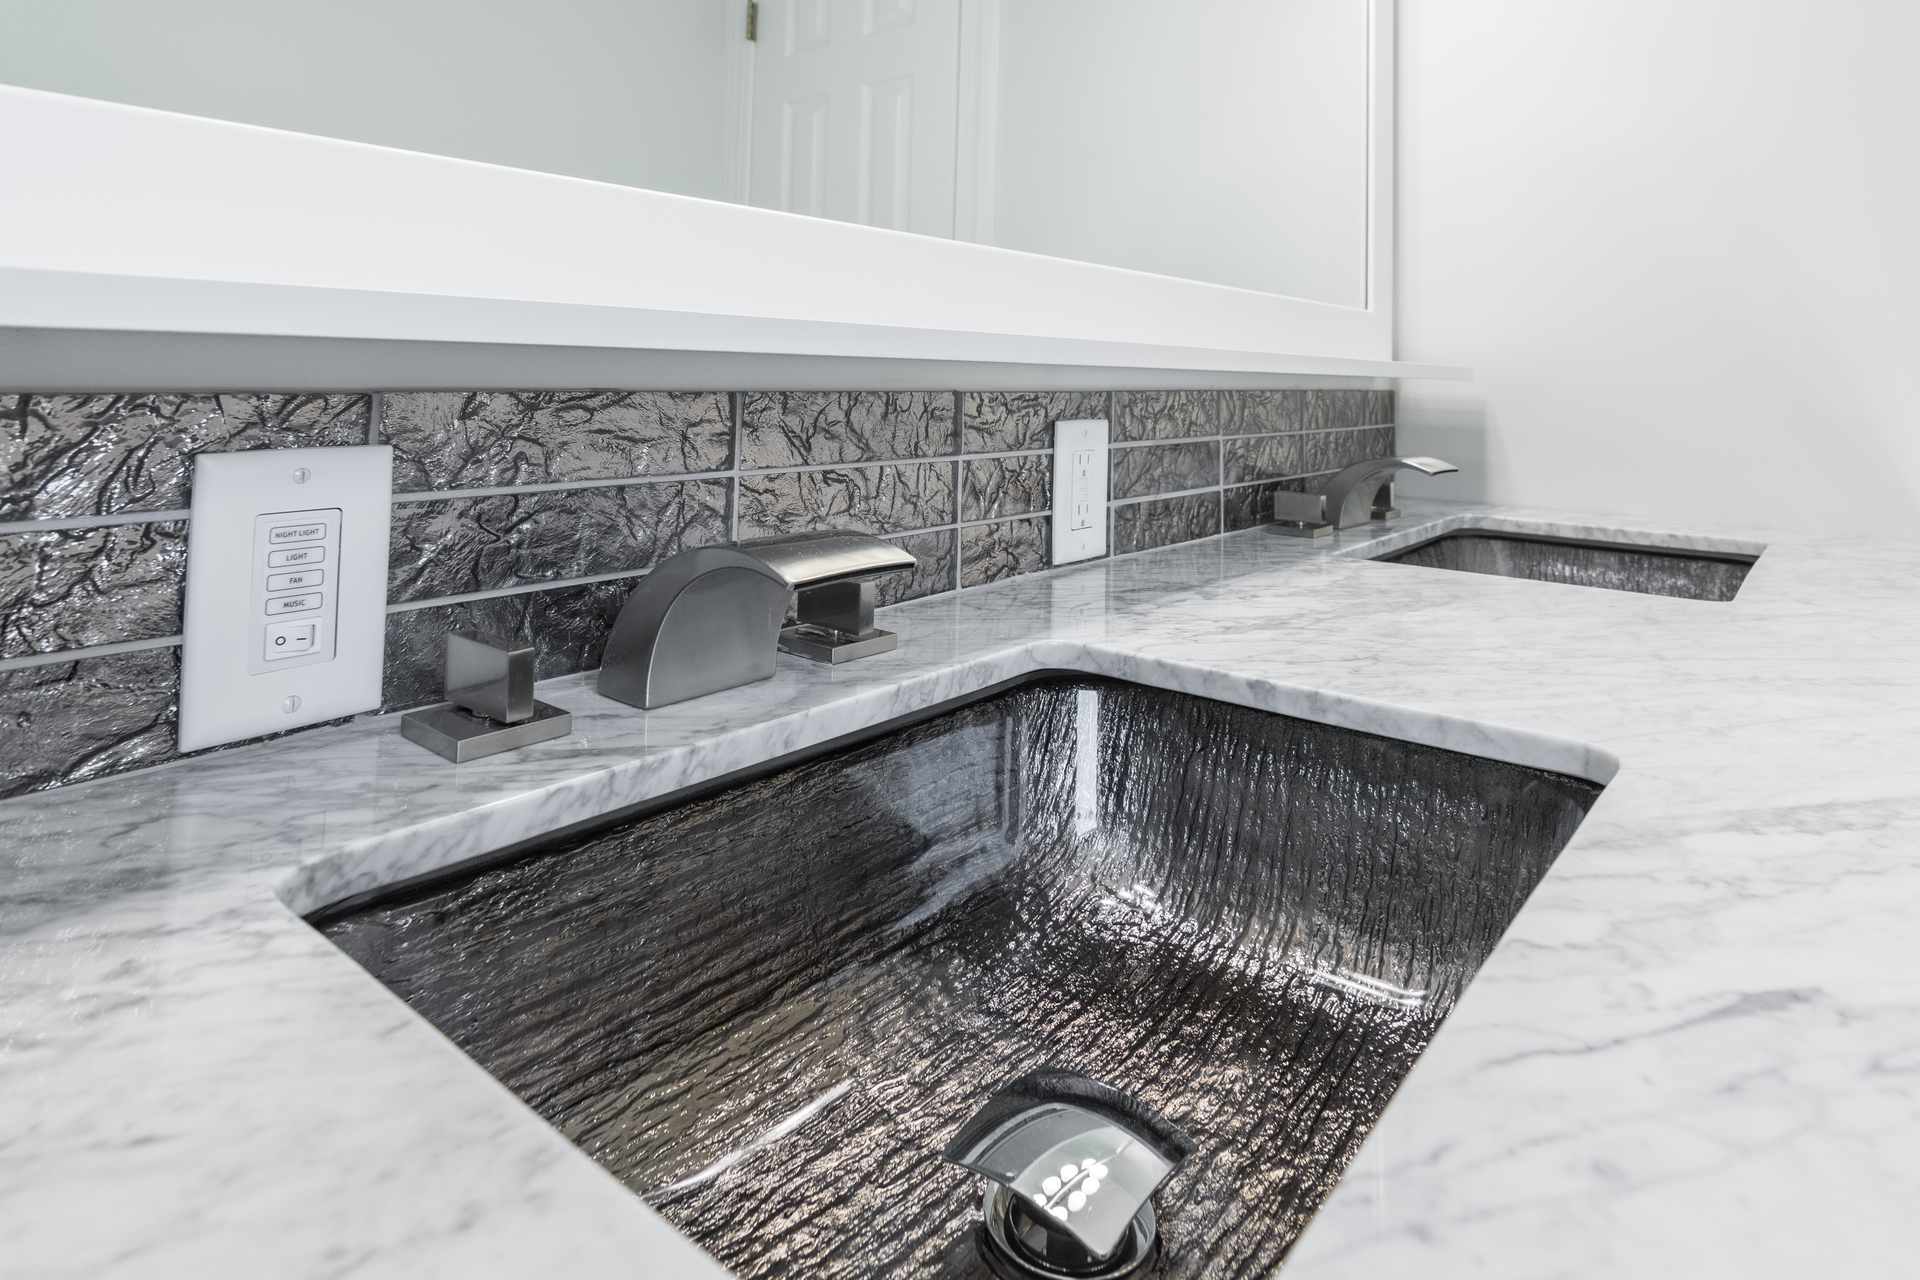
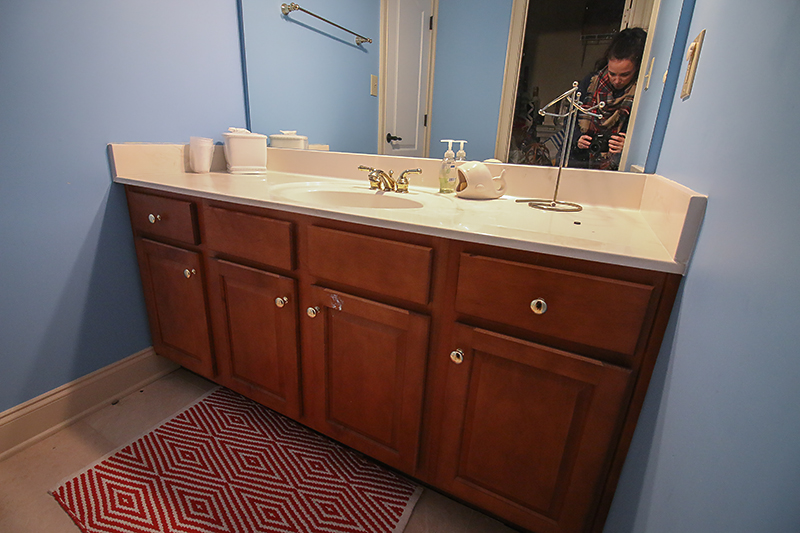
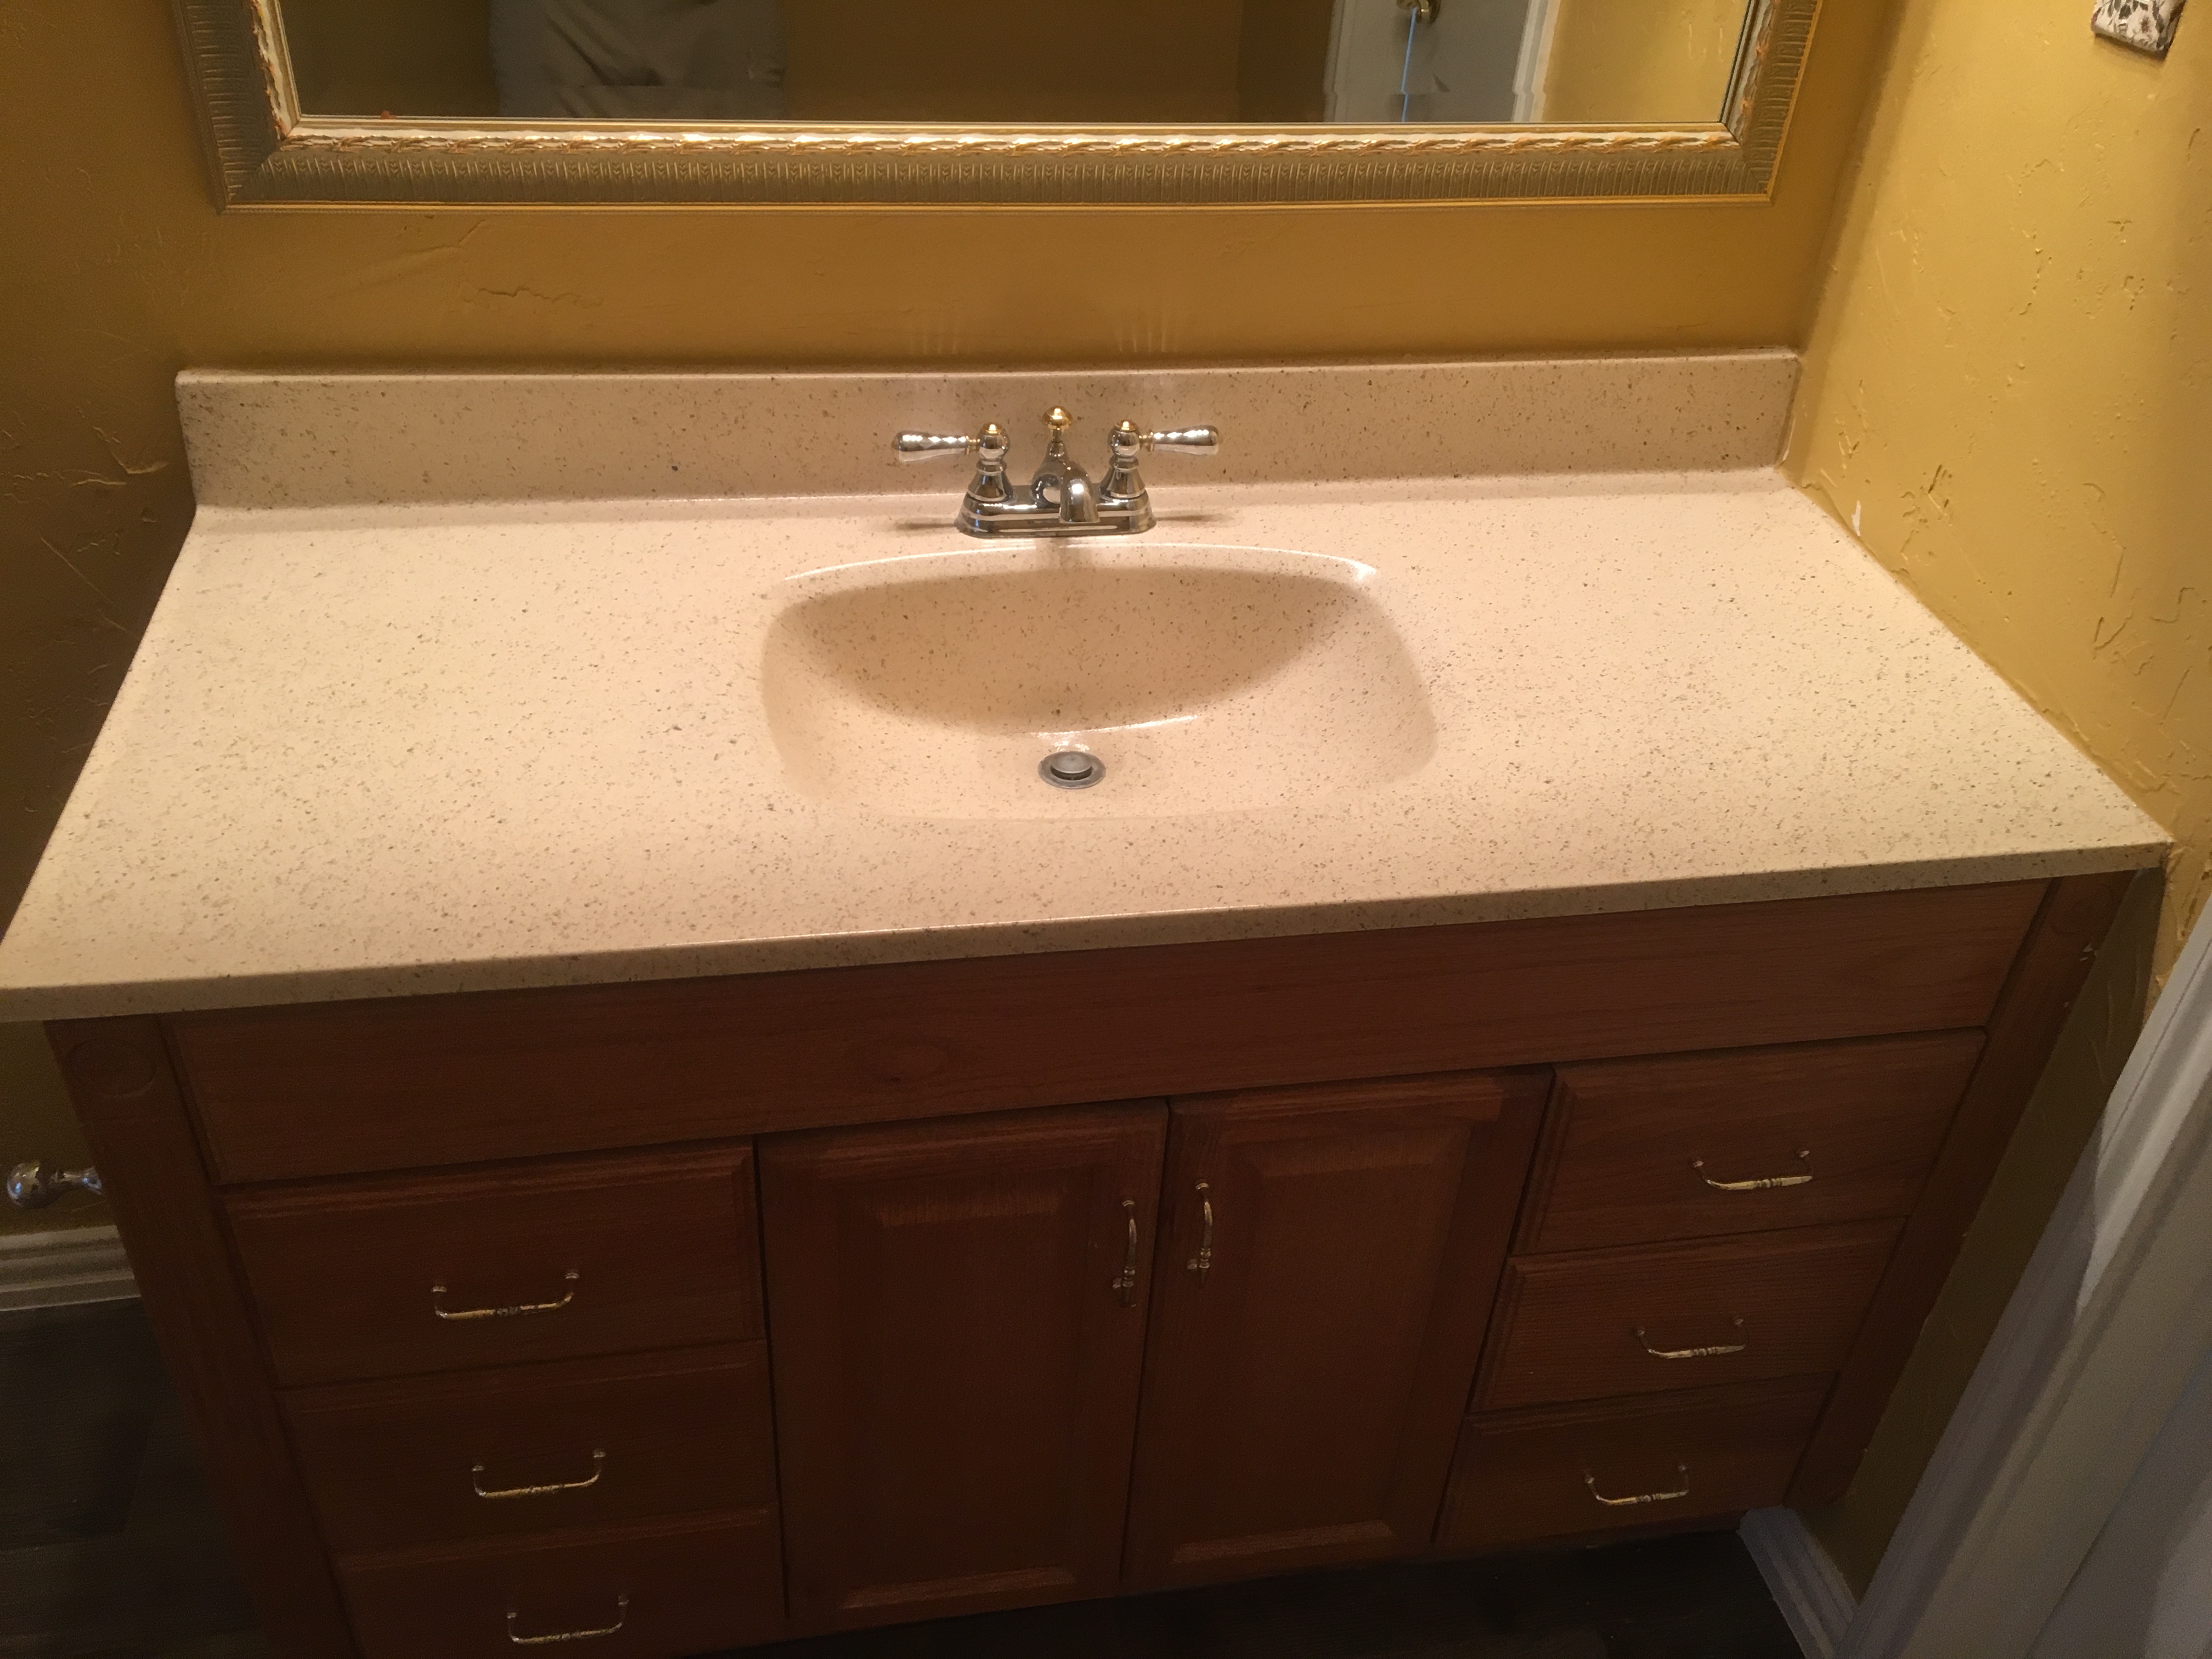
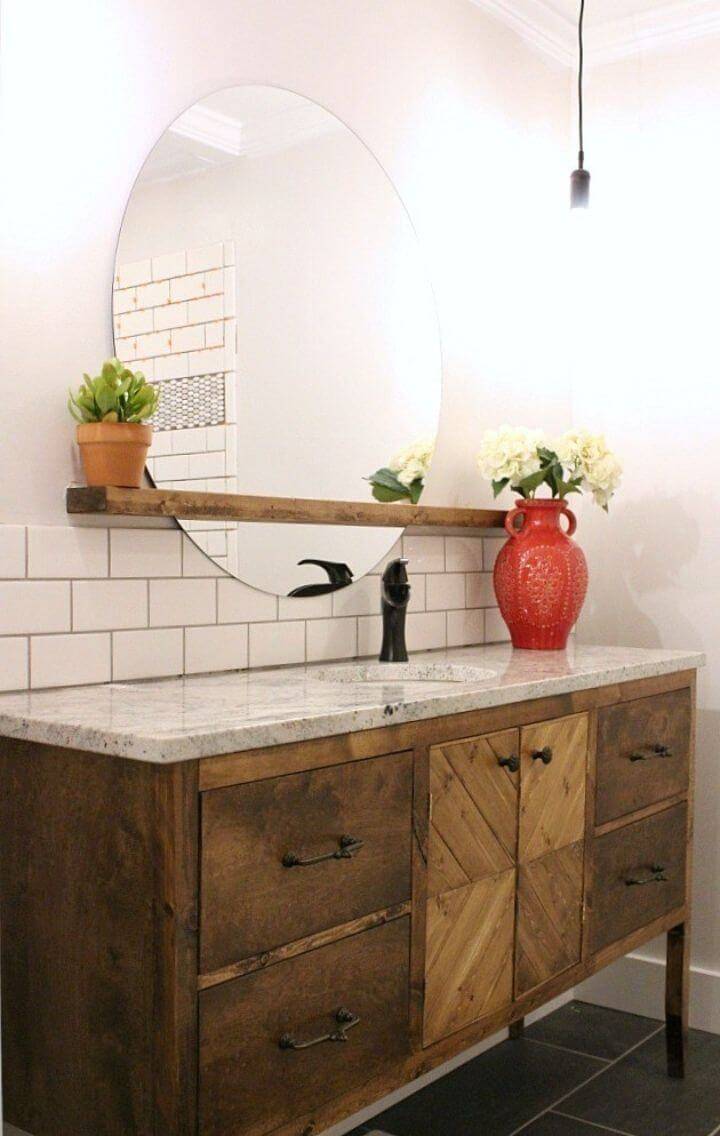
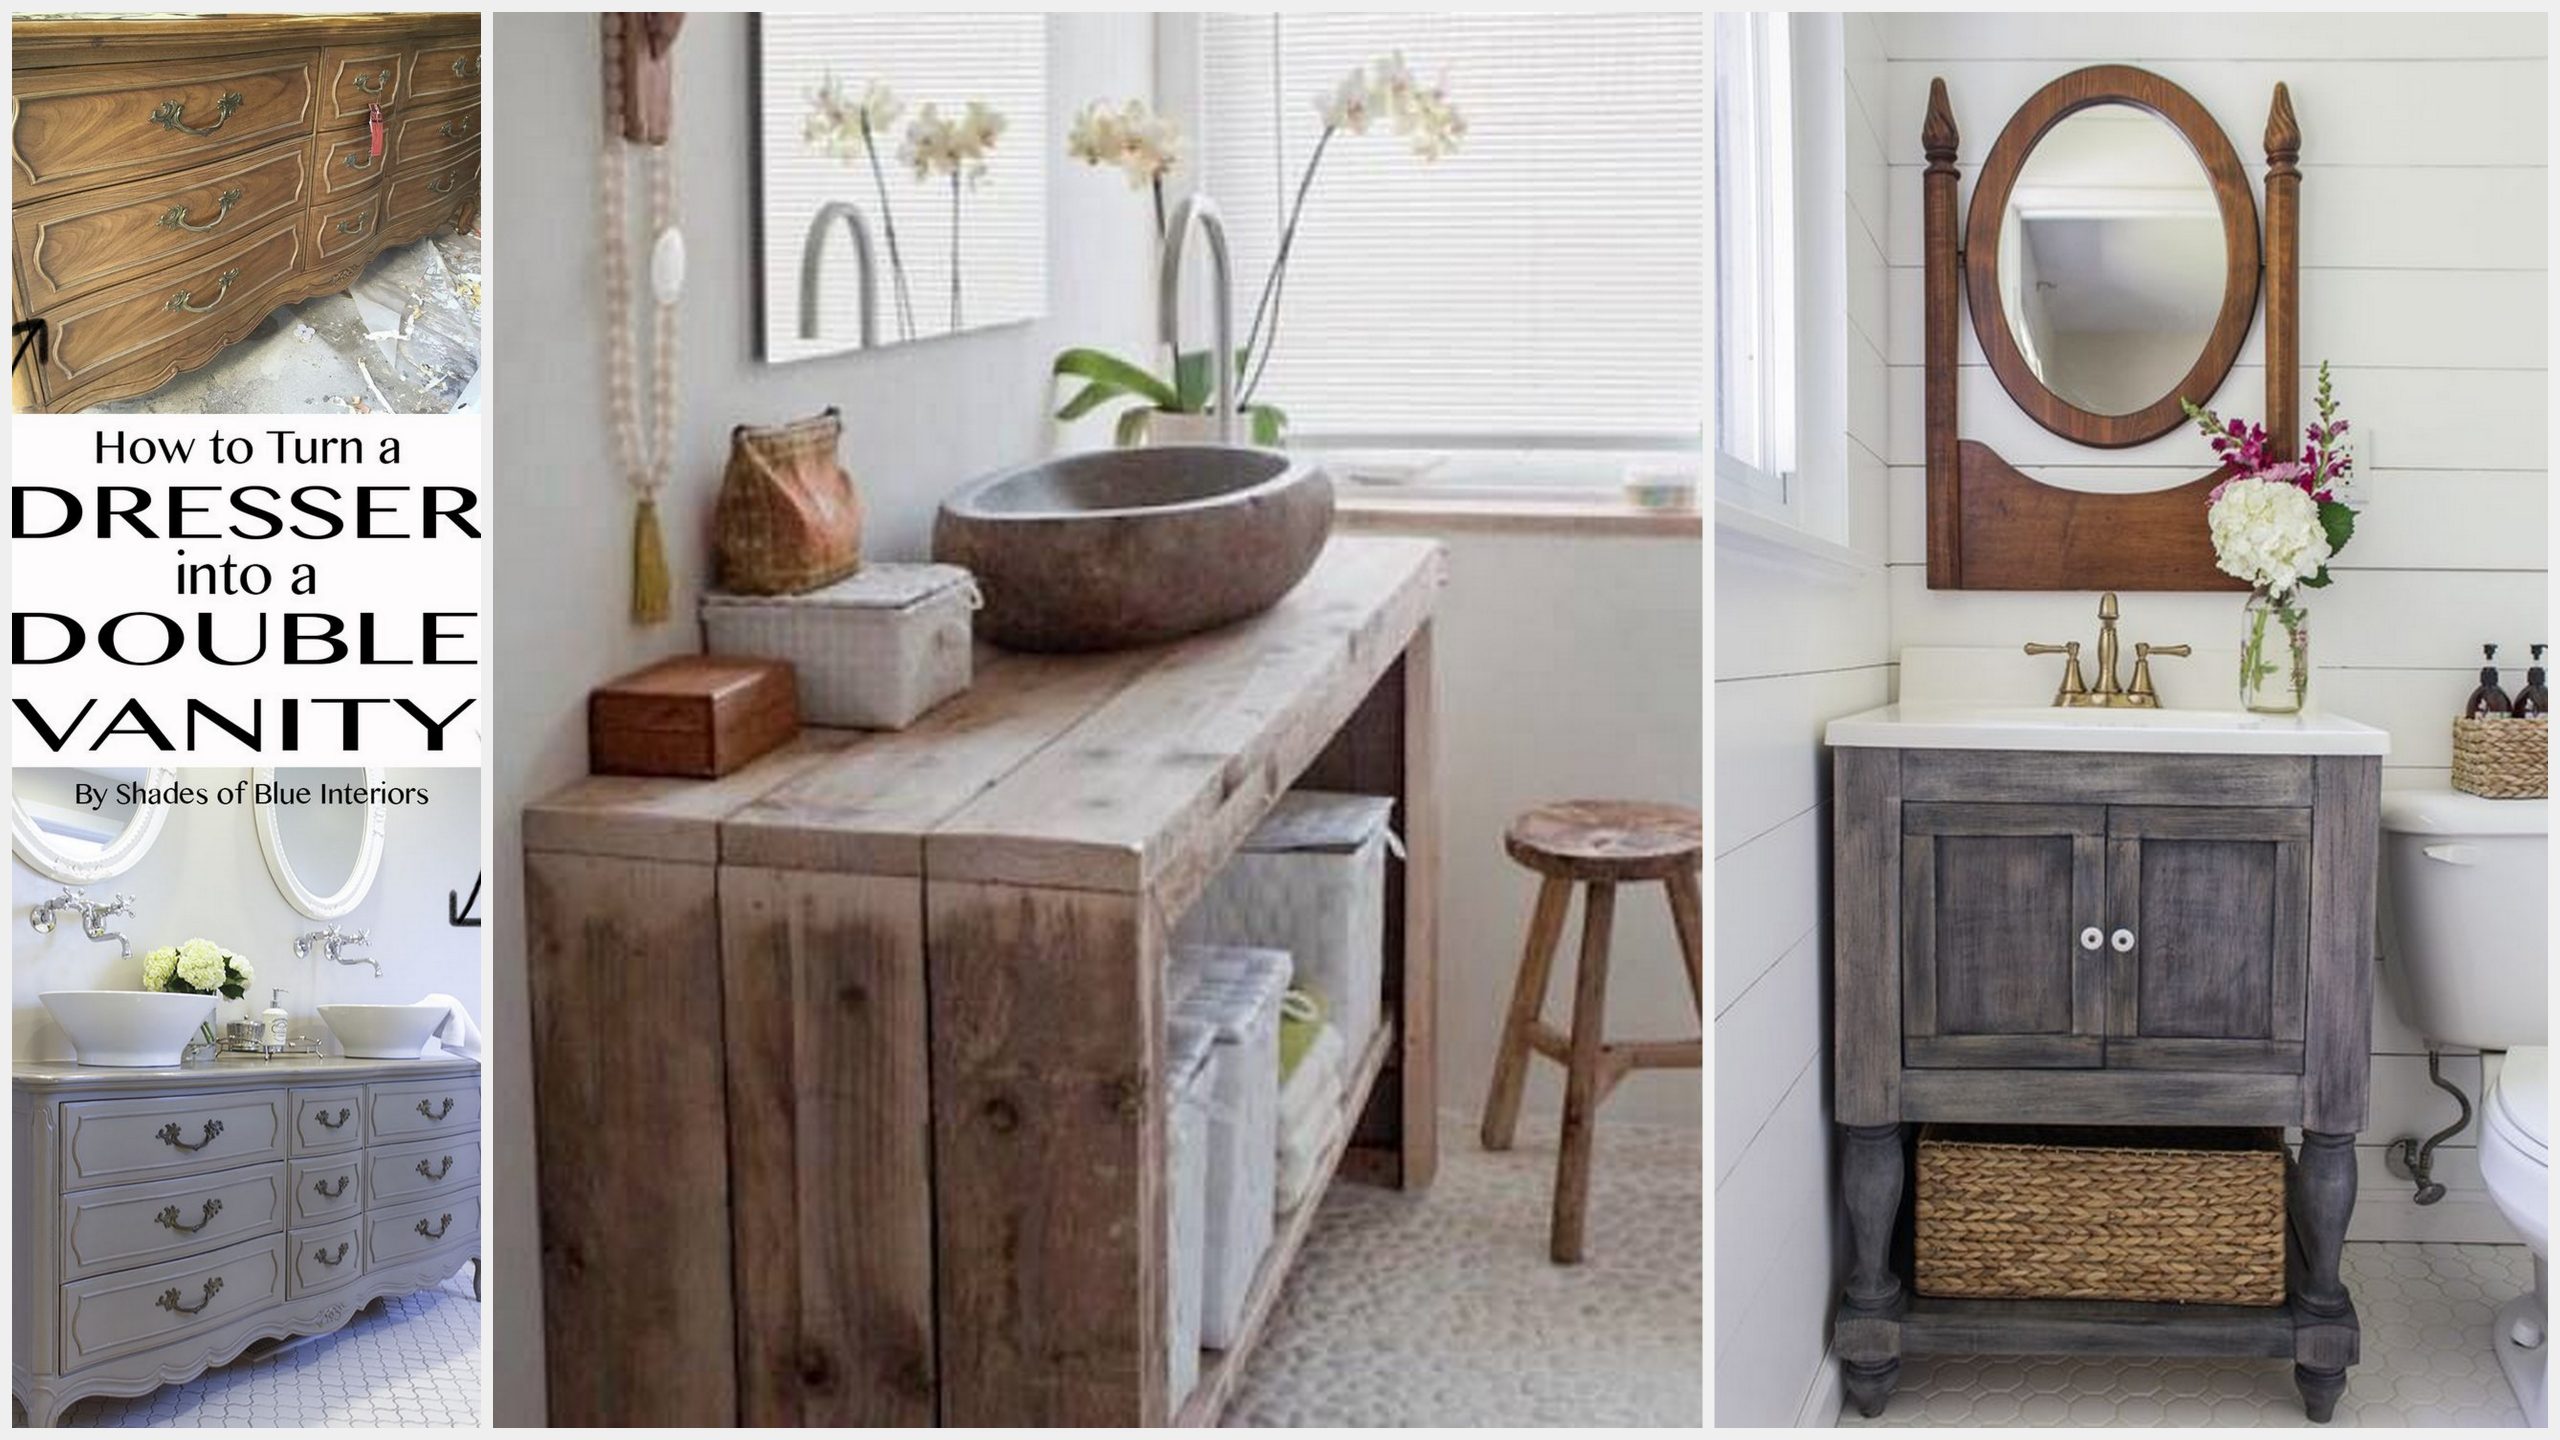
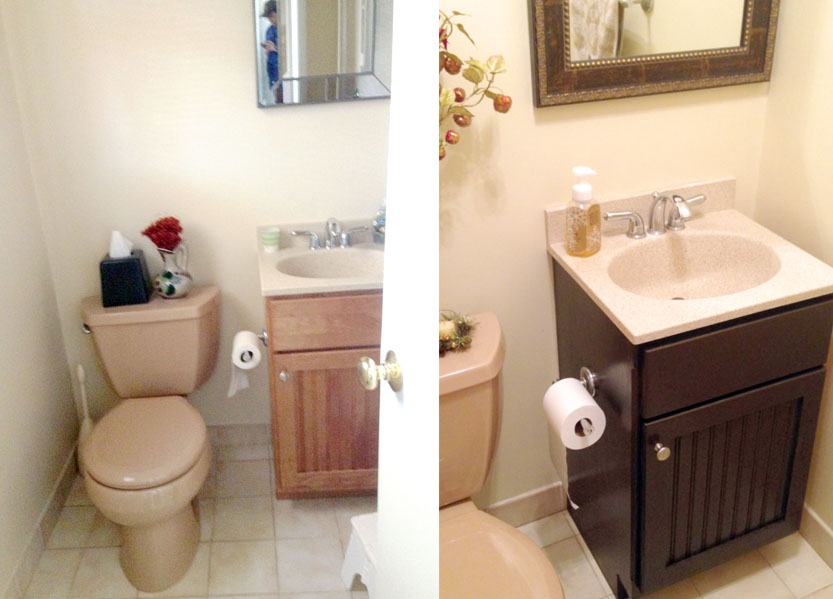
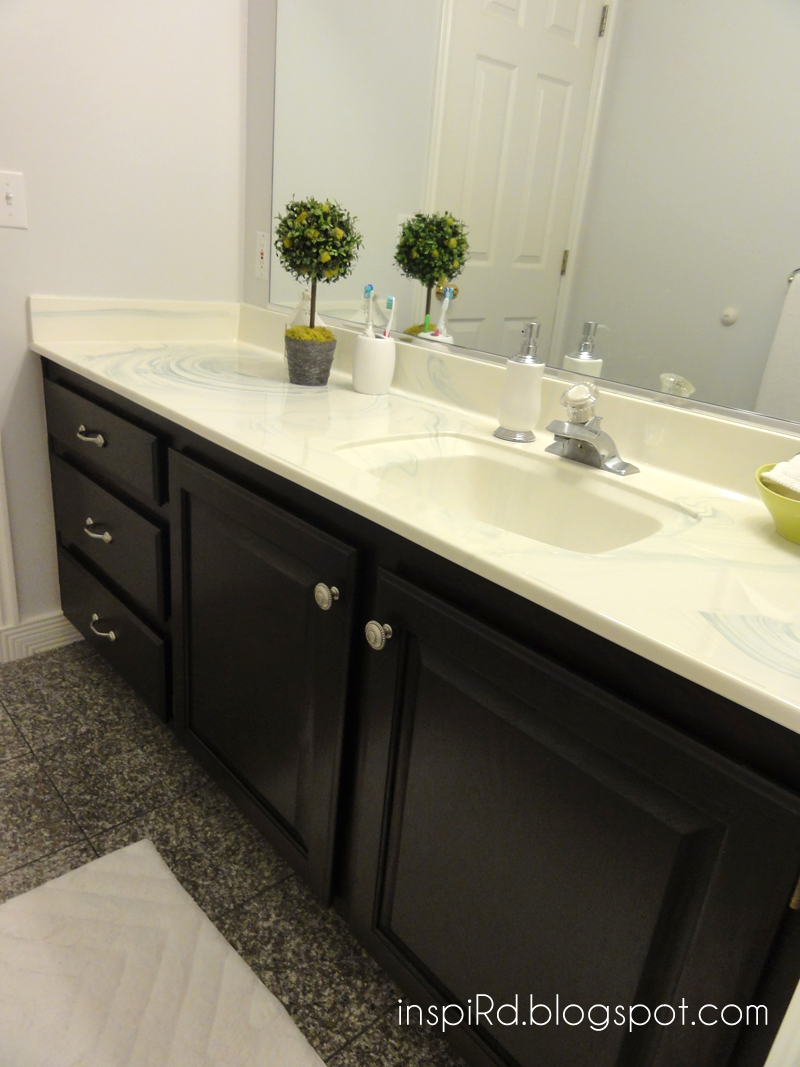
Still not convinced that sanding and staining your bathroom vanity is worth the effort? Just take a look at the before and after photos and see the difference for yourself. You'll be amazed at how a simple DIY project can transform your bathroom.Before and After: Sanding and Staining a Bathroom Vanity
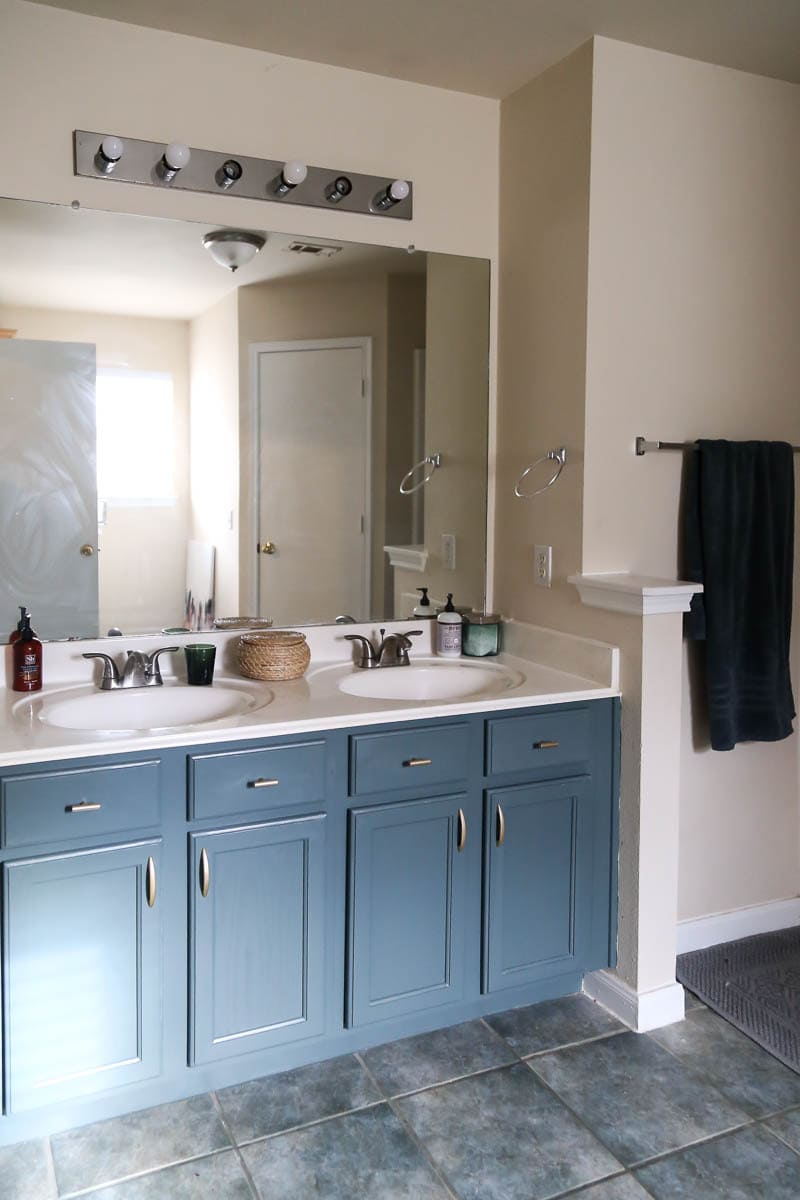

Before and After: Sanding and Staining a Bathroom Vanity


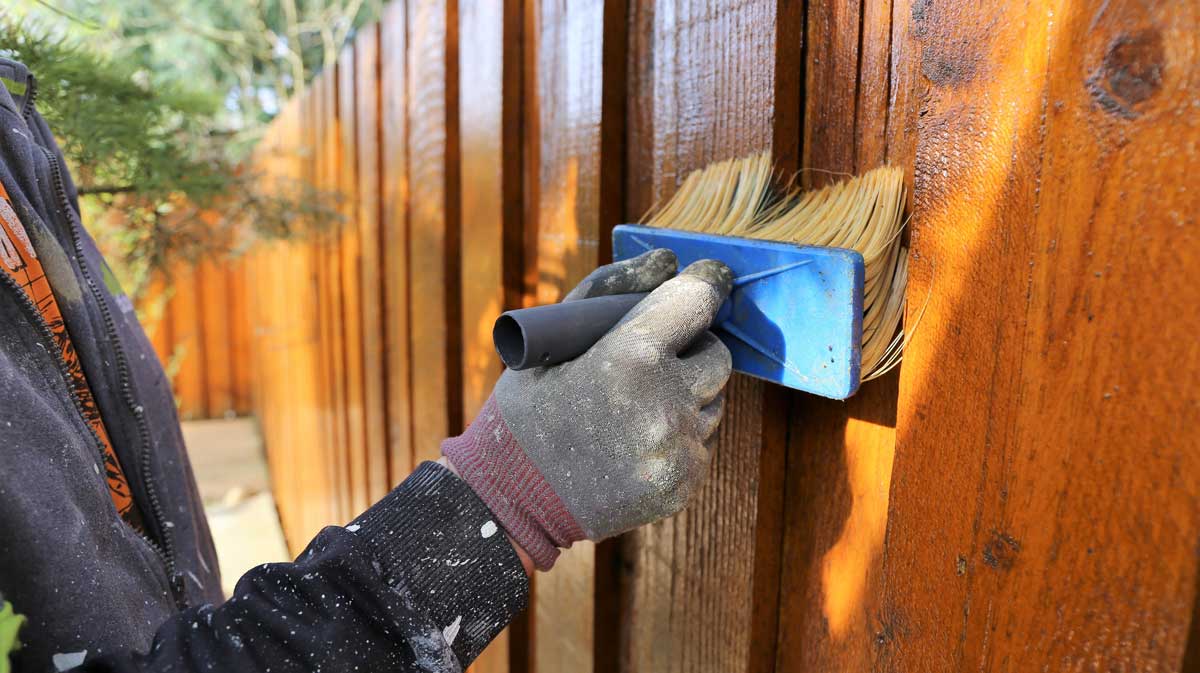
If you're feeling unsure about tackling this project on your own, don't hesitate to seek advice from experts. You can consult with a local hardware store or even hire a professional to ensure that your vanity is sanded and stained to perfection. With these tips and guidelines, you are now ready to tackle sanding and staining your bathroom vanity. Not only will this project give your bathroom a fresh new look, but it will also save you money in the long run. So roll up your sleeves and get ready to transform your bathroom into a stylish and elegant space.Expert Advice for Sanding and Staining a Bathroom Vanity

.jpg)
Expert Advice for Sanding and Staining a Bathroom Vanity


Sanding and Staining: The Perfect Way to Update Your Bathroom Vanity

Why Sanding and Staining?
 Are you tired of looking at the same old bathroom vanity every day? Maybe it’s time for an update. However, completely replacing your vanity can be a costly and time-consuming task. Luckily, there is a simple and affordable solution that can give your bathroom a fresh new look – sanding and staining.
Sanding and staining your bathroom vanity is a great way to revamp its appearance without breaking the bank. It’s also a great DIY project for those who love to get their hands dirty. Plus, it’s a perfect opportunity to put your personal touch on your vanity and make it unique to your style and taste.
Are you tired of looking at the same old bathroom vanity every day? Maybe it’s time for an update. However, completely replacing your vanity can be a costly and time-consuming task. Luckily, there is a simple and affordable solution that can give your bathroom a fresh new look – sanding and staining.
Sanding and staining your bathroom vanity is a great way to revamp its appearance without breaking the bank. It’s also a great DIY project for those who love to get their hands dirty. Plus, it’s a perfect opportunity to put your personal touch on your vanity and make it unique to your style and taste.
Benefits of Sanding and Staining
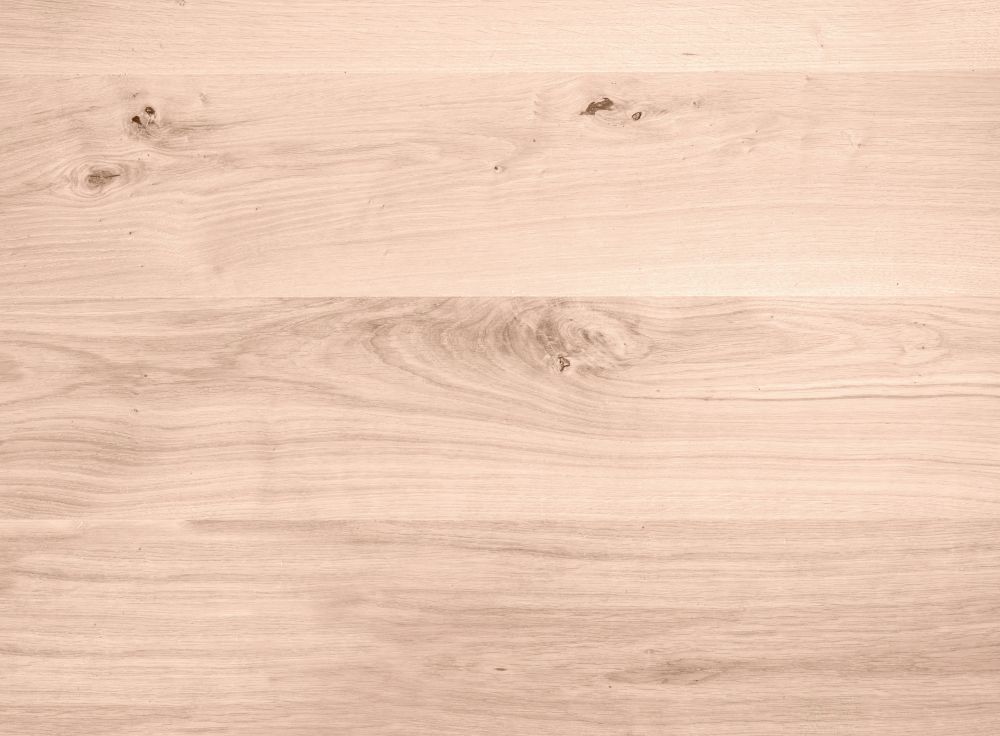
 Sanding
is the process of removing the top layer of the wood surface, also known as the finish. This is done using sandpaper or a sanding machine. Sanding not only removes any scratches, stains, or imperfections on your vanity, but it also gives the surface a smooth and even finish. This is crucial for a successful staining process.
Staining
is the process of adding color to the wood surface. It not only enhances the natural beauty of the wood but also protects it from moisture and wear and tear. Staining also allows you to change the color of your vanity to match your desired aesthetic.
Sanding
is the process of removing the top layer of the wood surface, also known as the finish. This is done using sandpaper or a sanding machine. Sanding not only removes any scratches, stains, or imperfections on your vanity, but it also gives the surface a smooth and even finish. This is crucial for a successful staining process.
Staining
is the process of adding color to the wood surface. It not only enhances the natural beauty of the wood but also protects it from moisture and wear and tear. Staining also allows you to change the color of your vanity to match your desired aesthetic.
The Steps to Sanding and Staining Your Bathroom Vanity
 Now that you know the benefits of sanding and staining, here are the steps you can follow to achieve a beautifully updated bathroom vanity:
Step 1:
Prepare the Vanity – Remove all the items from your vanity and give it a thorough clean. Cover any areas you don’t want to be sanded or stained, such as mirrors or countertops, with plastic or painter's tape.
Step 2:
Sanding – Start by sanding the vanity with a medium grit sandpaper to remove the old finish. Then, switch to a fine grit sandpaper to achieve a smooth surface.
Step 3:
Staining – Once the sanding is complete, it’s time to stain your vanity. Choose a stain color that complements your bathroom’s overall design. Apply the stain with a brush or cloth, following the grain of the wood. Let it sit for a few minutes before wiping off any excess with a clean cloth.
Step 4:
Finishing Touches – After the stain has dried, you can add a protective top coat to seal the stain and protect your vanity. This can be a clear polyurethane or a furniture wax.
Now that you know the benefits of sanding and staining, here are the steps you can follow to achieve a beautifully updated bathroom vanity:
Step 1:
Prepare the Vanity – Remove all the items from your vanity and give it a thorough clean. Cover any areas you don’t want to be sanded or stained, such as mirrors or countertops, with plastic or painter's tape.
Step 2:
Sanding – Start by sanding the vanity with a medium grit sandpaper to remove the old finish. Then, switch to a fine grit sandpaper to achieve a smooth surface.
Step 3:
Staining – Once the sanding is complete, it’s time to stain your vanity. Choose a stain color that complements your bathroom’s overall design. Apply the stain with a brush or cloth, following the grain of the wood. Let it sit for a few minutes before wiping off any excess with a clean cloth.
Step 4:
Finishing Touches – After the stain has dried, you can add a protective top coat to seal the stain and protect your vanity. This can be a clear polyurethane or a furniture wax.
Conclusion
 Sanding and staining your bathroom vanity is an easy and cost-effective way to update your bathroom’s look and feel. Not only does it give your vanity a fresh new look, but it also adds a personal touch and protects the wood surface. So why wait? Grab your sandpaper and stain and get ready to transform your bathroom vanity into a beautiful centerpiece.