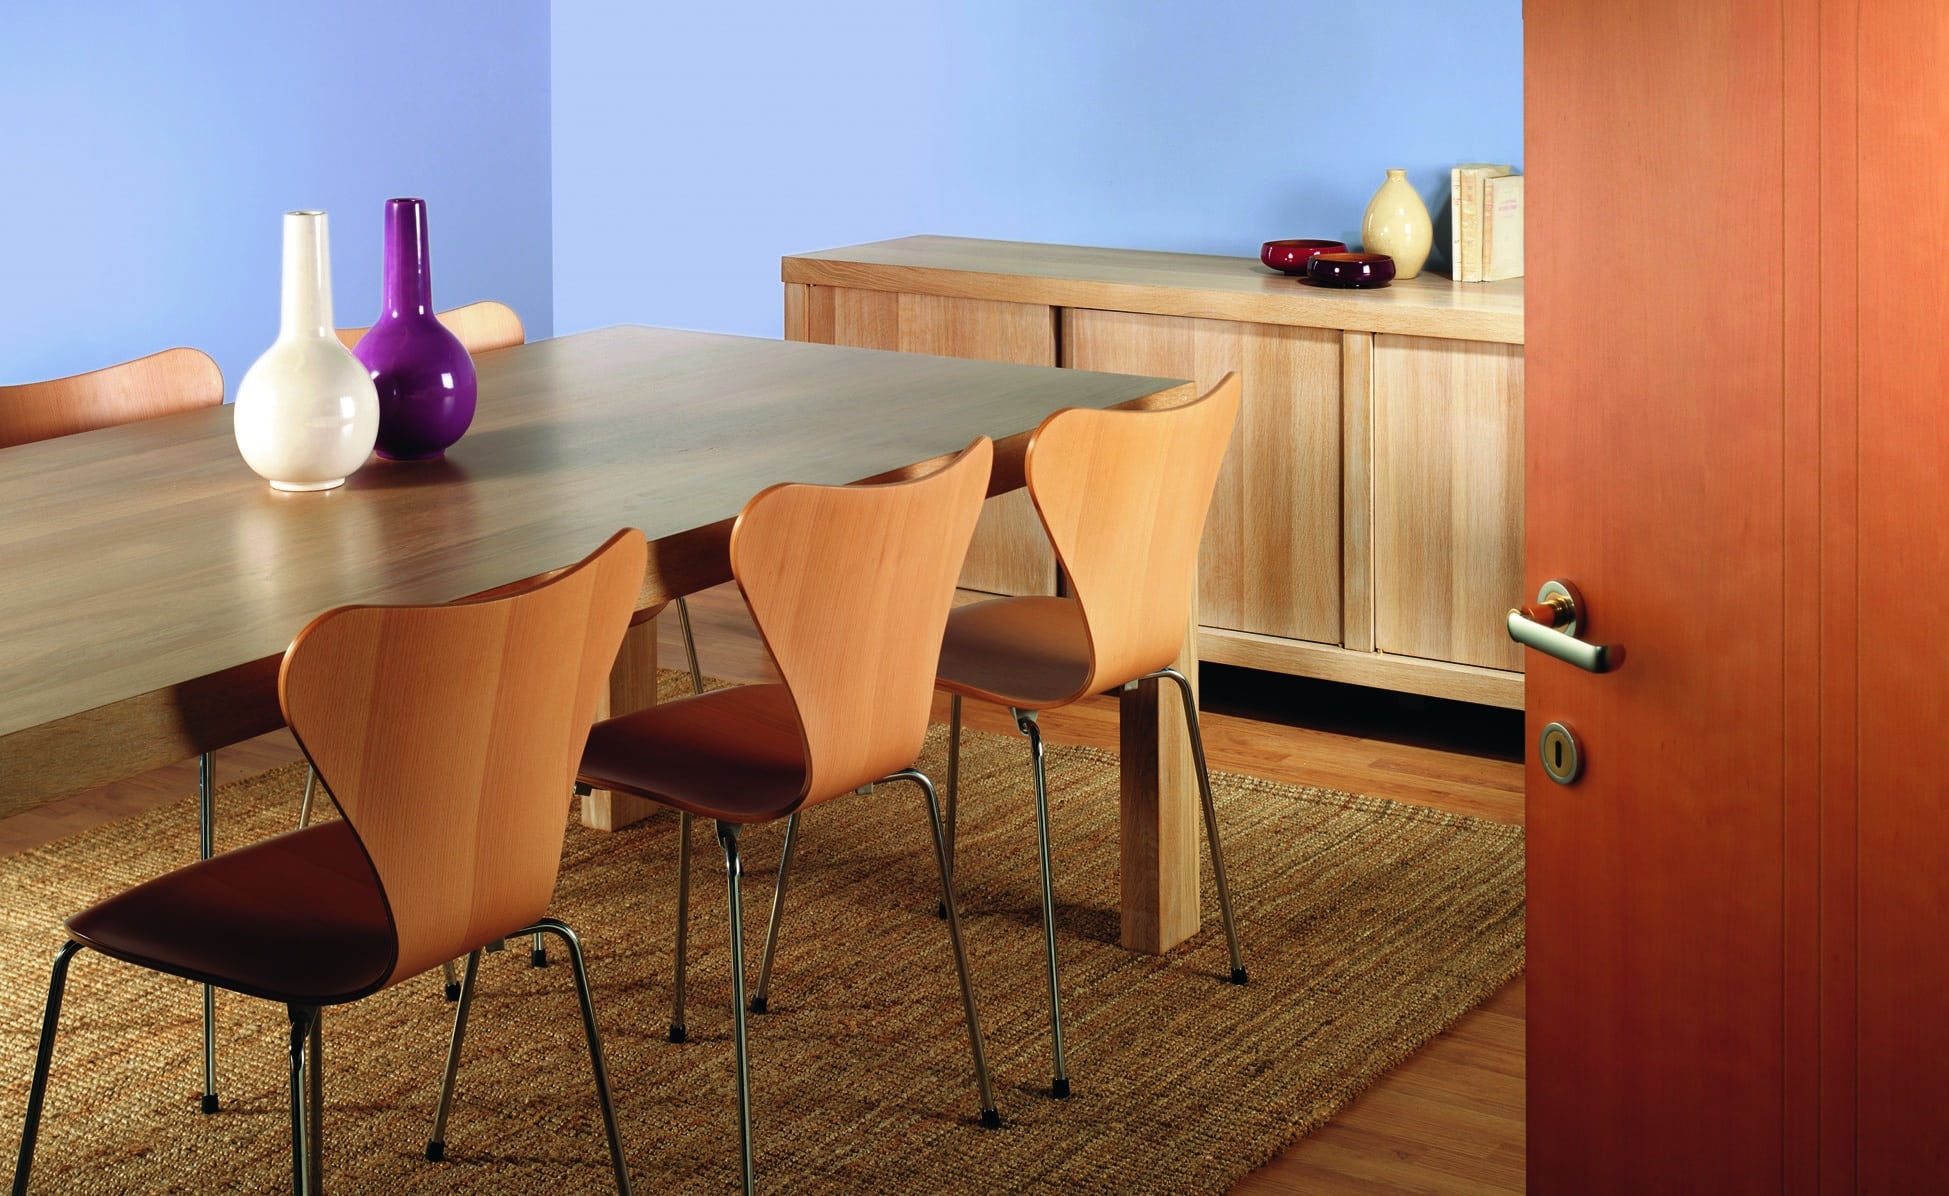
Refinishing your kitchen table can give it new life and make it the centerpiece of your dining room once again. Sanding and varnishing are essential steps in this process, and by following the right techniques, you can achieve a smooth and beautiful finish. In this article, we'll take you through the steps of sanding and varnishing a kitchen table, from choosing the right materials to avoiding common mistakes.
How to Sand and Varnish a Kitchen Table


How to Sand and Varnish a Kitchen Table

Refinishing a kitchen table can be a rewarding DIY project, and sanding and varnishing are two key steps in the process. By doing it yourself, you can save money and have complete control over the final result. Plus, you'll have the satisfaction of knowing you put in the work to transform your kitchen table into a stunning piece of furniture.
DIY Kitchen Table Refinishing: Sand and Varnish


DIY Kitchen Table Refinishing: Sand and Varnish


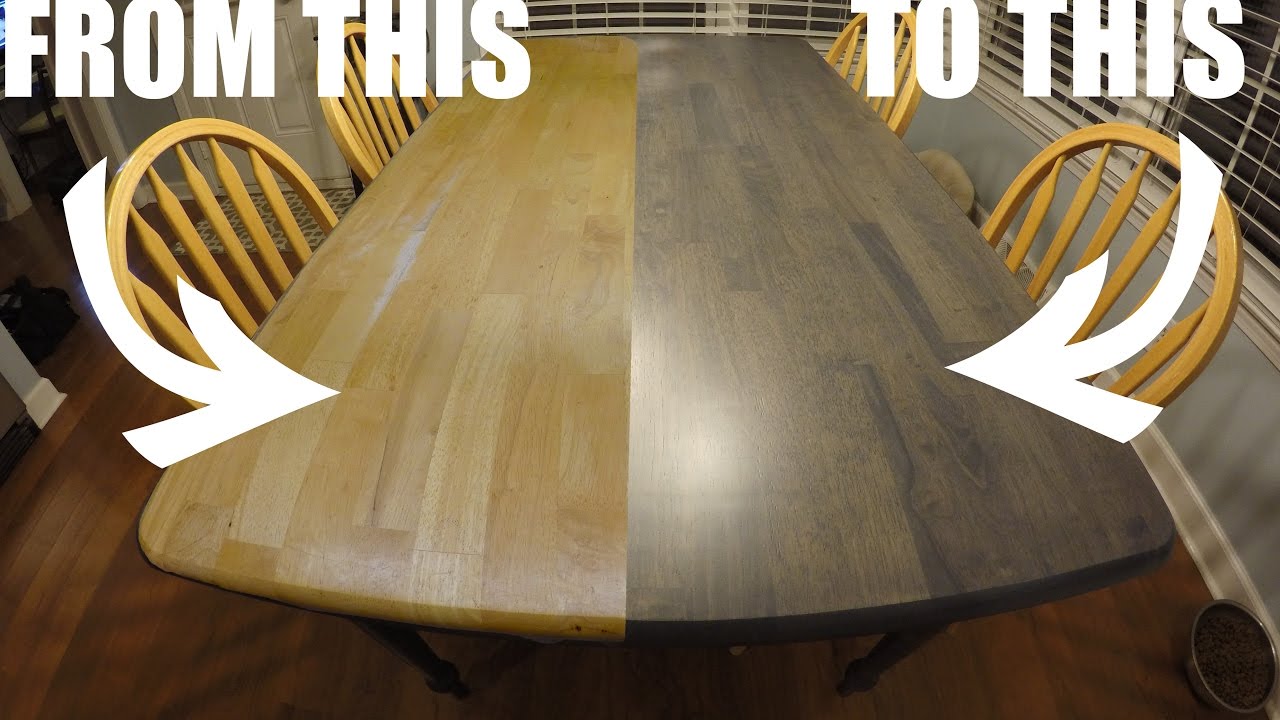
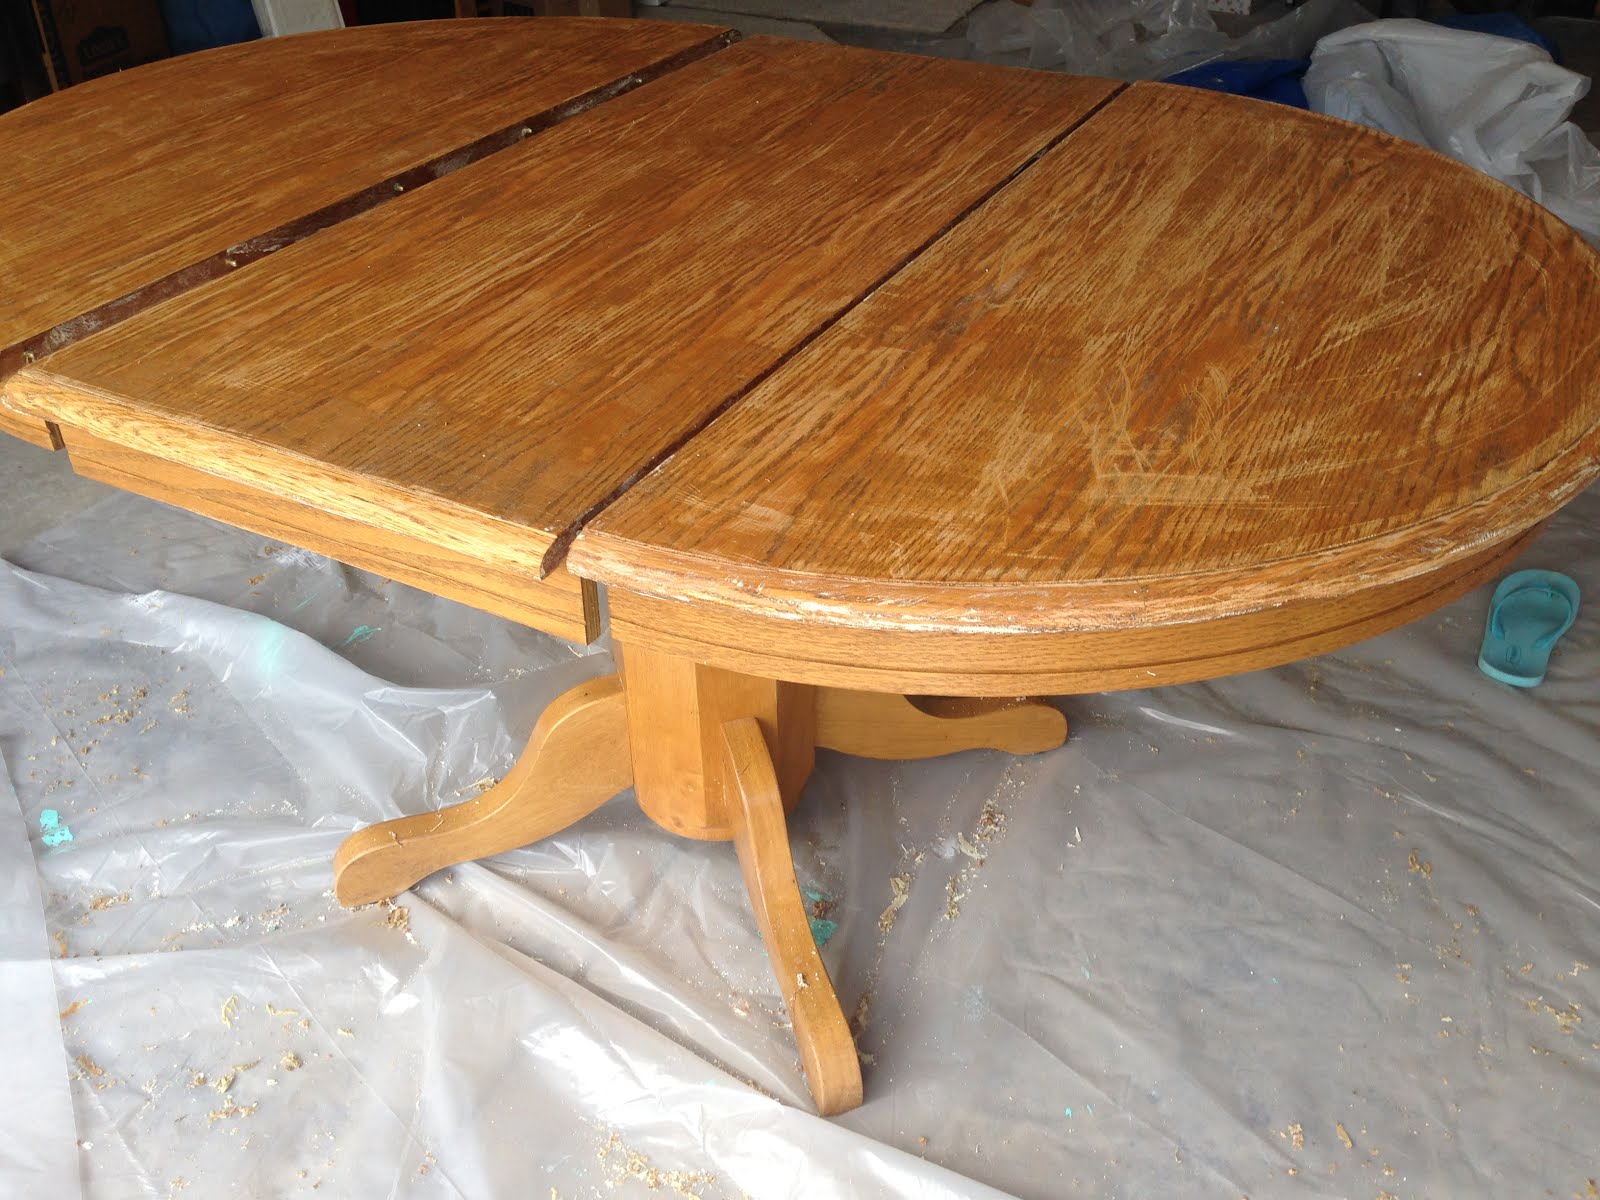
Before you get started, gather all the necessary materials, including sandpaper, a sander or sanding block, varnish, and a paintbrush or foam applicator. Begin by sanding the table with a coarse grit sandpaper, gradually working your way up to a finer grit. This will remove any old finish and smooth out imperfections. Once you've achieved the desired smoothness, wipe away any dust and apply the varnish, following the manufacturer's instructions.
Step-by-Step Guide to Sanding and Varnishing a Kitchen Table


Step-by-Step Guide to Sanding and Varnishing a Kitchen Table


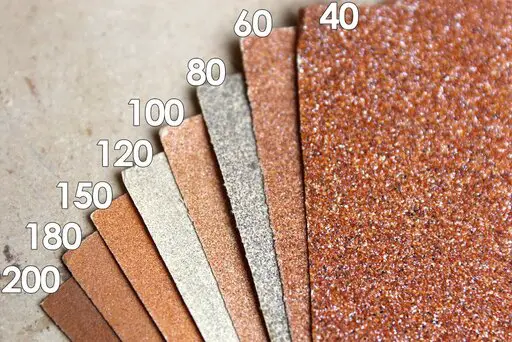
When it comes to sanding a kitchen table, the best grit to start with is 80 or 100. This will effectively remove any old finish or scratches. From there, you can move on to a finer grit, such as 120 or 150, for a smoother finish. If your table has a particularly rough or damaged surface, you may need to start with an even coarser grit, such as 60.
Best Sandpaper Grit for Sanding a Kitchen Table


Best Sandpaper Grit for Sanding a Kitchen Table


There are several types of varnish available, including oil-based, water-based, and polyurethane. Each has its own advantages and disadvantages, so it's important to choose the right one for your kitchen table. Oil-based varnishes provide a durable finish, but they can take longer to dry and may have a strong odor. Water-based varnishes dry quickly and have less odor, but they may not be as durable. Polyurethane varnishes are a good compromise, providing both durability and a pleasant finish.
Choosing the Right Varnish for Your Kitchen Table


Choosing the Right Varnish for Your Kitchen Table


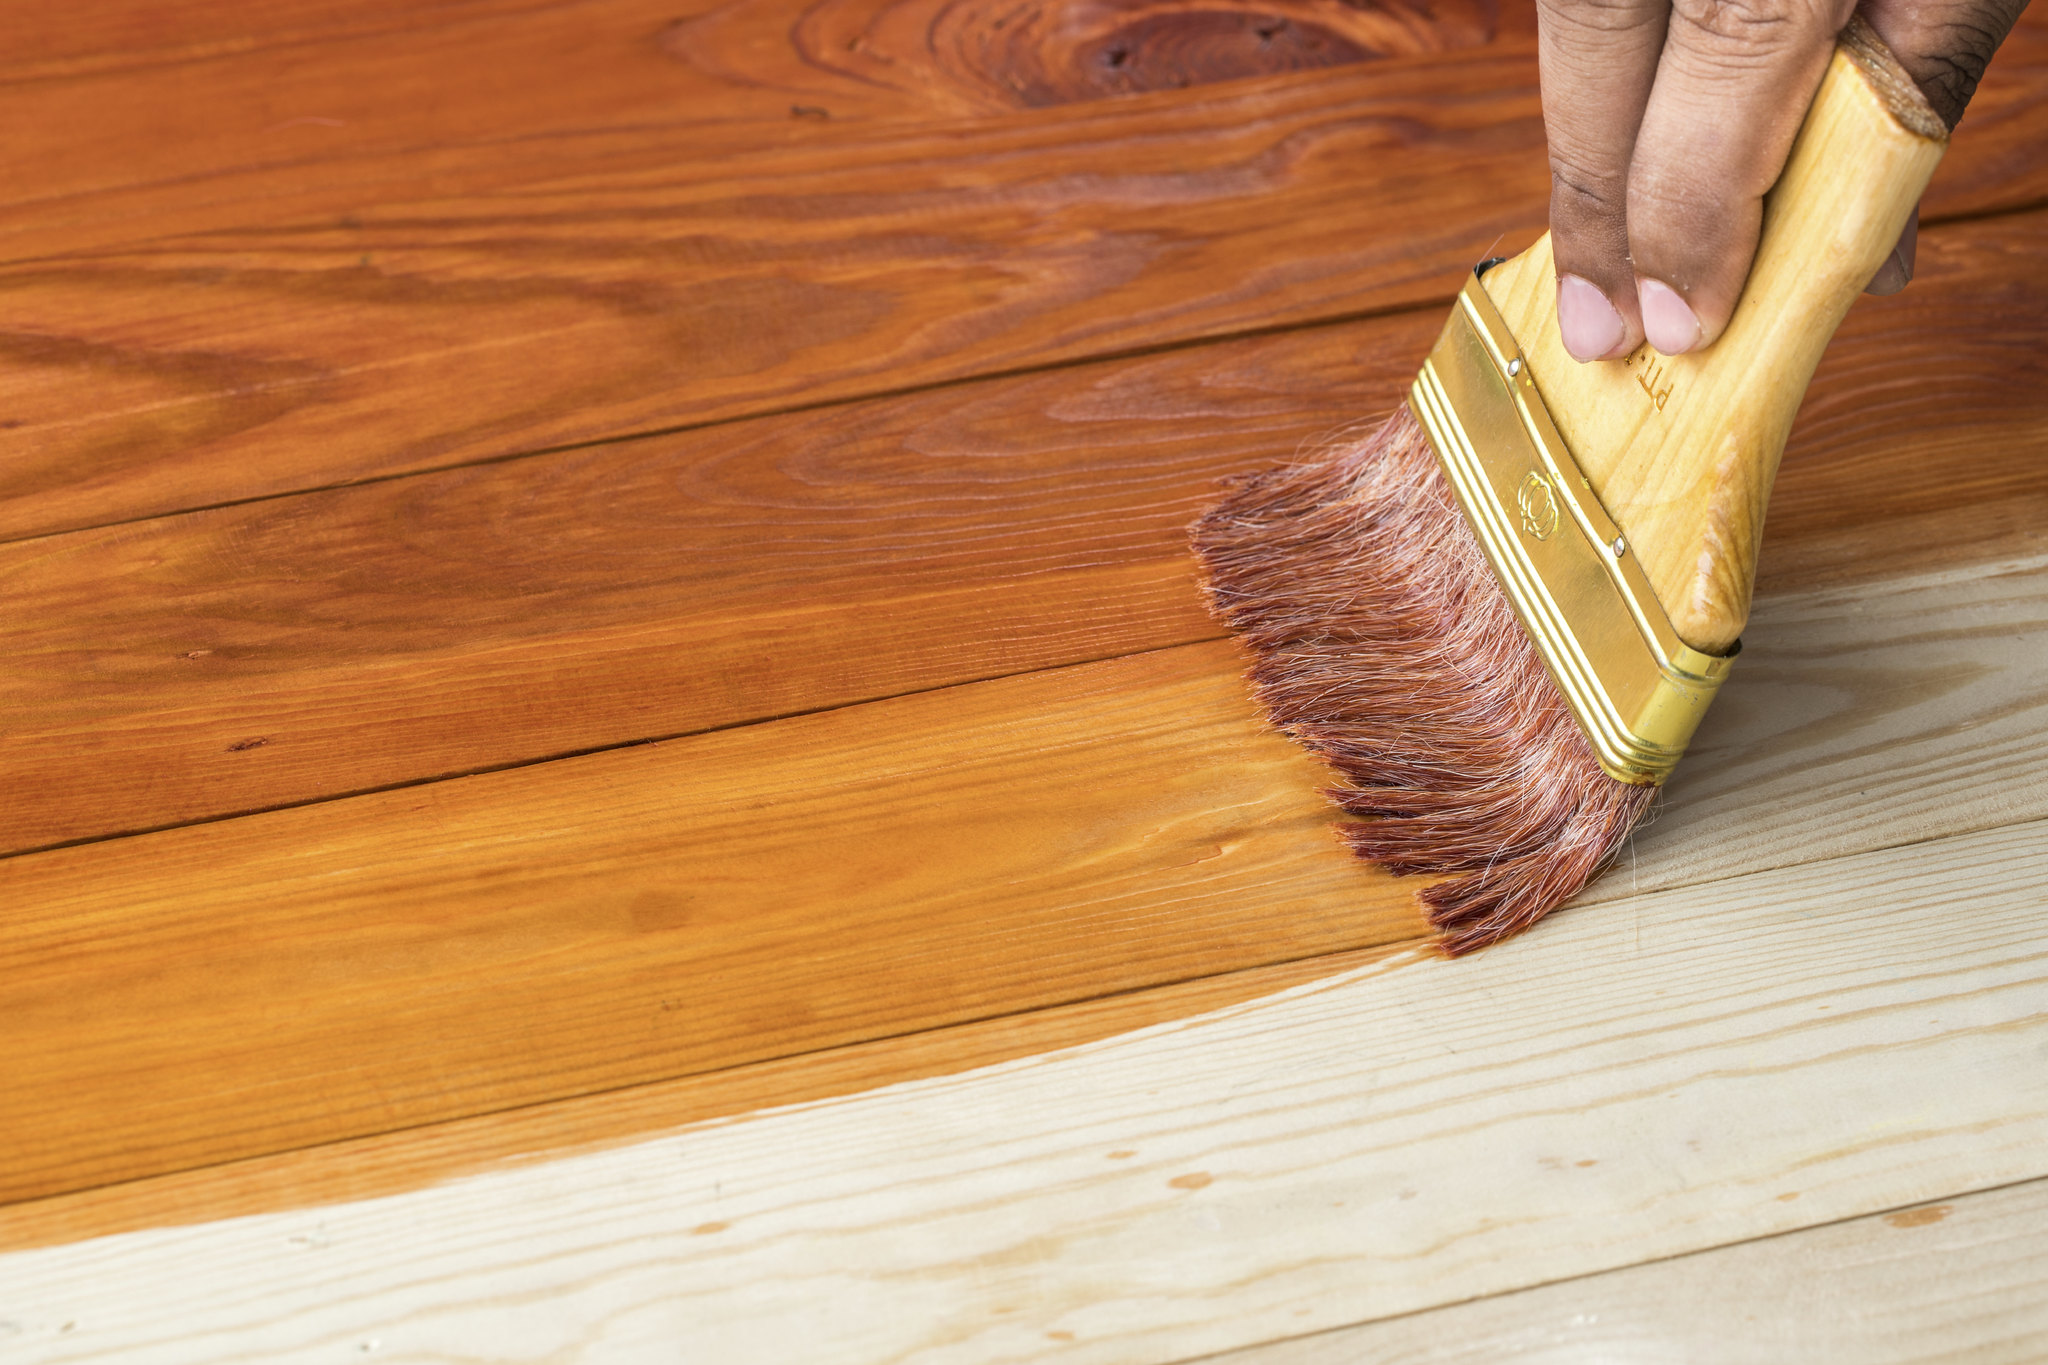

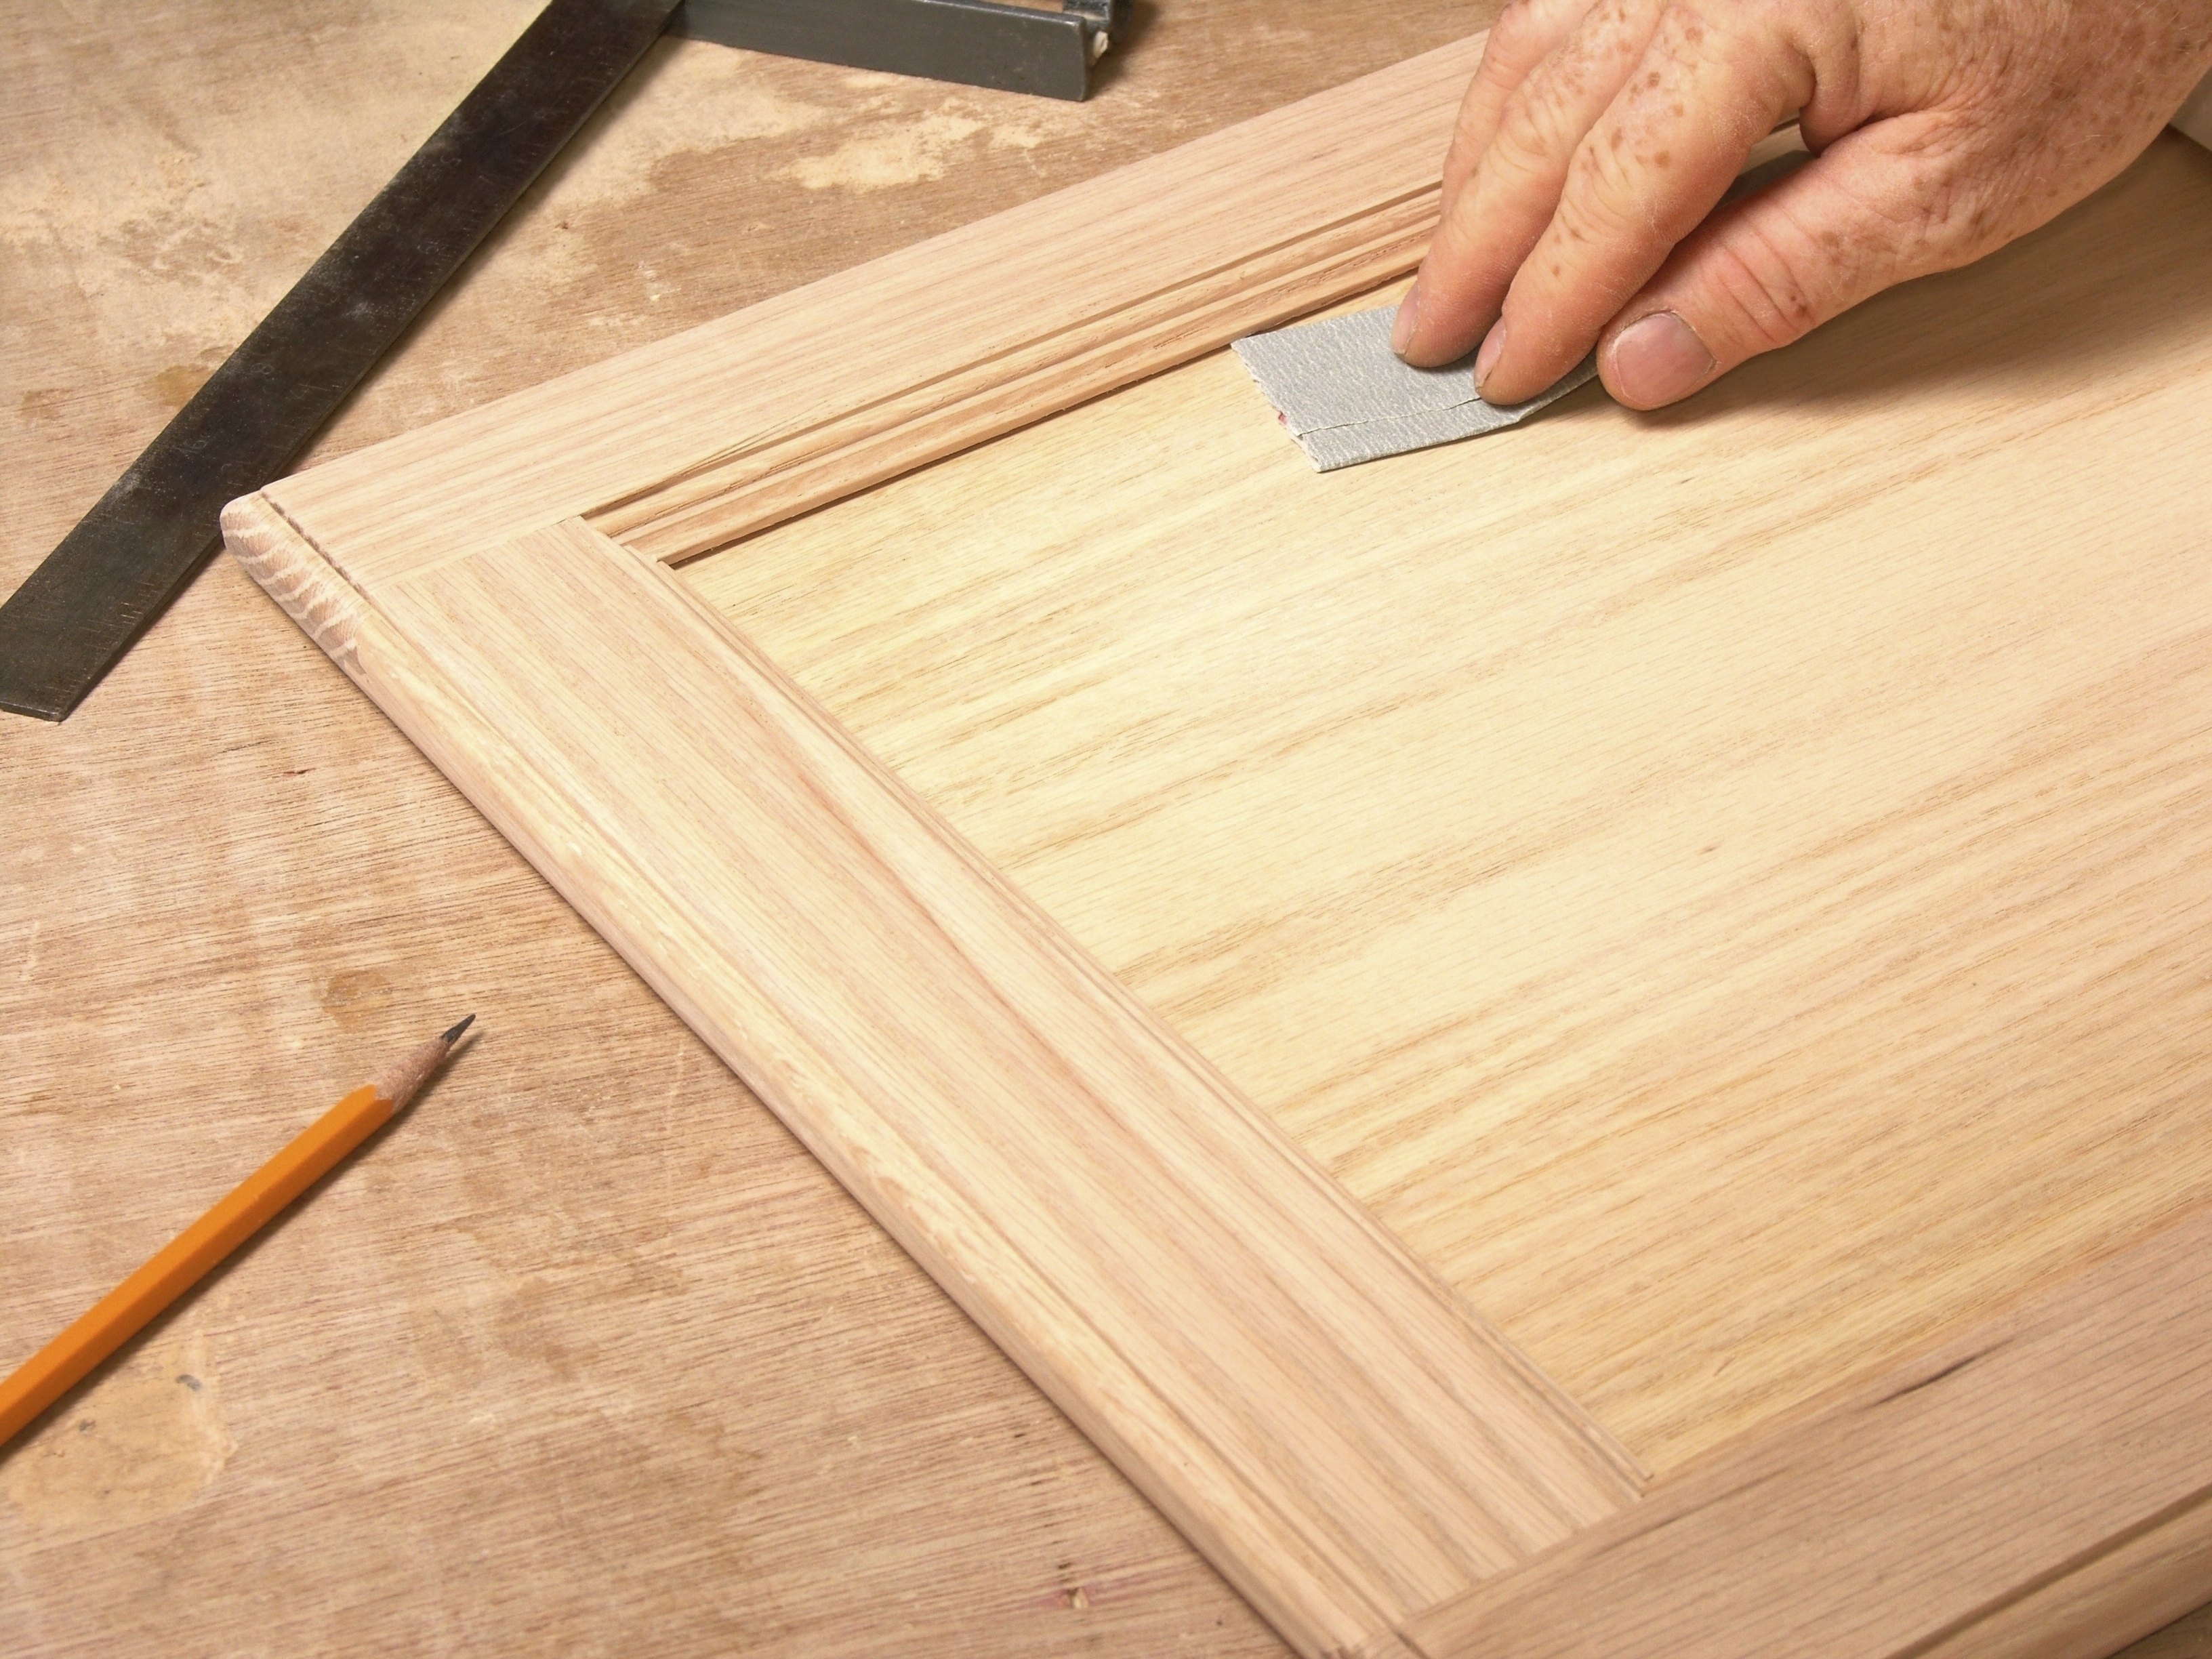
To achieve a smooth and even varnish finish, make sure to apply the varnish in thin, even coats. This will prevent drips and bubbles from forming. It's also important to sand between coats, using a fine grit sandpaper, to smooth out any imperfections. Additionally, avoid shaking or stirring the varnish too vigorously, as this can create air bubbles that will show up on the surface of your table.
Tips for a Smooth and Even Varnish Finish on Your Kitchen Table


Tips for a Smooth and Even Varnish Finish on Your Kitchen Table


One common mistake people make when sanding and varnishing a kitchen table is not properly preparing the surface beforehand. This can result in an uneven finish or poor adhesion of the varnish. Another mistake is applying too thick of a coat of varnish, which can lead to drips and an uneven finish. To avoid these mistakes, make sure to thoroughly sand the table and apply thin, even coats of varnish.
Common Mistakes to Avoid When Sanding and Varnishing a Kitchen Table


Common Mistakes to Avoid When Sanding and Varnishing a Kitchen Table


The frequency of sanding and varnishing your kitchen table will depend on how often it's used and how well you maintain it. If your table gets a lot of use and is subject to spills and scratches, you may need to sand and varnish it every 1-2 years. However, if it's well-maintained and not heavily used, you may be able to go longer between refinishing.
How Often Should You Sand and Varnish Your Kitchen Table?


How Often Should You Sand and Varnish Your Kitchen Table?


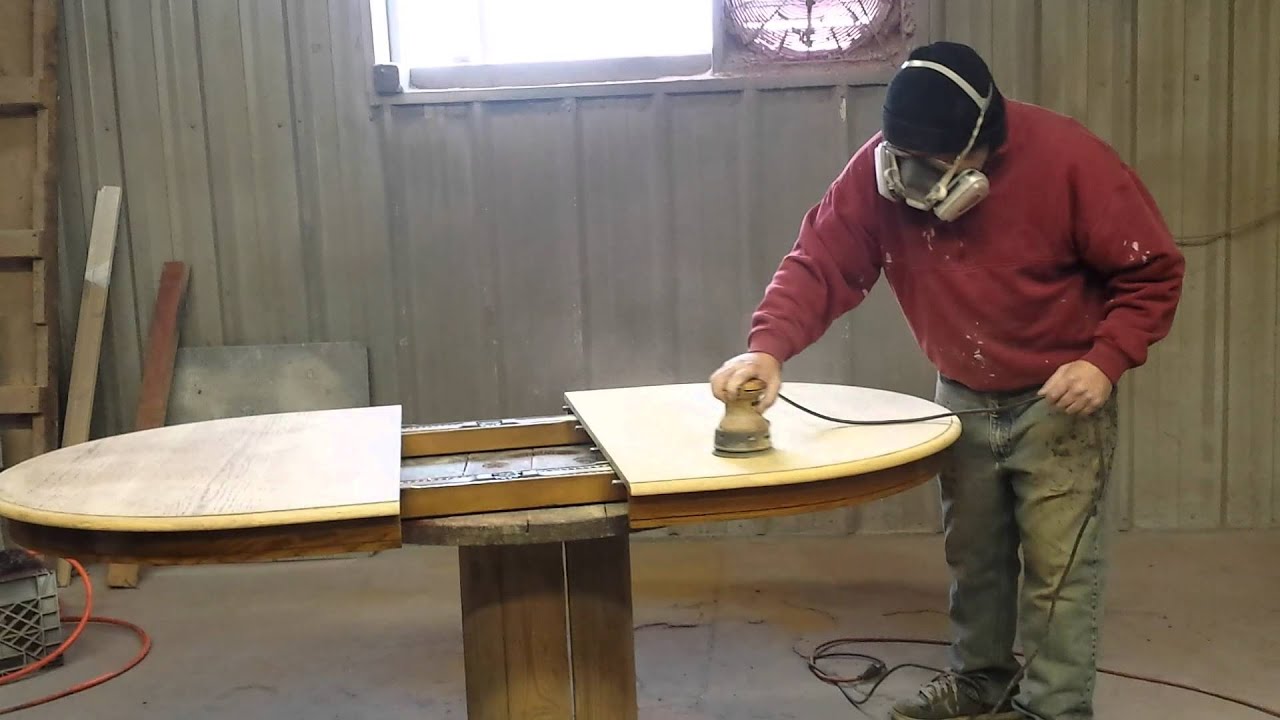
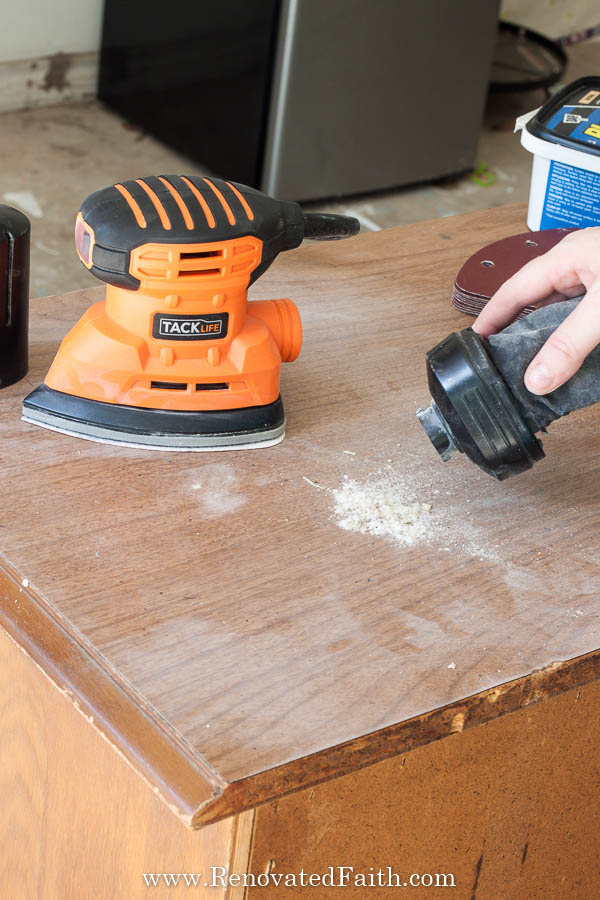
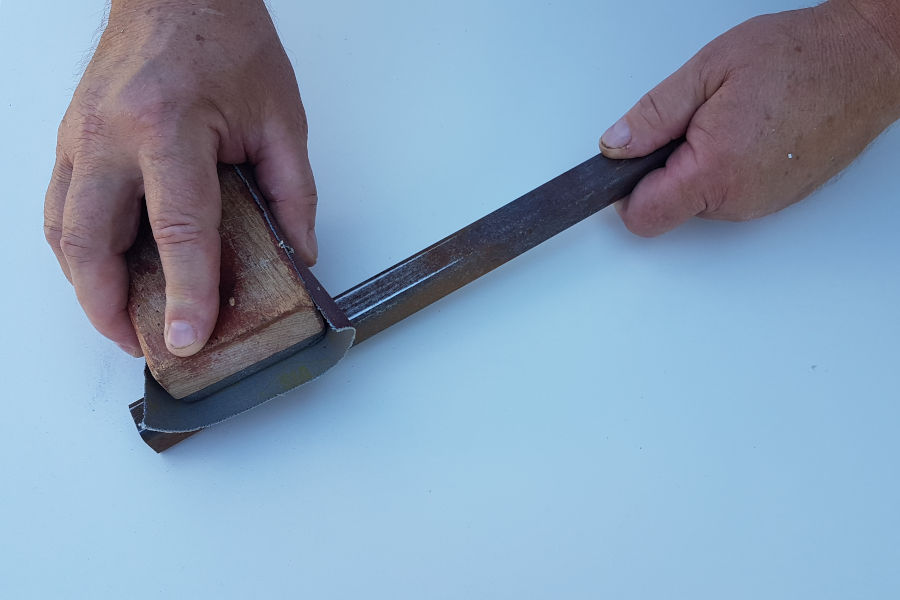
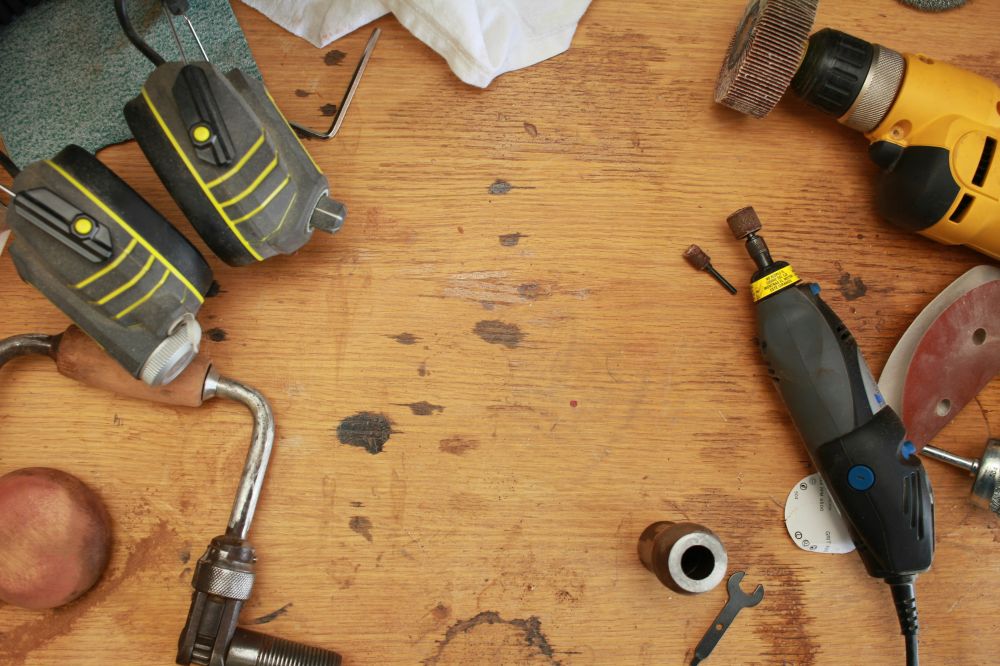
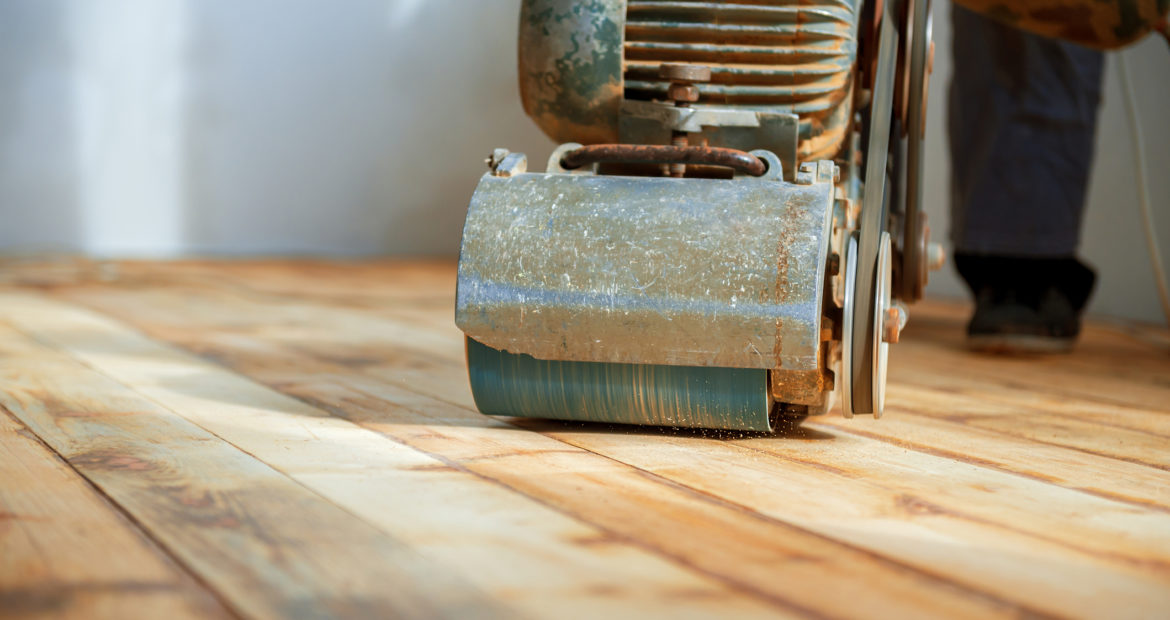
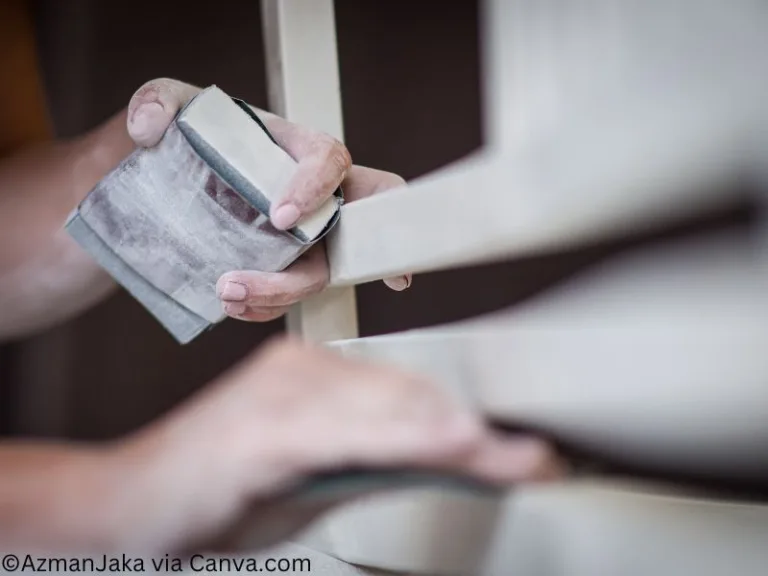
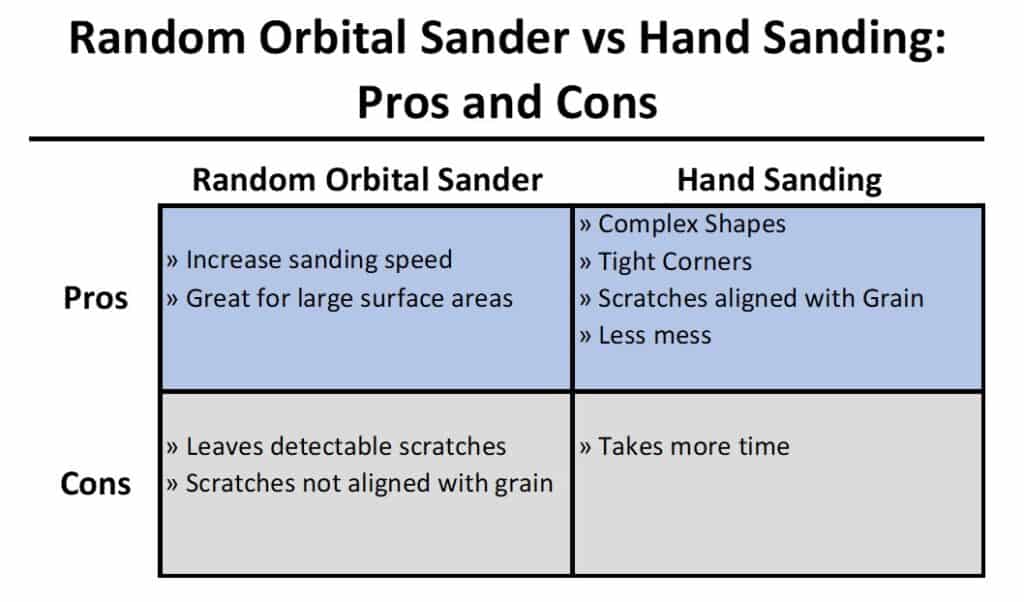
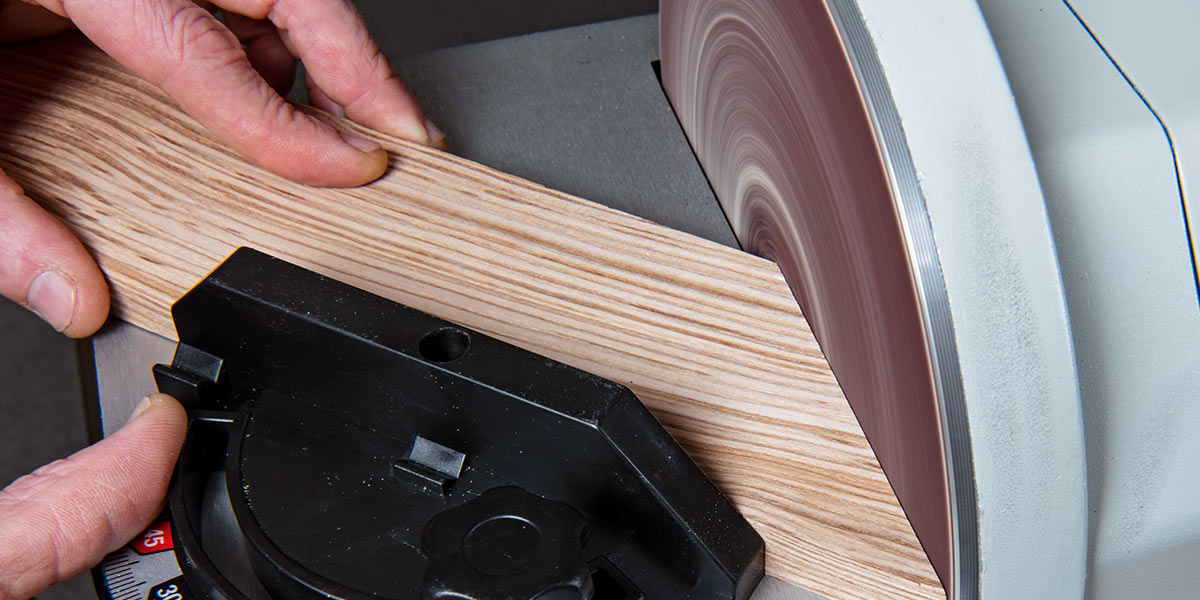
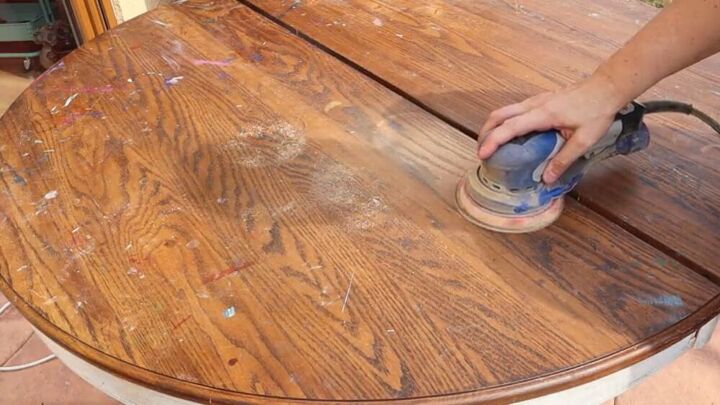
While hand sanding can be effective, using a sander can save you time and effort. A power sander will achieve a more consistent and even sanding job, and it can also save you from hand fatigue. However, if you have intricate designs or details on your kitchen table, you may need to use hand sanding in those areas to avoid damaging them.
Using a Sander vs. Hand Sanding for Your Kitchen Table


Using a Sander vs. Hand Sanding for Your Kitchen Table


:max_bytes(150000):strip_icc()/GettyImages-501645641-58faccf75f9b581d596a6e5c.jpg)


Once your kitchen table is beautifully sanded and varnished, you'll want to make sure it stays that way for as long as possible. To protect the finish, use placemats or coasters when setting dishes or glasses on the table. Wipe up spills immediately to avoid any damage to the varnish. Additionally, avoid placing hot objects directly on the table, as this can cause the varnish to bubble or peel.
Protecting Your Newly Varnished Kitchen Table from Damage


Protecting Your Newly Varnished Kitchen Table from Damage


How to Properly Sand and Varnish Your Kitchen Table for a Fresh Look

Introduction
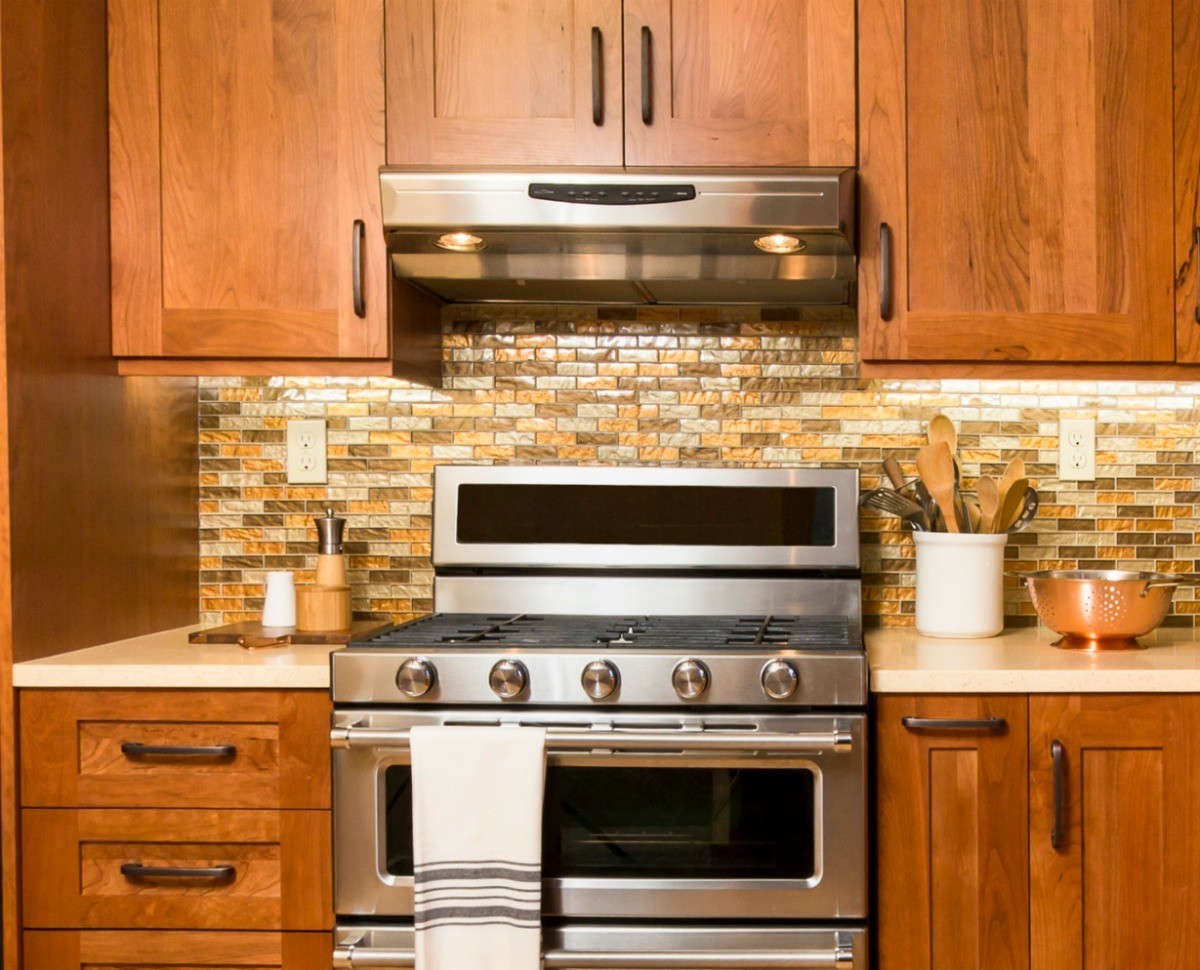
 When it comes to house design, the kitchen is often considered the heart of the home. It's where meals are prepared, memories are made, and families gather to catch up on their day. As such, it's important to have a kitchen space that is not only functional, but also aesthetically pleasing. One easy way to give your kitchen a fresh new look is by sanding and varnishing your kitchen table. This simple DIY project can transform your old, worn-out table into a beautiful centerpiece in your kitchen. Here's how to do it:
Step 1: Gather Your Materials
 Before you begin, make sure you have all the necessary materials. This includes sandpaper, a sanding block or electric sander, wood filler, a paintbrush, and varnish. It's important to choose a varnish that is specifically designed for wooden surfaces and is suitable for kitchen use. Look for one that is water-resistant and heat-resistant.
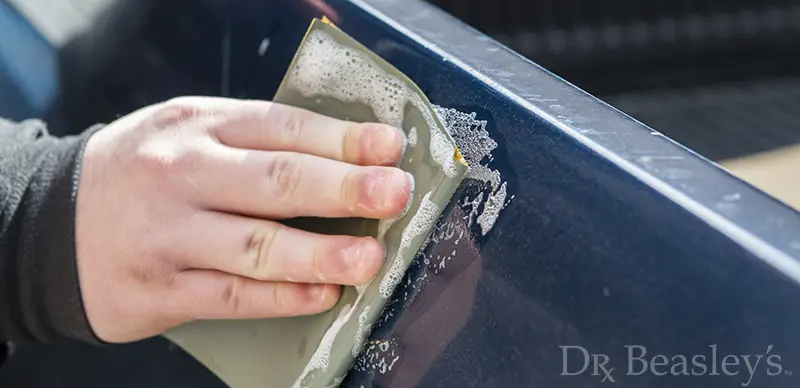
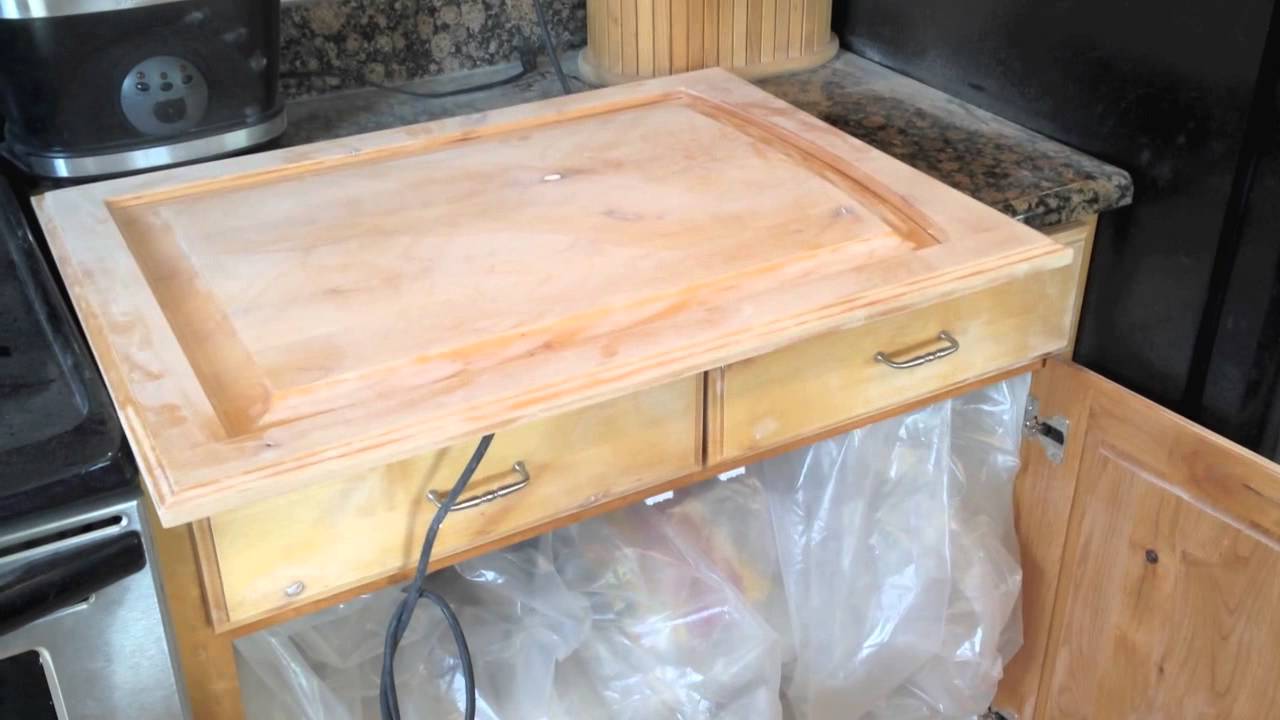
Step 2: Prepare the Table
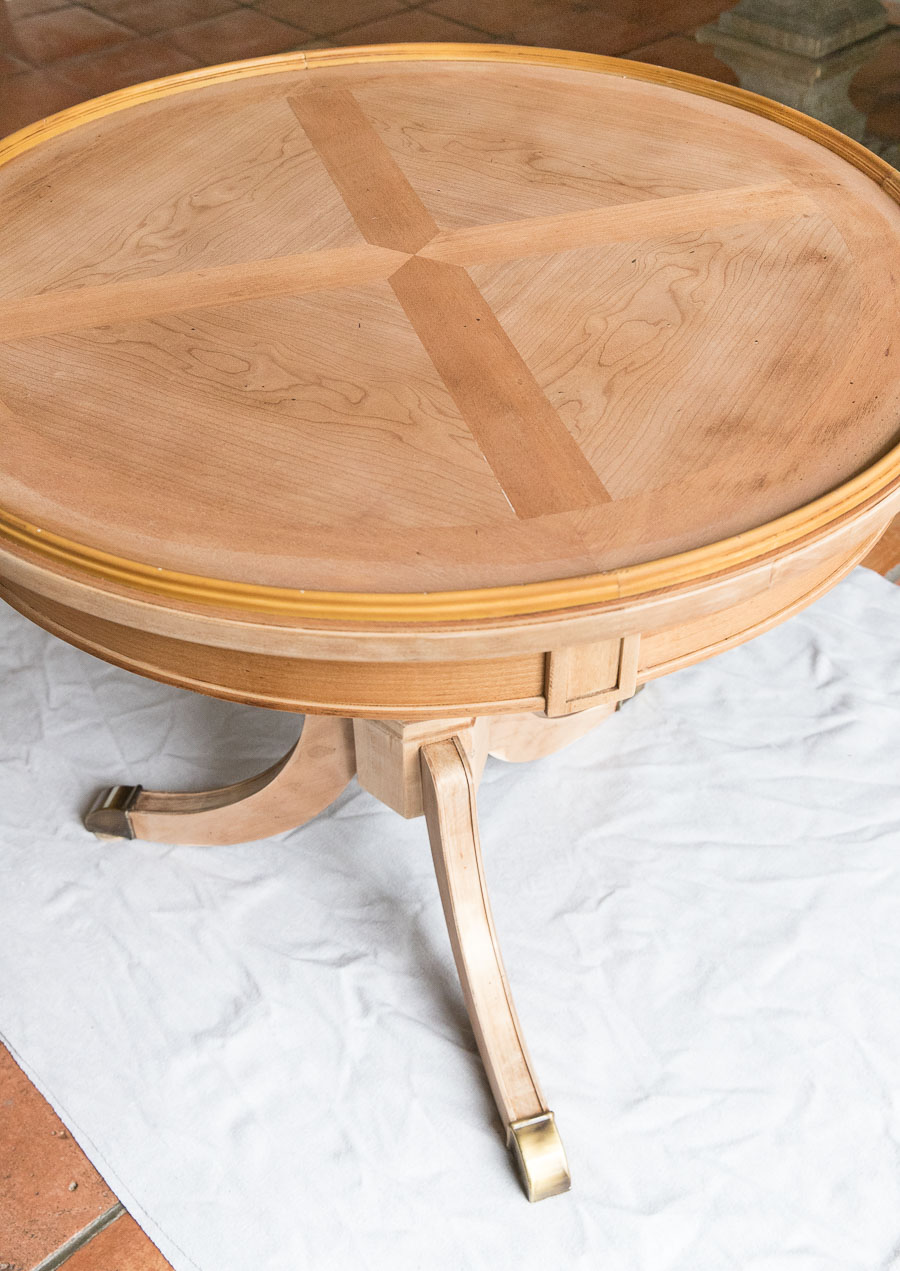
 Start by removing any items from the table and giving it a good clean. This will ensure that the sanding process is more effective. Next, use the wood filler to fill in any cracks, holes, or imperfections on the table. Once the filler is dry, use the sandpaper or electric sander to sand down the entire surface of the table. This will remove any existing varnish or paint and create a smooth surface for the new finish.
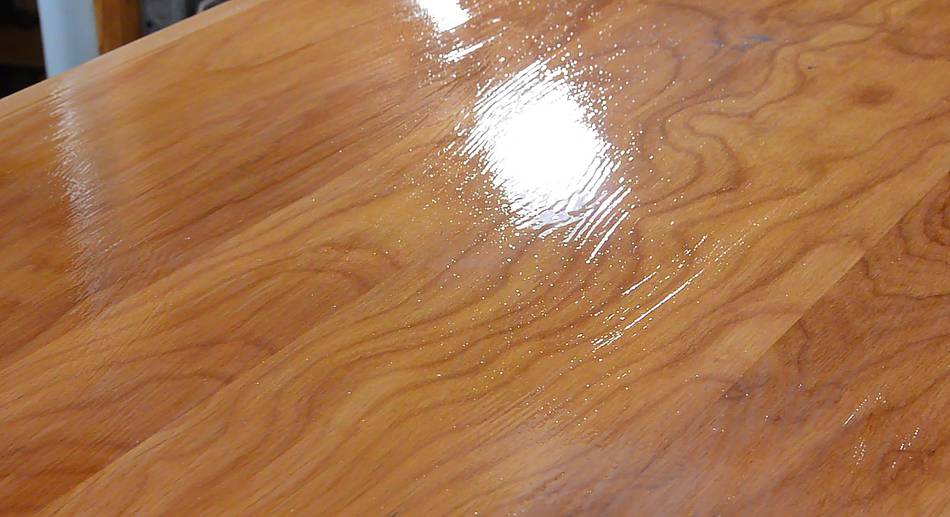
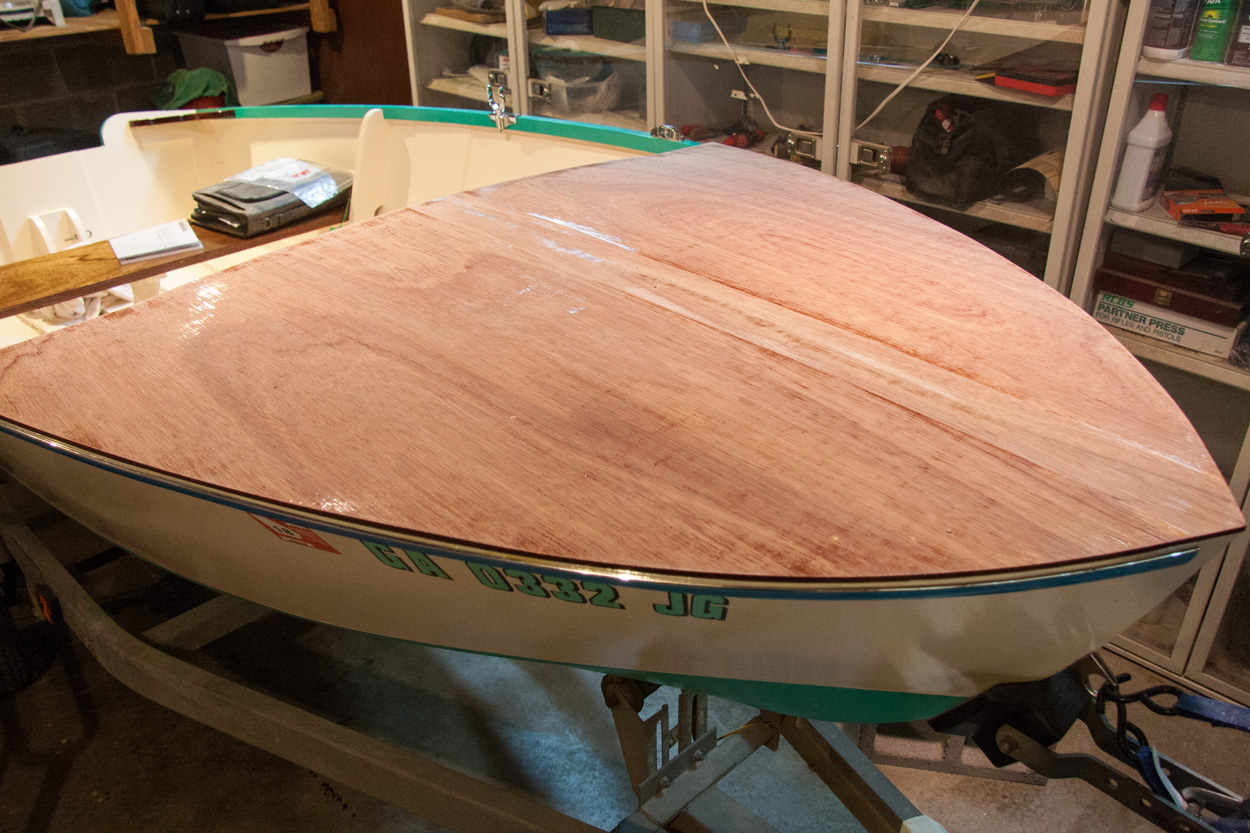
Step 3: Apply the Varnish
 Using a paintbrush, apply a thin layer of varnish to the sanded table in the direction of the wood grain. Be sure to cover the entire surface evenly. Allow the first coat to dry completely before applying a second coat. Depending on the type of varnish you are using, you may need to apply multiple coats for a more durable finish. Be sure to read the instructions on the varnish for the recommended drying time between coats.
Step 4: Sand Between Coats
 For a smooth and professional finish, lightly sand the surface of the table between coats of varnish. This will help to remove any imperfections and create a smooth surface for the next coat.
Step 5: Final Touches
 Once you have applied the desired number of coats and the varnish is completely dry, you can add any final touches. If you want to add a pop of color, you can paint the legs of the table or add decorative stencils. You can also add a layer of wax or polyurethane for extra protection and shine.
Conclusion
 Sanding and varnishing your kitchen table is a simple and cost-effective way to give your kitchen a fresh new look. With the right materials and techniques, you can transform your old, worn-out table into a beautiful centerpiece that will enhance the overall design of your kitchen. So why not give it a try and see the amazing results for yourself?