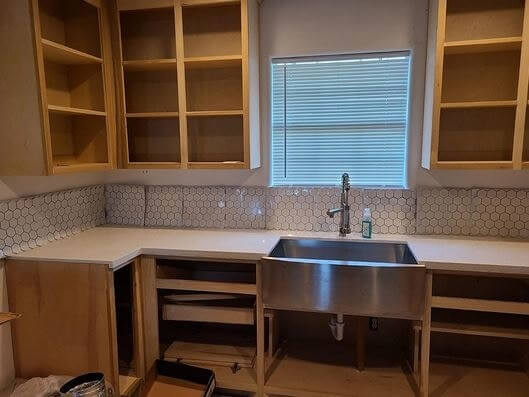
Resealing an undermount kitchen sink is an important maintenance task that can help prolong the life of your sink and prevent any potential damage to your kitchen cabinets. Here's a step-by-step guide on how to reseal your undermount kitchen sink and keep it looking like new.How to Reseal an Undermount Kitchen Sink


How to Reseal an Undermount Kitchen Sink

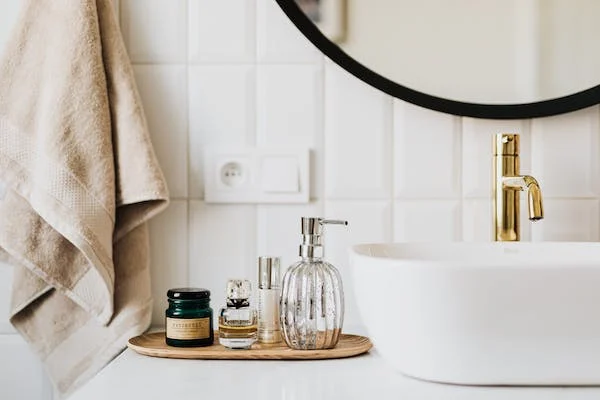


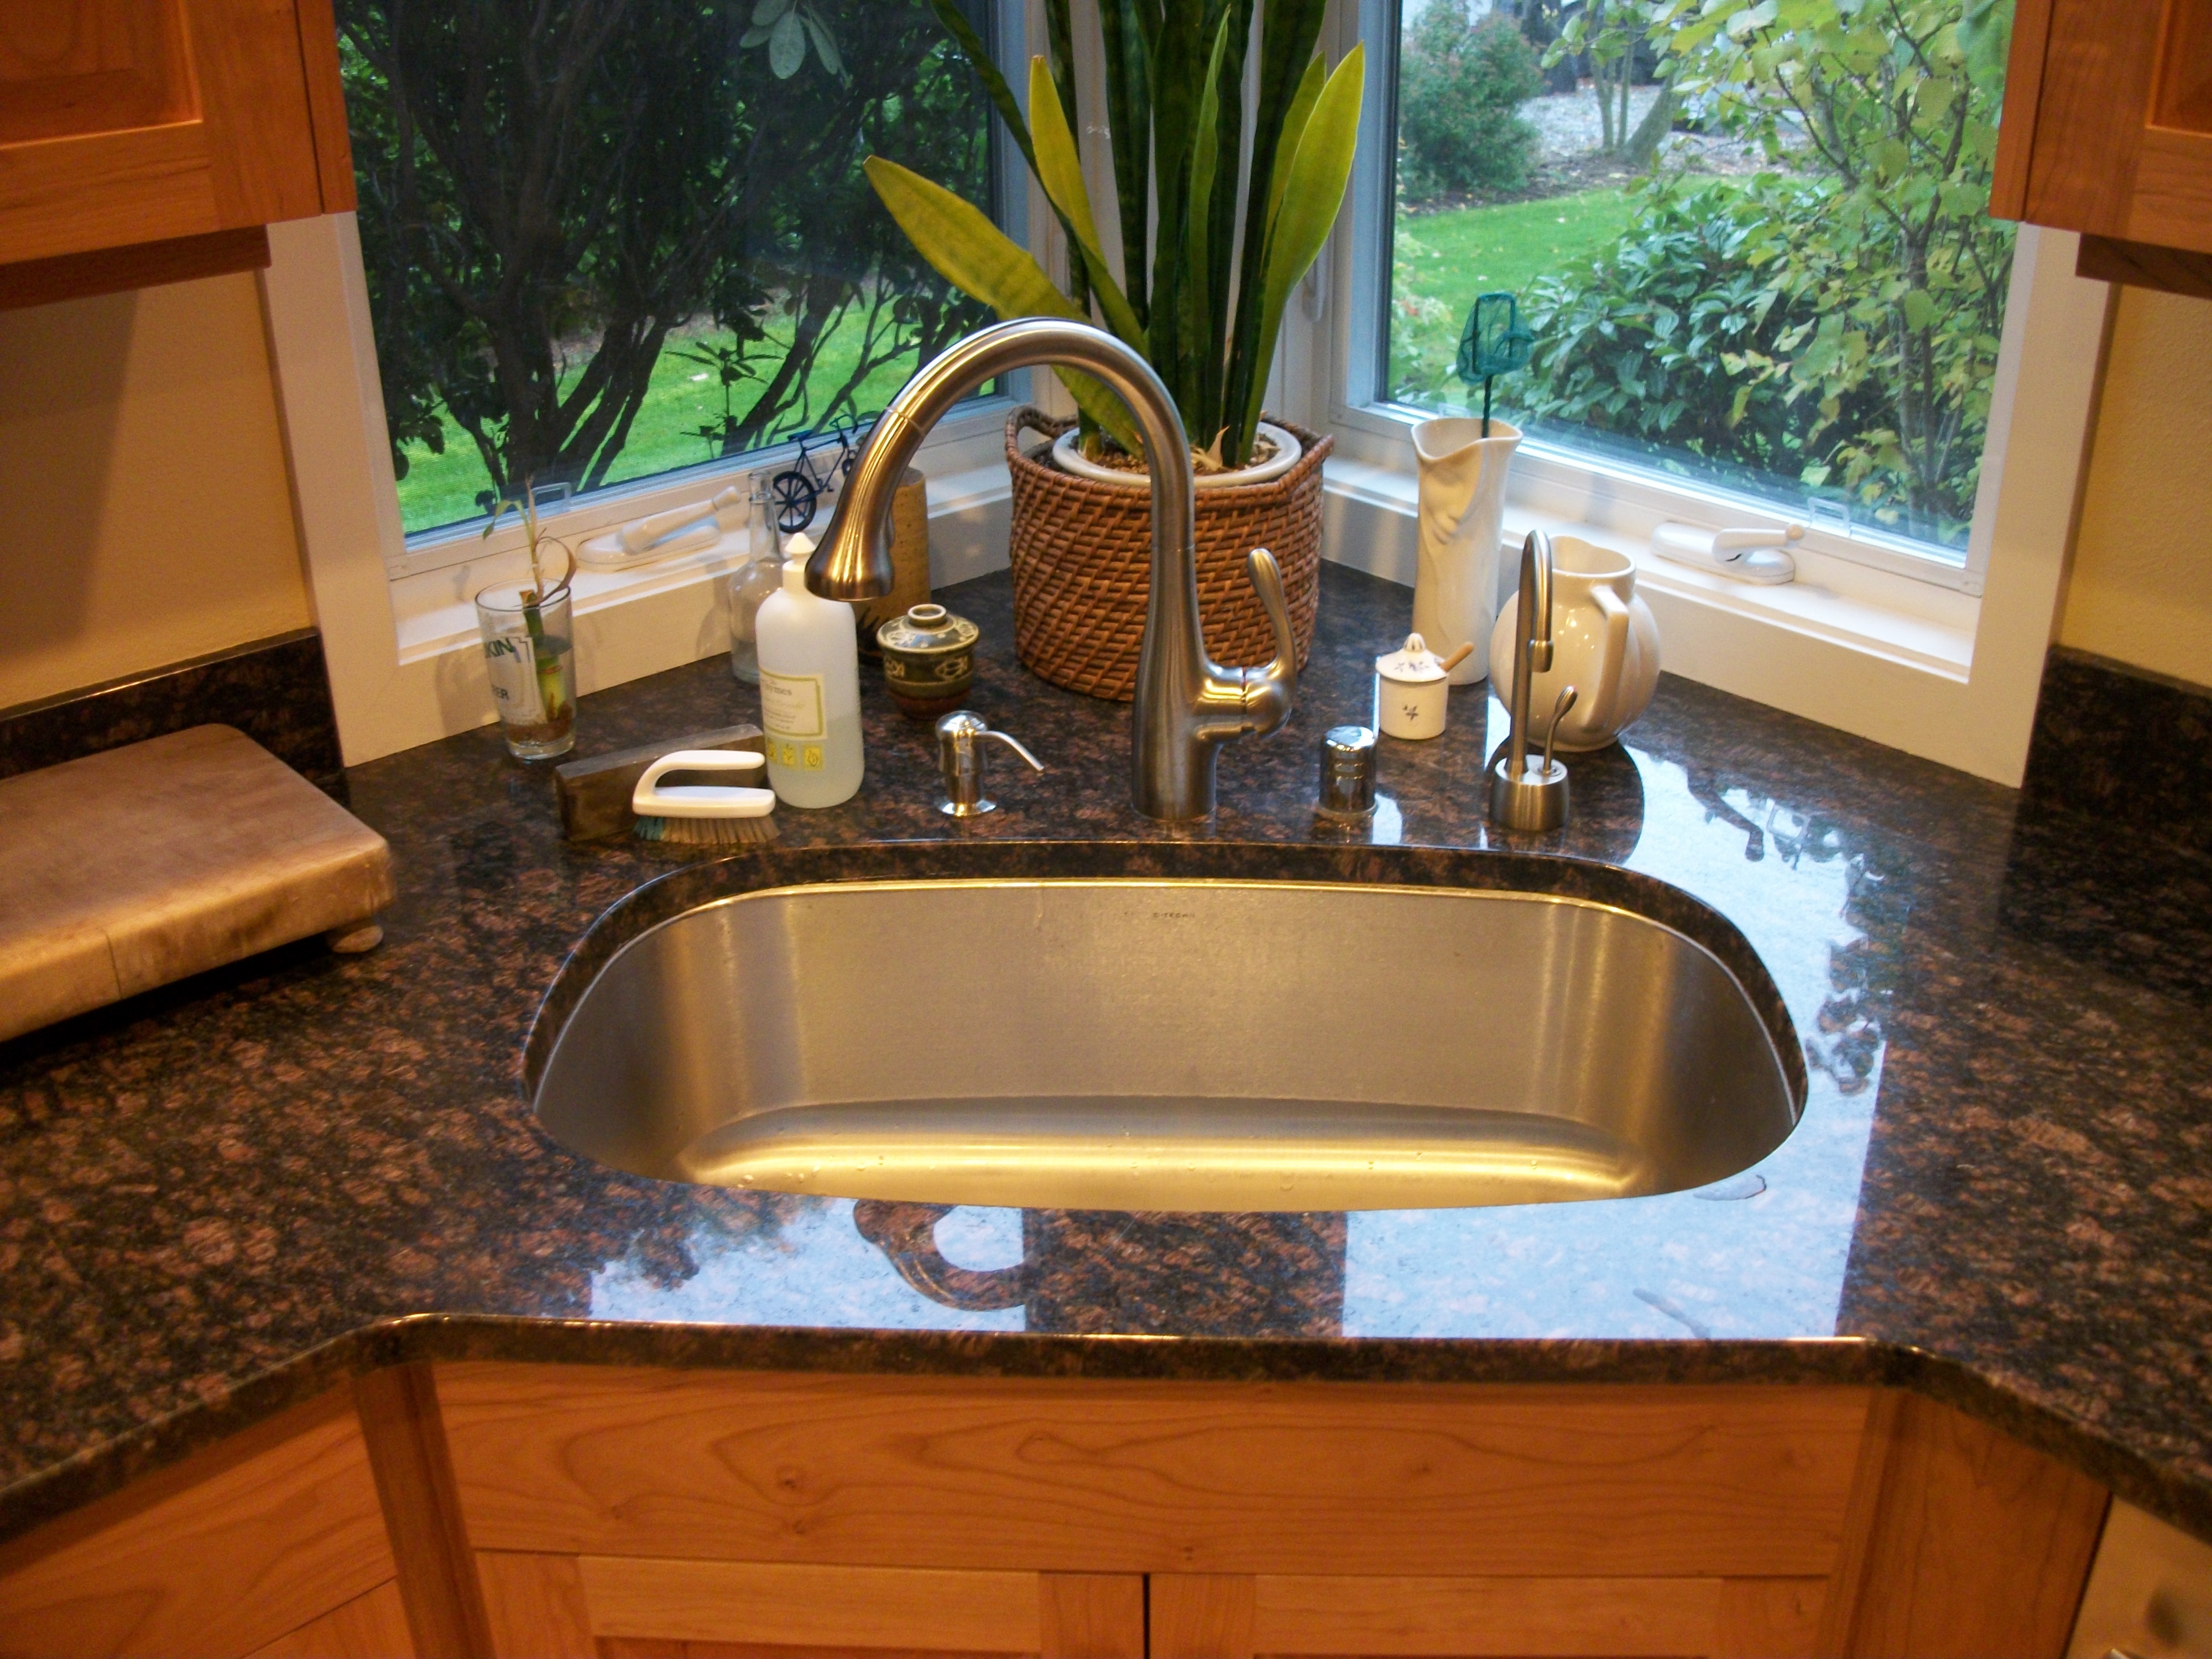
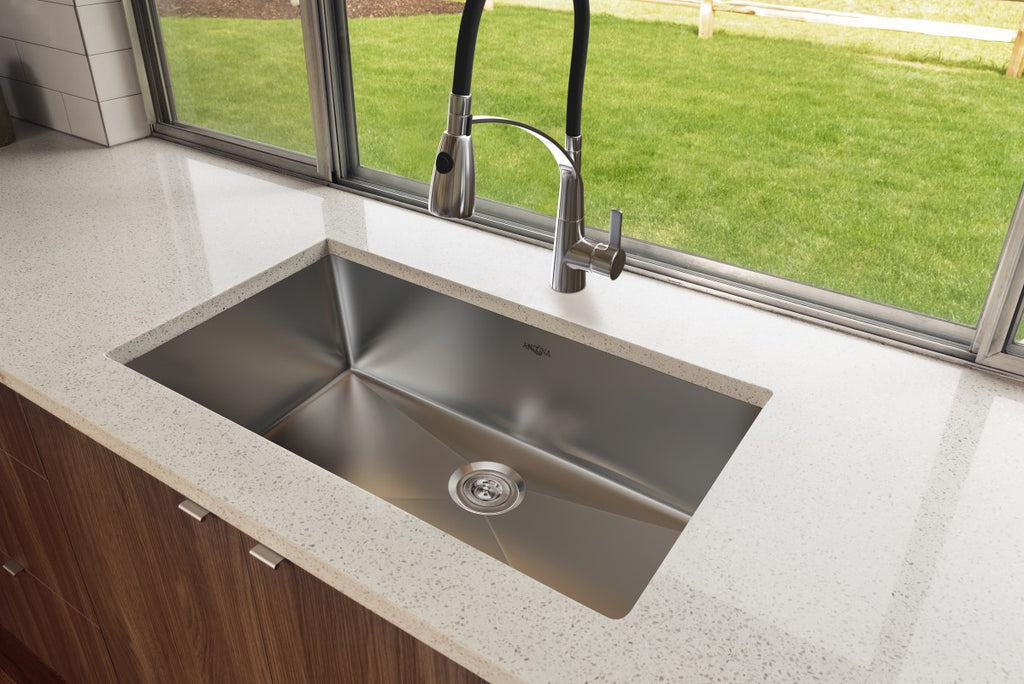
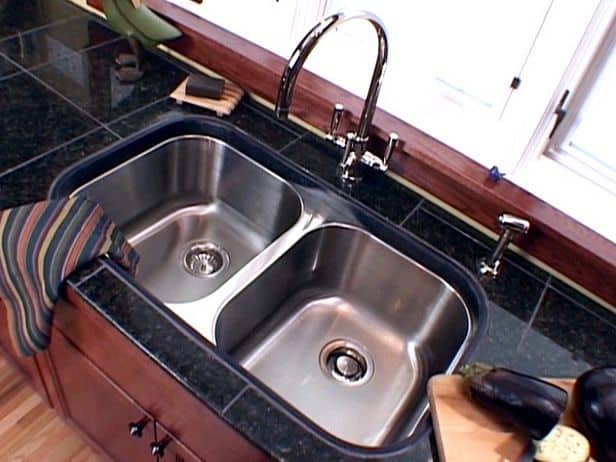
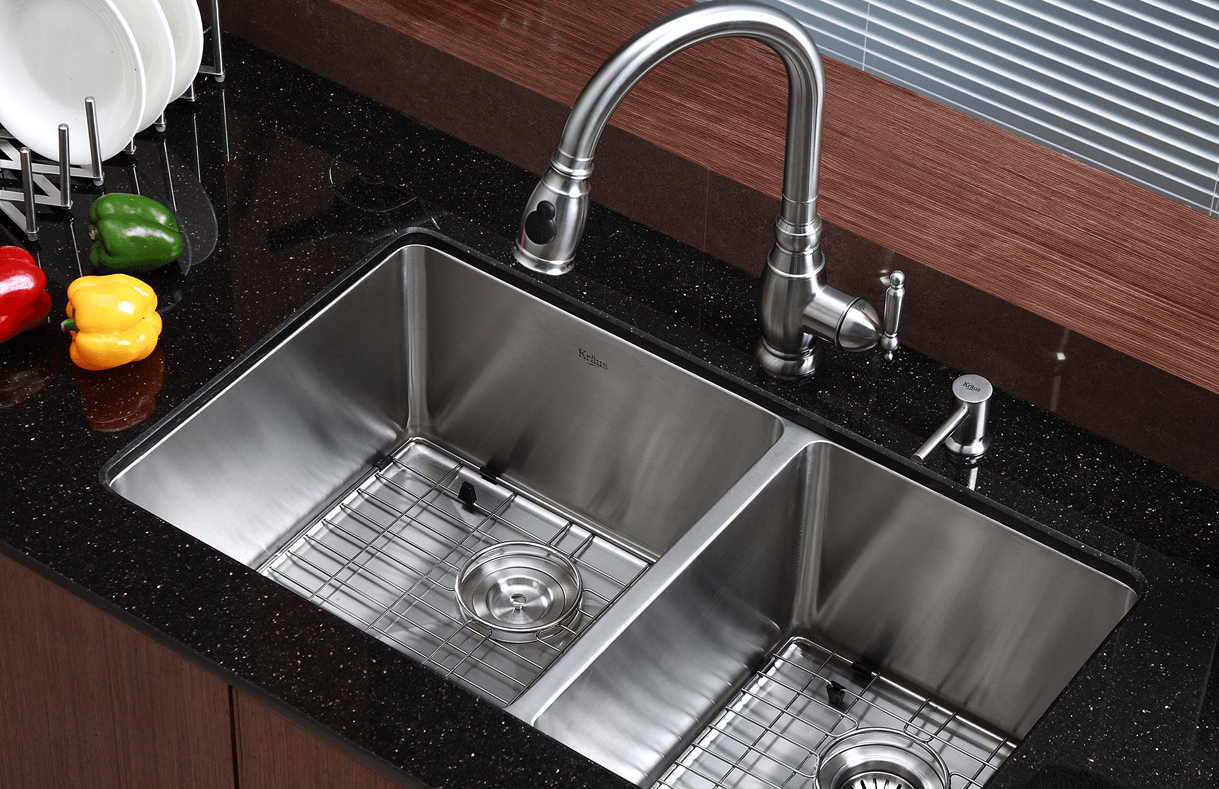
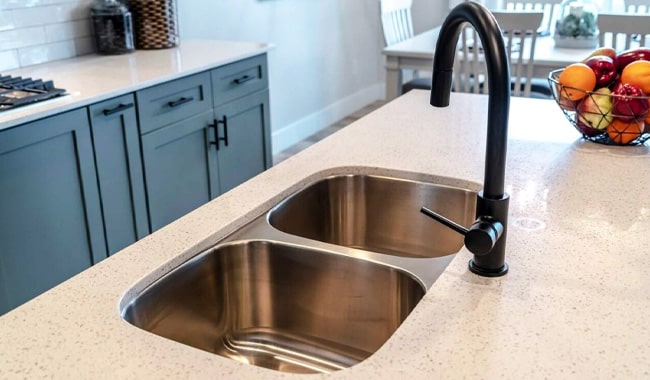
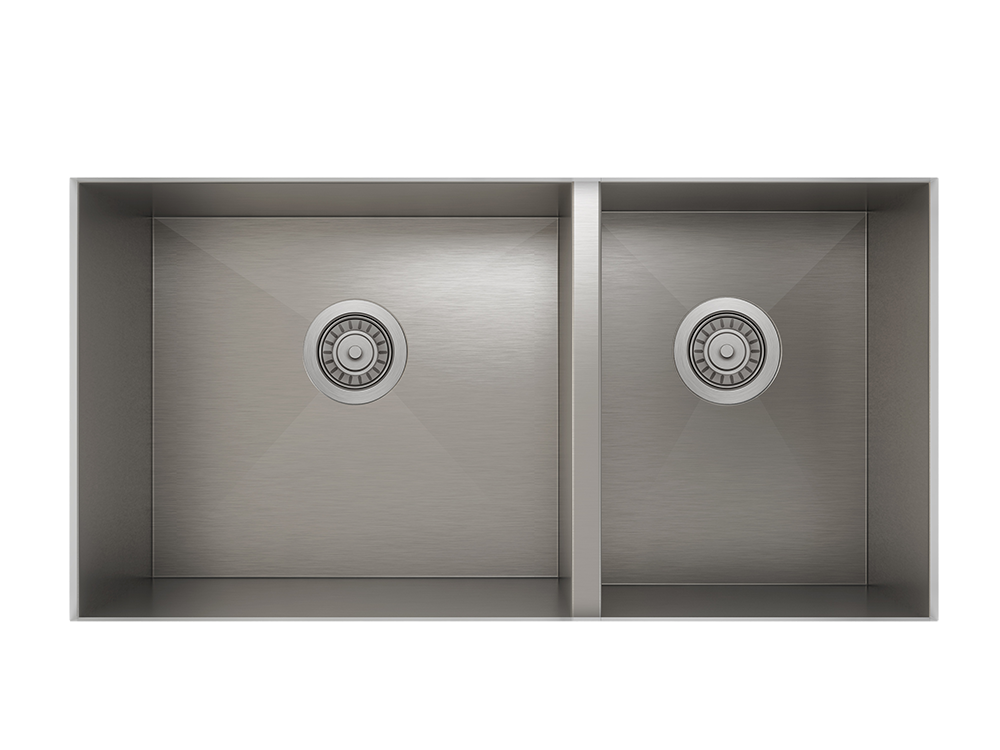
Before we get into the nitty-gritty of resealing, it's important to choose the right undermount kitchen sink. Look for sinks that are made with high-quality materials such as stainless steel or granite composite, as they are less prone to cracks and leaks. Some top picks for undermount kitchen sinks include Kraus, Blanco, and Franke.Best Undermount Kitchen Sinks for Resealing


Best Undermount Kitchen Sinks for Resealing


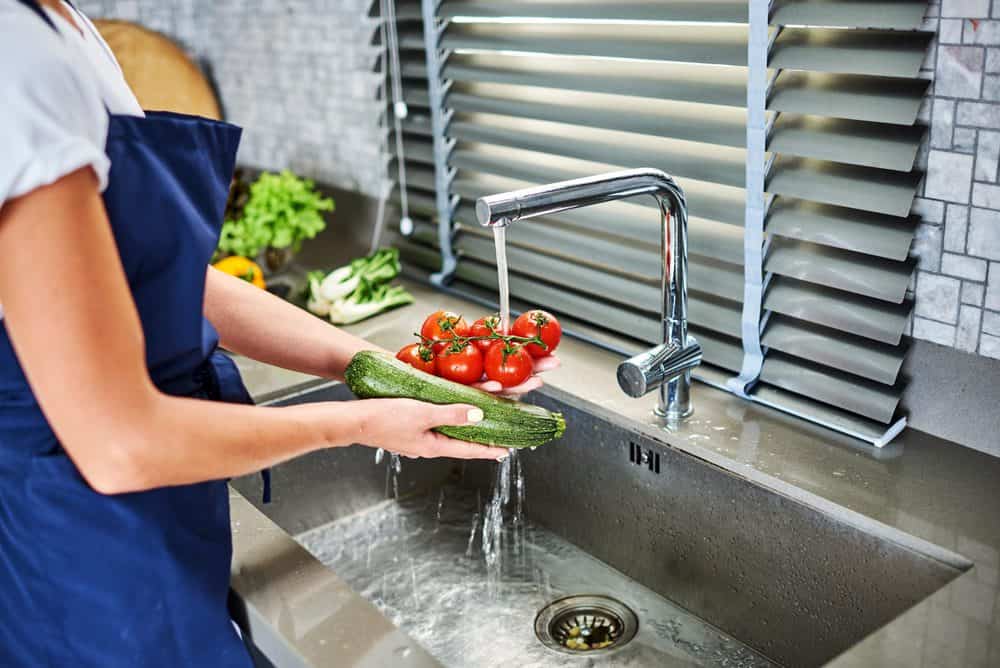


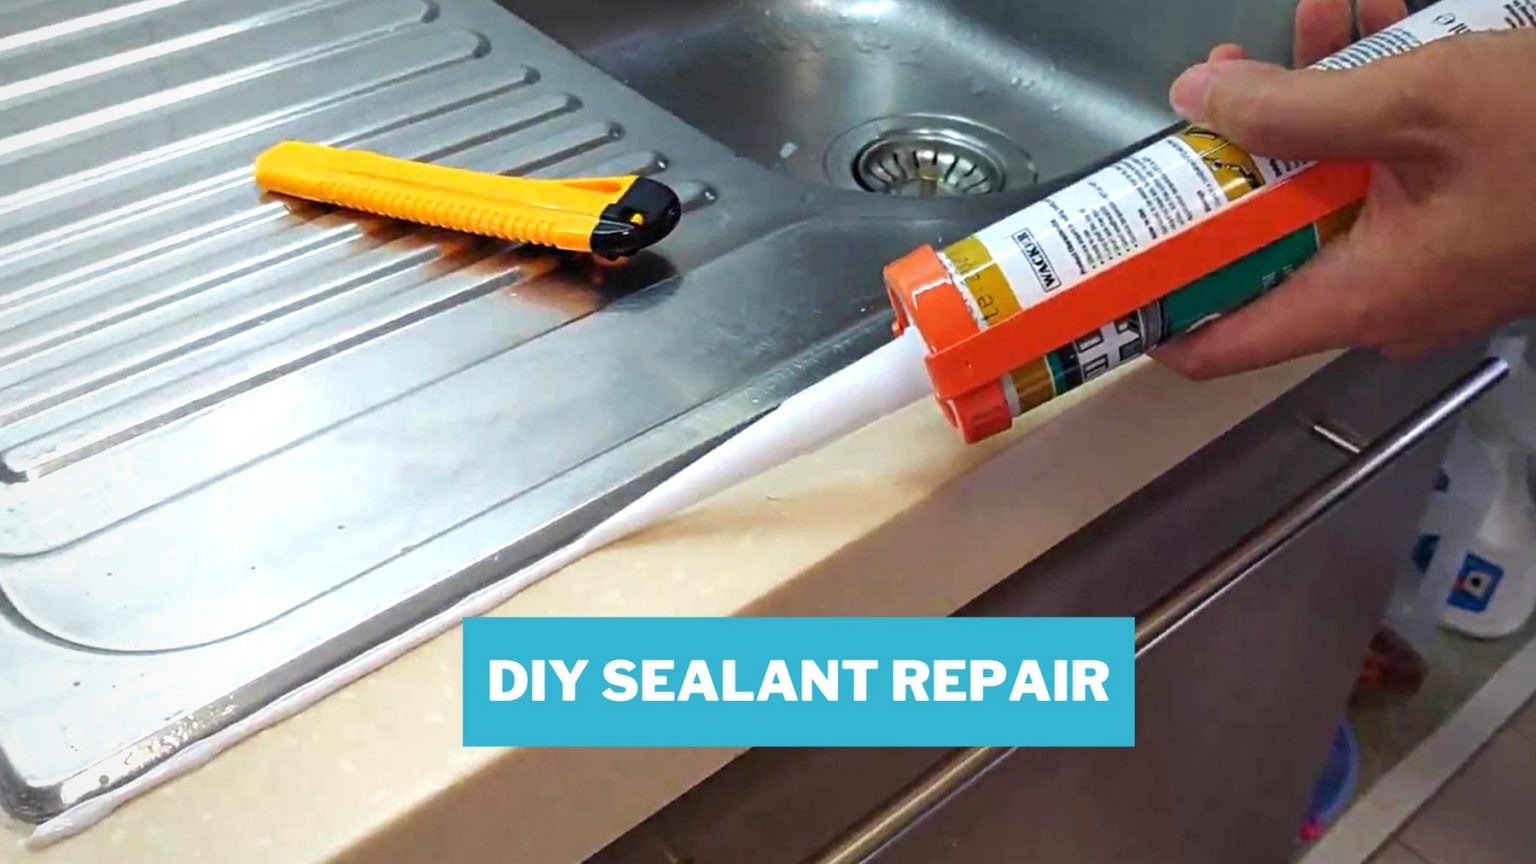
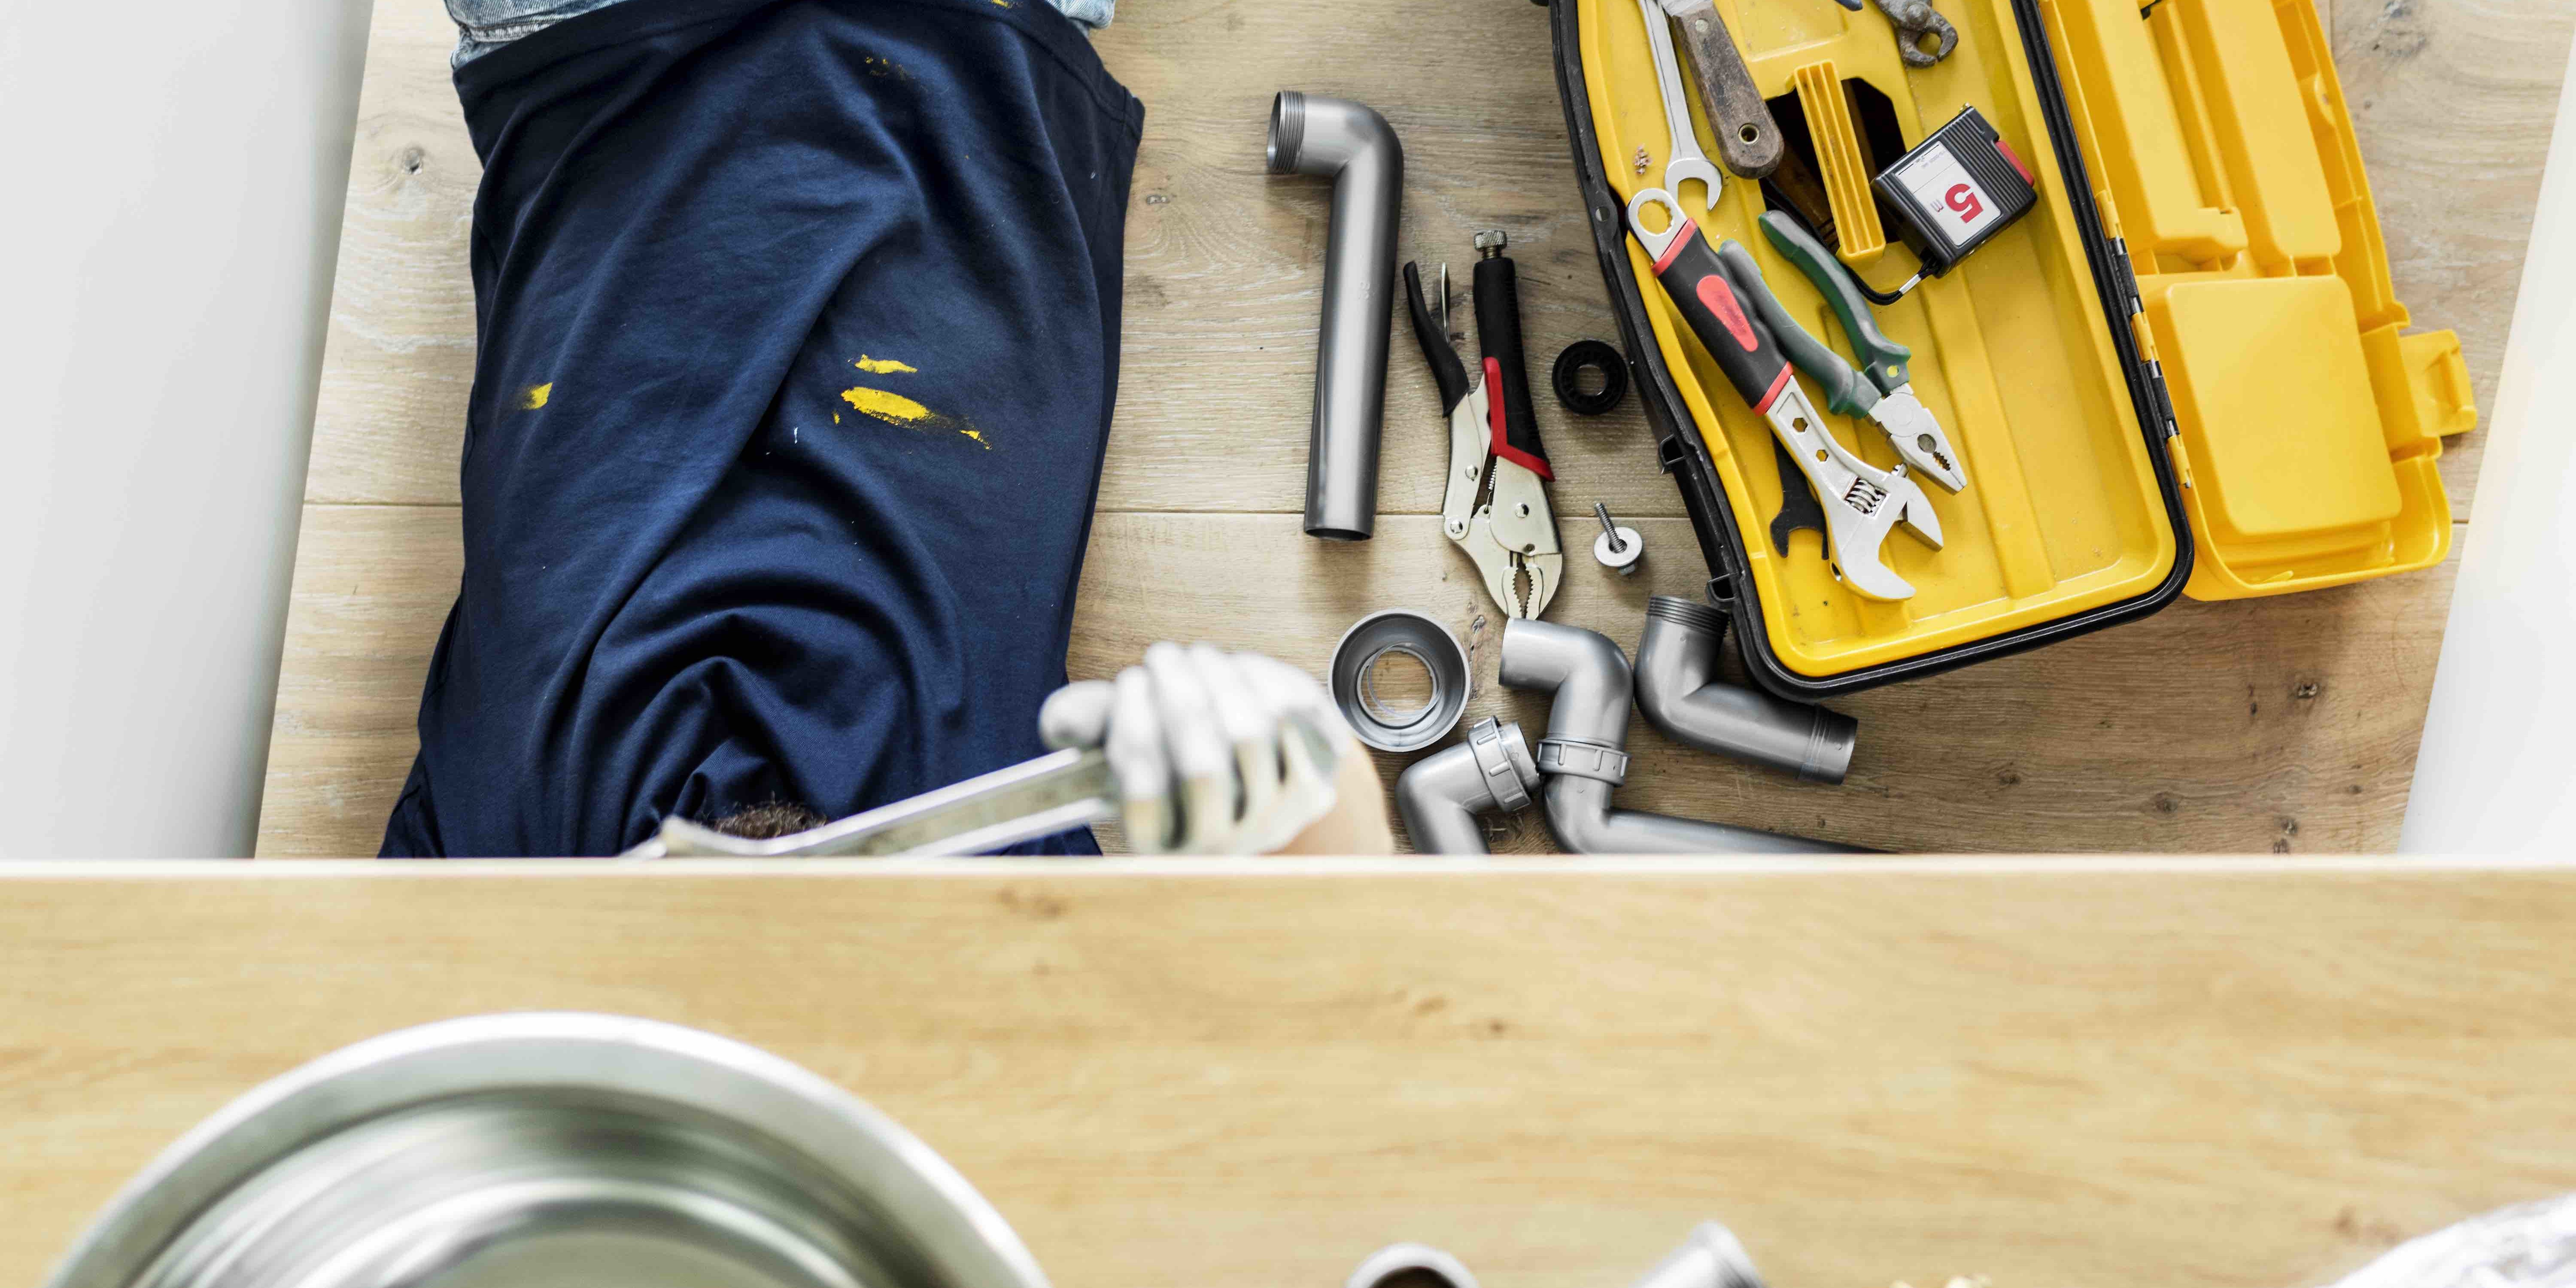
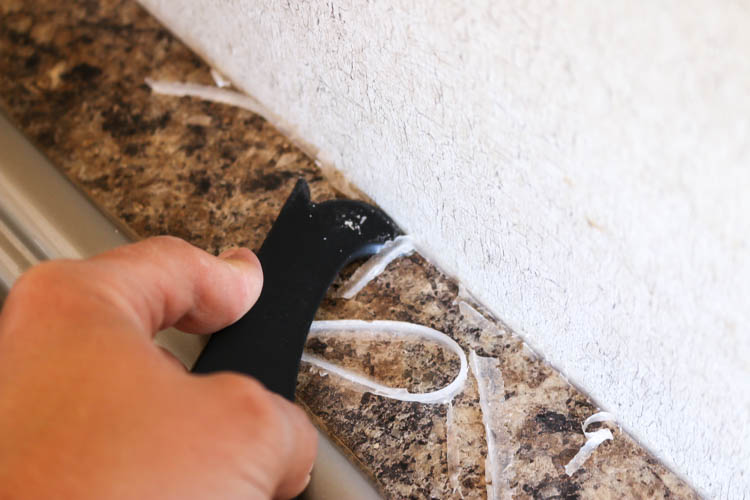
If you're looking to save money on hiring a professional, resealing your undermount kitchen sink can easily be done as a DIY project. Here's a simple guide to help you get started: Step 1: Remove any items from the sink and clean it thoroughly with a non-abrasive cleaner. Make sure to dry it completely before moving on to the next step. Step 2: Inspect the sealant around the edges of the sink. If you notice any cracks or gaps, use a scraper to remove the old sealant. Step 3: Once the old sealant is removed, apply a new layer of silicone sealant around the edges of the sink. Make sure to use a high-quality sealant to ensure a strong and durable seal. Step 4: Smooth out the sealant with your finger or a caulk finishing tool. This will help create a neat and even seal. Step 5: Let the sealant dry according to the manufacturer's instructions before using the sink again.DIY Guide: Resealing an Undermount Kitchen Sink


DIY Guide: Resealing an Undermount Kitchen Sink


While resealing an undermount kitchen sink may seem like a simple task, there are a few tips that can help ensure a successful and long-lasting seal: - Clean the sink thoroughly before resealing to ensure the new sealant adheres properly. - Use a high-quality sealant to prevent any potential leaks or cracks in the future. - Avoid using the sink for at least 24 hours after resealing to allow the sealant to fully cure.Top Tips for Resealing an Undermount Kitchen Sink


Top Tips for Resealing an Undermount Kitchen Sink


If you're more of a visual learner, here's a step-by-step guide in video form on how to reseal an undermount kitchen sink:Step-by-Step Guide to Resealing an Undermount Kitchen Sink


Step-by-Step Guide to Resealing an Undermount Kitchen Sink


:no_upscale()/cdn.vox-cdn.com/uploads/chorus_asset/file/19495086/drain_0.jpg)

While resealing an undermount kitchen sink may seem like a straightforward task, there are a few mistakes that people tend to make. Here are some common ones to avoid: - Using the wrong type of sealant, such as acrylic or latex sealant, which can easily crack and lead to leaks. - Not letting the sealant dry properly before using the sink, which can cause the seal to break. - Applying too much sealant, which can lead to a messy and uneven seal.Common Mistakes to Avoid When Resealing an Undermount Kitchen Sink


Common Mistakes to Avoid When Resealing an Undermount Kitchen Sink


- Dap 08641 Clear Silicone Sealant - GE GE012A All Purpose Silicone 1 Sealant - Loctite Polyseamseal White Tub & Tile Adhesive CaulkBest Products for Resealing an Undermount Kitchen Sink


Best Products for Resealing an Undermount Kitchen Sink


It's recommended to reseal your undermount kitchen sink once every 1-2 years, or as needed. Factors such as usage and type of sealant can affect the lifespan of the seal, so it's important to regularly check for any cracks or gaps and reseal if necessary.How Often Should You Reseal an Undermount Kitchen Sink?


How Often Should You Reseal an Undermount Kitchen Sink?


- Always read the manufacturer's instructions for the specific sealant you are using. - Use a caulk finishing tool for a professional-looking finish. - Consider hiring a professional if you're not confident in your DIY skills or if the sink is difficult to access.Expert Tips for Resealing an Undermount Kitchen Sink


Expert Tips for Resealing an Undermount Kitchen Sink


Resealing an undermount kitchen sink is an important maintenance task that can prevent any potential damage to your kitchen cabinets and prolong the life of your sink. A strong and durable seal can also prevent leaks and keep your sink looking like new for years to come.Why Resealing an Undermount Kitchen Sink is Important


Why Resealing an Undermount Kitchen Sink is Important
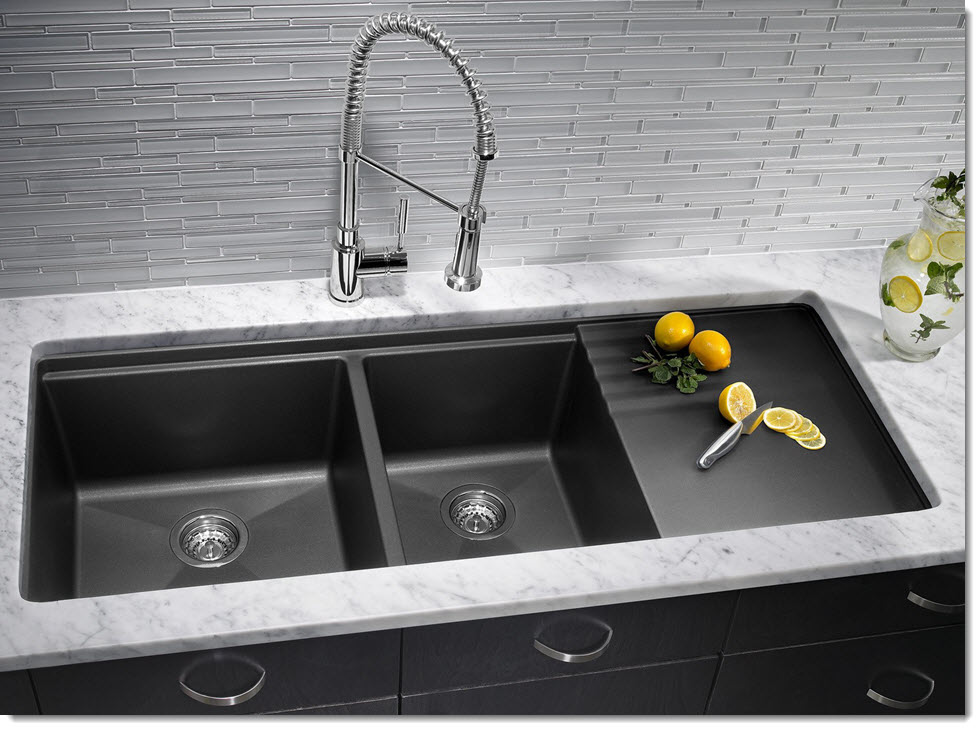


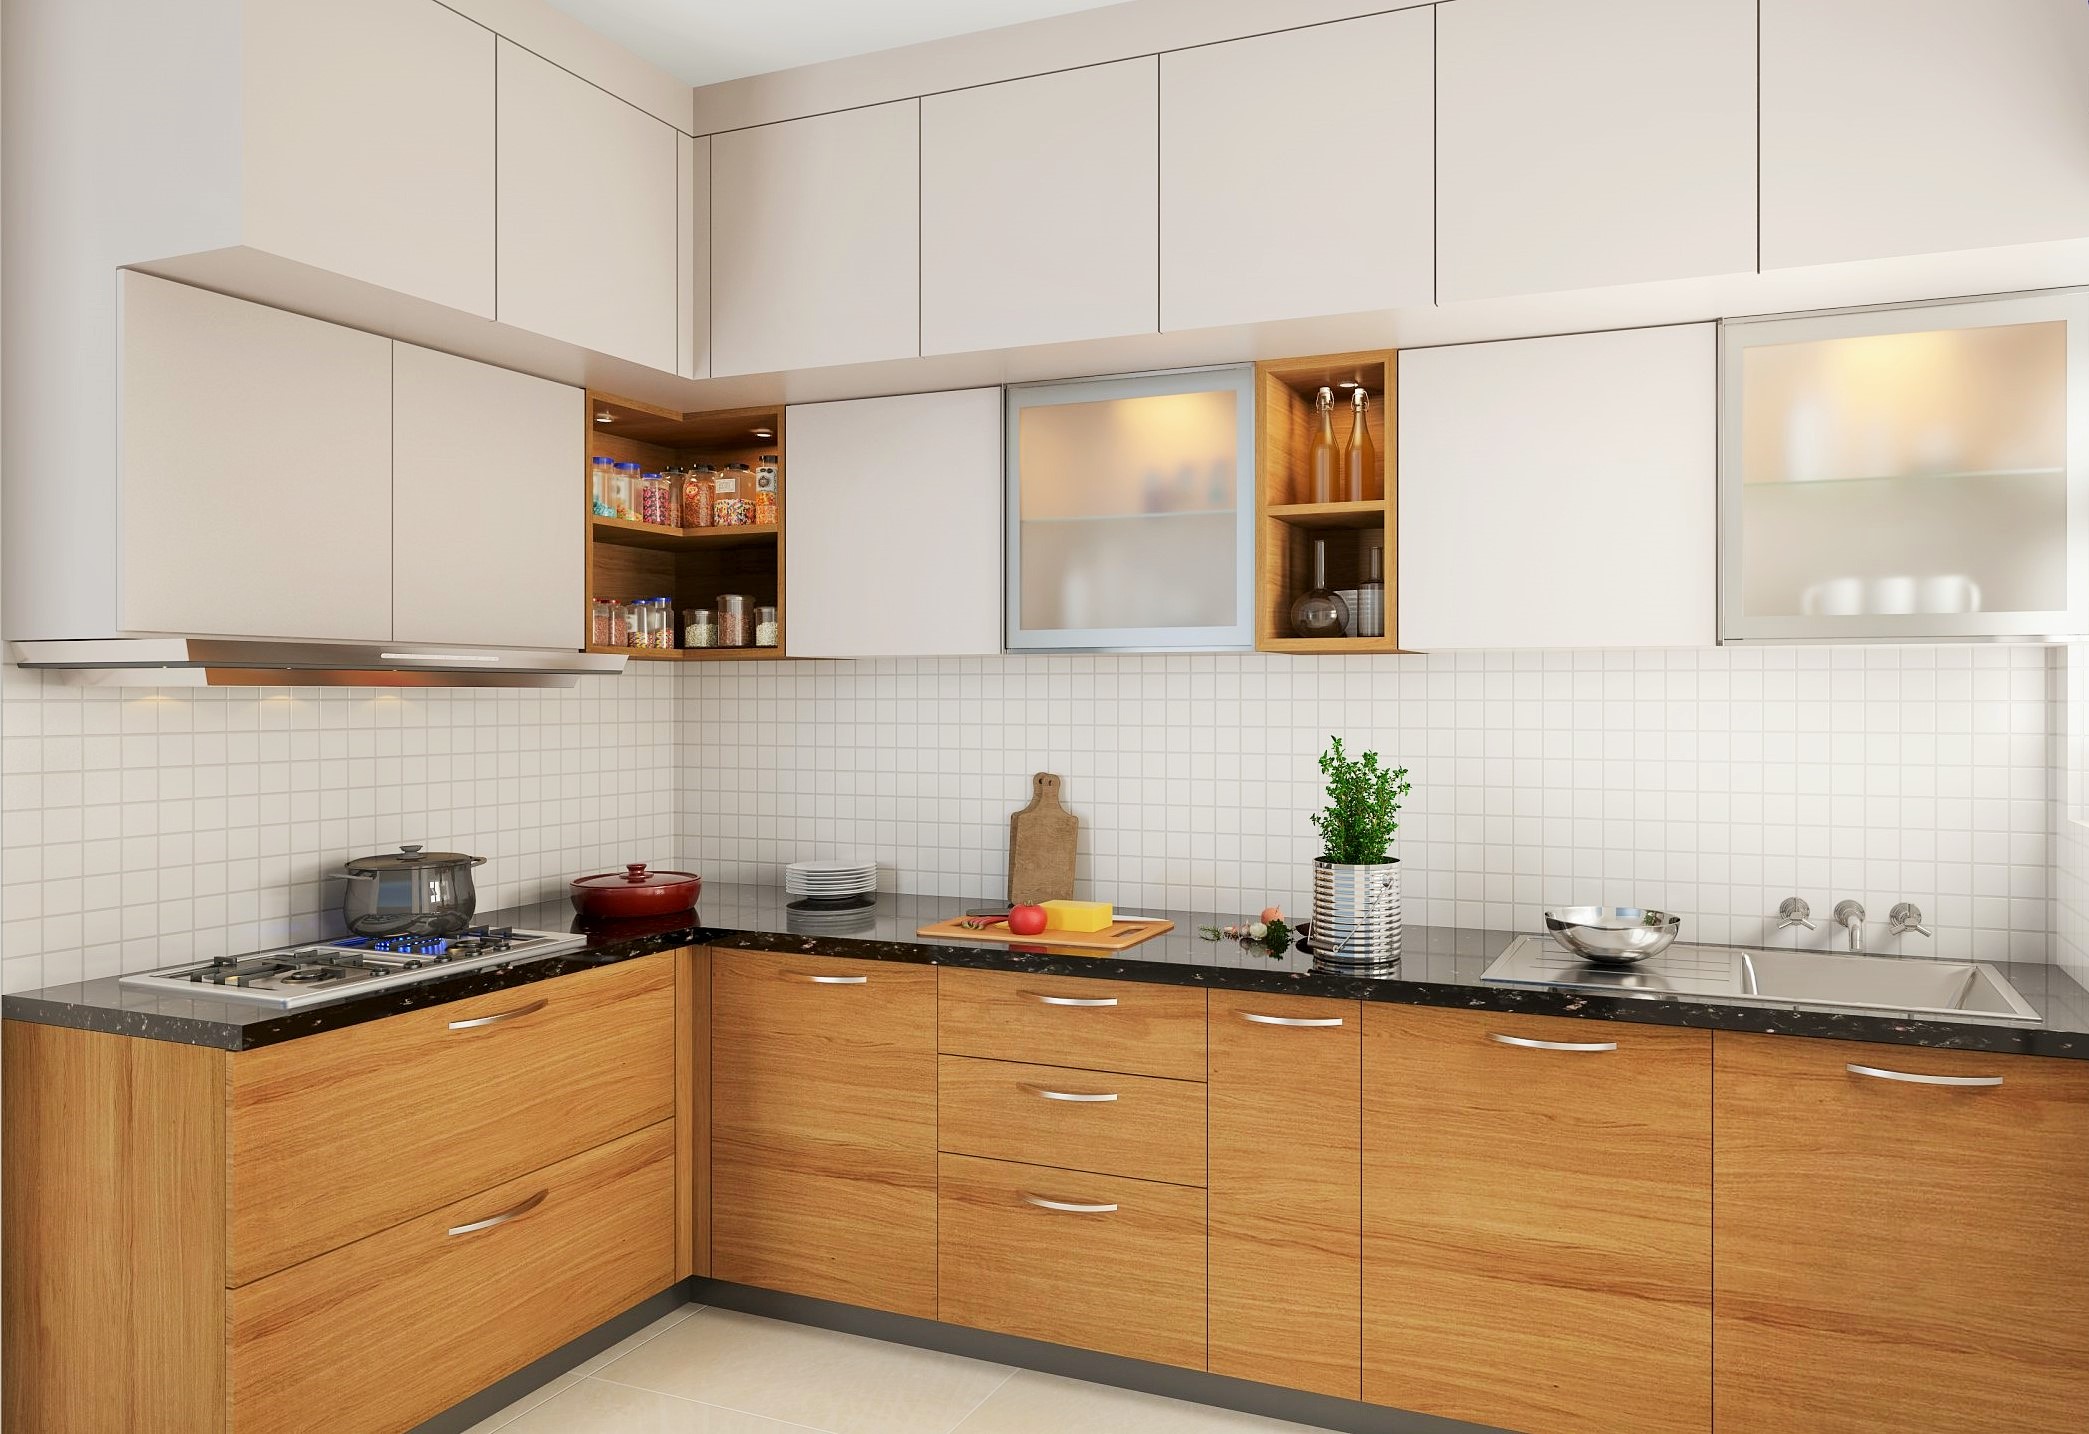
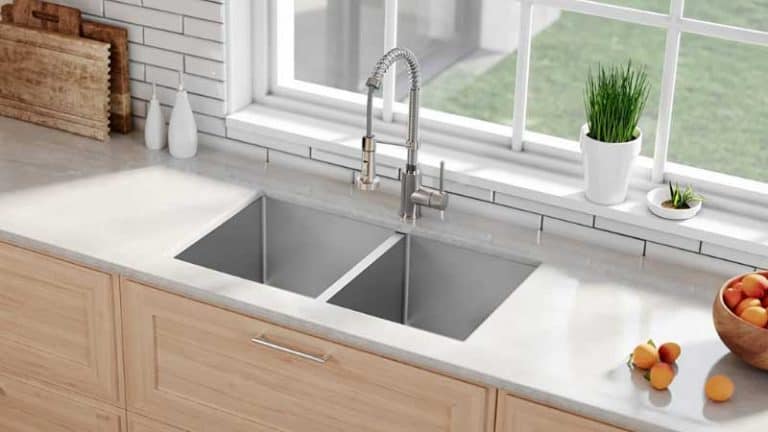
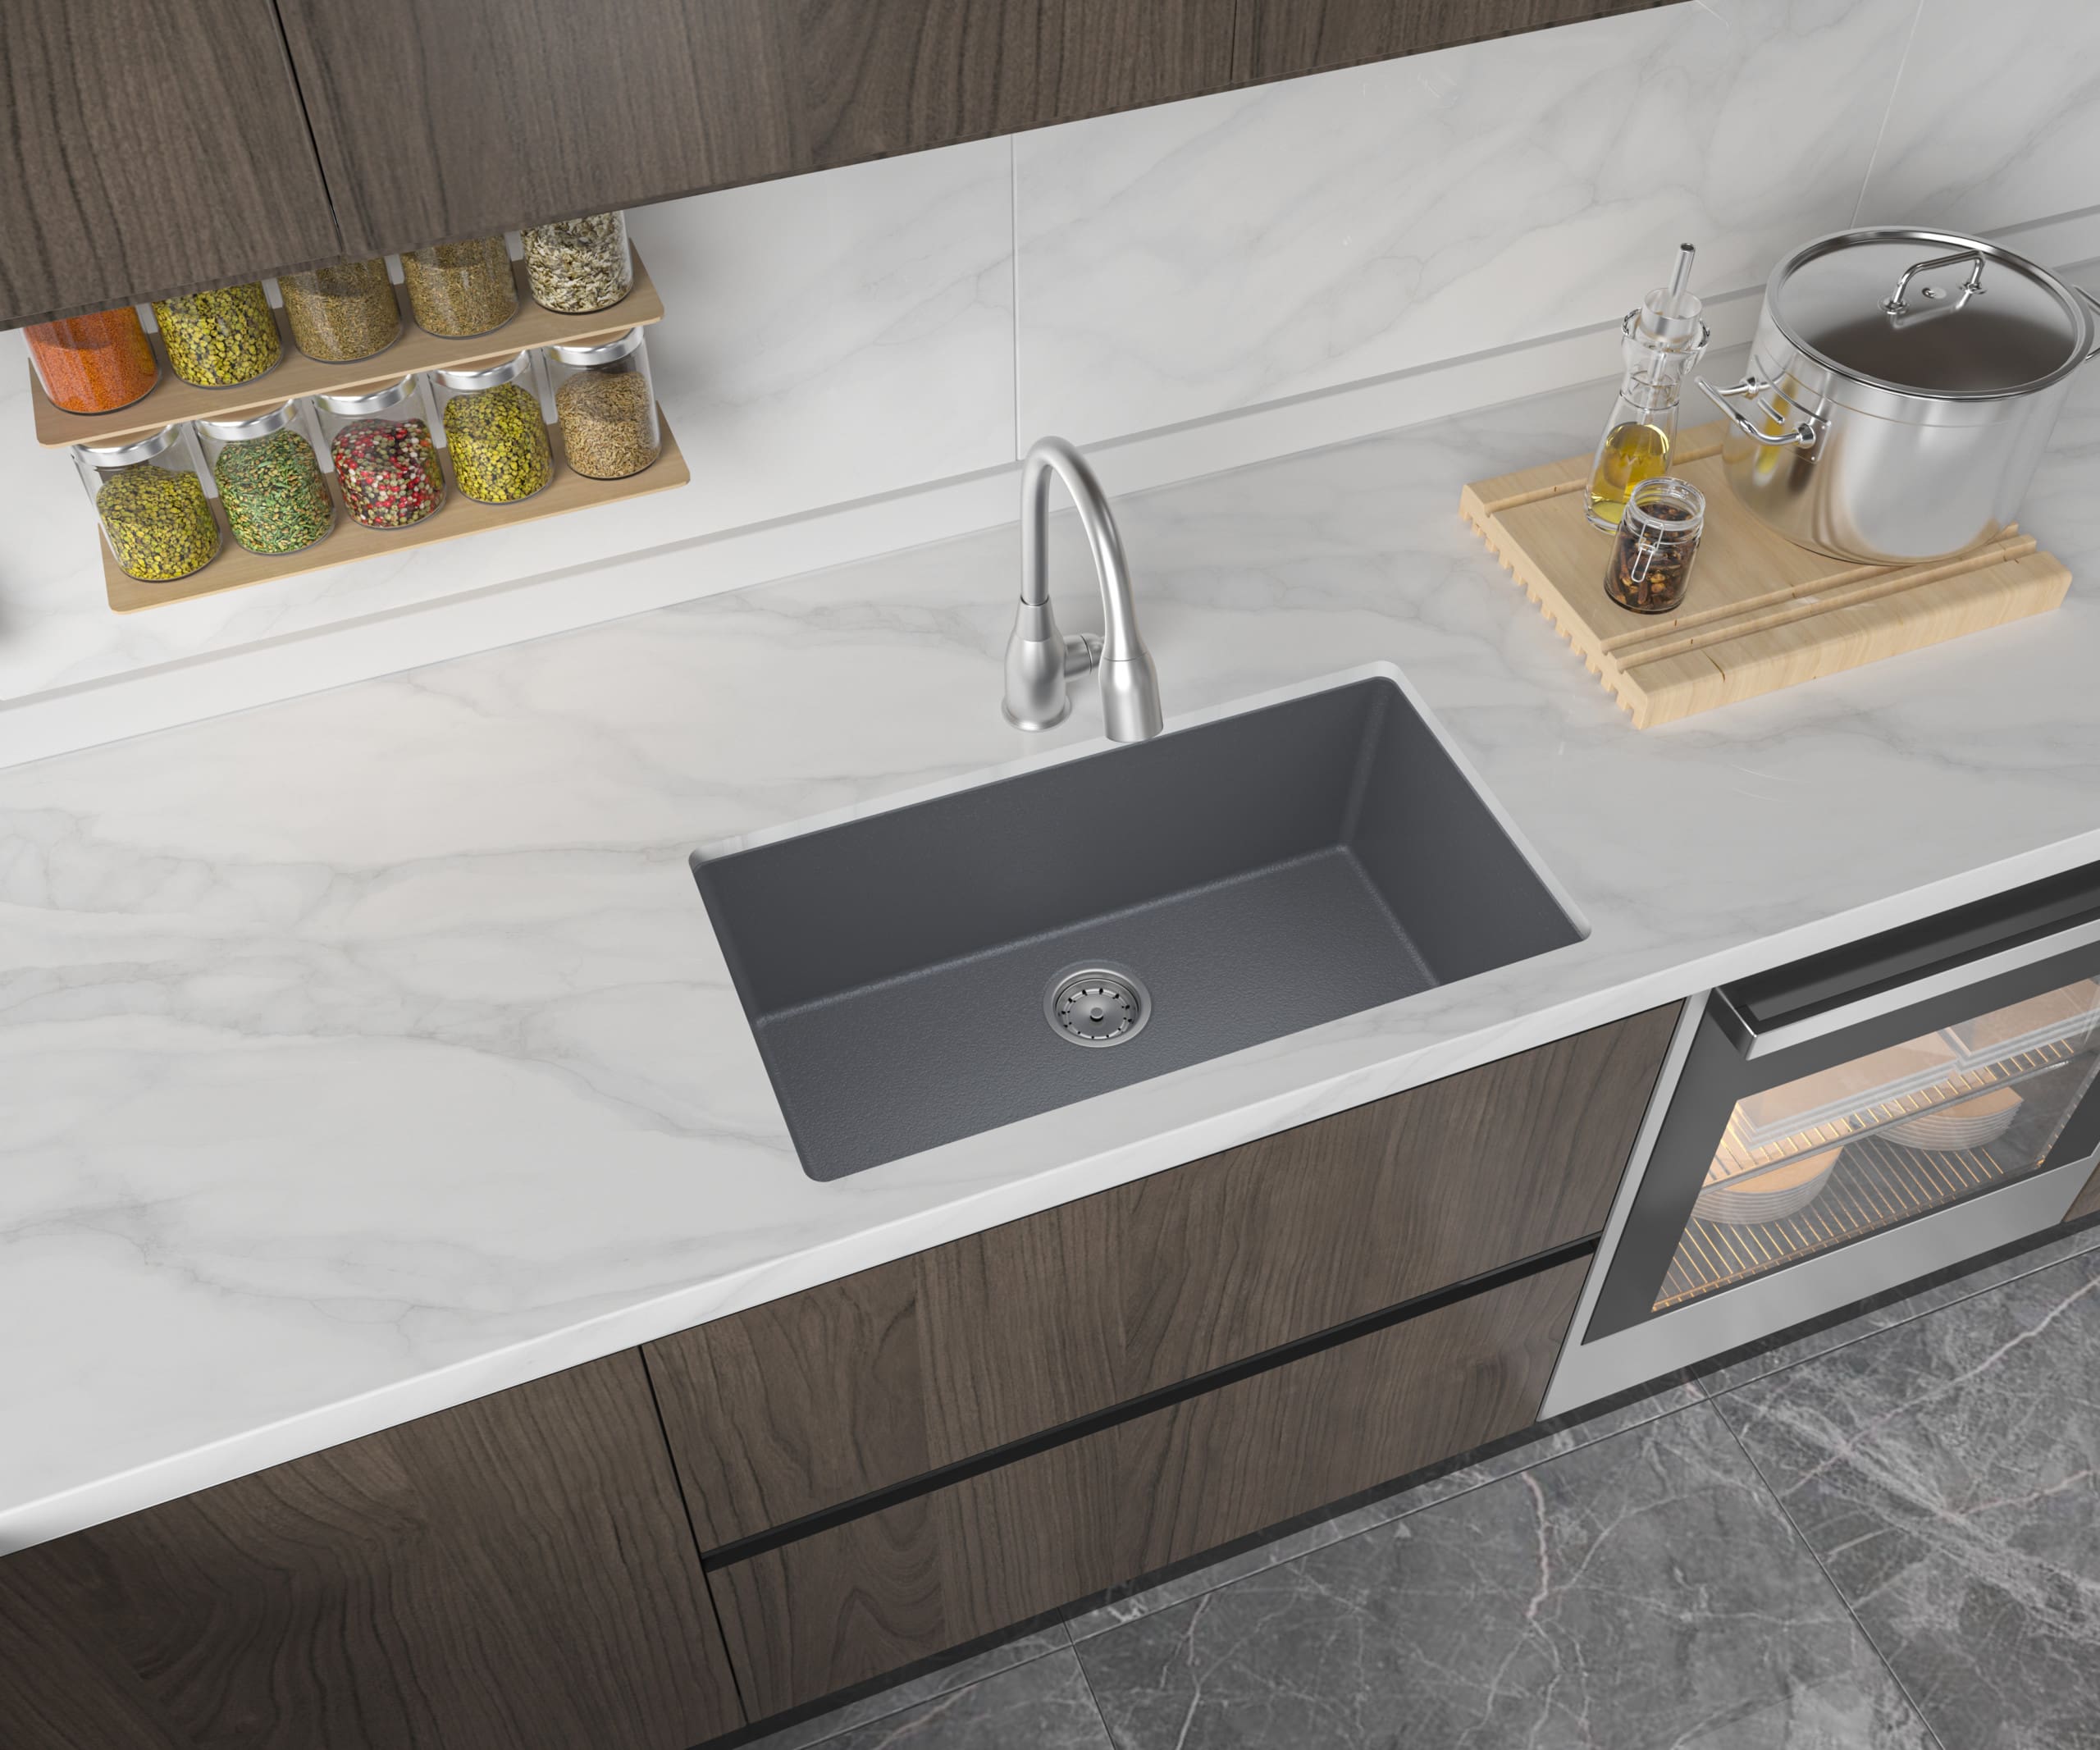
Why Choose an Undermount Kitchen Sink for Your Home
The Benefits of Installing an Undermount Kitchen Sink
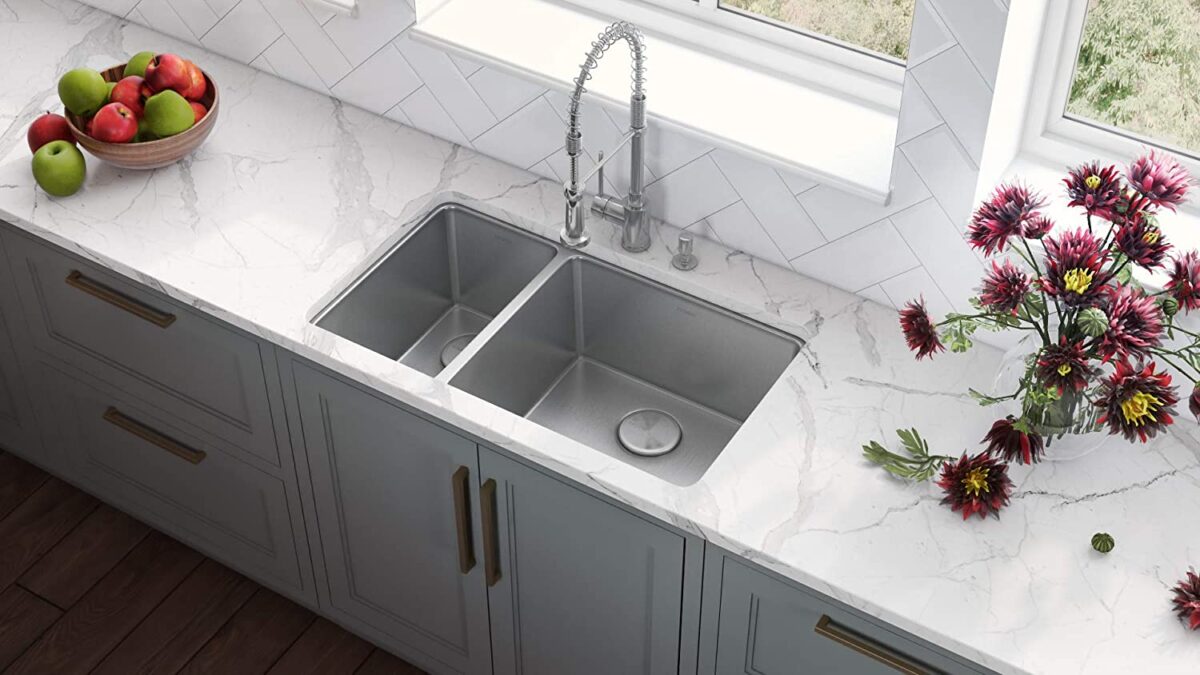
 An undermount kitchen sink is a popular choice among homeowners due to its sleek and modern look. Unlike traditional top-mount sinks, the undermount sink is installed underneath the countertop, creating a seamless and clean line. This not only adds to the overall aesthetic of your kitchen, but it also has several practical benefits that make it a top choice for kitchen design.
1. Space-Saving Design
One of the main advantages of an undermount kitchen sink is its space-saving design. By being installed underneath the countertop, it eliminates the need for a lip or rim, creating more counter space. This is especially beneficial for smaller kitchens where every inch of space counts. It also allows for a larger sink bowl, providing you with more room for washing dishes and preparing food.
2. Easy to Clean
The seamless design of an undermount sink not only makes it visually appealing, but it also makes it easier to clean. Without any edges or crevices, there is no place for dirt and grime to accumulate. You can simply wipe down the countertop and easily clean the sink with no obstacles in your way. This makes it a hygienic choice for your kitchen, especially if you have a busy household and need to clean up quickly.
3. Versatile Design Options
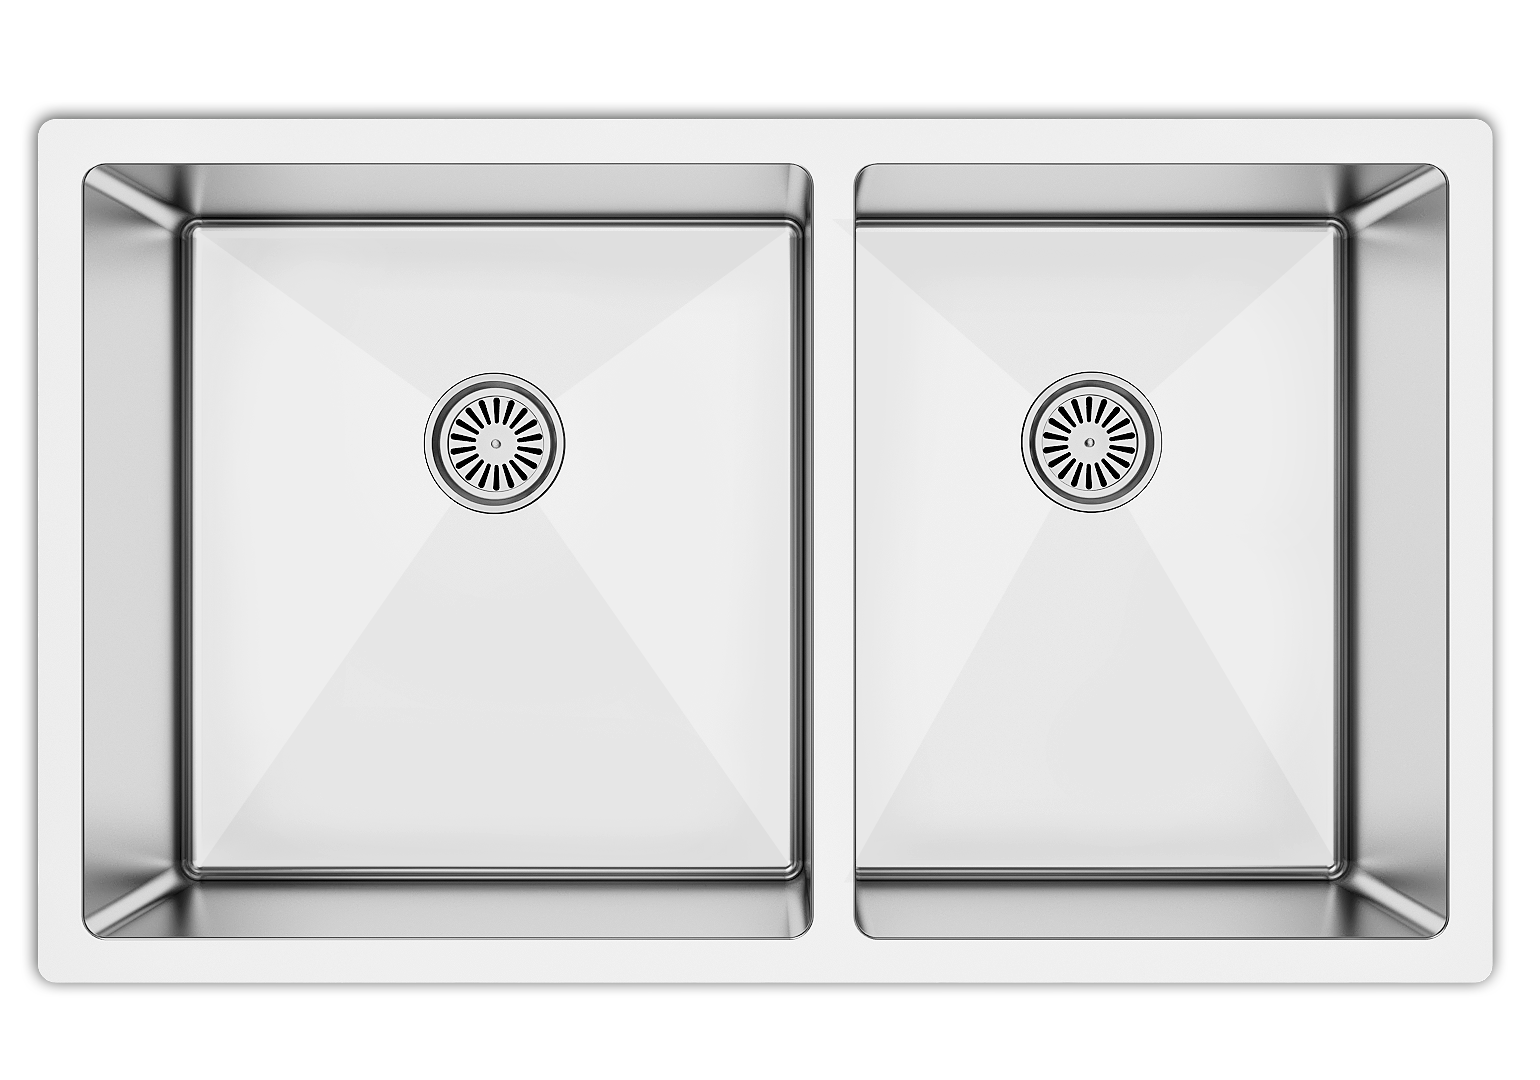
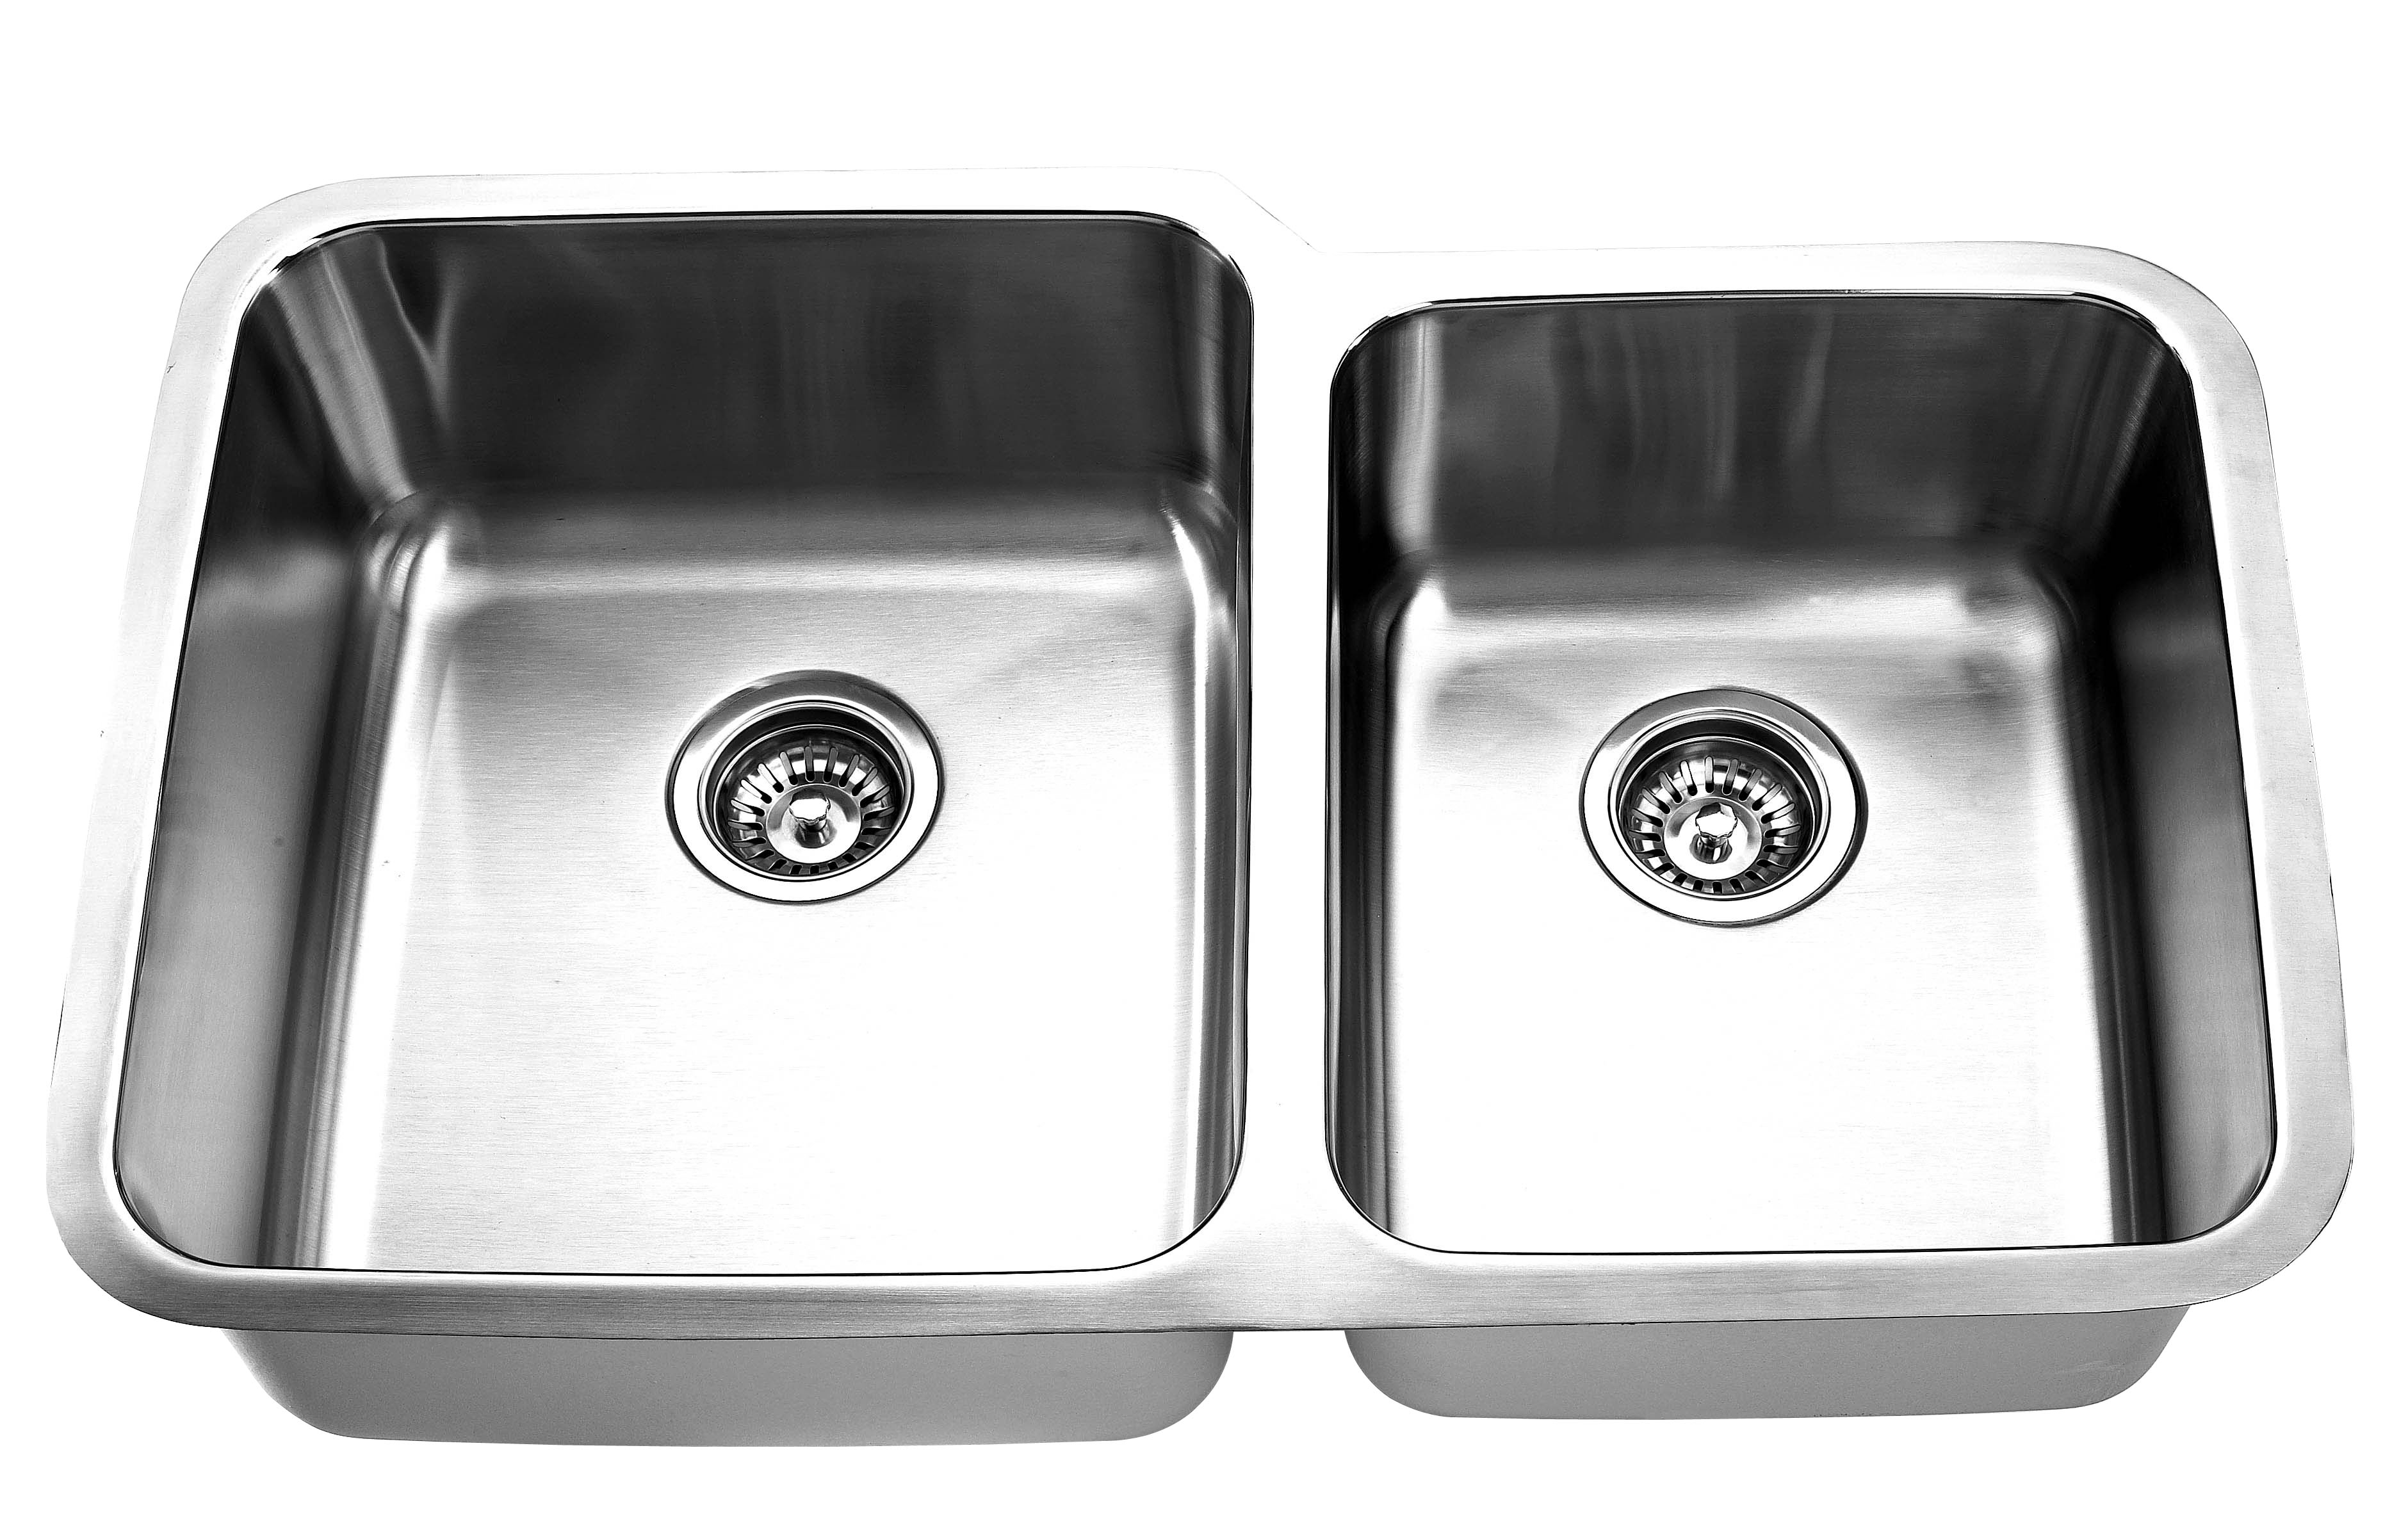
Undermount kitchen sinks come in a variety of materials, including stainless steel, granite, and ceramic, giving you a wide range of options to choose from. This allows you to find the perfect sink to complement your kitchen design and match your personal style. Additionally, undermount sinks can also be installed with different configurations, such as a single bowl or double bowl, giving you even more versatility in your kitchen design.
4. Durability and Longevity
Undermount sinks are known for their durability and longevity. While top-mount sinks can become loose or damaged over time due to the weight of the sink and water, undermount sinks are securely attached to the countertop and can withstand heavy use. They are also less likely to crack or chip, making them a wise investment for your kitchen.
5. Increased Home Value
Installing an undermount kitchen sink can also increase the value of your home. With its sleek and modern design, it is a desirable feature for potential buyers and can make your kitchen stand out. It is a small investment that can have a big impact on the overall value of your home.
In conclusion, undermount kitchen sinks offer a plethora of benefits, making it a popular choice for homeowners looking to upgrade their kitchen design. Its space-saving design, easy maintenance, versatility, durability, and potential increase in home value make it a practical and stylish choice for any kitchen. Consider installing an undermount kitchen sink in your home and enjoy all of its benefits for years to come.
An undermount kitchen sink is a popular choice among homeowners due to its sleek and modern look. Unlike traditional top-mount sinks, the undermount sink is installed underneath the countertop, creating a seamless and clean line. This not only adds to the overall aesthetic of your kitchen, but it also has several practical benefits that make it a top choice for kitchen design.
1. Space-Saving Design
One of the main advantages of an undermount kitchen sink is its space-saving design. By being installed underneath the countertop, it eliminates the need for a lip or rim, creating more counter space. This is especially beneficial for smaller kitchens where every inch of space counts. It also allows for a larger sink bowl, providing you with more room for washing dishes and preparing food.
2. Easy to Clean
The seamless design of an undermount sink not only makes it visually appealing, but it also makes it easier to clean. Without any edges or crevices, there is no place for dirt and grime to accumulate. You can simply wipe down the countertop and easily clean the sink with no obstacles in your way. This makes it a hygienic choice for your kitchen, especially if you have a busy household and need to clean up quickly.
3. Versatile Design Options
Undermount kitchen sinks come in a variety of materials, including stainless steel, granite, and ceramic, giving you a wide range of options to choose from. This allows you to find the perfect sink to complement your kitchen design and match your personal style. Additionally, undermount sinks can also be installed with different configurations, such as a single bowl or double bowl, giving you even more versatility in your kitchen design.
4. Durability and Longevity
Undermount sinks are known for their durability and longevity. While top-mount sinks can become loose or damaged over time due to the weight of the sink and water, undermount sinks are securely attached to the countertop and can withstand heavy use. They are also less likely to crack or chip, making them a wise investment for your kitchen.
5. Increased Home Value
Installing an undermount kitchen sink can also increase the value of your home. With its sleek and modern design, it is a desirable feature for potential buyers and can make your kitchen stand out. It is a small investment that can have a big impact on the overall value of your home.
In conclusion, undermount kitchen sinks offer a plethora of benefits, making it a popular choice for homeowners looking to upgrade their kitchen design. Its space-saving design, easy maintenance, versatility, durability, and potential increase in home value make it a practical and stylish choice for any kitchen. Consider installing an undermount kitchen sink in your home and enjoy all of its benefits for years to come.