Replacing a bathroom sink drain collar may seem like a daunting task, but with the right tools and knowledge, it can be a simple and satisfying DIY project. Whether you're looking to update the look of your bathroom or your old drain collar is damaged and needs to be replaced, this step-by-step guide will walk you through the process.How to Replace a Bathroom Sink Drain Collar


How to Replace a Bathroom Sink Drain Collar


Before diving into the process, it's important to gather all the necessary tools and materials. This will ensure that the project runs smoothly and you don't have to make any unexpected trips to the store. Tools:Replacing a Bathroom Sink Drain Collar: Step-by-Step Guide


Replacing a Bathroom Sink Drain Collar: Step-by-Step Guide


Step 1: Clear Out the Area The first step is to clear out everything from under the sink. This will give you enough room to work and avoid any accidents. Place a bucket under the P-trap to catch any water that may come out during the process. Step 2: Remove the Old Drain Collar Using an adjustable wrench, unscrew the nut that connects the drain tailpiece to the drain flange. This will allow you to remove the old drain collar. If the nut is too tight, you can use a pair of pliers to loosen it. Once the nut is removed, the old drain collar should easily come off. Step 3: Remove the Drain Flange Next, use your screwdriver to remove the screws that hold the drain flange in place. Once the screws are removed, the drain flange should easily come off. Step 4: Clean the Area With the old drain collar and flange removed, use a plunger to clear out any debris or clogs from the drain. Then, use a damp cloth to clean the area around the sink and the drain hole. Step 5: Apply Plumbers Putty Take a small amount of plumbers putty and roll it into a thin rope. Place the rope around the bottom edge of the new drain flange. This will create a tight seal when the drain is installed. Step 6: Install the New Drain Flange Place the new drain flange into the drain hole and press it down firmly. Make sure it is centered and level with the sink. Then, use your screwdriver to attach the flange to the sink with the screws. Step 7: Install the New Drain Collar Place the new drain collar over the drain flange and thread the drain tailpiece into it. Use an adjustable wrench to tighten the nut and secure the drain collar in place. Step 8: Reconnect the P-Trap Reattach the P-trap to the drain tailpiece and the sink drain. Use pipe joint compound and plumbers tape to create a tight seal. Step 9: Test the Drain Turn on the water and let it run for a few minutes to test the drain. Check for any leaks and tighten any connections if needed. Step 10: Clean Up Once you've confirmed that the drain is working properly, clean up the area and dispose of any old materials. Your new bathroom sink drain collar is now installed and ready to use!DIY: Replacing a Bathroom Sink Drain Collar


DIY: Replacing a Bathroom Sink Drain Collar


:max_bytes(150000):strip_icc()/bathroom-sink-drain-installation-2718843-02-61e5ecbee1e949be8d8f45ac4f5a6797.jpg)
As mentioned before, having the right tools and materials is crucial for a successful project. Here's a list of everything you will need to replace your bathroom sink drain collar:Replacing a Bathroom Sink Drain Collar: Tools and Materials Needed


Replacing a Bathroom Sink Drain Collar: Tools and Materials Needed


Replacing a bathroom sink drain collar may seem like a daunting task, but with this quick and easy guide, you'll have it done in no time. Just follow these simple steps:Quick and Easy Guide to Replacing a Bathroom Sink Drain Collar

Quick and Easy Guide to Replacing a Bathroom Sink Drain Collar
While replacing a bathroom sink drain collar may seem like a simple task, there are a few common mistakes that can lead to bigger problems. Here are some things to avoid:Replacing a Bathroom Sink Drain Collar: Common Mistakes to Avoid

Replacing a Bathroom Sink Drain Collar: Common Mistakes to Avoid

If you prefer visual instructions, there are plenty of step-by-step video tutorials available online that can guide you through the process of replacing a bathroom sink drain collar. Just make sure to follow the steps carefully and gather all the necessary tools and materials beforehand.Step-by-Step Video Tutorial: Replacing a Bathroom Sink Drain Collar

Step-by-Step Video Tutorial: Replacing a Bathroom Sink Drain Collar

If you encounter any issues during the process of replacing your bathroom sink drain collar, here are some troubleshooting tips to help you out:Replacing a Bathroom Sink Drain Collar: Troubleshooting Tips


Replacing a Bathroom Sink Drain Collar: Troubleshooting Tips
Here are the pros and cons of replacing a bathroom sink drain collar: Pros:Replacing a Bathroom Sink Drain Collar: Pros and Cons

Replacing a Bathroom Sink Drain Collar: Pros and Cons

Here are some tips from experts to help you with the process of replacing a bathroom sink drain collar:Expert Tips for Replacing a Bathroom Sink Drain Collar

Expert Tips for Replacing a Bathroom Sink Drain Collar

Replacing a Bathroom Sink Drain Collar: A Simple Guide When it comes to house design, the smallest details can make a big impact. This is especially true in the bathroom, where a well-designed space can elevate the overall look and feel of your home. One often overlooked aspect of bathroom design is the sink drain collar, which can easily become worn out or damaged over time. In this article, we will discuss how to replace a bathroom sink drain collar and give your bathroom a refreshed look.
The Importance of a Functional Sink Drain Collar
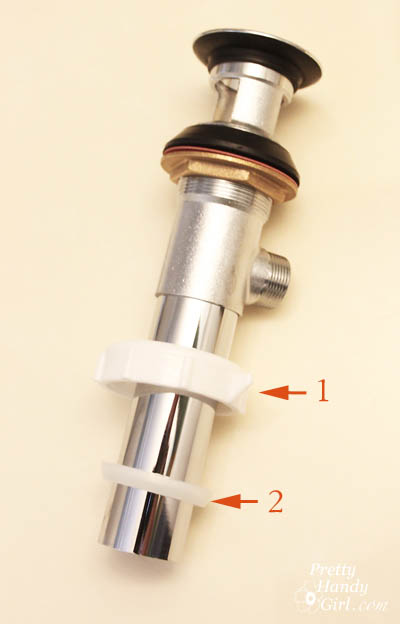
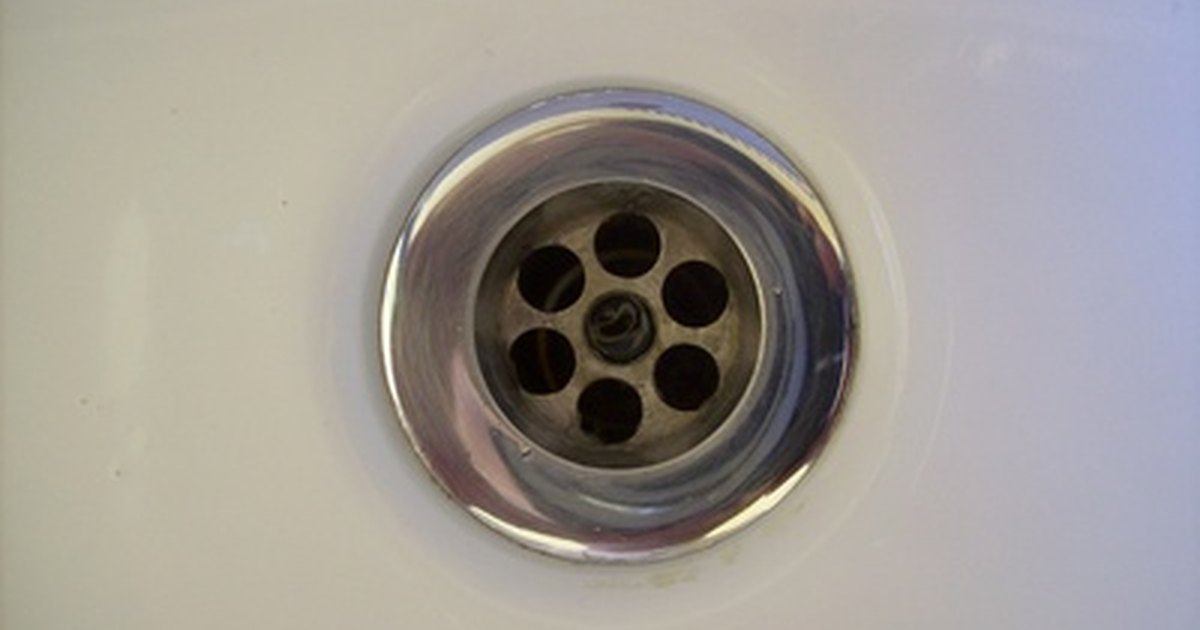
 Before we dive into the steps of replacing a bathroom sink drain collar, it is important to understand the role it plays in your bathroom. The drain collar is the visible part of the sink drain that connects to the pipe beneath. It not only helps to keep the drain in place but also prevents any leaks from occurring. A damaged or faulty drain collar can cause water to leak, leading to potential water damage and costly repairs.
Step 1: Gather Your Tools and Materials
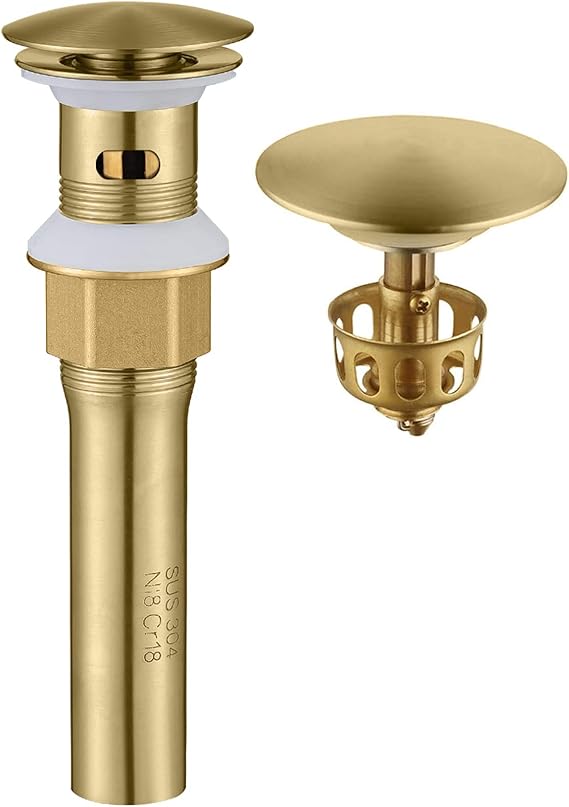
 Before beginning the replacement process, it's important to have all the necessary tools and materials. This includes a new drain collar, plumbers putty, a wrench, and a screwdriver. It's always a good idea to have a bucket on hand as well to catch any excess water that may come out during the replacement.
Step 2: Remove the Old Drain Collar
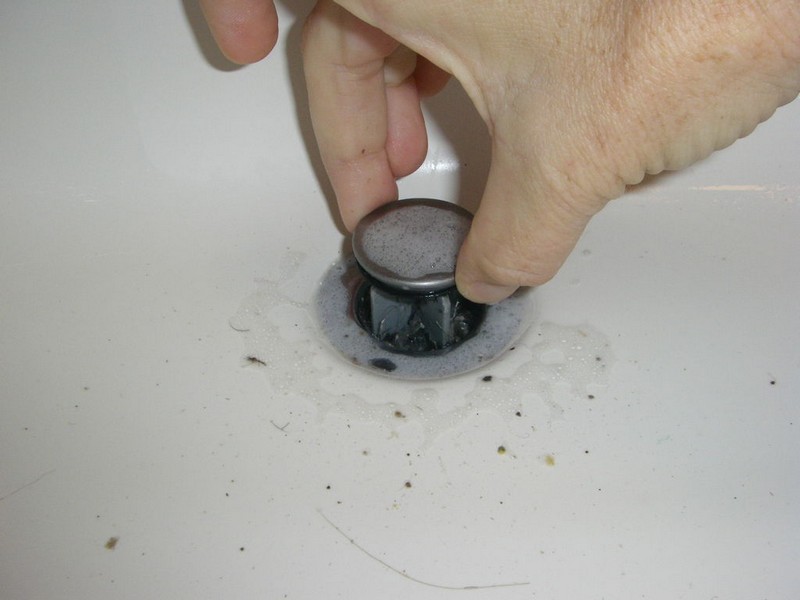
 The first step in replacing a bathroom sink drain collar is to remove the old one. Start by placing a bucket under the sink to catch any water that may come out. Use a wrench to loosen and remove the nut holding the drain collar in place. Once the nut is removed, the drain collar should easily slide out.
Step 3: Apply Plumbers Putty
 Next, take a small amount of plumbers putty and roll it into a thin rope. Apply the putty around the edge of the new drain collar. This will help create a tight seal and prevent any leaks.
Step 4: Install the New Drain Collar
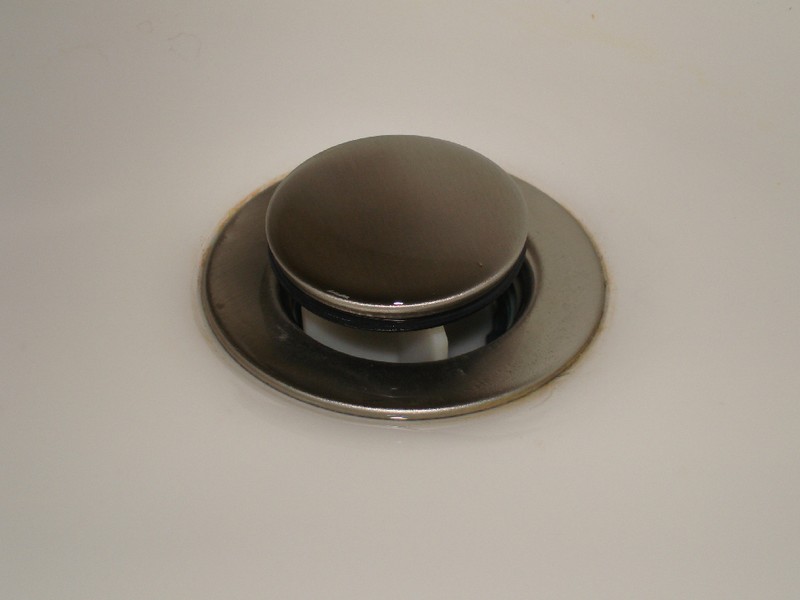
 Place the new drain collar into the sink's drain opening and push it down firmly. Make sure it is centered and level before proceeding. From underneath the sink, secure the drain collar by tightening the nut with a wrench.
Step 5: Test for Leaks
 Once the new drain collar is installed, turn on the water and check for any leaks. If you notice any leaks, tighten the nut further until they stop. If the leaks persist, you may need to reapply the putty and try again.
In just a few simple steps, you can replace a bathroom sink drain collar and improve the functionality and appearance of your bathroom. Don't let a damaged or worn-out drain collar go unnoticed, as it can lead to costly repairs down the road. With the right tools and materials, this DIY project can be completed in no time, giving your bathroom a fresh and updated look.
Don't let small details like a drain collar go unnoticed in your bathroom design. By following these simple steps, you can easily replace a bathroom sink drain collar and ensure a functional and stylish space. So, roll up your sleeves and give your bathroom the upgrade it deserves!
Once the new drain collar is installed, turn on the water and check for any leaks. If you notice any leaks, tighten the nut further until they stop. If the leaks persist, you may need to reapply the putty and try again.
In just a few simple steps, you can replace a bathroom sink drain collar and improve the functionality and appearance of your bathroom. Don't let a damaged or worn-out drain collar go unnoticed, as it can lead to costly repairs down the road. With the right tools and materials, this DIY project can be completed in no time, giving your bathroom a fresh and updated look.
Don't let small details like a drain collar go unnoticed in your bathroom design. By following these simple steps, you can easily replace a bathroom sink drain collar and ensure a functional and stylish space. So, roll up your sleeves and give your bathroom the upgrade it deserves!